
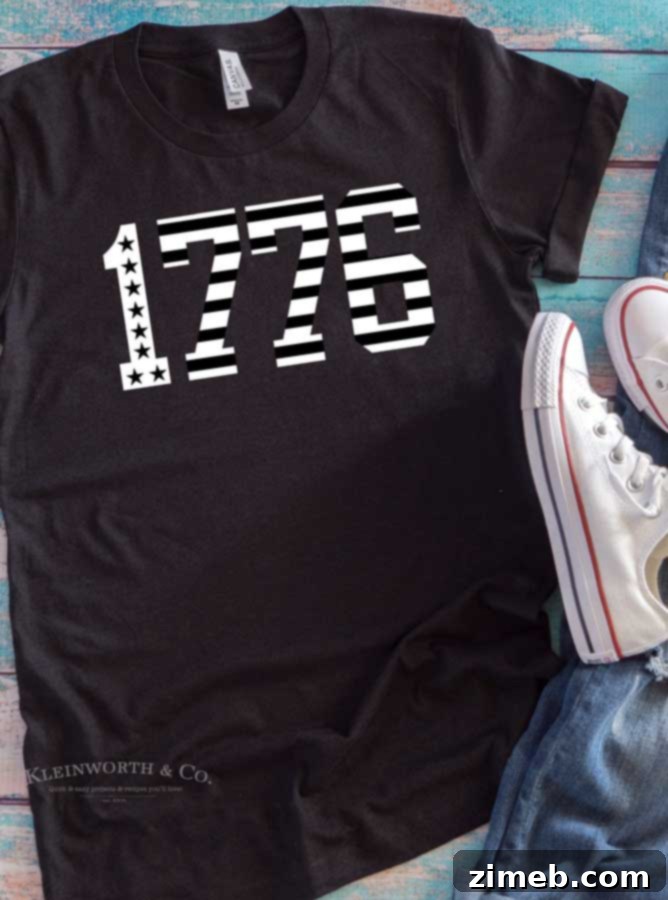
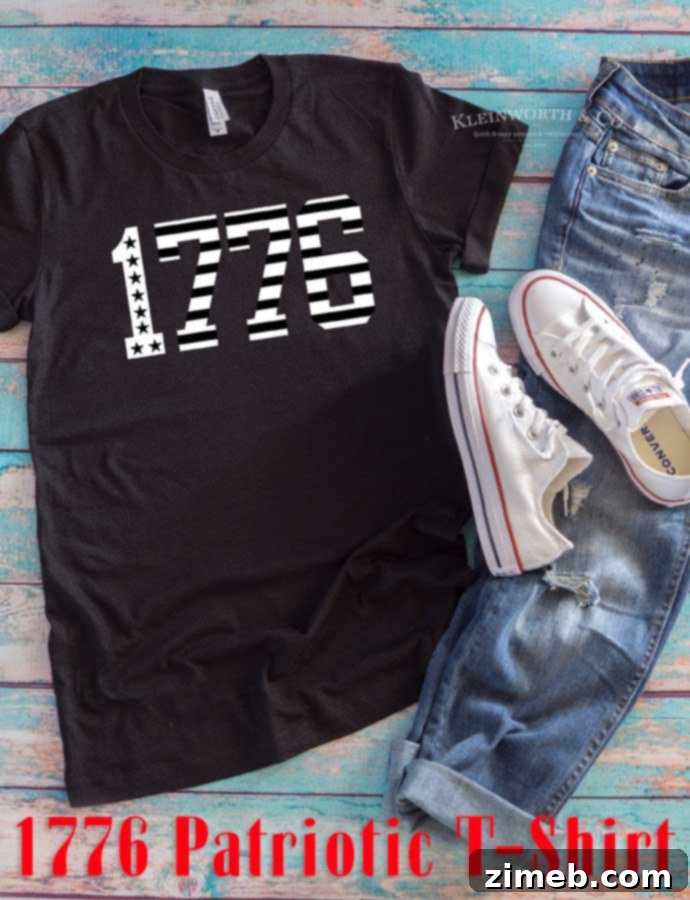
Looking to create a truly unique statement for your Independence Day celebrations? Discover how effortlessly you can craft your very own **1776 Patriotic T-Shirt** using heat transfer vinyl and your trusty Cricut machine. This detailed guide makes customizing your holiday apparel simple, allowing you to proudly display your patriotism with a personal touch. Just download our exclusive image file, and let your Cricut do the precision cutting!
The Fourth of July stands out as my absolute favorite holiday, a perfect blend of warmth, delicious BBQ, and vibrant red, white, and blue festivities. Every year, I find myself eagerly anticipating the opportunity to design a fresh, custom 4th of July shirt for my entire family. It’s more than just an outfit; it’s a cherished tradition that brings us together in celebration. This year, we’re particularly excited about our new **1776 Patriotic T-Shirt** design, and I can’t wait to share how you can make one too!
While chain retailers certainly offer a plethora of patriotic attire, I’ve always preferred to infuse our celebrations with a dash of individuality. Crafting our own shirts allows us to convey a message that truly resonates with us, setting our family apart with unique, handmade designs. The process itself is incredibly rewarding, transforming a simple t-shirt into a canvas for personal expression, all thanks to my Cricut machine and a little heat transfer vinyl (HTV).
Craft Your Own Iconic 1776 Patriotic T-Shirt
There’s an undeniable charm in wearing something you’ve created yourself, especially when it comes to celebrating significant events like the 4th of July. This DIY 4th of July shirt project isn’t just about saving money; it’s about making memories, expressing creativity, and wearing your patriotism with pride. The “1776” design is a classic, timeless symbol that perfectly encapsulates the spirit of Independence Day.
Customizing your own clothing with a Cricut machine opens up a world of possibilities. Whether it’s for a family gathering, a parade, or just a day of festive fun, a handmade shirt adds an extra layer of meaning to your celebrations. Forget the generic store-bought options; with this tutorial, you’ll learn how to craft a truly personalized piece that reflects your unique style and patriotic fervor. Even if you’re new to Cricut or heat transfer vinyl, our step-by-step instructions are designed to guide you through the process with ease, ensuring a professional-looking result every time.
This post contains some affiliate links, which means I may earn a small commission if you make a purchase through my links, at no extra cost to you. Click here to read my full disclosure policy.
Understanding Heat Transfer Vinyl (HTV) for Custom Apparel
Heat Transfer Vinyl, or HTV, is a fantastic material for customizing fabrics. It comes with an adhesive backing that activates under heat, allowing the vinyl to permanently adhere to your chosen garment. It’s durable, washable, and comes in an incredible array of colors, finishes, and textures, making it perfect for creating eye-catching designs.
When working with HTV, your Cricut machine acts as your precision cutting tool. It can cut intricate designs from the vinyl, leaving you with exactly the image you want to transfer. The beauty of HTV lies in its versatility and ease of use, even for crafting novices. Once you’ve mastered the basics, you’ll find yourself eager to personalize everything from t-shirts and hoodies to tote bags and hats. For this project, we’ll focus on a classic smooth HTV to achieve a crisp, clear “1776” design that truly pops.
Step-by-Step Guide: Making Your 1776 Patriotic T-Shirt
If you own a Cricut machine, this project is remarkably quick and straightforward. Follow these steps to bring your patriotic vision to life:
Step 1: Preparing Your Design in Cricut Design Space
- Download the Image File: First, you’ll need to download our exclusive “1776 Patriotic T-Shirt” image file. This file is pre-designed for optimal cutting and will save you time in the design process.
- Upload to Design Space: Open Cricut Design Space on your computer or mobile device. Click on “Upload” and then “Upload Image” to bring your downloaded file into the software.
- Choose Image Type: When prompted, select “Simple Image.” This setting is ideal for designs with high contrast and a limited number of colors, ensuring a clean cut. Click “Continue.”
- Select Areas to Erase: On the next screen, you’ll see your image. Use the ‘magic wand’ tool to click on and remove any background areas or parts of the image that you *don’t* want to be cut. This process defines the exact lines your Cricut will follow. Once all unwanted areas are clear, click “Continue.”
- Save as a Cut Image: Choose the “Save as a Cut Image” option. This prepares your design specifically for cutting with your Cricut machine. Then, click “Save.”
Step 2: Sizing and Arranging Your Design
- Insert Image onto Canvas: From your uploaded images library, select your newly saved “1776” design and click “Insert Images.” Your design will appear on the Design Space canvas.
- Position and Resize: Drag the design to the desired position on your canvas. To adjust its size, click and drag the corners of the bounding box. Consider the size of your t-shirt (adult, youth, toddler) and measure the garment to determine the ideal dimensions for your design. A good rule of thumb is to allow a few inches of space from the collar and sleeves. For multiple shirts of different sizes, you’ll need to adjust the design size for each.
- Prepare for Cutting: Once you’re satisfied with the size and placement, click the “Make It” button (usually located in the top right corner).
Step 3: Cutting Your Heat Transfer Vinyl
- Mirror Image (Crucial Step!): On the ‘Prepare’ screen, you’ll see your design arranged on a virtual mat. THIS IS THE MOST IMPORTANT STEP FOR HTV. Ensure you toggle the “Mirror” option to ON for each mat that contains iron-on vinyl. If you skip this, your design will be reversed when applied to the shirt.
- Set Your Material: On your Cricut machine, set the dial to “Iron-On” (or select “Heat Transfer Vinyl” in Design Space if you have a Maker or Explore Air 2 with a custom material setting).
- Load Your Vinyl: Place your heat transfer vinyl onto your cutting mat with the SHINY SIDE DOWN. The shiny side is the carrier sheet, which protects your design. The duller, adhesive side should face up to be cut.
- Feed and Cut: Load the mat into your Cricut machine and press the flashing “Go” button. Watch as your machine works its magic, precisely cutting your “1776” design.
Step 4: Weeding Your Design
- Remove from Mat: Once cutting is complete, carefully remove the vinyl from your cutting mat.
- Weeding the Excess: Using your weeding tool, meticulously remove all the excess vinyl that is not part of your “1776” design. This includes the outer edges and any small inner pieces (like the inside of the ‘6’ or ‘7’). Take your time with this step to ensure clean lines. You’ll be left with just your desired image adhered to the clear, shiny carrier sheet.
Step 5: Applying HTV to Your T-Shirt
- Pre-Heat Fabric: Place your t-shirt on a firm, heat-resistant surface. Run your iron or Cricut heat press over the shirt for 10-15 seconds to pre-heat the fabric. This removes moisture and wrinkles, creating an ideal surface for adhesion.
- Position Your Design: Carefully position your weeded “1776” design (still on its carrier sheet) onto the t-shirt exactly where you want it. The carrier sheet (shiny side) should be facing up.
- Apply Heat: Cover the design with a thin cloth, parchment paper, or a Teflon sheet. Press your iron or heat press firmly over the image for 25-30 seconds, applying even pressure. For an iron, use a steady, circular motion. For a heat press, refer to manufacturer instructions for time and temperature, typically around 305-315°F (150-157°C).
- Heat the Backside: Turn the garment over and iron/press the backside of the design for another 25-30 seconds. This ensures thorough adhesion.
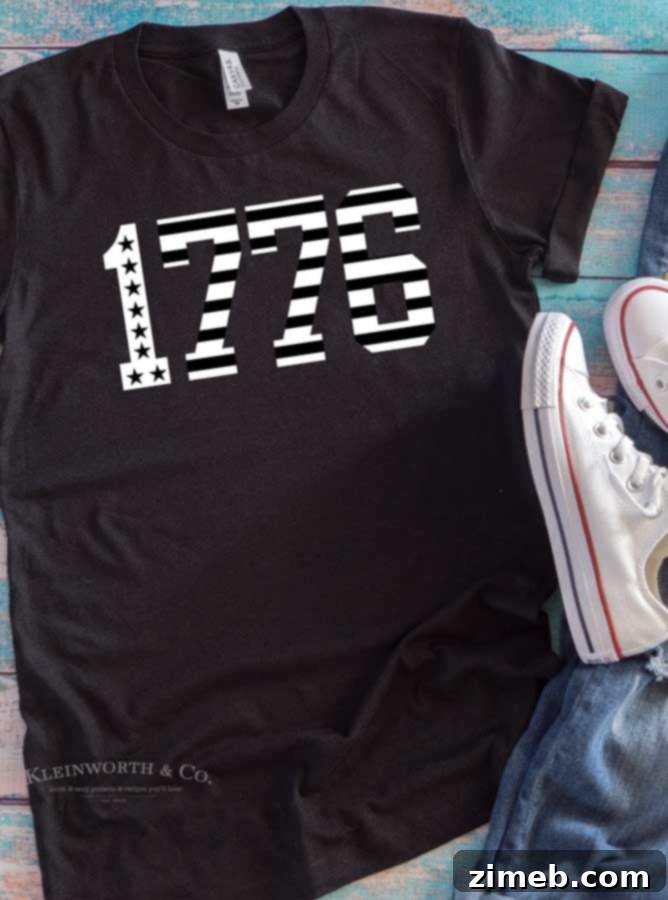
- Cool and Peel: Allow the vinyl to cool completely. Most HTV is “cold peel,” meaning you should wait until it’s cool to the touch before peeling the carrier sheet. Slowly and carefully peel back the plastic carrier sheet, leaving your awesome new “1776 Patriotic T-Shirt” design firmly on the fabric! If any part of the design lifts, lay the carrier sheet back down, cover with your cloth, and apply more heat.
And there you have it! A custom-made, patriotic shirt that’s ready for all your 4th of July festivities.
Essential Supplies for Your DIY 1776 Patriotic T-Shirt
Gathering your materials before you begin will ensure a smooth and enjoyable crafting experience. Here’s a comprehensive list of what you’ll need to make this project a success:
- Cricut Machine: Any Cricut Explore Air or Maker model will work perfectly for this project. These machines are renowned for their precision cutting, making intricate designs a breeze.
- Heat Transfer Vinyl (HTV): Choose your favorite color! Red, white, or blue are classic choices for a patriotic theme. Ensure it’s iron-on vinyl for fabric application.
- Blank T-Shirt: Select a good quality cotton or cotton-blend t-shirt. Lighter colors will make your design pop, but any color can work with the right HTV choice.
- Iron or Cricut Heat Press: An iron is great for beginners and smaller projects, while a heat press provides more even heat and pressure, ideal for multiple shirts or a more professional finish.
- StandardGrip Cutting Mat: This mat holds your vinyl securely in place during the cutting process.
- Weeding Tool: Essential for removing excess vinyl from your design with precision, leaving only the parts you want to transfer.
- Protective Sheet (Optional but Recommended): A Teflon sheet or parchment paper protects your HTV and iron/heat press during application.
- Measuring Tape/Ruler (Optional): Useful for accurately positioning your design on the shirt.
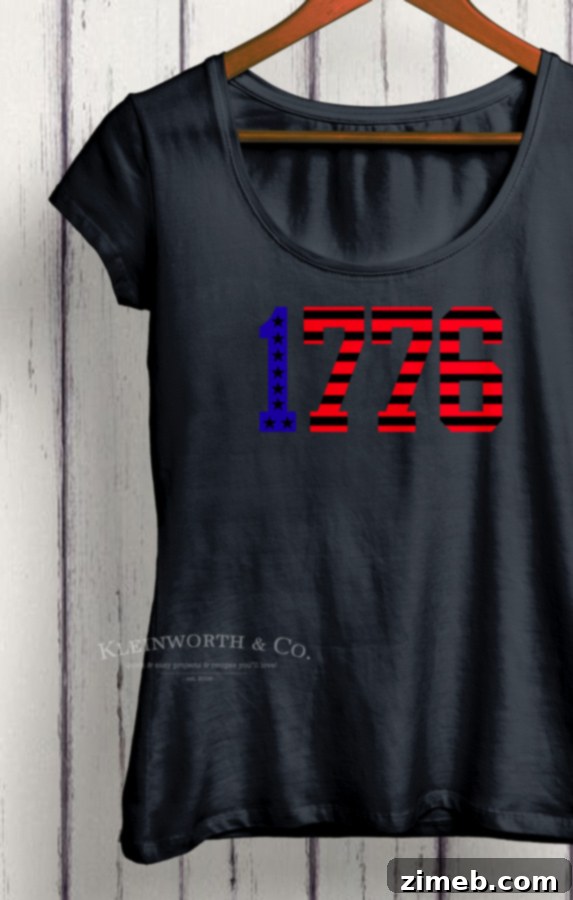
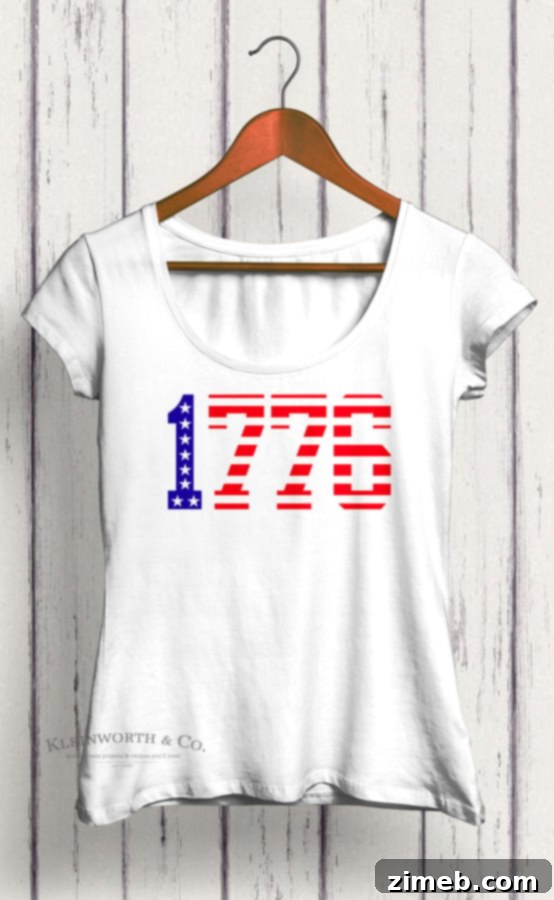
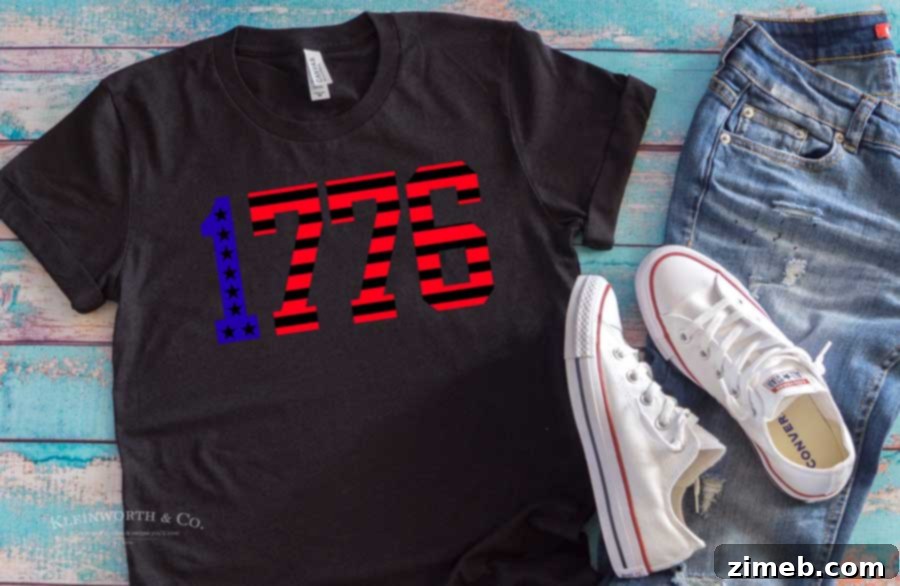
That’s it – check out how absolutely adorable this 1776 Patriotic T-Shirt is! It’s truly perfect for your upcoming Independence Day celebration or any occasion where you want to proudly display your American spirit!
Caring for Your Custom HTV Shirt
To ensure your beautiful new 1776 Patriotic T-Shirt lasts through many celebrations, proper care is essential. HTV designs are quite durable, but a little extra attention can significantly extend their lifespan:
- Wait Before Washing: After applying the HTV, wait at least 24 hours before the first wash. This allows the adhesive to fully cure.
- Wash Inside Out: Always turn your shirt inside out before washing. This protects the vinyl from abrasion during the wash cycle.
- Cold Water, Gentle Cycle: Wash in cold water on a gentle cycle. Hot water can loosen the adhesive over time.
- Avoid Harsh Detergents & Fabric Softeners: Harsh chemicals and fabric softeners can degrade the vinyl and its adhesive.
- Hang Dry or Tumble Dry Low: Air drying is best for longevity. If you must use a dryer, tumble dry on a low heat setting. High heat is the enemy of HTV.
- Do Not Iron Directly on Design: If your shirt needs ironing, turn it inside out and iron the fabric from the back. Avoid direct contact with the vinyl.
Scroll to the bottom for the DOWNLOAD link to get your exclusive 1776 design!
DIY 4th of July Shirt: Unleash Your Creativity
Creating your own 4th of July shirts is just the beginning of what you can accomplish with your Cricut and heat transfer vinyl. This project offers a fantastic introduction to personalized apparel, and the skills you gain can be applied to countless other DIY endeavors. Imagine designing coordinating shirts for family photos, creating custom gifts, or even starting your own small craft business!
Beyond the “1776” design, consider exploring other patriotic themes. You could experiment with star-spangled banners, iconic American phrases, or even multi-layered HTV designs for a more complex look. The joy of crafting comes from making something truly your own, and with tools like Cricut, the possibilities are virtually limitless. Embrace the spirit of independence by crafting something beautiful and meaningful this holiday season.
Looking for More Fun 4th of July Ideas?
The celebration doesn’t stop with a fantastic shirt! Explore these other delightful ideas to make your Independence Day even more memorable and delicious:
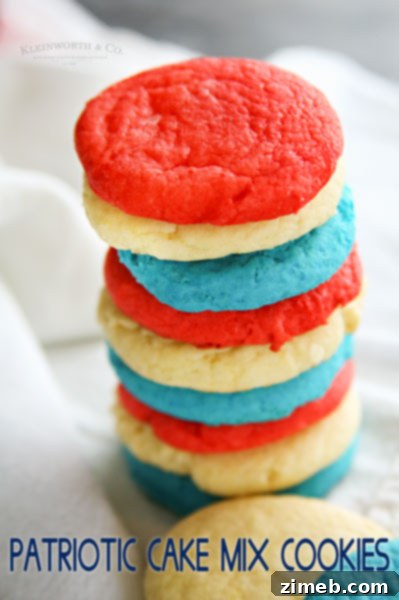
Patriotic Cake Mix Cookies: These vibrant, easy-to-make cookies are perfect for patriotic gatherings. Using a cake mix base makes them incredibly simple to whip up, while festive sprinkles add that essential red, white, and blue flair.
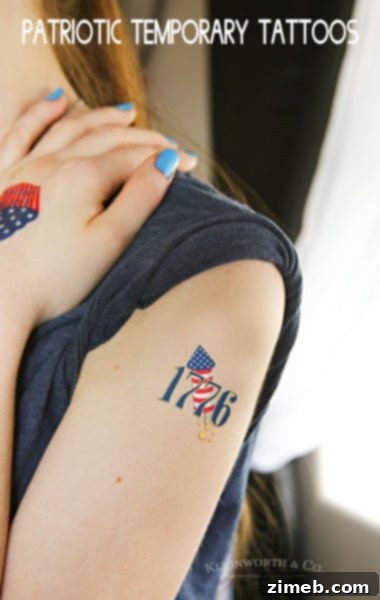
Free Printable Patriotic Temporary Tattoos: Add a playful touch to your festivities with these fun temporary tattoos. They’re a hit with kids and adults alike, offering a quick and easy way to show off your patriotic spirit without the commitment.
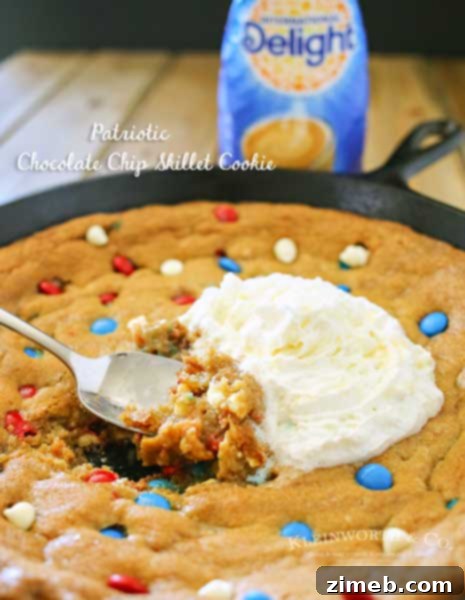
Patriotic Chocolate Chip Skillet Cookie: A giant, warm, and gooey chocolate chip cookie baked in a skillet is the ultimate crowd-pleaser. Dressed up with red, white, and blue candies or frosting, it becomes a spectacular dessert for your Independence Day celebration.
Ready to get started on your unique 4th of July creation? Click the link below to instantly download the design file for your Cricut project:
DOWNLOAD the 1776 Patriotic T-Shirt FILE HERE
Don’t miss these other fantastic ideas from fellow bloggers, perfect for enhancing your 4th of July celebrations:
Showstopping Angel Food Cake with Berries | Hoosier Homemade: A light, airy cake adorned with fresh, vibrant berries makes for a refreshing and beautiful dessert, embodying the colors of the flag.
Fourth of July Decor | Thrifty Decor Chick: Discover creative and budget-friendly ways to deck out your home for Independence Day, from charming centerpieces to festive porch decorations.