
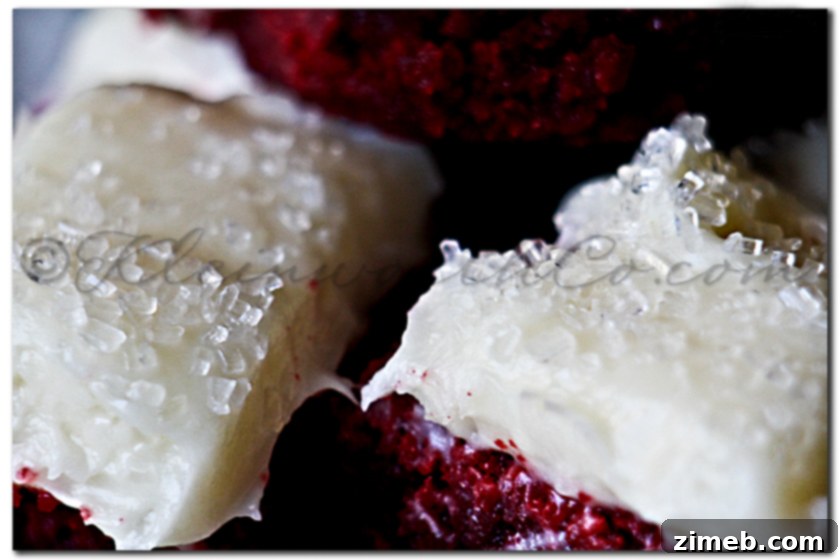
Unwrap the Joy: Day 1 of Our 7-Day Holiday Recipe Series – Red Velvet Brownie Bites
Welcome, dear readers, to an exciting culinary journey! This week, I’m taking a much-needed break from my usual blogging routine to prepare for a significant long-distance move. However, rest assured, this space will not be abandoned. In fact, it’s being filled with festive cheer and delectable treats as I’ve teamed up with the incredibly talented Danelle from Let’s Dish Recipes to bring you a truly special holiday recipe series. Get ready for “7 Days of Memory Making,” where we share our most cherished holiday recipes designed to inspire joy, create traditions, and, of course, delight your taste buds.

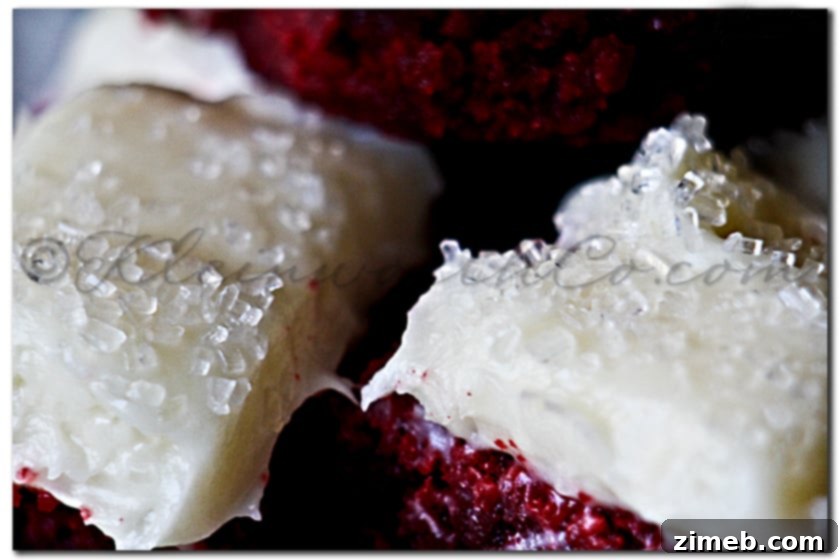
Thank you for joining us as we embark on this delightful series, sharing some of our family’s all-time favorite holiday season recipes. To kick things off, we’re diving into a dessert that perfectly embodies the spirit of festive indulgence: these irresistible Red Velvet Brownie Bites. As many of you know, I adore red velvet anything, and my husband absolutely loves cream cheese frosting on just about everything. It’s no surprise, then, that these Red Velvet Brownie Bites have become an enormous family favorite in our home. They are simply divine!
When I reflect on my own childhood memories of the holidays, so many of them are intrinsically tied to food. I fondly remember the joy of building elaborate gingerbread houses with my mom, the sticky fun of making popcorn balls, and the anticipation of her legendary homemade fudge—truly the best in the world. These culinary experiences weren’t just about the food; they were about the shared moments, the laughter, and the warmth of family togetherness. My primary goal during the holiday season is to recreate those same magical memories with my own children, hoping they will carry these traditions forward and make them with their families when they grow up. These Red Velvet Brownie Bites are undoubtedly one of those special treats I envision them baking and sharing for generations to come.
The beauty of a red velvet brownie lies in its unique combination of rich cocoa undertones, a hint of tang, and that signature vibrant red hue that instantly evokes holiday cheer. Paired with a luscious, tangy cream cheese frosting, it’s a match made in dessert heaven. These bite-sized delights are perfect for holiday parties, cookie exchanges, or simply enjoying a cozy evening at home with loved ones. They offer all the decadence of a full-sized cake or brownie but in a convenient, shareable format. Plus, the bright red color makes them a festive centerpiece on any dessert table.
Creating these brownies is not just about following a recipe; it’s an act of love. The process itself, from melting the chocolate and butter to whisking in the sugar and eggs, fills the kitchen with an aroma that signals the arrival of the holiday season. The anticipation as they bake, the moment you insert a toothpick to check for doneness, and finally, the delightful task of spreading that creamy, dreamy frosting – each step contributes to the overall experience of memory-making. It’s a sensory journey that culminates in a treat that’s as visually appealing as it is delicious.
Red Velvet Brownie Bites
Ingredients
- Brownie Ingredients:
- 1/2 cup (1 stick) unsalted butter, diced
- 3 oz. bittersweet chocolate chips (I actually used squares for a deeper flavor)
- 1 1/2 cup granulated sugar
- 3 large eggs
- 1 tsp. vanilla extract
- 1/4 tsp. salt
- 2 tbsp. liquid red food coloring
- 1 cup all-purpose flour
- 1/2 tsp. baking powder
- Cream Cheese Frosting Ingredients:
- 8 oz. cream cheese, at room temperature
- 4 tbsp. unsalted butter, at room temperature
- 1 tsp. vanilla extract
- 1 1/2 cup sifted confectioners’ sugar
- White sparkling sugar (optional, for garnish)
Instructions
- Preheat your oven to 325°F (160°C). Prepare a 9″x9″ metal baking pan by lining it with non-stick foil, or regular foil generously sprayed with non-stick spray. This crucial step will make removing the brownies much easier later on – trust me, it’s worth the extra minute!
- In a heavy large saucepan, melt the diced butter and bittersweet chocolate over low heat, stirring occasionally, until completely smooth. Remove the pan from the heat. Whisk in the granulated sugar until combined, then add the eggs one at a time, mixing well after each addition. Stir in the vanilla extract, salt, and liquid red food coloring until the mixture is uniform and beautifully red.
- In a separate bowl, sift together the all-purpose flour and baking powder. (If you don’t have a sifter, simply whisking them vigorously for a minute or two will achieve a similar result.) Gradually add the dry ingredients to the wet mixture, stirring until just combined and no streaks of flour remain. Be careful not to overmix. Transfer the rich red batter to your prepared baking pan, spreading it evenly.
- Bake for approximately 30-35 minutes, or until the top appears puffed and dry, and a toothpick inserted into the center comes out with moist crumbs attached (not wet batter). It’s important not to overbake to ensure a fudgy texture. Allow the brownies to cool completely in the pan on a wire rack. (If you’re impatient like me, you can carefully place the pan in the freezer for about 20-30 minutes to speed up the cooling process!)
- While the brownies are cooling, prepare the cream cheese frosting. In a medium bowl, beat the room temperature cream cheese and butter with an electric mixer until light and fluffy. Add the vanilla extract and mix gently. Gradually add the sifted confectioners’ sugar, beating until smooth and creamy. If the frosting seems too thick, you can add a splash of milk or cream, one teaspoon at a time, until it reaches your desired consistency.
- Once the brownies are completely cool, use the foil lining as an aid to lift them out of the pan and onto a cutting board. Carefully peel back the foil from the sides. Generously spread the creamy cream cheese frosting over the top of the brownies. If desired, sprinkle white sparkling sugar over the frosting for an extra festive touch. Cut the brownies into bite-sized pieces. For a cleaner cut, wipe your knife with a warm, damp cloth after each slice. In the future, I might try cutting the brownies first and then piping a bit more frosting onto each individual bite for a more elegant presentation and cleaner fingers!
Nutritional information for the recipe is provided as a courtesy and is approximate. Please double-check with your own dietary calculator for the best accuracy. We at Yummi Haus cannot guarantee the accuracy of the nutritional information given for any recipe on this site.
Follow @KleinworthCo for even more tasty recipes!
And now, a special shout-out to my amazing collaborator!
While you’re savoring these Red Velvet Brownie Bites, make sure to hop over and check out Danelle from Let’s Dish Recipes, who is featuring her delightful
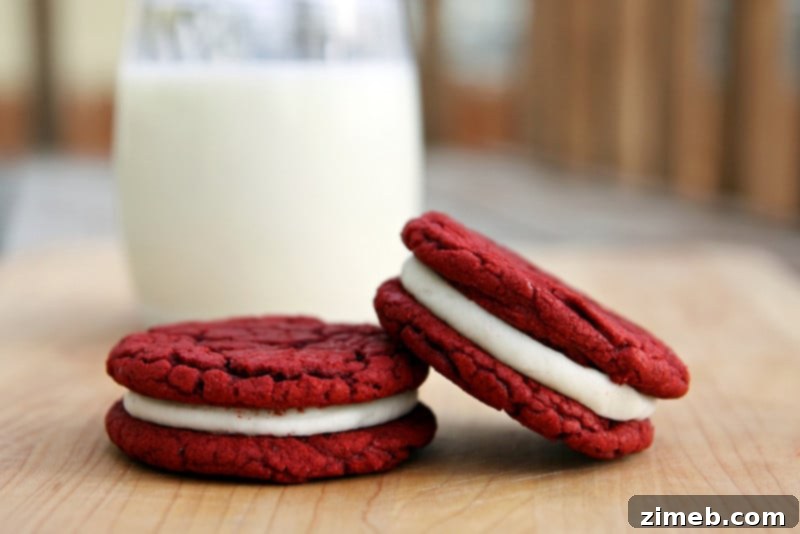
Red Velvet Sandwich Cookies!
These cookies offer another fantastic take on the beloved red velvet flavor, perfect for expanding your holiday baking repertoire. Danelle’s expertise shines through in every recipe, making her blog a treasure trove of culinary inspiration. Her Red Velvet Sandwich Cookies are the ideal companion to our brownie bites, creating a full spread of classic red velvet goodness for your holiday celebrations. They are soft, chewy, and filled with a creamy frosting, making them an instant hit with anyone who tries them.
This collaboration is all about bringing you diverse, family-approved recipes that truly capture the essence of the holidays. Both our blogs are dedicated to sharing approachable recipes that help you create those cherished moments in the kitchen and around the dining table. We believe that holiday baking should be fun, rewarding, and a catalyst for creating lasting memories, not a source of stress. So, whether you’re a seasoned baker or just starting your holiday traditions, we hope these recipes inspire you to get creative and spread some joy.
Be sure to come back tomorrow for Day 2 of our “7 Days of Memory Making” series, when Danelle will be sharing her scrumptious German Sweet Chocolate Pie. You won’t want to miss it!
Linking with:
Live Laugh {Linky} Thursday |
The 36th Avenue |
I’m Lovin’ It Party |
One Creative Weekend