
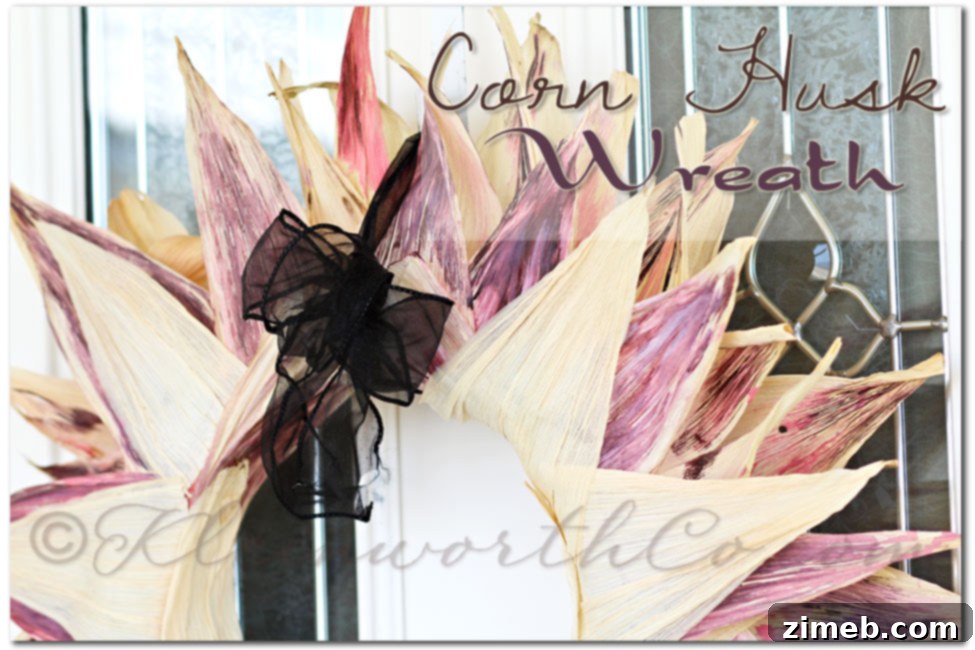
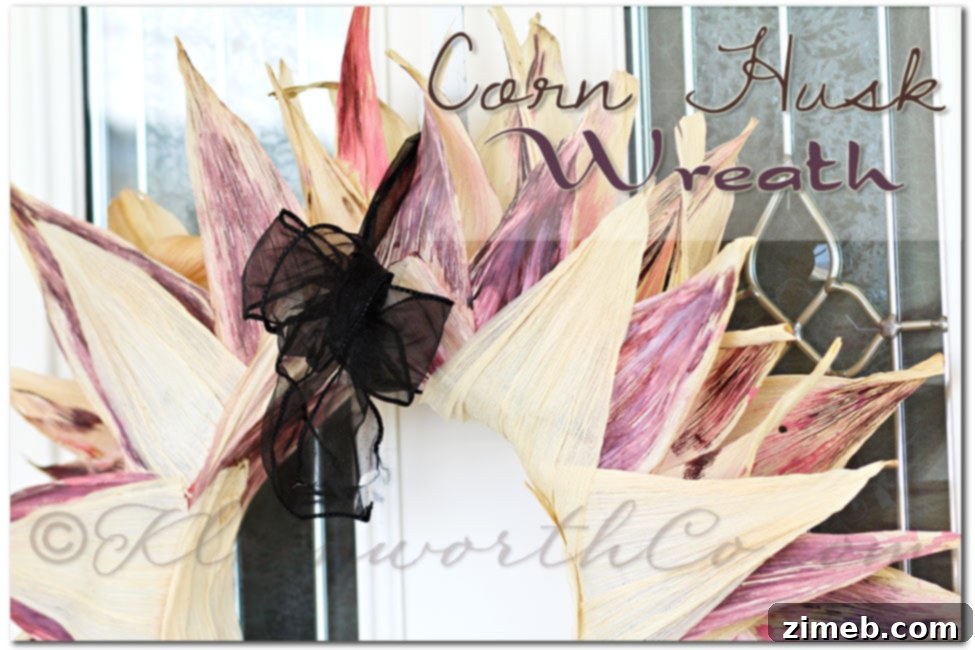
Crafting Natural Beauty: A Step-by-Step Guide to Your Own DIY Corn Husk Wreath
In a world increasingly driven by digital demands, finding moments to unplug and engage in hands-on creativity has become more vital than ever. As I shared recently, delving into the versatile world of corn husks has been an incredibly refreshing escape for me. There’s a profound joy and sense of accomplishment that comes from working with natural materials, transforming simple elements into something beautiful and meaningful for your home. This creative journey isn’t just about the finished product; it’s about the therapeutic process of making, a much-needed antidote to screen time and daily stresses.
For years, the idea of crafting a wreath from corn husks lingered in my imagination. I vividly recall stumbling upon a stunning corn husk wreath, an image so captivating that it earned a permanent spot in my DIY inspiration folder – back in the days before Pinterest became the ultimate digital mood board. Now, with a newfound enthusiasm for corn husk crafts – having recently experimented with making decorative jars – the timing felt perfect. It was finally time to bring that long-held vision to life and create a truly unique, rustic corn husk wreath.
Why Choose Corn Husks for Your Next DIY Project?
Corn husks are an often-overlooked crafting material, yet they possess an incredible natural beauty and versatility. Beyond their primary use in the kitchen, these humble husks offer a sustainable and eco-friendly option for crafters. They are readily available, especially during the harvest season, and often come at little to no cost. Their unique texture, earthy tones, and surprising pliability when wet make them ideal for a range of projects, from decorative accents to intricate designs. Choosing corn husks for your wreath not only results in a charming, rustic aesthetic but also promotes sustainable crafting by repurposing agricultural byproducts that might otherwise go to waste.
The appeal of a corn husk wreath extends beyond its eco-conscious origins. It brings a touch of natural elegance and farmhouse charm to any space. Whether adorning your front door, gracing a mantelpiece, or serving as a centerpiece on a wall, a corn husk wreath evokes a sense of warmth and authenticity. It’s a timeless piece that beautifully complements various interior styles, from rustic and bohemian to even modern minimalist decor seeking an organic touch. The subtle variations in color and texture of the husks create a dynamic visual interest that manufactured materials simply cannot replicate, making each handmade wreath truly one-of-a-kind.
Gathering Your Materials for the Ultimate DIY Corn Husk Wreath
Before embarking on this delightful crafting adventure, it’s essential to gather all your supplies. While the process is straightforward, having everything at hand ensures a smooth and enjoyable crafting experience. Here’s what you’ll need for your DIY corn husk wreath:
- Dried Corn Husks: You can find these at most craft stores, specialty grocery stores, or even online. If you’re using fresh husks from corn cobs, you’ll need to dry them thoroughly first. Ensure you have a generous amount – it’s always better to have too many than too few.
- Wreath Base: A pool noodle is a fantastic, inexpensive, and lightweight option for your wreath form. Its flexibility allows for easy shaping. Alternatively, you can use a straw wreath form, foam wreath, or even a wire wreath frame, depending on your preference and the desired weight of your final product.
- Strong Adhesive: A reliable hot glue gun and plenty of hot glue sticks are indispensable. Hot glue provides a quick and secure bond, which is crucial for attaching the husks firmly.
- Scissors: For trimming husks and ribbon.
- Tape: Strong duct tape or electrical tape for securing the ends of the pool noodle.
- Ribbon or Twine: For hanging your finished wreath. Choose a material and color that complements your decor style.
- (Optional) Coloring Agents: If you wish to add color to your husks, consider RIT fabric dye (highly recommended for best results), craft acrylic paints, or even natural dyes.
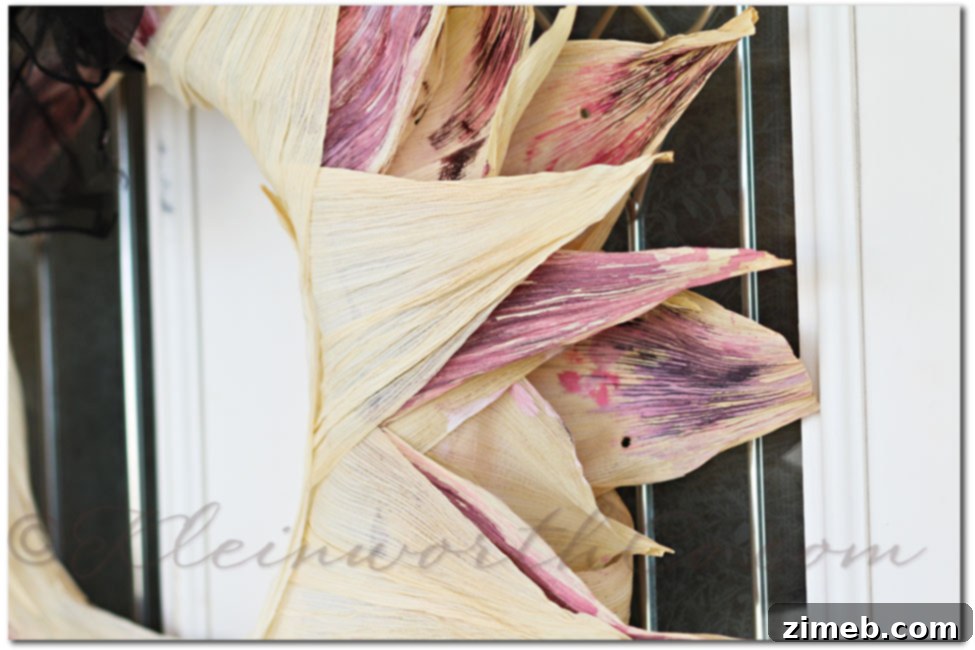
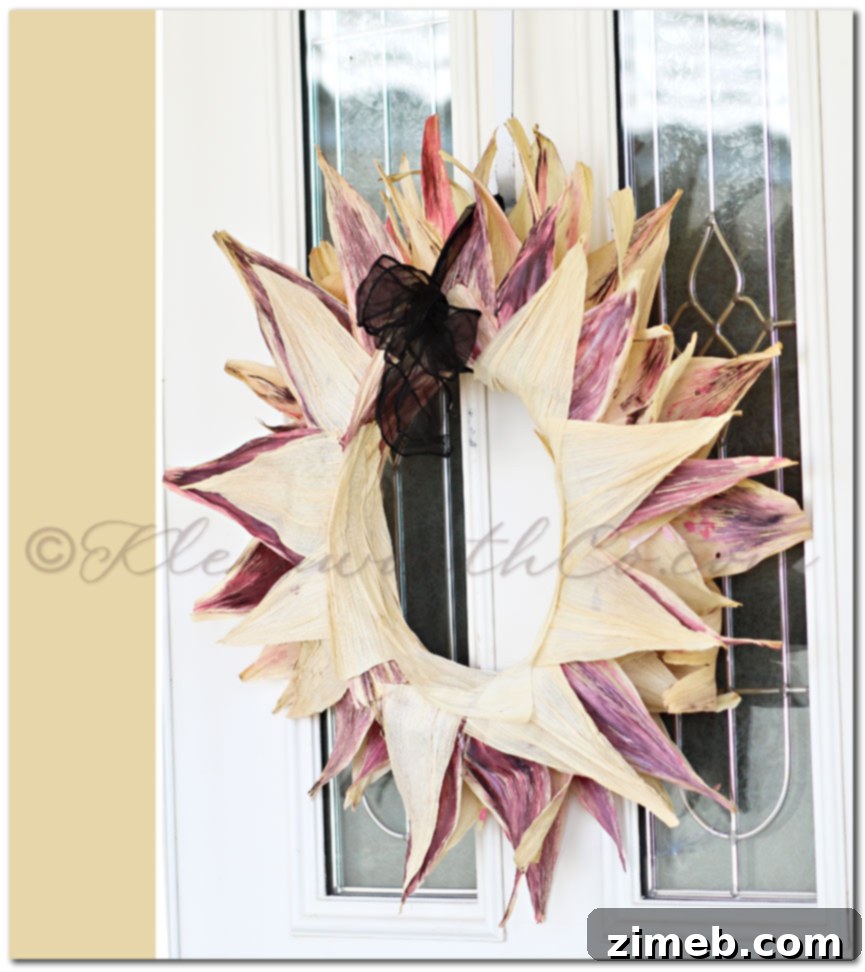
Step-by-Step Instructions: Crafting Your Rustic Corn Husk Wreath
Follow these detailed steps to create a beautiful and long-lasting corn husk wreath that will impress your guests and add a touch of handmade charm to your home.
1. Prepare Your Wreath Base: Begin by taking your pool noodle. Carefully bend it into a circular shape, bringing the two ends together. Once you have a perfect circle, securely tape the ends together using strong duct tape or electrical tape. Wrap the tape several times to ensure the form is stable and will hold its shape. The pool noodle makes an excellent base as it’s lightweight, flexible, and provides a good surface for the husks to adhere to.
2. Prepare the Corn Husks: This is a crucial step for achieving a beautiful and pliable wreath. Separate your dried corn husks and place them in a large basin or bathtub filled with warm water. Allow them to soak for at least 20-30 minutes, or until they become soft, pliable, and easy to work with. Soaking prevents the husks from cracking when bent and makes them much easier to shape around the wreath form. Once softened, remove them from the water and gently pat them dry with a towel, removing excess moisture but leaving them damp enough to remain flexible.
3. Lay the Foundation – The Back of the Wreath: With your husks ready and your hot glue gun heated, you’ll start attaching the first layer. This initial layer forms the back of your wreath, so it doesn’t need to be perfectly pristine, as it will be hidden. Take a single softened corn husk. Apply several generous strips of hot glue along its wide, flat end. Carefully wrap this glued end around the pool noodle, covering approximately half of its circumference. Press firmly to ensure it adheres well. Continue this process all the way around your circular base, overlapping each husk slightly as you go. The goal here is to create a solid, even layer that completely covers the noodle on one side, forming a stable foundation for the decorative front layers.
4. Building the Front – Layering for Volume and Texture: Once the back is fully covered, turn your wreath over so the already adhered husks are now on the bottom, facing away from you. This exposes the side that will be the decorative front of your wreath. Begin adding more corn husks on this side in the same manner as before. Apply hot glue to the wide end of a husk and wrap it around the noodle. The key here is to start building layers, strategically placing husks to create fullness and dimension. Don’t be afraid to overlap significantly; this will give your wreath a rich, textured appearance.
5. Achieving Fullness and Hiding the Base: Continue the process of adding husks, working your way around the wreath. As you layer, ensure that you are overlapping the husks effectively so that no part of the underlying pool noodle remains visible. Manipulate the husks as you attach them, gently fanning them out or bending them slightly to create a natural, organic flow. Focus on building volume and achieving a lush, full appearance. The more layers you add, the more substantial and impressive your corn husk wreath will look. Step back occasionally to assess your progress and identify any sparse areas that need more husks.
6. Finishing the Inner Ring: To give your wreath a polished and professional finish, you need to cover the seams where the husks meet along the inside edge of the circle. Take several individual corn husks and apply hot glue along one side of each. Carefully adhere these husks to the inside ring of the wreath, positioning them so they neatly cover the raw edges and glued sections from your previous layers. This step creates a clean, uniform inner border and enhances the overall aesthetic appeal of your handmade creation.
7. Adding the Hanging Element: The final touch is to add your chosen ribbon or twine for hanging. Cut a length of ribbon that allows your wreath to hang at the desired level. Loop the ribbon around the top of your wreath and tie a secure knot or bow. To prevent the wreath from shifting or spinning, especially if it will be displayed outdoors where wind is a factor, you might consider adding a small dab of hot glue to secure the ribbon’s loop to the back of the wreath. While not strictly necessary for indoor display, it’s a helpful trick for maintaining perfect placement.
**Optional: Adding a Splash of Color to Your Corn Husks**
If you envision your corn husk wreath with more than just natural tones, adding color can elevate its design. Initially, I experimented with soaking husks in water and food coloring, but the results were often uneven and lacked the vibrant saturation I desired. The color absorption was inconsistent, leaving a patchy finish that wasn’t ideal for a refined look. For that particular project, I resorted to using paint, which offered more control over the intensity and coverage.
However, through further experimentation, I’ve discovered a superior method for achieving beautifully colored corn husks: RIT fabric dye. This product is a game-changer for natural fibers like corn husks. To use RIT dye, prepare a dye bath according to the package instructions, ensuring you have enough liquid to fully submerge your husks. Soak the softened husks in the dye bath for the recommended time, or longer for a more intense color. Once dyed, rinse them thoroughly under cold water until the water runs clear, then gently pat them dry and allow them to air dry completely. RIT dye provides rich, even coloration that truly transforms the husks, allowing you to customize your wreath for any season or decor theme, from vibrant autumn hues to subtle pastels or even striking bold colors.
Displaying and Maintaining Your Natural Masterpiece
Once your DIY corn husk wreath is complete and any coloring has dried, it’s ready to grace your home. Consider displaying it on your front door to welcome guests with its rustic charm, hanging it over a mantelpiece for a cozy focal point, or incorporating it into a gallery wall for an organic touch. While corn husk wreaths are quite durable, to ensure longevity, especially if colored, it’s best to display them in a sheltered area if outdoors, protecting them from direct heavy rain or prolonged intense sunlight which could fade colors or compromise the husks. A little care will keep your beautiful, handmade wreath looking splendid for seasons to come.
Creating this corn husk wreath has been a truly rewarding experience, proving once again the immense satisfaction that comes from stepping away from screens and engaging in meaningful, creative work. It’s more than just a decoration; it’s a tangible representation of mindful crafting and a reminder of the beauty found in simple, natural elements. I wholeheartedly encourage you to embark on this DIY journey. Not only will you end up with a stunning piece of natural home decor, but you’ll also discover the calming and joyful process of bringing a creative vision to life with your own hands.