
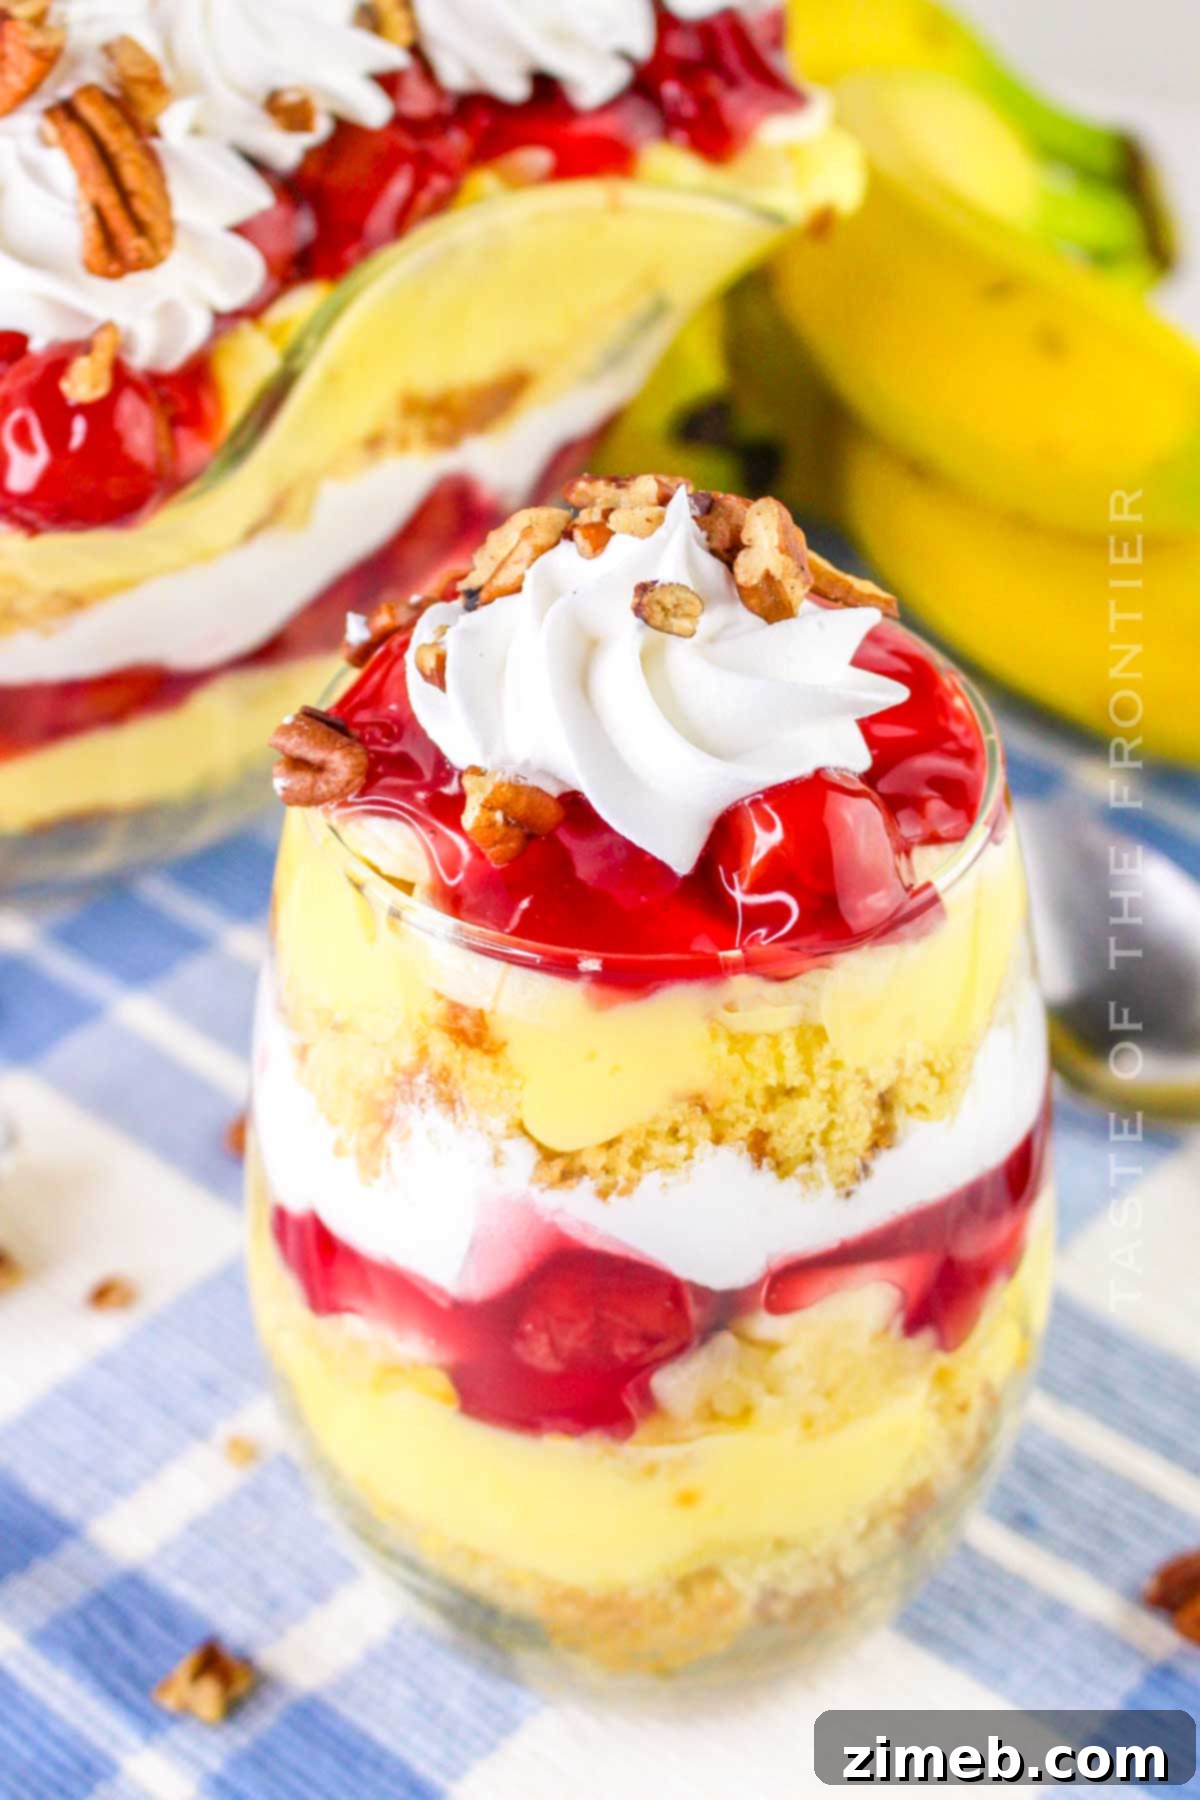
Welcome to the delightful world of the Classic Punch Bowl Cake! This incredible dessert features luscious layers of sweet cherry pie filling, juicy crushed pineapples, fresh sliced bananas, and a dreamy, fluffy whipped topping. It’s a dessert that not only looks absolutely fantastic but is also incredibly easy to prepare, making it a perfect year-round treat for any gathering. Imagine a dessert that effortlessly feeds a crowd, is simple to assemble, versatile enough for any occasion, visually appealing, and, most importantly, unbelievably delicious – that’s precisely what this Punch Bowl Cake offers.
At its heart, this beloved Southern classic combines vibrant fruit cocktails with creamy vanilla pudding, creating a perfectly balanced sweet and refreshing flavor profile. The soft cake cubes woven throughout add a satisfying texture that elevates each spoonful. If you’re searching for a go-to indulgent dessert that promises smiles and happy memories, your quest ends here.
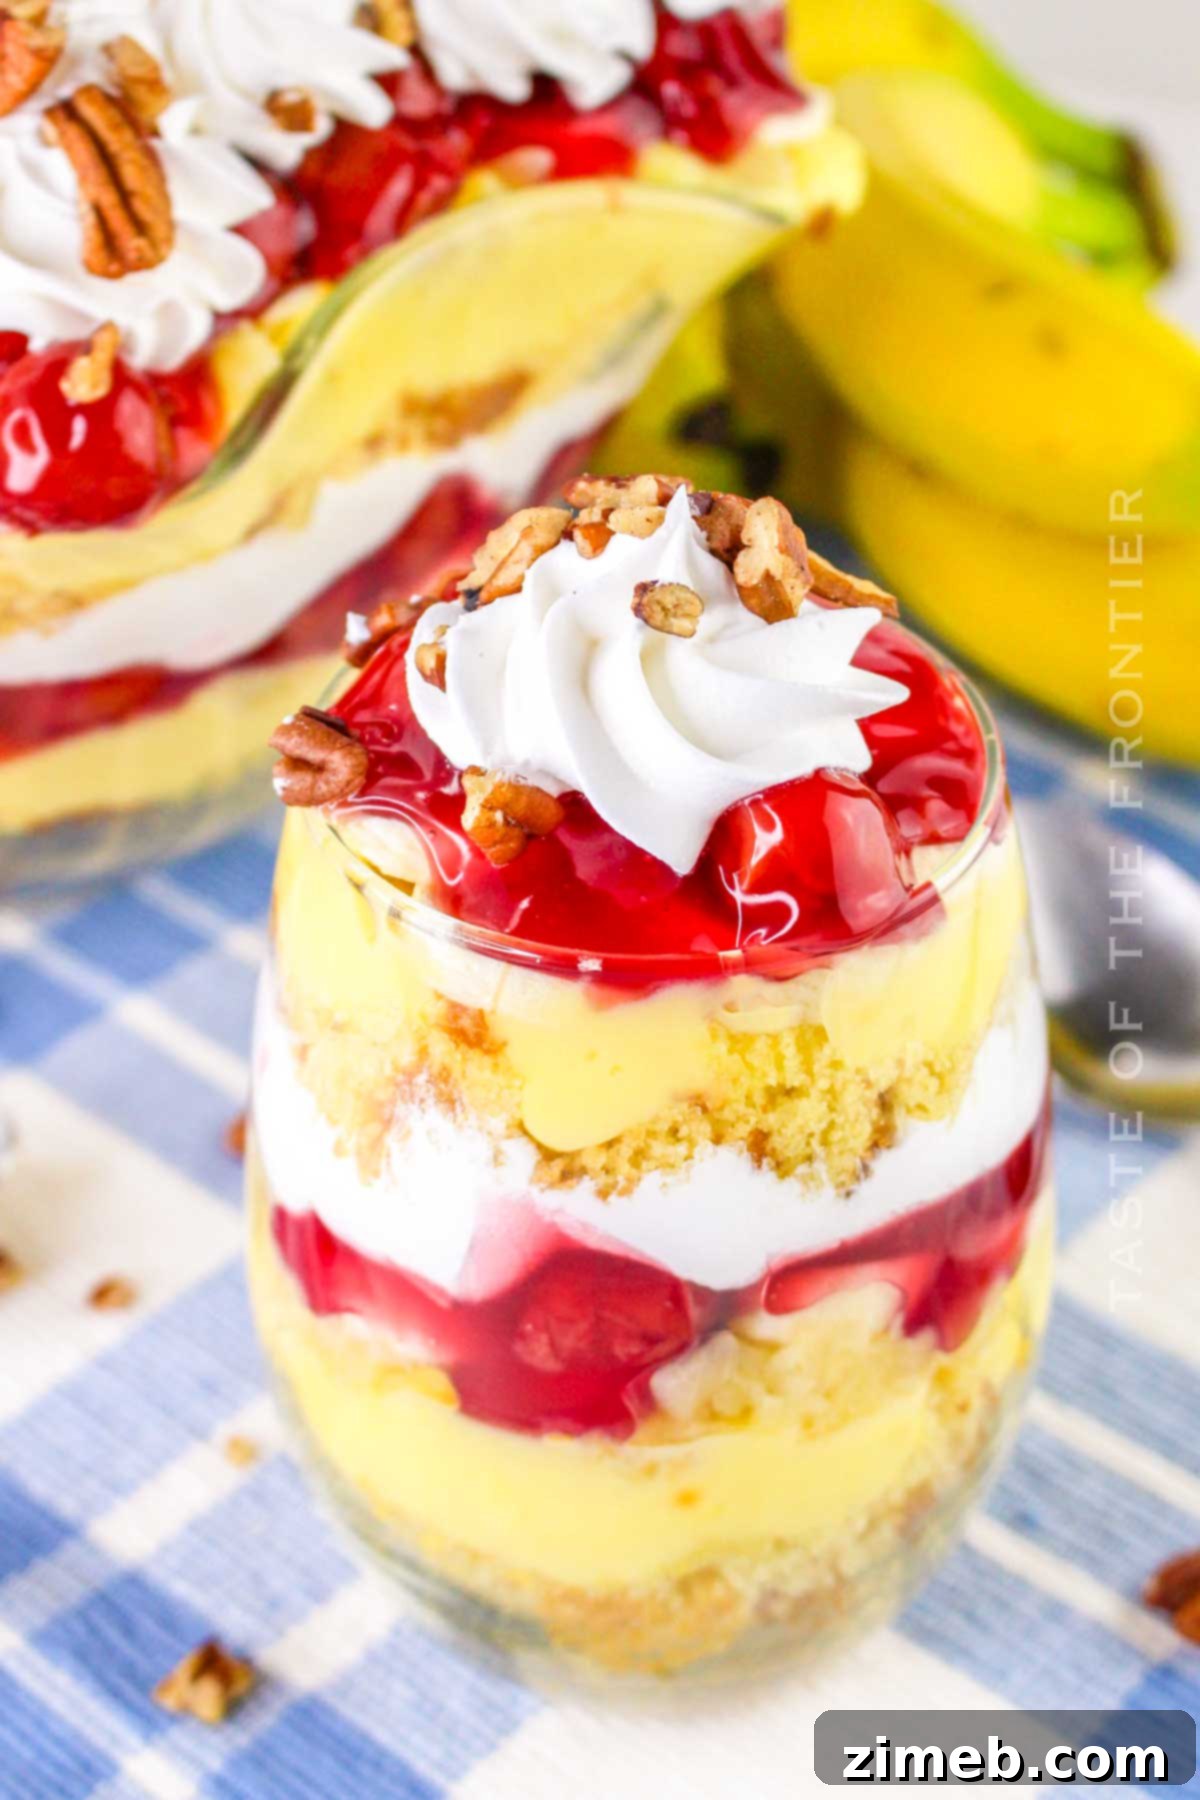
The Enduring Charm of Punch Bowl Cake: A Southern Tradition
My personal favorite rendition of this dessert is the classic Southern Punch Bowl Cake, featuring the timeless combination of sweet sliced bananas, tangy crushed pineapples, and rich cherry pie filling. It’s truly the creamiest and most delectable treat. What makes this recipe so remarkable is its exceptional versatility. Punch Bowl Cake is a canvas for your culinary imagination, easily customizable to suit any occasion, season, or personal preference. Whether you prefer a medley of fresh berries, decadent chocolate, or a tangy cream cheese layer, the possibilities are as endless as the number of layers you can create.
This recipe shines in its simplicity. It requires only common ingredients and a straightforward process, demanding minimal prep time and almost no baking. You can effortlessly whip up a spectacular sweet treat for your entire family without the usual kitchen fuss. Far from being a heavy, ordinary layered cake, this is a homemade bowl brimming with colors, flavors, and layers of pure fun! It’s an experience, a centerpiece, and a conversation starter all in one.
Common Questions About Punch Bowl Cake
Why Is It Called Punch Bowl Cake?
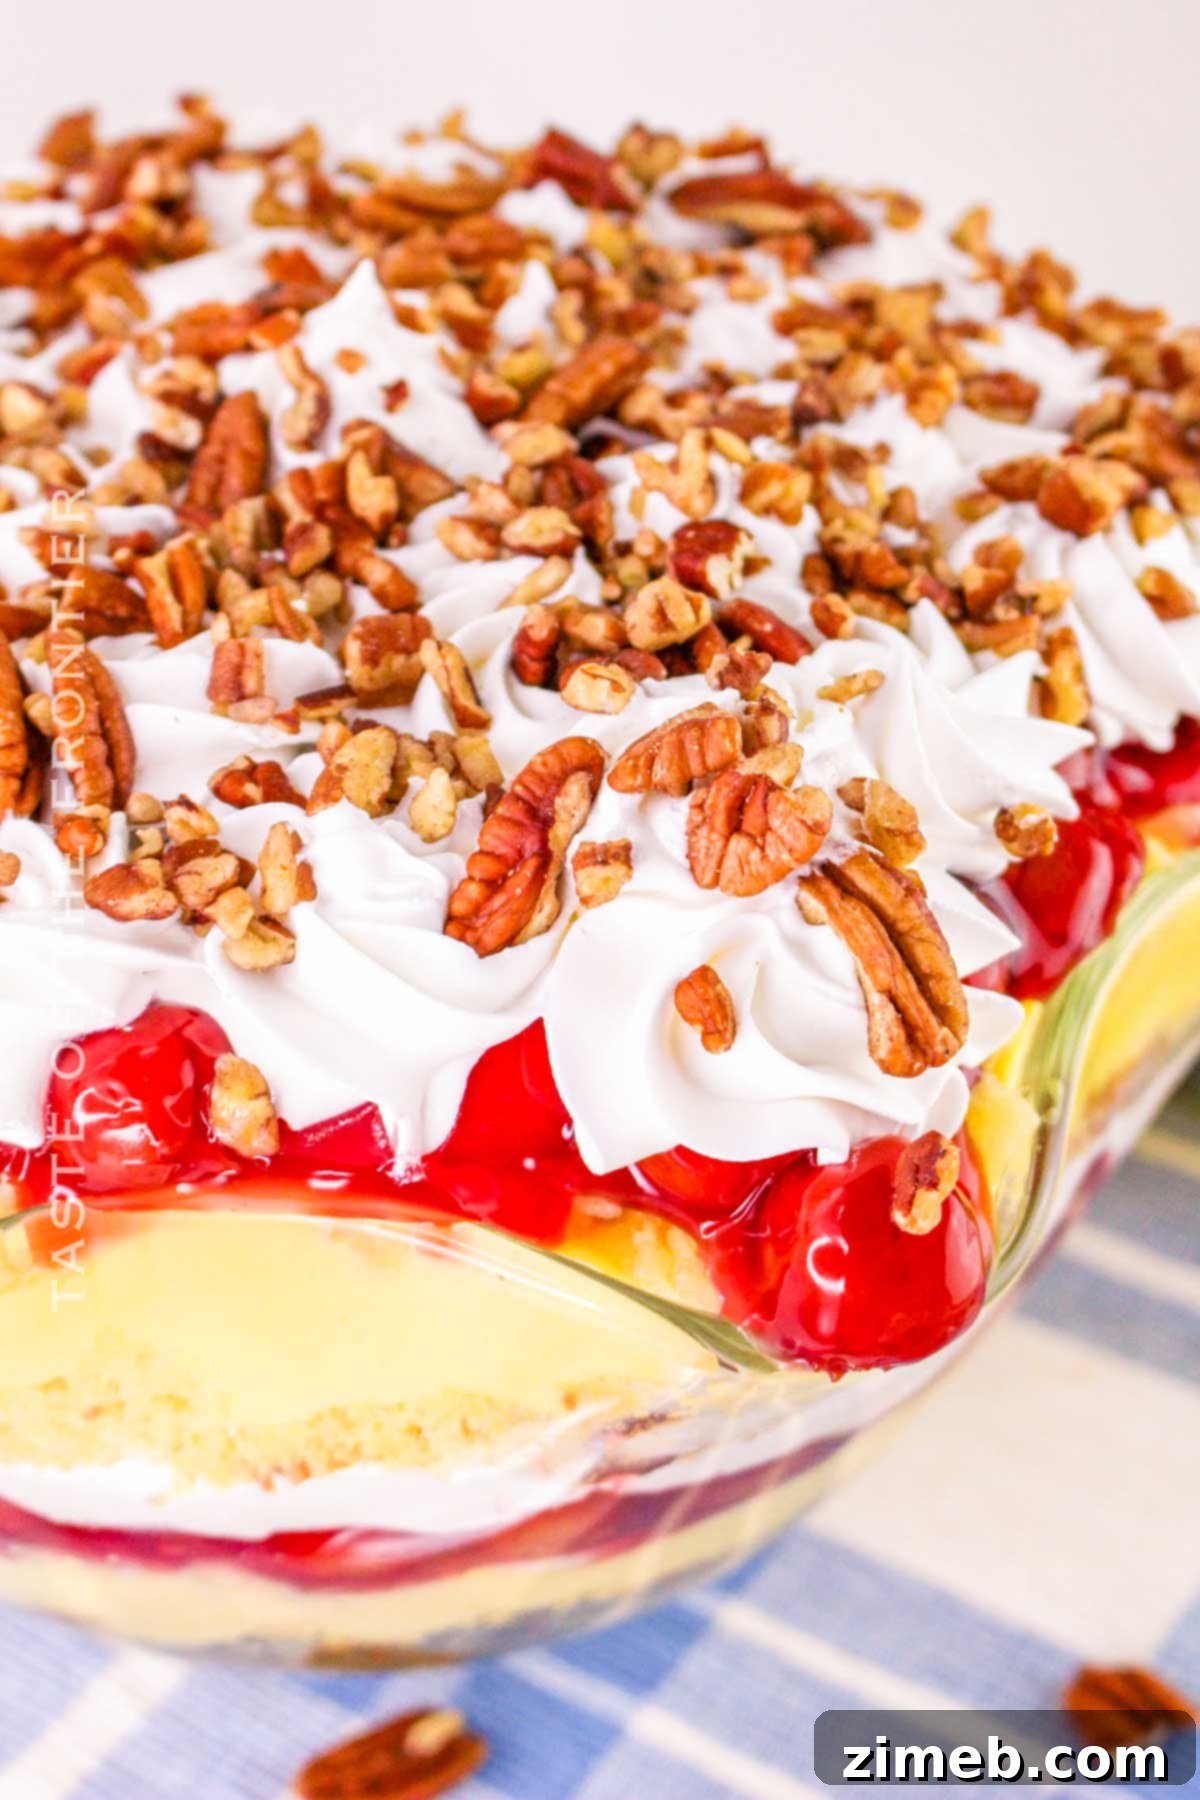
Often referred to as “cake in a bowl” or even an American version of a trifle, a Punch Bowl Cake gets its name quite literally from the traditional serving vessel: a large punch bowl. This light, layered dessert typically consists of cake pieces, often soaked in jello or custard, generously topped with fruits and pudding. The impressive presentation in a clear punch bowl allows each vibrant layer to shine, making it a stunning centerpiece that encourages guests to “go big or go home” when it comes to dessert.
Why You Will Love This Easy Layered Dessert
This Punch Bowl Cake is truly the ideal dessert for feeding a crowd or a large family. Beyond its delicious taste, making and serving this cake often evokes a sense of togetherness and family tradition. Picture a relaxed Sunday afternoon, where the entire family gathers, sharing stories, laughter, and a meal, before eagerly digging into this rich, layered cake with happy smiles. It’s a dessert that fosters connection and creates lasting memories.
The origins of its popularity can be traced back to the 1970s, when busy homemakers embraced new convenience products like cake mixes, ready-to-use puddings, and canned pie fillings. This innovation meant that instead of spending hours on elaborate baking and mixing, you could whip up a fantastic cake in no time, without compromising on taste or straining your budget. It’s a testament to clever shortcuts that yield incredible results.
Many families cherish their own unique Punch Bowl Cake recipes, passed down through generations. These recipes become staples at parties, holiday celebrations, summer barbecues, picnics, potlucks, and family reunions, embodying tradition and joyous occasions. Its ease and crowd-pleasing nature ensure its continued legacy.
How Many People Can This Recipe Serve?
One of the greatest advantages of a Punch Bowl Cake is its capacity to serve a substantial number of guests. It’s a genuine crowd-pleaser, perfect for events where you need to feed many mouths while leaving ample room for dessert. Depending on the size of the portions, a single recipe typically yields between 12 to 15 generous servings, making it suitable for a large party or for a big family to enjoy over several days.
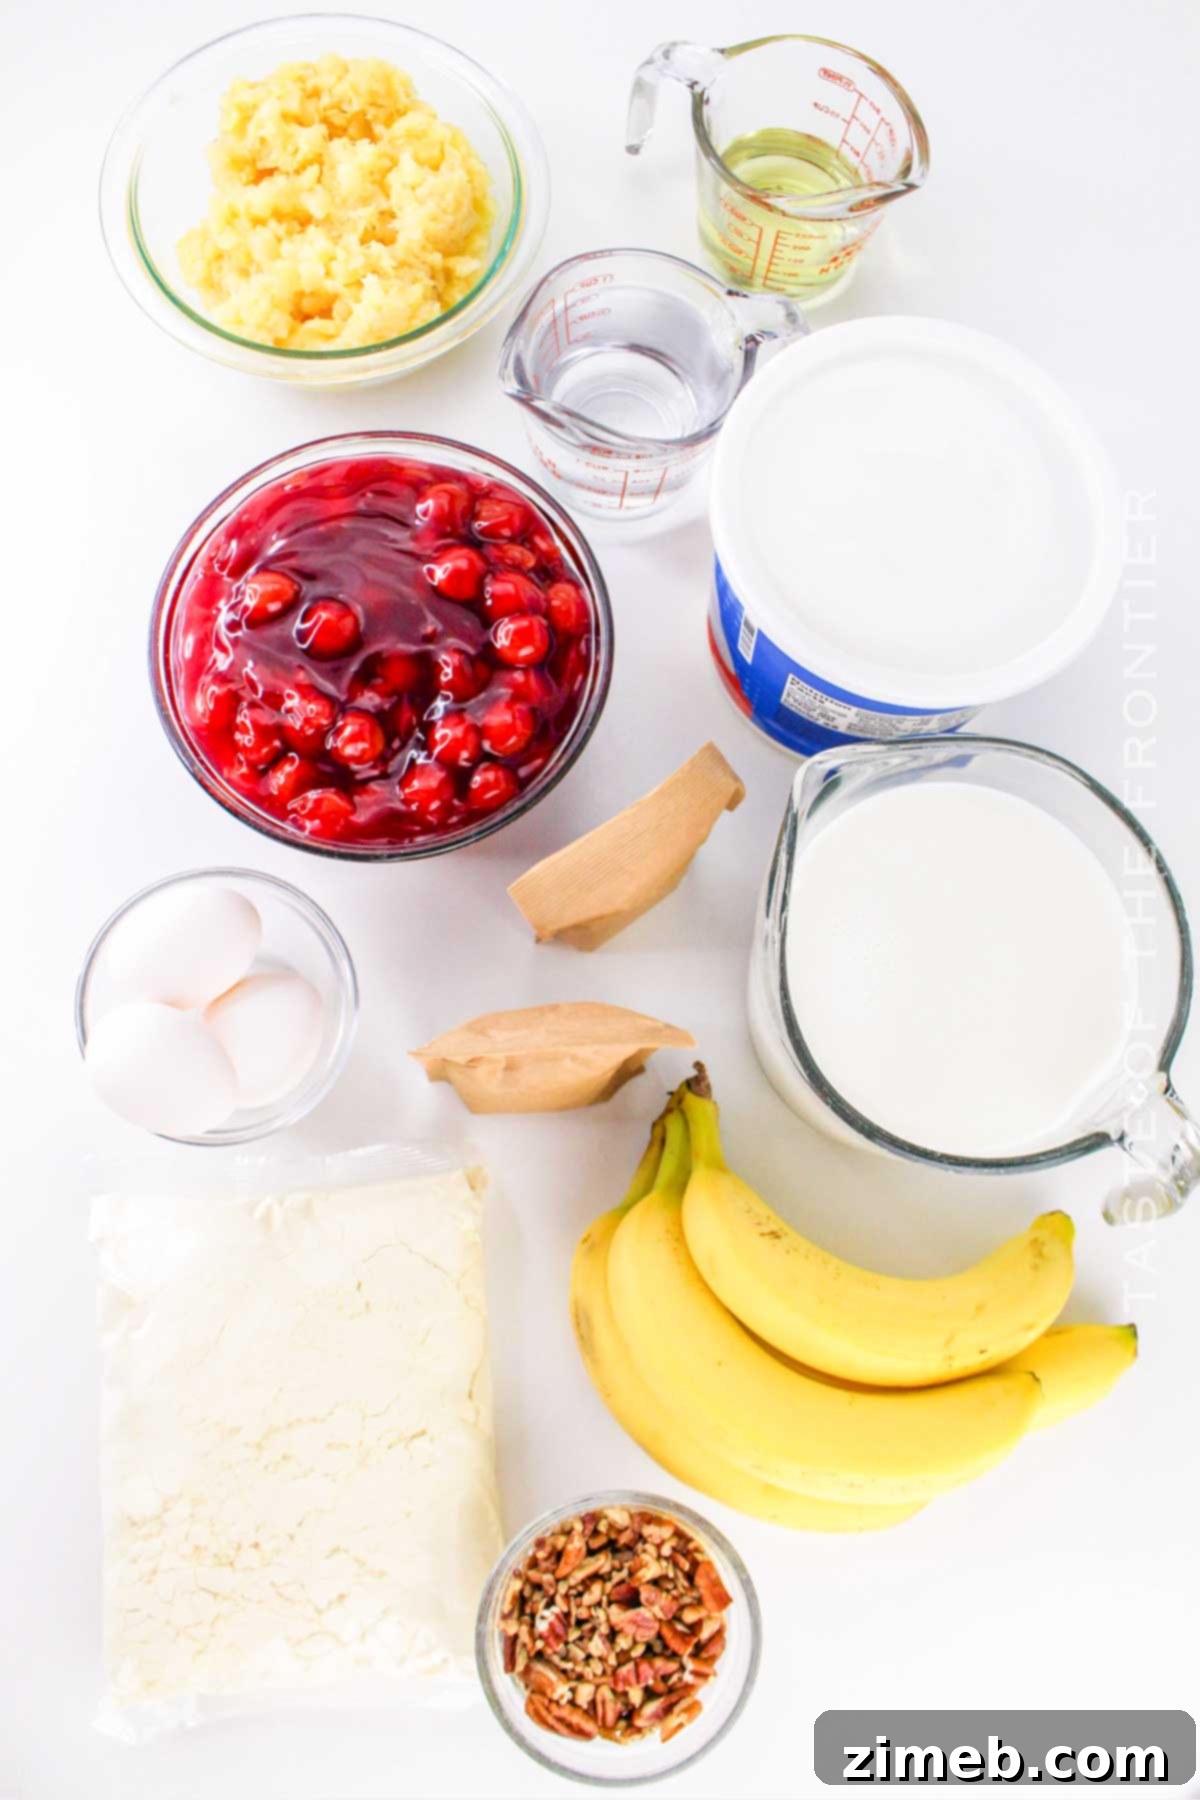
Main Ingredients for a Classic Punch Bowl Cake
Assembling this cake is remarkably quick and easy, requiring only simple ingredients you likely already have on hand. The beauty of this recipe also lies in its adaptability; feel free to customize the fruit mix to your heart’s desire. Here’s a breakdown of the key components and some ideas for substitution:
- Cake Base – The cake cubes are essential for adding a delightful texture between the soft layers of fruit and pudding. For a large punch bowl cake, a single box of yellow cake mix is usually perfect. You can also opt for white cake mix, pound cake, or even angel food cake for a lighter option.
- Fruit Medley – While the classic combination of crushed pineapple, ripe bananas, and cherry pie filling is truly exceptional, the fruit layer is incredibly versatile. Some prefer to omit bananas, or use vibrant Maraschino cherries instead of a pie filling. For simplicity and convenience, I typically use canned crushed pineapples, fresh sliced bananas, and canned cherry pie filling. Feel free to use your favorite fresh or canned fruits.
- Pudding – Instant vanilla pudding mix works wonders in this recipe. It’s sweet, flavorful, and crucial for keeping the cake layers moist and decadent. You can use any brand of instant pudding, like Jell-O, or even prepare a homemade custard if you have the time and inclination for an extra special touch. Chocolate or butterscotch pudding can also be fantastic alternatives.
- Whipped Topping – A universal favorite, this light, silky, and sweet topping adds a cloud-like finish to your cake. Ensure you use a whipped topping with at least 35% fat for the best texture and stability. Store-bought frozen whipped topping, once thawed, is incredibly convenient.
- Topping – I adore sprinkling chopped pecans on top; they add a delightful crunch and nutty flavor. Lightly toasting them beforehand enhances their aromatic qualities. However, any of your favorite nuts—walnuts, almonds, or even macadamias—would be delicious. For a nut-free option, consider shredded coconut or chocolate shavings.
For exact measurements and detailed quantities, please refer to the recipe card below.
Best Flavor Variations for Your Punch Bowl Cake
The customizable nature of Punch Bowl Cake means you can endlessly experiment with flavors to suit any palate or occasion:
- Old-Fashioned Classic (Our Family Favorite): Layers of fresh bananas, sweet cherries, and crushed pineapple, all topped with crunchy pecans or walnuts. This combination offers a nostalgic, comforting taste that’s hard to beat.
- Patriotic Berry Delight: For a vibrant and festive dessert, particularly for holidays like the 4th of July, layer fresh or canned strawberry and blueberry pie fillings. Pair these with crushed pecans, toasted coconut flakes, or sliced almonds for a stunning red, white, and blue dessert. Fresh blueberries also make a beautiful garnish.
- Sweet-and-Sour Pineapple Strawberry: Create a delightful contrast with the tangy sweetness of pineapples and fresh strawberries. This pairing beautifully complements vanilla pudding and a topping of your favorite chopped nuts.
- Decadent Chocolate Punch Bowl Cake: For chocolate lovers, swap the yellow cake mix for chocolate cake and vanilla pudding for chocolate pudding. If you enjoy a Black Forest cake profile, retain the cherry pie filling. Finish with any nuts, fresh strawberries, or an abundance of chocolate chips.
- Extra Indulgence: To truly elevate your cake, consider adding crushed Oreo cookies or Reese’s peanut butter cups between layers for an irresistible twist.
- Rich Chocolate Orange Fusion: This sophisticated combination features rich chocolate cake and fresh, zesty oranges. For an exquisite topping, try orange segments dipped in dark chocolate.
- Adult-Only Version: For a grown-up treat, soak the baked cake cubes in your favorite alcohol. Rums, amaretto, tequila, bourbon, or flavored liqueurs work exceptionally well, adding a subtle kick to the dessert.
- Fall-Inspired Harvest Cake: Perfect for Thanksgiving or other autumn gatherings, create a comforting cake with apple pie filling, spiced cake, and a generous topping of chopped walnuts or candied pecans. A hint of cinnamon in the cake or pudding would be divine.
- Pudding Play: Don’t limit yourself to vanilla or chocolate pudding. Explore lemon pudding (fantastic with blueberries!), white chocolate pudding, or even cheesecake-flavored pudding for unique twists.
Honestly, whether you use canned, frozen, or fresh fruits and berries, you can’t go wrong. I’ve yet to encounter a “bad” punch bowl cake!
Essential Kitchen Equipment You’ll Need
Gathering the right tools before you begin ensures a smooth and enjoyable baking experience. Here’s what you’ll need for your Punch Bowl Cake:
- Large Punch Bowl: This is where the magic happens! A spacious punch bowl is ideal for assembling and showcasing the beautiful layers. If you don’t have one, a large serving bowl or a classic trifle bowl will work just as well.
- 9×13 Baking Dish: This is the only item required for baking in this recipe. Its standard size is perfect for creating a cake layer that can be easily cut into cubes.
- Medium-Sized Mixing Bowls: You’ll need a couple of these – one for preparing the cake batter and another for whisking the pudding mix.
- Hand Mixer: While not strictly essential, a hand mixer makes quick work of combining the cake base ingredients thoroughly and can speed up the pudding preparation.
- Strainer and Small Bowl: These are crucial for properly draining canned fruits like pineapple, ensuring your cake layers don’t become soggy from excess liquid.
How to Make the Perfect Punch Bowl Cake
This recipe is a foolproof guide to an effortless dessert that will taste just like Grandma or Mom used to make. The process primarily involves simple mixing and layering, so you don’t need any fancy baking or decorating skills. The total hands-on preparation time is typically a quick 20-30 minutes.
Step 1: Prepare the Cake Layer
- Begin by preheating your oven to 350°F (175°C). Lightly grease and flour a 9×13 inch baking dish, or coat it with nonstick cooking spray, to prevent sticking.
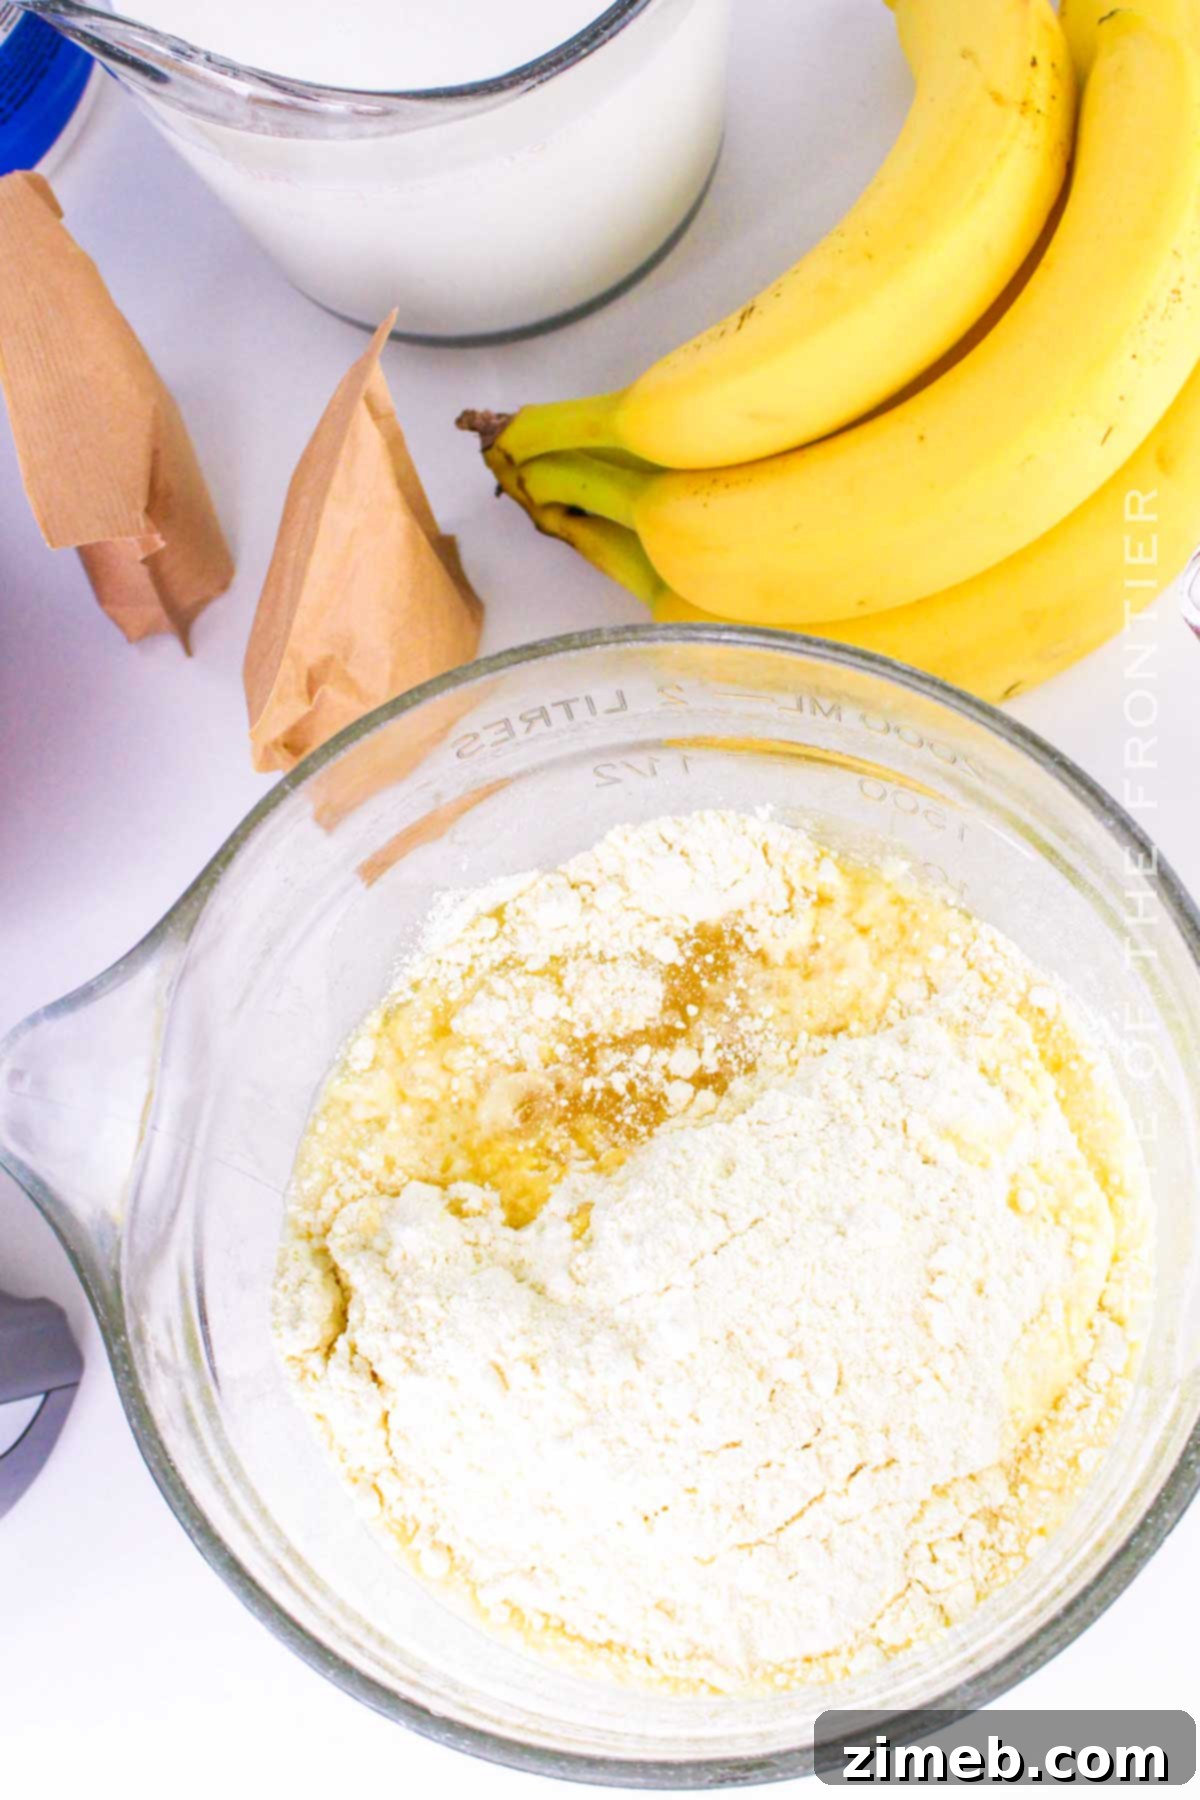
- In a large mixing bowl, combine the yellow cake mix, water, vegetable oil, and eggs. Use a hand mixer to blend these ingredients until they are well combined and smooth, scraping down the sides of the bowl as needed to ensure everything is incorporated. Always refer to your cake mix package directions if you have any doubts.
- Pour the prepared cake batter evenly into your greased baking dish.
- Bake for approximately 25 minutes, or until a toothpick inserted into the center of the cake comes out clean, indicating it’s fully cooked.
- Once baked, remove the baking pan from the oven and place it on a wire rack to cool completely. This step is vital to prevent the cake from crumbling when cut.
Step 2: Prepare The Pudding Layer
- While the cake is baking and cooling, prepare your pudding. In a mixing bowl, combine the instant vanilla pudding mix with the very cold milk. Whisk continuously until the pudding thickens to your desired consistency.
Tip: To expedite the thickening process, use a hand mixer set to medium speed and mix for about 2 minutes. If you have a particularly sweet tooth, you can add a can of sweetened condensed milk to the pudding mixture along with the regular milk, adjusting the amount of regular milk to maintain the correct consistency (e.g., replace one cup of regular milk with the condensed milk).
Step 3: Assemble The Cake in Layers
To create beautifully defined layers, plan by dividing your pudding, fruits, and cake cubes into equal portions based on how many layers you intend to create. This recipe is designed to make two generously thick layers of each component.
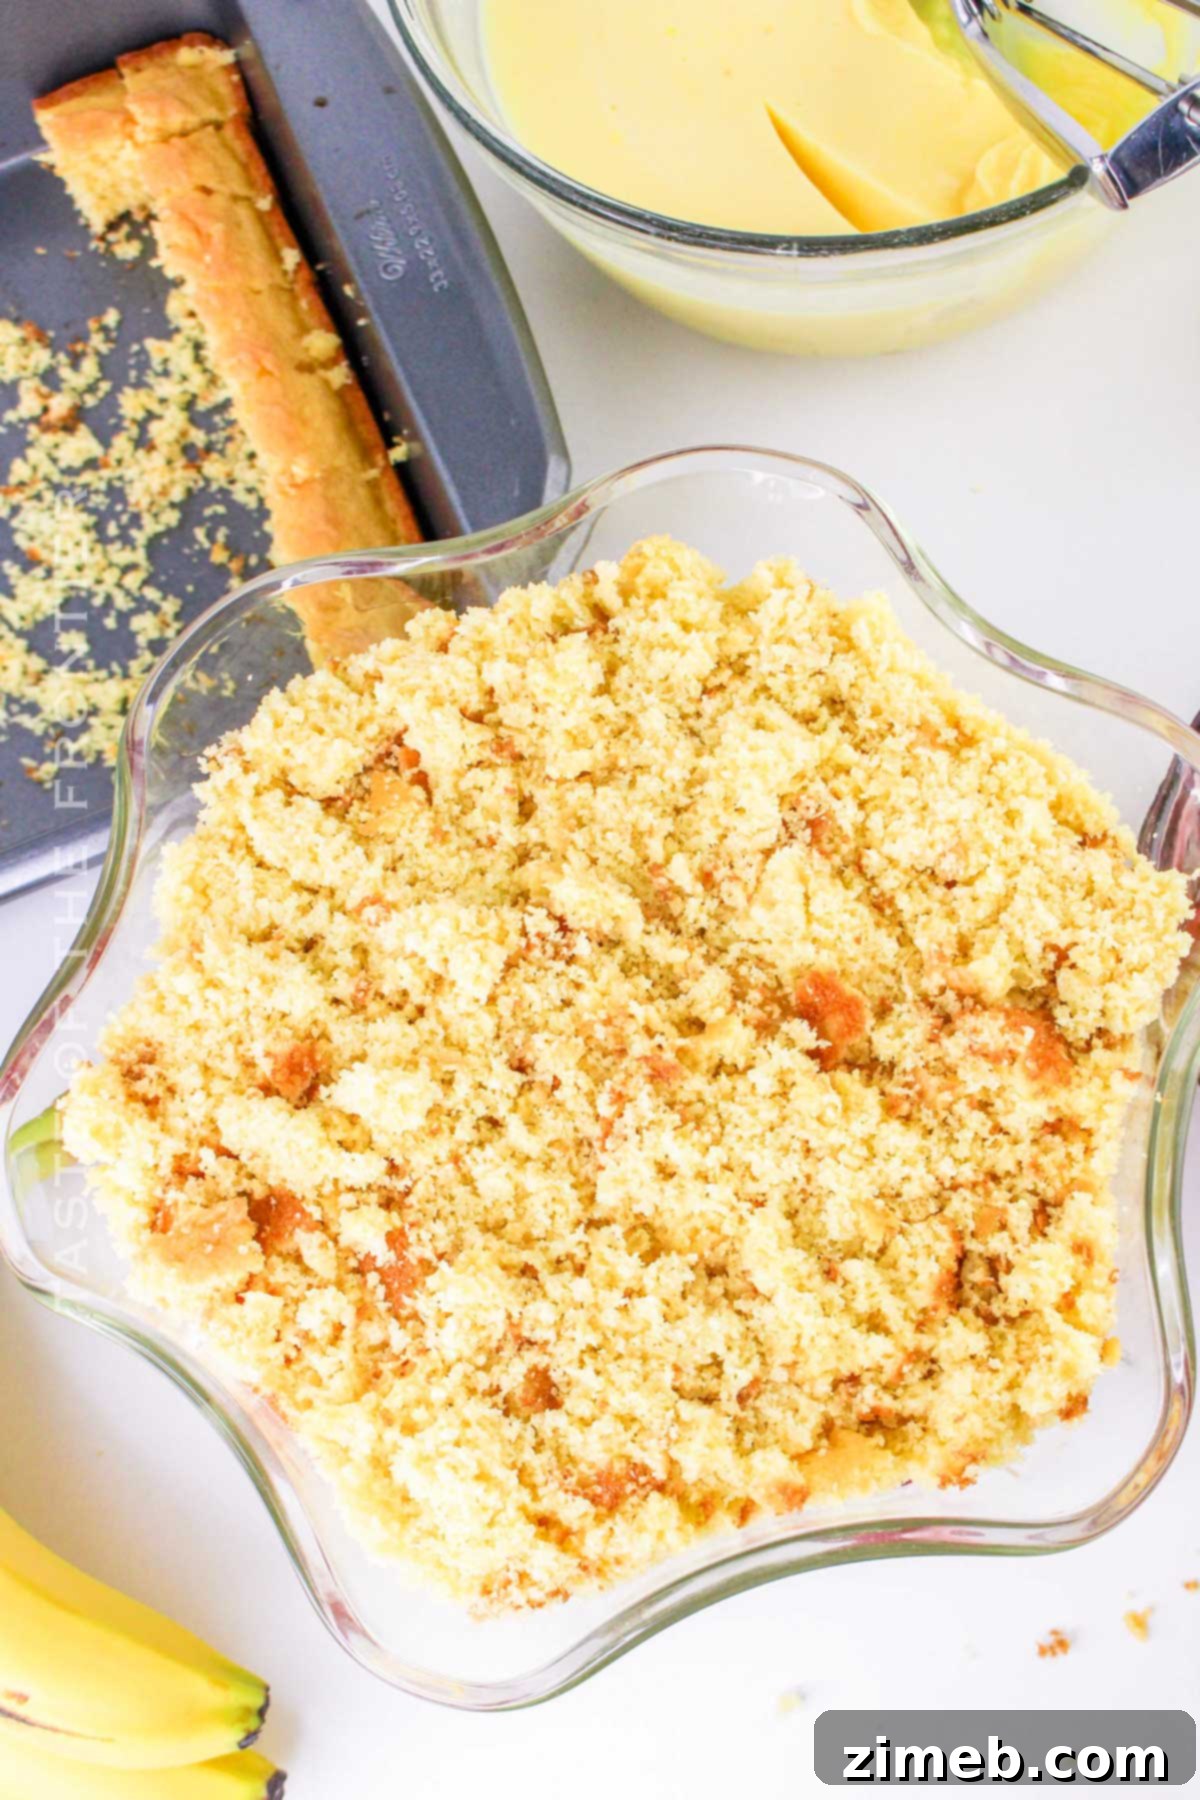
- Once the cake has cooled completely, cut it into bite-sized pieces, aiming for roughly 1-inch cubes. Precision isn’t necessary; roughly torn pieces work too!
- Take half of the cake cubes and crumble them gently, then press them into an even layer at the bottom of your punch bowl. This forms the foundational layer.
- Carefully spread half of the prepared vanilla pudding mixture evenly over the cake layer, ensuring it reaches the edges.
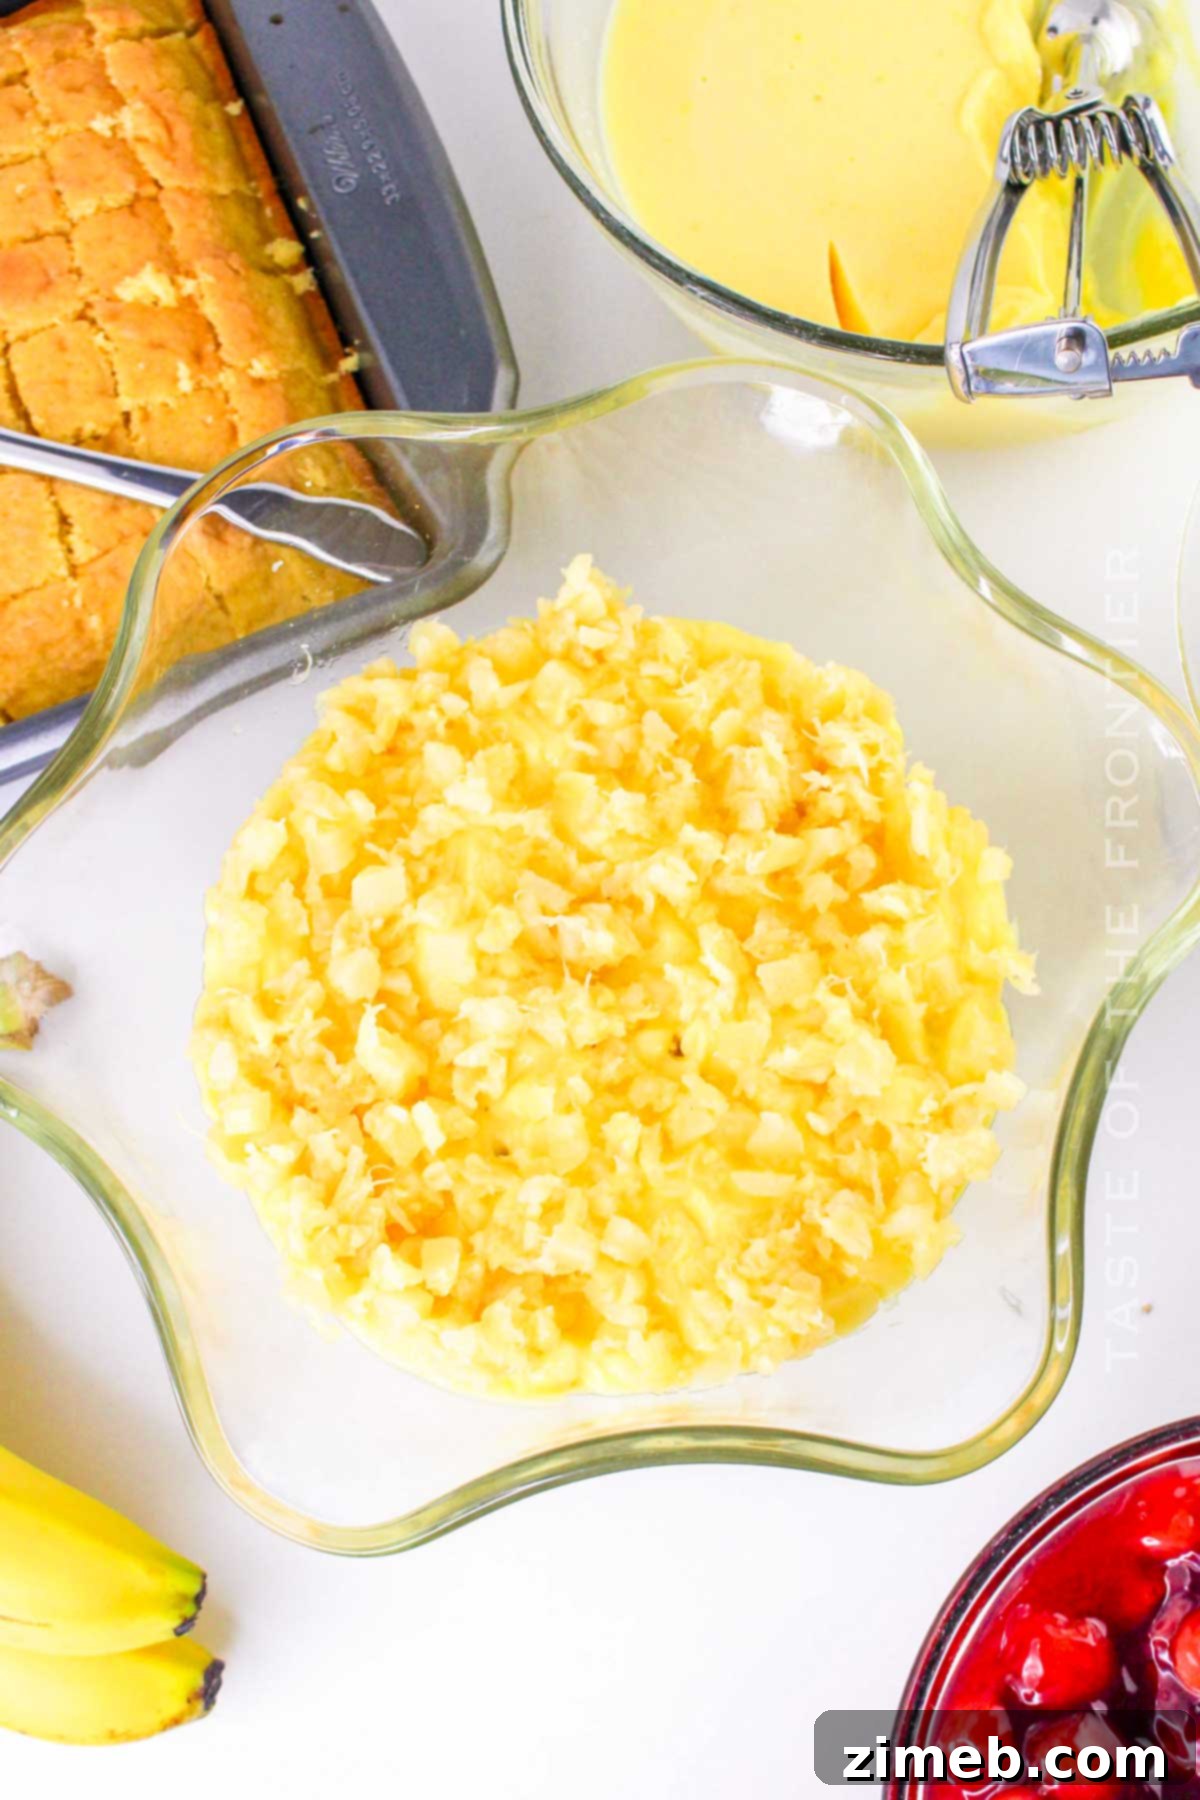
- Drain the crushed pineapples thoroughly. Place a strainer over a bowl and use a spatula to press and fold the pineapples, releasing all excess juice. This prevents a watery cake.
- Spoon half of the well-drained pineapple evenly on top of the pudding layer.
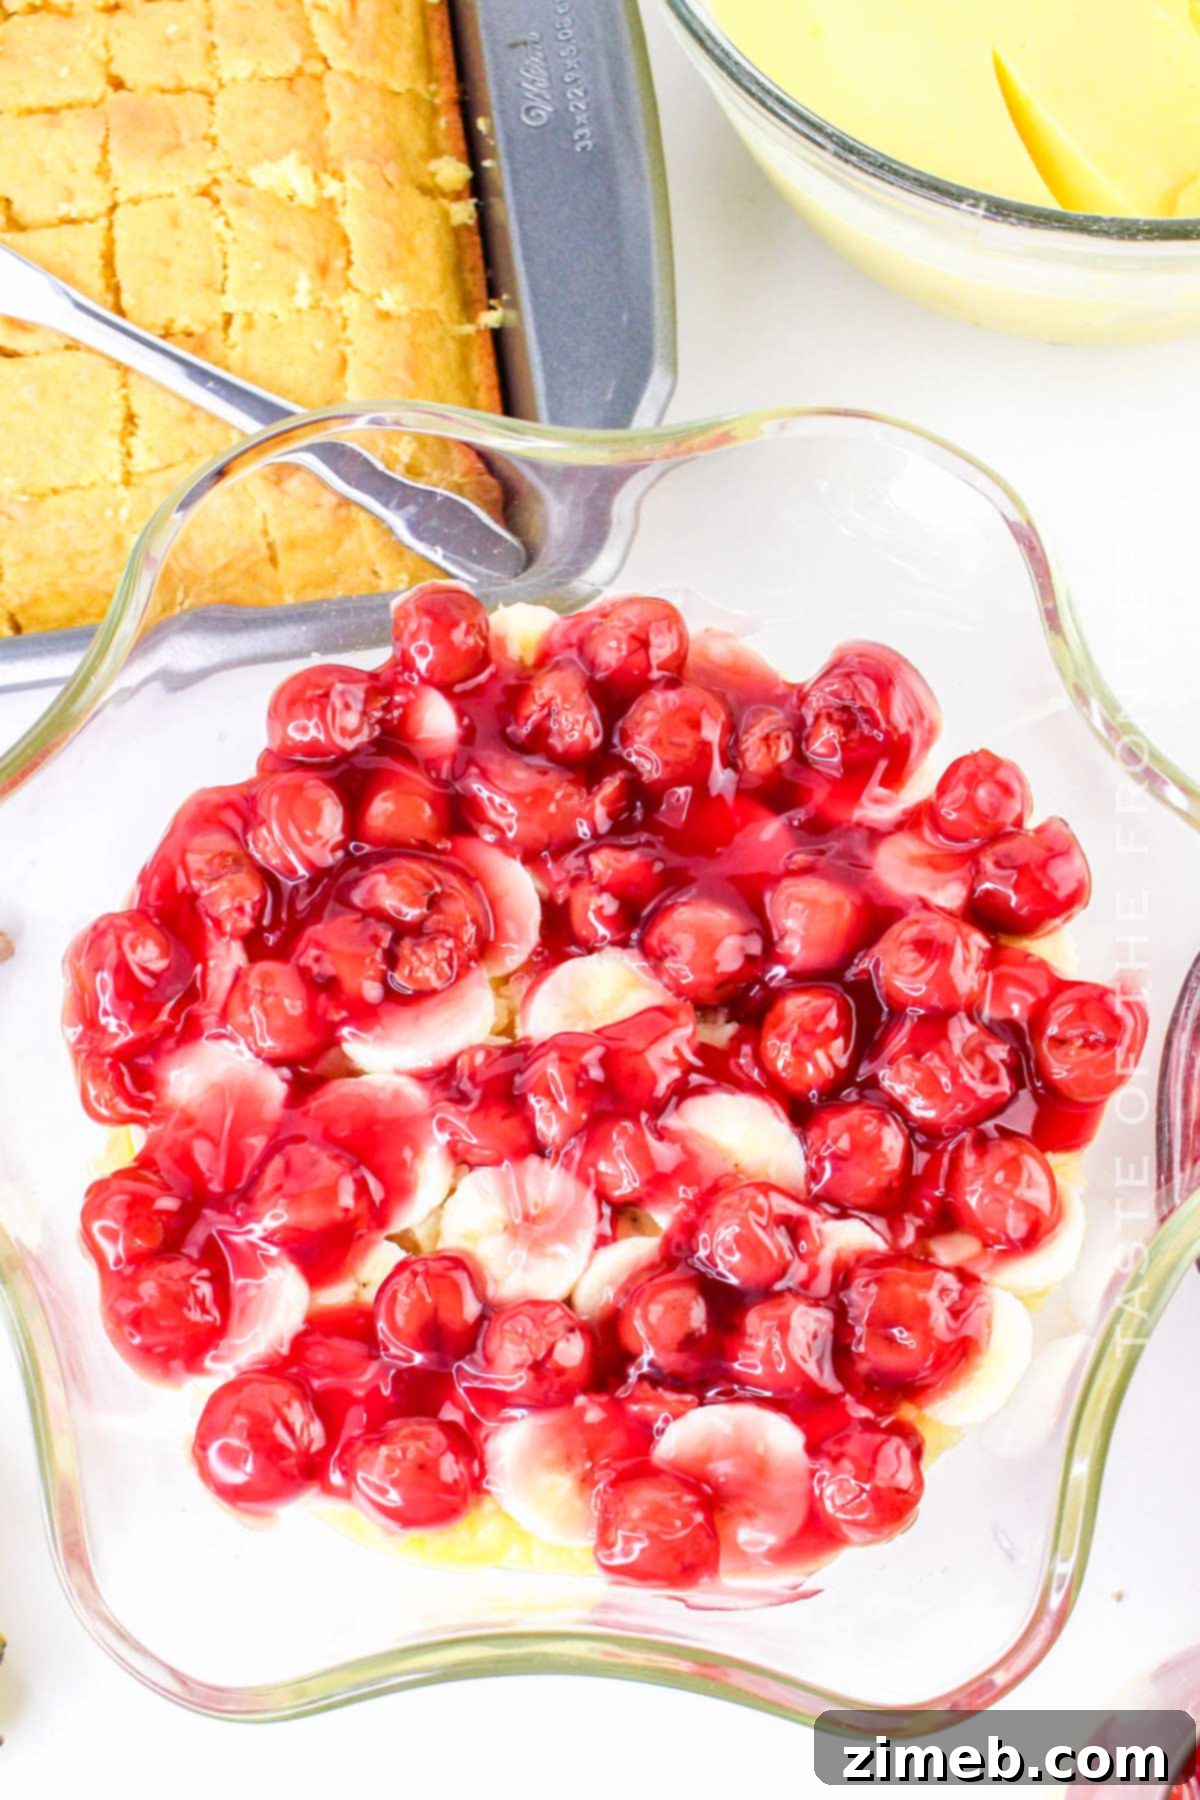
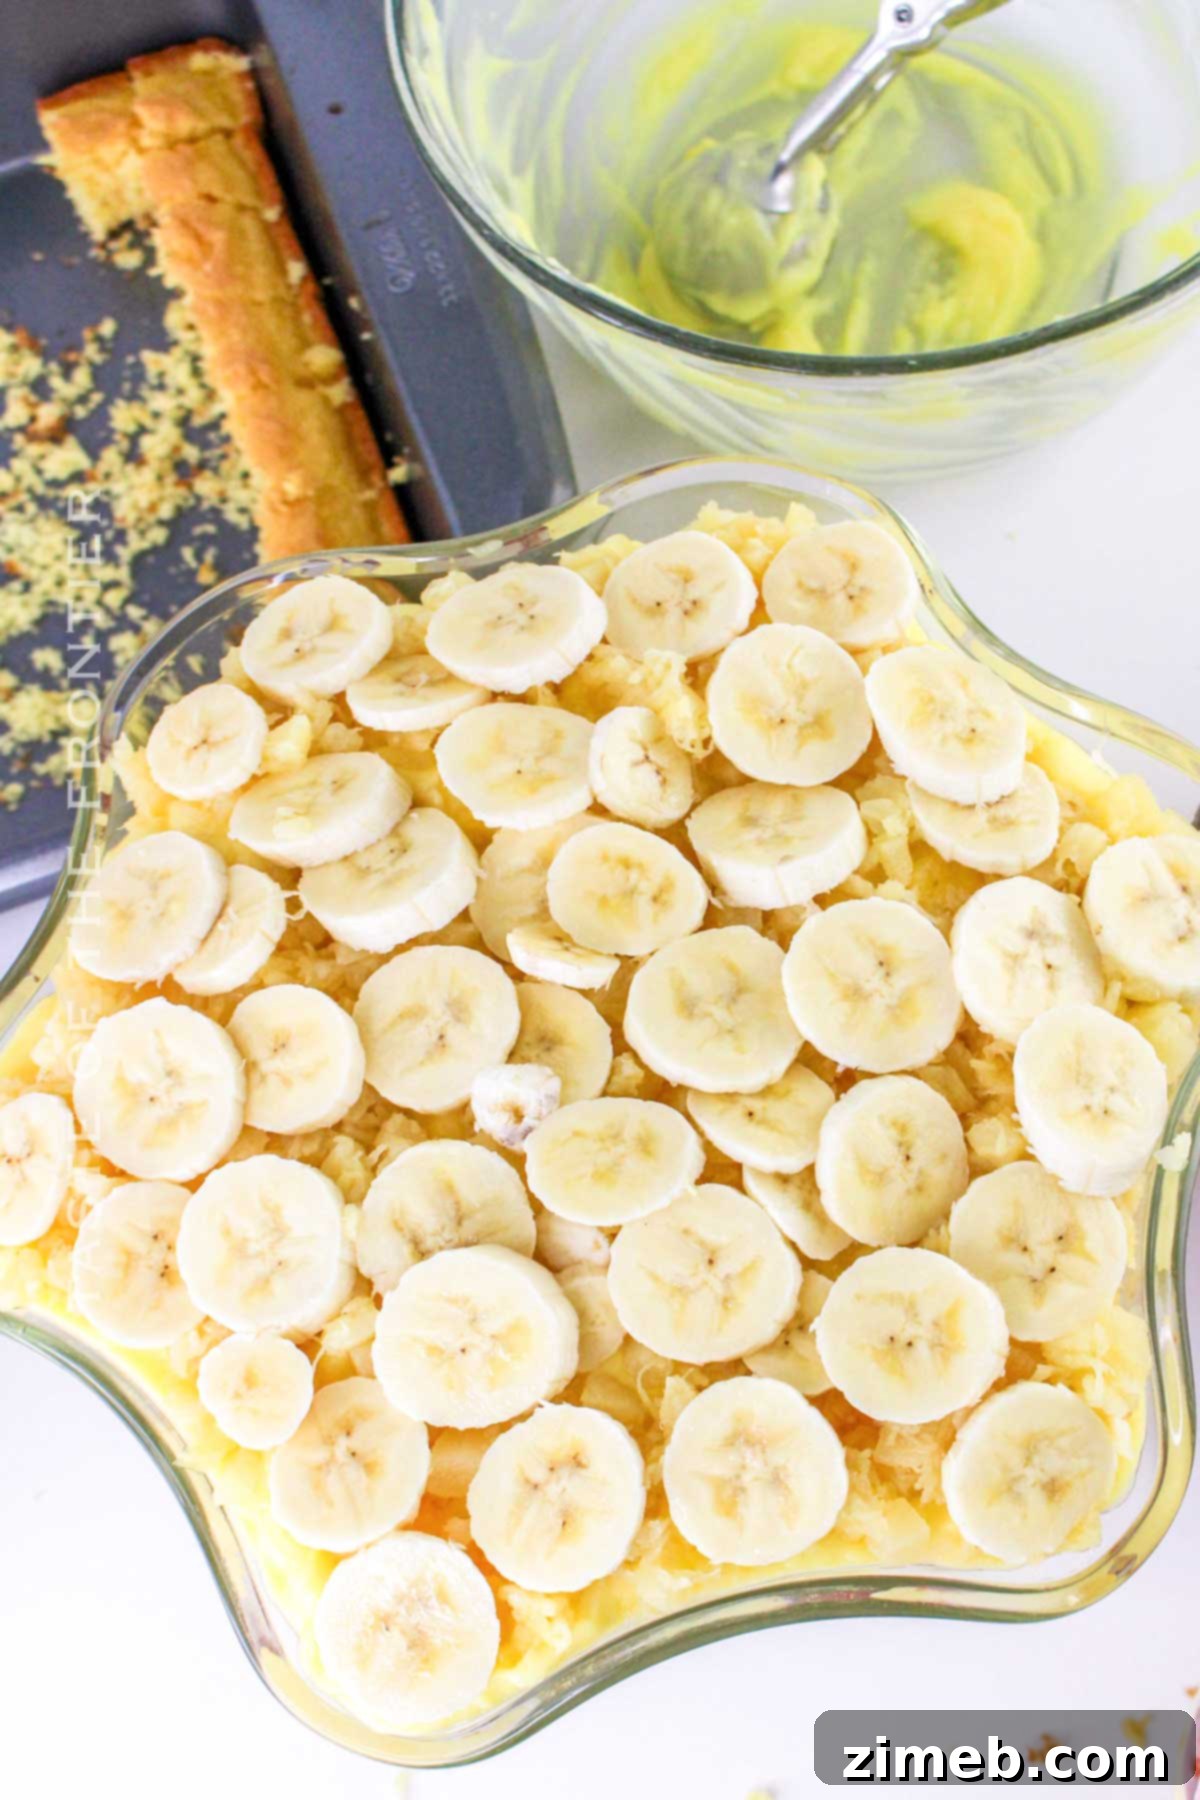
- Slice your bananas and arrange half of the sliced bananas in a single, even layer over the crushed pineapple.
- Gently spread half of the cherry pie filling over the bananas, striving for an even distribution.
- Finally, top the cherry pie filling with half of the thawed whipped topping, smoothing it out for a pristine finish.
- Repeat all these layering steps with the remaining cake cubes, pudding, pineapple, bananas, cherry pie filling, and whipped topping.
- Sprinkle the chopped pecans evenly over the top layer of whipped topping for added crunch and flavor.
- Cover the punch bowl with plastic wrap and refrigerate for at least 2 hours before serving. The cake tastes absolutely best when thoroughly chilled, allowing all the flavors to meld beautifully.
What to Serve With Punch Bowl Cake
A Punch Bowl Cake is a magnificent dessert that truly shines on its own, a complete delight in every spoonful. However, if you’re looking to elevate the experience, a scoop of creamy vanilla ice cream makes a phenomenal accompaniment. The coolness and smooth texture of the ice cream beautifully complement the fruit and cake layers.
For beverage pairings, a cup of your favorite tea or coffee provides a warm contrast to the chilled dessert. Alternatively, fresh fruit juices or smoothies offer a refreshing complement. Personally, when I make this at home, I often pair it with a large, comforting cup of hot chocolate, especially on a cooler evening.
To enhance the visual appeal or add an extra touch of flavor, if you opted out of pecans for the topping, consider garnishing with bright red maraschino cherries. These vibrant cherries not only add a pop of color but also a classic touch that makes the cake a true centerpiece.
Making Your Punch Bowl Cake Ahead of Time
One of the many benefits of the Punch Bowl Cake is its suitability for make-ahead preparation. While the hands-on prep and cook time are minimal, the cake greatly benefits from a proper chilling period of anywhere from 2 to 8 hours, or even overnight. This extended chilling allows all the flavors to fully meld together and the layers to set beautifully, resulting in a more cohesive and delicious dessert.
This makes it an ideal dessert to prepare a day in advance, allowing you to simply pull it out of the fridge and serve when your guests arrive, freeing up your time on the day of your event. However, a small word of warning: given that it’s a one-bowl dessert and punch bowls are typically quite large, ensure you have sufficient space in your refrigerator for proper chilling.
Pro Tip for Make-Ahead: If you are assembling the Punch Bowl Cake a day in advance, it’s best to chill it without the final layer of whipped topping and any delicate garnishes. Add these elements right before serving to ensure they are fresh, fluffy, and perfectly presented.
Storing Punch Bowl Cake
To maintain its freshness and quality, Punch Bowl Cake should be stored in the refrigerator for up to 3 days. Always cover the bowl tightly with plastic wrap to prevent the cake from absorbing any unwanted odors from other foods in your fridge and to keep it from drying out.
Beyond the 3-day mark, the whipped topping may begin to turn watery, and the overall texture of the cake might start to degrade. Additionally, the bananas, if used, will inevitably begin to brown, affecting the cake’s appearance and taste.
Unfortunately, Punch Bowl Cake is not suitable for freezing. The delicate balance of moisture from the pudding and fruit, combined with the whipped topping, means that freezing and thawing will result in a soggy, mushy texture that diminishes its appeal.
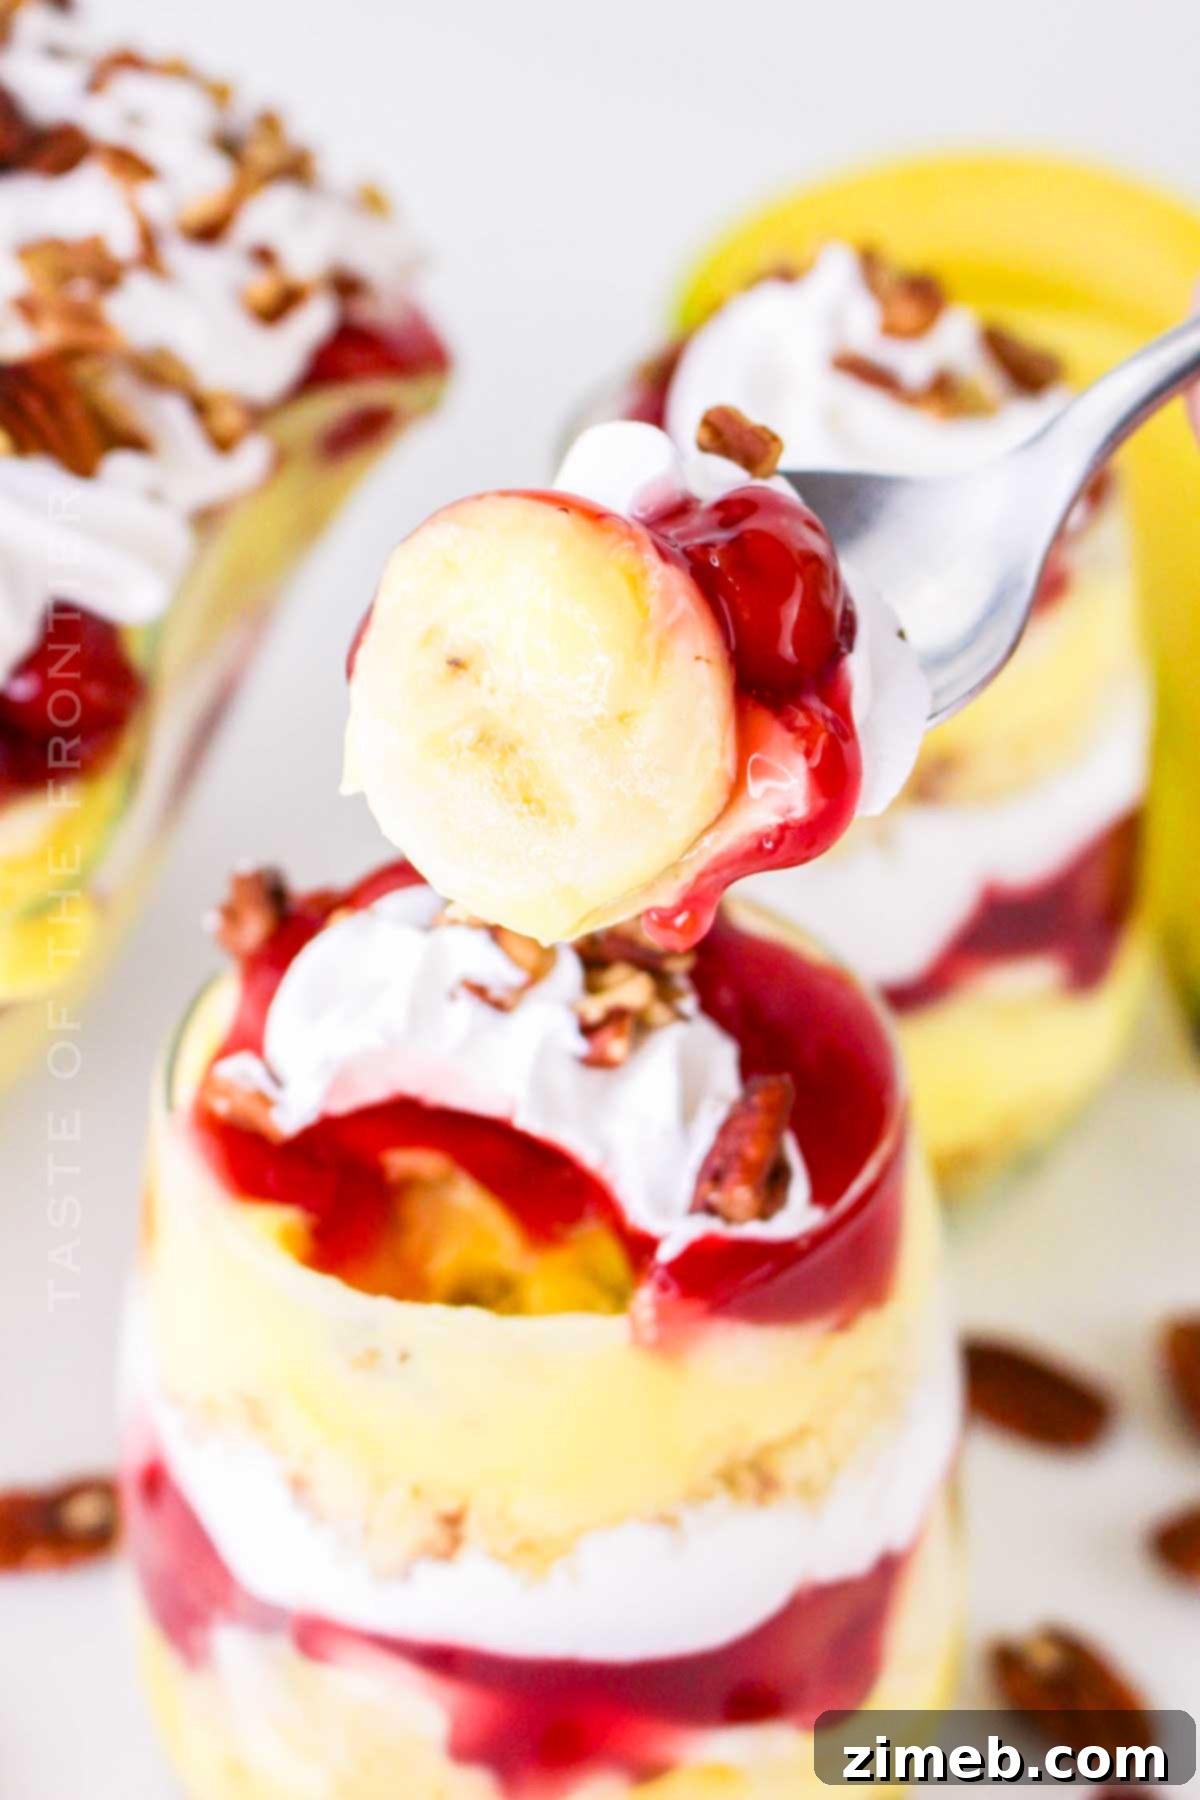
For serving leftovers, an excellent idea is to scoop individual portions into small glasses or mason jars. This transforms the remaining cake into charming, portion-sized treats that are perfect for a casual snack or a quick dessert on the go.
Tips for Making the Best Punch Bowl Cake
- Baking Pan Flexibility: If you don’t have a 9×13 inch baking pan, or if you’re planning to make two smaller punch bowl cakes, you can easily use two 8-inch round baking pans instead. Just ensure the total cake volume is similar.
- Choose a Lightweight Bowl for Potlucks: If you’re taking your Punch Bowl Cake to a potluck or gathering, consider using a plastic transparent punch bowl. It’s significantly lighter and safer to transport than a heavy glass bowl. Any large serving bowl or trifle dish with a minimum capacity of 4 quarts will also work perfectly.
- Don’t Skip the Chilling: The chilling period is absolutely crucial. It allows the cake layers to fully absorb the delightful flavors from the pudding and fruit, creating a more harmonious and moist dessert. Refrigerate for a minimum of 2 hours, but for the best results, chill it overnight. You can also let the prepared pudding mix chill for at least 5 minutes before assembling to help it set further.
- Nuts Are Optional & Versatile: While I personally love the crunch of toasted pecans on top, this topping is entirely optional. Feel free to swap them with any other nuts you prefer, such as walnuts or almonds, or opt for fresh berries, additional fruit, or even chocolate chips for a different texture and flavor.
- Enhance Pudding Sweetness: If you desire a sweeter, richer pudding, you can substitute one cup of the regular cold milk with one can of sweetened condensed milk when preparing the instant pudding mix (so, 1 can condensed milk + 3 cups cold regular milk). Adjust to your preference to avoid overpowering sweetness.
More Tips and Tricks for a Flawless Dessert
- Ingredient Temperature Matters: For optimal results, ensure your milk for the pudding is very cold, and allow your frozen whipped topping ample time to thaw in the refrigerator. If using fresh eggs for the cake, bringing them to room temperature beforehand can facilitate easier and more even mixing.
- No Need for Perfection: When cutting the cake into cubes, don’t worry about being overly precise. You can even simply tear the baked cake into small, rustic pieces. However, I find the neatness of cubes visually appealing, so I typically cut mine.
- For Extra Fluffy Pudding: To achieve an even lighter and fluffier pudding consistency, gently fold in some extra whipped topping (like Cool Whip) as the very last step after the pudding has thickened.
- Always Drain Canned Fruits Thoroughly: The cake gets a lot of its moisture from the pudding and natural fruit juices. Therefore, it’s vital to drain any canned fruits or berries very well. This is especially important for crushed pineapple, which often comes packed in a significant amount of liquid.
- Make Multiple Batches: If fridge space is limited or you need to serve dessert for back-to-back events, simply split the recipe between two smaller serving bowls. This ensures you always have a fresh, perfectly chilled dessert ready.
- Go Homemade: While this recipe champions convenience, every component can be made from scratch if you prefer. Homemade whipped cream, in particular, offers a next-level taste and texture. If making homemade whipped cream, beat it with a hand or stand mixer (whisk attachment) until firm peaks form for the perfect consistency.
How to Spread Pudding and Whipped Cream Evenly
Achieving smooth, even layers of pudding and whipped cream is easier than you think. For the pudding, it’s best when it’s not overly thick. Pour the pudding into the center of the previous layer, then quickly and gently push it outwards towards the edges using a simple silicone flat spatula. Once distributed, use the spatula to gently smooth the surface and clean up the edges. This technique works equally well for spreading the whipped topping, ensuring a beautiful presentation.
What Can I Use Instead of a Boxed Cake Mix?
While a boxed cake mix offers ultimate convenience, you have several excellent options if you prefer to bake from scratch or use a different type of cake. You can use a homemade yellow or white cake, a light and airy Angel food cake (which contains no butter), or a dense and moist pound cake. Any of these will provide a delicious cake base for your punch bowl creation.
If you’re still using a boxed cake mix but want to elevate its flavor and richness, consider a simple swap: replace the water with milk and the vegetable oil with melted butter. This small adjustment will result in a noticeably richer and more flavorful cake. While this is entirely optional, and the cake tastes amazing as per the package directions, it’s a great tip for those who enjoy a slightly more indulgent cake base.
How to Reduce Calories in Punch Bowl Cake
If you’re mindful of your sugar intake or looking for a lighter version of this delightful dessert, there are several adjustments you can make without sacrificing too much flavor:
- Sugar-Free Pudding: Opt for sugar-free or reduced-sugar instant pudding mixes. These are readily available and significantly cut down on the sugar content.
- Lighter Whipped Topping: Choose a light or fat-free whipped topping option. Many brands offer lighter versions that still provide that creamy, fluffy texture.
- Natural Sugars from Fruit: Be conscious of the sugar content in your fruit choices. Opt for fruits and berries that are naturally lower in sugar. Remember that canned fruits are often packed in heavy, sweetened syrups, adding a considerable amount of sugar. If using canned fruit, look for options packed in water or natural juice, and drain them very thoroughly. Fresh fruit is always a great choice for reducing added sugars.
- Smaller Portions: Simply enjoying a smaller serving size is an effective way to manage calorie and sugar intake.
We hope you enjoy creating and sharing this wonderful Punch Bowl Cake! Its ease, versatility, and sheer deliciousness make it a dessert you’ll want to revisit again and again.
More Sweet Treats You’ll Love
If you’re a fan of this easy layered dessert, you’re sure to enjoy these other delightful sweet treats. Click each link below to discover new favorites!
Cake in a Jar
Perfect for gifting or enjoying on the go, these individual-sized Cake in a Jar treats offer layers of moist cake and creamy frosting in a portable jar. Easy to make, customizable, and utterly delicious!
Check out this recipe

Chocotorta
This no-bake Chocotorta dessert boasts irresistible layers of chocolate cookies, whipped dulce de leche, and a luscious ganache. It’s guaranteed to satisfy any sweet craving.
Check out this recipe
Chocolate Twist
This Chocolate Twist recipe is a delightful treat to serve for holidays, brunch with friends, or alongside some hot cocoa on a chilly weekend morning.
Check out this recipe

Cherry Dump Cake Recipe
This Cherry Dump Cake Recipe is incredibly easy to make with just 3 ingredients and your slow cooker. It’s a simple summer dessert that requires no oven!
Check out this recipe

Strawberry Icebox Cake
Our Strawberry Icebox Cake is the perfect dessert to satisfy your sweet tooth. With layers of graham crackers, creamy filling, and fresh strawberries, this easy no-bake recipe is sure to be a hit!
Check out this recipe
More Great Desserts to Explore
Cake Mix Mug Cakes
Peanut Butter Blondies
Cream Horns with Puff Pastry
Chocolate Chip Cruffins
CONNECT WITH YUMMI HAUS!
Be sure to follow me on my social media, so you never miss a post!
Substack, FB, Pinterest, IG, Email Subscription
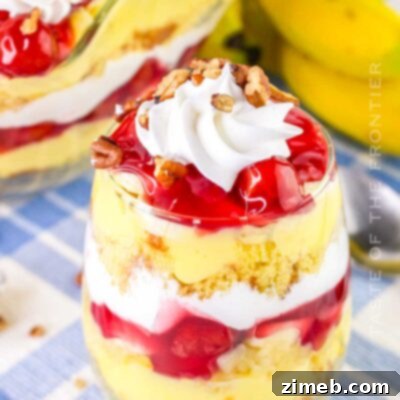
Punch Bowl Cake
Course: Dessert
Servings: 15 servings
Classic Punch Bowl cake with layers of sweet cherry pie filling, crushed juicy pineapples, bananas, and fluffy whipped topping is SO GOOD.
Print Recipe
Pin Recipe
Save Recipe
Prep Time: 20 mins
Cook Time: 25 mins
Chill Time: 3 hrs
Total Time: 3 hrs 45 mins
Ingredients
- 15.25 ounces yellow cake mix (1 box)
- 1 cup water
- ½ cup vegetable oil
- 3 large eggs (room temperature)
- 6.8 ounces instant vanilla pudding mix (2 boxes, 3.4 ounces each)
- 4 cups whole milk (very cold)
- 40 ounces crushed pineapple (well-drained – 2 cans)
- 4 medium-sized bananas (sliced)
- 42 ounces cherry pie filling (2 cans)
- 16 ounces whipped topping (thawed)
- ⅓ cup chopped pecans (toasted, for topping)
Instructions
- Preheat the oven to 350°F (175°C). Prepare a 9×13 inch baking dish with nonstick cooking spray or butter and flour.
- Combine the cake mix, water, vegetable oil, and eggs in a large bowl and mix until combined, scraping down the sides as needed.
- Transfer the cake batter to the prepared baking dish.
- Bake for 25 minutes or until a toothpick inserted comes out clean.
- Place the baking pan on a wire rack and allow the cake to cool completely.
- While the cake cools, combine the instant pudding and very cold milk in a mixing bowl, and whisk until the pudding thickens.
- Cut the cooled cake into approximately 1-inch cubes.
- Crumble half of the cubed cake and gently pat it into an even layer in the bottom of a large punch bowl.
- Spread half of the vanilla pudding mixture evenly over the cake layer.
- Spoon half of the thoroughly drained pineapple evenly on top of the pudding layer.
- Arrange half of the sliced bananas in a single layer over the crushed pineapple.
- Spread half of the cherry pie filling over the bananas, making the layer as even as possible.
- Top the cherry pie filling with half of the thawed whipped topping.
- Repeat the layers with the remaining cake, pudding, pineapple, banana, cherry pie filling, and whipped topping.
- Sprinkle the chopped pecans on top for garnish.
- Cover the punch bowl and refrigerate for at least 2 hours before serving. Best served cold.
Nutrition
Serving: 1 serving | Calories: 523 kcal | Carbohydrates: 88g | Protein: 7g | Fat: 17g | Saturated Fat: 7g | Cholesterol: 46mg | Sodium: 366mg | Potassium: 457mg | Fiber: 3g | Sugar: 48g | Vitamin C: 13mg | Calcium: 193mg | Iron: 1mg | Net Carbohydrates: 85g
Nutritional information for the recipe is provided as a courtesy and is approximate. Please double-check with your own dietary calculator for the best accuracy. We at Yummi Haus cannot guarantee the accuracy of the nutritional information given for any recipe on this site.
Love this recipe?
Follow @KleinworthCo for even more tasty recipes!