
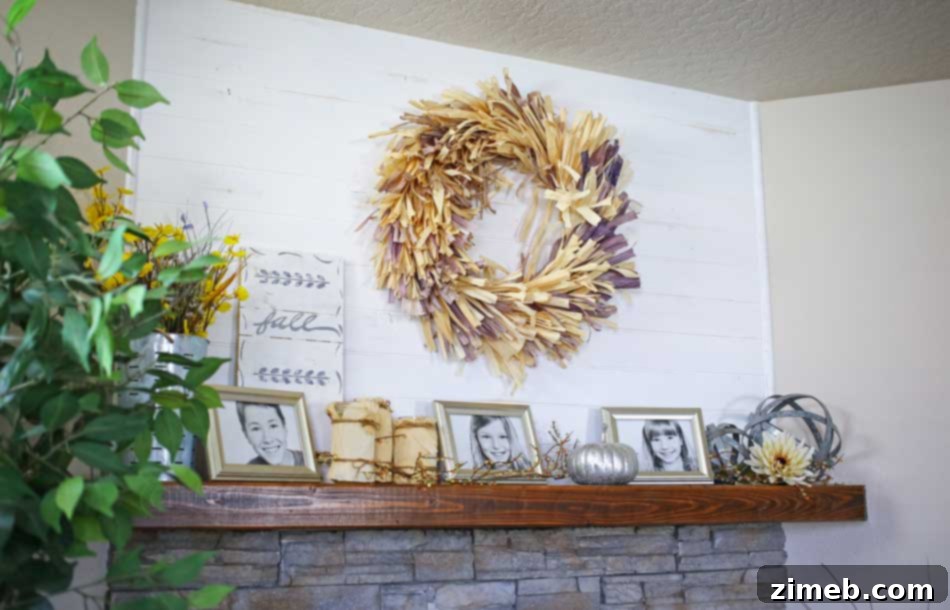
Transform Your Living Space: A Complete Guide to Your DIY Shiplap Fireplace Makeover
Elevate your home’s aesthetic with a stunning DIY shiplap fireplace. This project effortlessly injects charm and character, perfect for farmhouse, coastal, or modern farmhouse styles. Discover how simple it is to achieve this beloved look and transform your living space into a cozy haven.
As the holidays approach and cooler weather sets in, our fireplaces naturally become the heart of our homes. They are often the focal point of the living room, gathering family and friends. For many, like us, a new build, while offering modern conveniences, can sometimes lack the unique character and warmth found in older homes. We faced this exact dilemma two years after moving into our new track home. We adored the floor plan and location, but our fireplace, though a wonderful addition, felt a bit bland, missing that distinctive “oomph” we craved. As enthusiastic but still learning DIYers, taking on a full-scale fixer-upper wasn’t yet within our comfort zone. Our goal was to thoughtfully infuse our new home with personality and charm, and a fireplace makeover seemed like the ideal starting point.
Embracing the Shiplap Trend: Why It’s Perfect for Your Fireplace
Shiplap has captured the hearts of homeowners and designers alike, and for good reason. Its clean lines and subtle texture instantly elevate a space, making it feel both inviting and sophisticated. For our home, with its breezy, beach-inspired aesthetic – a nod to my Southern California roots, even here in North Idaho – shiplap was the absolute perfect fit. I envision it throughout various areas of our house, but we decided the fireplace wall would be an excellent introductory project. This relatively small, contained area offered the perfect opportunity to learn the ropes of shiplap installation without feeling overwhelmed. While seasoned DIY veterans might find this project straightforward, for us, as beginners venturing into altering a perfectly new space, it was undeniably nerve-wracking. The thought of potentially “messing it up” was daunting, but the desire for a truly personalized home spurred us forward. Today, we’re thrilled to share our journey and demonstrate just how achievable this transformation truly is.
This post contains some affiliate links. Click here to read my full disclosure policy.
Essential Materials and Tools for Your Shiplap Fireplace Project
Gathering the right materials and tools is crucial for a smooth and successful DIY shiplap installation. We opted for quality planks and invested in tools that would serve us for future projects. Here’s a comprehensive list of what you’ll need to create your own stunning shiplap fireplace:
Materials:
- Planks (we used Pattern Stock Cedar Tongue & Groove Board – 1 in. x 6 in. x 8 ft. for a classic look and easy installation)
- Finishing Nail Gun (a significant time-saver for repetitive nailing)
- Finishing Nails (ensure they are appropriate for your nail gun and wood type)
- Blue Painter’s Tape (excellent for marking stud locations cleanly, or use a pencil)
- Trim Piece (to create a clean, finished edge where the shiplap meets the wall)
- Wood Putty (for filling nail holes and imperfections)
- Sanding Block or Sandpaper (for smoothing wood putty and distressing if desired)
- Caulking Gun and Caulk (for sealing gaps and achieving a seamless finish)
- Interior Eggshell Paint (We chose Ultra Pure White for a bright, classic shiplap look)
- Measuring Tape
- Level
- Stud Finder (highly recommended for accuracy)
- Miter Saw or Circular Saw (for precise cuts on your planks)
- Safety Glasses
The Before: A Blank Canvas Awaiting Transformation
Before we dive into the steps, let’s take a moment to appreciate the “before” state of our fireplace. This project was actually completed about a year ago, initially slated as a sponsored post. However, delays with the brand meant it was out of season by the time a decision was made. Finally, I’m thrilled to share this long-awaited transformation! Our fireplace, while nice, was undeniably plain. Having been so engrossed in other house projects since moving in, it had remained in its basic state. It was functional, but lacked the personality and design impact we desired for such a prominent feature in our home. It was perfectly fine, but it desperately needed that “UMPH” – that little kick to truly make it stand out and become a focal point. This simple “before” image perfectly captures the untapped potential.
With everything cleared away, the basic fireplace stood ready for its makeover. I must emphasize how glad we are that we decided to spend the extra $3500 to have this fireplace added during the house construction. It genuinely makes the room feel warmer and more inviting. However, it still wasn’t delivering the visual impact I envisioned. It was time for a change, and shiplap was just the answer to unlock its full potential.
Step-by-Step Guide to Your DIY Shiplap Fireplace
1. Locating and Marking Studs for Secure Installation
The first and most critical step is to locate and mark your wall studs. This ensures that your shiplap planks are securely attached and will not sag or pull away from the wall over time. We used blue painter’s tape to clearly mark the stud locations, which is much easier to see when you’re actively nailing boards up compared to faint pencil marks. If you don’t have a stud finder, a few tricks can help: try tapping along the wall and listening for a solid sound, or look for electrical outlets, which are usually attached to a stud. For reaching higher areas, don’t hesitate to enlist a helper – my lanky son was a great asset for getting to the ceiling without me needing a tall ladder! Once marked, double-check your measurements to confirm accuracy.
2. Precise Measuring and Cutting Your Shiplap Planks
“Measure twice, cut once” is the golden rule of DIY, and it applies wholeheartedly here. Before making any cuts, meticulously measure the width of your fireplace wall. It’s often helpful to measure at multiple points (top, middle, bottom) as walls can sometimes be slightly uneven. Transfer these measurements to your shiplap planks. We used a miter saw for clean, straight cuts, which is highly recommended for accuracy. Taking your time with this step will save you from frustration and wasted material later on. We were very careful, as we wanted to avoid any predicaments that would delay the project or require extra trips to the hardware store.
3. Installing Your Shiplap Planks
With your first plank cut to size, it’s time to begin installation. We chose to start at the top of the fireplace wall. This allows any minor imperfections or slightly smaller cuts on the bottom plank to be less noticeable, especially if you have a mantel or hearth to conceal them. Position your first plank, ensuring it’s perfectly level. A level is your best friend here! Then, using your finishing nail gun, secure the plank into the marked stud locations. We invested in a nail gun with internal compression because we knew it would be a valuable tool for many future home improvement projects. However, if you’re not ready to invest in a nail gun, a hammer and finishing nails will work perfectly fine, just take care to countersink the nail heads slightly. The tongue and groove design of our chosen planks made interlocking them straightforward, ensuring consistent spacing between each board.
4. Continuing the Installation and Addressing Imperfections
Continue working your way down the wall, interlocking each plank and securing it into the studs. As you can see from this halfway point, the transformation is already taking shape! Now, let’s address an common DIY hurdle: stud placement. Yes, our studs weren’t perfectly centered above the fireplace opening. This was due to the internal components of the fireplace structure, as confirmed by reviewing our construction images. While it certainly drove my OCD into overdrive, the builders simply adhered to structural requirements. Don’t let such minor irregularities derail your project; remember, the beauty of DIY lies in embracing these unique aspects and finding creative solutions, knowing that the finished result will still be stunning and uniquely yours.
With all the planks carefully installed, the dramatic change is already evident. The raw wood provides a hint of the character that’s about to unfold.
5. The Finishing Touches: Trim, Putty, Caulk, and Paint
Once the planks are in place, it’s time to refine the look. We added a simple trim piece around the edges of the shiplap to create a clean, finished line and make it flush with the existing wall. This step truly elevates the professional appearance of your project. Next, take your wood putty and meticulously fill all visible nail holes. Allow the putty to dry completely, then use a sanding block to smooth these areas until they are flush with the wood surface. This creates a seamless base for painting. Following the sanding, apply caulk around all edges where the shiplap meets the wall and ceiling. Caulking fills any small gaps and provides a perfectly polished transition. Wait for the caulk to dry as per product instructions before proceeding.
Finally, it’s time for paint! We carefully taped off the surrounding walls to protect them and applied two generous coats of our chosen Interior Eggshell Paint in Ultra Pure White. This crisp white brightens the space and highlights the shiplap texture. For added character, we lightly distressed the painted surface with a sanding block, allowing hints of the natural wood or previous paint to show through. This technique adds an aged, farmhouse charm that we absolutely adore. Fun fact: This picture was taken when my hair was still blonde!
The Stunning Result: A Fireplace Transformed
The moment the paint dried and the dust settled, the transformation was complete. Decorating for fall after all the hard work was incredibly satisfying. Remember my apprehension about “messing things up”? That fear resurfaced even when it came to hanging a simple wreath, fearing making a hole in our beautifully finished planks! But sometimes, you just have to take the leap, and I’m so glad I did. The shiplap instantly became the focal point, providing a perfect backdrop for seasonal decor.
The subtle texture and clean lines of the shiplap lend such a beautiful softness to the entire room. It’s truly difficult to imagine how we lived without this stunning feature for so long.
We are absolutely thrilled with how this DIY shiplap fireplace turned out. It was a budget-friendly project, surprisingly simple to execute, and the impact it has had on our living space is immeasurable.
If beginning DIYers like us can successfully tackle this project, you absolutely can too! Don’t let hesitation hold you back from creating a space you truly love.
Beyond the Fireplace: More Home Improvement Ideas
Feeling inspired by your fireplace transformation? The world of DIY is vast and rewarding! If you’re looking for more projects to infuse character into your home, explore some of our other creations. These projects, like the shiplap fireplace, are designed to add unique touches and personal flair to any space, proving that with a little effort, you can achieve incredible results.
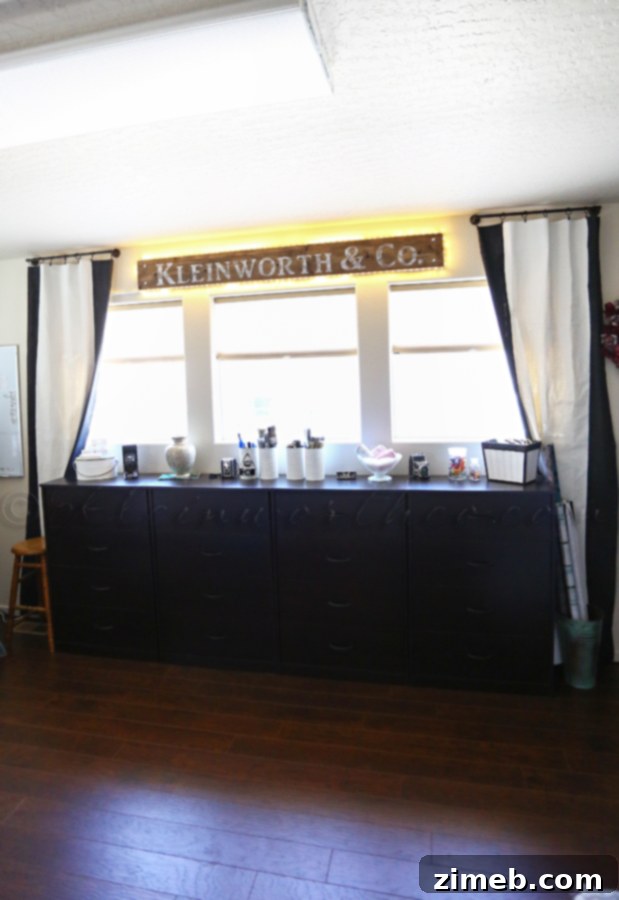
Vintage Lighted Shop Sign
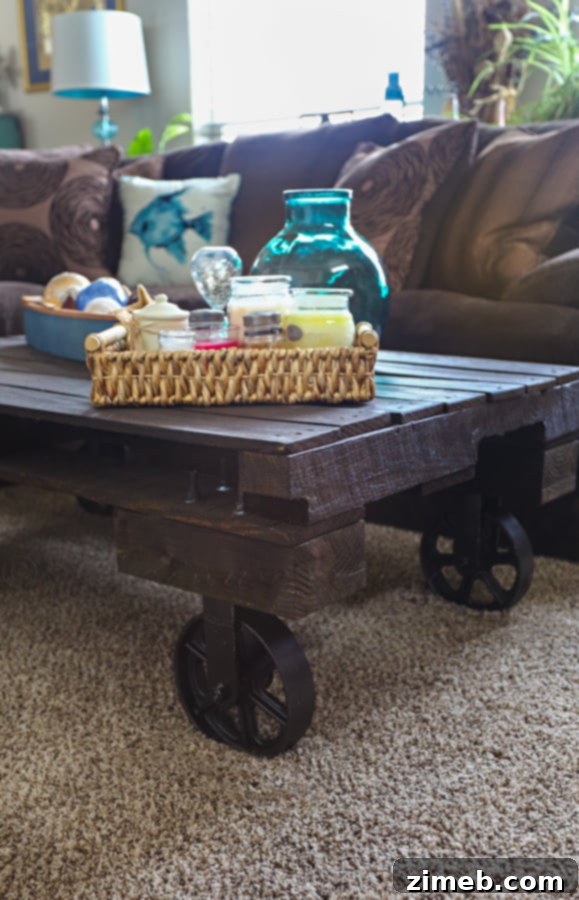
Industrial Cart Coffee Table
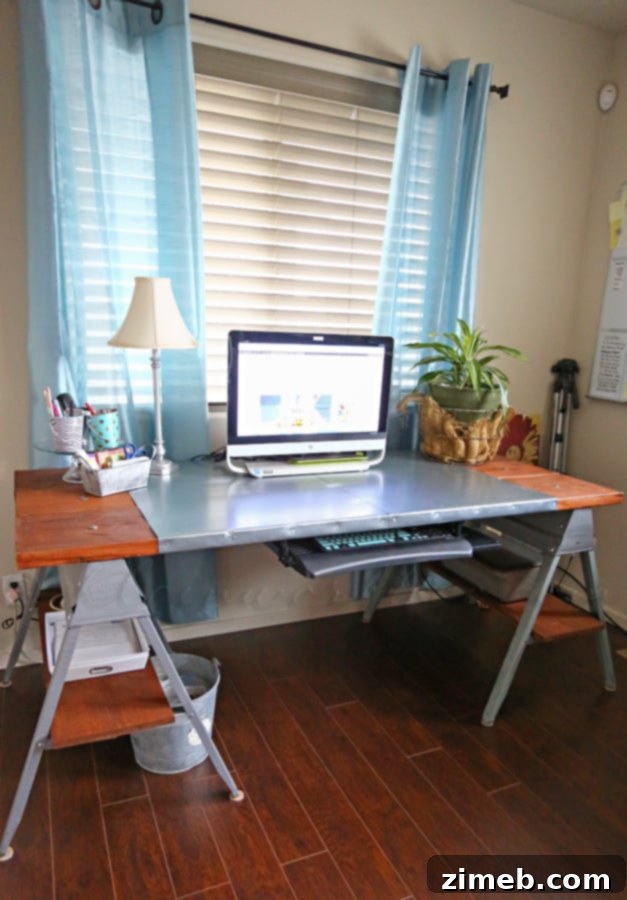
Industrial Sawhorse Desk
Don’t miss these inspiring shiplap and plank wall ideas from fellow bloggers. Seeing how others incorporate these elements can spark even more creativity for your next home project!
- How to Install a Plank Wall in a Bathroom from Blesser House
- DIY Ship Lap Wall from Right Up My Alley
To see where I am linking today, visit HERE.