
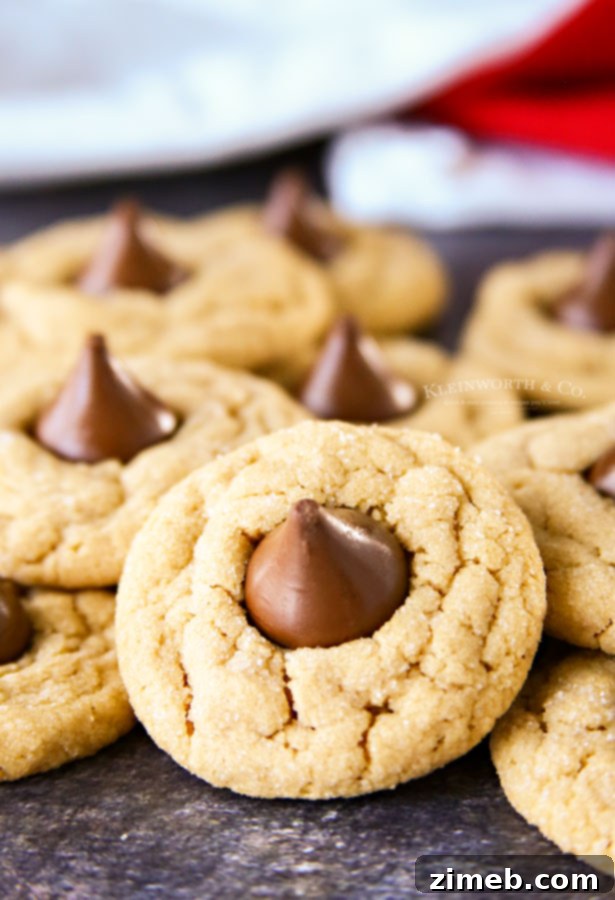
Classic Peanut Butter Blossom Cookies: A Timeless Treat
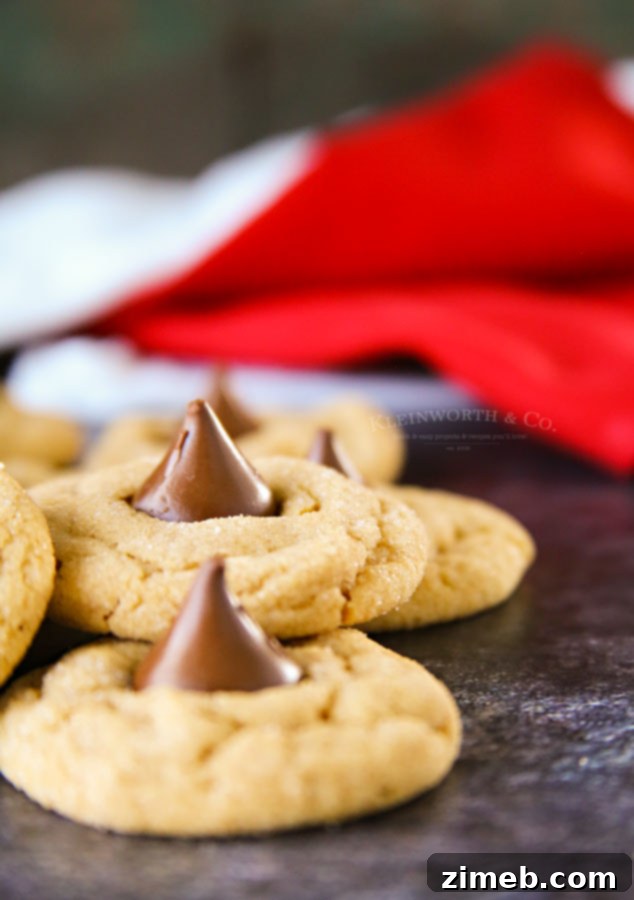
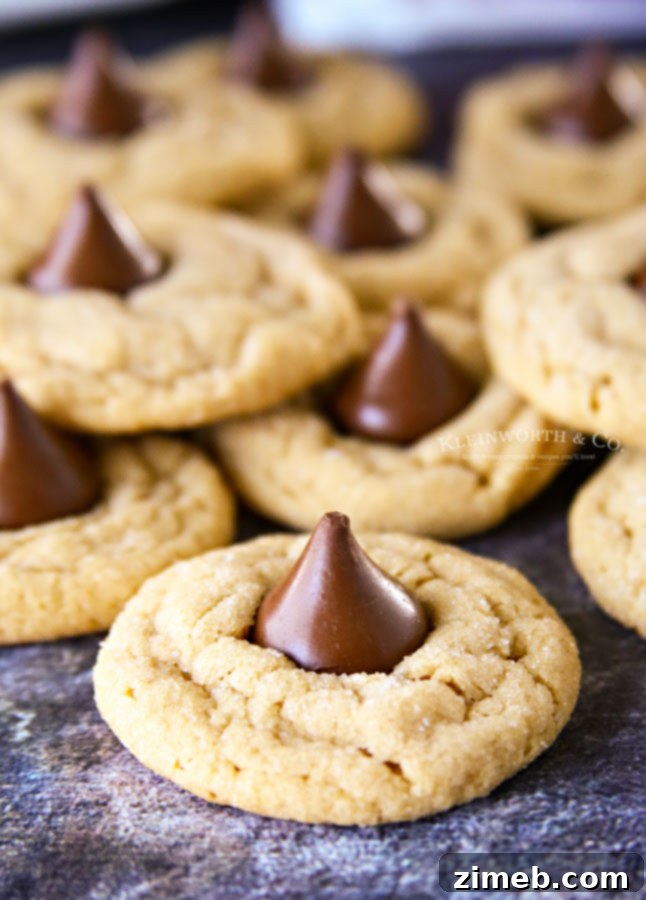
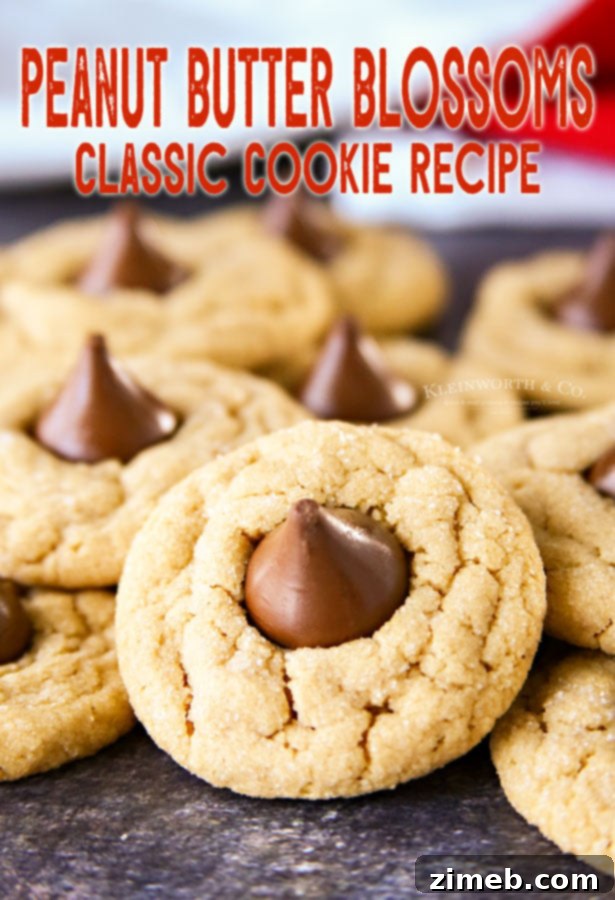
There are certain recipes that instantly evoke warmth, comfort, and nostalgic memories. For many, the Classic Peanut Butter Blossom Cookie is one such beloved confection. These delightful treats, featuring a soft and chewy peanut butter base, generously coated in granulated sugar, and crowned with a luscious Hershey’s Kiss, are a staple in kitchens across generations. Whether it’s for a holiday cookie exchange, a school bake sale, or simply a sweet everyday indulgence, these cookies never fail to bring smiles.
The irresistible combination of rich peanut butter and creamy chocolate is a flavor pairing that consistently ranks as a top favorite worldwide. It’s no wonder these easy-to-make cookies have achieved such iconic status. They offer a perfect harmony of sweet and salty, with a texture that is both tender and satisfyingly chewy, making them an undeniable hit for any occasion.

The Undeniable Allure of Peanut Butter Blossoms
For a long time, I held a peculiar reservation about these cookies. My childhood memories were tainted by the impression that the Hershey’s Kiss hardened too much, making it challenging to bite into and sometimes awkwardly poking the roof of my mouth. I often wondered if it was the way a particular baker prepared them, or simply a quirk of my experience. However, a spontaneous decision to bake a batch myself completely transformed my perspective. What I discovered was nothing short of delicious perfection.
This recipe yields cookies that are wonderfully soft and incredibly chewy. The magic happens when the Hershey’s Kiss is pressed into the warm cookie straight from the oven. The chocolate melts just enough to create a delightful, soft texture that never truly hardens again, ensuring every bite is smooth and enjoyable. This revelation made me fall head over heels for Peanut Butter Blossoms, securing their spot among my most cherished classic cookie recipes.
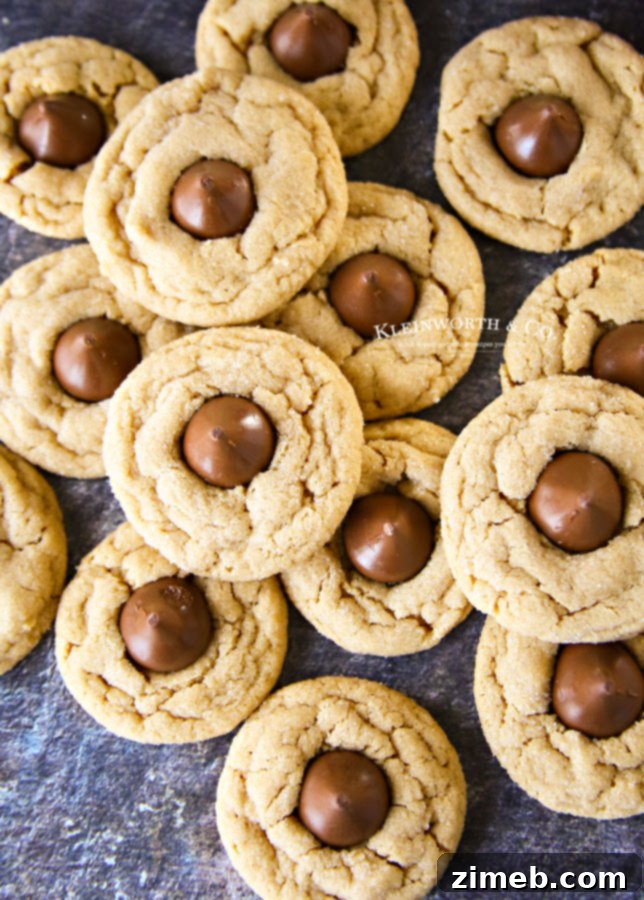
Essential Tips and Frequently Asked Questions for Perfect Peanut Butter Blossoms
How should I store leftover Peanut Butter Blossom cookies?
To maintain their exquisite softness and chewiness, store your Peanut Butter Blossom cookies in an airtight container at room temperature. When stored correctly, they will remain fresh and delicious for up to four days. For longer storage, consider freezing them as detailed below.
Should I use light or dark brown sugar in this recipe?
Both light and dark brown sugar will work beautifully in this recipe, each imparting a slightly different nuance to the final cookie. Light brown sugar contributes a milder molasses flavor, resulting in a slightly lighter-colored cookie. Dark brown sugar, with its higher molasses content, offers a richer, deeper flavor and a chewier texture. Since I often make my own homemade brown sugar, I typically opt for light brown sugar, but feel free to use whichever you have on hand or prefer for its unique flavor profile.
Is salted or unsalted butter preferable?
The choice between salted and unsalted butter largely comes down to personal preference. If you enjoy a subtle hint of salt to balance the sweetness of the cookie, salted butter is an excellent choice. I frequently use salted butter in my baking, as I appreciate that extra touch of savory flavor that beautifully complements the sweet peanut butter and chocolate. Given the current variability in grocery store availability, I often use whatever butter I have on hand, and this recipe is forgiving enough to accommodate either. If using unsalted butter, you might consider increasing the amount of table salt slightly, by about an eighth of a teaspoon, to achieve a similar flavor balance.
Can Peanut Butter Blossom cookies be frozen?
Absolutely! These cookies freeze exceptionally well, both baked and as raw dough, allowing you to enjoy them long after baking day. Baked cookies, once completely cooled, can be stored in an airtight freezer-safe container or bag for up to three months. To prevent them from sticking together, you can flash freeze them on a baking sheet before transferring them to a bag.
Unbaked cookie dough also freezes wonderfully for up to three months. Simply roll the dough into individual balls, coat them in granulated sugar, and place them in a single layer on a plate or baking sheet to flash freeze. Once solid, transfer them to a freezer-safe zip-top bag or container. When you’re ready to bake, there’s no need to thaw the dough first. Just place the frozen cookie dough balls directly on a prepared baking sheet and increase the baking time by a minute or two, typically to around 11-12 minutes, or until the edges are golden and the tops show slight cracks. Note that cookies baked from frozen dough may be slightly drier due to moisture loss during freezing, but they will still be delicious.
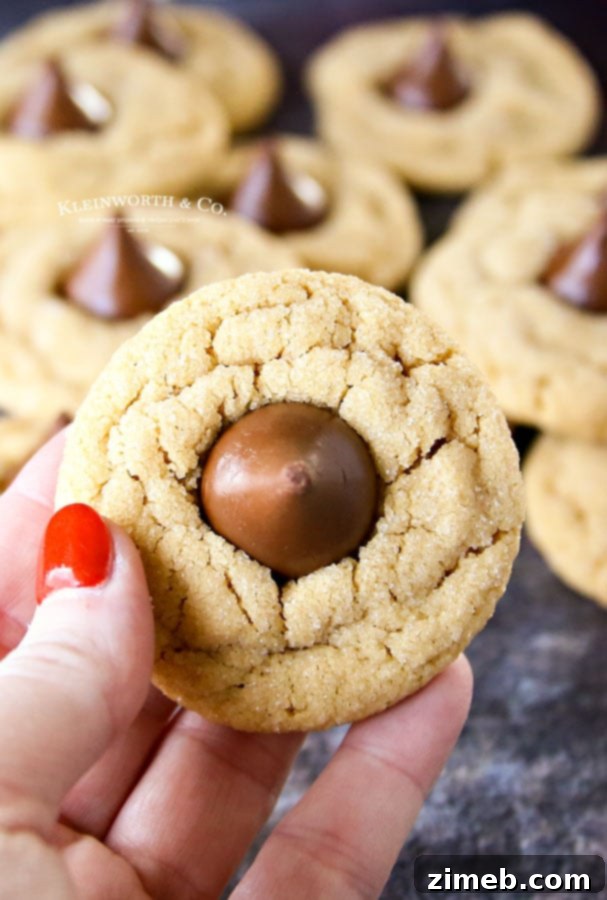
Crafting the Perfect Peanut Butter Blossom Cookies: A Step-by-Step Guide
Ingredients for Classic Peanut Butter Blossom Cookies:
- ½ cup butter, softened to room temperature
- ½ cup packed brown sugar (light or dark)
- ¼ cup granulated sugar, plus ½ cup for coating
- 1 large egg
- ¾ cup creamy peanut butter (smooth or crunchy)
- 1½ tsp vanilla extract
- 1¼ cup all-purpose flour, spooned and leveled
- ½ tsp baking soda
- ¼ tsp table salt
- 24 Hershey’s Kiss chocolate candies, unwrapped
Instructions for Baking:
- In a large mixing bowl, using an electric mixer, beat the softened butter on high speed for about 1 minute until it becomes light and creamy.
- Gradually add in the brown sugar and ¼ cup granulated sugar, continuing to beat until the mixture is creamy and smooth, ensuring no sugar lumps remain.
- Beat in the large egg until fully incorporated. Then, increase the mixer speed to high and continue beating for approximately 1 minute, pausing as needed to scrape down the sides of the bowl to ensure all ingredients are well combined.
- Add the creamy peanut butter and vanilla extract to the mixture. Beat on high speed until all ingredients are thoroughly combined and smooth.
- In a separate bowl, whisk together the all-purpose flour, baking soda, and table salt. Slowly add these dry ingredients to the wet mixture, mixing on low speed until just combined. Be careful not to overmix, as this can lead to tough cookies.
- Cover the cookie dough with plastic wrap and refrigerate for at least 30 minutes, or up to 1 day. Chilling the dough helps prevent the cookies from spreading too much during baking and enhances their flavor.
- Once the dough is adequately chilled, preheat your oven to 350°F (175°C). Prepare a couple of baking sheets by lining them with parchment paper or silicone baking mats.
- Scoop the chilled dough into tablespoon-sized portions. Roll each portion between your palms to form a smooth, uniform ball.
- Place the remaining ½ cup of granulated sugar in a shallow dish. Roll each cookie dough ball in the sugar to evenly coat it. Arrange the coated dough balls on the prepared baking sheets, ensuring they are about 2 inches apart to allow for spreading.
- Bake for 10 minutes, or until the edges of the cookies are lightly golden and the tops begin to crack slightly. Avoid overbaking, as this will result in dry cookies.
- While the cookies are baking, unwrap all of the Hershey’s Kisses so they are ready to use immediately.
- As soon as you remove the baking sheets from the oven, gently but firmly press one unwrapped Hershey’s Kiss candy into the center of each warm cookie. The heat from the cookie will slightly melt the chocolate, allowing it to adhere perfectly and develop that signature soft texture.
- Using a thin spatula, carefully transfer the warm cookies to a small plate. To prevent the chocolate kisses from melting excessively, immediately place the plate in the refrigerator or freezer for about 10 minutes to help the chocolate set.
- After 10 minutes of chilling, remove the cookies. They are now ready to be enjoyed!
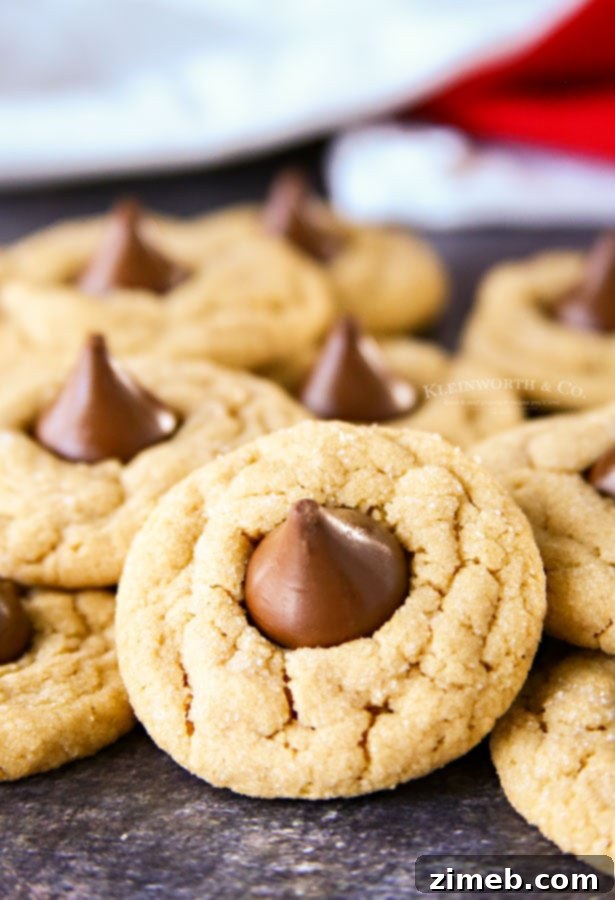
Can this Peanut Butter Blossom recipe be doubled?
Absolutely! This recipe doubles wonderfully, and we highly recommend making a double batch, especially if you plan on sharing these delightful cookies as gifts or bringing them to a potluck. The dough handles well when scaled up, ensuring you’ll have plenty of these popular treats to go around.
Can I use crunchy peanut butter instead of creamy?
While creamy peanut butter is traditionally used and provides a smooth texture, crunchy peanut butter can certainly be used if you prefer an added textural element in your cookies. The small pieces of peanuts will provide a satisfying crunch that complements the chewy cookie base. Just ensure it’s a good quality, stir-able crunchy peanut butter, not an overly oily or separated natural variety that might alter the dough consistency too much.
Can I use a sugar substitute?
I have not personally tested this recipe with sugar substitutes, so I cannot guarantee the outcome regarding texture or flavor. If you choose to experiment, I recommend using a product designed for a 1:1 sugar replacement in baking. Please share your results if you try it!
How do I properly measure the flour?
Accurate flour measurement is crucial for the perfect cookie texture. The official and most precise method is to spoon the flour into your measuring cup until it overflows, then level it off with a straight edge (like the back of a knife). This technique prevents the flour from being overly packed into the cup, which would add more flour than necessary and result in dry, dense cookies. While some recipes might tolerate fluffing the flour and gently scooping, for these Peanut Butter Blossoms, I strongly recommend the spoon-and-level method to ensure optimal softness and chewiness.
Pro Tips for Baking Success
- **Room Temperature Ingredients:** Ensure your butter and egg are at room temperature. This allows them to cream together more effectively with the sugars, creating a smoother, more emulsified base that traps air, resulting in lighter, softer cookies.
- **Don’t Overmix:** Once you add the flour, mix only until just combined. Overmixing develops the gluten in the flour, which can lead to tough cookies.
- **Chill Time is Key:** The refrigeration step is vital. It allows the butter to firm up, preventing excessive spreading during baking, and gives the flavors time to meld, improving the overall taste and texture.
- **Immediate Kiss Placement:** Press the Hershey’s Kisses into the cookies immediately after they come out of the oven. The residual heat helps the chocolate melt slightly and adhere, creating that signature soft chocolate center.
- **Cooling Strategy:** Placing the cookies in the refrigerator or freezer after adding the kisses helps set the chocolate quickly, preventing it from melting into a puddle and maintaining the blossom shape.
- **Alternative Coatings:** While granulated sugar is classic, feel free to experiment with colored sanding sugar for a festive touch, or even finely chopped nuts mixed with sugar for an extra layer of flavor and crunch.
More Awesome Peanut Butter Creations
If you’re a true peanut butter enthusiast, you’ll love exploring these other incredible recipes that celebrate the rich, nutty flavor of peanut butter:
- Buckeyes
- Classic Peanut Butter Cookies
- Peanut Butter Pie
- No-Bake Peanut Butter Balls
- Peanut Butter Whip Brownies
- 3-Ingredient Peanut Butter Cookies
- Peanut Butter Cookie Cups
- Buckeye Cookies
- Peanut Butter Cupcakes with Peanut Butter Frosting
DON’T MISS THESE HOLIDAY E-BOOKS!


Products I love when making Peanut Butter Blossom Cookies…
This recipe for peanut butter blossoms is incredibly easy and yields delicious results. Whether you’re a seasoned baker who already has these tools on hand, or a beginner feeling a little nervous about making cookies for the first time, you’re going to adore these. To help you achieve perfect cookies every time, I’ve compiled a list of essential items I rely on when whipping up a batch of these classic treats:
- High-quality metal baking pan
- Durable mixing bowl set
- Heat-resistant spatulas
- Accurate measuring cups
- Precision measuring spoons
If you adore this Peanut Butter Blossom recipe, you’re sure to love these other fantastic cookie recipes too. Click each link below to find the easy, printable recipe!
4-Ingredient Sugar Cookies
These soft and chewy 4-Ingredient Sugar Cookies are made without eggs or cake mix and don’t require chilling or rolling. So simple, so good! Perfect for a quick and easy dessert!
Check out this recipe
Santa’s Favorite Chocolate Chip Cookies
Santa’s Favorite Chocolate Chip Cookies are the perfect treat to leave out with a glass of milk on Christmas Eve.
Check out this recipe

Easiest Snowball Cookies
With just 6 simple ingredients, this is by far the Easiest Snowball Cookies recipe ever. Perfect for all your cookie platter gifts for friends & neighbors.
Check out this recipe
Christmas M&M Sprinkle Cookies
Christmas M&M Sprinkle Cookies are super thick & chewy holiday cookie recipe. Packed full of Christmas sprinkles & holiday M&M’s, so perfect for St. Nick.
Check out this recipe
White Chocolate Macadamia Nut Cookies
Easy to make White Chocolate Macadamia Nut Cookies that are so soft, chewy and positively delicious. Great as neighbor gifts or served at any holiday party.
Check out this recipe
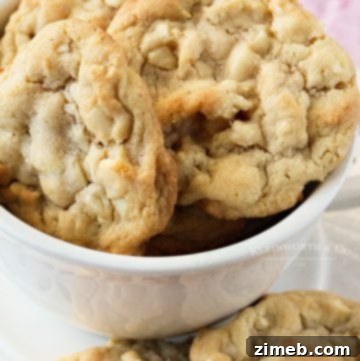
M&M Cookie Recipe
This M&M Cookie Recipe is AMAZING. No chill time needed, these soft & chewy cookies are great for parties, potlucks, gift-giving & afternoon treats.
Check out this recipe

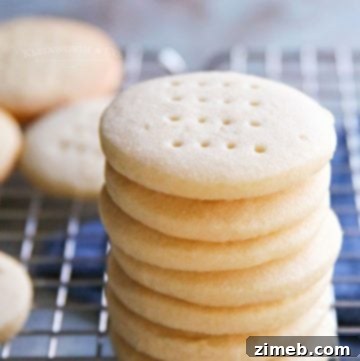
Classic Shortbread Cookies
Buttery goodness in these easy to make cookies everyone loves.
Check out this recipe
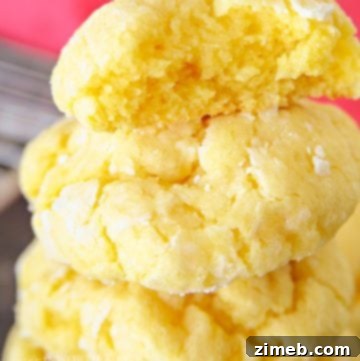
Gooey Butter Cookies
Gooey Butter Cookies are a quick and easy cookie recipe made with cake mix and cream cheese. Super soft, chewy, and irresistible!
Check out this recipe
Discover More Classic Cookie Favorites!
Our collection of classic cookies extends beyond the beloved Peanut Butter Blossoms. Explore these other timeless recipes that are perfect for any occasion, from holiday gatherings to everyday sweet cravings:
- Gingersnap Cookies
- 4-Ingredient Sugar Cookies
- Chocolate Marshmallow Cookies
- Cinnamon Cookies
- White Chocolate Ginger Cookies
- Linzer Cookies
- Red Velvet Crinkle Cookies
Explore Other Delicious Blossom Cookie Variations!
If you love the concept of the classic “blossom” cookie—a soft cookie crowned with a chocolate kiss—you’ll be thrilled to discover these other delightful variations:
- Strawberry Kiss Cookies
- Birthday Kiss Cookies
- Christmas Shortbread Cookies
- Peppermint Shortbread Kiss Cookies
If you’ve fallen in love with this recipe for Classic Peanut Butter Blossom Cookies as much as I have, please consider leaving a five-star review below. Your feedback helps others discover and enjoy these wonderful treats! Don’t forget to share your creations and this recipe on Facebook and Pinterest to spread the cookie love!
CONNECT WITH YUMMI HAUS!
Be sure to follow me on my social media, so you never miss a post!
Substack, Facebook, Pinterest, Instagram, Email Subscription
Classic Peanut Butter Blossom Cookies Recipe
These soft, chewy peanut butter cookies coated in sugar and topped with a Hershey Kiss are an all-time favorite dessert.
Course: Dessert
Yields: 24 cookies
Prep Time: 10 mins
Cook Time: 10 mins
Chill Time: 40 mins
Total Time: 1 hr
Ingredients:
- ½ cup butter, room temperature
- ½ cup packed brown sugar
- ¼ cup granulated sugar
- 1 large egg
- ¾ cup creamy peanut butter
- 1½ tsp vanilla extract
- 1¼ cup all-purpose flour, spooned & leveled
- ½ tsp baking soda
- ¼ tsp table salt
- 24 Hershey’s Kiss chocolate candies
For Coating:
- ½ cup granulated sugar (or sanding sugar in any color if desired)
Instructions:
- In a large mixing bowl, beat the butter for about 1 minute on high until creamy.
- Slowly mix in the granulated sugar and brown sugar and beat until creamy and smooth.
- Beat in the egg and then increase the speed to high and continue beating for about 1 minute, scraping down the sides of the bowl as needed.
- Add in the peanut butter and vanilla extract, mixing on high until combined.
- Slowly mix in the flour, baking soda, and salt until just combined.
- Cover and refrigerate the dough for at least 30 minutes or up to 1 day.
- Once the dough is chilled, preheat the oven to 350°F (175°C).
- Line a couple of baking sheets with parchment paper or silicone liners.
- Scoop the dough into tablespoon-sized portions and roll between your hands to form a smooth ball.
- Roll the ball of dough in the granulated sugar to coat and place on the prepared baking sheet about 2″ apart.
- Bake for 10 minutes or until the tops of the cookies begin to crack slightly.
- While the cookies are baking, unwrap all of the Hershey’s Kisses.
- When you remove the cookies from the oven, immediately press 1 Kiss candy into the tops of each cookie.
- Use a thin spatula and transfer the cookies to a small plate and immediately place it in the refrigerator or freezer to keep the warm cookies from melting the chocolate Kisses too much.
- Remove the cookies from chilling after 10 minutes.
Nutritional information for the recipe is provided as a courtesy and is approximate. Please double-check with your own dietary calculator for the best accuracy. We at Yummi Haus cannot guarantee the accuracy of the nutritional information given for any recipe on this site.
Love this recipe? Follow @KleinworthCo for even more tasty recipes!