
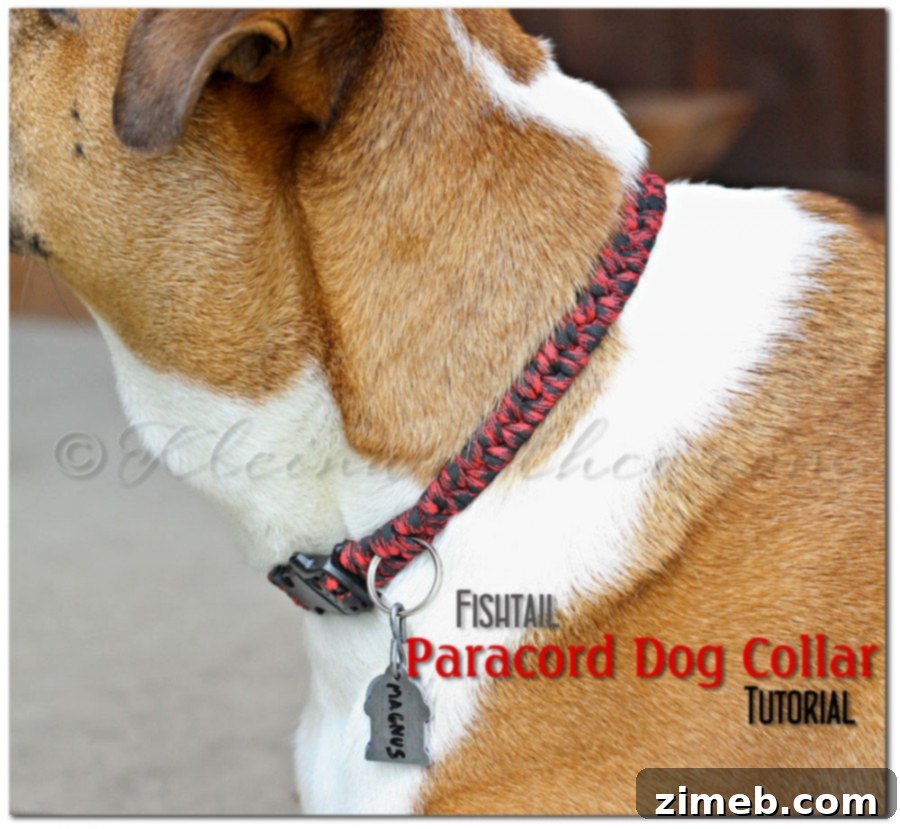
Craft Your Own Fishtail Paracord Dog Collar: A Comprehensive DIY Tutorial
There’s a unique satisfaction that comes with crafting something with your own hands, especially when it’s for a beloved family member – and that includes our furry companions! Paracord, renowned for its incredible strength and versatility, has become a favorite material for various DIY projects, from survival bracelets to keychains. My son first discovered the wonders of paracord through his time in scouts and further honed his skills, eventually creating the popular Paracord Key Chain. Building on that foundation, we embarked on an exciting new project: a custom-braided dog collar.
This particular design features a beautiful fishtail braid, offering both aesthetic appeal and robust construction. The process is incredibly rewarding, allowing you to choose colors that perfectly match your pet’s personality or even create a matching bracelet for yourself or a family member. We’ve meticulously documented each step to guide you through creating your very own fishtail paracord dog collar, ensuring a project that’s both fun and yields a fantastic result. Get ready to transform simple strands of cord into a stylish and durable accessory for your best friend!
Important Safety Notice: Understanding Your Paracord Collar’s Purpose
Before we dive into the creative process, it’s crucial to address a very important safety consideration. The paracord weave itself is exceptionally strong and resilient, designed to withstand significant stress. However, the strength of your finished collar ultimately depends on all its components, particularly the clasps and D-ring you choose. This tutorial is specifically for creating a decorative collar intended for attaching your dog’s identification tags. It is not designed or recommended for leash attachment or for controlling a dog during walks, especially large or strong breeds.
For instance, my boxer weighs 105 pounds, and while the paracord itself would likely hold, I cannot guarantee that standard plastic clasps or a store-bought D-ring would be sufficient to safely restrain him if he were to pull unexpectedly or need firm control. The potential for a clasp to fail or a D-ring to bend under pressure could lead to a dangerous situation where your dog gets loose. To ensure your pet’s safety during walks, I strongly advise using a dedicated, professional-grade walking harness or a robust leash system designed for their size and strength, such as a noose-style leash or a sturdy flat collar with heavy-duty metal hardware specifically rated for pulling. By understanding and respecting this distinction, you can enjoy your beautiful handmade paracord collar for its intended purpose while keeping your beloved pet safe and secure.
Why Choose a Paracord Dog Collar? Benefits and Appeal
Paracord, or parachute cord, is a lightweight nylon kernmantle rope originally used in the suspension lines of parachutes during World War II. Its strength, durability, and versatility quickly made it popular for countless other applications, from military uses to outdoor survival and, of course, crafting. When it comes to pet accessories, paracord offers several compelling advantages:
- Exceptional Strength: Standard 550 paracord has a breaking strength of 550 pounds, making the woven collar incredibly tough and long-lasting for holding tags.
- Durability: It’s resistant to rot, mildew, and UV degradation, meaning your collar will hold up well to outdoor elements and daily wear.
- Lightweight: Despite its strength, paracord is surprisingly light, ensuring comfort for your dog.
- Variety of Colors: Available in an endless array of colors and patterns, paracord allows for complete customization to match your dog’s coat, personality, or your own style. You can mix and match colors for unique designs, making each collar truly one-of-a-kind.
- Easy to Clean: Paracord collars are relatively easy to clean with mild soap and water, keeping them fresh and hygienic.
- The Joy of DIY: Crafting a collar yourself adds a personal touch and a sense of accomplishment, creating a special bond between you and your pet.
Materials You’ll Need for Your Fishtail Paracord Collar
Gathering your materials before you begin will make the crafting process smooth and enjoyable. Here’s what you’ll need to create your custom fishtail paracord dog collar:
- Paracord (550 Type III): You will need two strands. The exact length will depend on your dog’s neck circumference (more on this in the first step). Choose colors that you love – two different colors will create a beautiful contrasting fishtail pattern!
- Plastic Side-Release Buckle: Ensure it’s an appropriate size for your dog and the width of the paracord weave. These buckles are easy to open and close, perfect for a tag collar.
- Metal D-Ring (Optional but Recommended for Tags): A small, sturdy D-ring or O-ring will provide a secure place to attach your dog’s identification tags. Make sure its opening is wide enough for your paracord strands to pass through.
- Measuring Tape: For accurately measuring your dog’s neck.
- Sharp Scissors: To make clean cuts through the paracord.
- Lighter or Torch: Essential for melting and sealing the ends of the paracord to prevent fraying and secure knots. Be cautious when using fire.
Having these items ready will ensure a seamless crafting experience, allowing you to focus on the braiding technique without interruptions.
Step-by-Step Tutorial: Crafting Your Fishtail Paracord Dog Collar
This particular fishtail weave is known for its simplicity and quick progress, making it an excellent project for both beginners and experienced paracord enthusiasts. Follow these detailed steps, paying close attention to tension, and you’ll have a stunning new collar in no time.
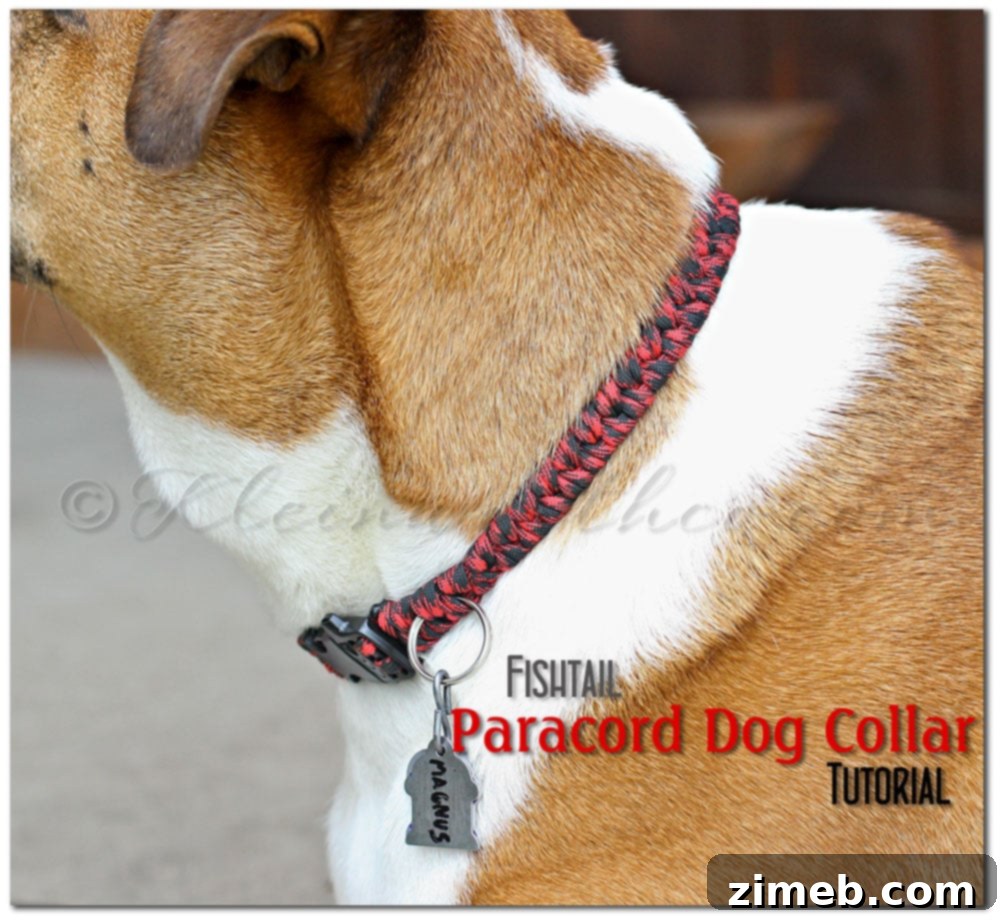
Step 1: Measure and Cut Your Paracord
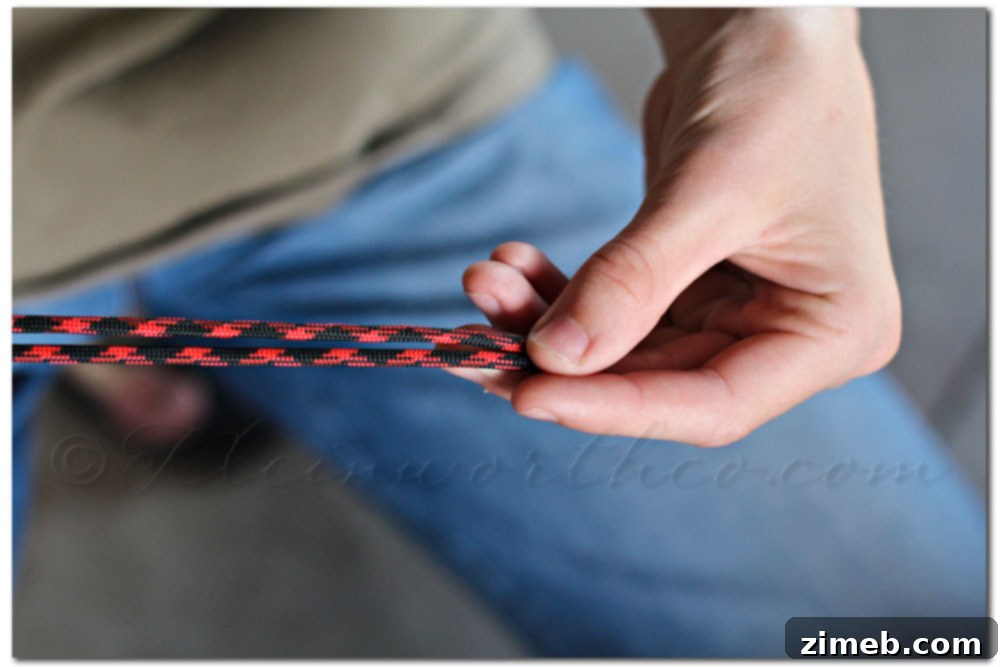
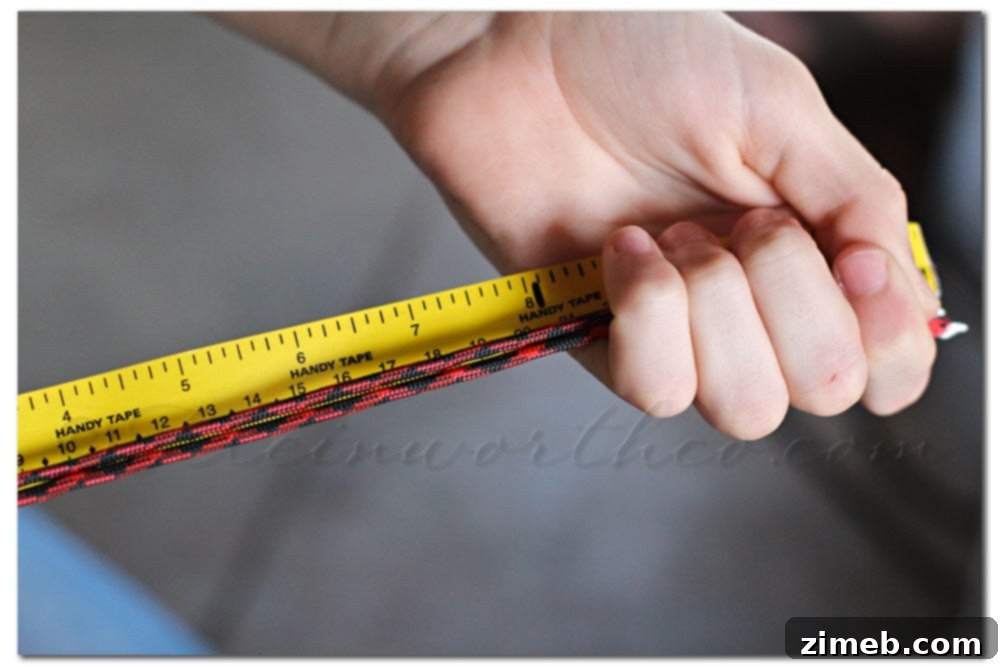
First, accurately measure your dog’s neck circumference. Use a flexible measuring tape and ensure it’s snug but not too tight – you should be able to comfortably fit two fingers underneath. This measurement is crucial for determining the final length of your collar. Take this measurement and multiply it by five. This calculation will give you the approximate length of paracord needed for each strand. For example, if your dog’s neck is 12 inches, you’ll need two strands, each 60 inches long (12 x 5 = 60). This generous length ensures you have enough cord to complete the intricate fishtail braid without running short. Once you have your final calculation, cut two strands of paracord to this precise length. If you’re using two different colors, which creates a fantastic visual pattern, ensure both strands are of equal length.
Step 2: Prepare the First Buckle
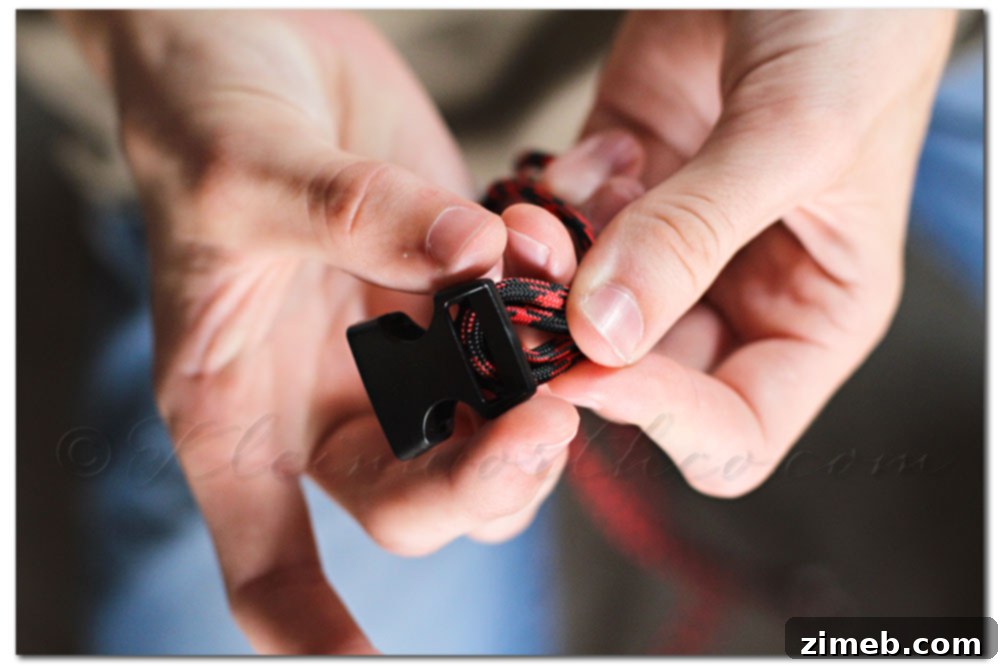
Take both strands of paracord and find their midpoints. Fold them over at the length corresponding to your dog’s original neck measurement. This creates a loop. Push these loops through one half of your plastic side-release clasp. Once the loops are threaded through, take the loose ends of your cord and pass them through the loops you just created. Pull the ends tightly to form a secure knot, often referred to as a “larks head” knot. This action will firmly attach the paracord to the clasp, forming the stable foundation for your collar. Ensure the knot is as close to the buckle as possible and perfectly secure.
Step 3: Organize Your Cords
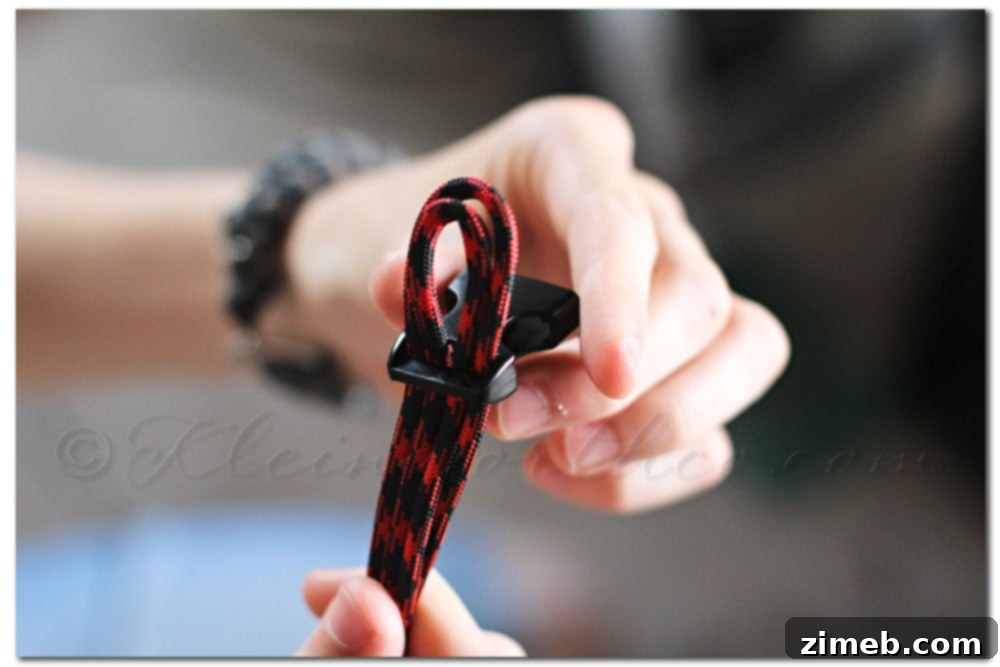
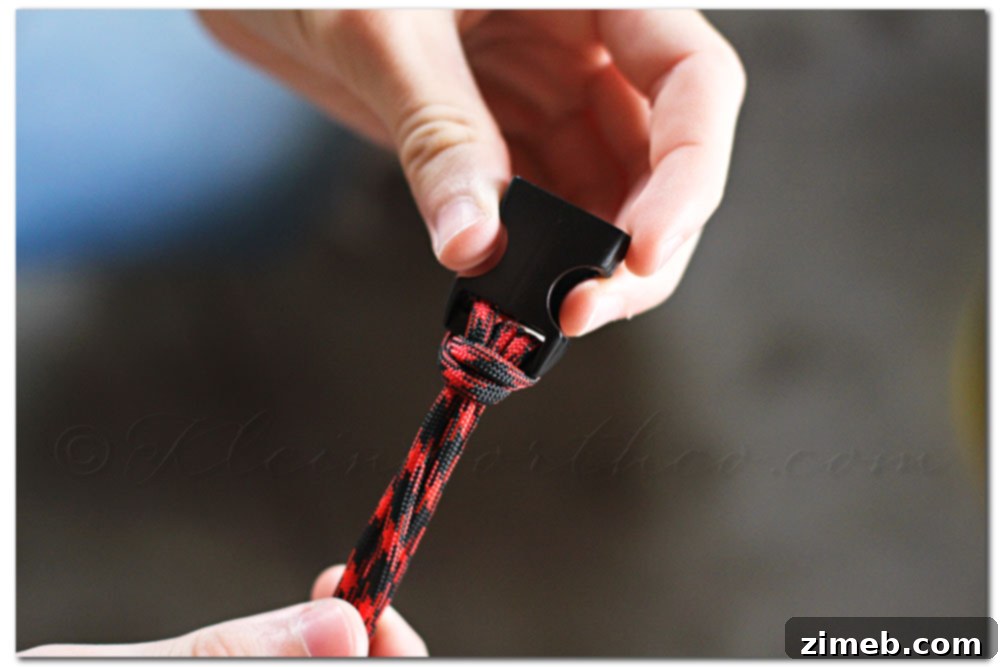
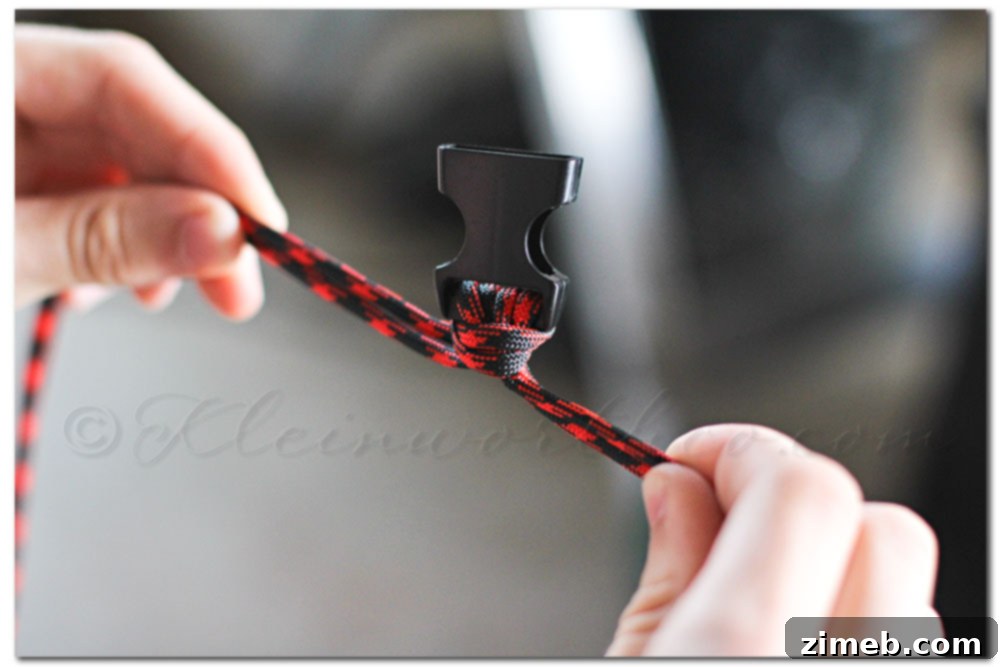
After securing the first buckle, you will have four strands of paracord extending from it. Two of these will be significantly shorter (the core strands of your collar), and two will be much longer (your working strands for the weave). Carefully separate the short sides from the long sides. The two shorter strands will form the core of your collar, dictating its width and providing a sturdy base. The two longer strands are what you will use to create the fishtail braid around these core strands. Keeping them neatly organized will prevent tangles and make the braiding process much smoother.
Step 4: Begin the Fishtail Weave
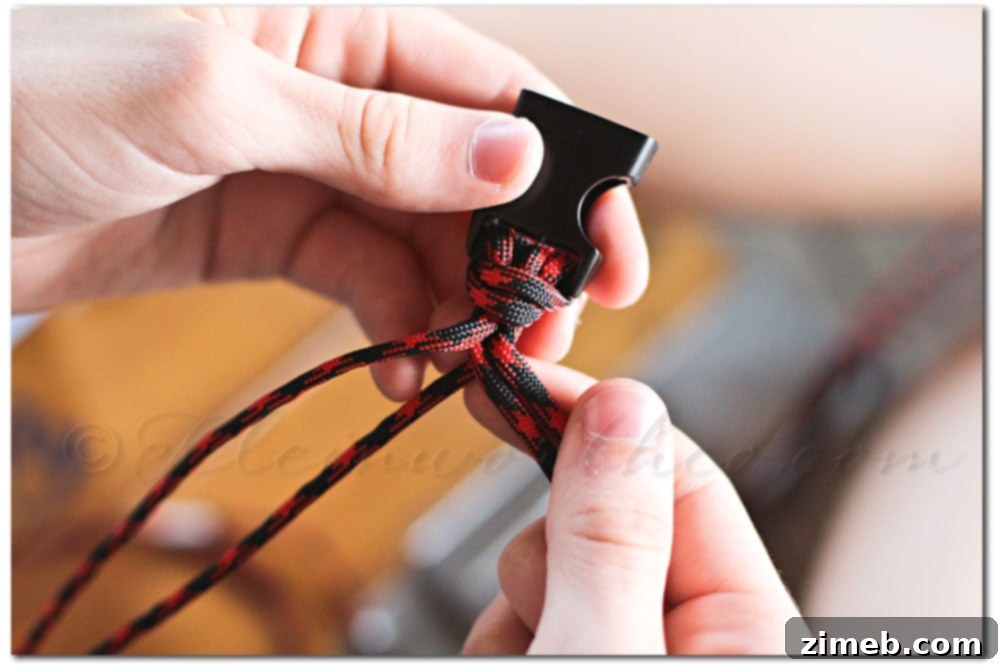
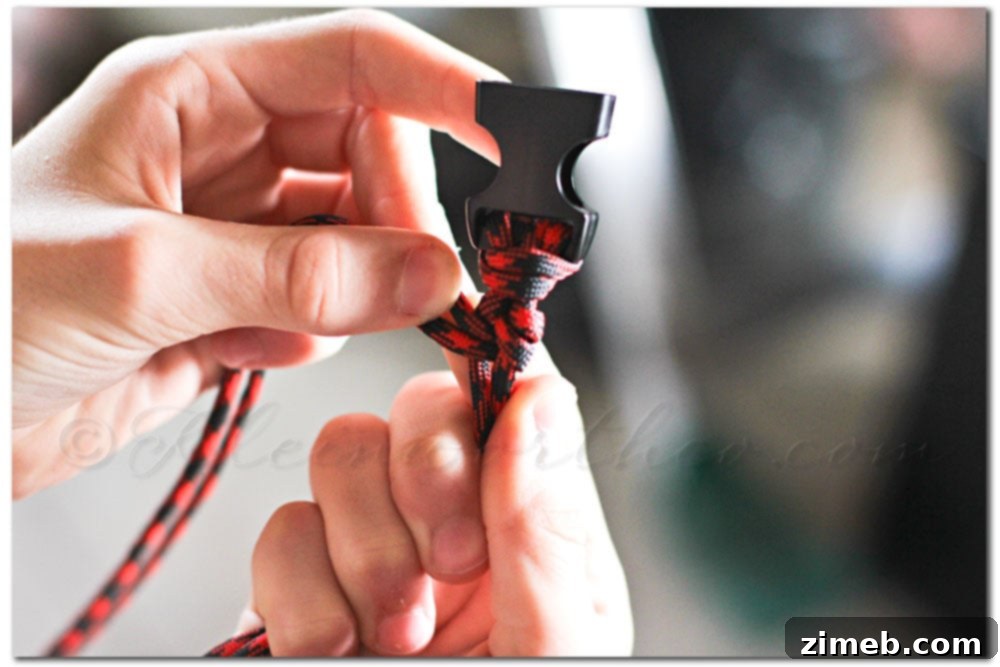
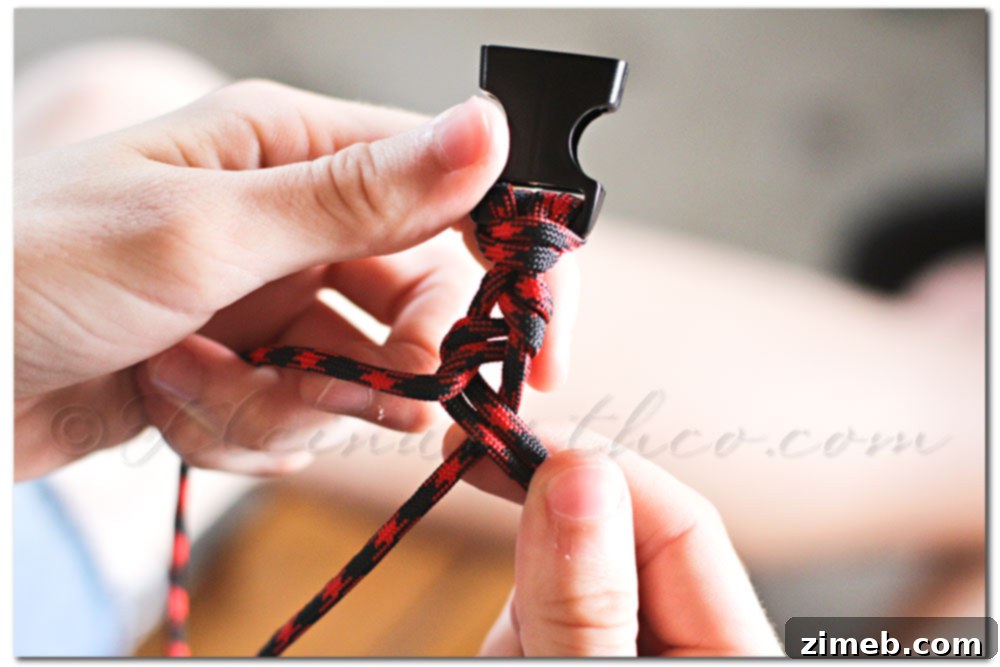
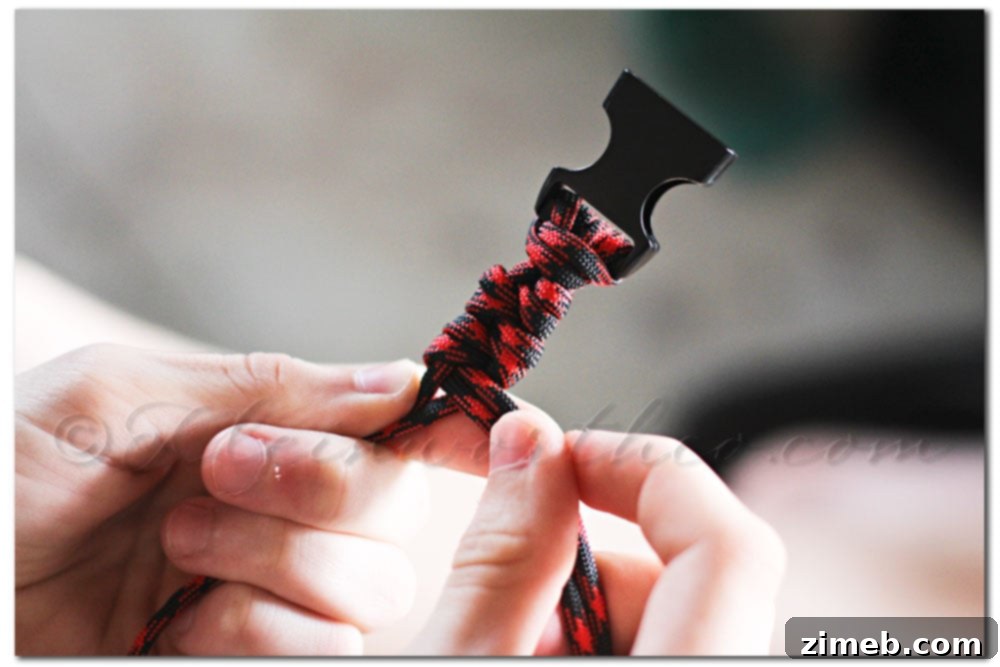
Now, let’s start the distinctive fishtail braid. Take the two long working strands. You will use these to weave around the two shorter core strands. Here’s the pattern: Take one of the long strands and pass it over one of the short core strands, then under the other short core strand, and finally over the second short core strand again, pulling it through to the opposite side. Then, take the other long working strand and repeat the mirror image of this process. Essentially, each long strand crosses over one core, under the other, and back over. The key is to keep this pattern consistent and, most importantly, to pull each loop tightly as you go. You do not want any slack or noticeable gaps; a firm, consistent tension creates a beautiful and durable braid. This methodical repetition will build the distinct fishtail pattern.
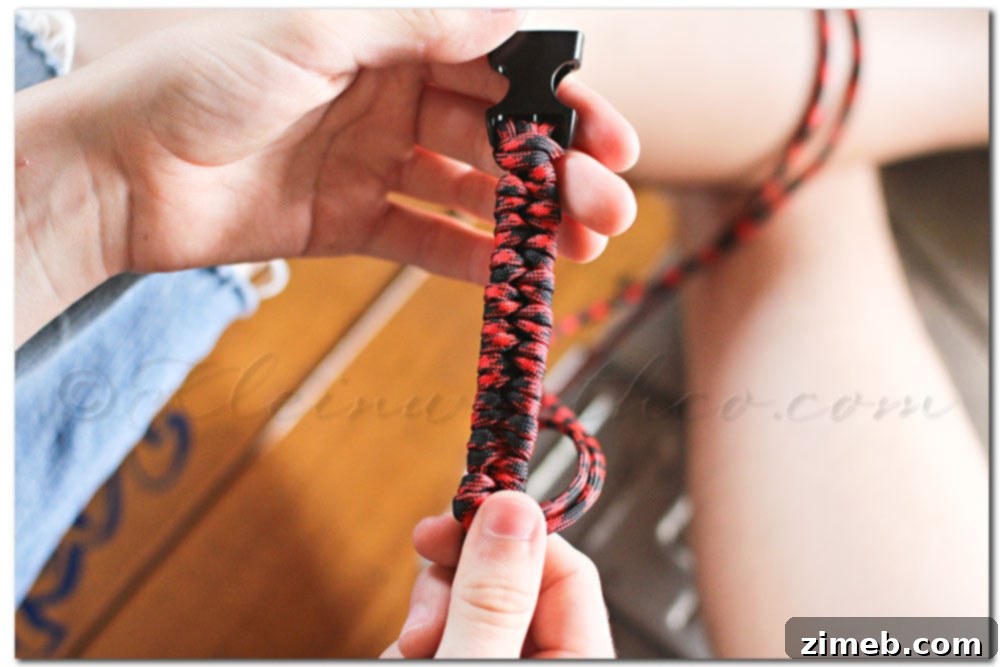
Continue repeating this weaving process, always pulling each knot firmly and evenly. Consistency in tension is vital for achieving a professional-looking and robust collar. If your weave starts to look loose or uneven, gently undo the last few steps and retighten them. You’ll see the beautiful fishtail pattern emerge as you progress along the length of your core strands.
Step 5: Adding the D-Ring (Optional)
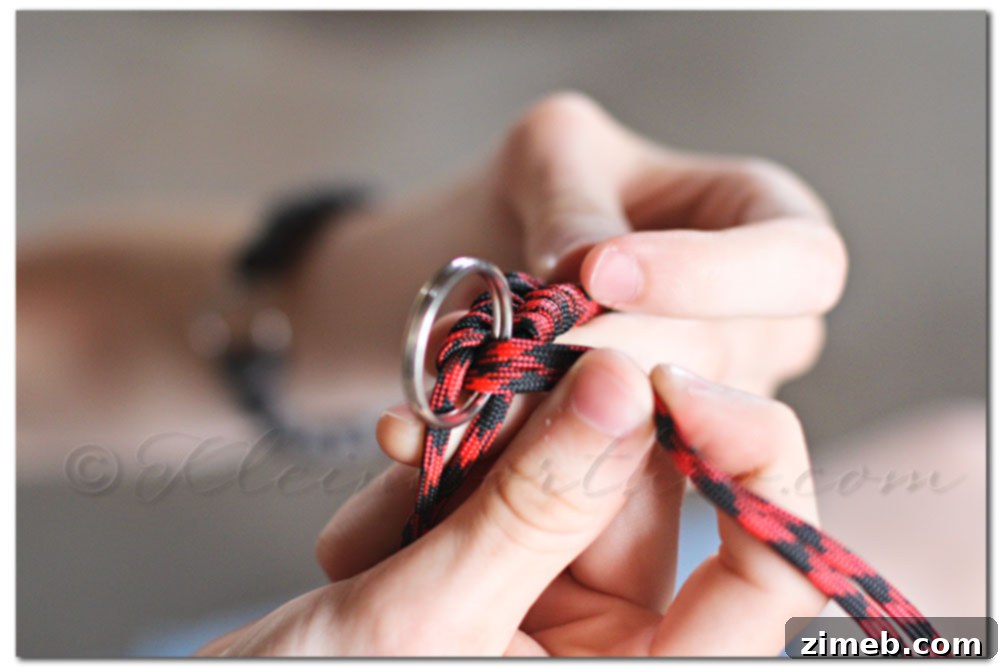
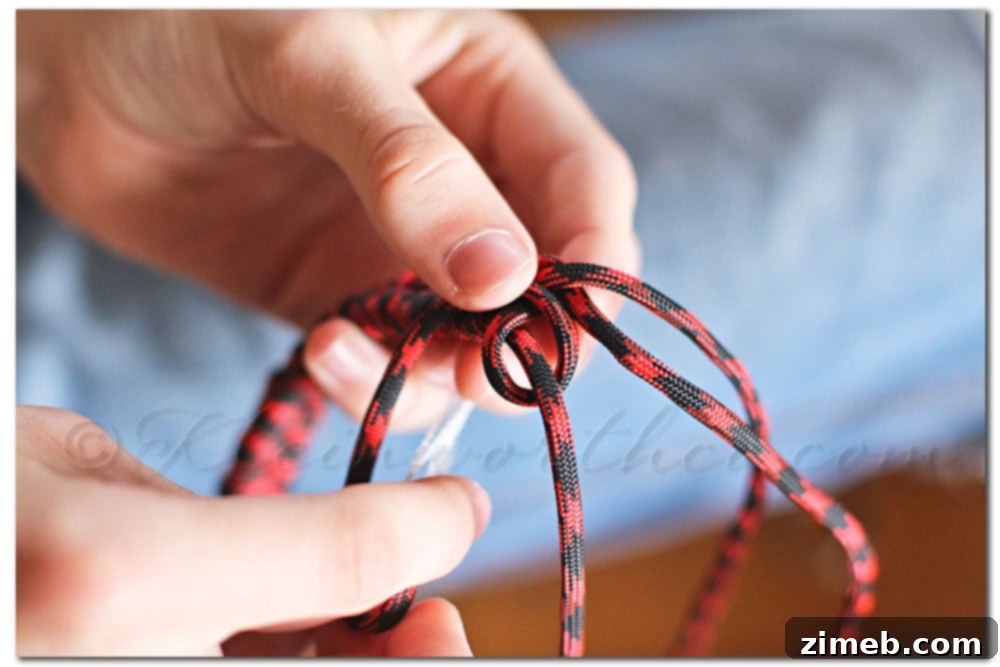
If you wish to add a D-ring or metal loop for your dog’s tags, now is the time. Ideally, you’ll want to place this roughly halfway along the length of your intended collar. To incorporate it, simply slide the D-ring onto the two longer working strands, positioning it against the already woven section. Then, continue weaving as before, ensuring that the D-ring is securely integrated into the braid and remains centered. The subsequent weaves will lock it into place, creating a stable attachment point for identification tags. Make sure the D-ring is oriented correctly before continuing your weave.
Step 6: Finishing the Weave and Securing Ends
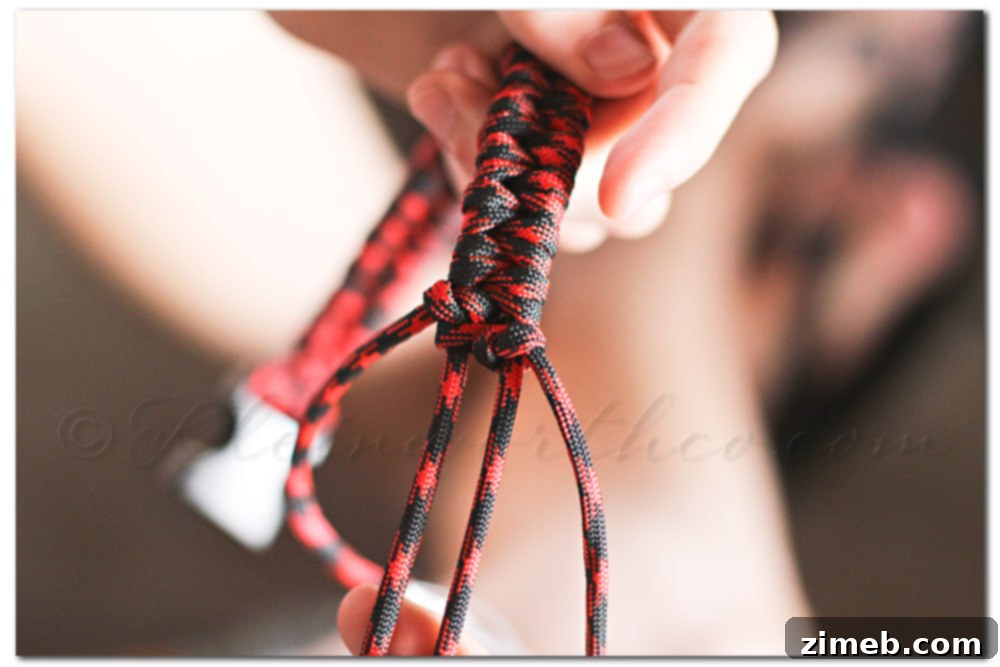
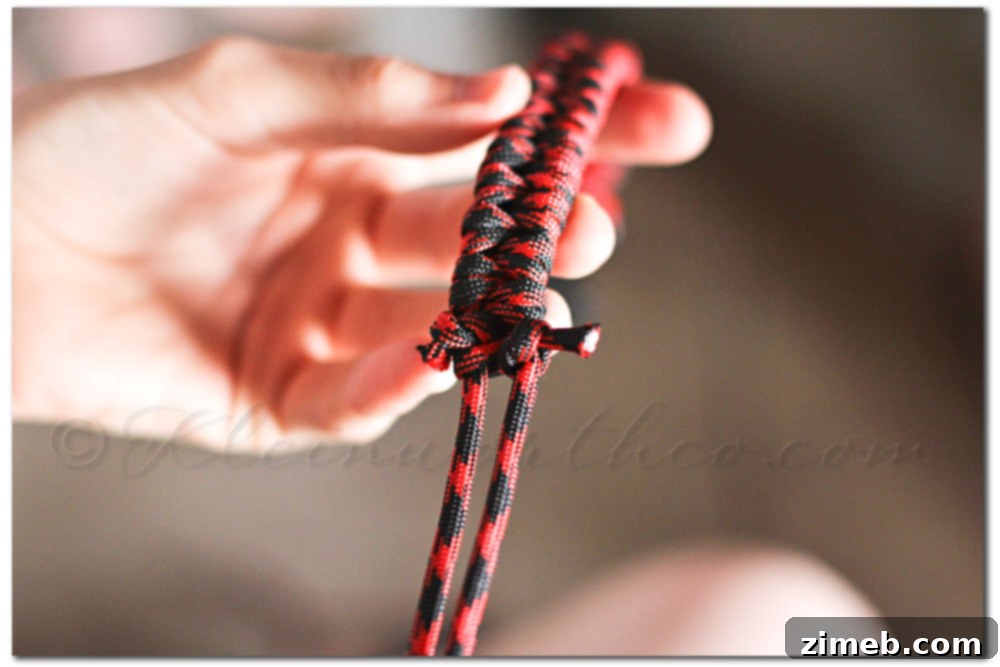
As you approach the desired length for your collar (which should match your dog’s neck measurement), stop weaving when you have at least three inches of the short core cords remaining. It’s better to have a little extra than to run short. To secure the weave, take one of the long working cords and loop it around one of the short core cords, tying a tight knot. Repeat this process for the other long working cord on the other short core cord. Pull both knots very tightly to ensure the braid does not unravel. Once secured, carefully cut off the excess longer cords close to the knots. Then, using a lighter or small torch, carefully melt the cut ends. Press the melted plastic against the main weave (using a metal tool or the back of the lighter, not your fingers) to create a neat, fused finish that prevents fraying and secures the knots permanently. Exercise extreme caution when working with flame.
Step 7: Attaching the Second Buckle
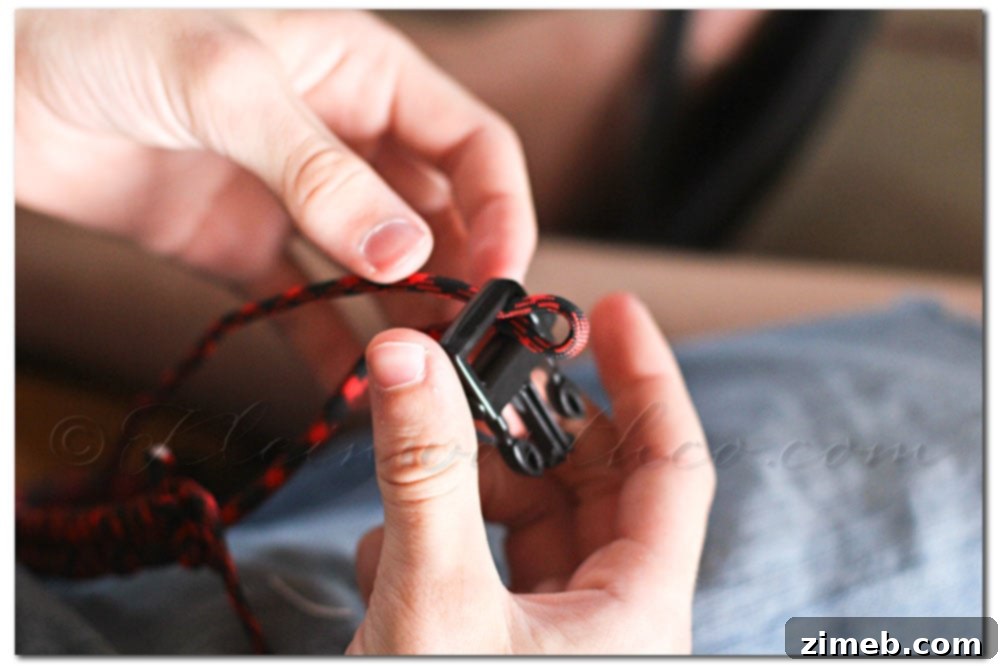
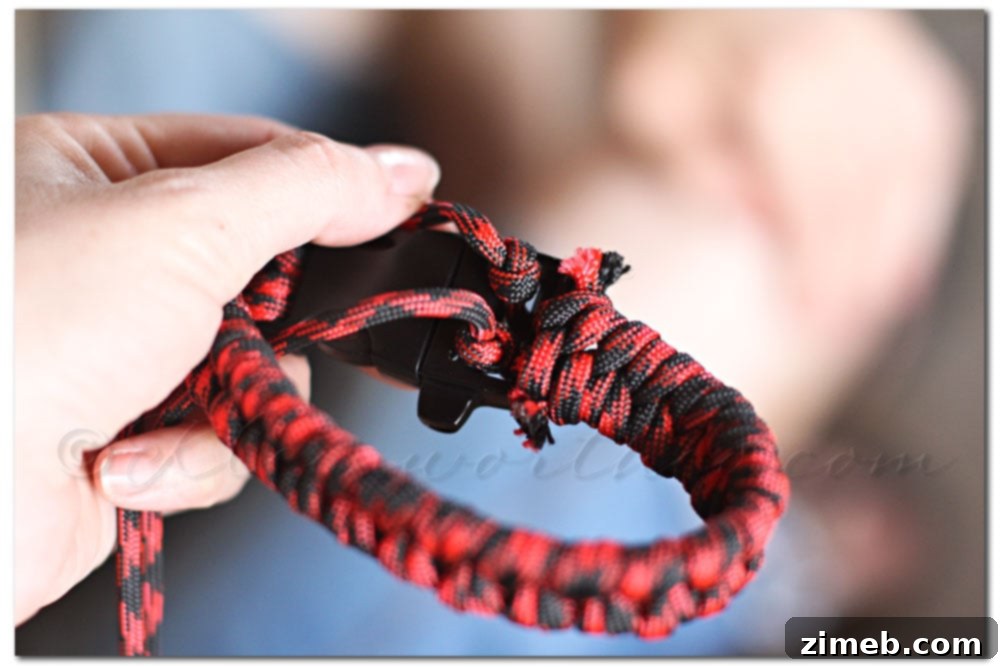
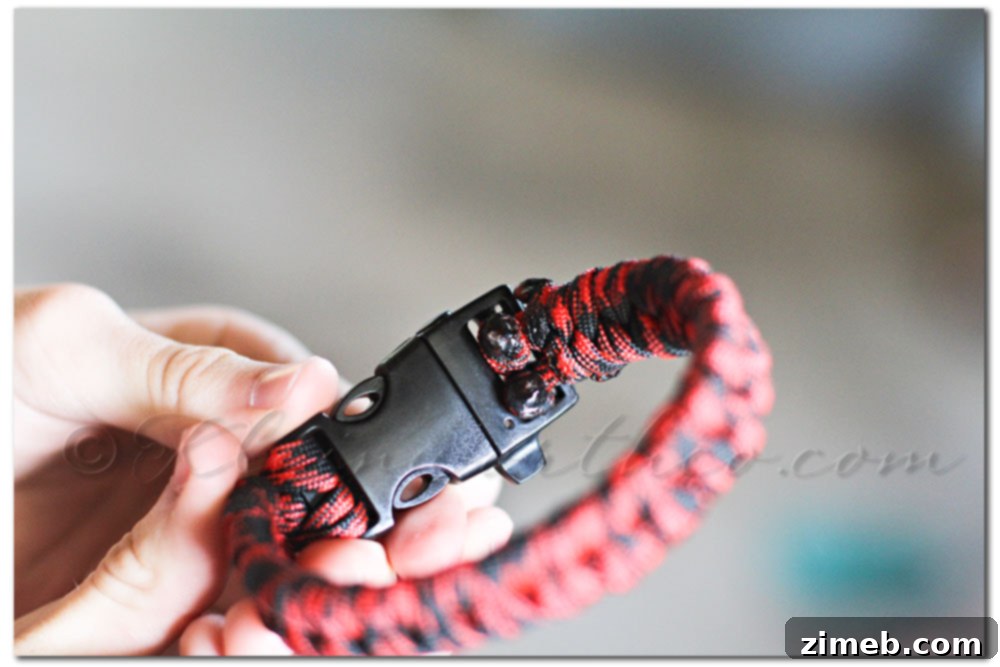
With the main weave finished and secured, it’s time to attach the second half of your plastic side-release buckle. Take the two remaining short core strands and thread them through the opening of the second clasp piece. Pull them through until the clasp is flush against the end of your woven collar. Now, tie these strands into a series of tight knots to securely fasten the buckle. You can use a square knot or any strong binding knot here. The goal is to create a compact and immovable connection to the buckle. Pull each knot as tightly as possible to minimize any looseness.
Step 8: Final Touches
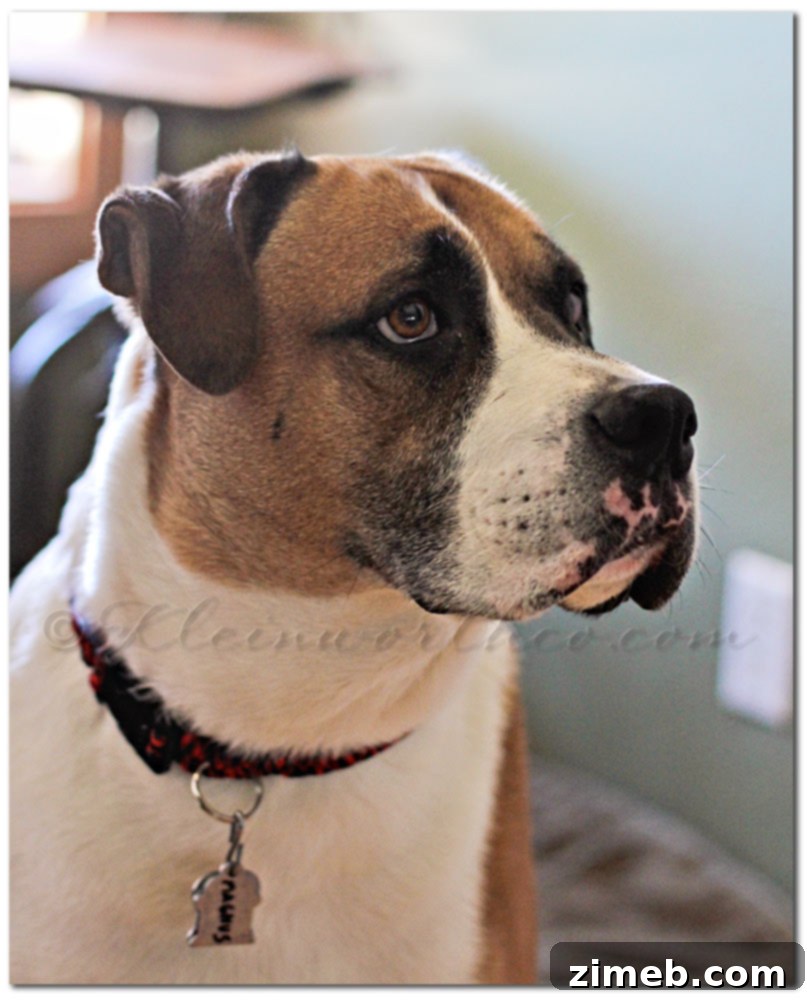
Once the knots for the second buckle are tied and secure, carefully cut off any excess short strands, leaving a small stub. As with the previous step, use your lighter or torch to melt these final cut ends. Gently press the melted paracord against the knot to fuse and seal it, ensuring that the buckle is permanently secured and preventing any fraying. Allow it to cool completely before handling. Your beautiful, handmade fishtail paracord dog collar is now complete!
Personalizing Your Paracord Collar
One of the most exciting aspects of DIY projects like this is the ability to personalize your creation. While our tutorial uses a classic fishtail braid, the possibilities for customization are endless. Consider experimenting with:
- Color Combinations: Use bold contrasting colors, subtle complementary shades, or even a single vibrant color for a striking effect.
- Beads and Charms: Integrate paracord-compatible beads or small charms into your weave for added flair, making sure they are securely fastened and won’t irritate your dog.
- Different Weaves: Once you’ve mastered the fishtail, explore other paracord braids like the Cobra, King Cobra, or Shark Jaw for varied textures and appearances.
Remember, each modification should still prioritize your dog’s comfort and the collar’s intended purpose as a tag holder.
Care and Maintenance for Your Paracord Collar
Paracord collars are inherently durable, but a little care can help them last even longer and stay looking great:
- Cleaning: When the collar gets dirty, simply wash it by hand with mild soap (like dish soap) and warm water. Scrub gently with a brush if needed. Rinse thoroughly and allow it to air dry completely to prevent any mildew.
- Inspection: Periodically inspect the collar for any signs of wear, especially around the clasps, D-ring, and melted ends. While paracord is strong, constant friction or chewing can eventually cause damage.
- Storage: When not in use, store the collar in a clean, dry place away from direct sunlight to preserve its colors and integrity.
There’s nothing quite like seeing your furry friend proudly sporting a handmade accessory that you crafted with love and care. Our dog absolutely adores his new fishtail paracord collar, and it’s a constant reminder of a fun and rewarding project. The unique texture and vibrant colors truly stand out, making it a conversation starter on walks (when he’s on his walking harness, of course!).
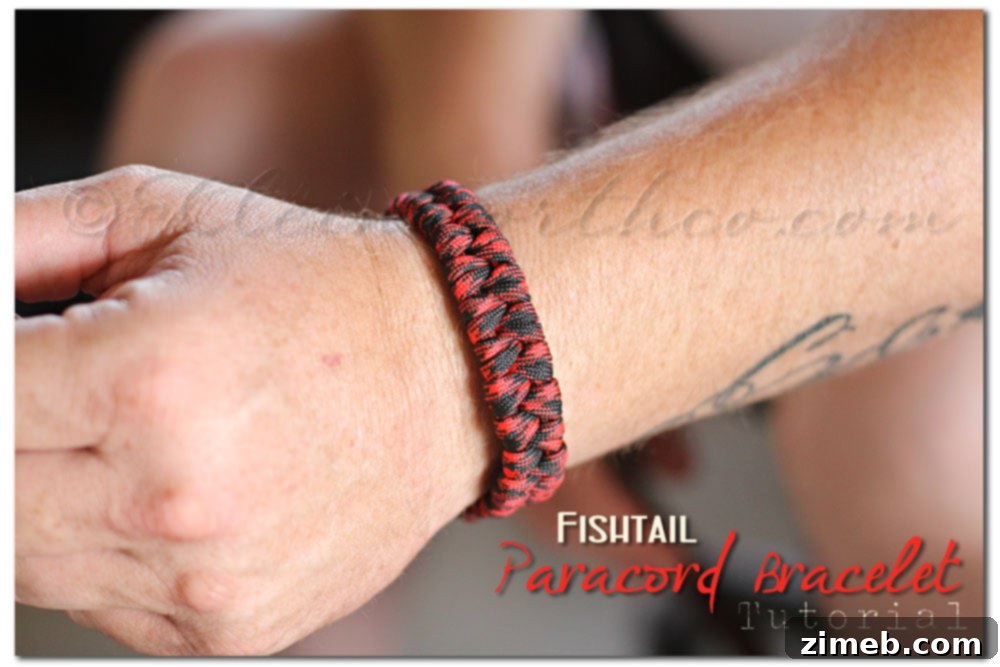
And the fun doesn’t stop there! Using the very same fishtail braiding technique, we were able to create a matching paracord bracelet for my husband. This illustrates the incredible versatility of paracord crafts – once you master a weave, you can apply it to a multitude of projects, creating coordinated sets for pets and their humans, or unique gifts for friends and family. We hope this comprehensive tutorial empowers you to embark on your own paracord crafting adventure. Happy braiding!
Don’t forget to share your creations with us and connect with our community!
For more creative projects and tutorials, join our mailing list or follow us on social media.