
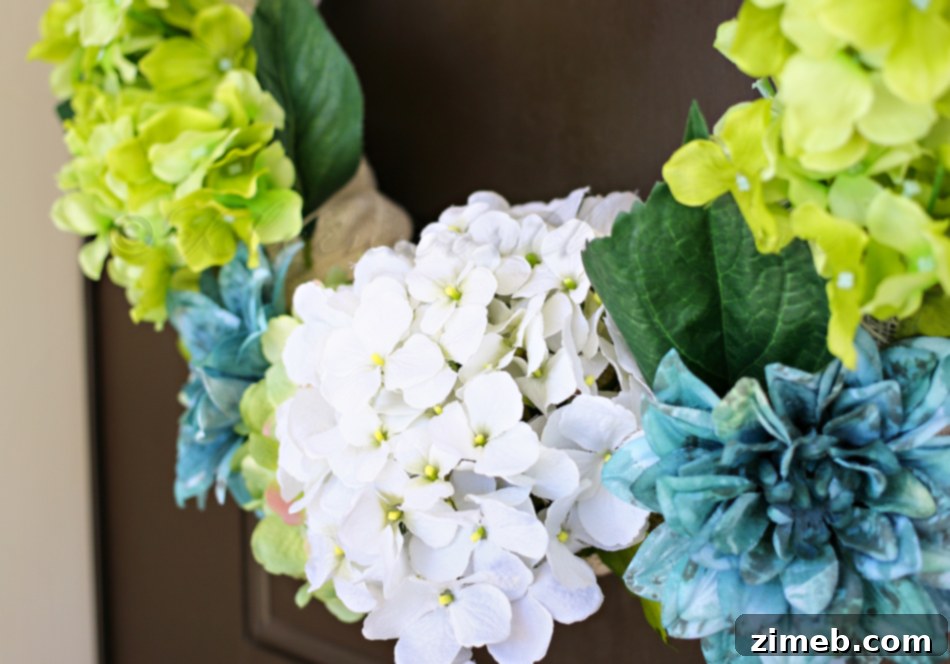
Transforming your front door into a welcoming beacon of seasonal cheer doesn’t have to be a complicated or time-consuming affair. In fact, creating a stunning DIY summer wreath can be incredibly simple, especially when you discover the magic of crafting without a glue gun! If you’ve ever shied away from wreath making due to the hassle of hot glue, the waiting for it to heat up, or safety concerns, then this tutorial is for you.
I absolutely adore changing out my front door decor each month, finding immense joy in these small, creative updates that truly make a house feel like a home. While my mantle might not get a seasonal revamp every few weeks, my front porch and door are always ready for a fresh look. This particular colorful summer wreath project was not only incredibly fun but also remarkably quick, taking less than an hour from start to finish. And the best part? No glue gun was required!
This method is perfect for anyone looking for an easy wreath craft, whether you’re a seasoned DIYer or just starting out. It’s safe, straightforward, and produces a beautiful, personalized piece that will instantly brighten your entryway. Let’s dive into how you can create your very own vibrant summer masterpiece, complete with flowing fabrics and cheerful blooms, all secured with simple twine.
Why Choose a No-Glue-Gun Wreath Method?
The decision to skip the hot glue gun wasn’t just about speed; it was primarily about convenience and safety. As someone with a fire chief for a husband, I’m incredibly cautious about anything that could pose a fire hazard. The thought of leaving a hot glue gun plugged in or even remotely warm while needing to dash out the door for an urgent pickup fills me with unease. I apply the same strict rule to my stove, curling iron, and blow dryer – if it’s warm, I can’t leave the house. This personal rule often limits my crafting time, but it also pushes me to find innovative, safer solutions.
This project became a perfect test for an alternative method. I wanted to complete the wreath in one afternoon, knowing I might get a call to pick up my son at any moment. The no-glue approach eliminated any safety worries and allowed me to work freely, knowing I could drop everything and go without a second thought. Beyond the safety aspect, crafting without glue guns also means:
- No Burns: Say goodbye to accidental hot glue burns.
- No Mess: No strings of glue or sticky surfaces to clean up.
- Instant Gratification: No waiting for glue to heat up or cool down, allowing for a faster workflow.
- Kid-Friendly: A safer option for crafting with children, making it a wonderful family activity.
- Flexibility: Elements can be easily repositioned or changed, offering more design freedom.
Gather Your Supplies: What You’ll Need for Your Easy Summer Wreath
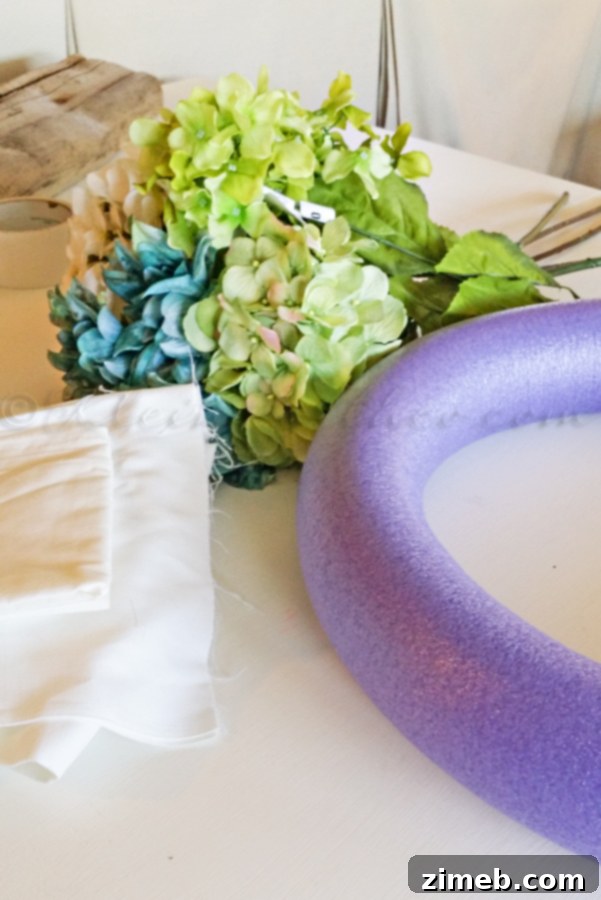
One of the beauties of this homemade summer wreath is the simplicity of its materials. You likely have some of these items already, or they are readily available at any craft or dollar store. Here’s what I started with, and what you’ll need to create your own:
Essential Materials:
- Pool Noodle (Thicker Variety): This forms the foundational ring of your wreath. Its flexibility allows it to be easily bent into a circular shape, and its lightweight nature makes the finished wreath easy to hang. Choose a thicker noodle for a more substantial look.
- Cream Fabric: I opted for a soft cream fabric to create a neutral, elegant base. Cotton or linen blends work wonderfully. You’ll need enough to cut into long strips for wrapping.
- Cream Burlap: Burlap adds a fantastic rustic texture and visual interest. Its loosely woven nature is perfect for creating volume and dimension. Again, cream maintains a cohesive, understated look.
- Artificial Flowers: Choose an assortment of colorful artificial flowers that evoke the joy and vibrancy of summer. Think bright pinks, sunny yellows, cheerful oranges, or serene blues. Look for flowers with flexible stems that can be easily tucked and secured.
- Ribbon: A length of ribbon, ideally in a contrasting or complementary color to your flowers (I used turquoise), will add a beautiful finishing touch and a pop of accent color.
- Lots of Twine: This is the unsung hero of our wreath making without glue project! Twine will be used to secure everything in place, from the fabric wraps to the flower stems. Make sure you have a generous amount.
Step-by-Step Tutorial: Crafting Your Colorful Summer Wreath
Now, let’s get into the nitty-gritty of how to assemble this gorgeous fabric wreath tutorial. Each step is designed to be simple and effective, ensuring a beautiful result without any adhesive.
Step 1: Prepare Your Wreath Form
First, take your thick pool noodle and form it into a sturdy circular shape. Overlap the ends slightly and secure them tightly with duck tape. The duck tape ensures that your wreath maintains its perfect round form, providing a robust base for all subsequent layers. Take your time to make this connection as strong as possible, as it will be the backbone of your entire wreath.
Step 2: Fabric Wrapping – The Foundation
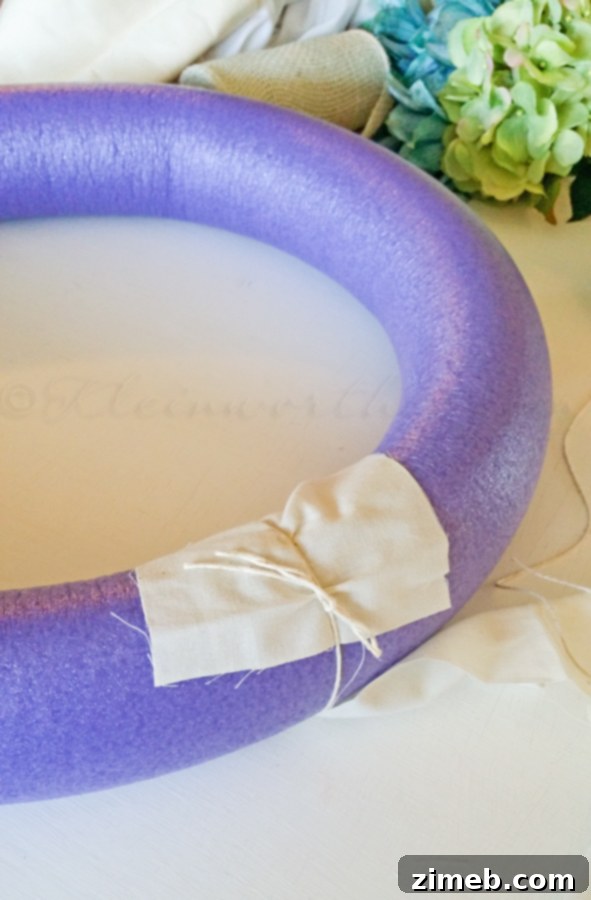
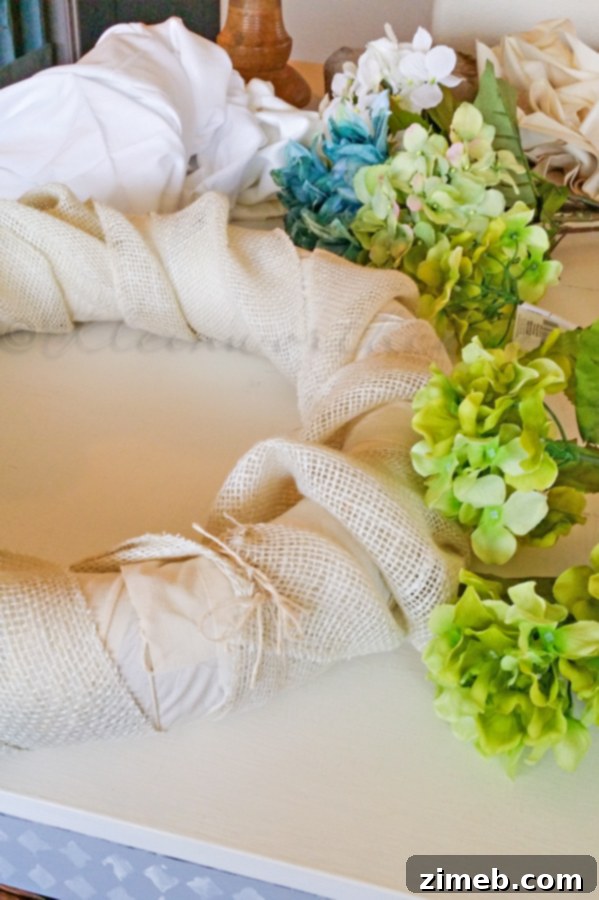
Next, take your cream fabric and cut it into long, manageable strips. The width of your strips can vary slightly, but aim for something that will provide good coverage without being too bulky. Once your strips are ready, secure one end of the first fabric strip to your pool noodle form using a piece of twine. Tie it snugly to prevent any slippage. Begin wrapping the entire pool noodle form with the cream fabric, overlapping each pass slightly to ensure full coverage. This creates a soft, uniform base that will peek through later layers. Continue wrapping until the entire noodle is covered, then secure the end of the last fabric strip with another piece of twine, tying it off neatly.
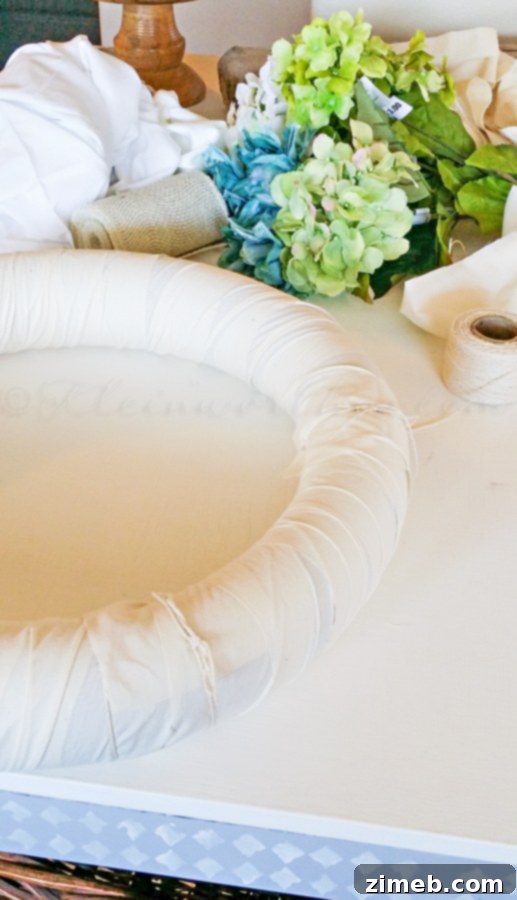
As you can see here – the noodle has been completely wrapped with the cream fabric – then I secured the end with another piece of string.
Step 3: Adding Texture with Burlap
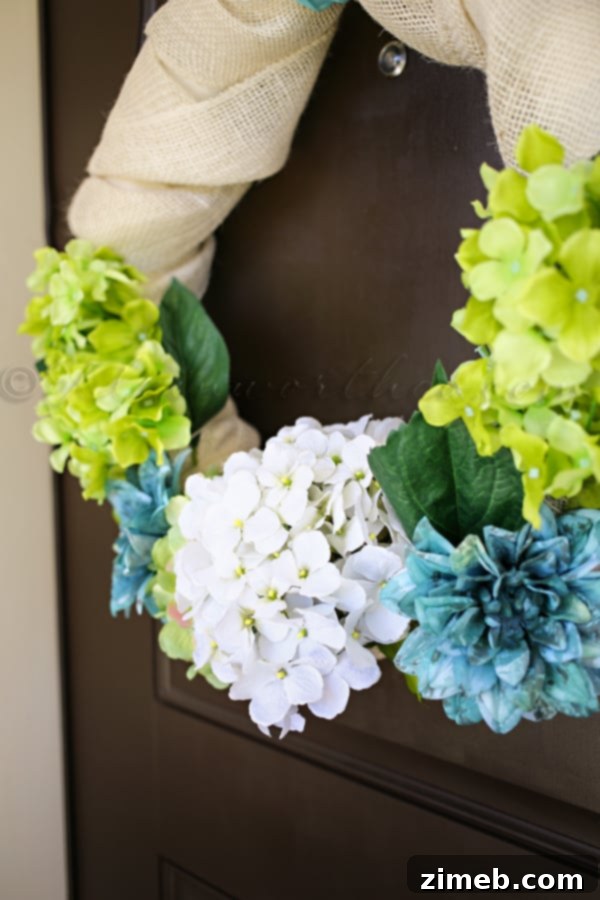
Now, it’s time to introduce some texture! Take your cream burlap and follow the same wrapping process as you did with the fabric. However, with the burlap, you’ll want to wrap it a bit more loosely. This allows the burlap to maintain its natural width and provides a beautiful, organic texture that contrasts nicely with the smoother fabric underneath. Overlap the burlap strips as you go, ensuring a rich and full appearance. Secure both the beginning and end of the burlap wrap with twine, just as you did with the fabric.
Step 4: Arranging Your Floral Accents
This is where your wreath truly comes to life! Begin arranging your artificial flowers around the wreath form. Instead of gluing, you will simply tuck the stems of each flower into the overlaps of the fabric and burlap. This method allows you to easily adjust the placement until you achieve your desired look. Once you’re happy with the arrangement of a flower or a small cluster, take a piece of twine and tie it securely around the stem(s) and the wreath form. You can hide the twine by tucking it under the fabric or behind the flowers. Continue this process, adding flowers and securing them with twine, until your wreath boasts a vibrant and balanced display. Don’t be afraid to group flowers or scatter them for different effects. The key is to keep tying until everything feels firmly in place.
Step 5: The Finishing Touch – A Pop of Ribbon
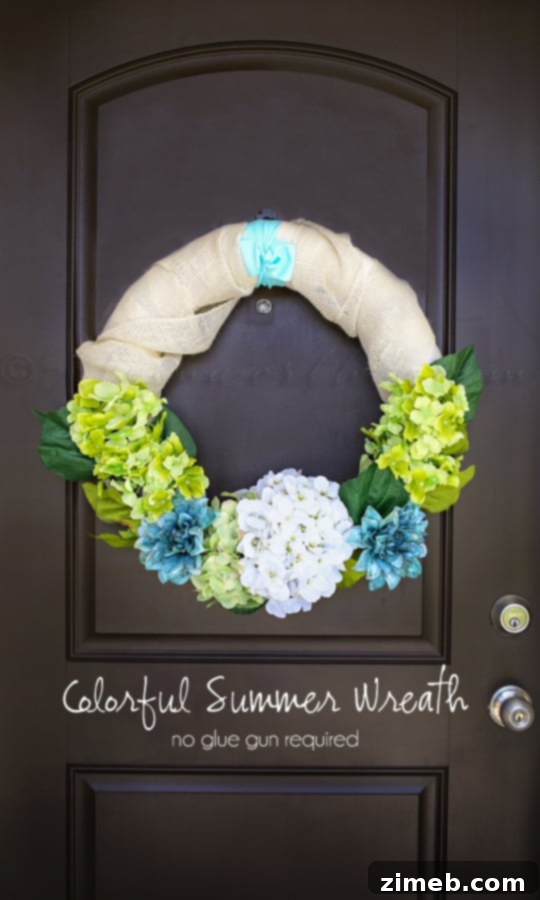
To add a final flourish and a distinct “pop” of color, incorporate your chosen ribbon. I selected a bright turquoise ribbon, which beautifully complemented the subtle tones of the fabric and the vibrancy of the flowers. Create a simple knot or a small bow with the ribbon and secure it to the top of your wreath with another piece of twine. This not only adds aesthetic appeal but also provides a convenient way to hang your completed wreath. This little detail can truly tie the whole design together.
The entire process is remarkably simple and rewarding. I was able to complete this beautiful wreath just as my son called for his ride, proving that quick, creative projects are absolutely possible even on a tight schedule. The result was a stunning, personalized beginner wreath project that brings a cheerful summer vibe to my front door.
Tips for Success and Customization
This no glue gun wreath method is incredibly versatile, allowing for endless customization. Here are some tips to make your wreath truly unique:
- Experiment with Colors and Textures: Don’t limit yourself to cream and burlap. Choose fabrics and flowers in colors that match your home’s aesthetic or the current season. Velvet ribbons for fall, glittery fabrics for winter – the possibilities are endless.
- Seasonal Adaptability: While this is a summer door decor idea, the same technique can be used for any season. Swap out summer blooms for autumnal leaves, winter berries, or spring pastels.
- Add Embellishments: Consider incorporating other small, lightweight elements like small ornaments, mini bird nests, or even photos, securing them with twine.
- Durability: For outdoor use, select artificial flowers and fabrics that are designed to withstand the elements. While the twine method is secure, extreme weather might require occasional adjustments.
- Kid-Friendly Crafting: This project is fantastic for involving children. Without the dangers of hot glue, kids can safely participate in wrapping the fabric and arranging the flowers, fostering their creativity.
Why This No-Fuss Wreath Method is Your Go-To
In a world where DIY projects can often feel overwhelming, this quick wreath idea stands out for its simplicity and effectiveness. It proves that you don’t need a craft room full of specialized tools or hours of free time to create something beautiful and impactful. This easy wreath craft offers a refreshing alternative to traditional wreath-making, prioritizing safety, speed, and creative freedom. It’s an ideal choice for anyone looking to add a personal touch to their home decor, celebrate the seasons, or simply enjoy a relaxing and rewarding crafting experience.
So, next time you’re thinking about updating your front door, remember this ingenious no-glue-gun method. It’s a testament to the idea that sometimes, the simplest solutions are the most brilliant. Get creative, have fun, and enjoy the satisfaction of a handmade wreath that beautifully reflects your personal style.
Explore More DIY Wreath Inspiration
If you’re looking for more fantastic wreath ideas to adorn your home throughout the year, check out these inspiring projects:
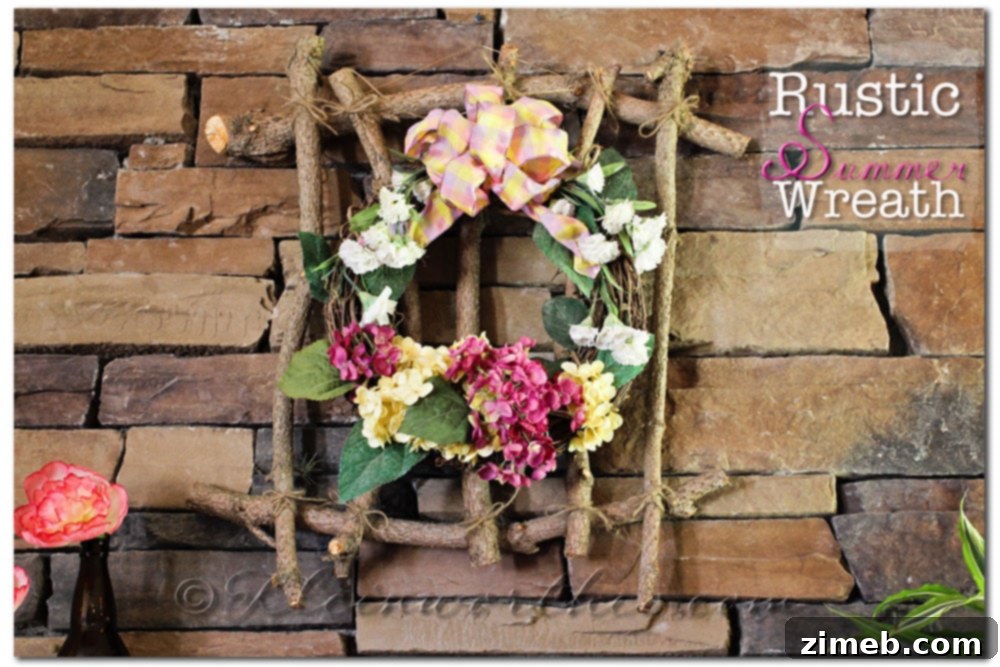
Rustic Summer Wreath
Simple 30 Minute Tie-Tab Wreath
Frayed Corn Husk Wreath