
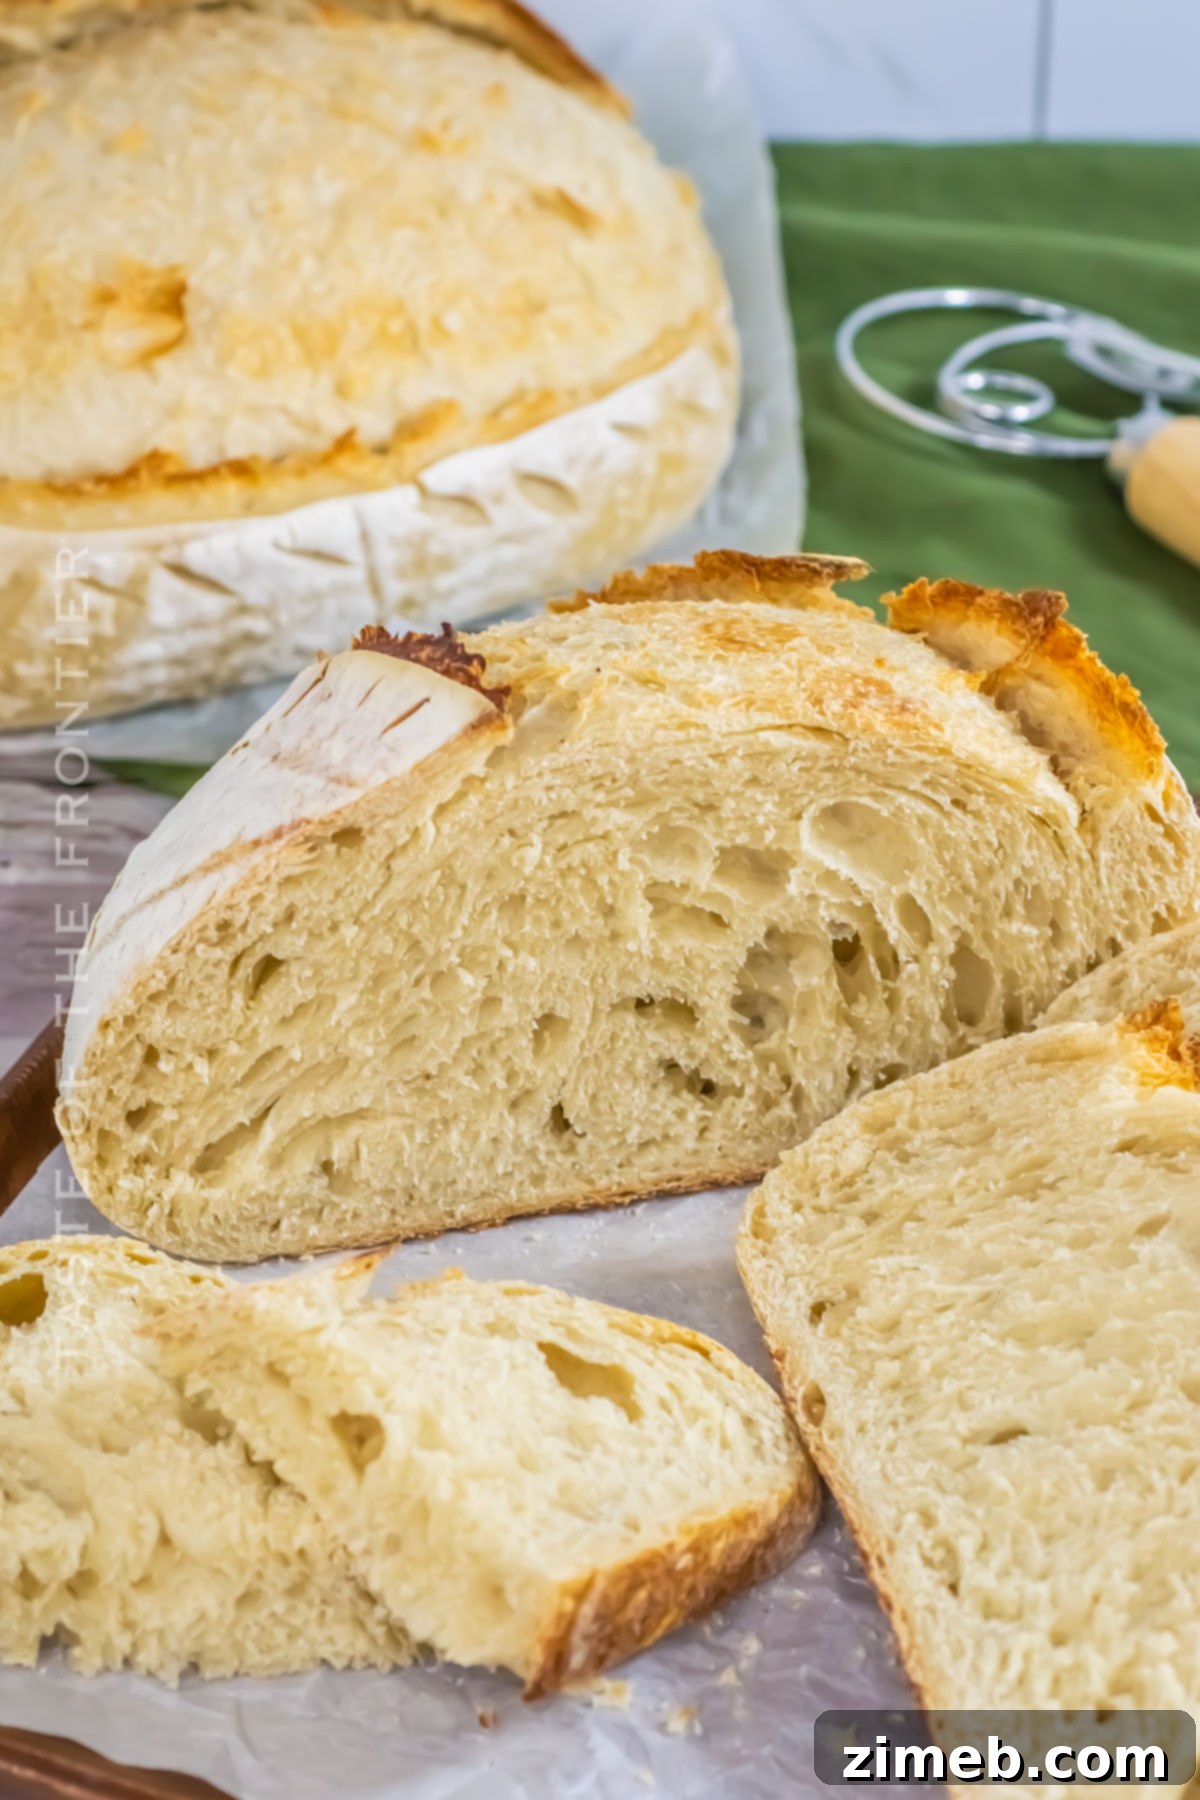
Discover the perfect easy Sourdough Bread Recipe using a homemade starter. Learn step-by-step instructions to create delicious, tangy sourdough bread with a crispy crust and chewy interior. Ideal for home bakers of all skill levels.
The Ultimate Easy Sourdough Bread Recipe for Home Bakers
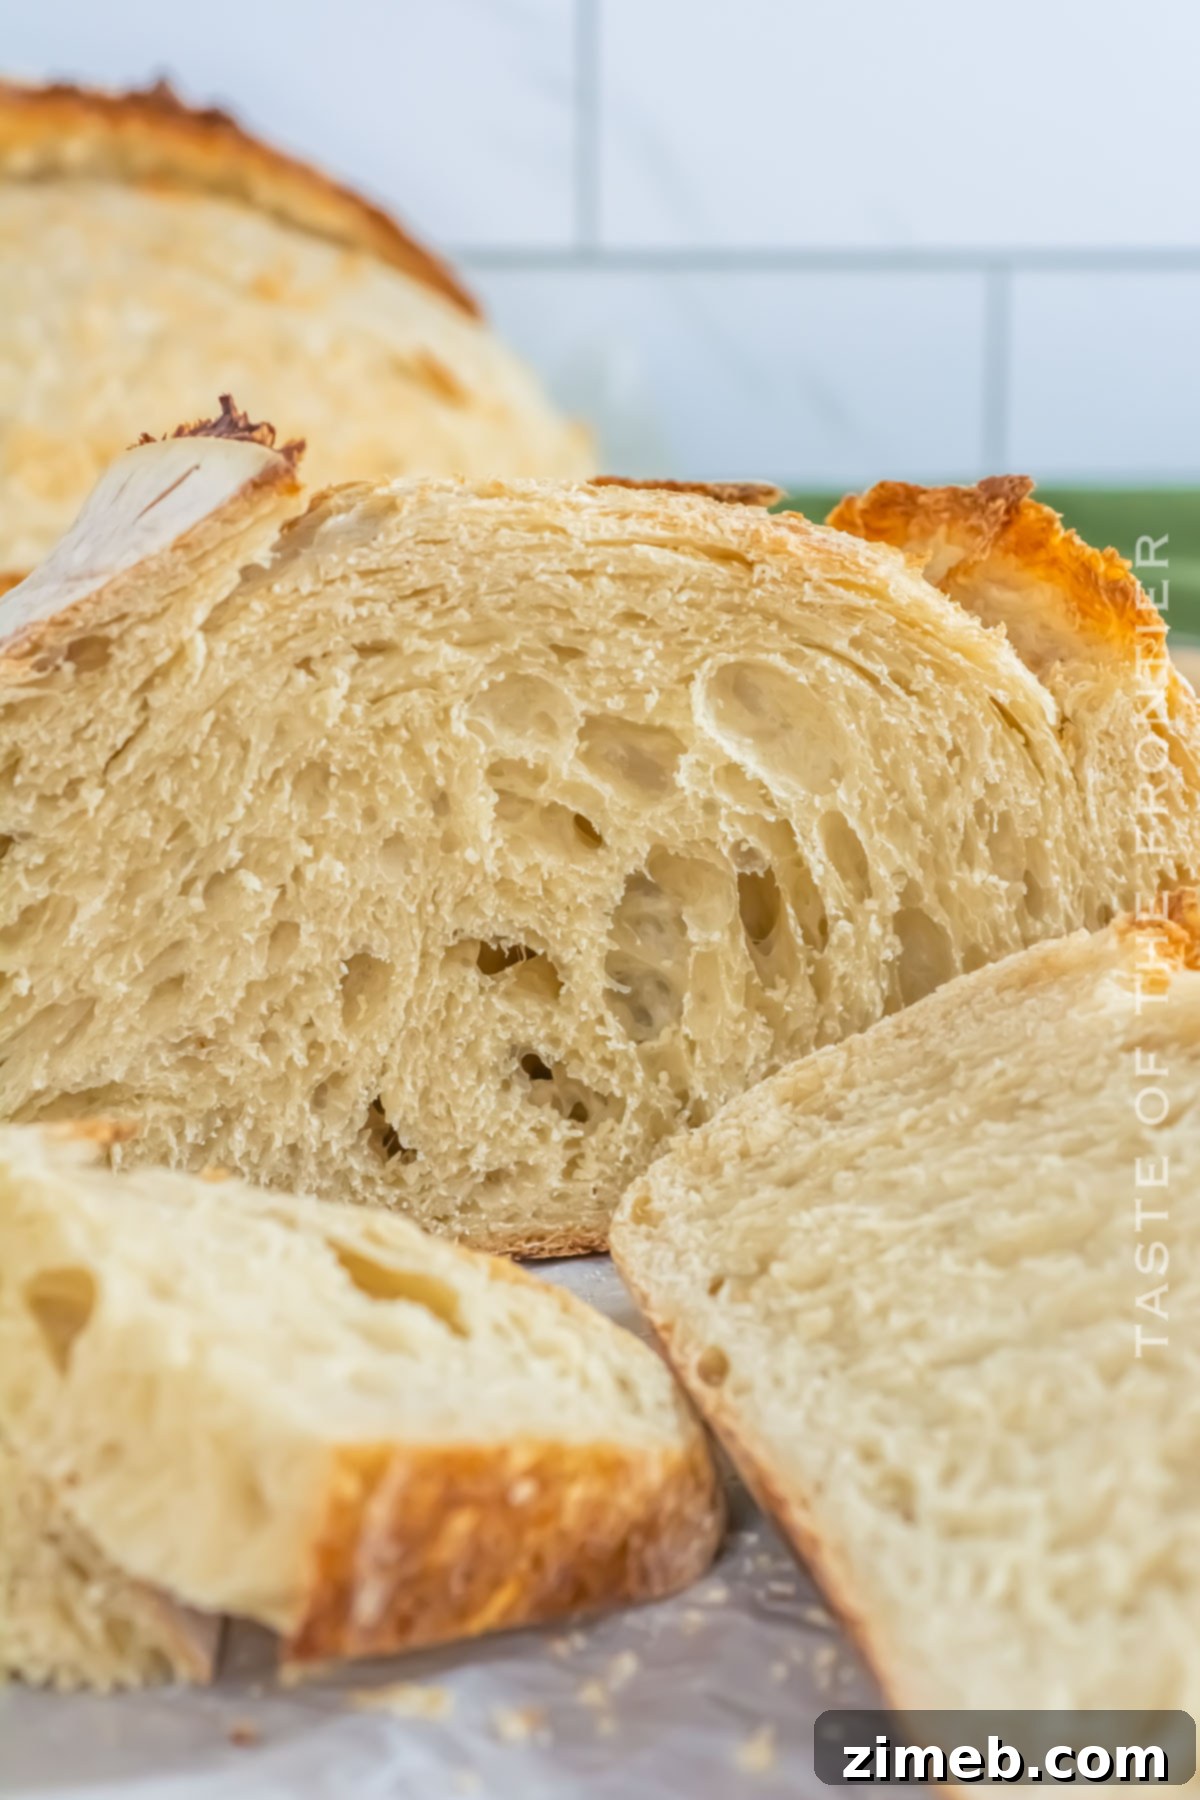
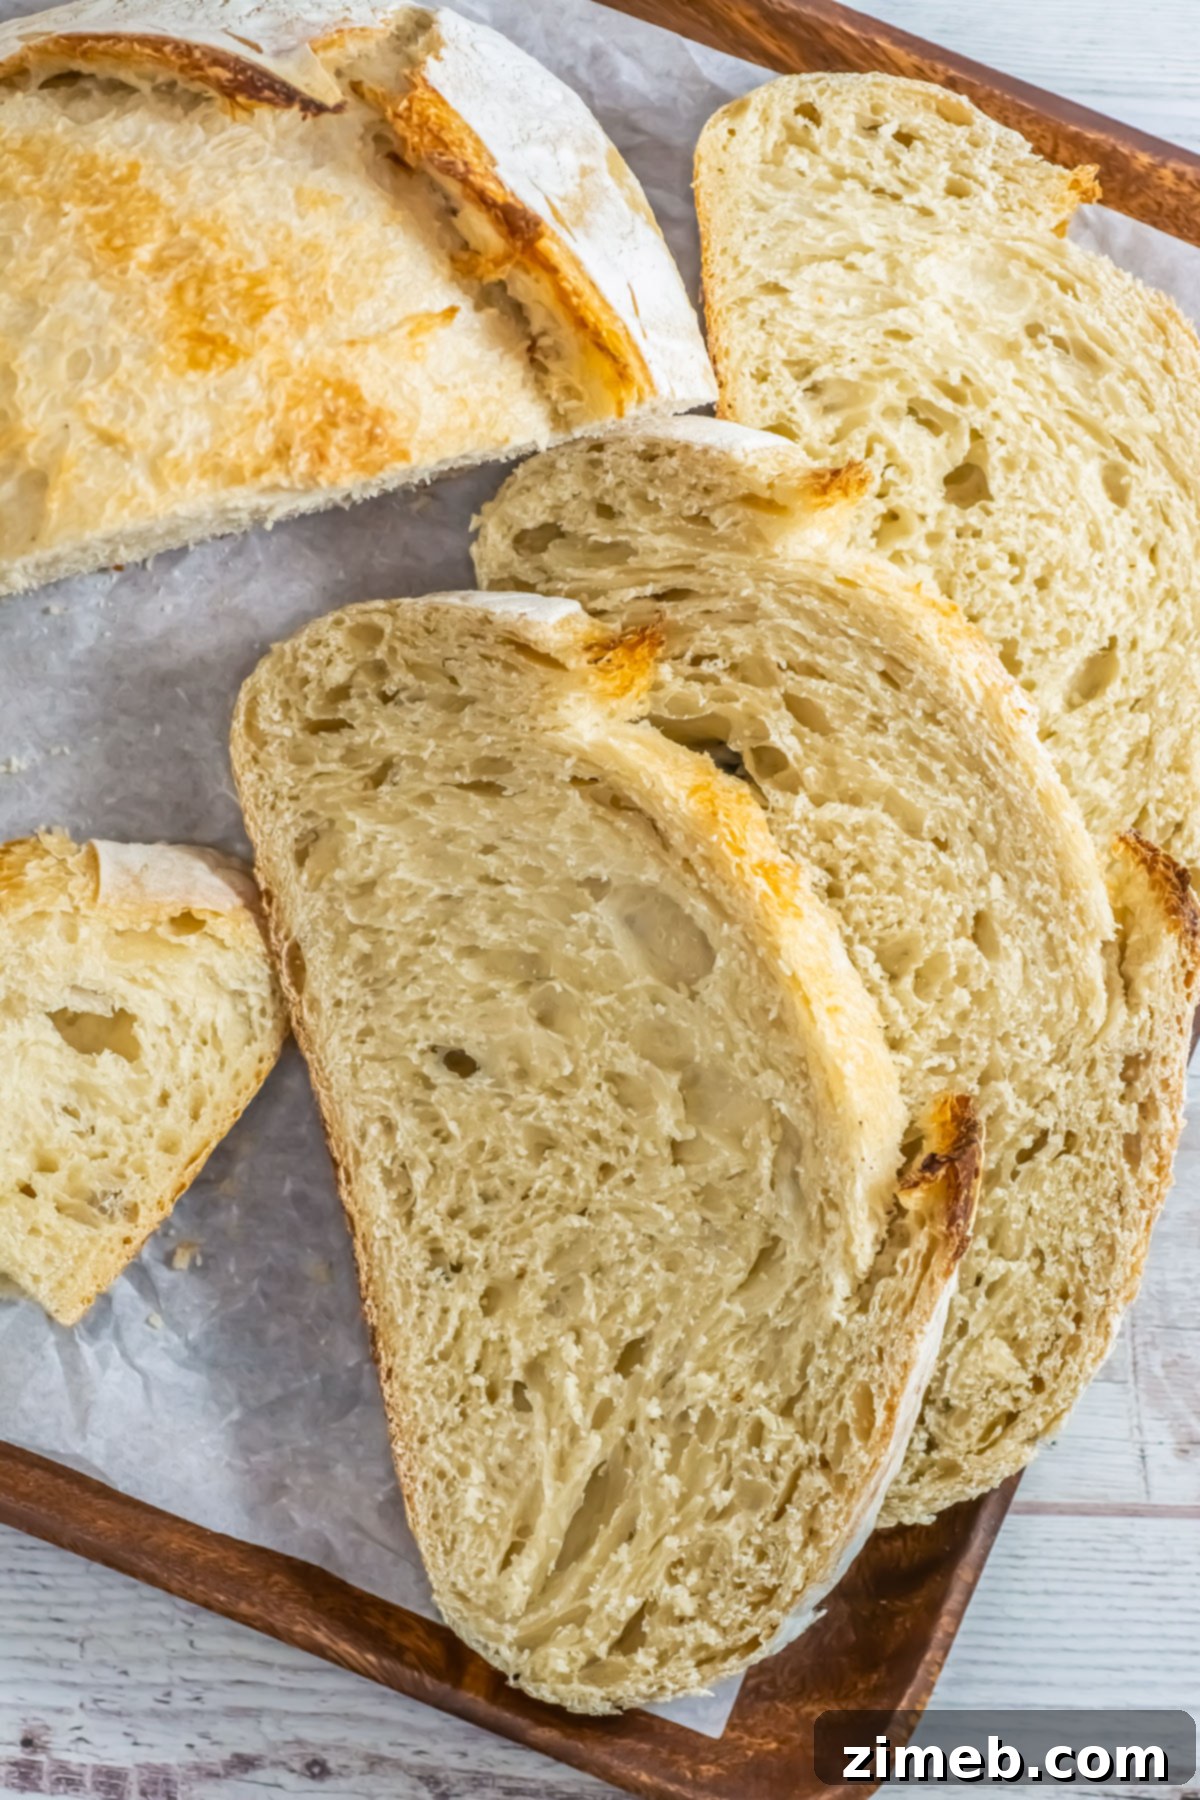
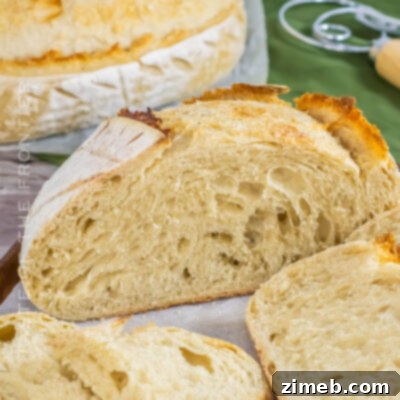
Imagine the immense satisfaction of slicing into a loaf of your very own homemade sourdough bread. That golden-brown, satisfyingly crunchy crust, giving way to a soft, airy interior, boasting that signature tangy flavor – it’s an experience unmatched by store-bought loaves. With this comprehensive guide, you’ll unlock the secrets to crafting exquisite sourdough bread right in your kitchen.
This Sourdough Bread recipe is meticulously designed to guide you through creating a loaf with a beautifully complex flavor and rustic texture that only traditional methods can deliver. Whether you’re a curious beginner eager to delve into the world of natural yeast breads or a seasoned baker looking for a simplified, reliable method, this recipe provides a straightforward process without compromising on the artisan quality of the bread.
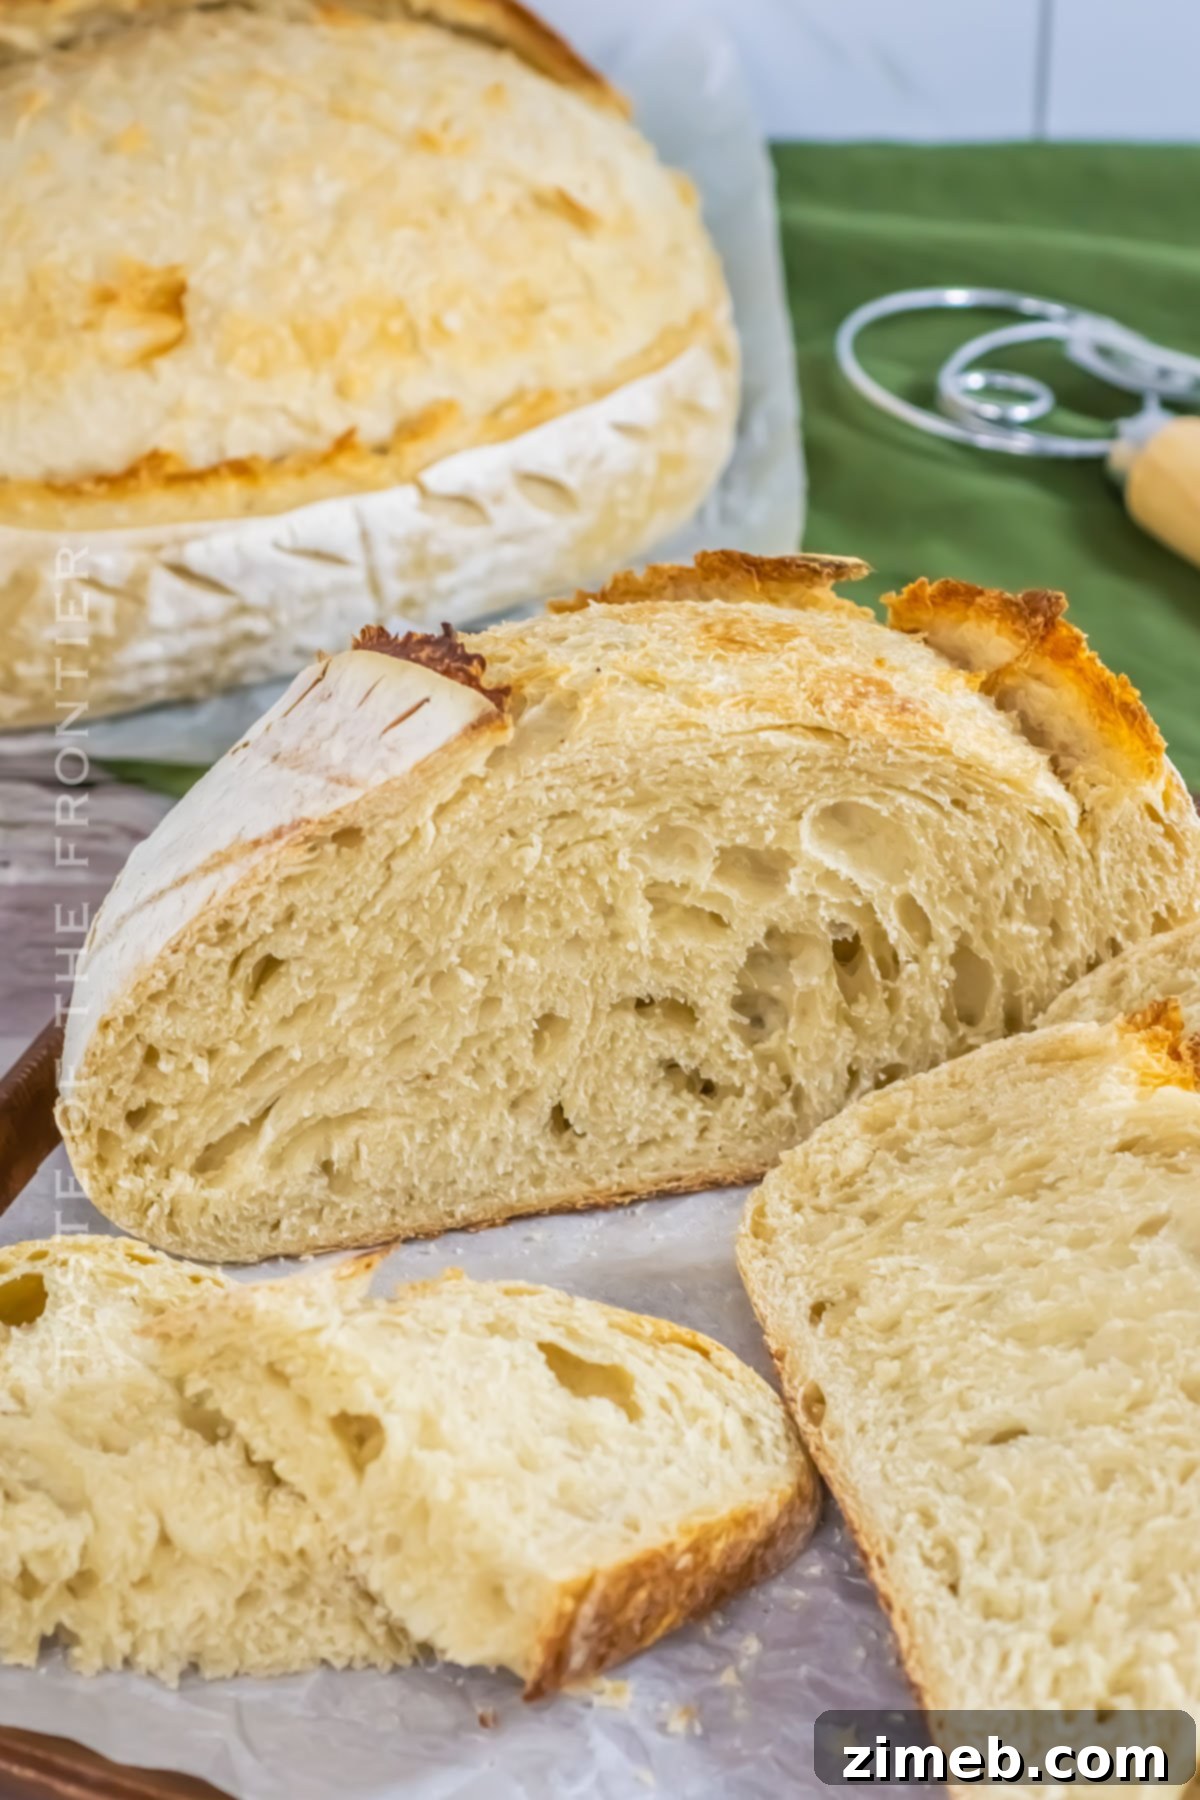
Baking sourdough bread at home is an incredibly rewarding process that consistently yields delicious results. This simple sourdough bread recipe demystifies the entire process, making it accessible and enjoyable for bakers of all skill levels. It empowers you to create nourishing, flavorful bread using minimal ingredients and natural fermentation.
With just a few basic kitchen staples, your active sourdough starter, and a dose of patience, you can bake a loaf that’s not only incredibly tasty but also a stunning centerpiece for any meal. The distinctive tangy flavor and chewy texture of homemade sourdough are sure to impress family and friends. So, why not embark on your sourdough journey today and experience the immense joy and accomplishment of baking wholesome bread from scratch?
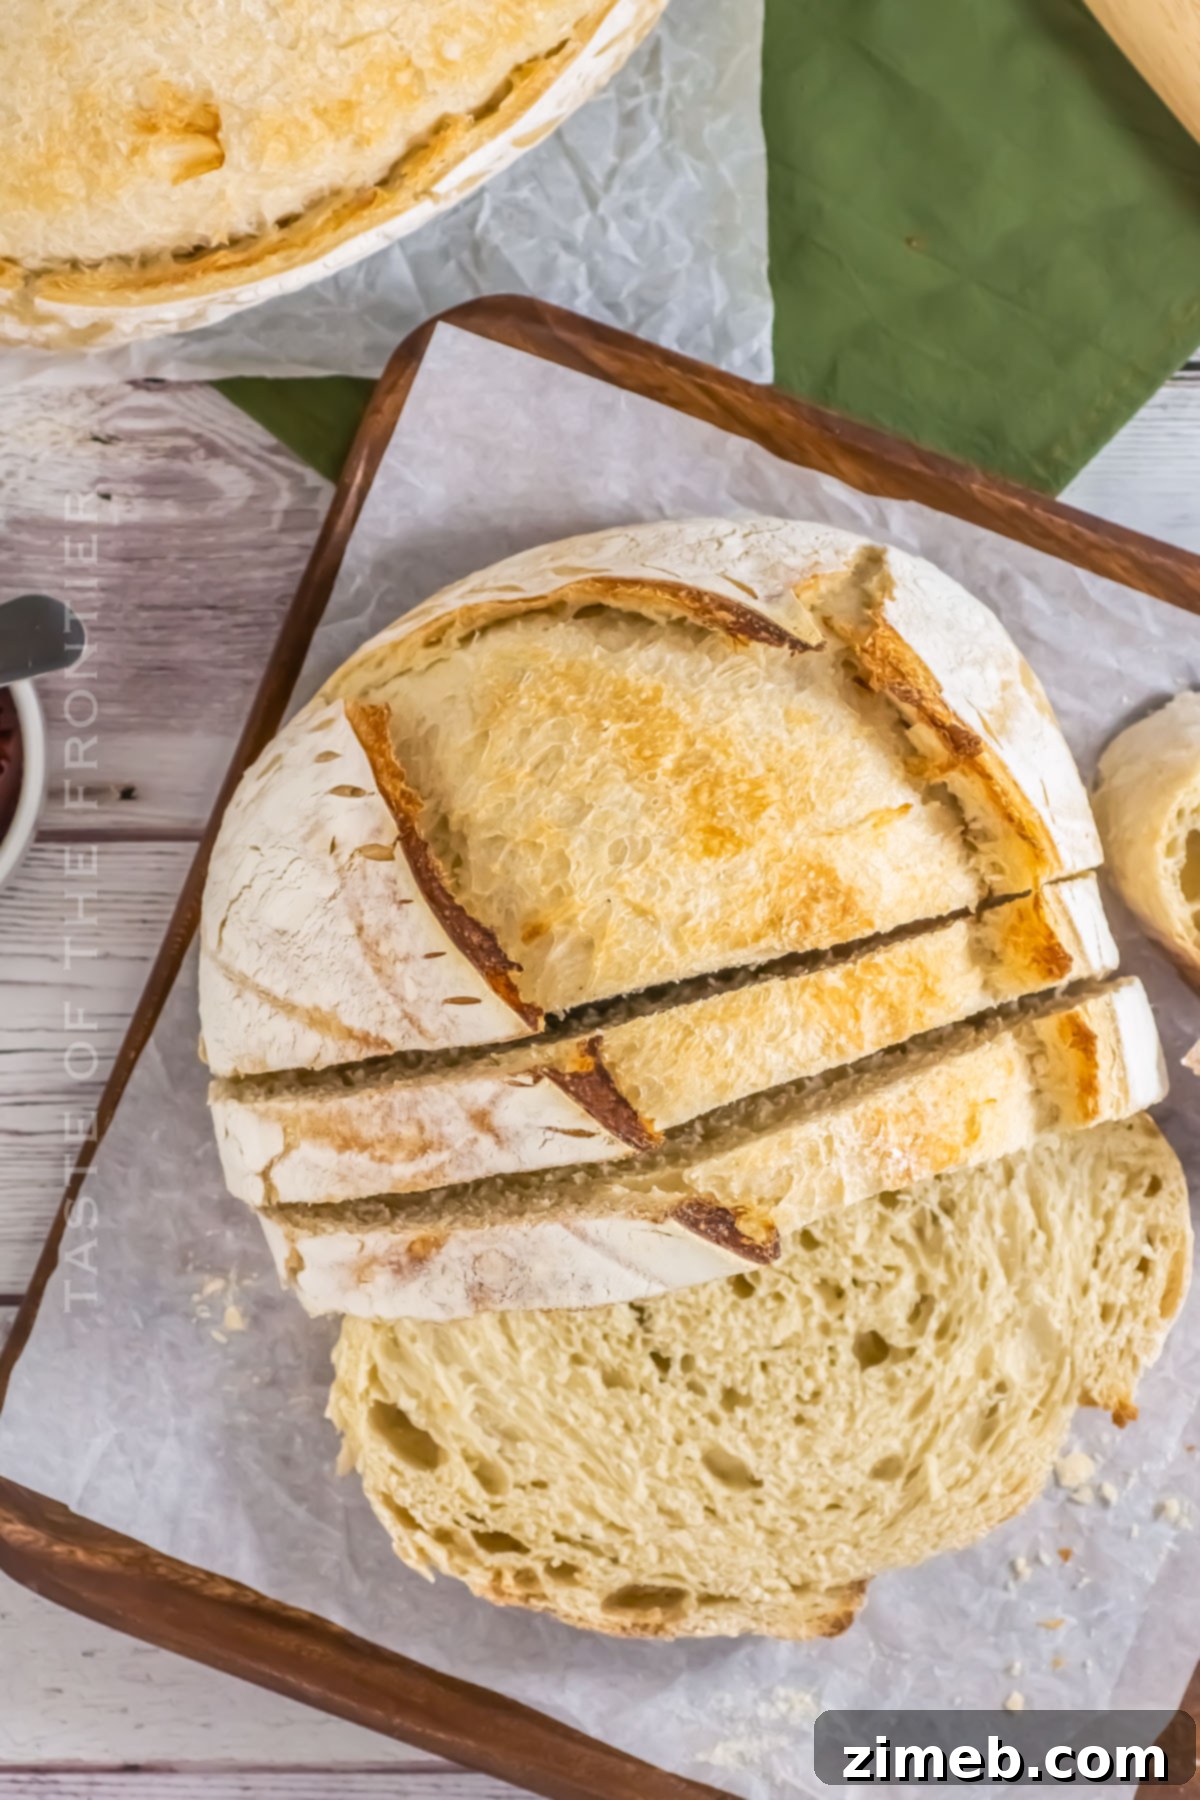
Common Questions About Sourdough Bread Baking
New to sourdough? Have some lingering questions? Here are answers to some of the most frequently asked questions to help you on your way to baking perfect loaves.
How can I tell if my sourdough starter is ready to bake?
The “float test” is a simple and highly effective method to check if your sourdough starter is sufficiently active and ready for baking. To perform the test, gently drop a small spoonful of your active starter into a glass of water. If it floats on the surface, it’s bursting with carbon dioxide bubbles, indicating it’s at its peak activity and ready to effectively leaven your bread dough. If it sinks, it may need more time to activate, or perhaps another feeding.
An active starter will also typically show signs of vigor, such as significant bubbly activity, a domed surface, and a tangy aroma, usually 4-8 hours after feeding, depending on the ambient temperature.
What’s the best flour to use for sourdough bread?
While all-purpose flour can certainly be used for sourdough, leveraging bread flour or a combination of bread flour and whole wheat flour will significantly enhance the loaf’s structure, flavor, and nutritional profile. Bread flour has a higher protein content (typically 12-14%), which is crucial for developing strong gluten networks. This gluten development allows the dough to trap more gas, resulting in a better rise and a wonderfully chewy texture.
Incorporating a portion of whole wheat flour adds a deeper, more complex flavor and increases the nutritional value, contributing to a more rustic and wholesome loaf. Experimenting with different flour combinations can lead to unique flavor profiles and textures, so don’t be afraid to try variations!
Can I make sourdough bread without a Dutch oven?
Absolutely! While a Dutch oven is often recommended for its ability to create a consistent, steamy environment that mimics a professional bread oven, it’s not strictly necessary. You can still bake excellent sourdough bread by using a heavy baking stone or a sturdy baking sheet.
To achieve that desirable crispy crust, you’ll need to create steam in your oven. You can do this by placing a pan of water on the lower rack of your oven during preheating and the initial baking phase. Alternatively, spritz the inside of your oven with water a few times during the first 10 minutes of baking. The steam helps prevent the crust from forming too quickly, allowing the dough to expand fully and achieve a beautiful “oven spring.”
Proper Sourdough Bread Storage
Once baked, homemade sourdough bread is so irresistibly delicious that it often disappears quickly! However, for any lingering slices, proper storage is key to maintaining its freshness and texture.
Countertop Storage
For consumption within a day or two, simply store your cooled loaf cut-side down on a clean cutting board, or wrapped in a clean kitchen towel. This allows the crust to remain crispy while protecting the interior. Sourdough bread’s natural acidity helps it stay fresh longer than conventional breads.
Refrigerator Storage
If you plan to keep your sourdough bread for up to a week, it’s best stored in the refrigerator. Wrap the bread tightly in plastic wrap or place it in an airtight plastic bag to prevent it from drying out. While refrigeration can slightly alter the texture, it significantly extends its shelf life.
Freezer Storage
For longer-term storage, the freezer is your best friend. Slice the cooled bread before freezing for easy access, then place the slices in airtight freezer bags or containers. Sourdough bread can be kept frozen for up to 3 months. When you’re ready to enjoy it, simply toast the slices straight from the freezer for a quick and delicious treat, or thaw a whole loaf at room temperature.
Essential Sourdough Baking Tips for Success
Working with bread dough is one of my favorite culinary pursuits. There’s a deeply satisfying magic in transforming simple ingredients into a beautiful loaf. Follow these expert tips to ensure your sourdough baking is a triumph every time:
- Maintain a Warm Environment: Yeast activity, crucial for a good rise, is highly temperature-dependent. Your kitchen temperature should ideally be between 70-75°F (21-24°C) for optimal dough fermentation and rise. If your kitchen is cooler, consider using a proofing box or placing your dough in a slightly warmer spot, like an oven with the light on (but not heated).
- Use a Kitchen Scale: For consistent and truly excellent results, weigh your ingredients with a digital kitchen scale. Measuring by volume (cups) can be imprecise, leading to varying hydration levels and unpredictable outcomes. Precision in baking, especially with sourdough, makes a significant difference.
- Autolyze the Flour: Before adding salt and your active starter, mix just the flour and water together. Let this mixture rest for 30 minutes to an hour. This “autolyze” step hydrates the flour thoroughly, allows enzymes to break down starches, and kickstarts gluten development without any strenuous kneading, making your dough easier to work with.
- Master the Stretch and Fold Technique: Instead of traditional kneading, the stretch and fold technique is commonly used in sourdough baking during bulk fermentation. This gentle method strengthens the dough’s gluten structure by carefully stretching a portion of the dough up and folding it over itself repeatedly, rotating the bowl each time. This builds strength while preserving the delicate air pockets.
- Preheat Your Baking Vessel Thoroughly: Whether you’re using a Dutch oven, a baking stone, or a heavy baking sheet, preheating it in the oven to the specified temperature is critical. A hot baking surface provides an immediate burst of heat to the dough, creating a powerful “oven spring” – the rapid expansion of the loaf in the initial minutes of baking – leading to a loftier, more open crumb and a crispier crust.
- Don’t Rush the Cooling Process: After baking, it’s tempting to cut into your beautiful loaf immediately. However, allowing the bread to cool completely on a wire rack for at least an hour (or even two) is essential. During this time, the internal structure of the bread sets, and moisture distributes evenly, resulting in the best possible texture and flavor. Cutting too soon can lead to a gummy interior.
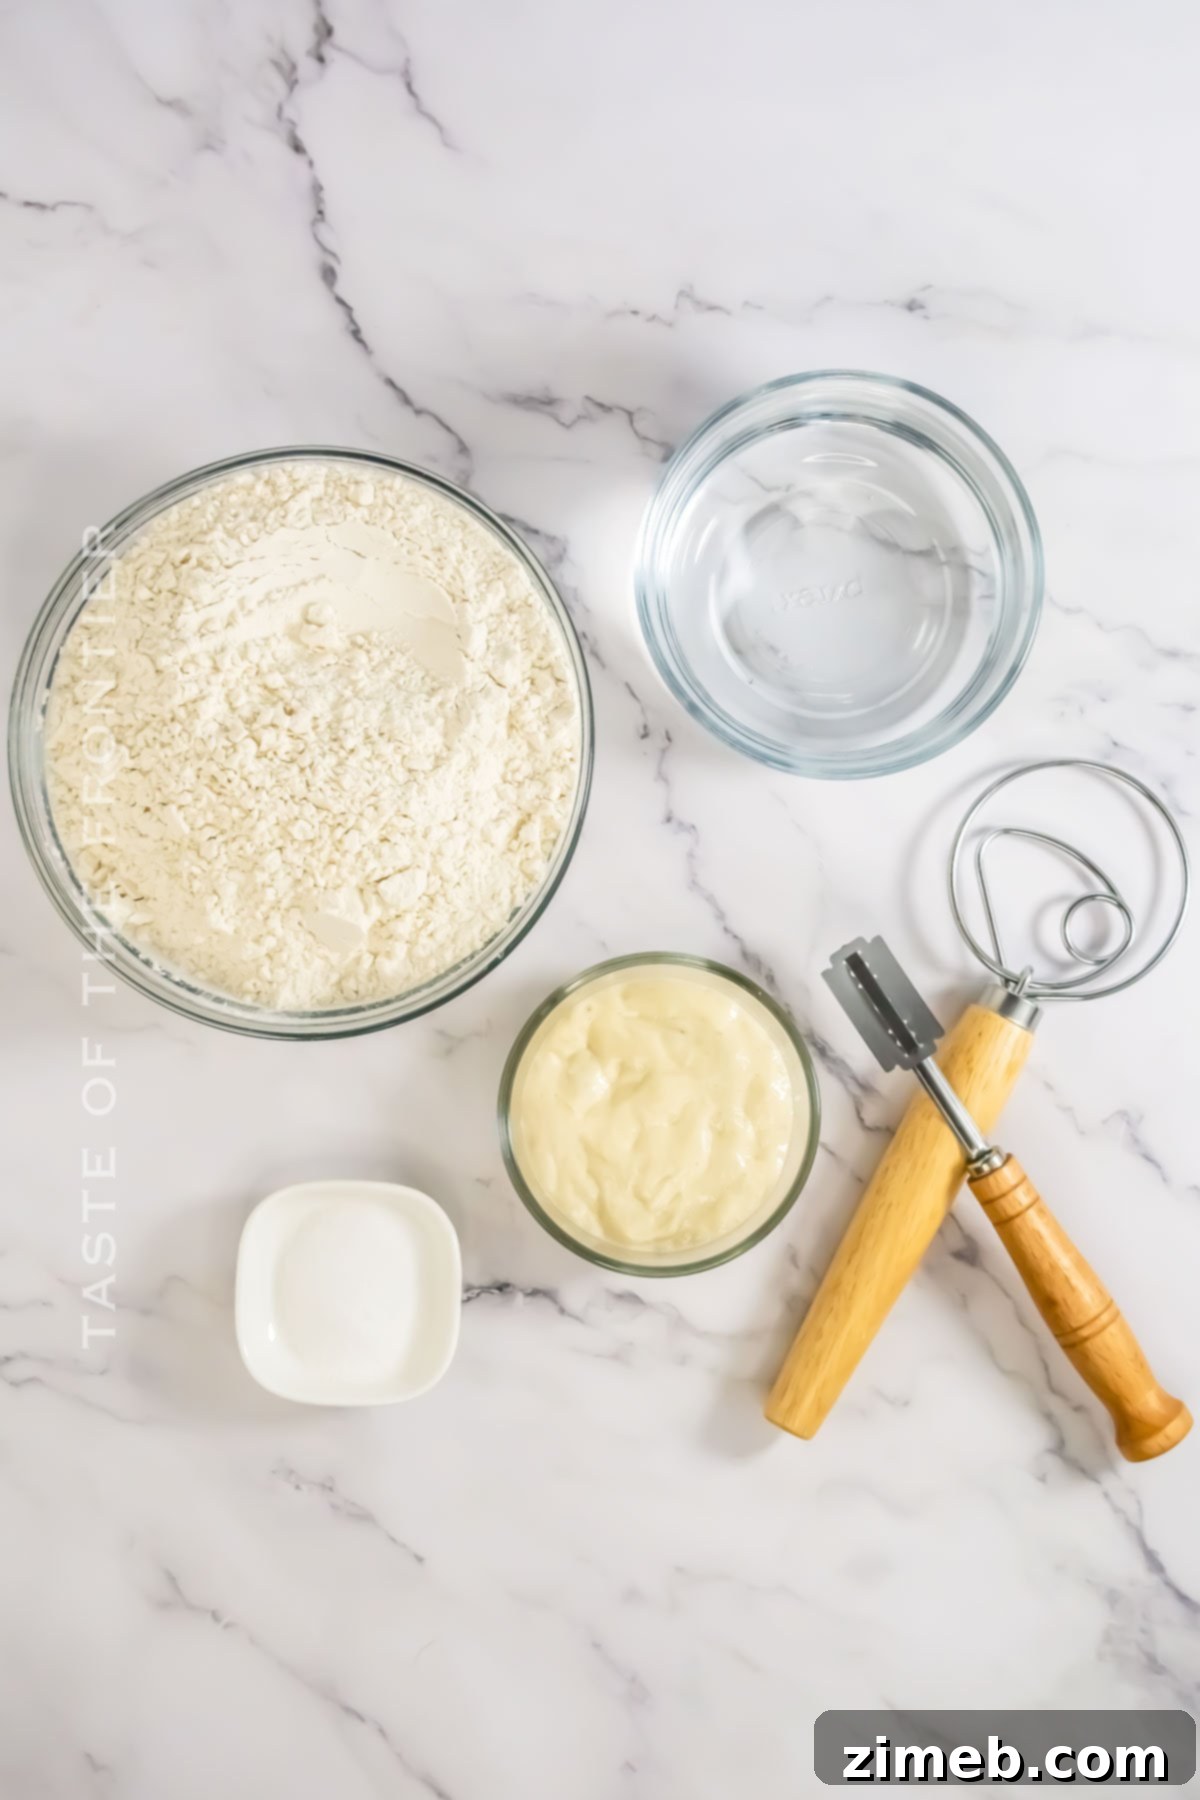
Simple Ingredients for an Amazing Loaf
The magic of sourdough truly lies in its simplicity, requiring just a handful of fundamental ingredients. Once this dough meets that hot Dutch oven, the aroma that fills your home is something I wish I could bottle – it’s the unmistakable scent of a freshly baked, perfect loaf of sourdough bread.
- Active Sourdough Starter: This is the heart of your bread, a live culture of wild yeast and bacteria. Ensure it’s active and bubbly (passes the float test) for a strong rise and characteristic tangy flavor.
- Warm Water: Hydrates the flour and activates the yeast and bacteria in your starter. The ideal temperature is usually around 90-95°F (32-35°C), which is warm to the touch but not hot, ensuring optimal activity without killing the cultures.
- Fine Sea Salt: More than just a flavor enhancer, salt plays a crucial role in controlling fermentation speed and strengthening the gluten network, leading to a better crumb structure.
- Flour (Bread, Whole Wheat, or a Combination): The foundation of your bread. Bread flour provides the necessary protein for strong gluten, while whole wheat flour adds complex flavor and nutrients. Experiment to find your preferred balance!
How to Make Easy Sourdough Bread: Step-by-Step
Don’t be intimidated by the seemingly long process; this is truly an easy sourdough bread recipe when broken down into manageable steps. I’ve outlined basic, straightforward instructions that will lead you to a perfectly baked loaf every single time.
Step 1: Feed Your Starter
- Feed your sourdough starter as you normally would, typically with equal parts starter, water, and flour. For detailed instructions on maintaining and feeding your starter, please refer to our dedicated sourdough starter recipe. Wait until your starter is active, bubbly, and passes the float test (usually 4-8 hours after feeding, depending on room temperature) before incorporating it into your dough. This ensures maximum leavening power.
Step 2: Prepare the Dough
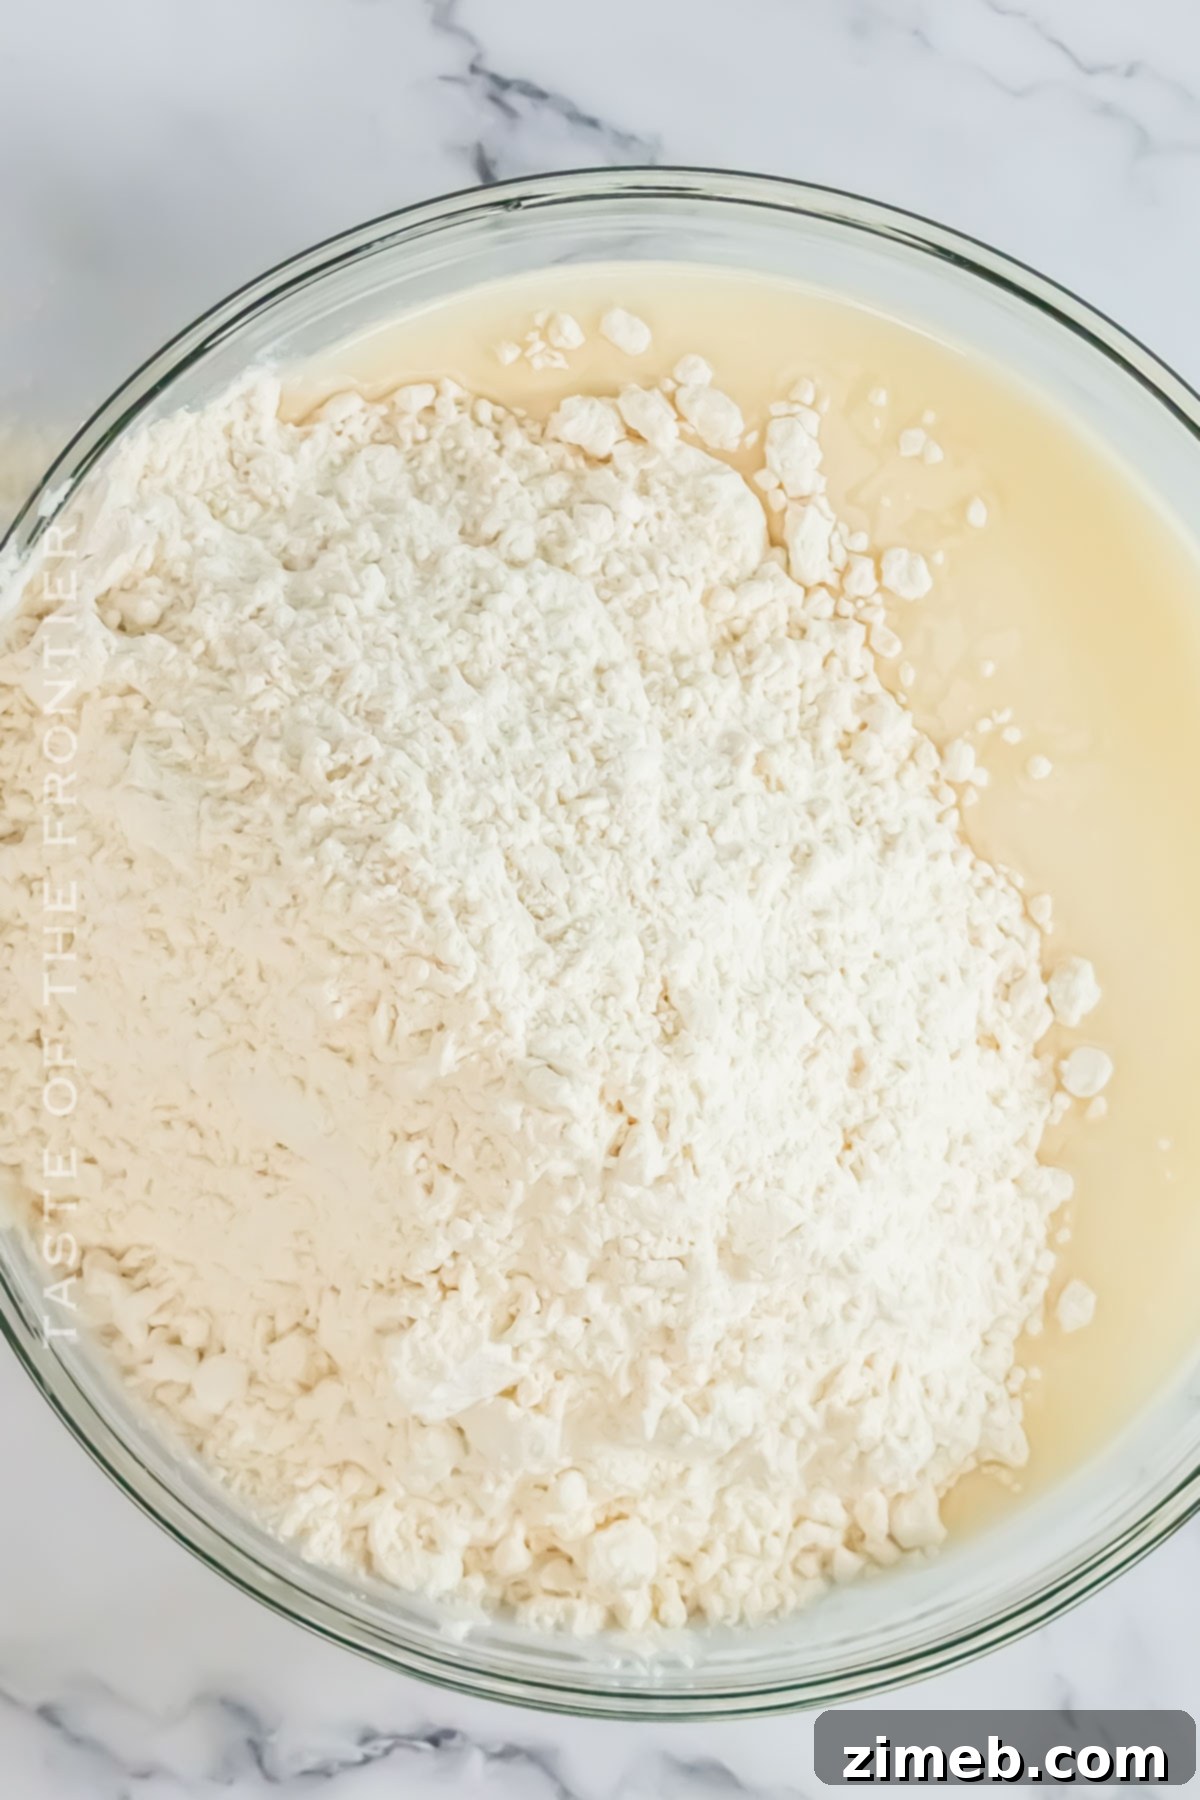
- In a large glass or plastic bowl, combine your active starter, the measured warm water, and the fine sea salt. Whisk these ingredients together thoroughly until they are well combined and the salt has dissolved. This creates the foundational liquid for your dough.
- Add the flour to the liquid mixture. Using your hands, gently work the flour into the wet ingredients until no dry spots remain. At this stage, the dough will be quite loose and shaggy. Avoid over-mixing; just ensure all flour is hydrated.
- Cover the bowl loosely with a damp kitchen towel, plastic wrap, or a reusable bowl cover. Allow the dough to rest for 30 minutes. This is the “autolyze” period, which helps the flour fully hydrate and begins gluten development.
- After 30 minutes, it’s time for the first “stretch and fold.” With a damp hand, reach down one side of the bowl, grasp the dough, gently pull it up, and then fold it over itself onto the remaining dough in the bowl. This action helps build strength and structure.
- Turn the bowl a quarter turn (90 degrees) and repeat the stretch and fold process. Continue this rotation and folding until you’ve completed at least four full turns around the bowl.
- Cover the bowl again and allow the dough to rest for another 30 minutes. This resting period allows the gluten to relax, making the dough easier to work with for subsequent folds.
- Repeat these folding and resting steps at least two more times (for a total of at least 4 sets of stretches and folds followed by 30-minute rests). Each set of folds will make your dough progressively stronger, smoother, and more elastic.
- After completing at least 4 rotations of stretching and folding, and allowing adequate rest time, you may move on to the bulk fermentation phase.
- Allow the dough to rest at room temperature (70-75°F or 21-24°C) until it visibly rises by at least 50%. This crucial “bulk fermentation” or “first rise” should typically take about 4-6 hours, depending on your starter’s activity and kitchen temperature. Look for a domed surface, bubbles on the surface, and a jiggly, airy texture.
- While the dough is in its final bulk fermentation, prepare a proofing bowl (banneton or a regular bowl). Line it with a lightly floured dishcloth or use a generous dusting of rice flour to prevent sticking. Set this aside.
- Once bulk fermentation is complete, gently turn the dough out onto a lightly floured work surface. Handle the dough gently to preserve the air pockets.
- Carefully stretch the dough into a loose rectangle or square shape. *At this stage, if desired, you can gently incorporate mix-ins like blueberries, cinnamon and sugar, garlic and rosemary, or olives. For a basic loaf, this step is not required.
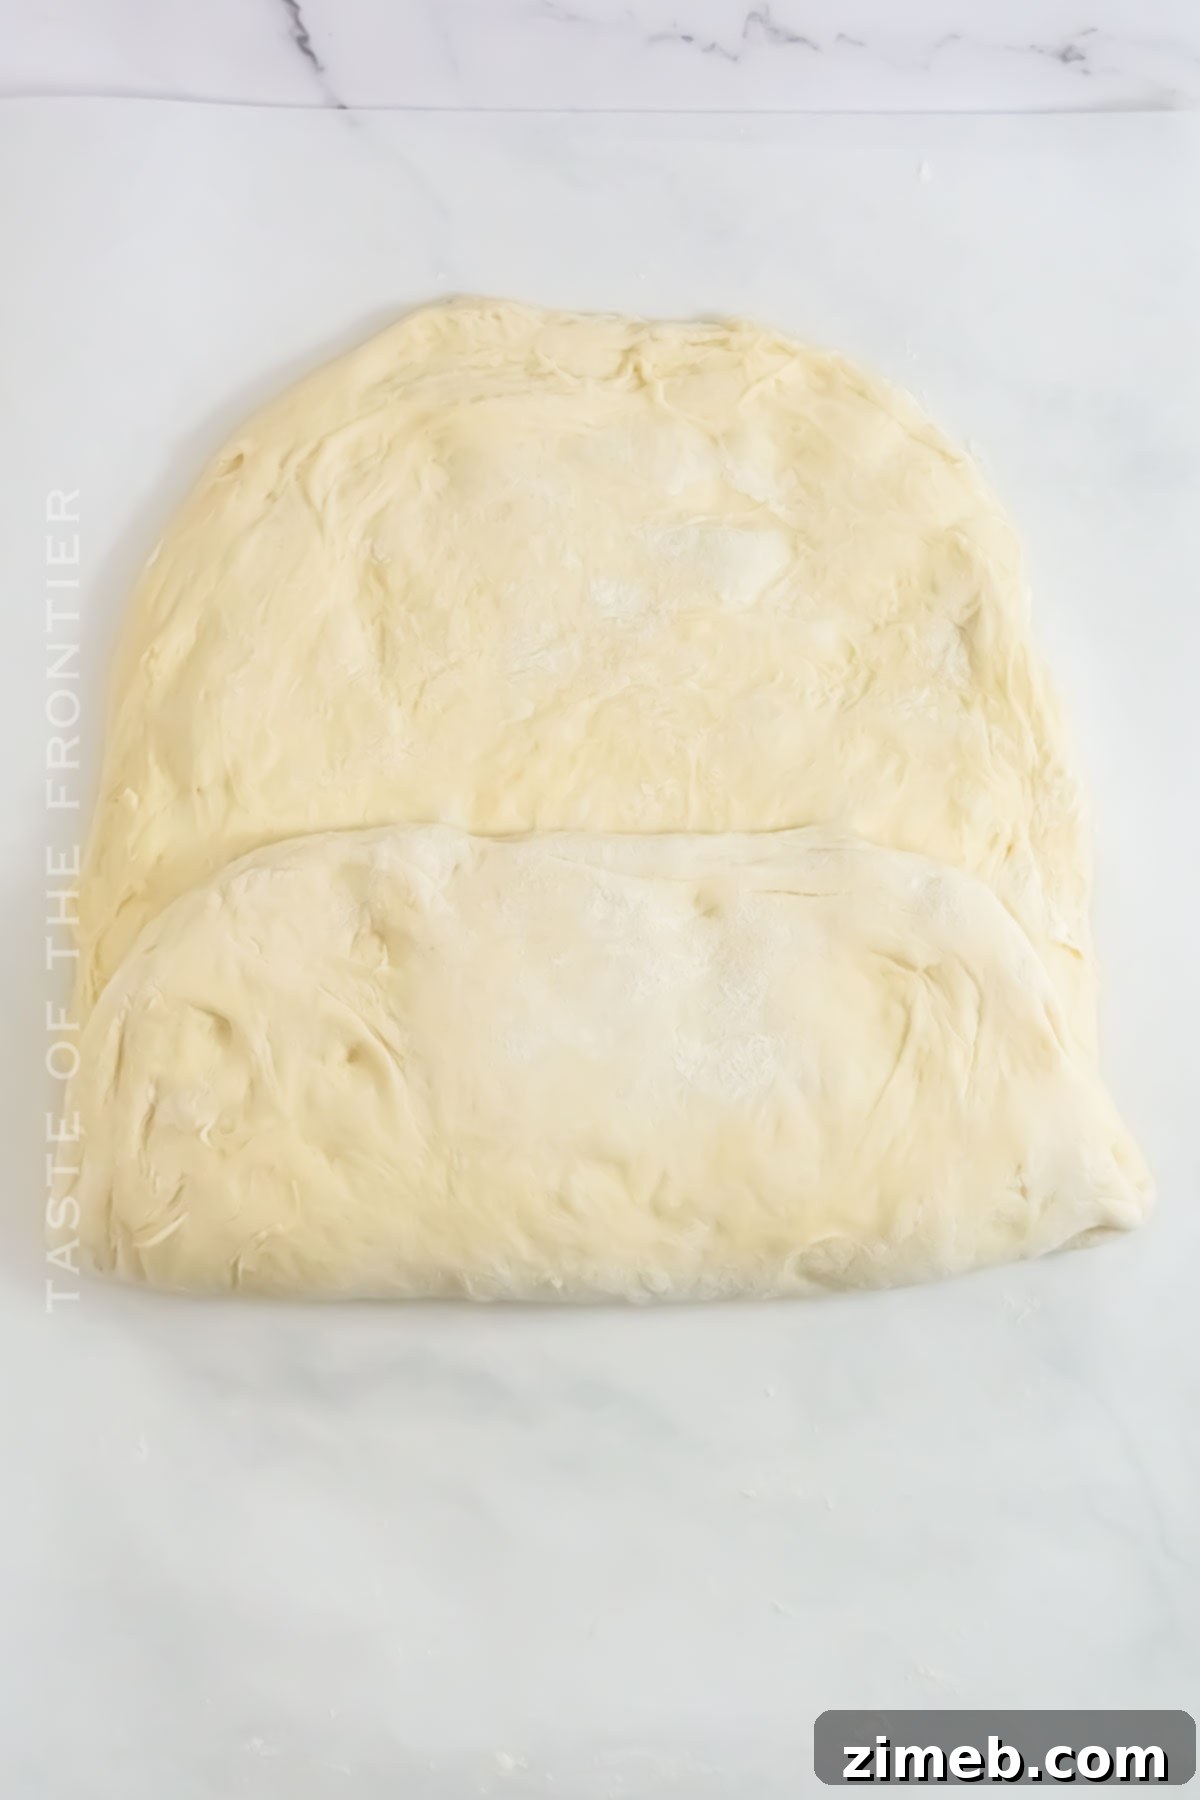
- Take one-third of the dough and fold it over onto the middle section, then fold the opposite one-third over that, similar to folding a letter. This helps create tension.
- Next, take the shorter ends of the folded dough and gently fold them towards the middle, tucking them underneath to create a tight, round ball or “boule.” The goal is to create surface tension that will give your bread shape and promote a good oven spring.
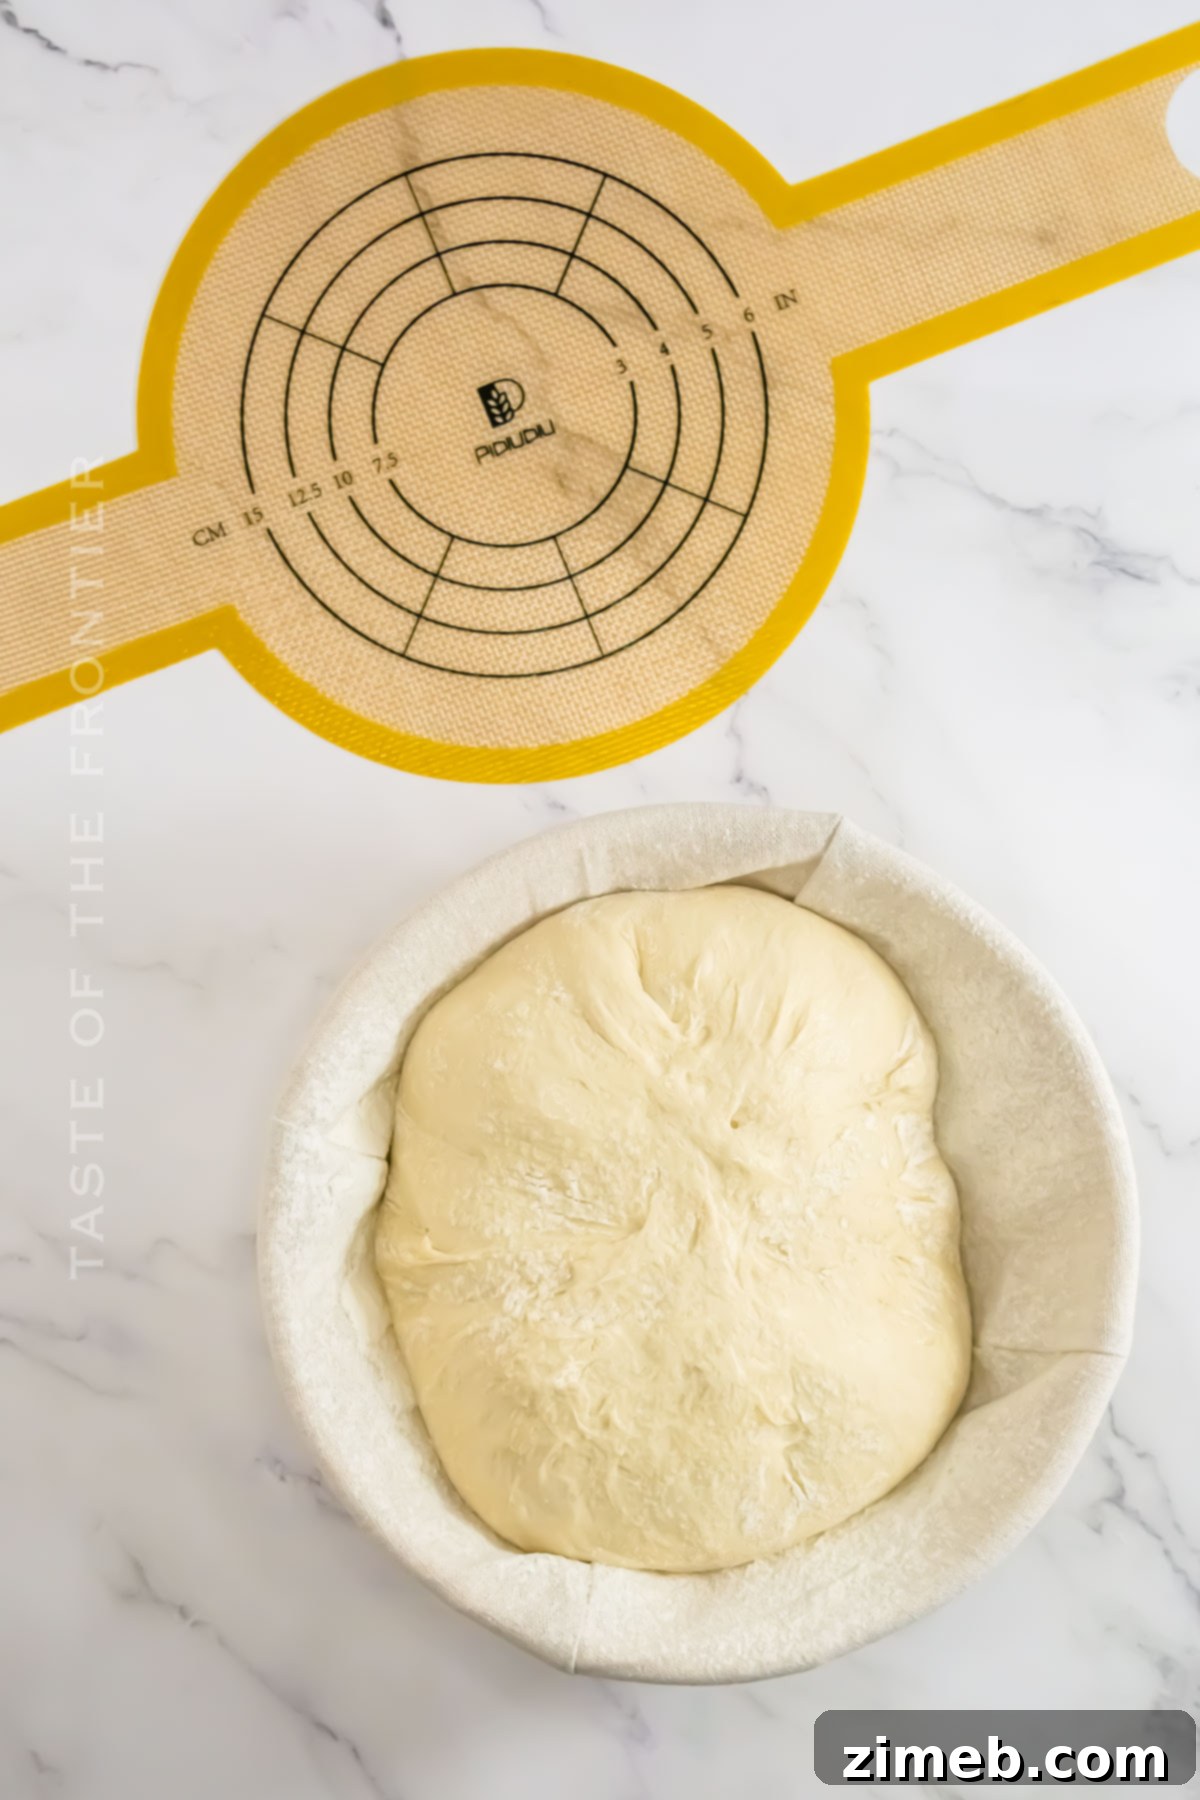
- Carefully transfer the shaped dough to your prepared proofing bowl, ensuring the seam faces up. Gently pinch the seam closed again if needed to secure its shape.
- Lightly dust the dough with additional flour and cover the bowl loosely with plastic wrap or a shower cap.
- Refrigerate the dough for at least an hour for a brief cold proof. However, for a stronger crumb texture, a deeper, more complex flavor, and easier handling, we highly recommend chilling it for closer to 8 hours. The dough can be safely chilled for up to 36 hours at this point, allowing you flexibility in your baking schedule.
Step 3: Bake Your Sourdough Loaf
- Preheat your oven to 450 degrees Fahrenheit (232°C) with your Dutch oven (or other oven-safe pot with a lid) inside. Allow it to preheat for at least 30-45 minutes to ensure the vessel is scorching hot.
- Carefully remove the hot Dutch oven from the oven. Cut a piece of parchment paper or use a dedicated sourdough sling to line the bottom of your Dutch oven. This makes transferring the dough much easier.
- Gently invert the cold, proofed dough from its proofing bowl onto the center of the parchment paper or sling. The seam should now be facing down.
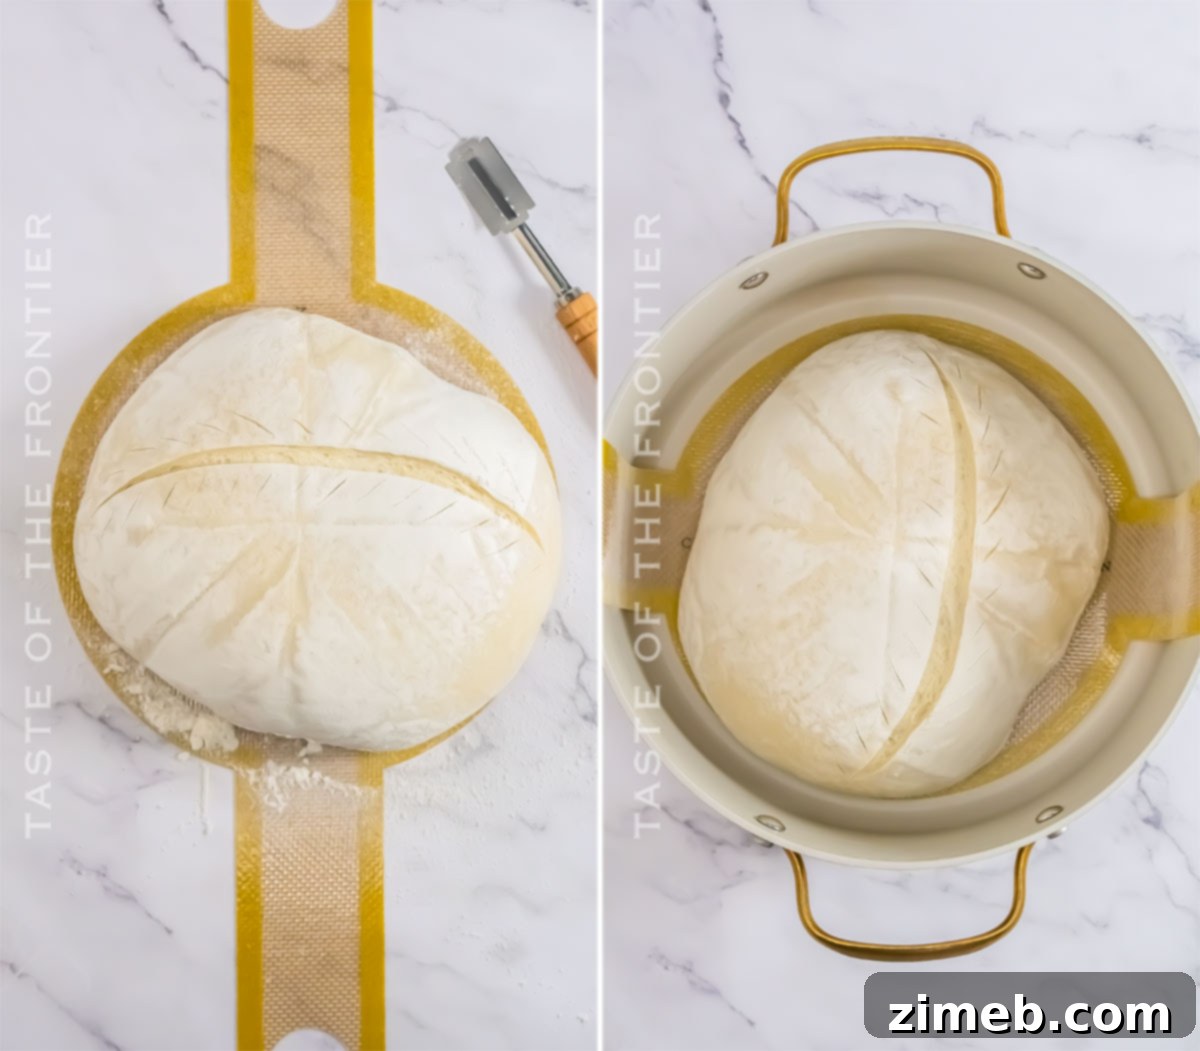
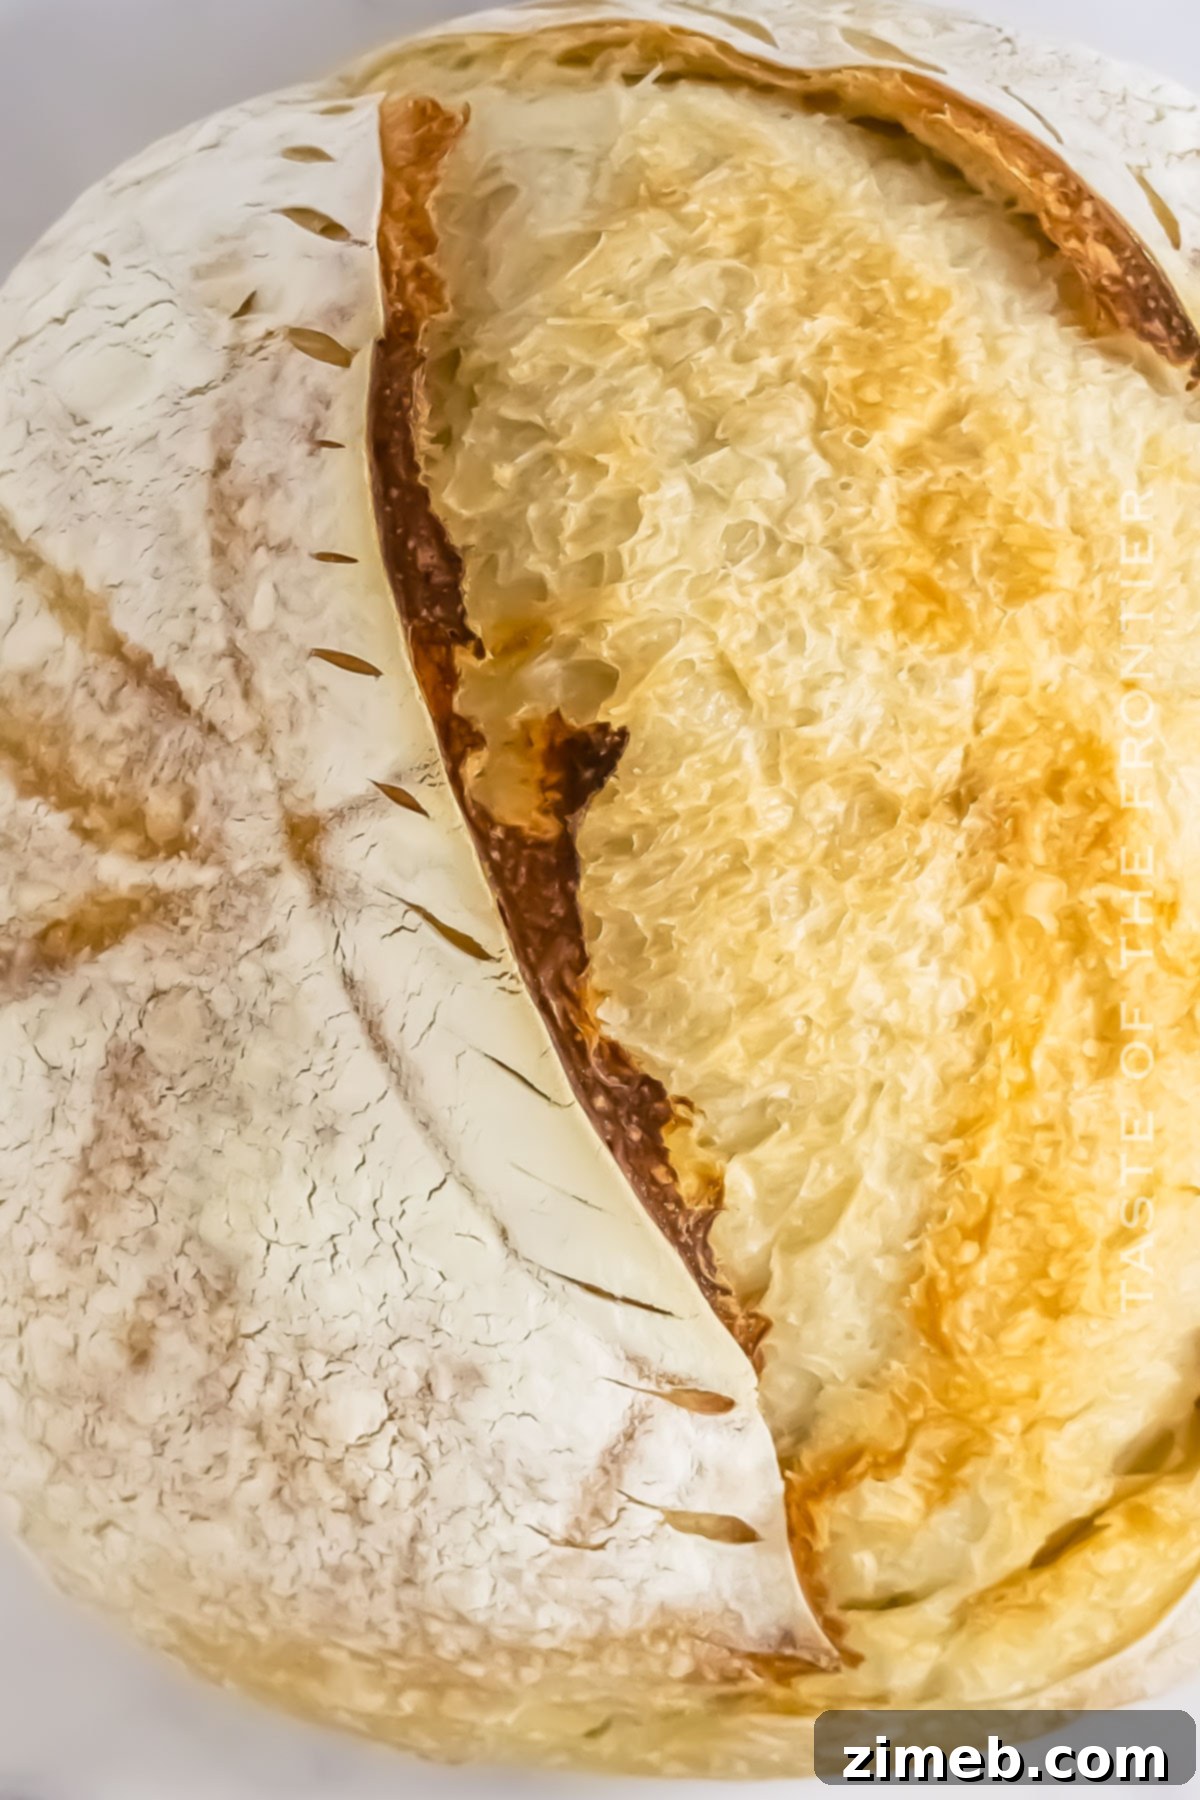
- Using a very sharp knife (a bread lame is ideal for this) or a razor blade, score the top of your bread. You can make a simple deep slash down the length of the loaf, two slices across, or get creative with a more intricate design. Scoring allows the bread to expand predictably in the oven.
- Carefully place the lid back on the Dutch oven and bake in the preheated oven for 30 minutes. Baking with the lid on traps steam, mimicking a professional bread oven and promoting maximum oven spring and a soft interior.
- After 30 minutes, carefully remove the lid from the Dutch oven and reduce the oven temperature to 425 degrees Fahrenheit (218°C).
- Continue to bake for an additional 10-15 minutes, or until the crust is a beautiful deep golden brown all over. This open-lid baking phase develops the crust’s color and crispness.
- Once baked to perfection, carefully remove the Dutch oven from the oven. Using the parchment paper, lift the bread out and transfer it to a wire rack to cool completely. This is crucial for at least an hour (preferably longer) before you even think about cutting into those delicious slices.
Essential Kitchen Supplies for Sourdough Baking
Sourdough recipes have graced kitchens for hundreds, if not thousands, of years, a testament to their enduring appeal and simple elegance. You don’t need a lot of fancy equipment to get started, but a few key tools will make your baking journey smoother and more successful.
- Large Mixing Bowl: Essential for combining ingredients and performing stretch and folds. Glass or plastic bowls are common choices.
- Dutch Oven or Baking Sheet: A heavy-duty, oven-safe pot with a lid (like a Dutch oven) is ideal for creating steam during baking. If unavailable, a baking stone or heavy sheet pan with a separate method for steam (like a tray of water) works well.
- Digital Kitchen Scale: Crucial for accurate measurements of flour, water, and starter, ensuring consistent results every time.
- Measuring Cups and Spoons: While a scale is preferred for bulk ingredients, these are still useful for smaller additions or for measuring out water for your starter.
- Parchment Paper: Makes transferring the delicate dough into a hot Dutch oven much safer and easier, and prevents sticking.
- Razor Blade or Sharp Knife (Sourdough Lame): Used for scoring the dough just before baking. A lame allows for precise, clean cuts, which are vital for a good oven spring and a beautiful crust.
- Proofing Basket (Banneton) (Optional but Recommended): A round or oval basket, often lined with linen, that holds the dough’s shape during the final proofing stage. It imparts a traditional spiral pattern to the crust.
Delicious Pairings: What to Serve With Sourdough Bread
Sourdough bread is incredibly versatile, making it the perfect accompaniment to a wide range of meals and snacks. Its distinct tangy flavor and robust texture elevate almost anything you pair it with.
- Enjoy it simply with a generous smear of fresh butter, allowing the bread’s flavor to shine.
- Use it as the foundation for a hearty sandwich, loaded with your favorite fillings, such as turkey and avocado, or a classic Reuben.
- Serve it alongside warming soups and stews, perfect for soaking up rich broths and sauces.
- It also makes fantastic, crispy toast for breakfast, topped with eggs, avocado, or your favorite preserves.
- Create gourmet appetizers like bruschetta or crostini, with fresh tomatoes, basil, and mozzarella.
- Pair it with a cheeseboard, as the tanginess of sourdough beautifully complements various cheeses and charcuterie.
Why You Should Embrace the Sourdough Baking Journey
I genuinely believe that making your own homemade sourdough bread is one of the most rewarding and enjoyable experiences in the kitchen. The entire fermentation process, from nurturing your starter to pulling a perfectly baked loaf from the oven, gives you a profound sense of accomplishment and connection to a culinary tradition.
- Flavorful and Healthy: Sourdough fermentation not only enhances the bread’s deep, complex flavor profile but also improves its digestibility and nutrient availability compared to commercially leavened breads. It’s a healthier alternative that your gut will thank you for.
- Skill Building: The process of working with live dough, understanding fermentation, and mastering shaping techniques will significantly elevate your overall baking skills. Each loaf is a learning experience, refining your touch and intuition.
- Incredibly Versatile: A well-made sourdough loaf serves as the perfect base for countless meals and snacks, from simple toast to gourmet sandwiches and accompanies soups beautifully.
- Deeply Satisfying: Few culinary achievements compare to the joy of successfully baking your own bread. The aroma, the texture, and the taste of homemade sourdough are deeply satisfying and provide a genuine connection to real food.
- Cost-Effective: Once you have a thriving starter, the ingredients for sourdough bread are incredibly inexpensive – flour, water, and salt. You’ll save money compared to buying artisan bread from bakeries.
Exciting Variations and Add-Ins for Your Sourdough Bread
Once you’ve mastered the basic sourdough loaf, the possibilities for customization are endless! Homemade sourdough is inherently better than anything you can buy from the grocery store. Get out your cast iron, and let’s explore some exciting ways to personalize your baking!
- Whole Grain Powerhouse: Experiment by mixing in a percentage of other whole grain flours like rye, spelt, or einkorn for a heartier, more nutritious, and distinctly flavored loaf. Adjust water slightly as whole grains absorb more liquid.
- Seeds and Nuts for Texture: Boost both texture and nutrition by adding sunflower seeds, sesame seeds, pumpkin seeds, flax seeds, or chopped walnuts and pecans into the dough during the shaping phase. Toasting them first enhances their flavor.
- Aromatic Herbs and Spices: Infuse your bread with incredible aromas by incorporating fresh or dried herbs like rosemary, thyme, or oregano. Garlic powder, roasted garlic cloves, or even a handful of chopped olives can create a savory masterpiece perfect for dinner.
- Sweet Indulgences: Transform your sourdough into a delightful sweet treat by adding dried fruits such as cranberries, raisins, or chopped apricots, along with a hint of cinnamon or cardamom. Perfect for breakfast or a sweet snack.
- Cheese Lovers Dream: Fold in shredded cheddar, Gruyère, or Parmesan cheese during the final shaping for a cheesy, savory bread that pairs wonderfully with soups or simply enjoyed on its own.
Troubleshooting Common Sourdough Issues
Don’t get discouraged if your first few loaves aren’t perfect. Sourdough baking is a journey of learning and adaptation. Here are some common issues and how to troubleshoot them:
- My Bread Didn’t Rise Enough: This is often due to an inactive starter. Ensure your starter passes the float test before use. Cold kitchen temperatures can also slow down fermentation; try proofing in a warmer spot. Insufficient gluten development can also be a factor; make sure you’re performing enough stretch and folds.
- My Crust is Too Pale: If your crust isn’t golden brown, it could be a sign of insufficient baking time or inadequate oven temperature. Ensure your oven is fully preheated, especially your Dutch oven. Baking longer without the lid at a slightly lower temperature (e.g., 400°F/200°C) can help develop color.
- My Crumb is Gummy or Dense: A gummy interior usually means the bread was cut before it fully cooled, or it’s underbaked. Always let your loaf cool completely on a wire rack. A dense crumb might indicate a weak starter, under-proofing, or over-handling the dough, which can deflate gas pockets.
- My Dough is Too Sticky to Handle: High hydration doughs can be sticky. Use damp hands for stretch and folds. If it’s excessively sticky, your starter might be too hydrated, or your flour isn’t absorbing enough water. A brief cold proof can also make dough firmer and easier to handle.
If you love this sourdough bread recipe, you’re going to love these other bread recipes too. Please click each link below to find the easy, printable recipe!
Naan Bread in Air Fryer
Enjoy freshly made Naan Bread in minutes with your air fryer! This easy recipe yields soft, fluffy naan with a perfect golden crust, an ideal accompaniment to any curry or stew.
Check out this recipe

Incredibly Easy Crusty Artisan Bread
This incredibly easy crusty artisan bread is a simple, 4-ingredient homemade Dutch oven bread recipe that is absolutely foolproof. Perfect alongside every meal, especially delicious with a cinnamon spreadable honey.
Check out this recipe

Homemade French Bread
Homemade French bread doesn’t get any easier than this. Featuring a perfect golden crust on the outside and a soft, chewy interior, and the best part is that it’s ready in just about an hour. You can’t help but fall in love with this classic!
Check out this recipe

Mom’s Best Beer Bread
Mom’s Best Beer Bread recipe is one of the easiest bread recipes around. With just 4 ingredients, no rise time, and ready in just 1 hour, it’s perfect with every meal, offering a unique, savory flavor.
Check out this recipe
Parmesan No-Knead Skillet Bread
If you love easy and delicious bread recipes, then this Parmesan No-Knead Skillet Bread is just your thing. Its perfectly crusty outside makes it absolutely irresistible and a wonderful addition to any dinner.
Check out this recipe

Hearty Meal Pairings for Sourdough Bread
Elevate your dining experience by pairing your freshly baked sourdough bread with these comforting and delicious dishes:
- Turkey Panini: The tangy sourdough provides a fantastic contrast to the savory turkey and melted cheese in a warm panini.
- Crack Dip Recipe: Use sturdy slices of sourdough to scoop up this addictive, creamy dip – perfect for entertaining.
- Chipotle Chicken Avocado Melt: The robust flavor of sourdough stands up beautifully to the bold flavors of chipotle chicken and creamy avocado.
- Disney Inspired Clam Chowder Bread Bowl: Hollow out a small sourdough loaf to create an iconic and delicious bread bowl for a rich, creamy clam chowder.
CONNECT WITH YUMMI HAUS!
Be sure to follow me on my social media, so you never miss a post!
Substack, FB, Pinterest, IG, Email Subscription
Rate this Recipe
Sourdough Bread Recipe
Course: Appetizer, Side Dish, Snack
Servings: 1 loaf
Discover the perfect Sourdough Bread Recipe using a homemade starter. Learn step-by-step instructions to create delicious, tangy sourdough bread with a crispy crust and chewy interior. Ideal for home bakers of all skill levels.
Pin Recipe
Save Recipe
Prep Time: 30 mins
Cook Time: 50 mins
Inactive Time: 1 day 12 hrs
Total Time: 1 day 13 hrs 20 mins
Ingredients
- 100 grams active starter (½ cup)
- 375 grams warm water (1 ¾ cups)
- 12 grams fine sea salt (1 Tablespoon)
- 500 grams flour (4 ¼ cups, pick your favorite type)
Instructions
Feed
- Feed your starter as you normally would – see our recipe for sourdough starter for more details. Once it is active and bubbly, then it is ready to use in the loaf.
Dough
- In a large glass or plastic bowl, combine the active starter, warm water, and salt. Whisk until combined.
- Add the flour, using your hands to work it into the dough. It should be loose and shaggy.
- Cover loosely with a damp towel, plastic wrap, or a bowl cover. Allow to rest for 30 minutes.
- After 30 minutes, use your hand to scrape down one side of the bowl, pull the dough up, and then fold it over itself onto the remaining dough in the bowl.
- Turn the bowl a quarter turn and repeat. Continue this process until you’ve gone around at least four complete turns.
- Cover the bowl again and allow it to rest for another 30 minutes.
- Repeat these folding and resting steps at least two more times.
- After at least 4 rotations, then you may move on.
- Allow the dough to rest at room temperature until it rises at least 50%. This should take about 4-6 hours.
- Prepare a bowl with a lightly floured dishcloth, and set aside.
- On a lightly floured work surface, remove the dough from the bowl and place it on the workspace.
- Stretch the dough into a loose rectangle. *At this point, you could add mix-ins, if desired. (blueberries, cinnamon/sugar, garlic & rosemary, etc.) – but not required for a basic loaf.
- Fold one-third of the dough onto itself, followed by the opposite ⅓ like folding a letter.
- Then take the shorter ends and fold them onto the dough to create a tight round ball.
- Transfer the dough to the prepared bowl with the seam facing up. Pinch again if needed to secure the seam.
- Dust the dough lightly with additional flour and cover loosely.
- Refrigerate for at least an hour. We highly recommend chilling for closer to 8 hours for a stronger crumb texture and taste. The dough can be chilled for up to 36 hours at this point.
Bake
- Preheat the oven to 450 degrees.
- Cut a piece of parchment or use a sourdough sling to line a Dutch oven or oven-safe pot with a lid.
- Transfer the dough to the parchment or sling.
- Use a sharp knife (or sourdough lame) to score the bread. You can do a simple one down the length of the loaf, two slices across the loaf, or any other desired pattern. This is where you can get fancy with the design if desired.
- Bake in the preheated oven for 30 minutes with the lid on.
- After the bread has baked for 30 minutes, remove the lid and lower the oven temperature to 425 degrees.
- Bake for an additional 10-15 minutes or until golden brown all over.
- Remove from the oven and allow to cool for at least an hour before cutting into slices.
Notes
Notes – there are lots of sourdough specific tools that folks are investing in, but it is not required. I’ve written the recipe to be very basic without the confusing lingo – if you’re interested in more info, just let me know.
Storage: Sourdough can be stored in an airtight container at room temperature for about a week or frozen for 3 months.
Nutrition
Serving: 1 loaf
Nutritional information for the recipe is provided as a courtesy and is approximate. Please double-check with your own dietary calculator for the best accuracy. We at Yummi Haus cannot guarantee the accuracy of the nutritional information given for any recipe on this site.
Love this recipe?
Follow @KleinworthCo for even more tasty recipes!