
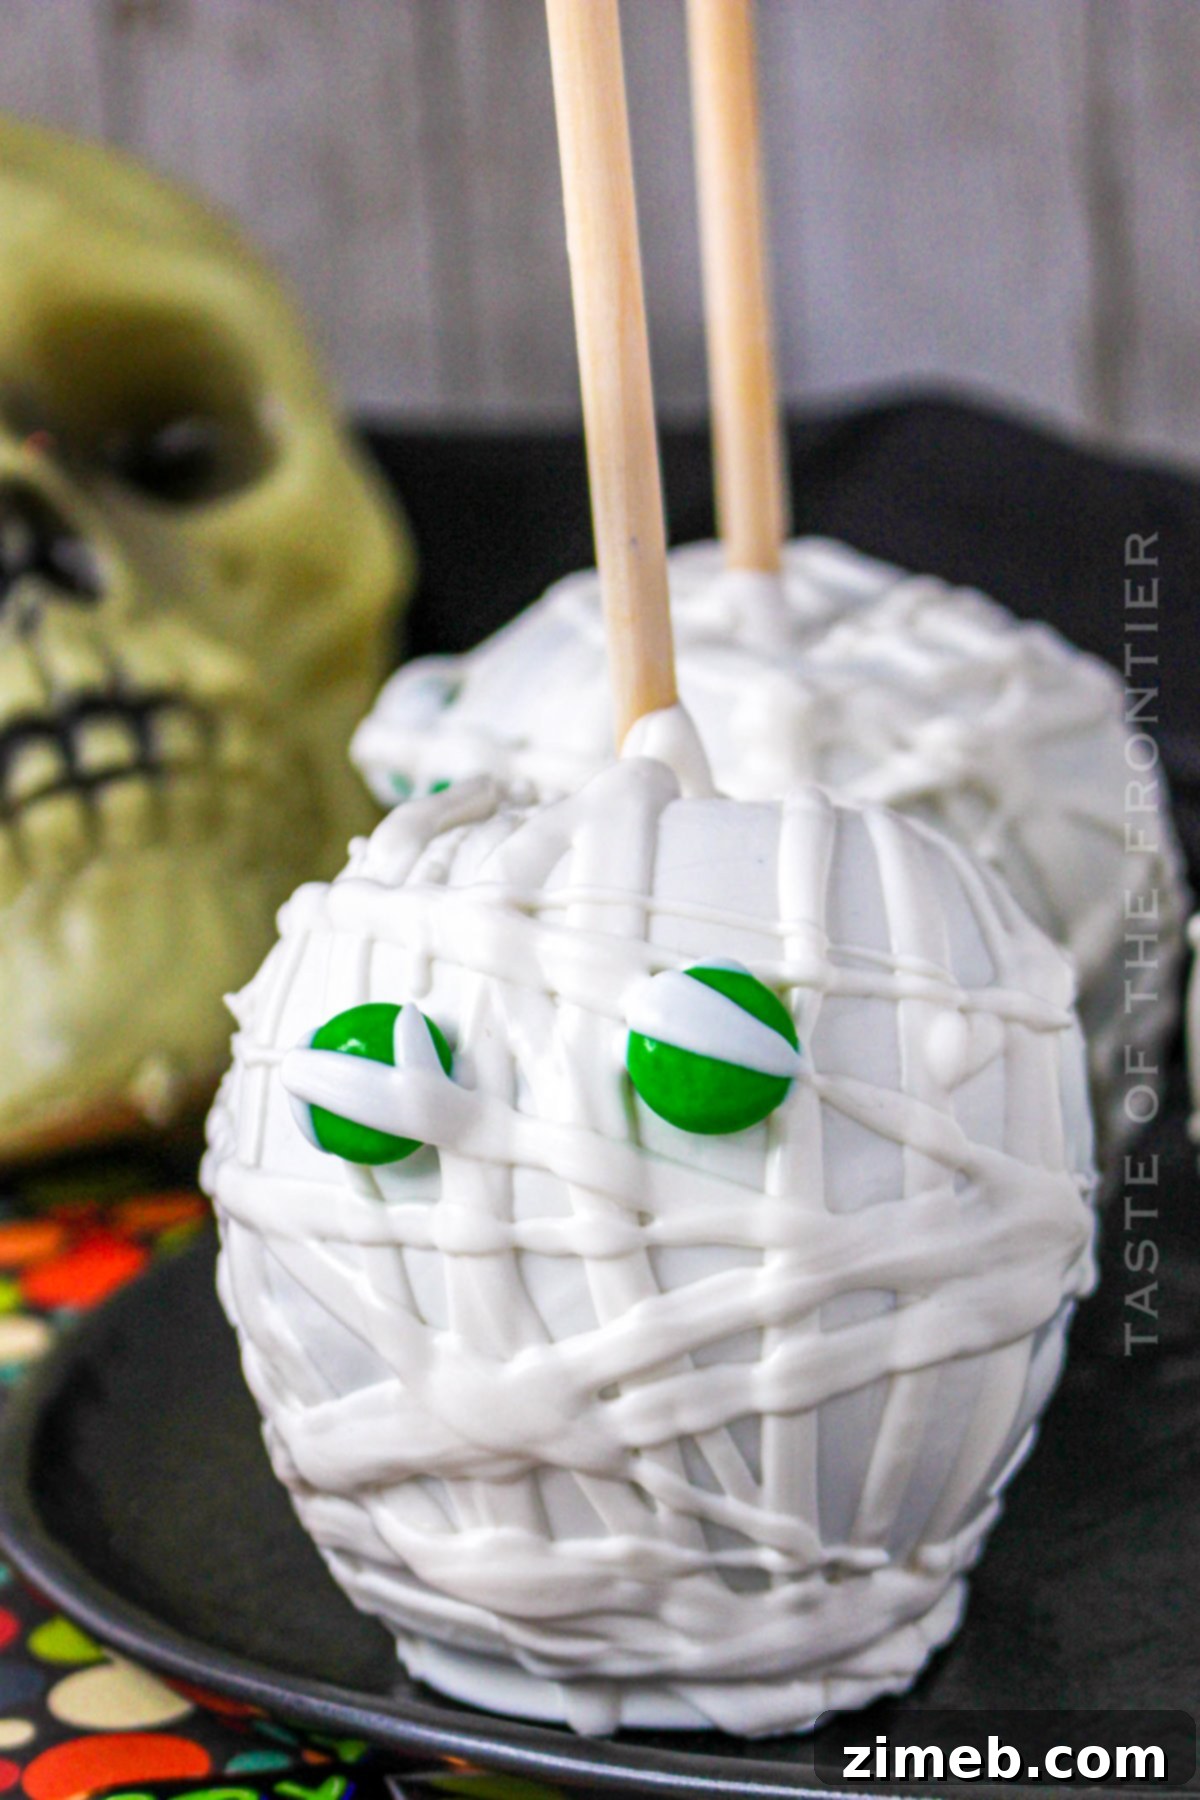
Are you searching for a delightful and straightforward Halloween recipe that promises to be a hit with your kids and the entire family? Look no further! Our Mummy Candy Apples are the perfect solution for creating spooky fun in the kitchen. This simple yet utterly charming recipe is designed to bring smiles and deliciousness, making it an ideal activity to immerse everyone in the festive Halloween spirit.
These adorable Mummy Candy Apples are more than just a treat; they’re a centerpiece for your Halloween celebrations. Exceptionally easy to prepare, they require only a handful of common ingredients and are generously coated in smooth, decadent white chocolate, making them absolutely irresistible. Forget the traditional plain apples; these mummified delights offer a unique twist that’s both visually appealing and incredibly tasty.
If you’re a fan of creating memorable and effortless treats for Halloween, these white chocolate-coated apples will quickly become your go-to fall favorite. Their spooky-cute appearance and sweet, crisp bite make them a standout addition to any party spread or a special after-school surprise.
PIN NOW TO SAVE FOR LATER
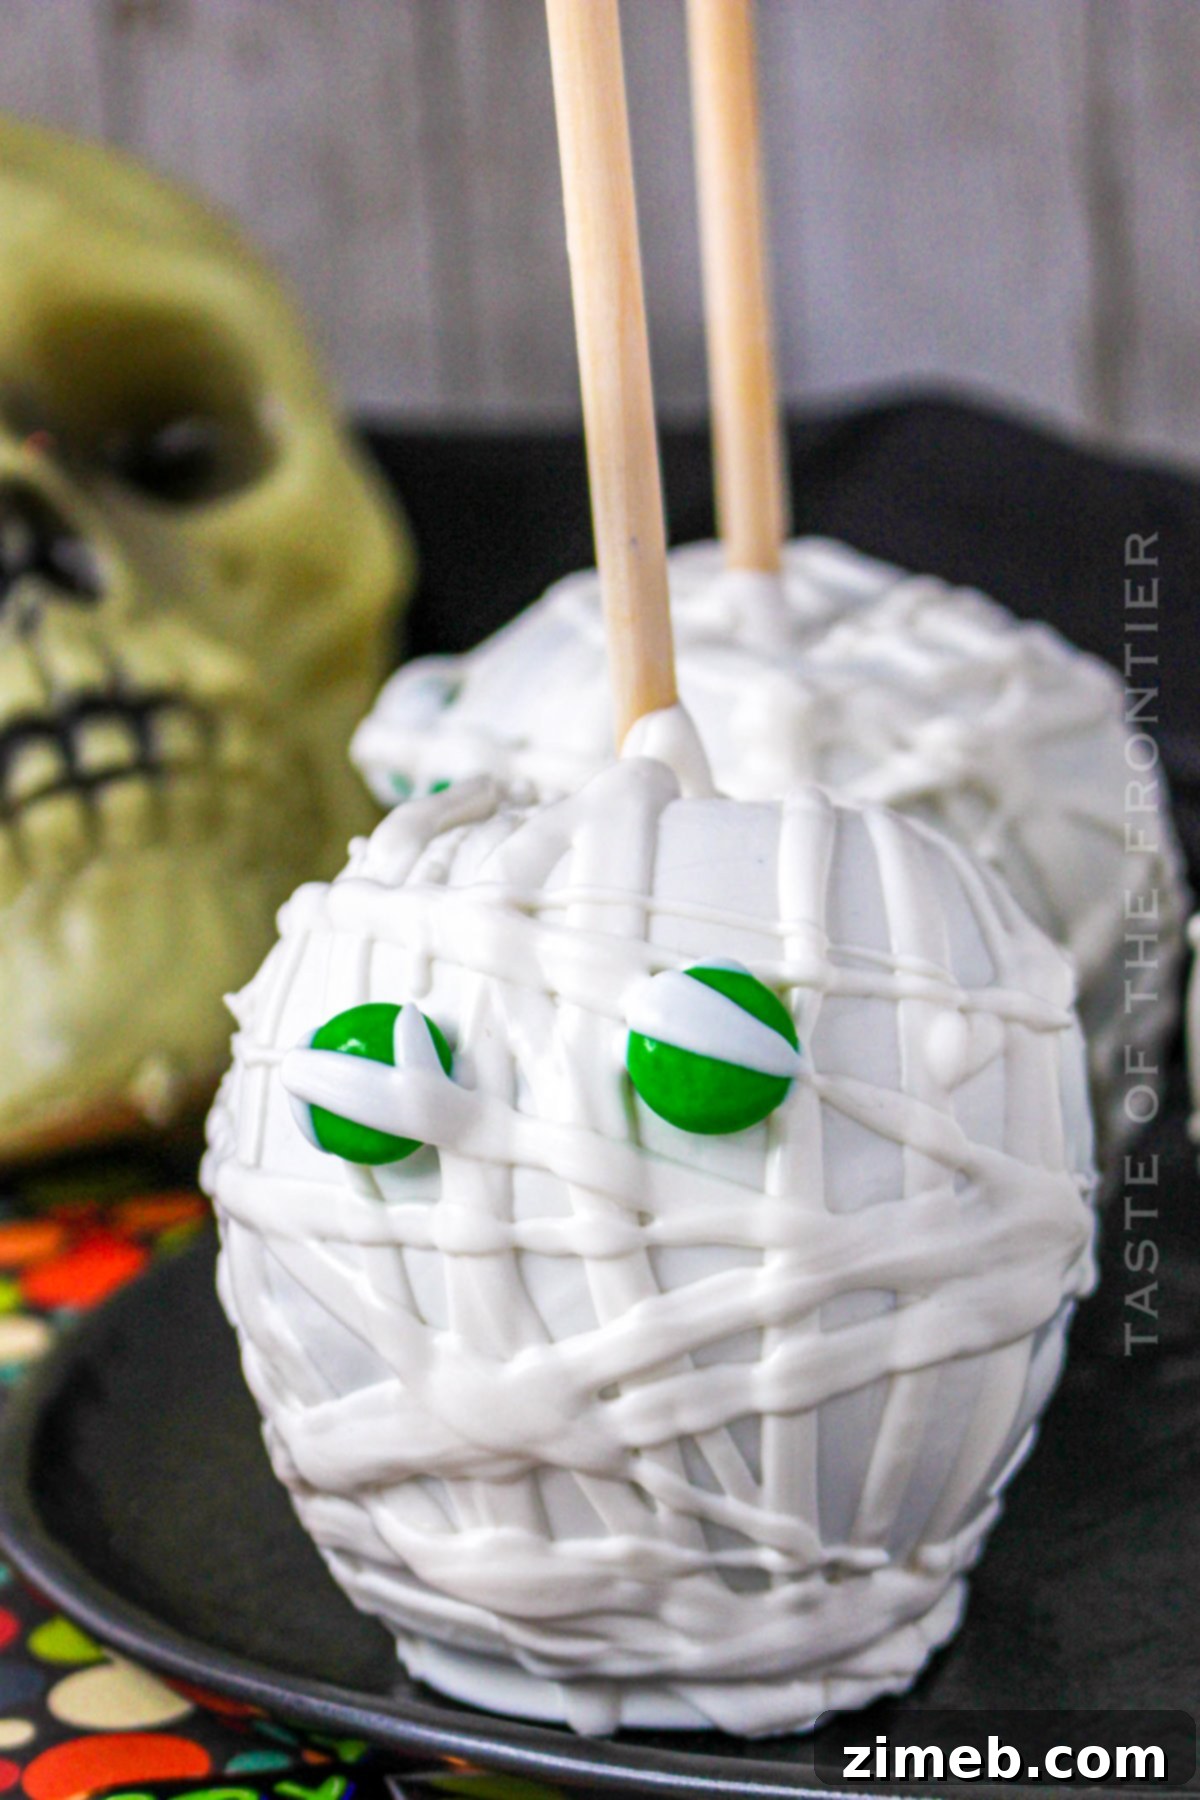
You’ve likely seen those incredibly cute mummy apples at the grocery store or perhaps scrolled past them on social media, sparking an idea that it would be wonderful to craft your own. Today is your day! I am thrilled to guide you through the surprisingly simple process of making these charming Halloween treats right in your own kitchen. You’ll be amazed at how easy it is, and the final result is so utterly adorable. Moreover, these personalized mummy apples are a fantastic alternative to the more common traditional cinnamon candy apples or classic caramel apples, offering a fresh, whimsical twist that kids absolutely adore.
Get ready to impress your family and friends with these delightful creations. Crafting these cute mummy apples by yourself is a straightforward and rewarding experience, perfect for adding a personal touch to your holiday festivities. Let’s dive into how you can bring these spooky sweet treats to life!
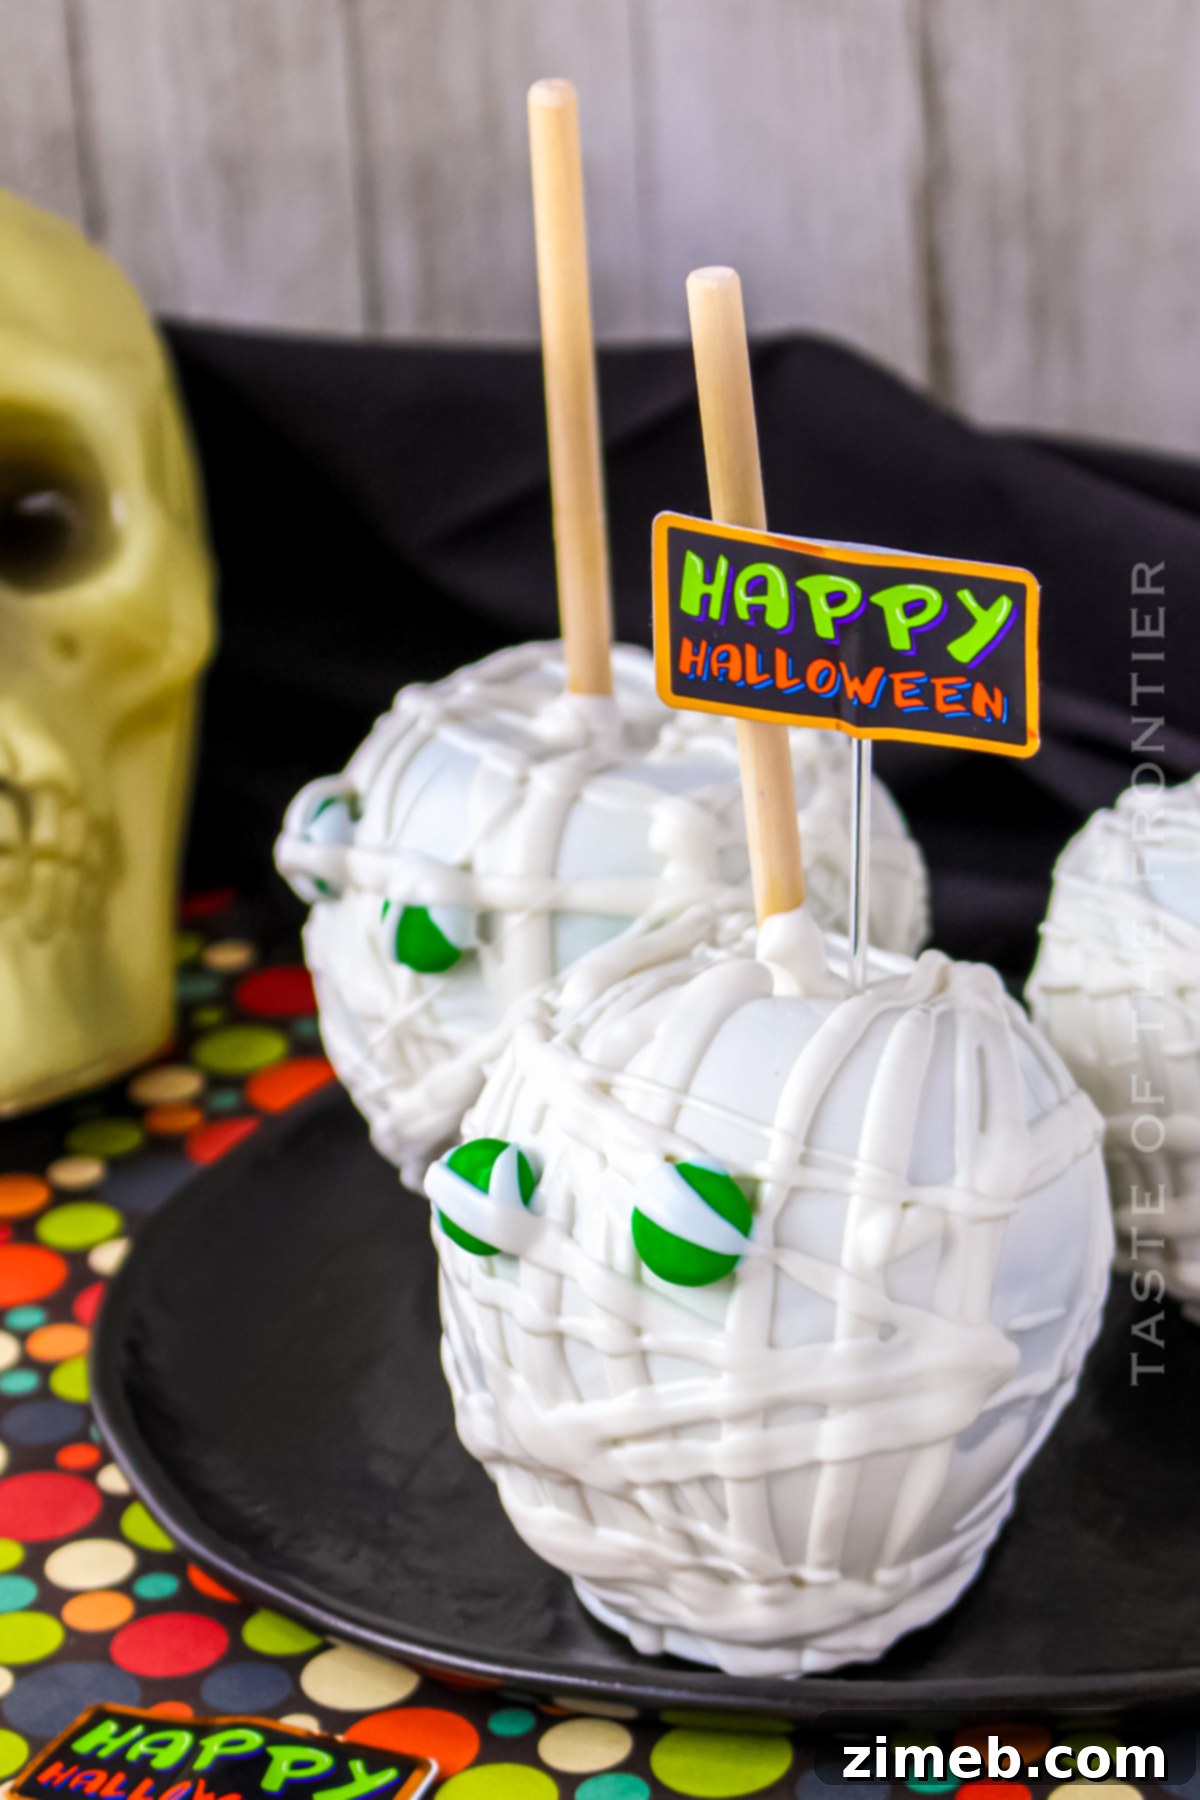
Frequently Asked Questions About Mummy Candy Apples
What exactly are Mummy Candy Apples?
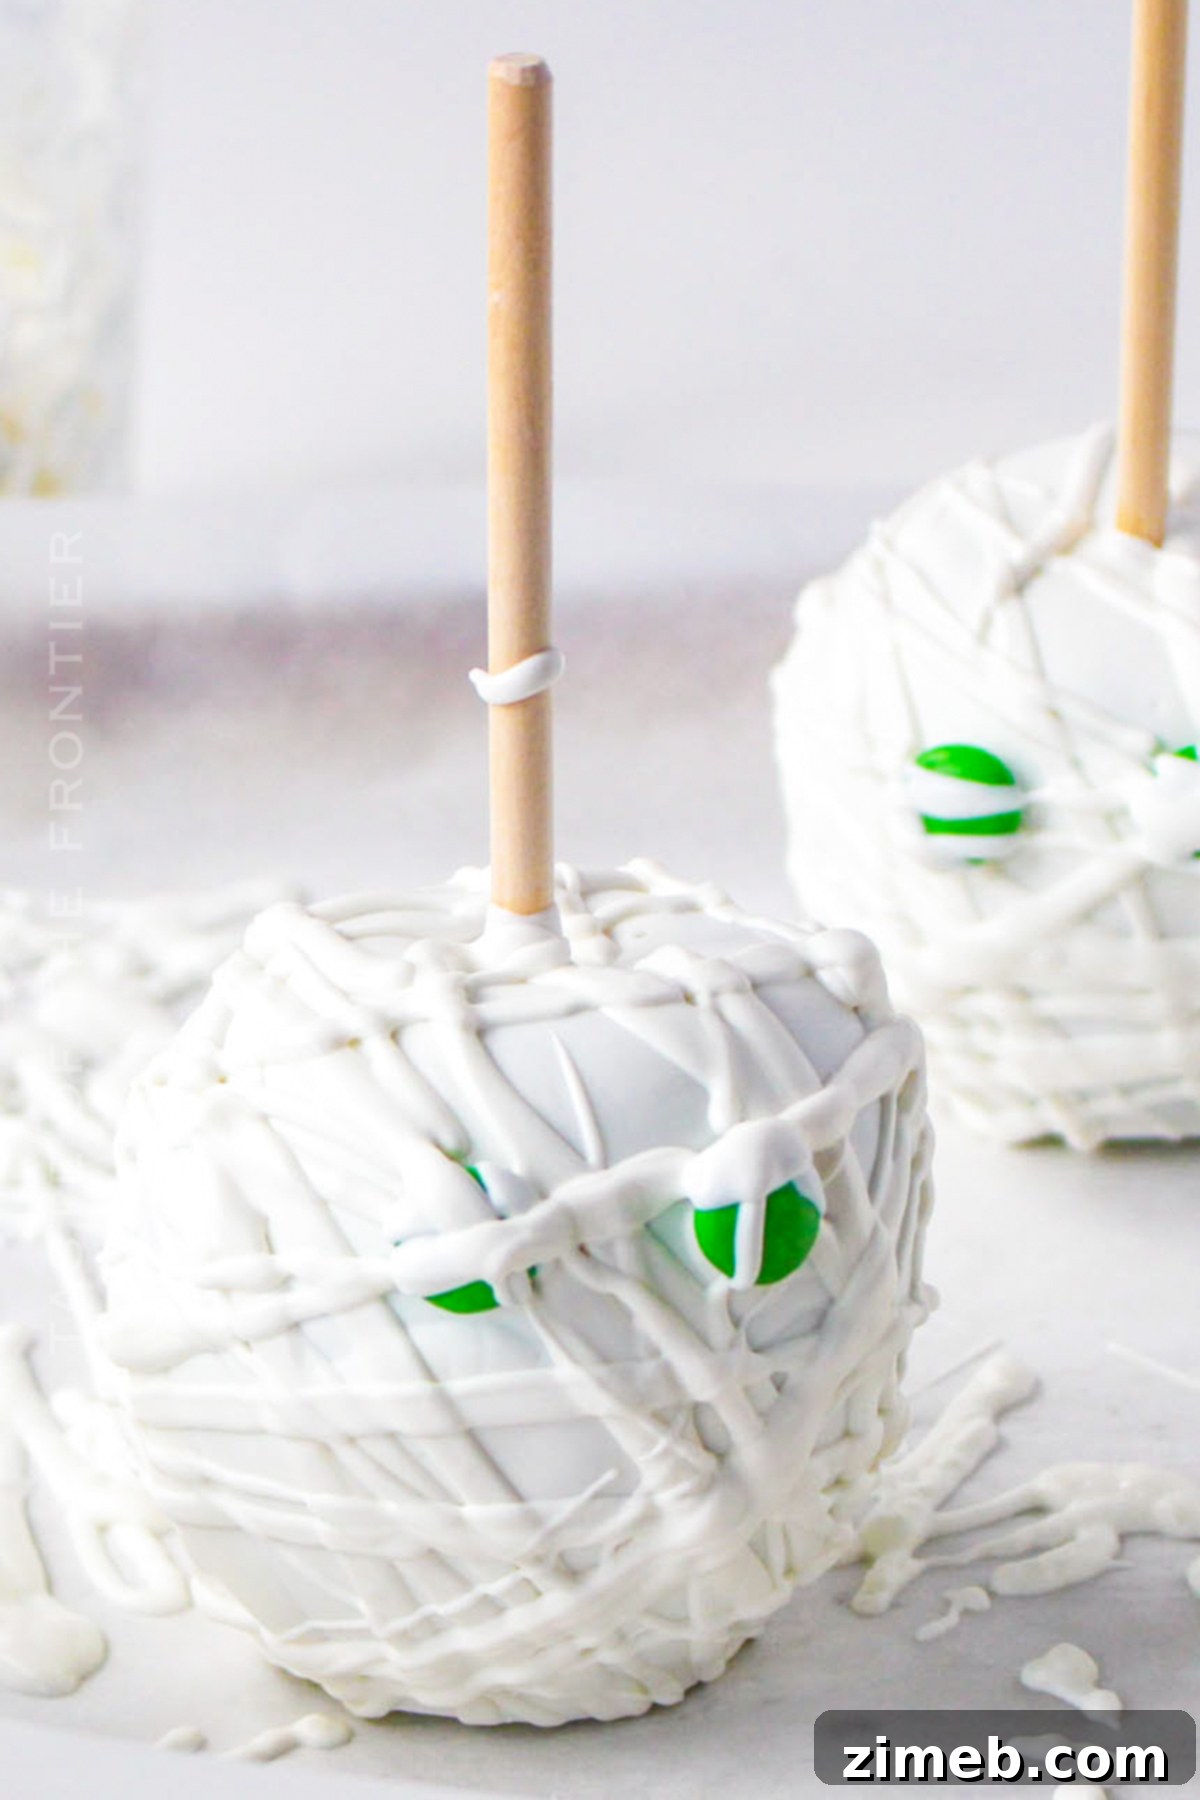
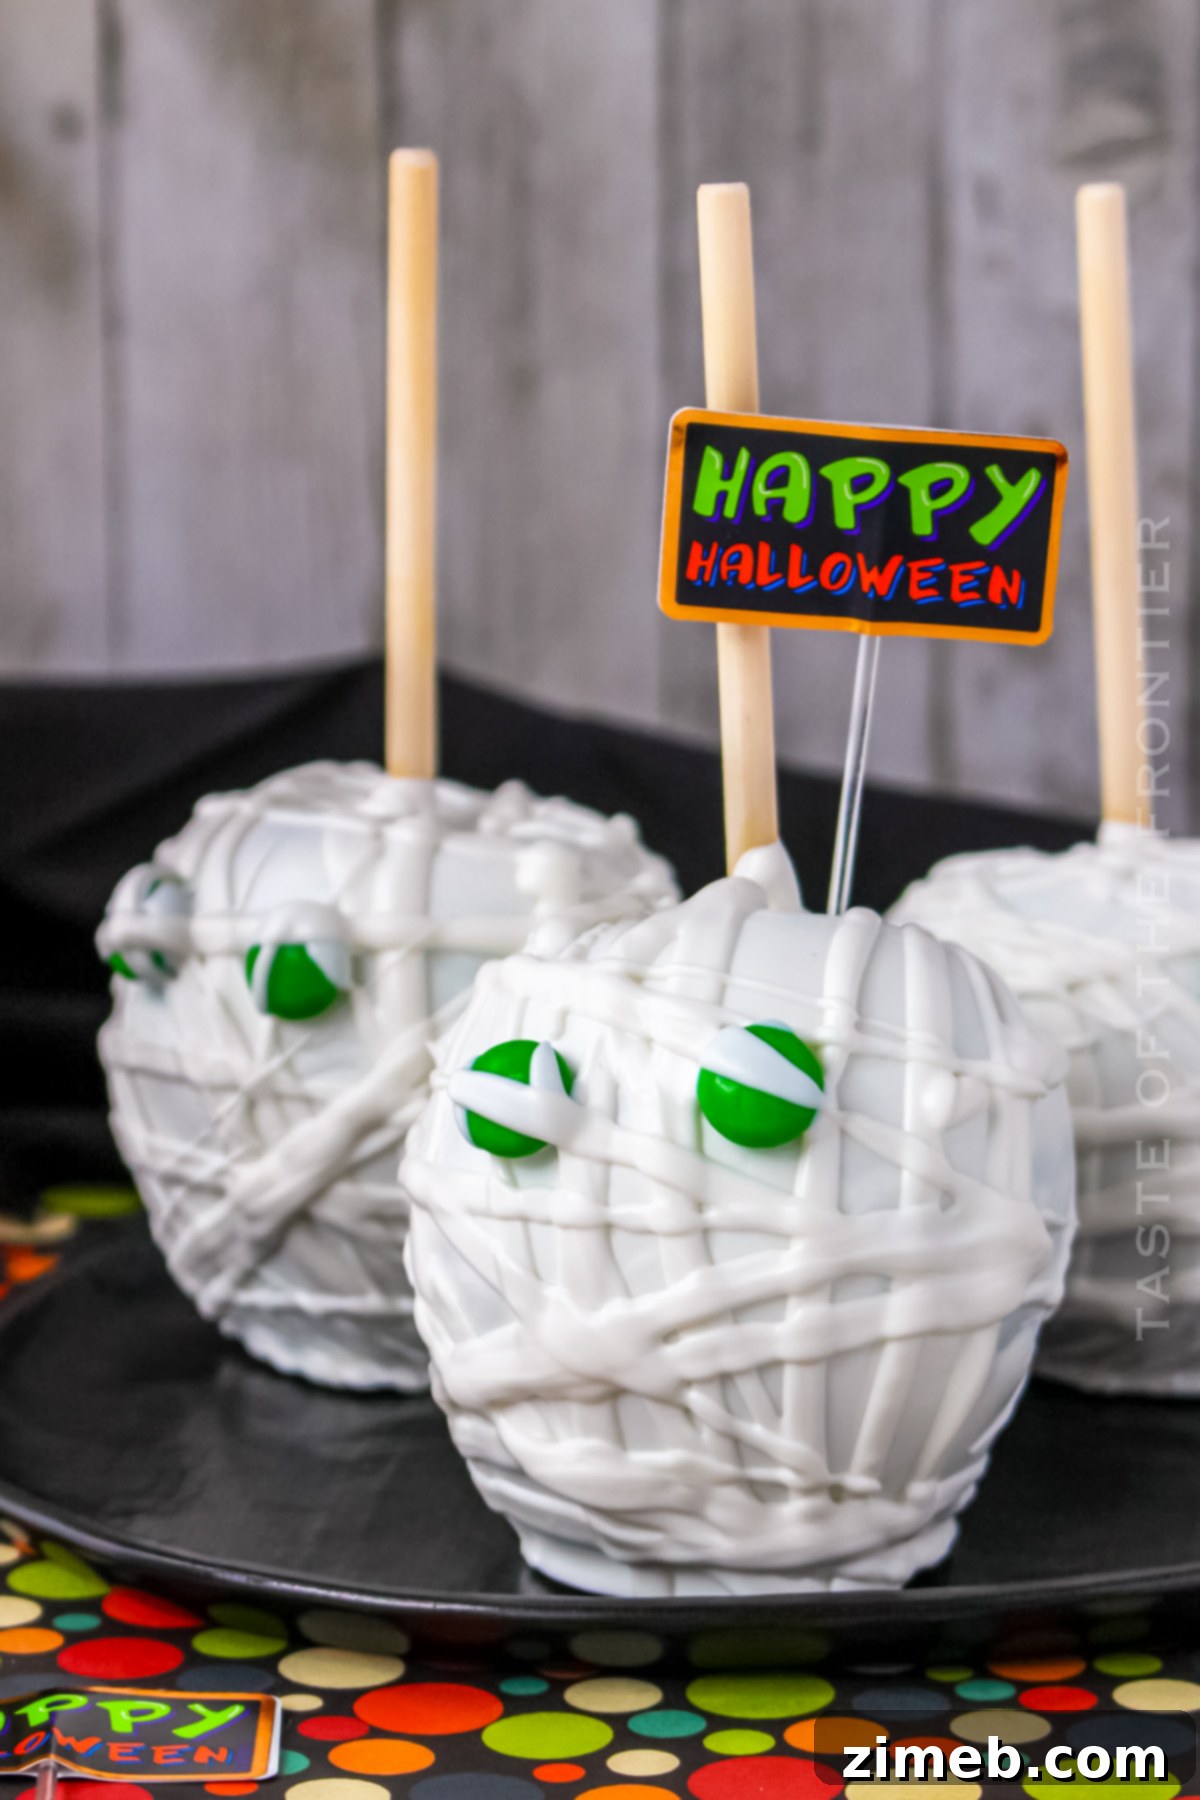
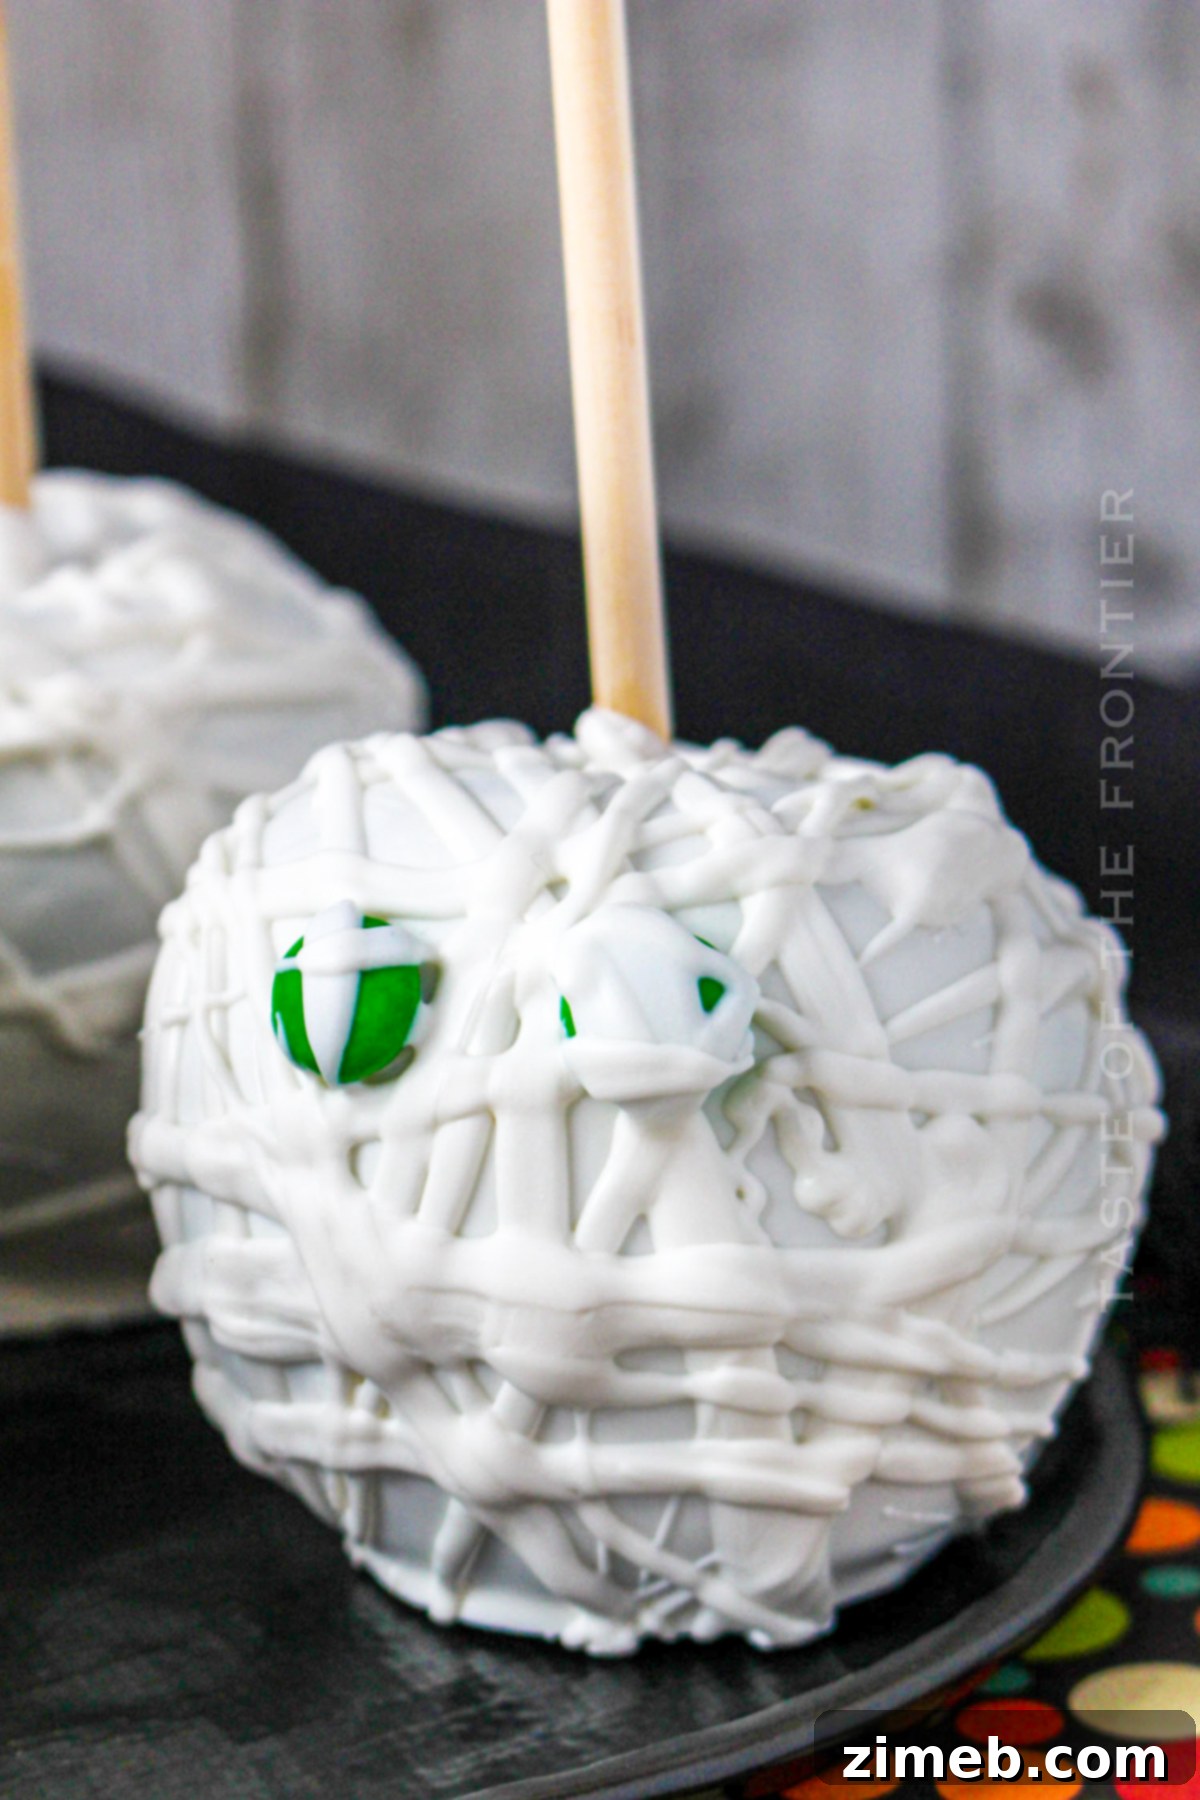
Mummy candy apples are a wonderfully inventive and easy Halloween dessert that you can effortlessly create at home. They begin with crisp, fresh apples, which are then enveloped in a luscious layer of melted white chocolate. The “mummy” effect is achieved by artfully drizzling additional white chocolate over the coated apples, mimicking bandages, and then adorning them with playful candy eyes. This combination transforms an ordinary apple into a spooktacular character, making them an excellent treat for children and adults alike who appreciate fun, themed foods for Halloween gatherings and parties.
What variations can I explore with Mummy Candy Apples?
While classic mummy candy apples are a hit, there are many creative variations to personalize your Halloween treats. These imaginative alternatives can add even more character and fun to your seasonal dessert platter:
- Ghost Candy Apples: Instead of wrapping the entire apple in white chocolate, you can create a ghostly effect by coating regular apple slices in a dark chocolate shell and then artfully drizzling white chocolate over them to resemble a floating ghost. Alternatively, use white chocolate as the base and add a spooky face with dark chocolate for a truly spectral treat.
- Black Widow Candy Apples: For a more sinister yet equally delicious option, coat regular apple slices in a striking black chocolate shell. Once the black chocolate is set, you can sprinkle red sugar on top to mimic the iconic red hourglass of a black widow spider, or use a red candy melt drizzle to draw the hourglass shape directly.
- Frankenstein Candy Apples: These are particularly creative! Start by dipping apples into a vibrant green candy melt. Once set, use a darker chocolate to create stitches and hair, and edible googly eyes to complete the monstrous look. For an extra touch, you can add small pretzel pieces for “neck bolts” before the chocolate fully hardens.
These variations allow you to customize your candy apples to fit any Halloween theme or preference, offering a range of delightful and spooky options.
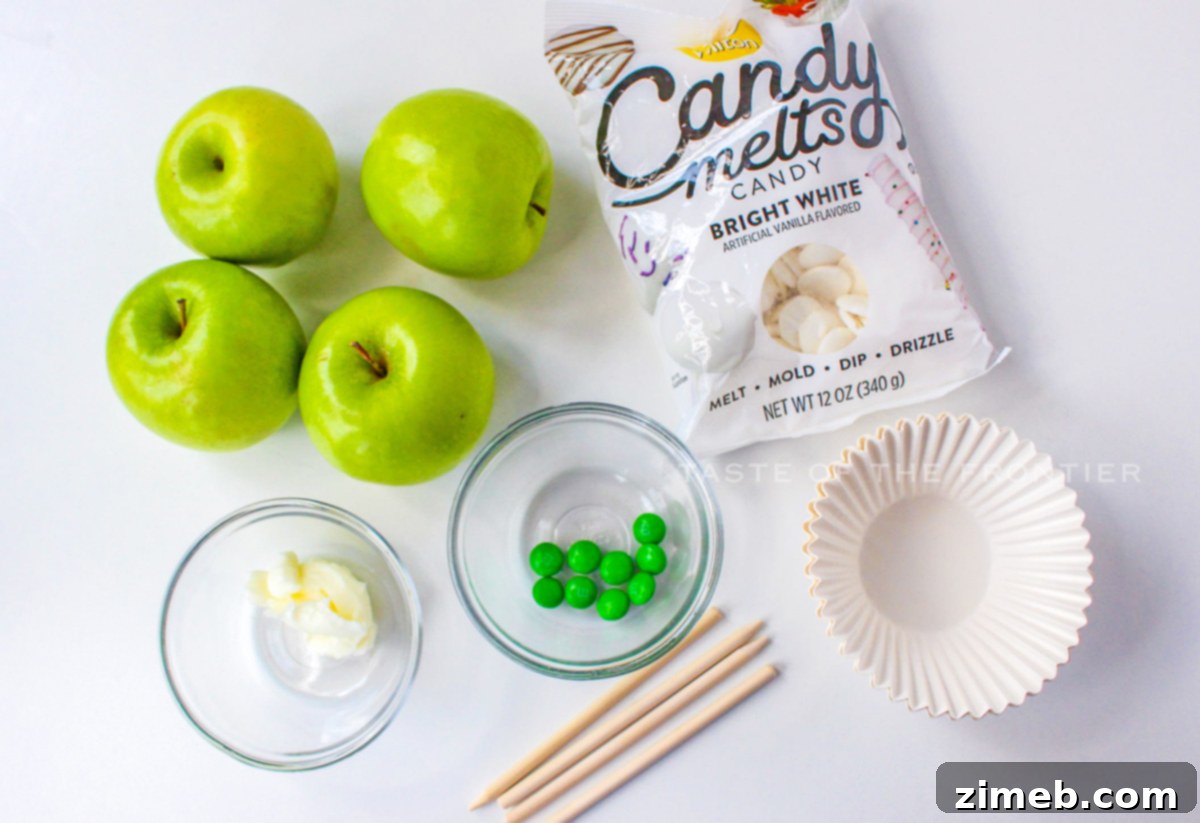
Essential Ingredients for Mummy Candy Apples
Crafting these adorable Mummy Candy Apples requires just a few simple ingredients, easily found at your local grocery store. Each component plays a crucial role in both the flavor and the festive appearance of these delightful treats:
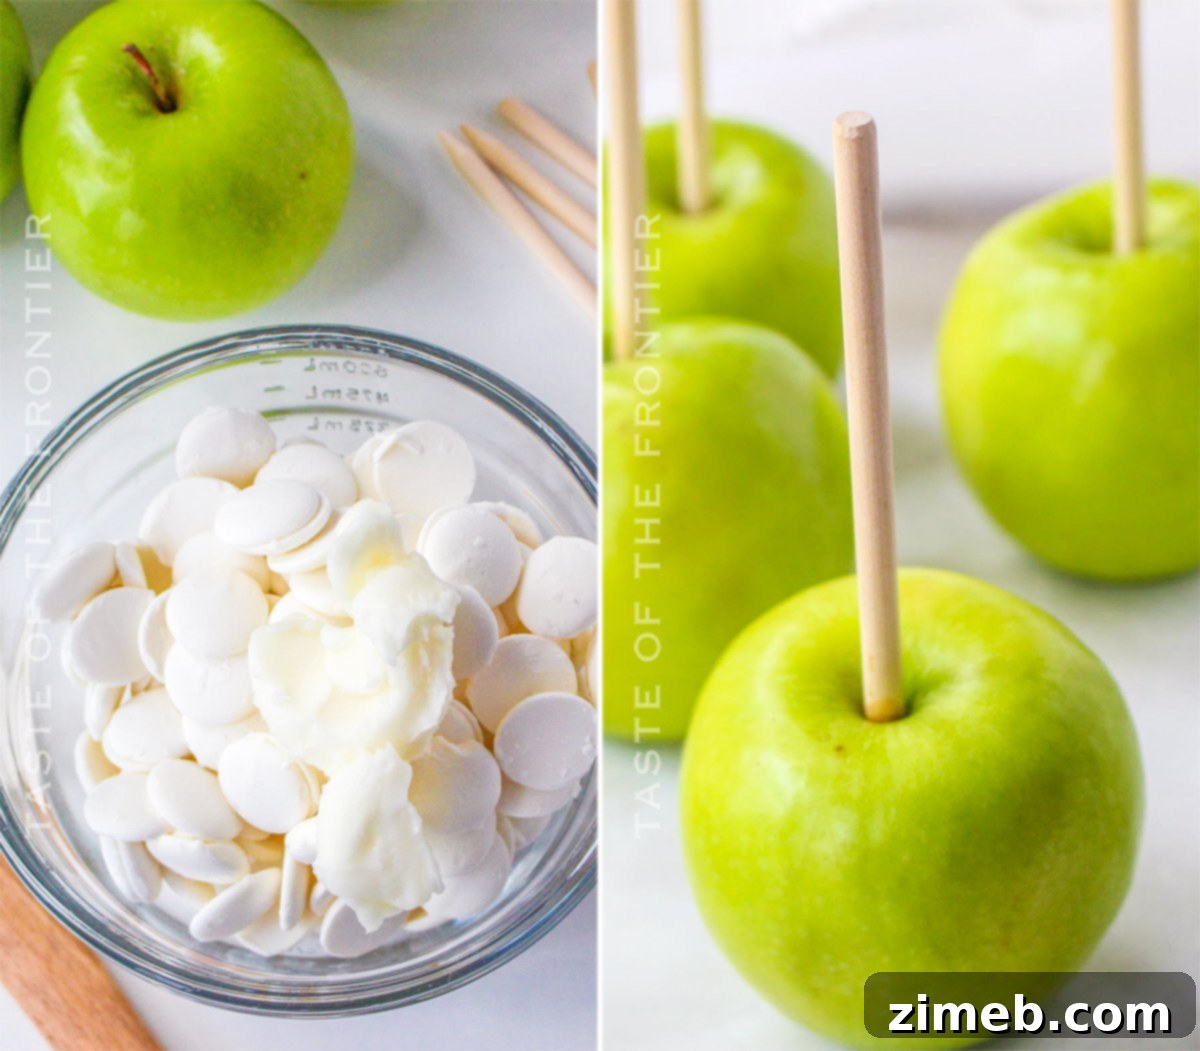
- Granny Smith apples: The cornerstone of our recipe! Choose firm, crisp Granny Smith apples. Their distinct tartness provides a wonderful contrast to the sweetness of the white chocolate, creating a perfectly balanced flavor profile. Remember to wash and thoroughly dry them, and remove the stems before beginning.
- White candy melts: These are key for achieving that classic white “mummy bandage” look. Candy melts are specifically designed to melt smoothly and harden quickly, providing a professional, glossy finish that is easy to work with.
- Coconut oil or vegetable shortening (optional): A small amount of coconut oil or vegetable shortening can be added to your candy melts. This optional ingredient helps to thin the chocolate slightly, creating a smoother consistency for dipping and drizzling. This makes the coating process much easier, ensuring a more even and elegant application.
- M&M candies, Skittles, or chocolate chips: These colorful or dark morsels are used for the mummy’s eyes, bringing your spooky creations to life! You can choose M&Ms for vibrant colors, Skittles for a fruity twist, or classic chocolate chips for a more subtle look. Edible googly eyes are also a fantastic option for an even more whimsical touch.
With these ingredients in hand, you’re ready to embark on your mummy candy apple making adventure!
How long do Mummy Candy Apples stay fresh?
Mummy candy apples are best enjoyed within 3 days of preparation. To maintain their freshness and appearance, store them in an airtight container at room temperature. It is generally not recommended to place them in the refrigerator. The cool, moist environment of a fridge can cause the delicate candy eyes to “bleed” or run, smudging their adorable expressions. Furthermore, the chocolate coating tends to crack when subjected to the cold temperatures of a refrigerator, compromising the visual appeal of your meticulously crafted treats. For optimal enjoyment and presentation, keep them cool and dry until serving.
Step-by-Step Guide: How to Make Mummy Candy Apples
Creating these festive Mummy Candy Apples is an enjoyable and straightforward process. Follow these detailed steps to ensure your treats are both delicious and visually stunning:
- Prepare the Apples: Start by thoroughly washing and drying your Granny Smith apples. It’s crucial that the apples are completely dry, as any moisture will prevent the candy melts from adhering properly. Carefully remove the stems and insert wooden dowels or sturdy popsicle sticks into the core of each apple, pushing them about halfway through for a secure handle.
- Melt the Candy: Place the white candy melts into a microwave-safe bowl. If you are using coconut oil or vegetable shortening to achieve a smoother consistency, add it to the bowl with the candy melts now.
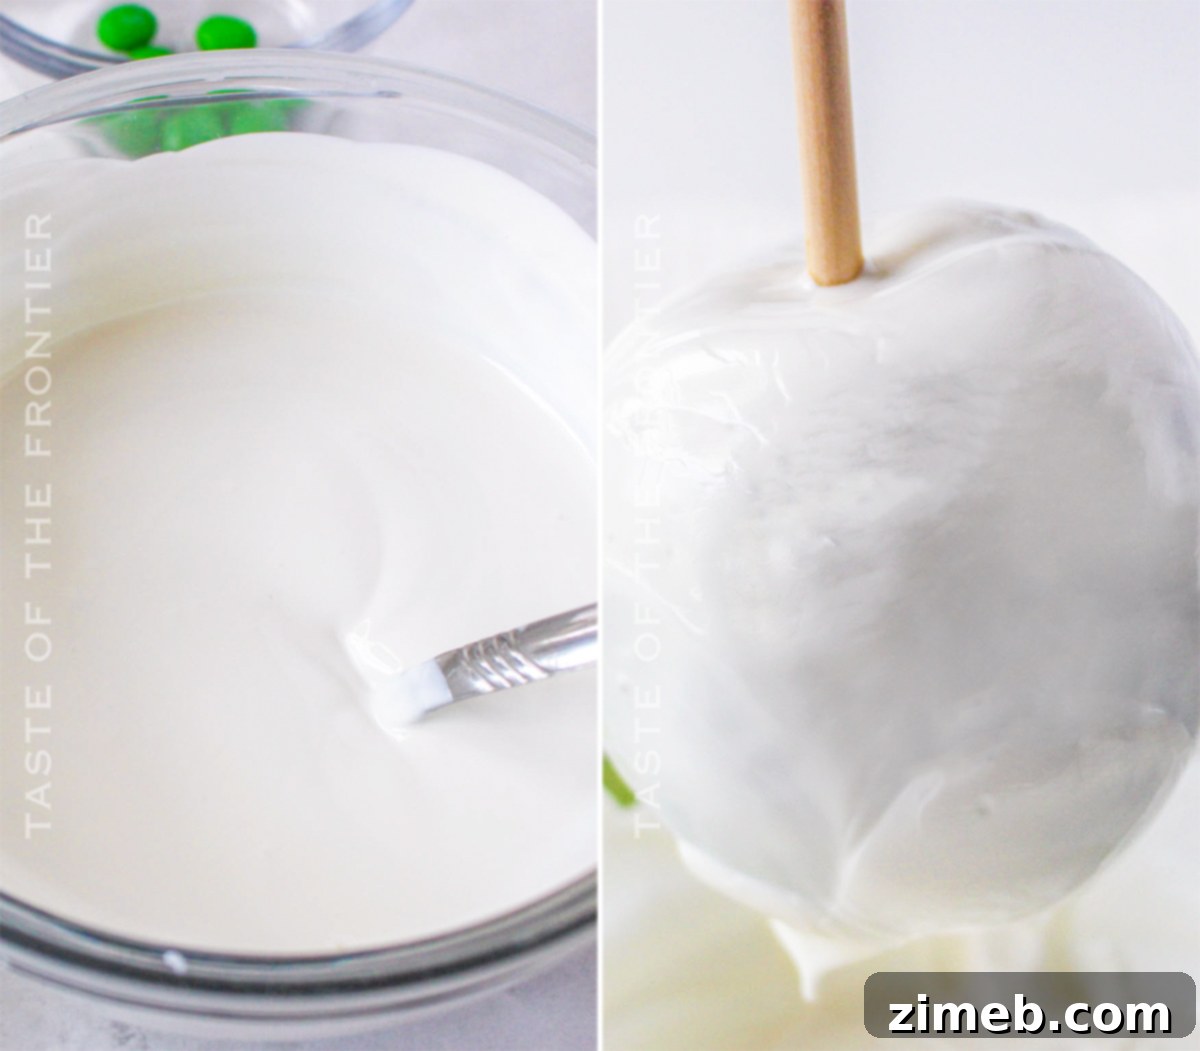
- First Microwave Interval: Microwave the chocolate on high for an initial 1 minute. After this time, remove the bowl and stir the mixture vigorously with a rubber spatula. Even if the candy doesn’t look fully melted, the residual heat will help it continue to soften.
- Continue Melting: Return the candy to the microwave and heat it in short 15-second intervals, stirring thoroughly after each interval. Continue this process until the candy mixture is completely smooth, lump-free, and has a consistent pouring consistency. Be careful not to overheat the chocolate, as it can seize.
- Dip the Apples: Hold an apple by its wooden dowel and carefully dip it into the melted white candy. Tilt the bowl as needed to ensure the apple is fully coated. Lift the apple out, allowing any excess candy to drip back into the bowl. Rotate the apple gently to ensure an even coat.
- Set the Base Coat: Place the dipped apples upright on a sheet of parchment paper laid on a baking sheet. Allow the white candy coating to almost completely set. This usually takes about 10-15 minutes, depending on the room temperature.
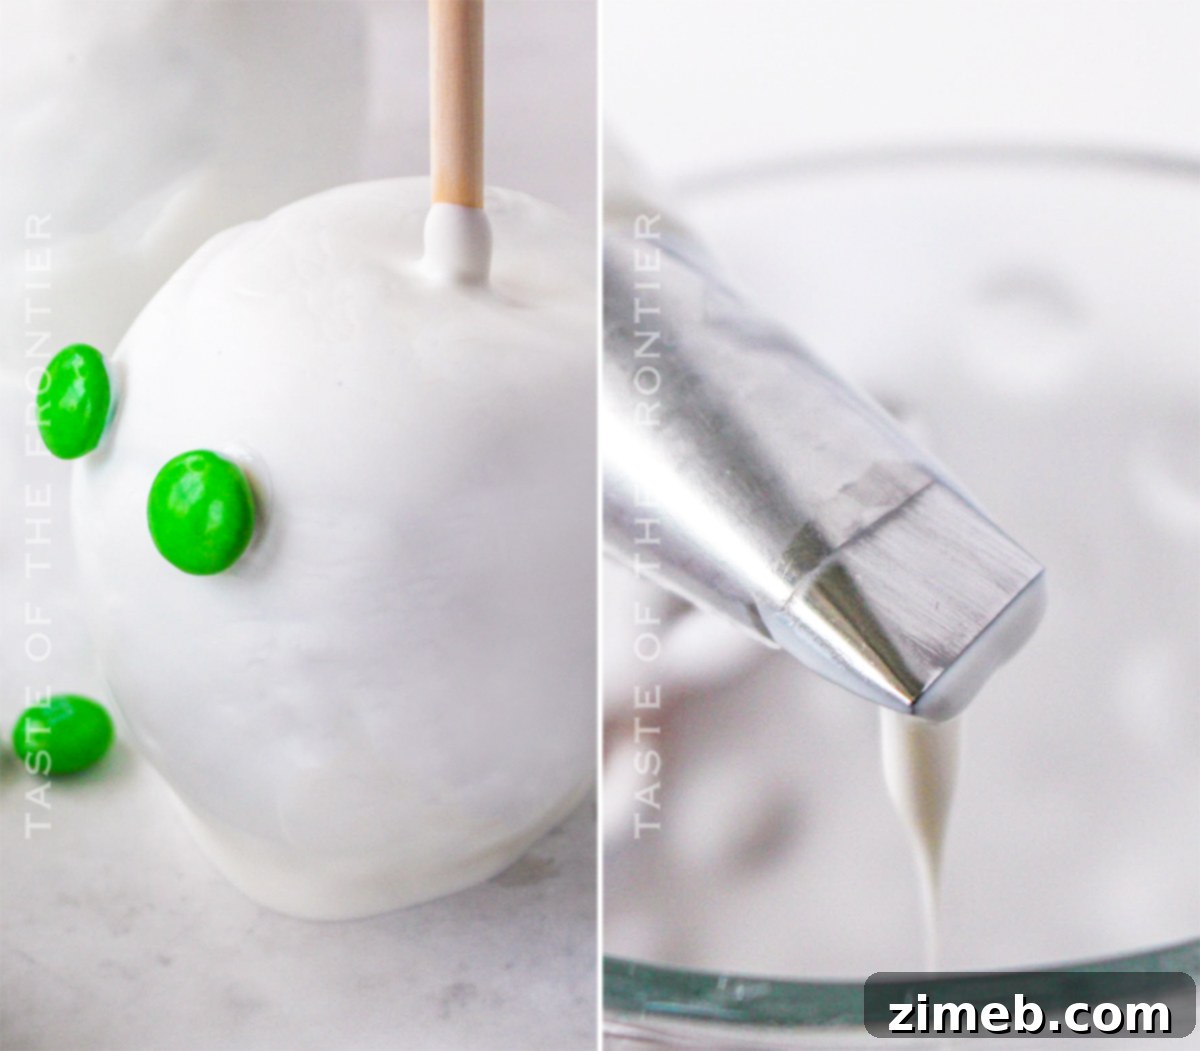
- Add the Eyes: While the first candy layer is still slightly tacky but firm enough to hold, gently press two M&M candies, Skittles, chocolate chips, or edible googly eyes into place on each apple, positioning them as the mummy’s eyes. Allow the candy coating to harden completely before proceeding to the next step. This ensures the eyes stay put.
- Reheat for Drizzling: If the remaining candy melts in the bowl have hardened too much for drizzling, reheat them in the microwave for 15 to 30 seconds until they are once again smooth and pourable.
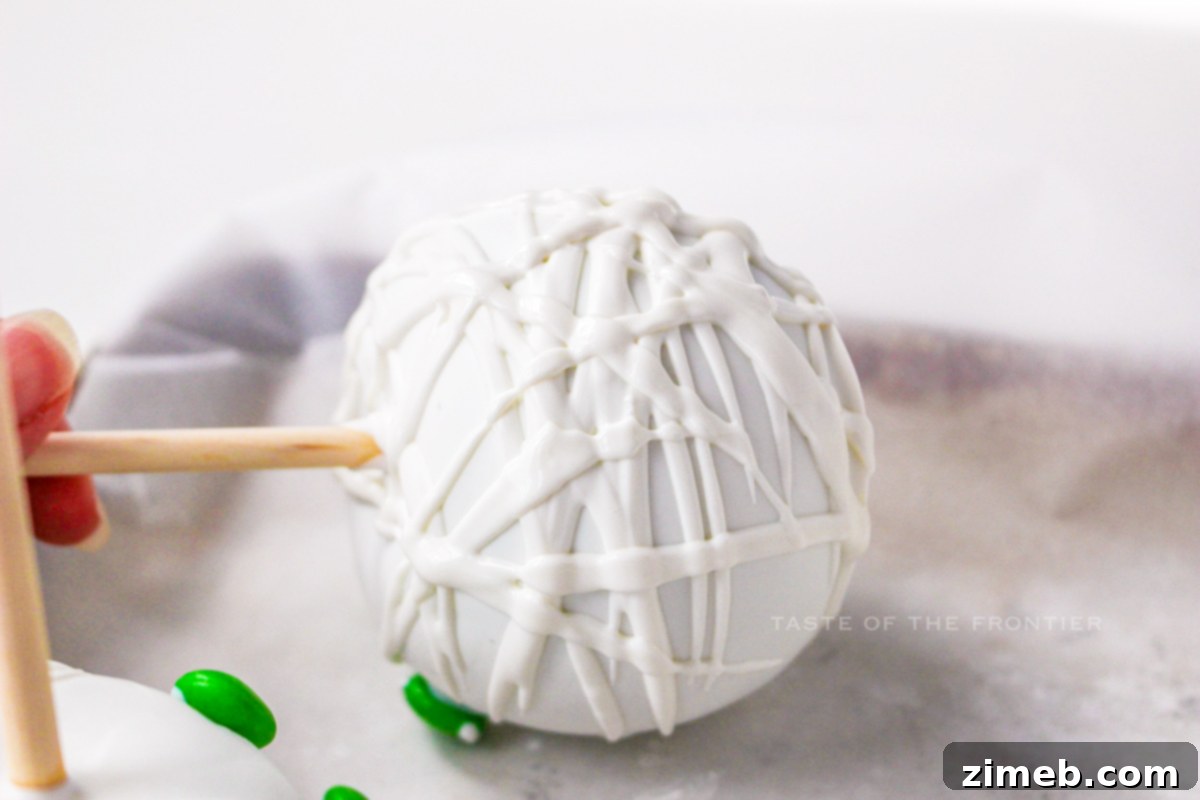
- First Drizzle Layer: Lay the apples on their side on the parchment paper. Using a spoon or a piping bag with a small, flat tip (for more control), drizzle the reheated candy melts across the apples in one direction, creating the initial “bandage” strips. Let this layer almost completely set.
- Second Drizzle Layer: Once the first drizzle layer is mostly firm, drizzle again in the opposite direction, overlapping the first strips to enhance the mummy effect.
- Final Hardening: Allow the candy to completely harden on one side before carefully flipping the apples over and repeating the drizzling process on the opposite side to cover the entire apple. Ensure all candy is fully hardened before packaging, displaying, or serving. This will prevent any smudging or damage to your delightful mummy creations.
Now your Mummy Candy Apples are ready to enchant and delight everyone!
What is the ideal apple variety for candy apples?
When it comes to crafting the perfect candy apple, the undisputed champion is the Granny Smith apple. This variety is truly the best choice for several compelling reasons. Granny Smith apples offer a distinctly tart and crisp flavor profile, which provides an exquisite counterpoint to the rich sweetness of candy coatings like white chocolate. This balance of flavors prevents the treat from being overwhelmingly sweet and adds a refreshing bite. Beyond their taste, Granny Smith apples boast a firm texture that holds up exceptionally well during the dipping process. Their hard skin also contributes to their longevity, meaning they stay fresh and perfectly crisp for longer than softer apple varieties, ensuring your candy apples remain delightful even after a few days. For a truly professional and delicious candy apple, Granny Smith is always the way to go.
Effective Storage Methods for Caramel Apples
While this article focuses on candy apples, the principles for storing caramel apples are quite similar and worth noting. To keep caramel apples fresh and prevent them from becoming sticky or losing their appeal, I’ve found that wrapping each apple individually with plastic wrap or placing them in a paper bag and folding the bag closed works best. This method helps to protect the caramel coating from environmental moisture and air. I generally do not recommend refrigerating caramel apples unless they have already been cut open. Similar to candy apples, the cold, damp environment of a refrigerator can cause the caramel to sweat, become overly soft, or develop a cloudy appearance, detracting from its texture and visual appeal. Store them in a cool, dry place for optimal freshness.
Expert Tips for Perfect Mummy Candy Apples
Achieving perfectly spooky and delicious Mummy Candy Apples is easy with a few insider tips. These suggestions will help you streamline the process and ensure your treats look and taste fantastic:
- Almond Bark as an Alternative: If white candy melts are unavailable, almond bark can be used as a substitute for coating the apples. However, be aware that almond bark typically isn’t a pure, bright white. It often has a slightly off-white or yellowish hue, which might alter the appearance of your “mummy bandages” slightly.
- Creative Eye Options: Don’t limit yourself to just M&M candies for the eyes! Any small, round candies or chocolate morsels can be creatively used to bring your mummies to life. Consider small jelly beans, mini chocolate chips, or even edible googly eyes for an extra whimsical touch. The key is to find something small enough to fit proportionately on the apple.
- Smooth Consistency with Additives: The addition of a small amount of vegetable shortening or coconut oil is a game-changer for candy melts. These fats help thin the melted candy, resulting in a much smoother, more pourable consistency. This makes dipping apples easier and ensures a thin, even coating that looks professional and sets beautifully.
- Avoid Refrigeration: It’s crucial to avoid refrigerating your completed candy apples. The rapid change in temperature and the moist environment of the refrigerator can cause the candy coating to crack and the edible eyes to “bleed” their colors, spoiling the aesthetic of your mummies. Store them at room temperature in an airtight container instead.
- Caramel Base Option: For an extra layer of indulgence and flavor, consider dipping your apples in melted caramel first, allowing it to set, and then proceeding with the white chocolate mummy coating. This combination of sweet caramel and crisp apple beneath the white chocolate adds a delightful complexity.
- Piping Bag for Drizzling: For more precise and controlled “bandage” drizzles, a piping bag fitted with a small, flat tip can be incredibly helpful. However, be mindful that melted candy can run quite quickly from a piping bag, so practice on a piece of parchment paper first to get a feel for the flow.
Don’t Miss These Other Spooktacular Mummy and Halloween Ideas!
If you’ve enjoyed making these Mummy Candy Apples, you’ll love exploring more festive and fun Halloween treat recipes. Here are some other delightful mummy-themed and general Halloween ideas to add to your holiday repertoire:
- Mummy Rice Krispie Treats: An incredibly easy and versatile treat that can be mummified with white chocolate drizzles and candy eyes.
- Easy Mummy Shortbread Cookies: Simple shortbread cookies decorated with white icing “bandages” and edible eyes for a delightful bite.
- Mummy French Macarons: Elevate your Halloween baking with elegant French macarons, transformed into mummies with white chocolate and delicate decorations.
- Mummy Brownies: Fudgy brownies become adorable mummies with a few simple stripes of frosting and candy eyes.
Essential Tools for Your Mummy Candy Apple Adventure
Making these cute Halloween Mummy Candy Apples is not just super easy and delicious, but it’s also a fantastic way to get into the festive spirit. Whether you’re a seasoned baker or new to making candy-coated apples, having the right tools on hand can make all the difference. While you might already own some of these essentials, or perhaps you’re feeling a bit nervous about trying something new, rest assured, you’re going to love the process and the delicious outcome! Here’s a list of items I personally rely on when creating this delightful treat recipe:
- Baking Sheet: Essential for holding your parchment paper and providing a flat, stable surface for your apples to dry on.
- Parchment Paper: Prevents the candy-coated apples from sticking to the baking sheet and makes cleanup a breeze.
- Medium Microwave-Safe Bowl: Perfect for safely melting your candy melts to the ideal consistency.
- Rubber Spatula: Ideal for stirring the melting candy and scraping down the sides of the bowl to ensure a smooth, uniform mixture.
- Frosting Bag (Piping Bag): Highly recommended for drizzling the “mummy bandages” with greater precision and control, though a spoon works too.
- Scissors: Useful for cutting parchment paper, opening candy melt packages, or snipping the tip of your piping bag.
- Candy Melts: The star ingredient for the coating! Ensure you have enough white candy melts to create that iconic mummy look.
If you adore this easy Halloween treat recipe, you’re sure to discover even more Halloween delights within our collection. Click on each link below to explore these simple, printable recipes and elevate your spooky season baking!
Check out this recipe

Check out this recipe
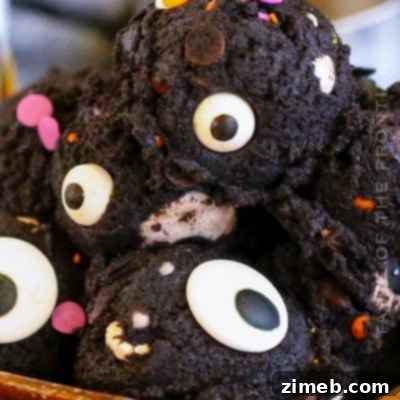
Check out this recipe
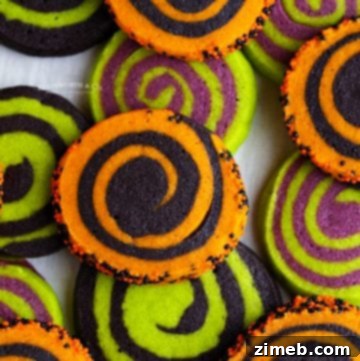
Check out this recipe
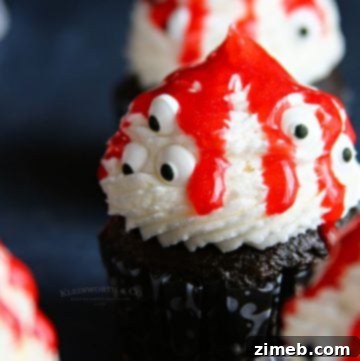
Check out this recipe
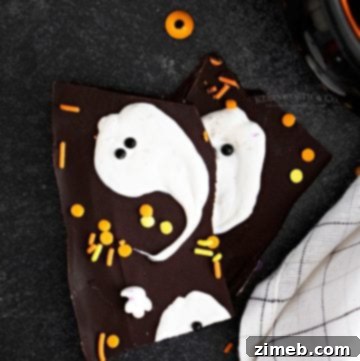
Check out this recipe
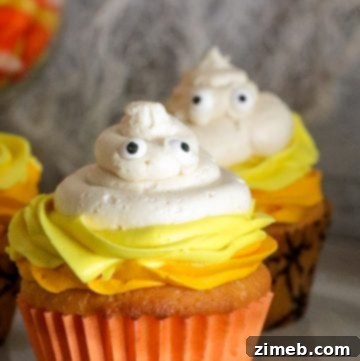
Check out this recipe
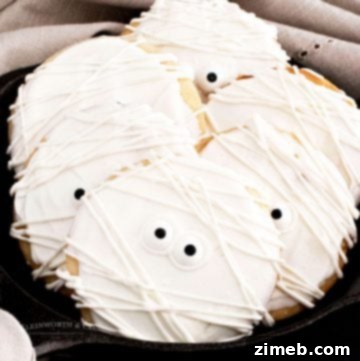
Check out this recipe
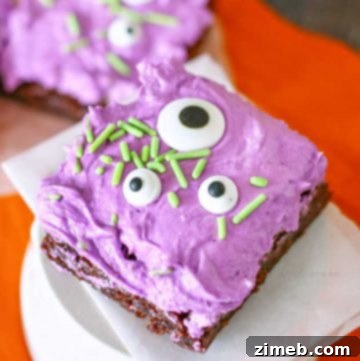
Check out this recipe
If you loved this recipe for Homemade Chocolate Covered Candy Apples as much as I do, please take a moment to leave a five-star review below. Your feedback helps us share these delightful creations with even more Halloween enthusiasts! Be sure to help me spread the word by sharing your experience on Facebook and Pinterest!
CONNECT WITH YUMMI HAUS!
Be sure to follow me on my social media, so you never miss a post!
Substack, FB, Pinterest, IG, Email Subscription
Rate this Recipe
Mummy Candy Apples
Ingredients
- 4 Granny Smith apples washed, dried and stems removed
- 12 ounces white candy melts
- 1 tablespoon coconut oil or vegetable shortening – optional
- 8 M&M candies Skittles, or chocolate chips
Instructions
-
Insert the wooden dowels into the center (stem) of the apples.
-
Place the white candy melts and coconut oil or vegetable shortening, if using, into a microwave-safe bowl.
-
Microwave the chocolate on high for 1 minute. Stir vigorously to allow the candy to continue melting with the residual heat.
-
Return the candy to the microwave and heat in 15-second intervals, stirring well between each, until the candy mixture is smooth.
-
Pour the candy melts over each apple, allowing the excess to run back into the bowl.
-
Place the apples on parchment paper to dry.
-
When the apples are almost completely set, press the eyes into place. Then, allow the candy to completely harden before completing the following steps.
-
If needed, reheat the candy by melting in the microwave for 15 to 30 seconds.
-
Place the apples with the eyes on their side and then drizzle the apples in one direction with the candy. When the candy is almost completely set, drizzle again in the opposite direction.
-
Allow the candy to totally harden before flipping the apples and repeating the process on the opposite side.
-
Make sure the candy is hardened before packaging or serving.
Notes
- Almond bark can be substituted for the candy melts but it is not entirely white.
- Any small candy or morsels can be used for the eyes.
- The vegetable shortening or coconut oil helps the candy melts pour in a smoother consistency.
- Refrigerating the apples may cause cracking of the candy.
- If desired, apples can be coated in melted caramel before coating them in white chocolate.
- For easier drizzling of the candy, you can use a piping bag with a flat tip but be aware that the candy runs from the bag very quickly.
Nutrition
Nutritional information for the recipe is provided as a courtesy and is approximate. Please double-check with your own dietary calculator for the best accuracy. We at Yummi Haus cannot guarantee the accuracy of the nutritional information given for any recipe on this site.