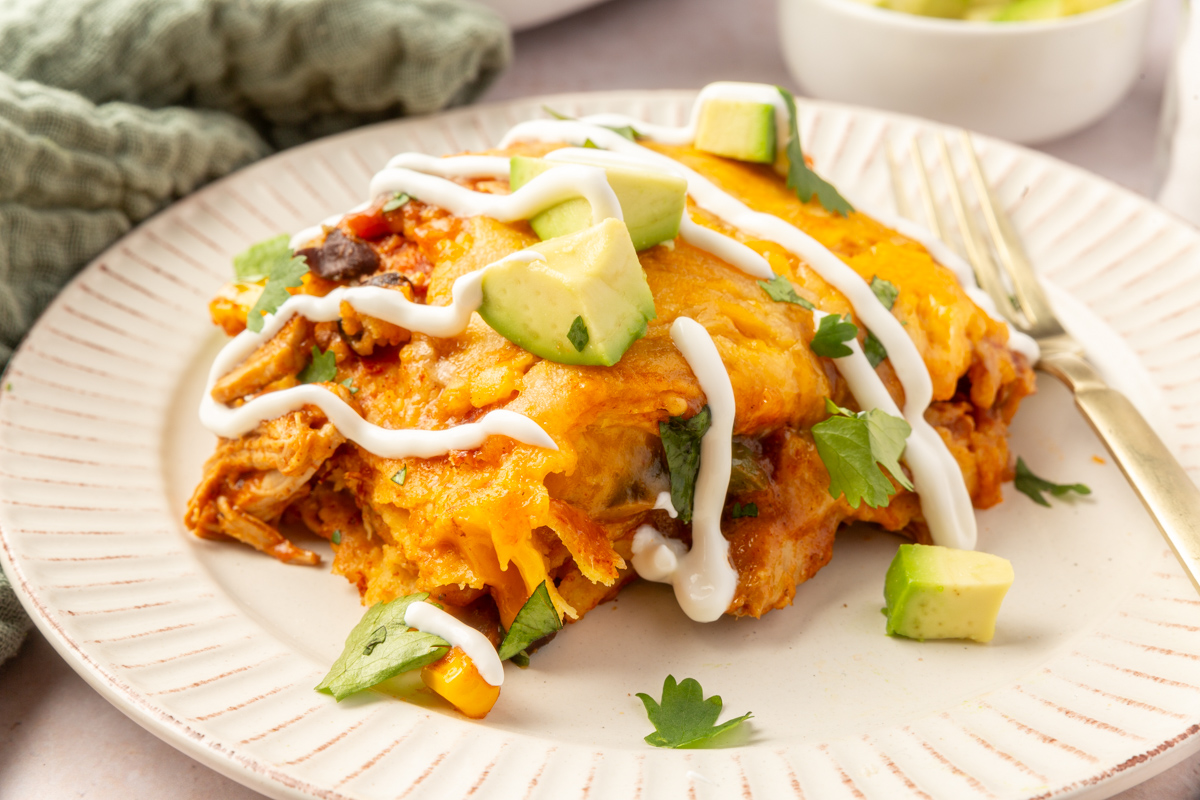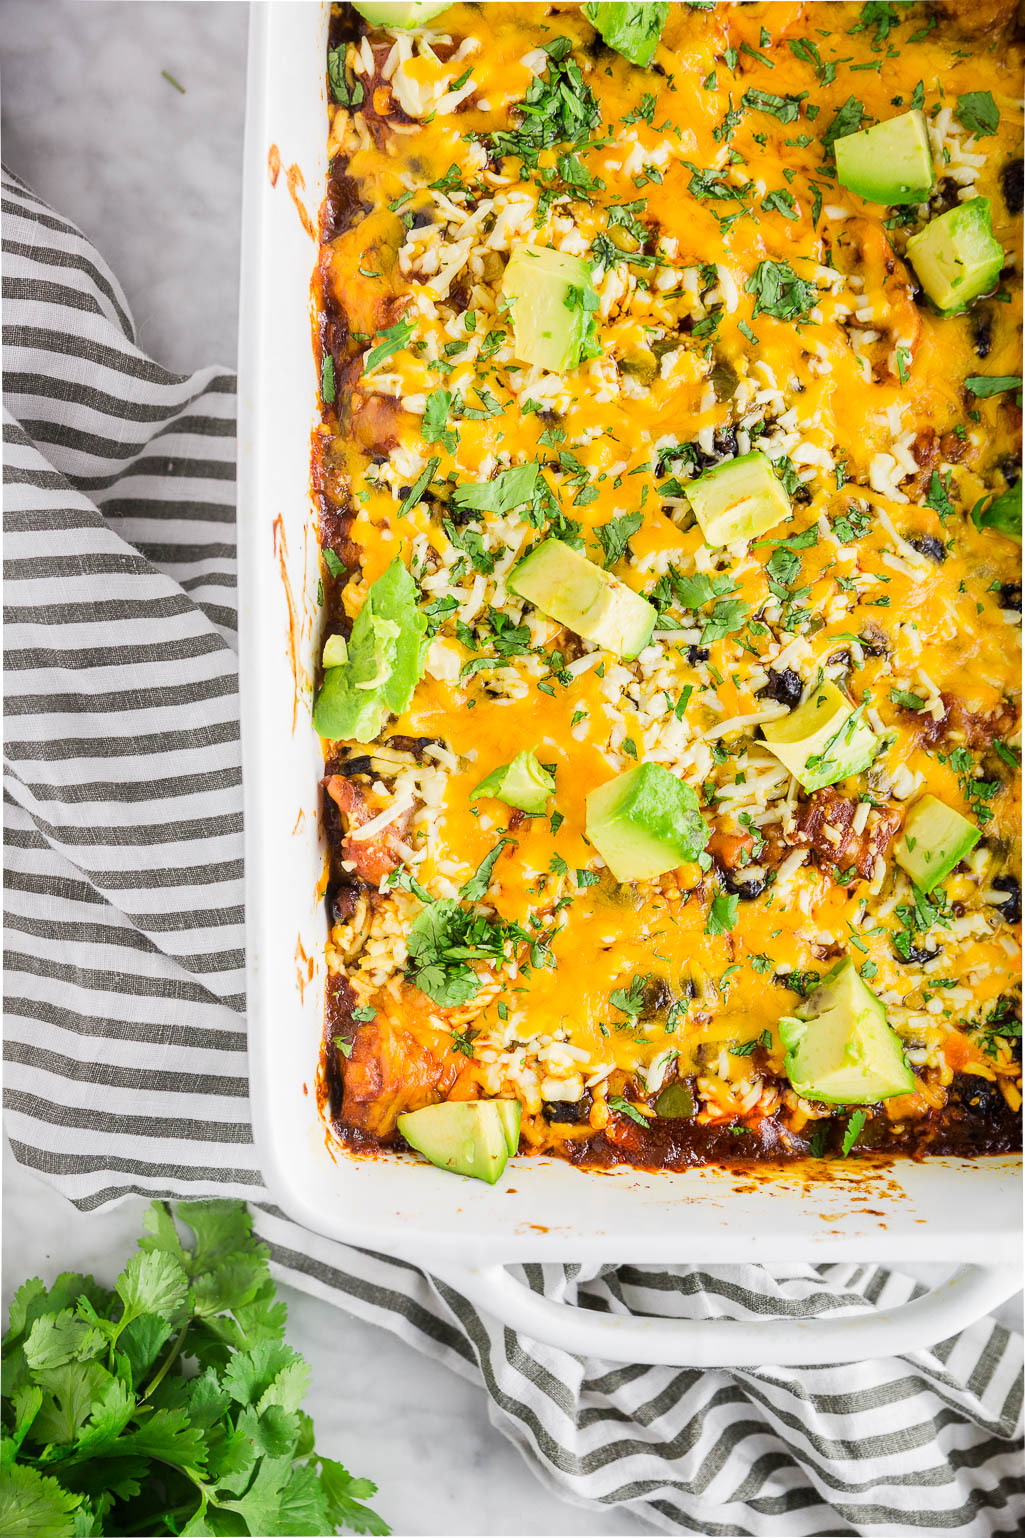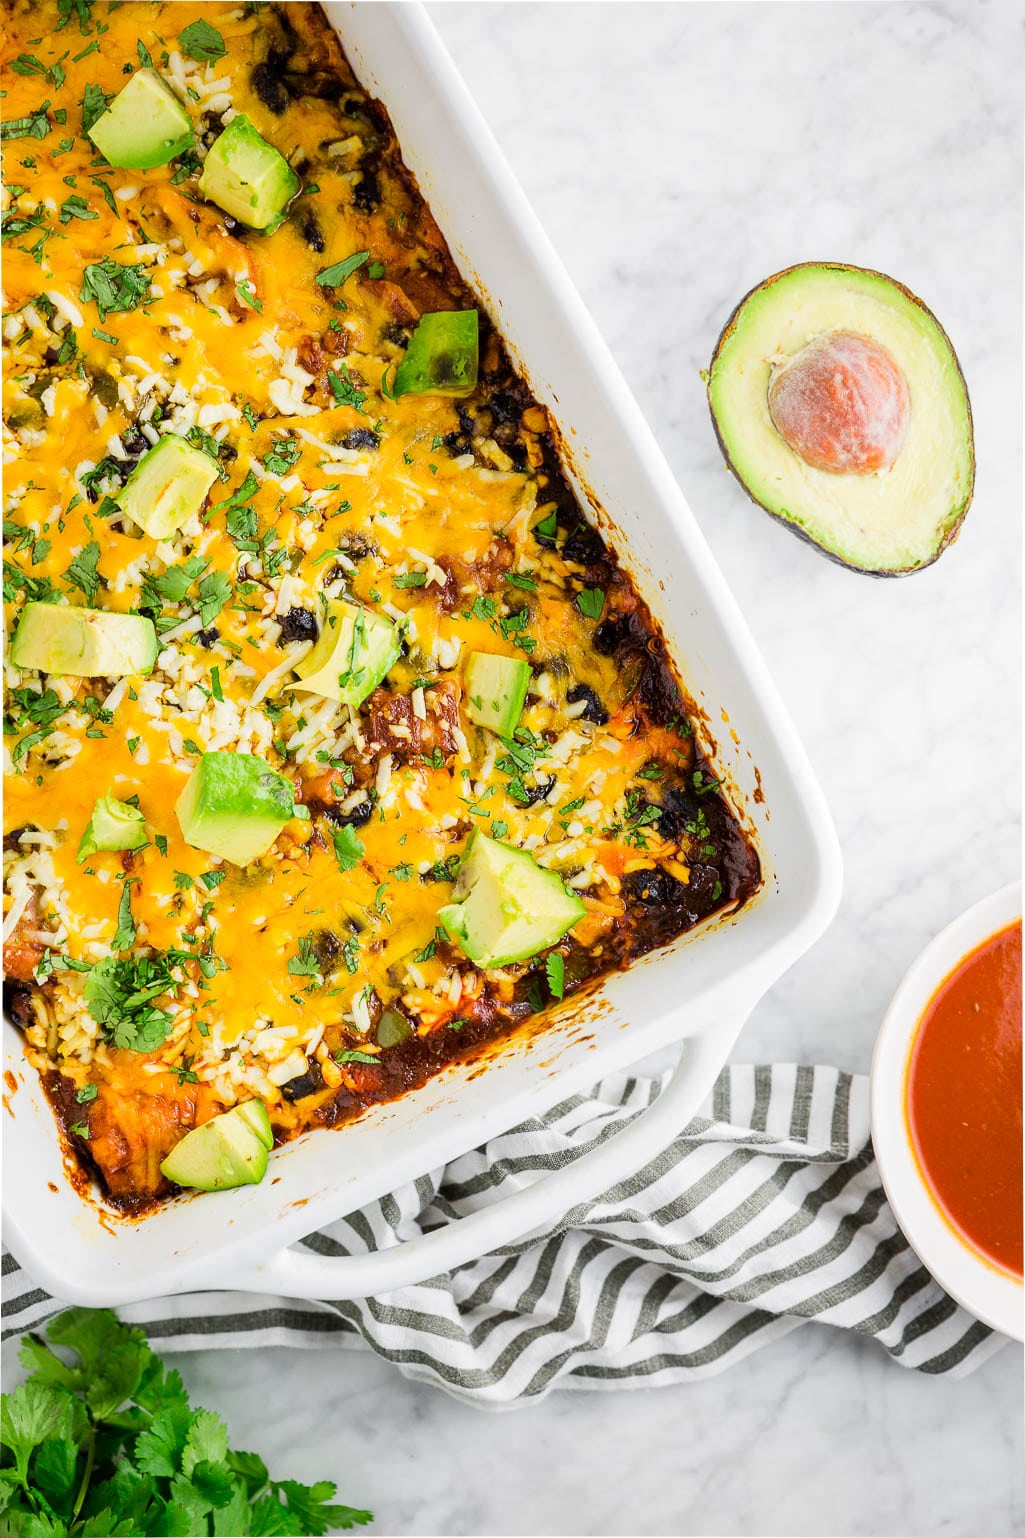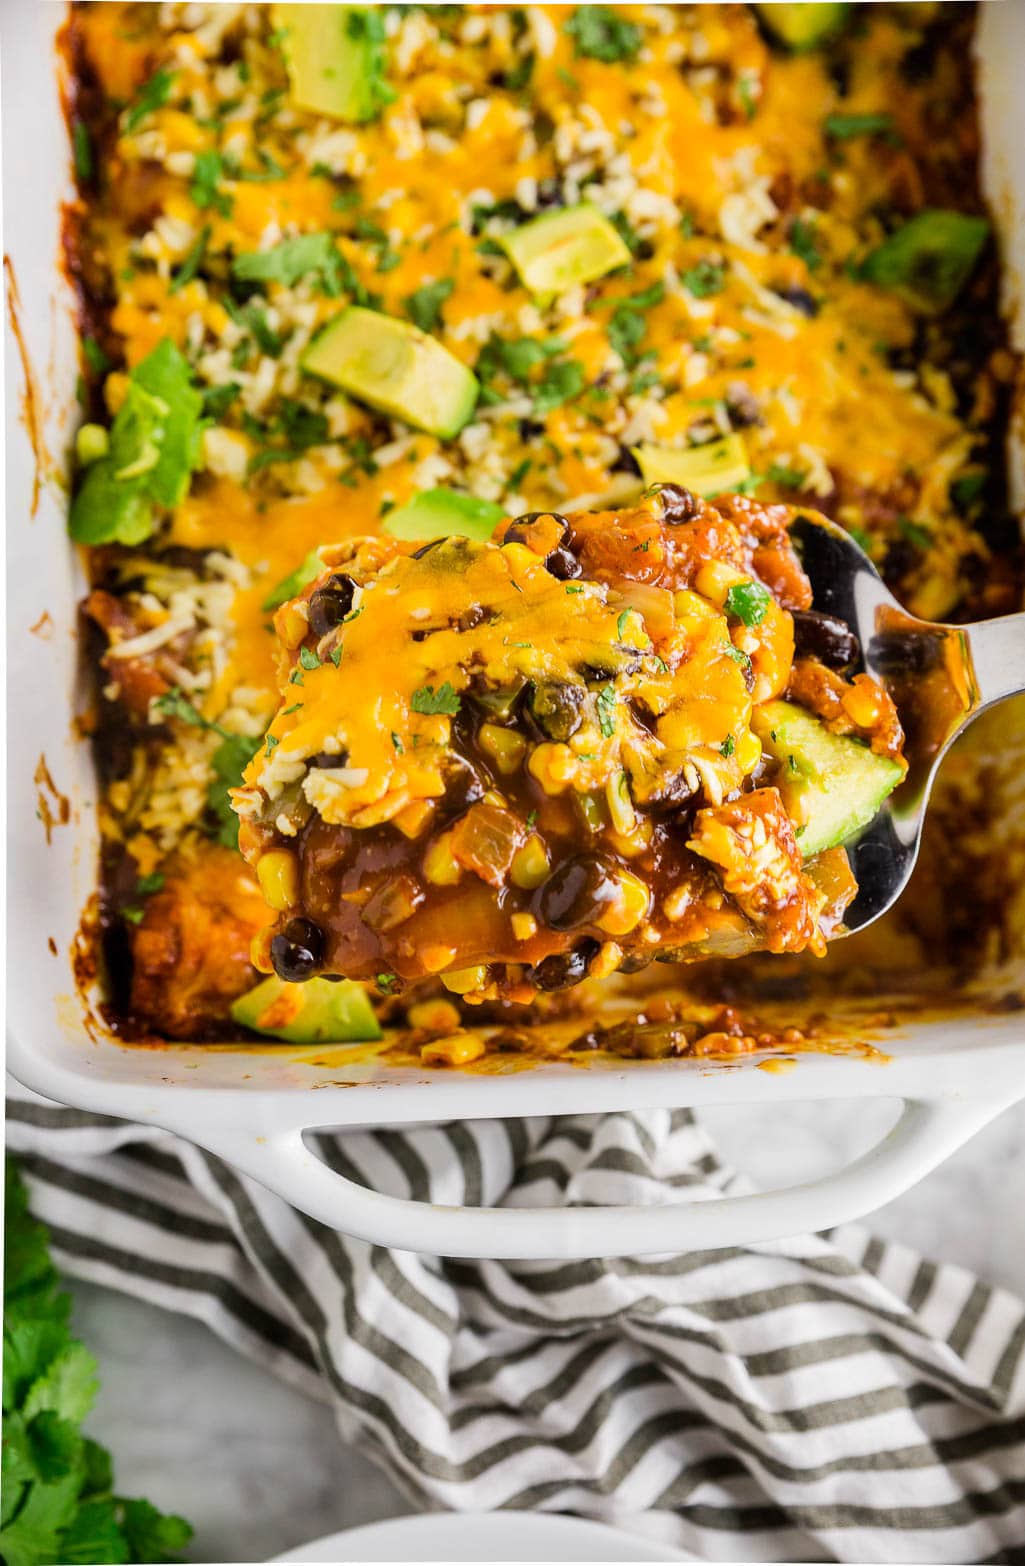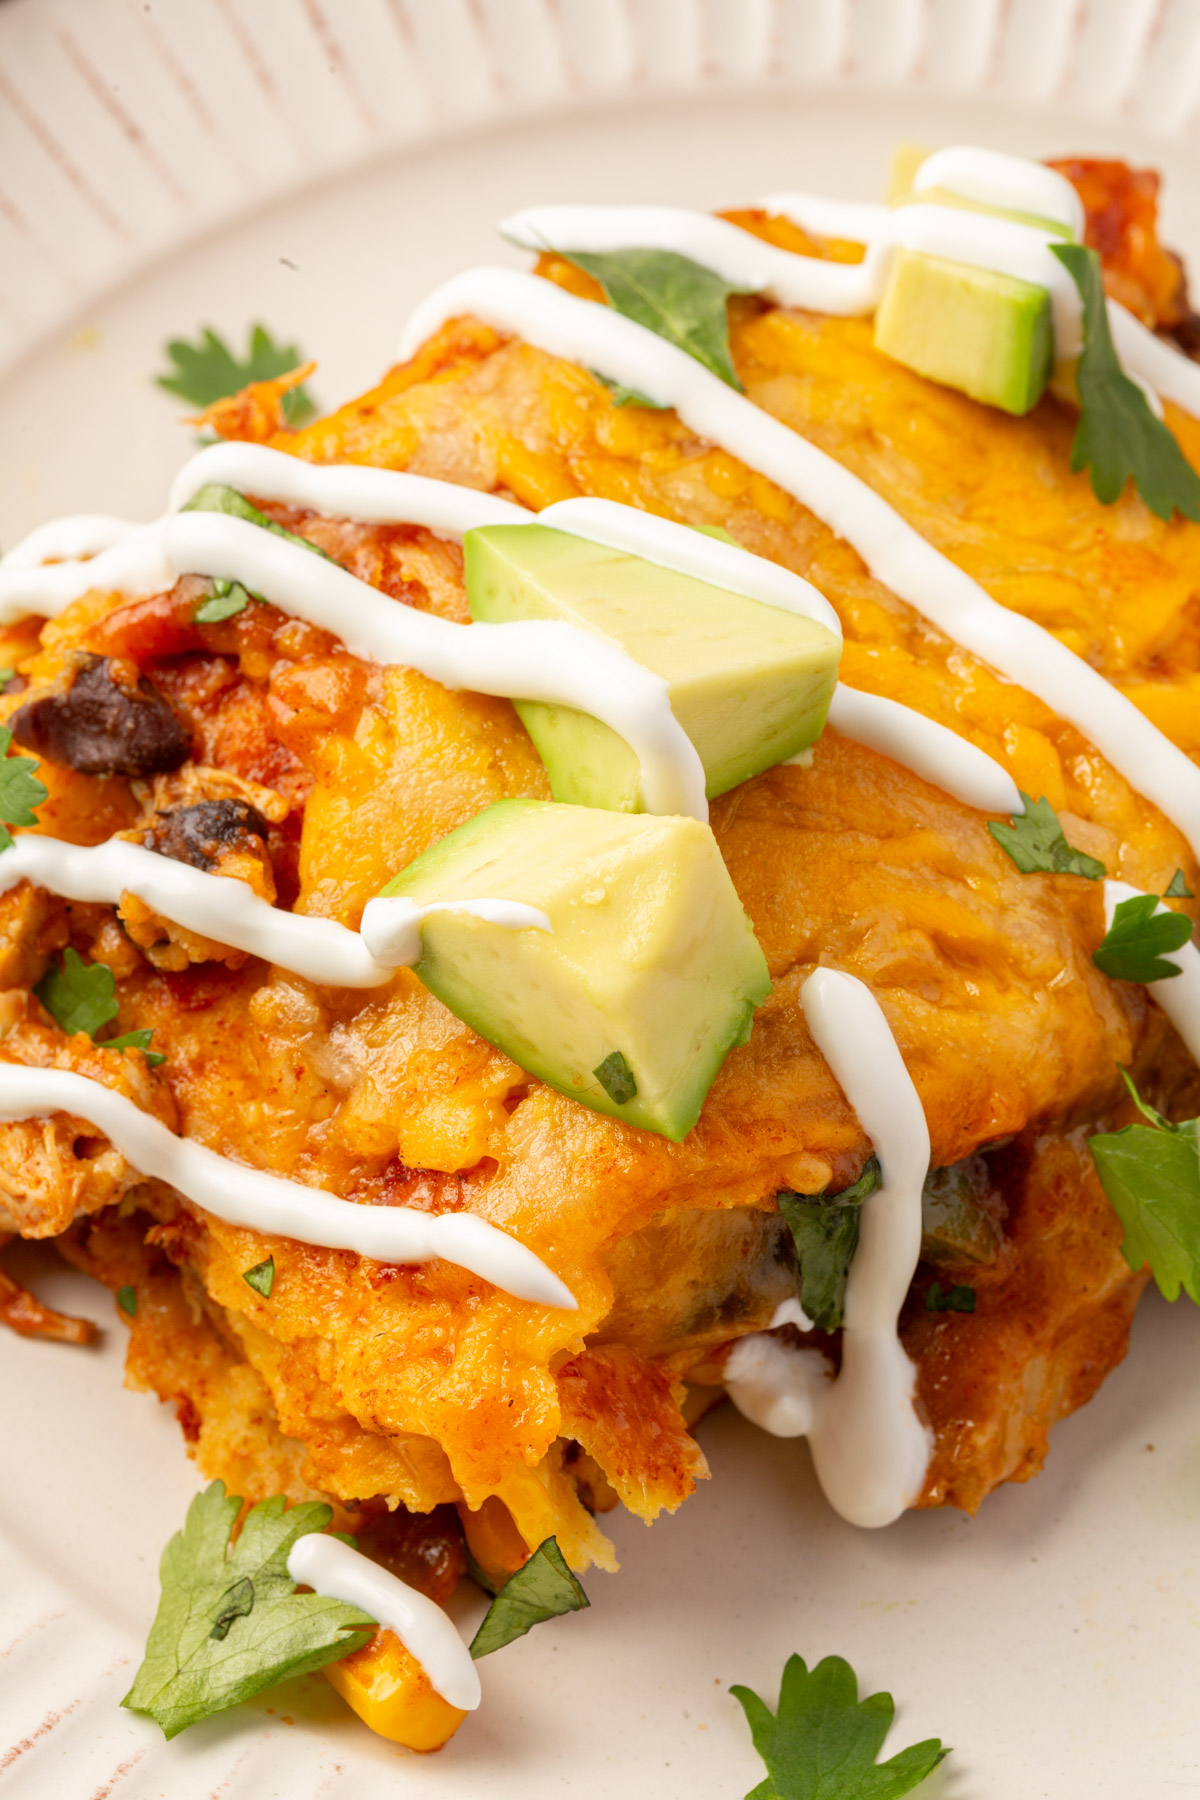
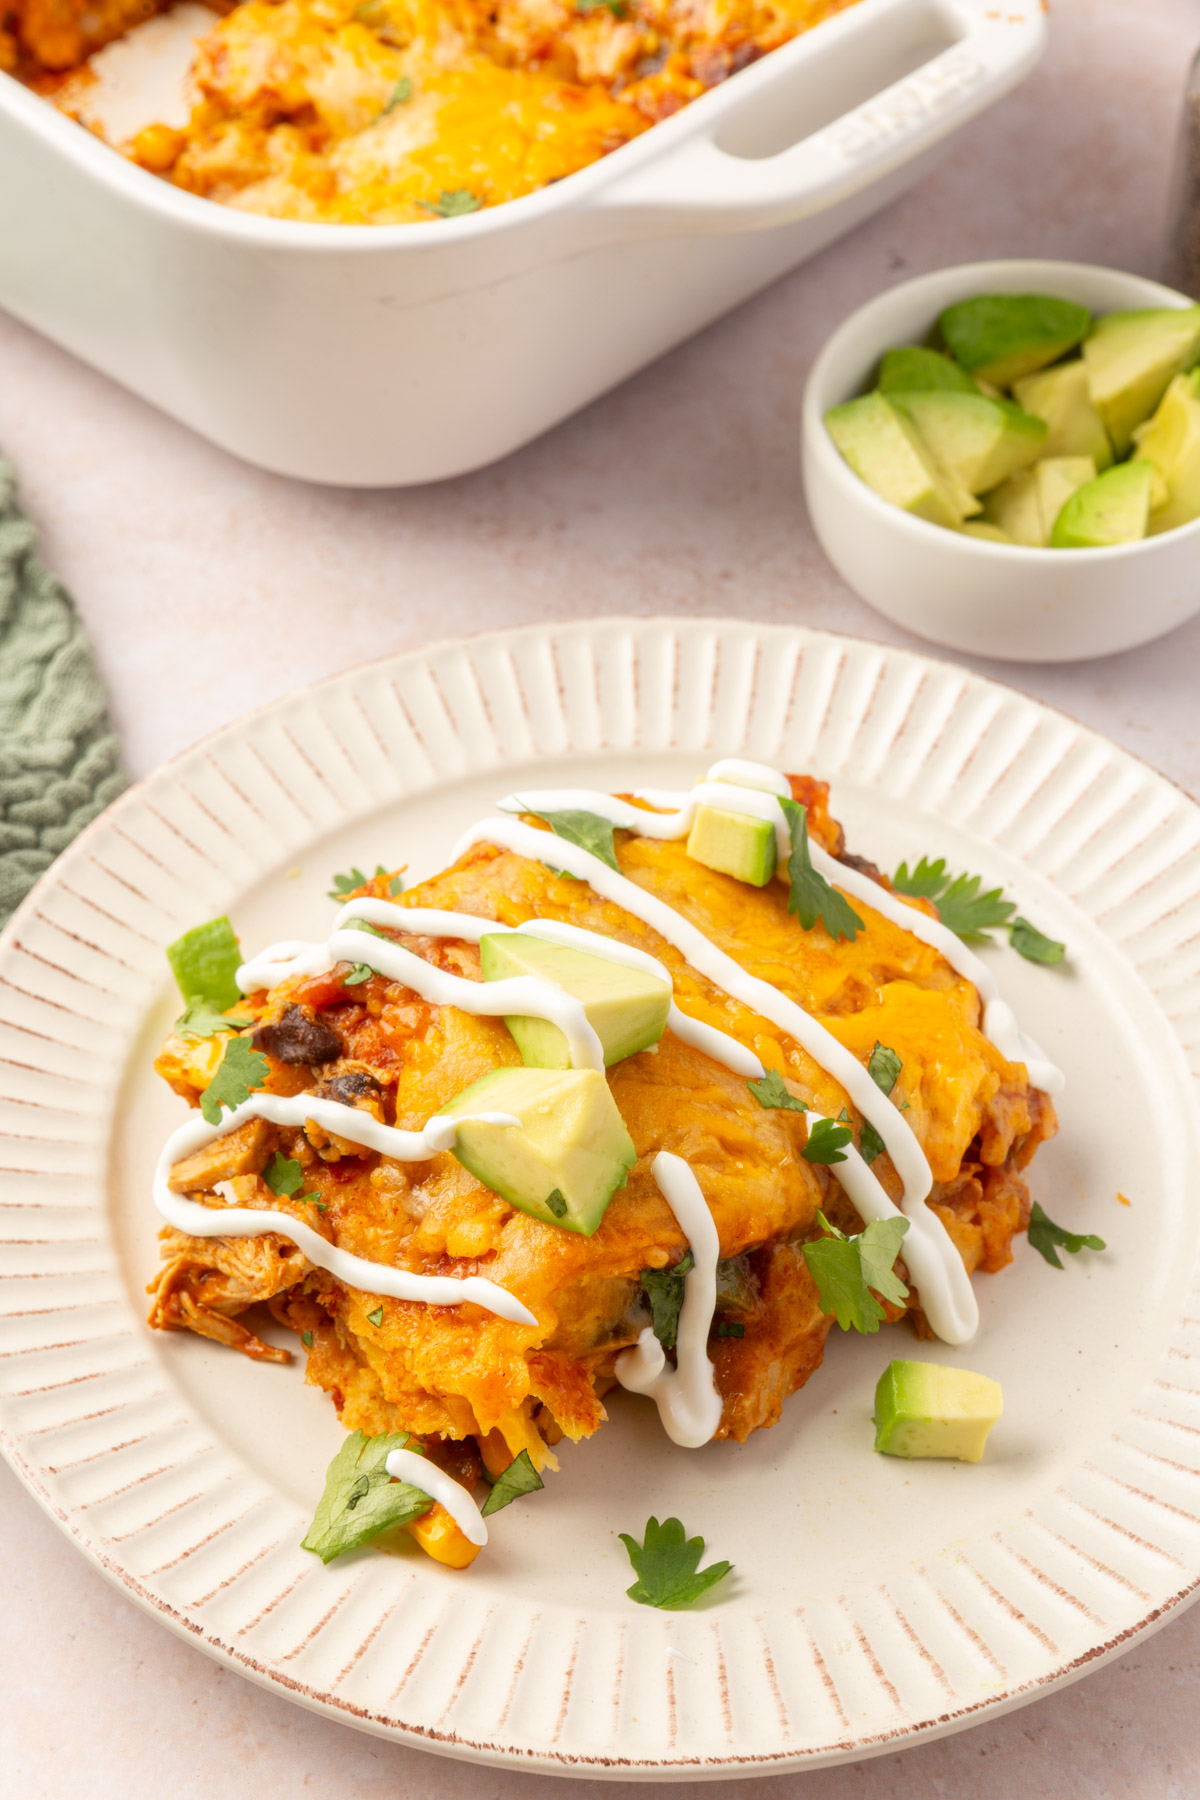
This Chicken Enchilada Casserole is one of my favorite go-to recipes for busy weeknights! It’s loaded with comforting layers of tender chicken, melty cheese, and gluten-free corn tortillas, all brought together by a flavorful enchilada sauce. Not only is it simple to make with pantry staples, but it’s also versatile enough to customize with your favorite toppings, making it a family-friendly dinner everyone will love.
You’ll love this recipe because…
- Family-Friendly & Easy to Make: This layered enchilada casserole is simple to assemble and packed with familiar, comforting flavors that both kids and adults will love. It’s a perfect all-in-one meal for busy weeknights or gatherings.
- Customizable & Versatile: You can easily swap ingredients to suit your preferences, like using chicken thighs for extra juiciness, adding more veggies, or adjusting the spice level with your favorite enchilada sauce.
- Loaded with Flavor & Texture: From the tender, seasoned chicken to the melty cheese and layers of tortillas, every bite is packed with a satisfying mix of savory, cheesy, and fresh toppings like avocado and cilantro.
Looking for more chicken recipes? Avocado Chicken Salad / Roasted Chicken Poblano Soup / Cranberry Chicken Salad / Roasted Chicken Thighs
Ingredients
TIP
Wait to top with avocado and cilantro until the casserole is out of the oven and slightly cooled to keep these ingredients fresh and vibrant.
Ingredient Notes
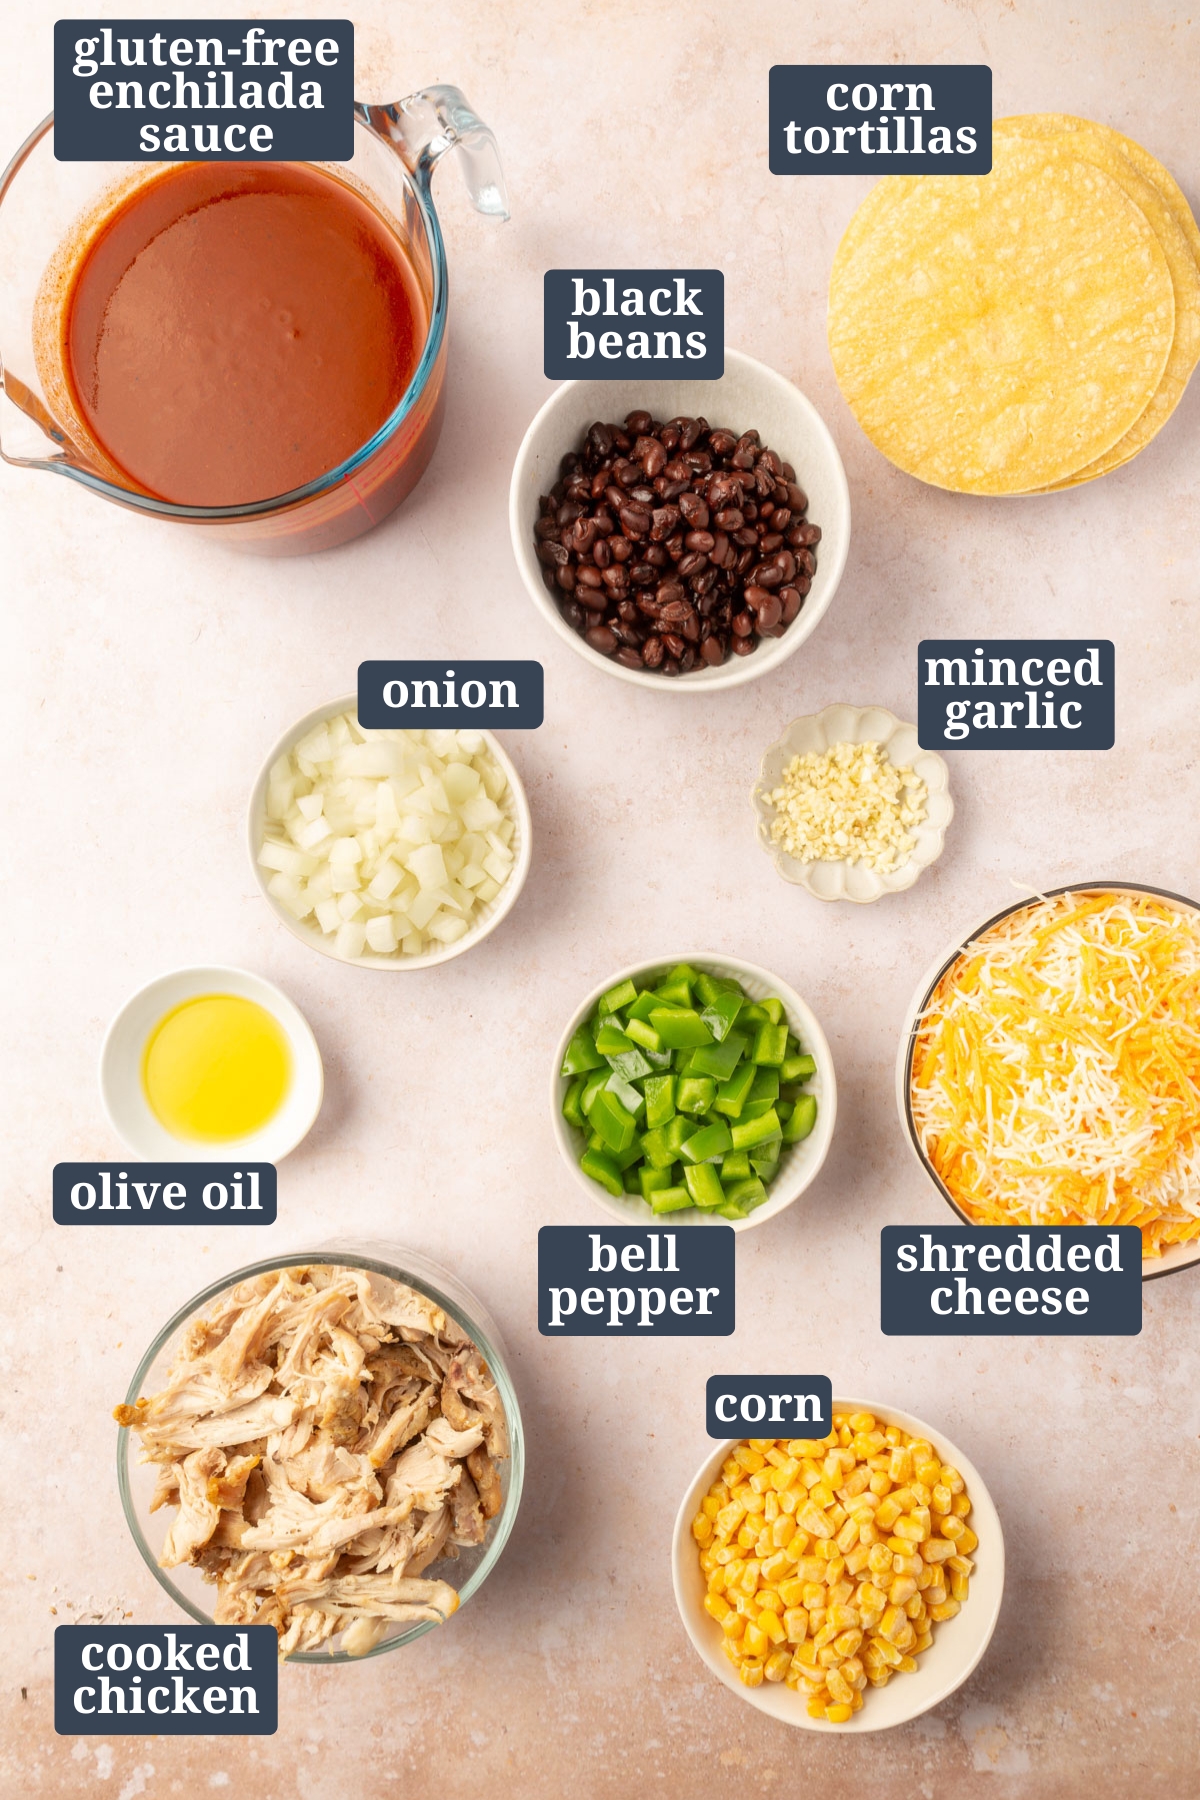
- Chicken – To shorten the cook time, you can use leftover pre-cooked chicken or rotisserie chicken in this recipe. You’ll need about 4 cups. Remember, if you’re on a gluten-free diet to make sure your rotisserie chicken is gluten-free!
- Avocado Oil – I love avocado oil because it’s a neutral, high-heat cooking oil. You can substitute with olive oil or vegetable oil if preferred.
- Onion & Bell Pepper – Dice evenly for consistent cooking. A red or yellow bell pepper can be used in place of green for a sweeter flavor.
- Garlic – Use fresh garlic for the best flavor, or substitute with 1 teaspoon garlic powder if needed.
- Corn Frozen, fresh or canned both work—just thaw frozen corn or drain canned corn before using.
- Black Beans – Drain and rinse canned black beans before using.
- Enchilada Sauce – Use your favorite canned sauce or make it homemade. If you have celiac disease or are on a gluten-free diet, be sure that you buy gluten-free enchilada sauce. Not all store-bought enchilada sauces are gluten-free and many of them actually contain wheat flour in them. I typically use Hatch enchilada sauce, which is gluten-free.
- Cheese – A mix of monterey jack and cheddar adds creaminess and a balanced flavor, but feel free to use your favorite shredded cheese instead. I prefer to shred my own cheeses off the block instead of buying pre-shredded cheese. Pre-shredded typically has an anti-caking agent on them, like potato starch, that makes them not melt as nicely.
- Corn tortillas – I have never come across a corn tortilla that is not gluten-free, but it’s very possible so always double check. I like Mission corn tortillas which are labeled gluten-free.
- Avocado – Slice just before serving to prevent browning. A sprinkle of lime juice can help keep it fresh.
- Cilantro – Chop finely for garnish, or omit if you’re not a fan of the flavor. You can also use green onions instead.
Step-by-step instructions
For the ingredient list with measurements, full instructions, printable recipe, and additional notes, please scroll down to the recipe card.
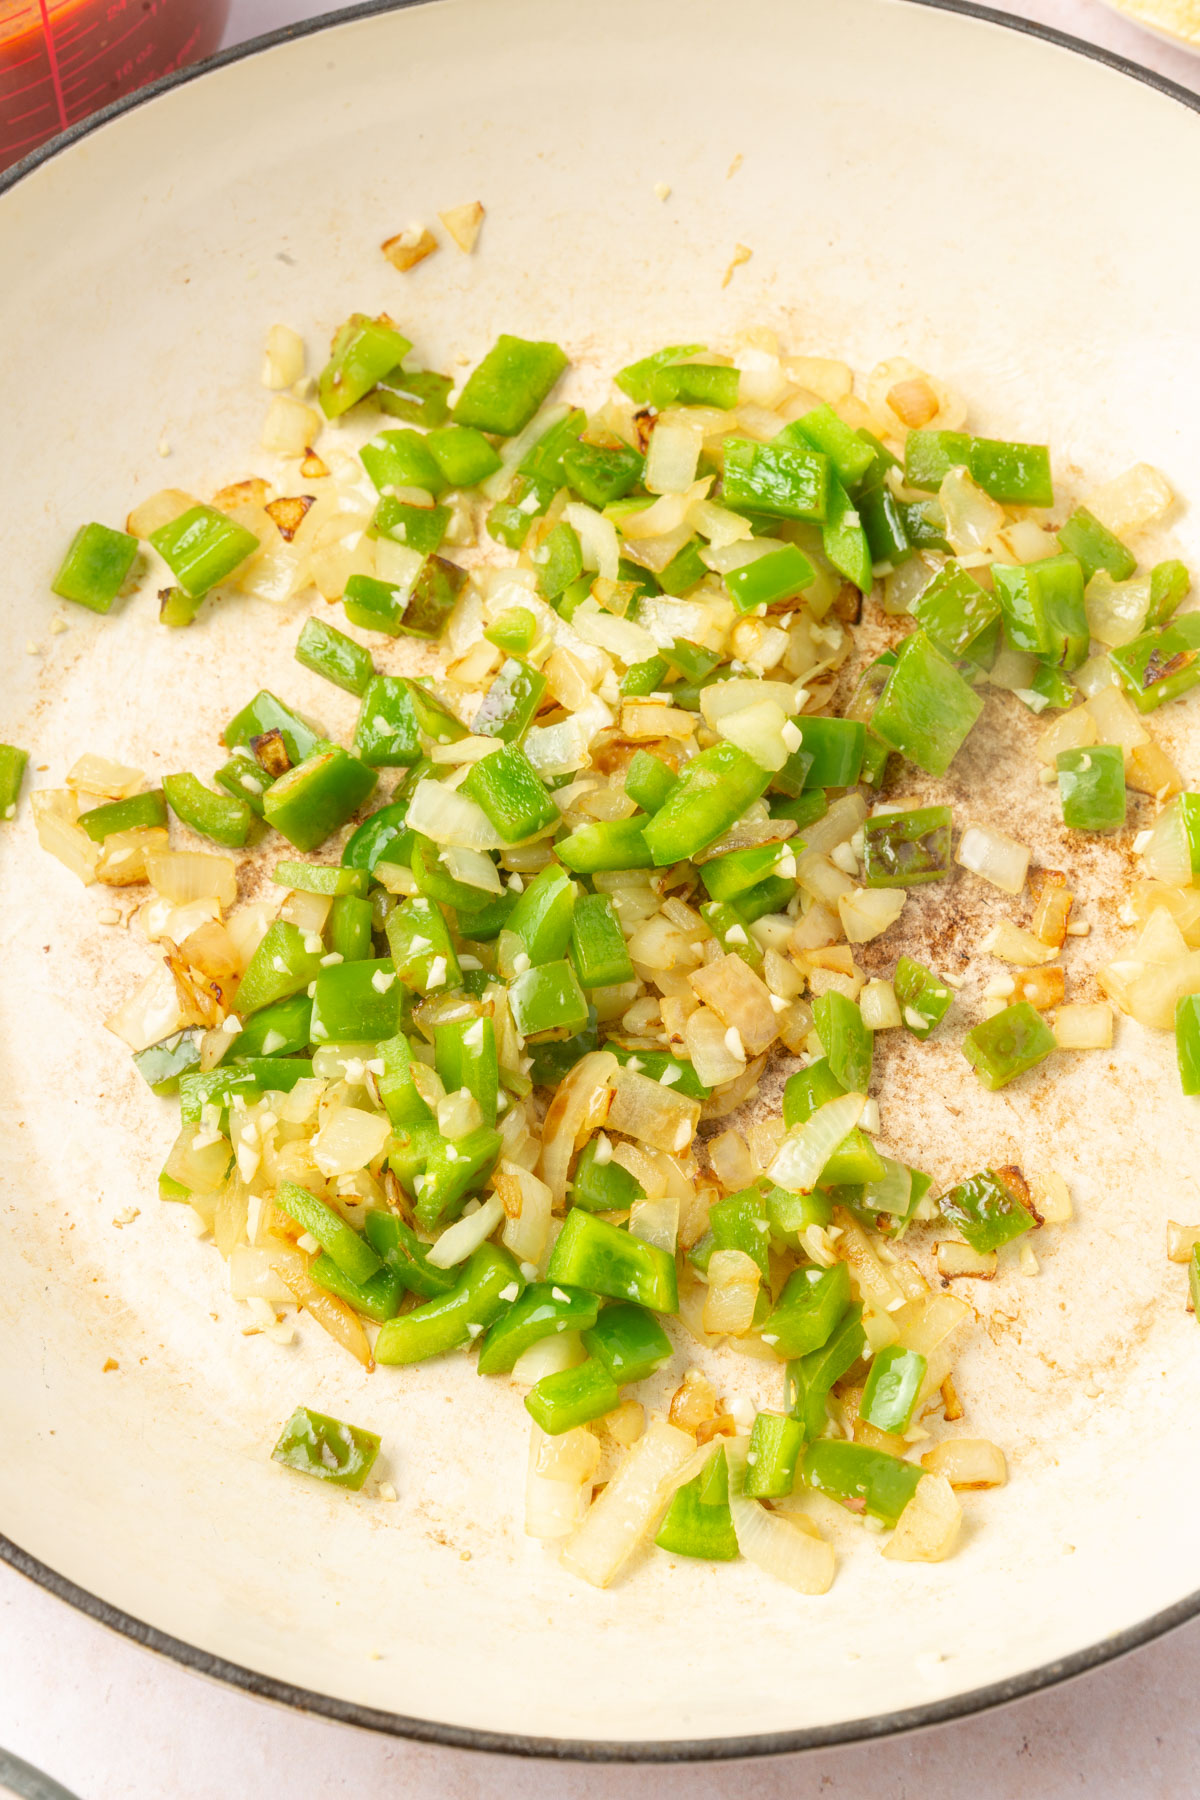 Sauté the onions, peppers and garlic.
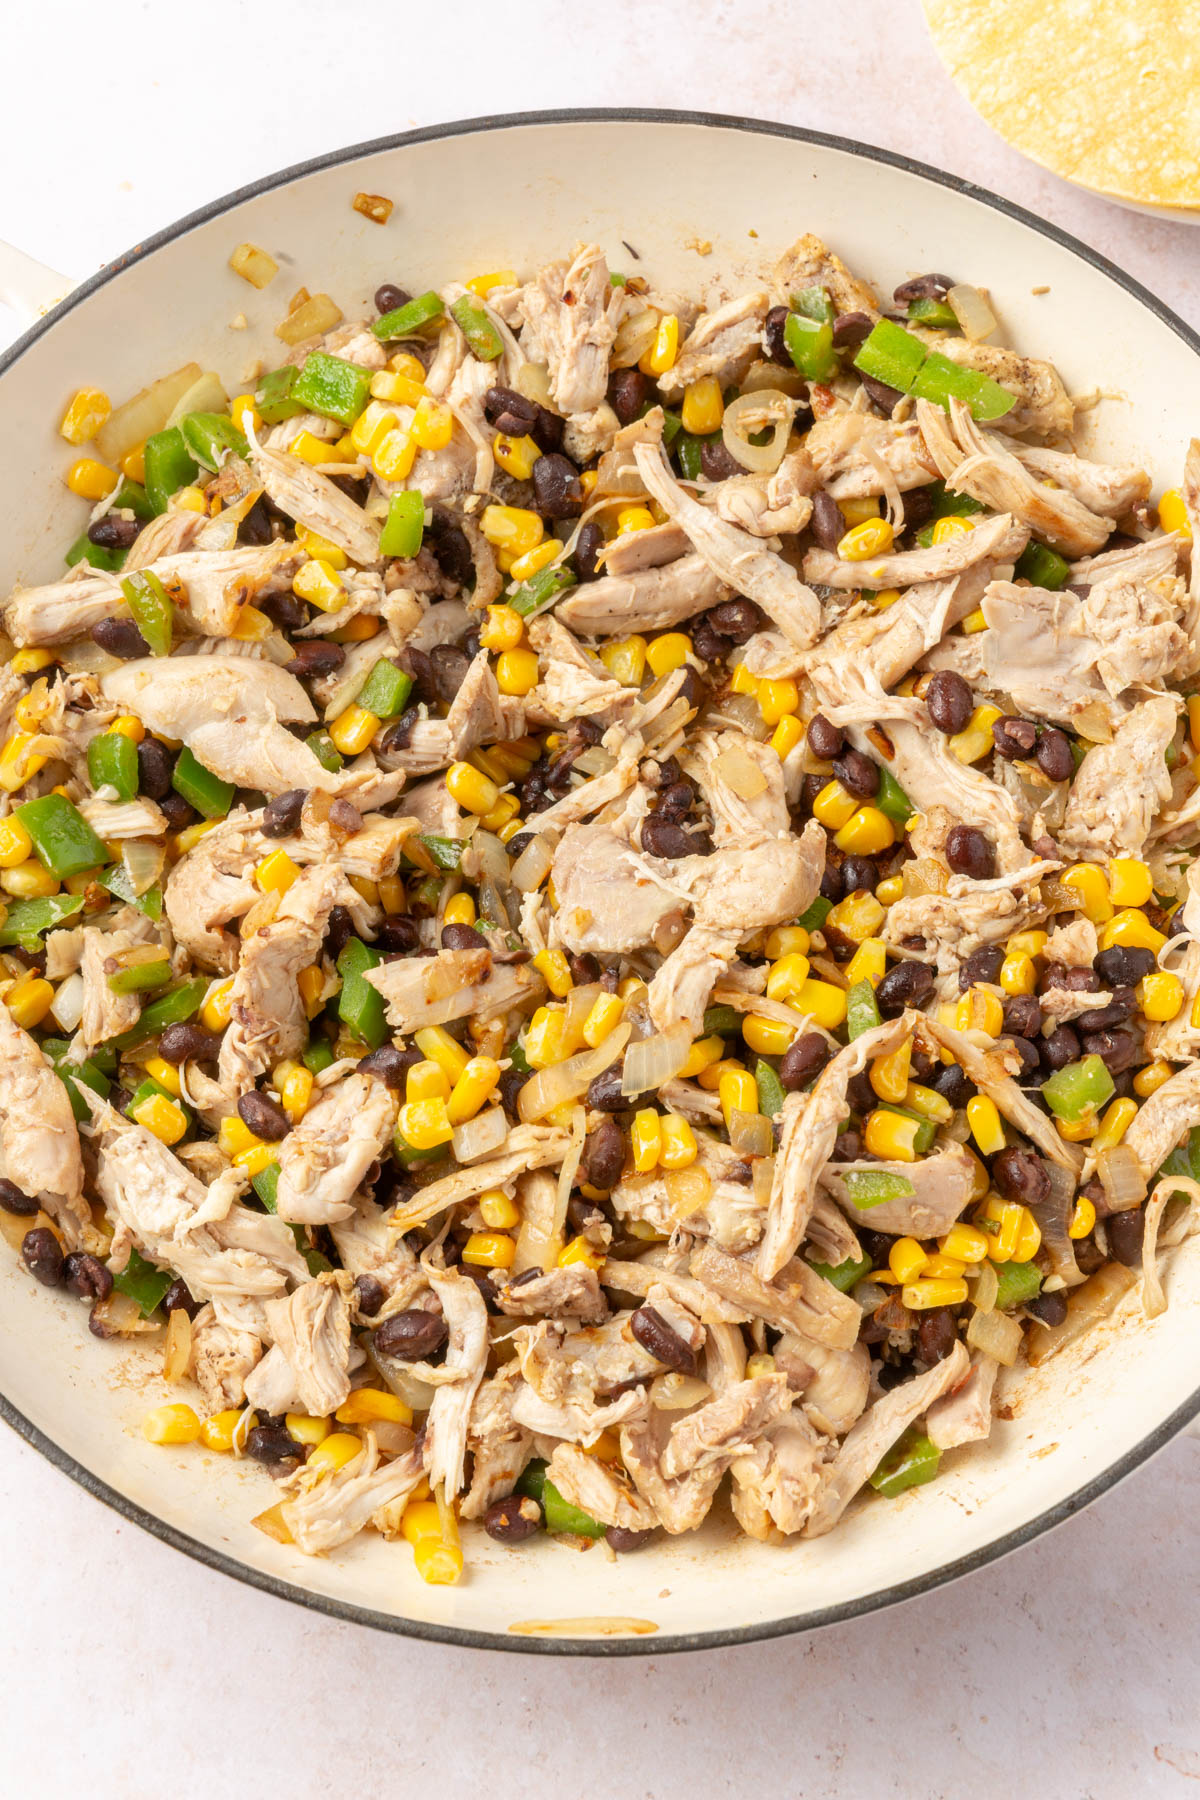 Add the cooked chicken, corn and black beans.
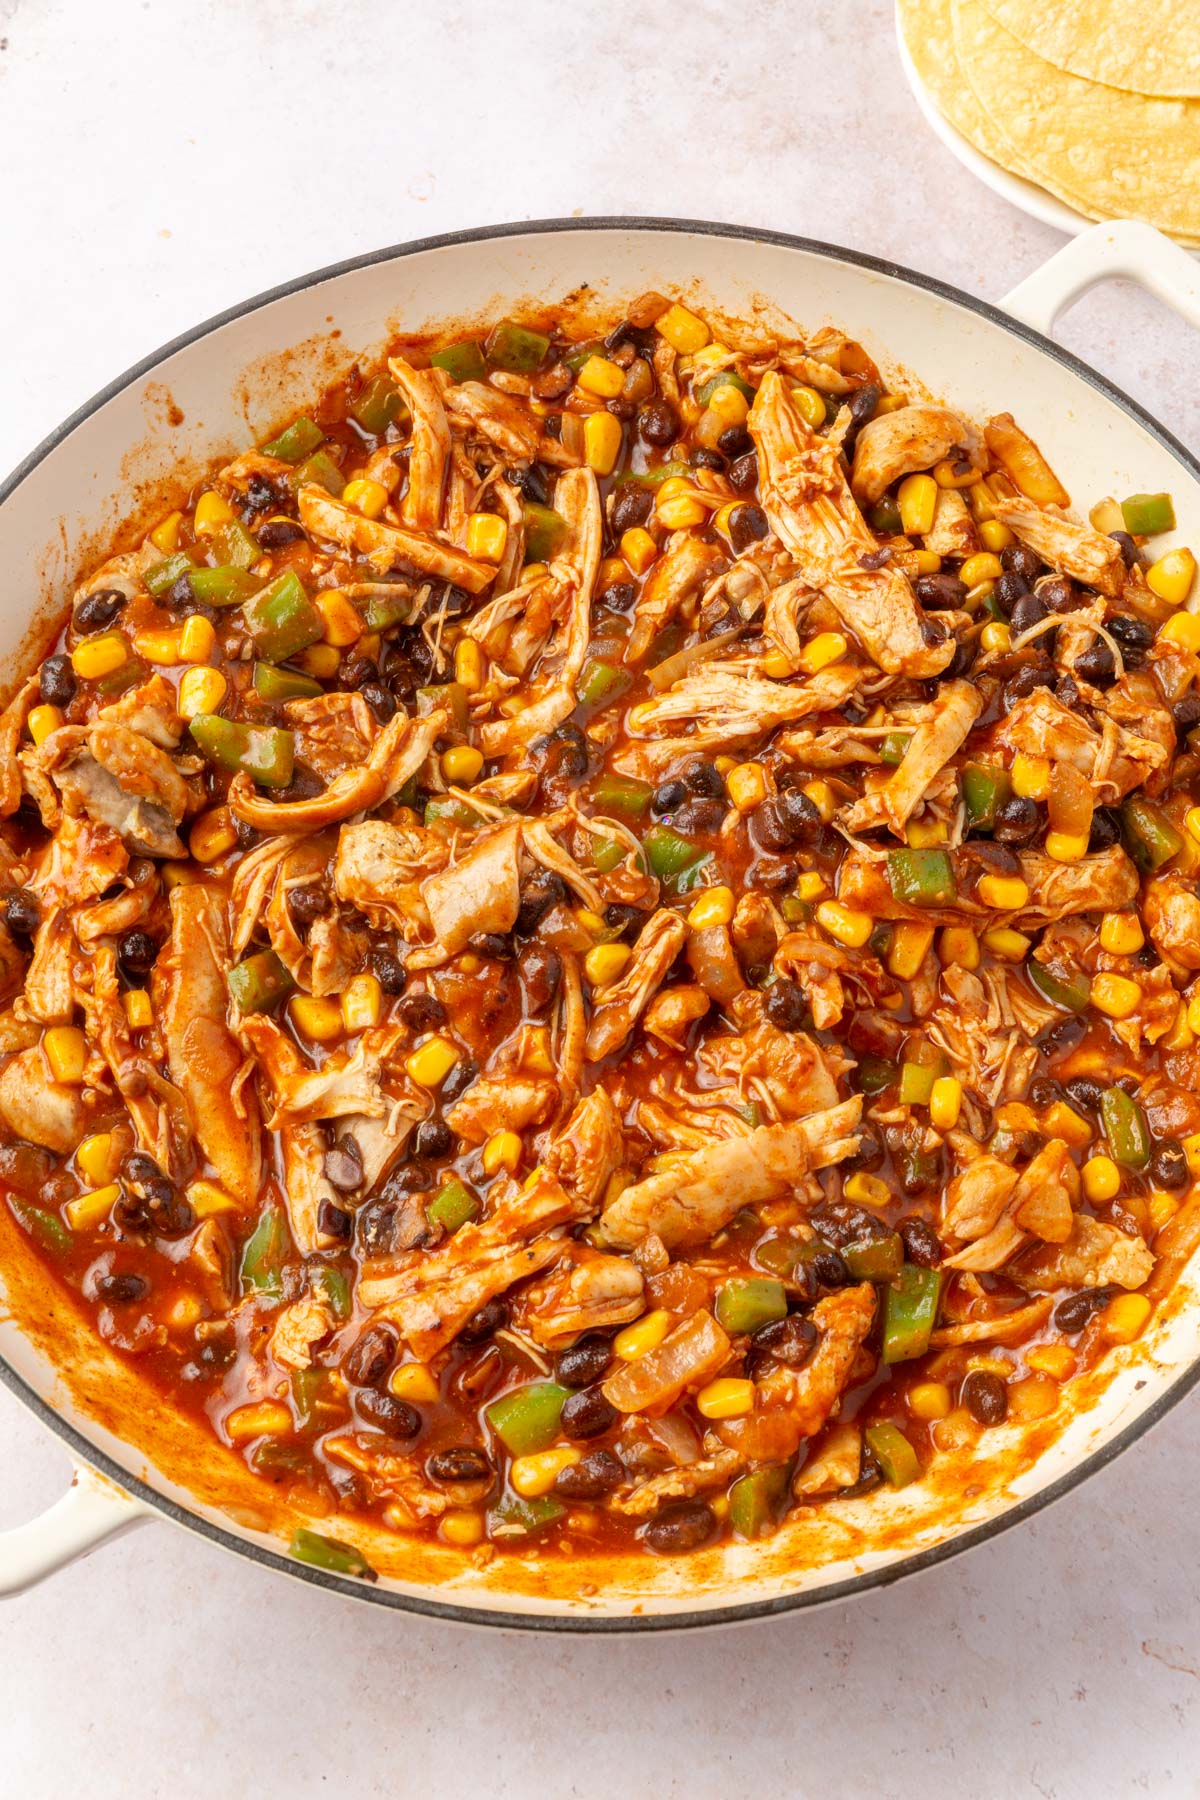 Stir in the enchilada sauce and spices.
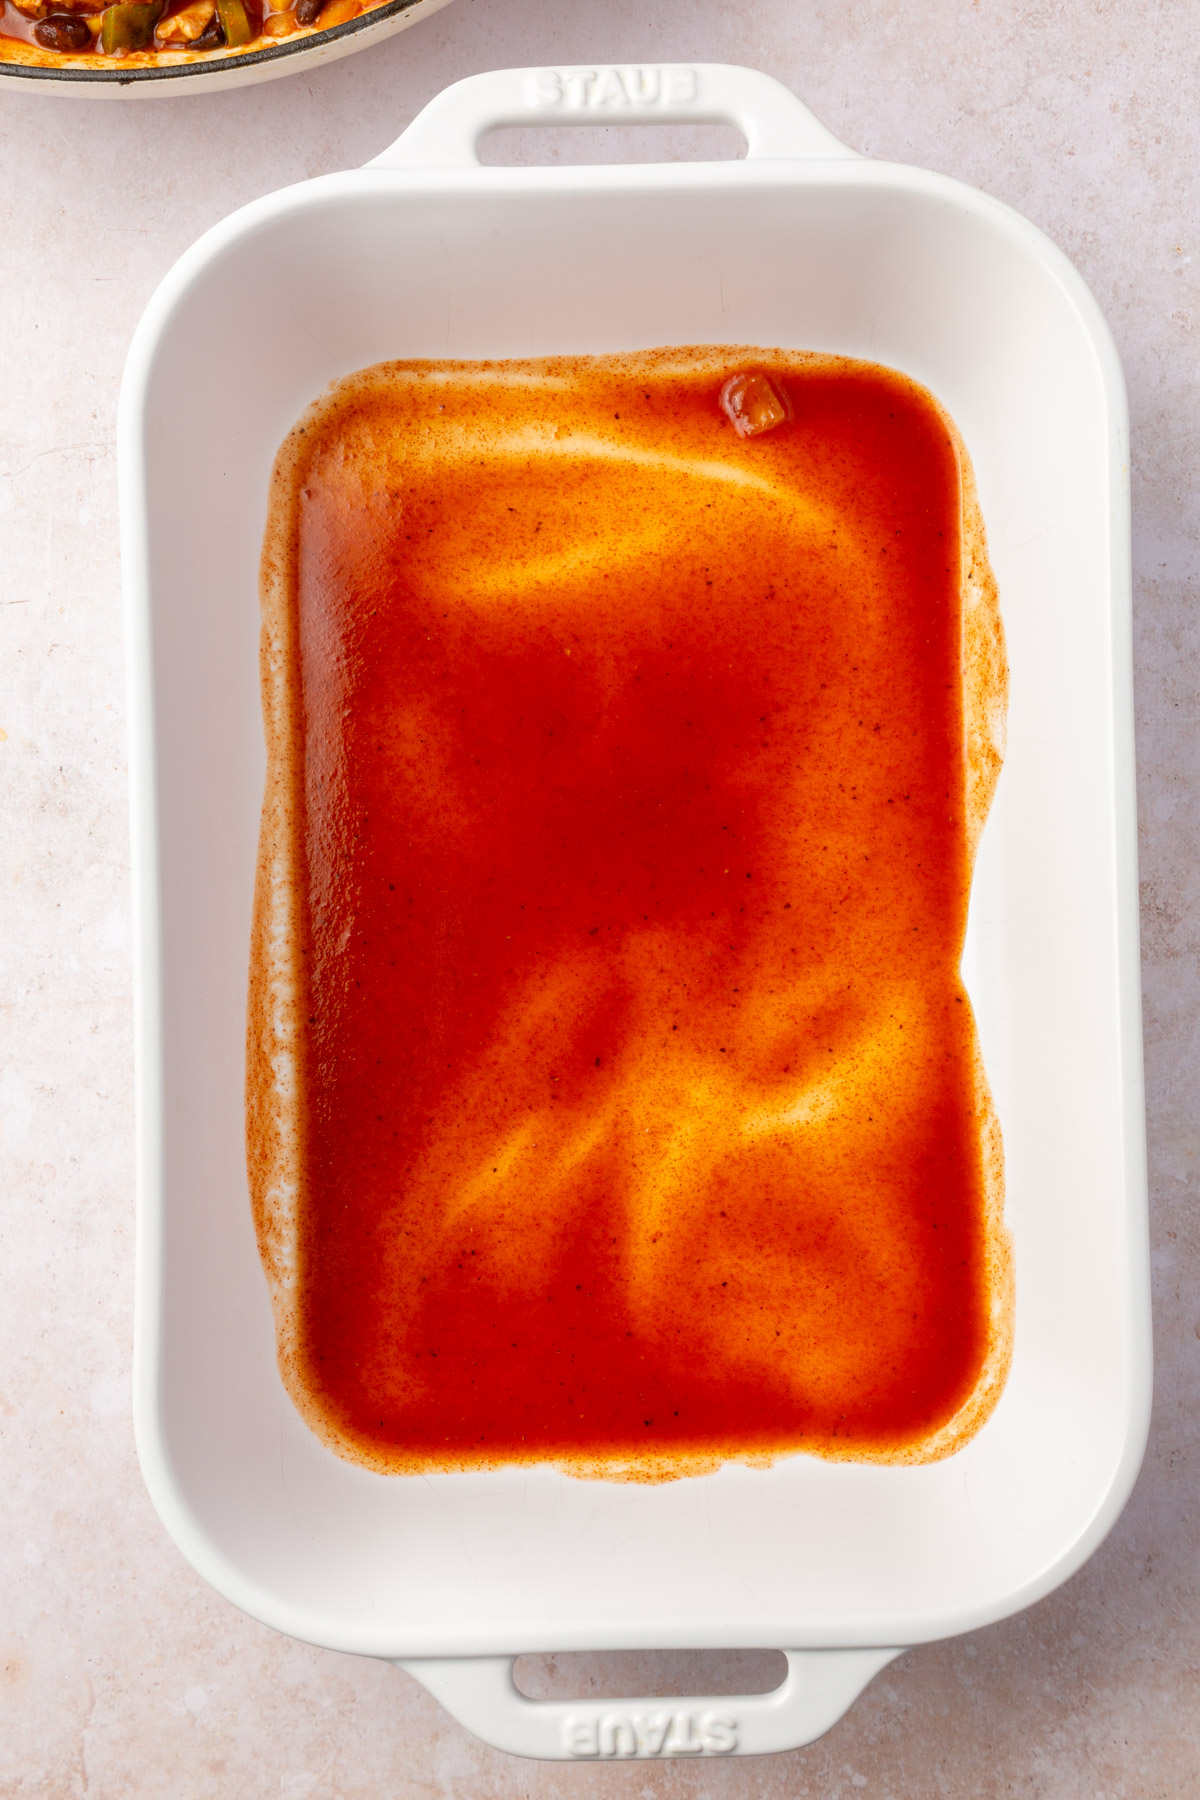 Spread a layer of gluten-free enchilada sauce on the bottom of the baking pan.
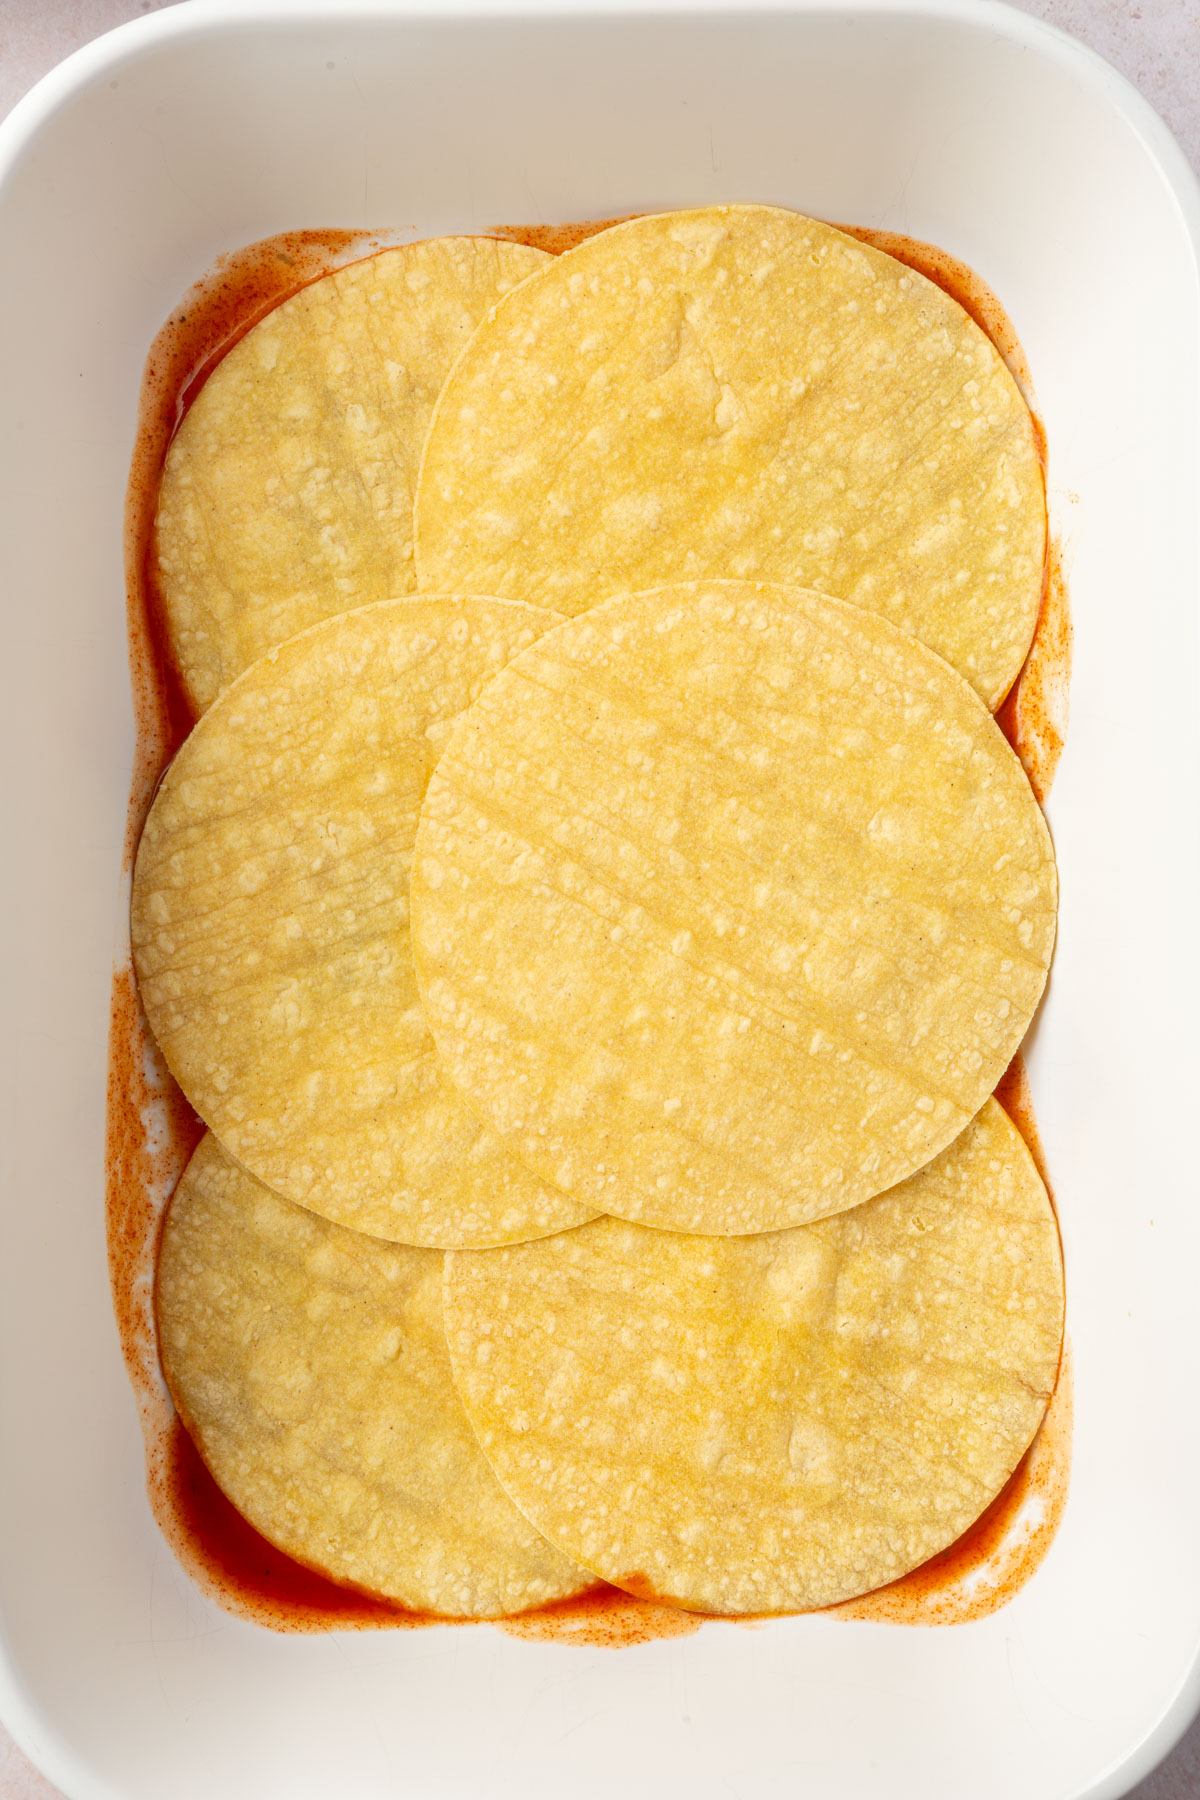 Add corn tortillas.
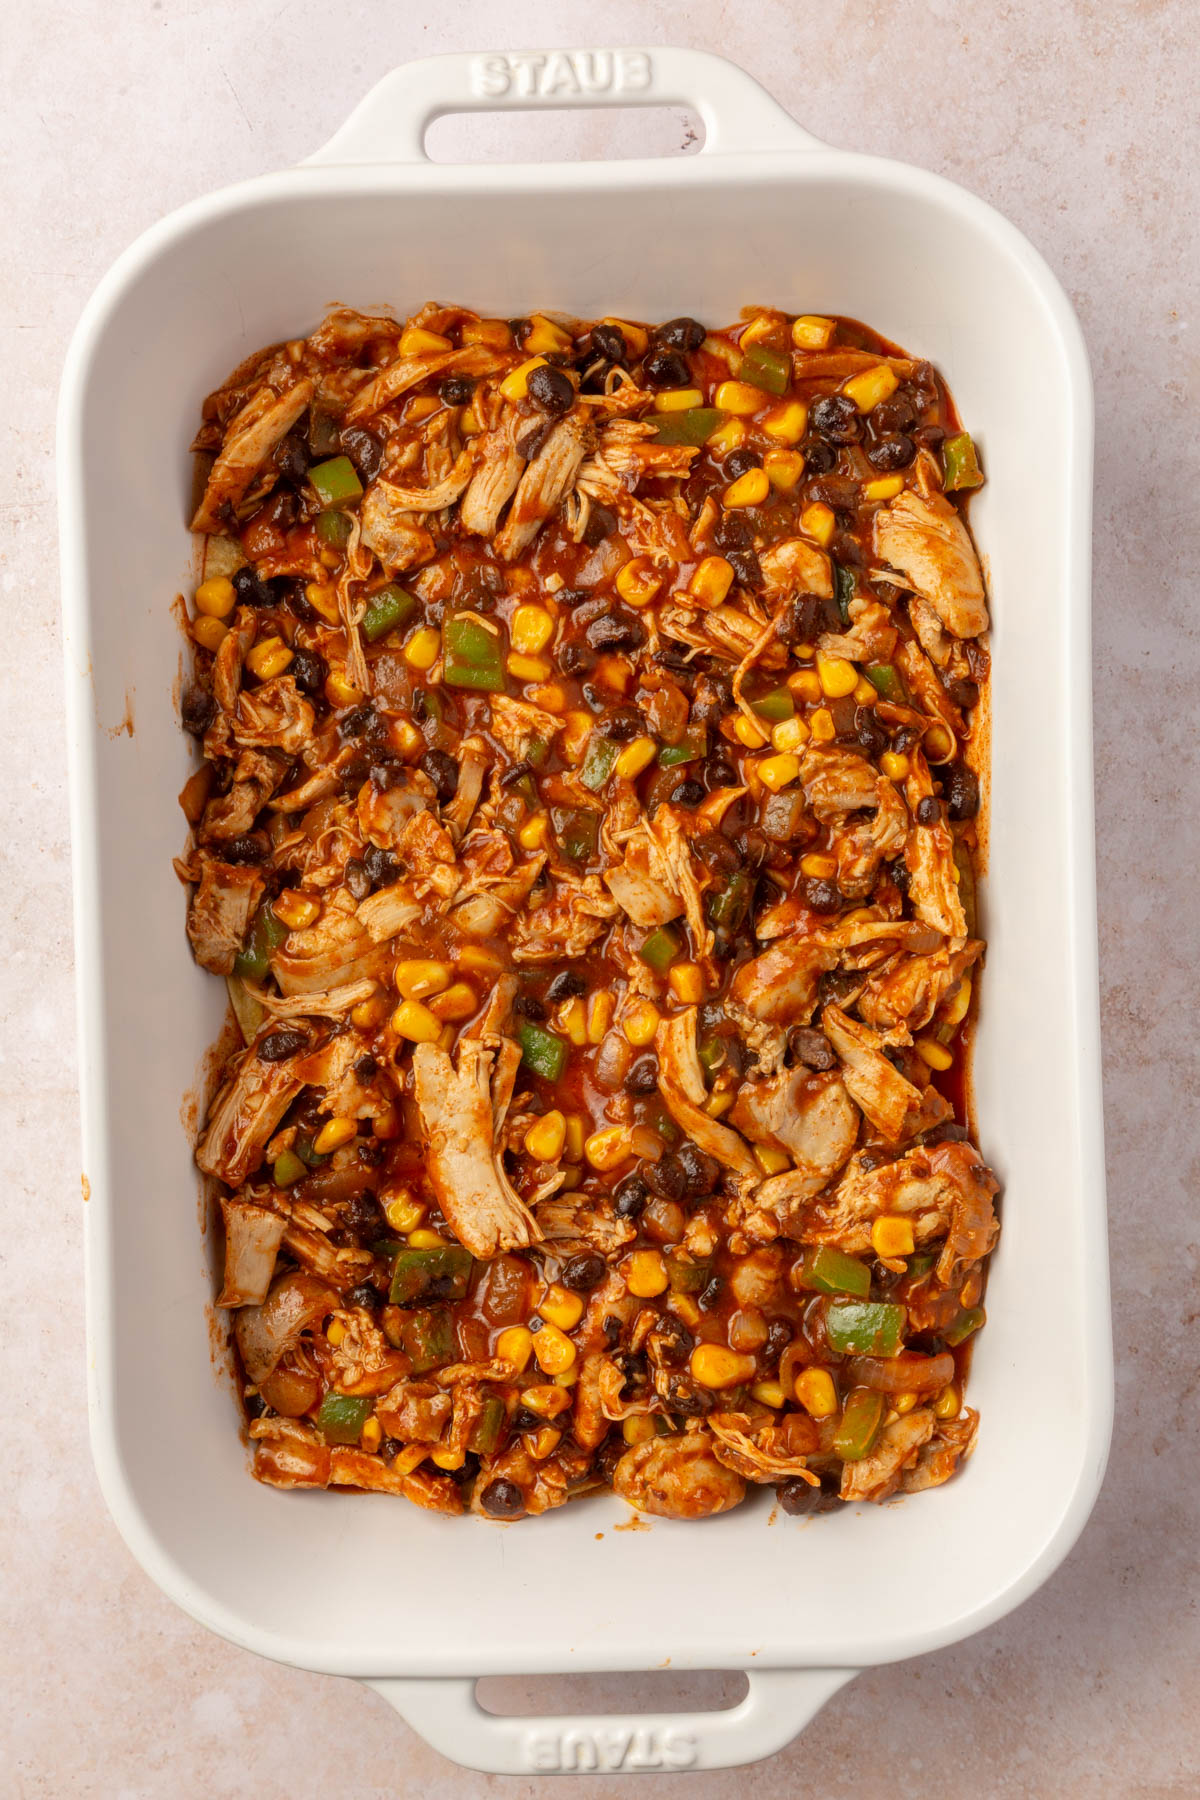 Add a layer of the chicken and vegetable mixture.
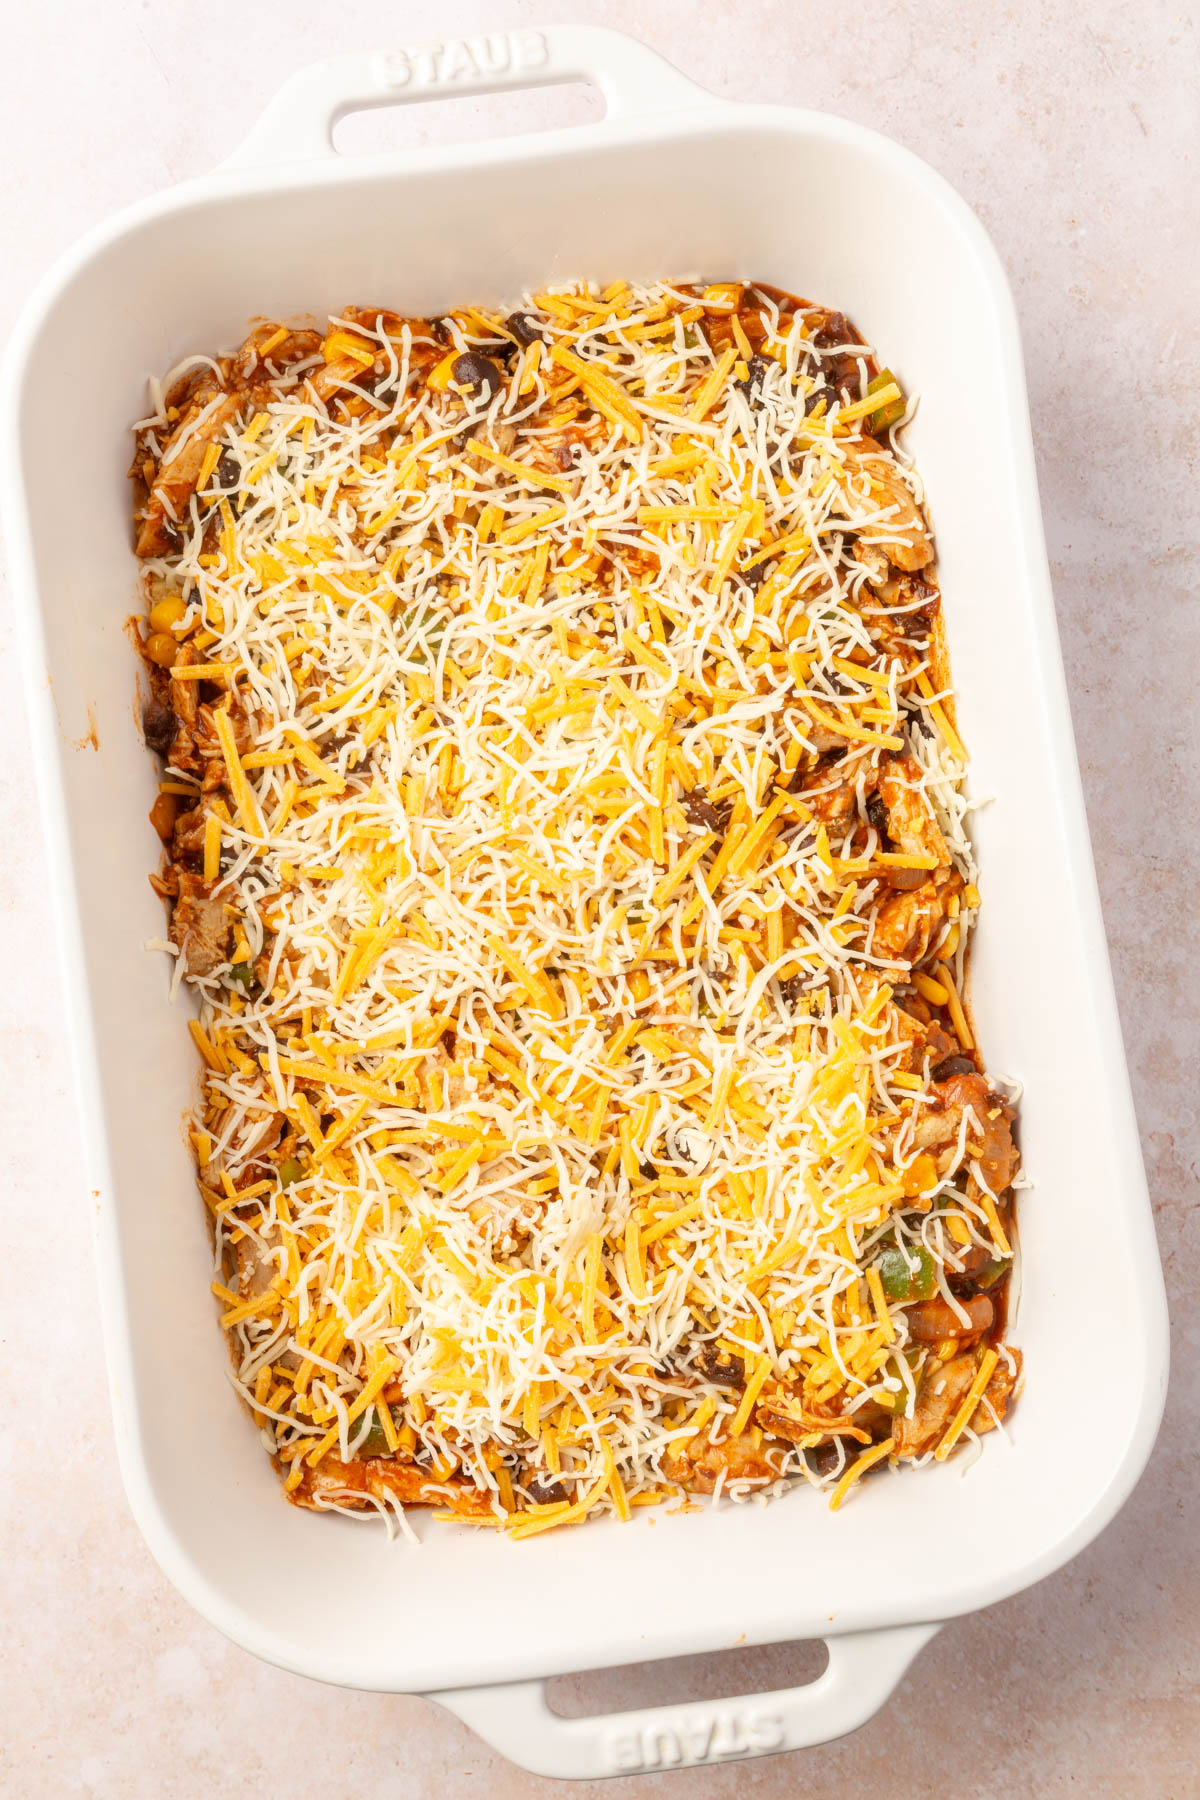 Add shredded cheese. Repeat the process one more time.
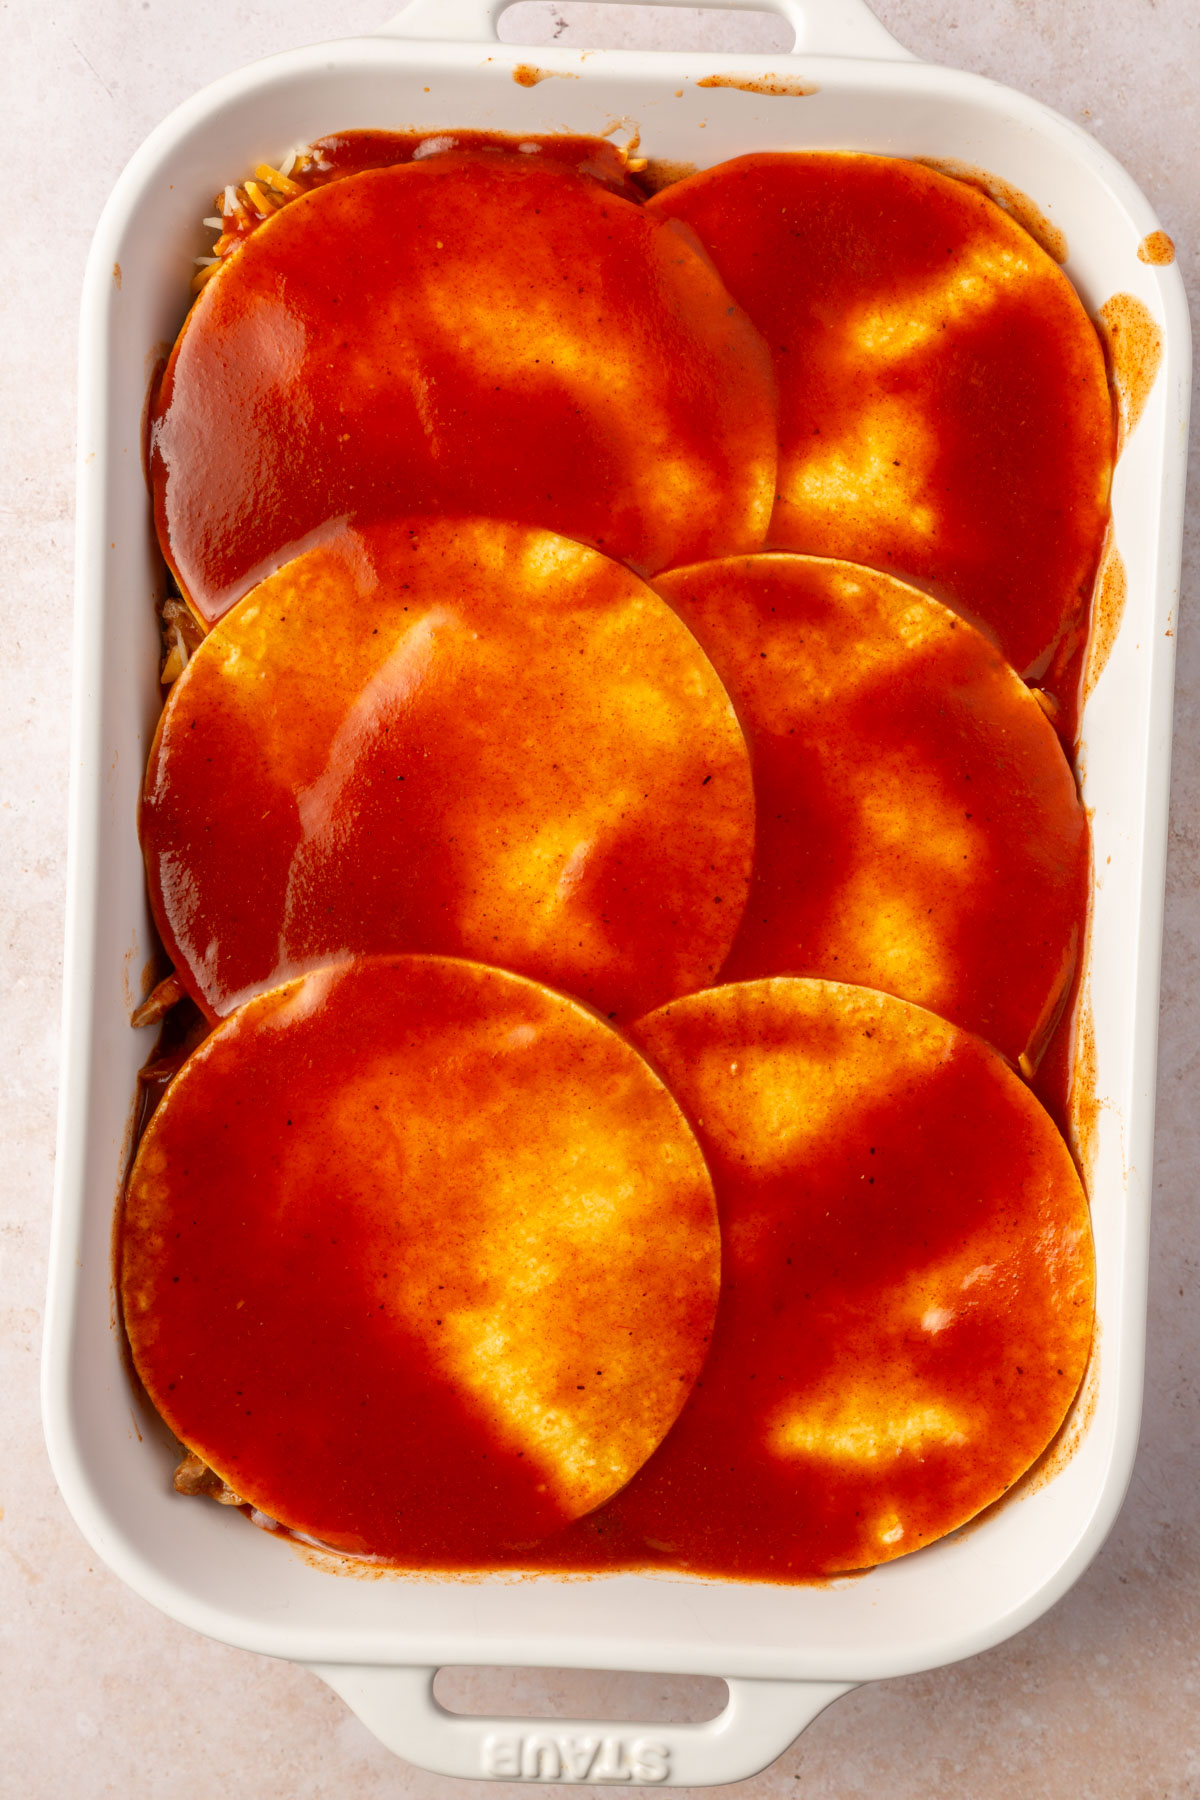 Add the remaining enchilada sauce over the last layer of corn tortillas.
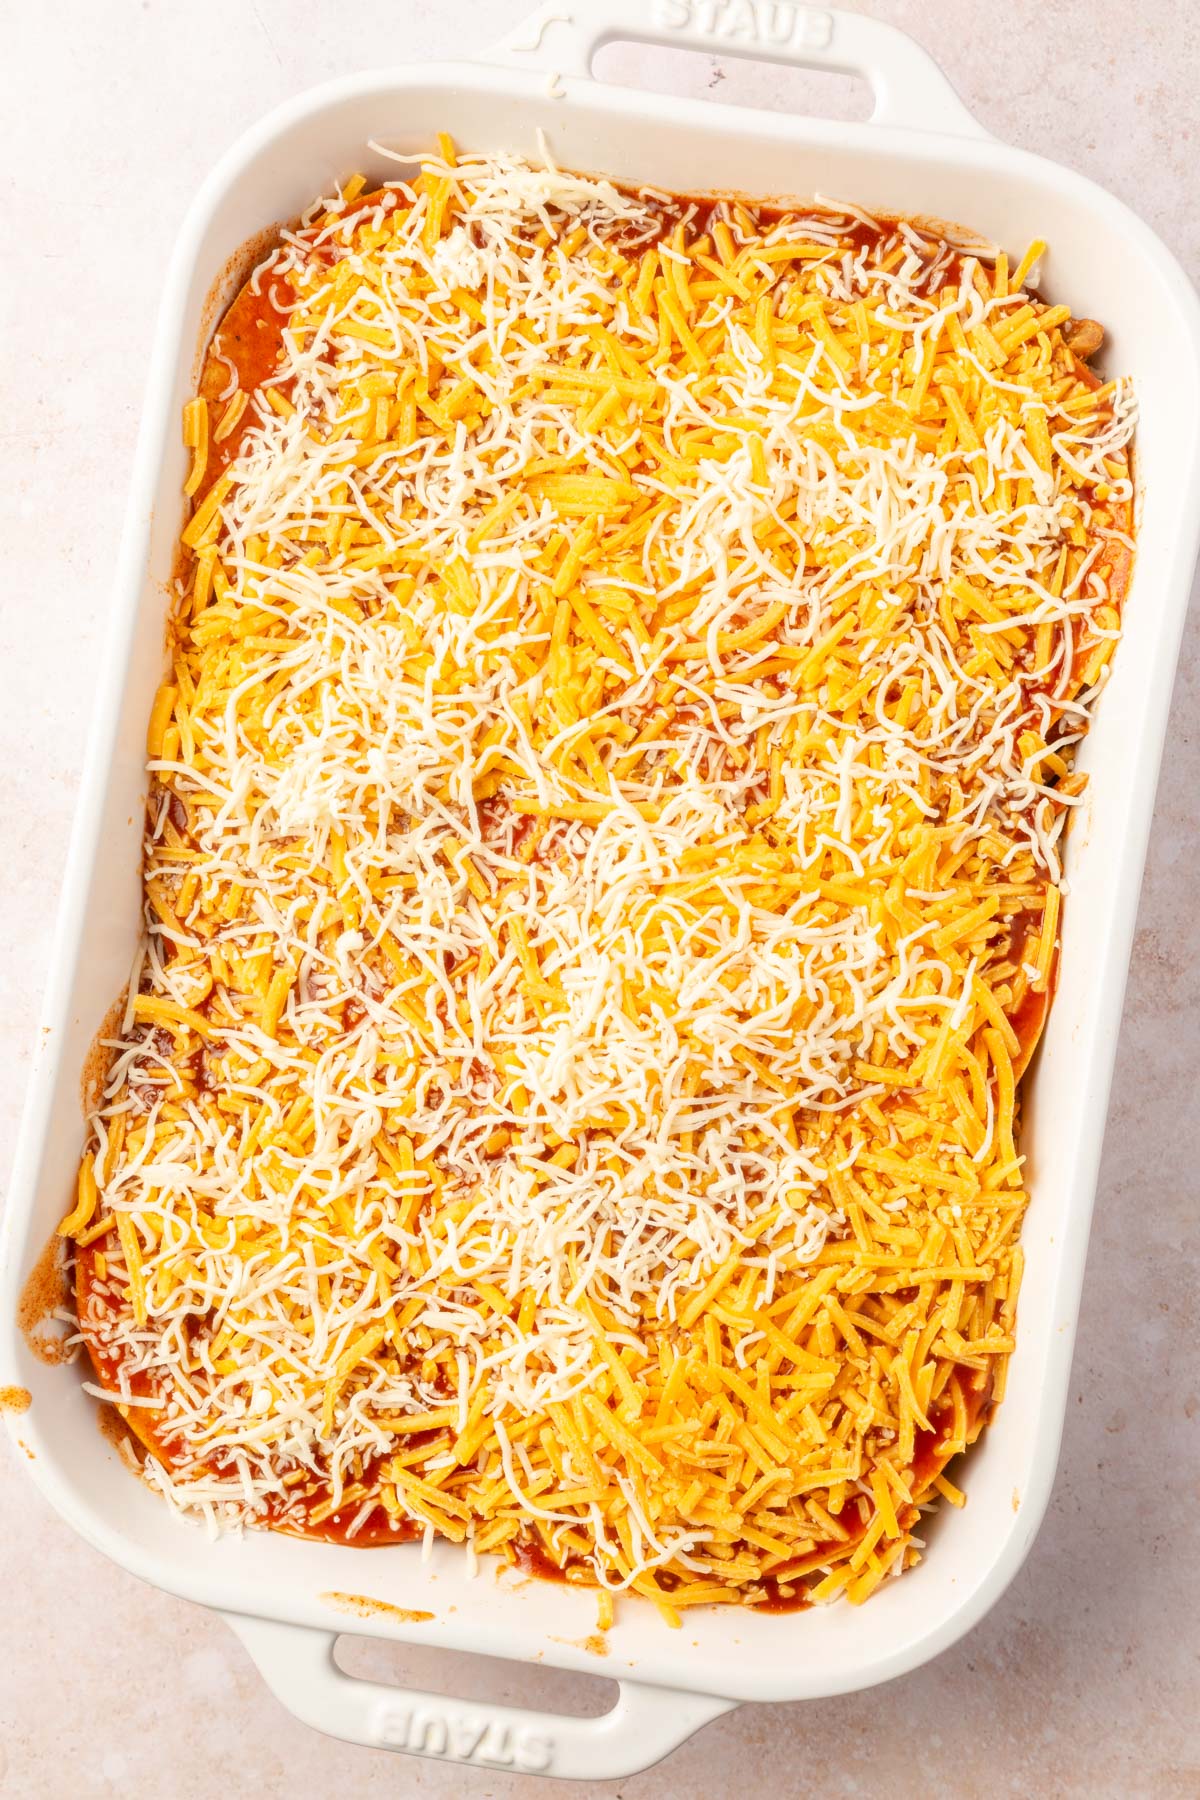 Sprinkle the remaining cheese over the top.
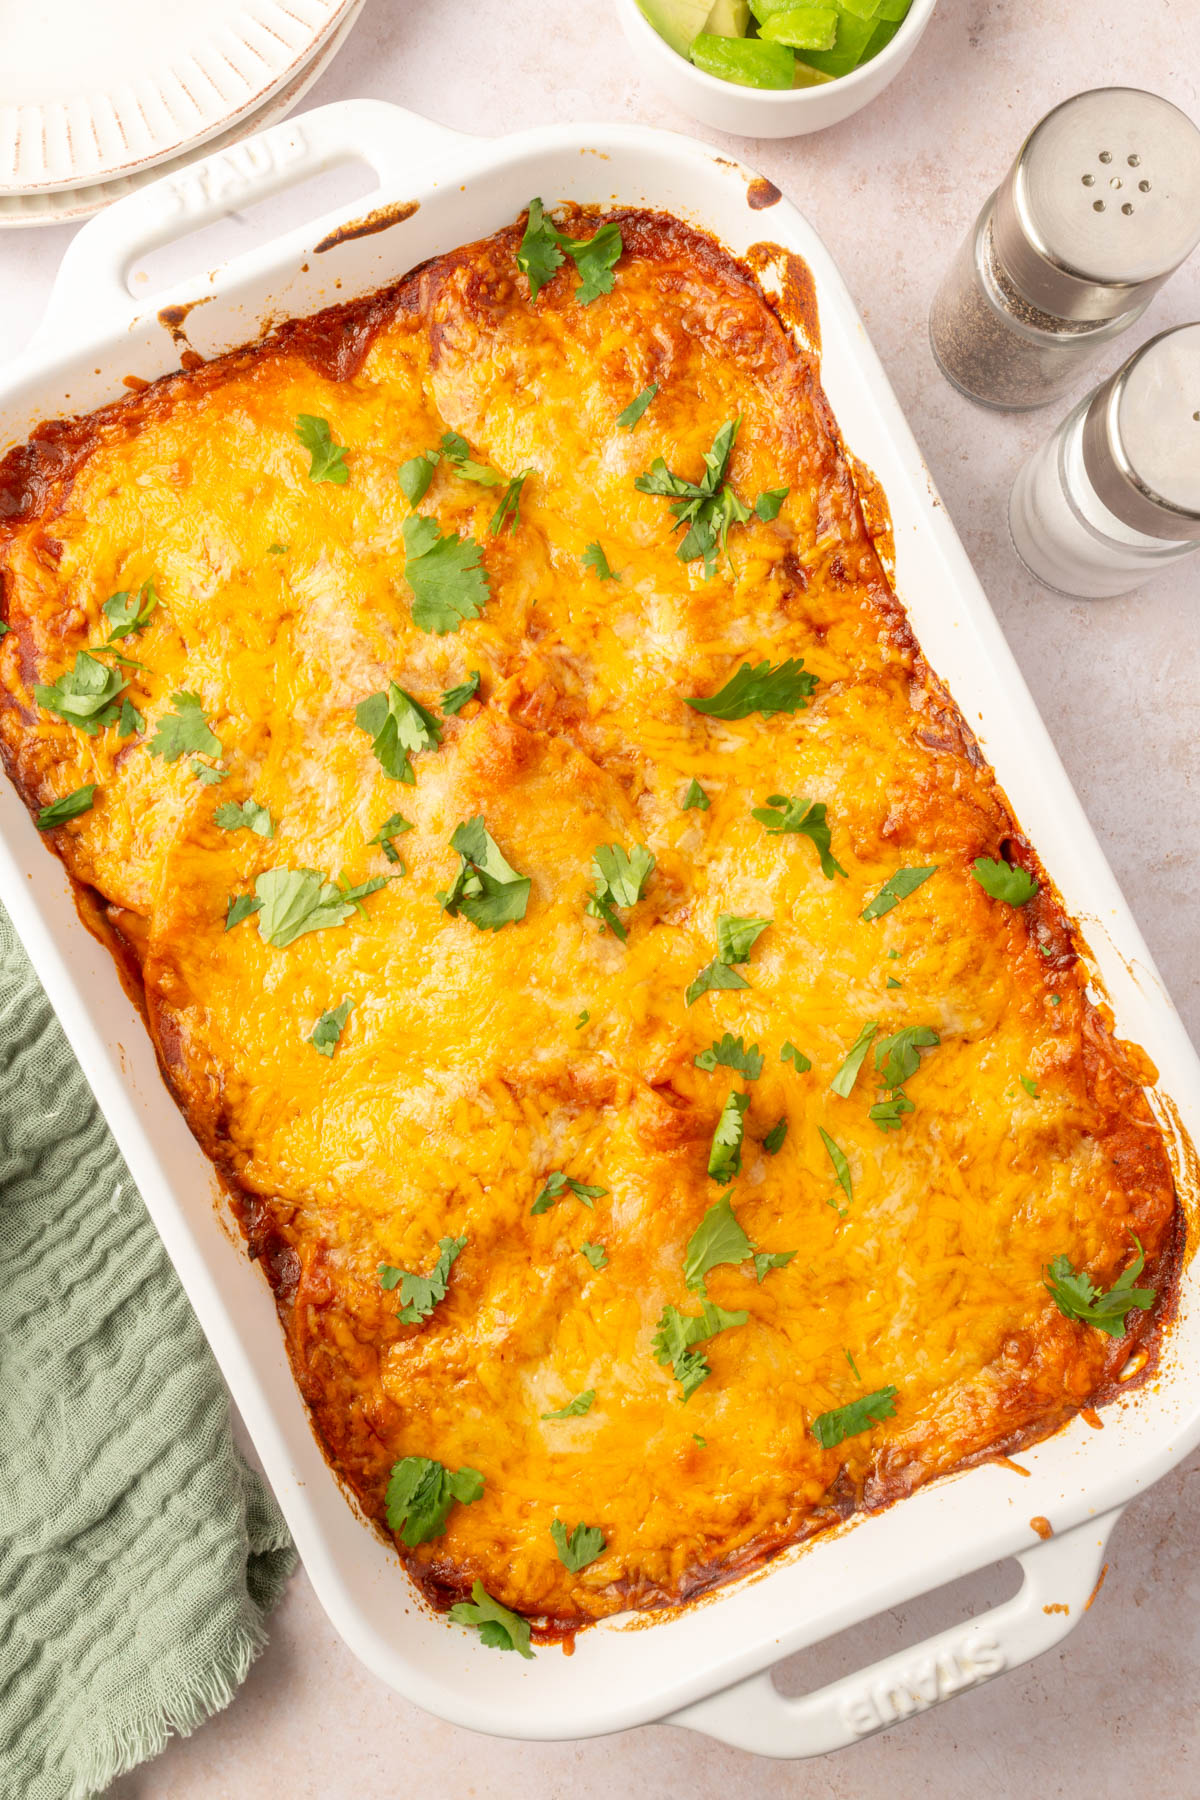 Bake until the cheese is melted and lightly browned and the inside of the casserole is hot and bubbly.
Recipe FAQs
Is enchilada sauce gluten-free?Enchilada sauce is typically not gluten-free since many brands contain wheat flour, but there are brands that you’ll find at your local grocery store that are gluten-free. I personally use Hatch enchilada sauce, which is gluten-free.
Can I make this casserole vegetarian?Absolutely! Skip the chicken and double the black beans and corn. You can also add additional veggies like zucchini or mushrooms for extra flavor and texture.
What’s the best way to freeze this casserole?Assemble the casserole without baking, cover tightly with foil, and freeze for up to 3 months. When ready to bake, thaw in the refrigerator overnight and bake as directed, adding an extra 10-15 minutes to the baking time.
Expert Tips
- Choose the right chicken. Both chicken breasts and thighs work great in this recipe. Breasts are leaner, while thighs add extra juiciness and flavor so they’re typically my preference. You can also use rotisserie chicken to save time! Just be sure it’s gluten-free if necessary!
- Shred chicken quickly and easily. Use a hand mixer or stand mixer with the paddle attachment to quickly shred the cooked chicken while it’s still warm.
- Create a topping bar for entertaining guests. Set up a topping bar for guests to add their favorites like sour cream, pickled onions, salsa, jalapeños, or extra cilantro. It makes the meal interactive and ensures everyone gets what they love!
Storage instructions
Make Ahead Tips: Prepare the casserole up to the baking step. Cover tightly with plastic wrap or aluminum foil and refrigerate for up to 24 hours. When ready to bake, remove it from the fridge, let it sit at room temperature for 15–20 minutes, and bake as directed.
Storage: Let the casserole cool completely before storing. Cover the casserole dish tightly with foil or plastic wrap, or transfer individual portions to airtight containers. Store in the refrigerator for up to 3–4 days.
Freezing the Casserole (Unbaked): Assemble the casserole but do not bake it. Wrap it tightly in plastic wrap, then in aluminum foil to prevent freezer burn. Freeze for up to 3 months. When ready to cook, thaw in the refrigerator overnight and bake as directed.
Freezing the Casserole (Baked): If you’ve already baked the casserole, let it cool completely. Slice into portions and transfer to airtight containers or freezer-safe bags. Freeze for up to 3 months. Reheat from frozen or after thawing in the refrigerator overnight.
Reheating Instructions for the Oven: Cover the casserole dish with foil and reheat at 350°F for 15–20 minutes, or until warmed through. For individual portions, place in an oven-safe dish and bake uncovered for 10–15 minutes
Reheating Instructions for the Microwave: For quicker reheating, microwave individual portions on a microwave-safe plate in 30-second intervals until heated through.
More gluten-free dinners to try
All Dinners
Did you make this recipe?
I’d love to know! Please rate it and leave a comment below. You can also share your pictures and tag @adashofmegnut on Instagram.