
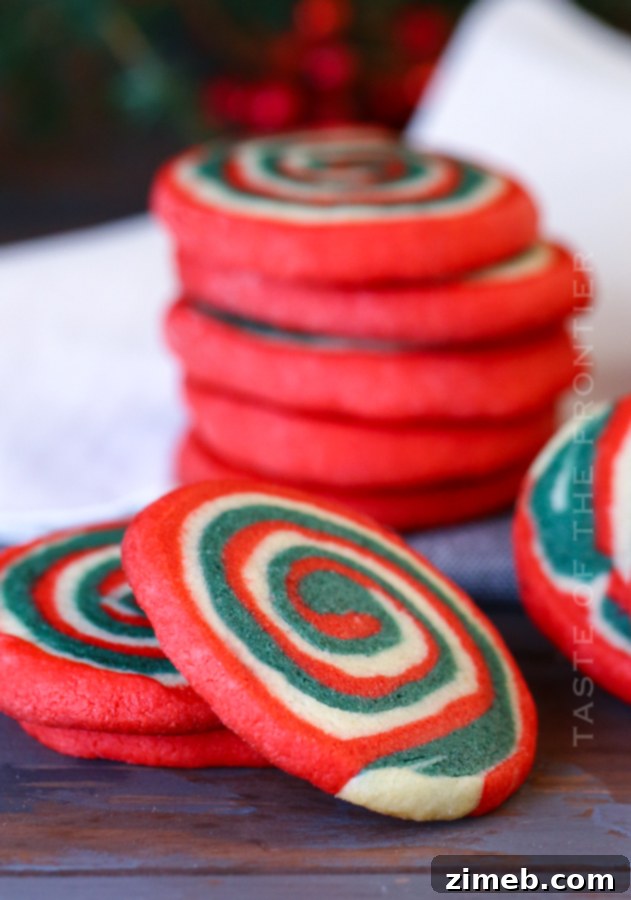
Welcome to the heart of holiday baking! These festive Christmas Pinwheel Cookies are not just a treat for the eyes but a delight for the taste buds. Perfect for any celebration, thoughtful gifts, or simply cozying up with your favorite holiday film, these cookies embody the spirit of the season. Merry Christmas and happy baking!
Delightful Christmas Pinwheel Cookies: Your Ultimate Holiday Baking Guide
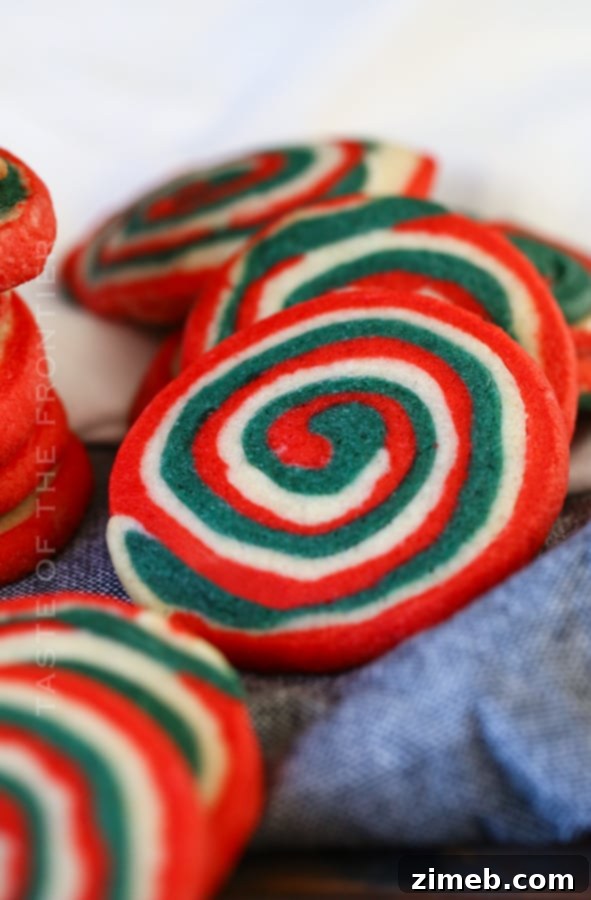
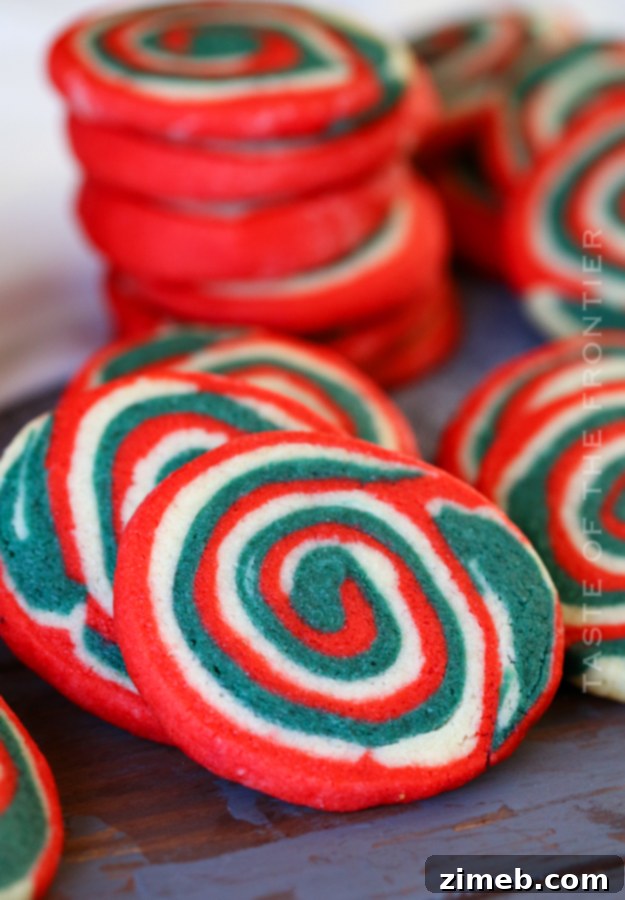
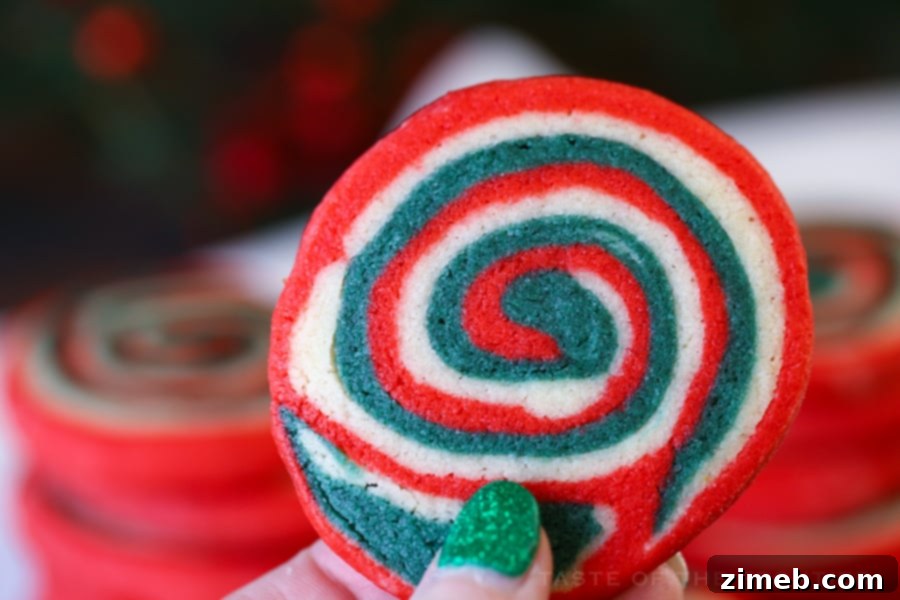
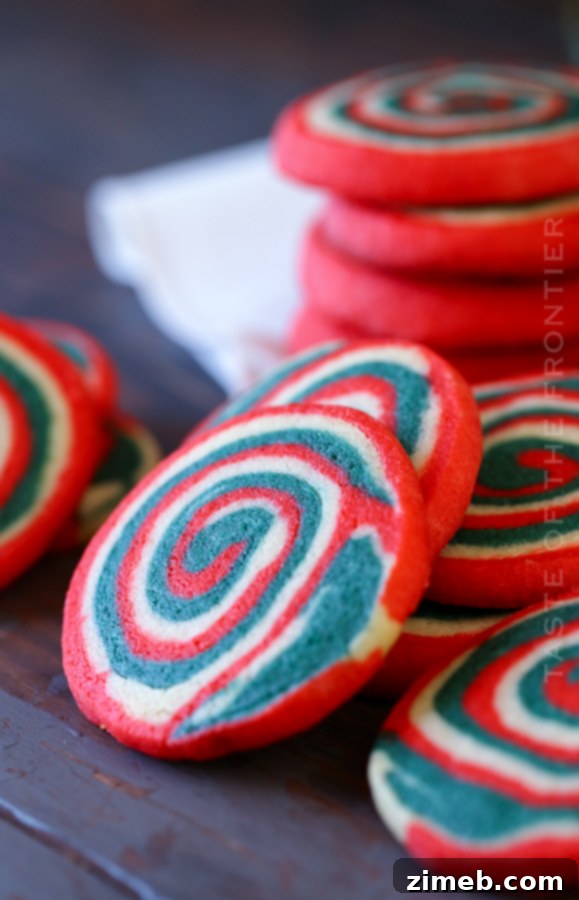
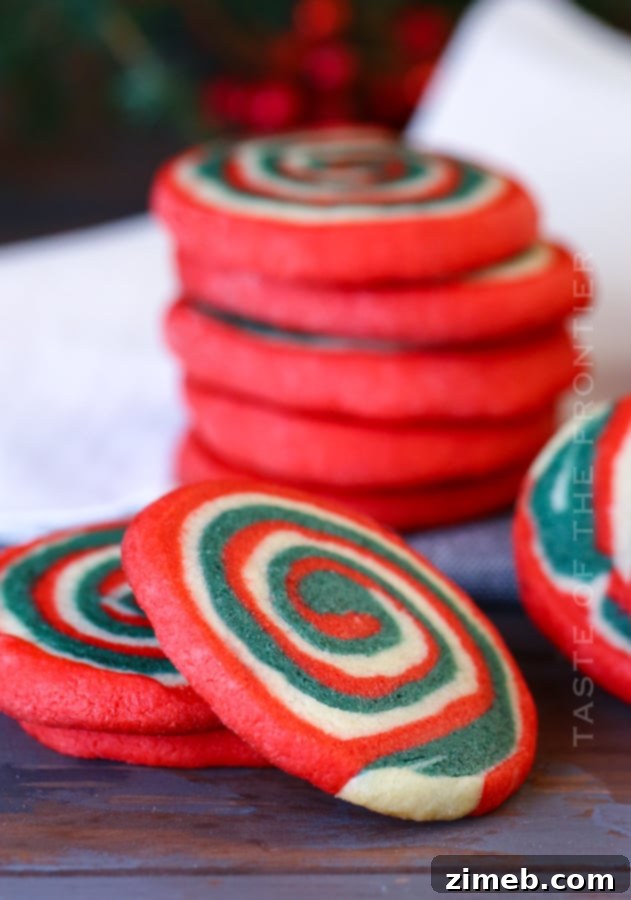
Step into the festive season with a batch of irresistible Christmas Pinwheel Cookies! These vibrant, swirled treats aren’t just a joy to behold; they’re incredibly fun to bake and even more delightful to eat. Imagine sharing these soft, chewy cookies at your annual holiday party, gifting them to loved ones, or simply savoring their magic alongside your favorite Christmas movie. We promise, these whimsical pinwheel cookies will quickly become a cherished part of your holiday traditions, bringing smiles and festive cheer to everyone who tastes them.
The holidays often transform our homes into bustling baking hubs, filled with the sweet aromas of gingerbread, peppermint, and vanilla. Among the myriad of festive confections, our Christmas Pinwheel Cookies consistently emerge as the most requested recipe. Their unique charm, coupled with a wonderfully soft and chewy texture, makes them an undeniable star of any holiday dessert spread. This guide is designed to help you create these picture-perfect cookies with ease, ensuring a smooth and enjoyable baking experience from start to finish. Get ready to impress with these beautiful, delicious holiday treats!
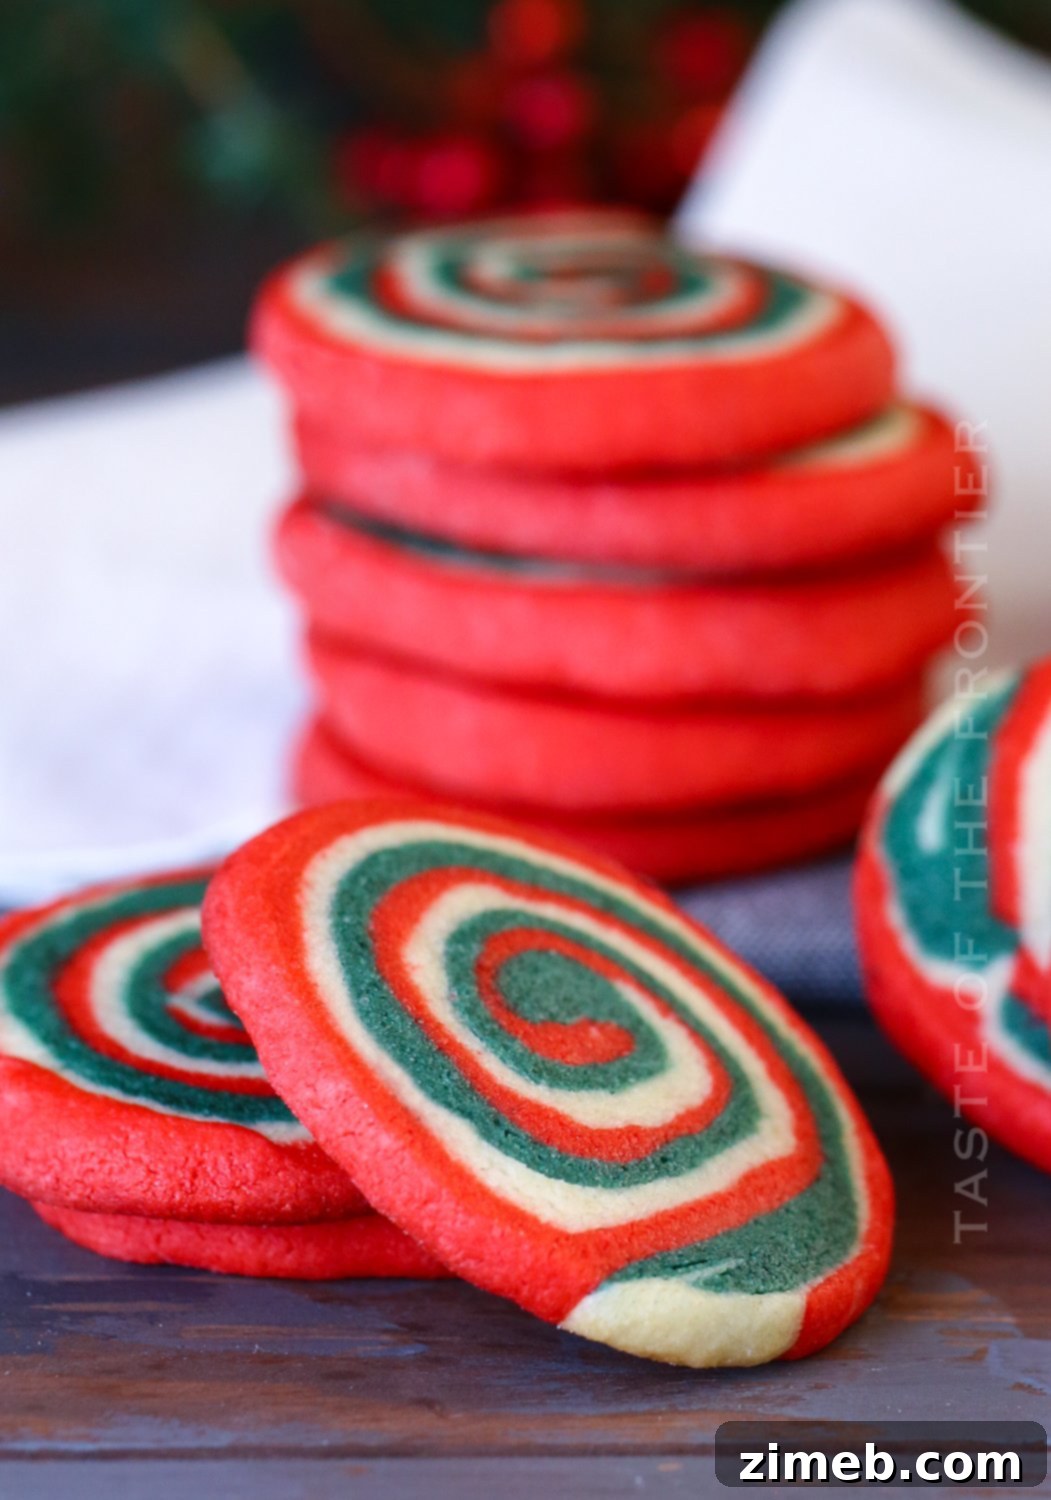
The Enduring Appeal of Our Pinwheel Cookies
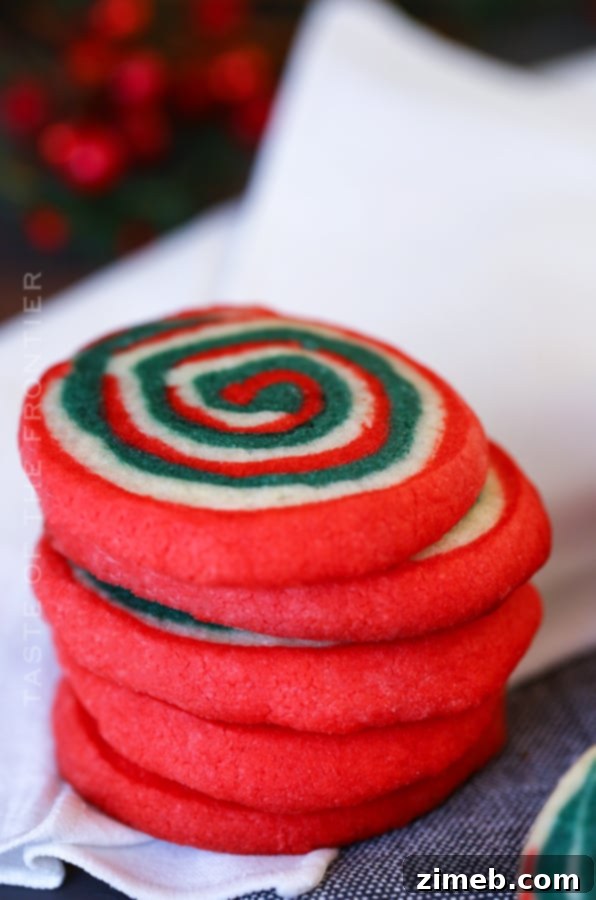
What truly sets these Christmas Pinwheel Cookies apart is their incredible ability to stay fresh and soft. Unlike many other cookies that lose their charm after a day, these beauties maintain their delightful soft and chewy texture for up to a week when stored in an airtight container. This remarkable longevity makes them ideal for mailing to family out of town, preparing in advance for festive gatherings, or ensuring Santa has a perfectly fresh treat awaiting him on Christmas Eve. My family often teases me because I’m usually quite particular about cookies being eaten within 24 hours of baking. However, these pinwheel cookies are an absolute exception! They are just as heavenly on day four as they are straight out of the oven on day one, a quality I truly appreciate. This exceptional freshness, combined with their adorable, whimsical swirl in vibrant Christmas colors, firmly places them at the top of my holiday favorites list. I’m confident they will become a beloved staple in your home too.
Commonly Asked Questions for Perfect Pinwheel Cookies
Baking can sometimes bring up a few questions, especially when striving for that perfect result. Here, we address some of the most frequently asked questions about making our Christmas Pinwheel Cookies, ensuring your baking process is as smooth and successful as possible.
Can this recipe be doubled?
Absolutely, you can double this recipe, and we often do when preparing for larger gatherings or simply wanting to stock up on these delightful treats. In fact, I sometimes find it easier to work with a larger portion of dough when rolling and shaping the pinwheels. Just be sure you have a larger stand mixer bowl and a powerful enough mixer to handle the increased volume of ingredients. Doubling the recipe is a fantastic way to ensure you have plenty of these festive cookies for everyone to enjoy!
Can this recipe be cut in half?
While I understand the desire to make a smaller batch, cutting this particular pinwheel cookie recipe in half can be quite challenging. The small amount of dough becomes difficult to separate accurately, color evenly, and then roll into a neat log for the distinctive pinwheel swirl. For best results and to maintain the beautiful aesthetics of these cookies, I recommend making the recipe as written. If you don’t need a full batch immediately, you can easily freeze half of the prepared dough for a later baking session, saving you time and effort down the line.
How do I properly measure the flour?
Proper flour measurement is crucial for cookie texture. The official, most accurate way is to spoon the flour into your measuring cup until it’s overflowing, then use a straight edge (like the back of a knife) to level off the excess. This method prevents the flour from becoming compacted in the cup, which would add more flour than needed and result in dry, crumbly cookies. However, for this recipe, you can also fluff your flour in its container with a spoon, then gently scoop the flour into the measuring cup, taking care not to pack it down. As long as you avoid tightly packing, your cookies will turn out perfectly soft and chewy.

Do I really need to chill the dough?
Yes, yes, YES! Chilling the dough is an absolutely non-negotiable step for these pinwheel cookies, and for several crucial reasons. Firstly, as the dough chills, the ingredients have time to fully meld together, allowing the flavors to deepen and create a richer, more complex taste in the final cookie. More importantly, chilling significantly helps the dough firm up and maintain its structure during the baking process. Without adequate chilling, the dough would not only be too sticky and unmanageable to roll and shape into uniform pinwheel logs, but it would also spread excessively in the oven, resulting in flat, less appealing cookies. So, please, do not skip the chilling process – it’s essential for achieving that beautiful swirl and perfect cookie texture.
Don’t miss these top holiday favorites!
- Easy No-Cook Fudge
- Gingerbread Cake
- Struffoli
- Dark Chocolate Meringues
- Peppermint Hot Chocolate – for the Instant Pot
- Chocolate Peppermint Bundt Cake
What is the best way to store Christmas pinwheel cookies?
To keep your Christmas Pinwheel Cookies wonderfully soft and fresh, proper storage is key. Once the cookies have cooled completely to room temperature, transfer them to an airtight container or a zip-top bag. Stored this way, they will remain delicious for several days, typically up to a week. I do not recommend refrigerating these cookies, as the cold temperature can dry them out and alter their desirable soft and chewy texture.
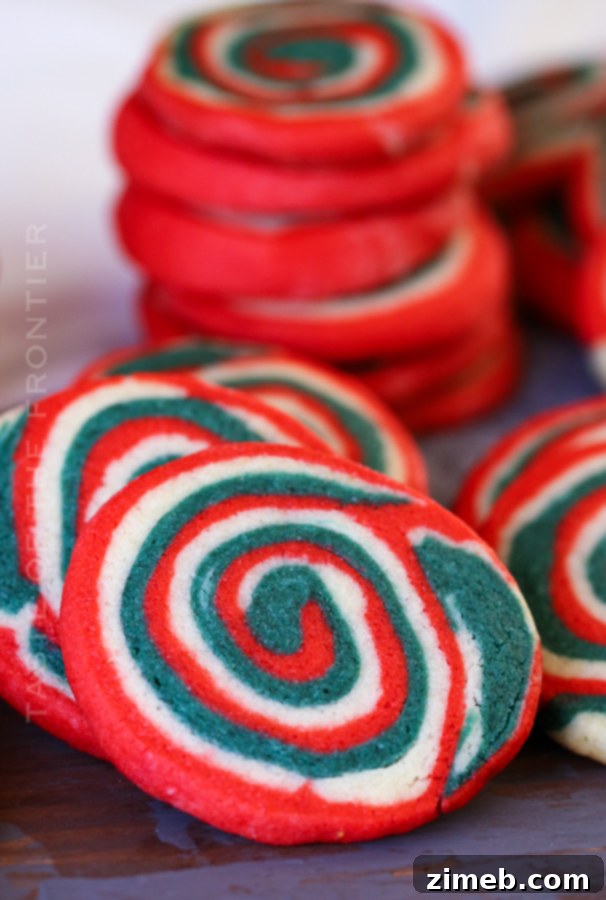
What are the best sprinkles for this dough?
Choosing the right sprinkles is more important than you might think for these Christmas Pinwheel Cookies! Just because a package is labeled “sprinkles” doesn’t mean it’s suitable for all baking applications. I often see people use colored sanding sugar, which is fine for dusting on top of baked goods, but it will not work well when mixed into a moist dough or chilled in the refrigerator. Sanding sugar tends to “sweat” and the color will bleed out, ruining the distinct color separation of your pinwheel layers. For vibrant, crisp colors that won’t bleed, always opt for actual baking sprinkles (like jimmies or nonpareils) that are designed to hold their color, especially when incorporated into dough or exposed to moisture.
Achieving Room Temperature Butter: Essential Tips
Room temperature butter is a foundational element for many successful cookie recipes, especially for achieving that perfect light and airy texture in these pinwheel cookies. It allows the butter to cream smoothly with sugar, incorporating air for a tender crumb. Here are a few reliable methods to get your butter just right:
Method 1: The Patient Countertop Chill
The simplest method is to plan ahead. Take your butter (and any other ingredients that need to be at room temperature, like eggs) out of the refrigerator about 30 minutes to an hour before you plan to start baking. This allows them to naturally come to the ideal temperature. I typically gather all my chilled ingredients first and set them on the counter, ensuring I have everything I need before I’m halfway through a recipe and realize I’m missing something or that an ingredient isn’t ready.
Method 2: Microwave Magic (with caution!)
For those times when planning ahead isn’t an option, the microwave can be a quick helper. Place the butter, still wrapped in its paper (unless it’s foil-wrapped), in the microwave. Microwave for 2-second intervals, flipping the butter after each burst. Continue this process for 2 seconds on each side, stopping immediately once it feels soft enough to indent with your finger without being melted. **Exercise extreme caution with this method! Overly softened or melted butter from the microwave will drastically alter the final result of your recipe, often leading to greasy, flat cookies. Don’t over-do it!**
Method 3: The Warm Water Bath
My third go-to method is incredibly effective and gentle. Place the wrapped butter sticks in a zip-top bag, ensuring it’s sealed tightly to prevent water from entering. Then, submerge the bag in a bowl of warm (not hot!) water for about 10-15 minutes. I often use this trick for eggs as well. If the water temperature is just right – comfortably warm to the touch but not scalding – this can be the perfect way to quickly achieve truly “room-temperature” ingredients without any risk of melting or over-softening.
What do you mean by soft butter?
When a recipe calls for “softened butter,” it refers to butter that has been left out of the refrigerator long enough to become pliable but not melted or greasy. The ideal consistency is when you can easily make an indentation with your finger, but the butter still holds its shape. This typically takes about an hour at average room temperature. Softened butter creams beautifully with sugar, incorporating air that is essential for a light and tender cookie texture.
Key Ingredients for Your Pinwheel Masterpiece
Crafting these beautiful Christmas Pinwheel Cookies requires a few simple, common baking ingredients. Ensuring these are high-quality and measured correctly will set you up for success. Here’s what you’ll need:
- All-purpose flour: The foundation of our cookies, providing structure.
- Baking powder: Gives the cookies a slight lift and tender crumb.
- Salt: Balances the sweetness and enhances all the flavors.
- Butter at room temperature: Crucial for a smooth, creamy dough and perfect texture.
- Granulated sugar: Adds sweetness and contributes to the crisp-chewy texture.
- Large eggs: Binds the ingredients and adds richness.
- Vanilla extract: A classic flavor enhancer that complements all ingredients.
- Red gel food coloring: For that vibrant Christmas red (we recommend super red for intensity).
- Green gel food coloring: For a deep, festive green (forest green works beautifully).
- Christmas sprinkles if desired: For an extra touch of holiday sparkle, choose non-bleeding sprinkles.
Why do the ingredients need to be at room temperature?
The temperature of your ingredients plays a surprisingly vital role in the success of your cookies. Room temperature ingredients ensure that everything blends together perfectly, creating a smooth, homogenous dough. When butter and sugar are creamed together at room temperature, they form an emulsion, trapping tiny pockets of air. This trapped air is crucial because it helps the baked goods expand and become wonderfully fluffy and tender as they bake. Cold ingredients, on the other hand, can prevent proper emulsification, leading to a lumpy dough and a denser, less desirable cookie texture.
Step-by-Step Guide: Crafting Your Christmas Pinwheel Cookies
Follow these detailed steps to create stunning and delicious Christmas Pinwheel Cookies that will impress everyone:
- Prepare Dry Ingredients: In a medium bowl, whisk together the all-purpose flour, baking powder, and salt. Set this mixture aside. This ensures all leavening agents and flavor enhancers are evenly distributed.
- Cream Butter and Sugar: In a large mixer bowl, ideally with a paddle attachment, cream together the softened, room-temperature butter and granulated sugar on medium speed until the mixture is light, fluffy, and pale in color. This process incorporates air, which is essential for a tender cookie.
- Incorporate Wet Ingredients: Once the butter and sugar mixture is smooth and well-creamed, add the large eggs one at a time, beating well after each addition. Follow with the vanilla extract, mixing until fully incorporated.
- Gradually Add Flour Mixture: With the mixer on low speed, gradually add the dry flour mixture to the butter mixture, a little at a time. Mix only until the dough comes together smoothly and no streaks of flour are visible. Be careful not to overmix, as this can lead to tough cookies.
- Divide the Dough: Carefully separate the prepared dough into three equal parts. For precision, you can weigh the dough to ensure even portions.
- Set Aside White Dough: Designate one of the dough portions as your “white” or “cream” color. This dough will remain uncolored. Wrap it tightly in plastic wrap and set aside.
- Color the Dough: To the remaining two portions, add the red gel food coloring to one and the green gel food coloring to the other. Using your mixer, beat the color into each dough portion until you achieve the desired vibrant shade. Remember to thoroughly rinse out the mixer bowl and beaters between colors to prevent any cross-contamination and ensure distinct, clear colors.
- Shape Dough Rectangles: Once each dough portion is tinted to your desired color, gently form each into a ball. Then, using your hands or a rolling pin, flatten each ball into a patty and carefully reshape the edges to form a neat rectangle, approximately ⅛ – ¼” thick. The smoother and more even your rectangles are, the better your pinwheel swirl will look.
- First Chill for Stability: Wrap each flattened dough rectangle tightly in plastic wrap. Place them in the refrigerator for about an hour or two. This initial chilling step is critical to firm up the dough, making it easier to handle and preventing it from becoming too sticky when you roll it out.
- Roll and Stack Layers: On a lightly floured surface or between two sheets of parchment paper, roll out each chilled dough rectangle to an even thickness of about ⅛ – ¼” thick. Once rolled, carefully stack the colored dough layers on top of each other. I typically place the red layer on the bottom, followed by the white, and then the green on top for a classic Christmas look.
- Trim the Edges: Using a sharp pizza cutter or a chef’s knife, carefully trim the edges of your stacked dough layers to create nice, straight, and uniform edges. This will ensure a clean, beautiful pinwheel pattern.
- Add Festive Sprinkles (Optional): If you desire an extra touch of festive sparkle, pour some Christmas sprinkles into your hand. Lightly brush the outside edge of your stacked dough with a tiny bit of water (just enough to create a slight stickiness), and then gently press the sprinkles into the moist surface of what will become the outside of your dough log.
- Form the Pinwheel Log: Starting from one long edge, carefully and tightly roll the stacked dough layers into a firm log. Work slowly and evenly to prevent air pockets. Once rolled, wrap the dough log tightly in plastic wrap and return it to the refrigerator for at least 1 hour (or up to 24 hours). This final chill is essential for the log to firm up, making it easier to slice without squishing.
- Preheat Oven: Preheat your oven to 350 degrees Fahrenheit (175°C). Line a baking sheet with parchment paper.
- Slice and Arrange: Remove the chilled dough log from the refrigerator. Using a very thin, sharp knife (a thick blade can squish the dough), slice the log into ¼ – ½” thick rounds. Place the cookie rounds on your parchment-lined baking sheet, spacing them approximately 2 inches apart to allow for slight spreading.
- Bake to Perfection: Bake for 10-12 minutes, or until the edges are lightly golden and the tops are no longer shiny. The cookies should still be soft in the center when removed from the oven. Let them cool on the baking sheet for a few minutes before transferring them to a wire rack to cool completely.

Products I love when making Christmas Pinwheel Cookies…
This Christmas Pinwheel Cookie recipe is incredibly straightforward and yields truly delicious results. If you’re an avid baker, you might already have most of these items on hand. If you’re new to making pinwheel cookies or feel a little nervous, rest assured – you’re going to love them! To help you achieve perfect cookies every time, I’ve compiled a list of the essential tools and ingredients I personally can’t live without when whipping up a batch of these festive treats.
- All-purpose flour
- Baking powder
- Table salt
- Granulated sugar
- Vanilla extract
- Super red food color
- Forest green food color
- Holiday sprinkles (ensure they are non-bleeding baking sprinkles!)
- Baking sheet
- Parchment paper
- Stand mixer
- Rolling pin: For evenly flattening the dough.
- Pizza cutter: Ideal for neat, straight cuts on the dough edges.
- Plastic wrap: Essential for chilling and storing dough.

Other Holiday Treats and Pinwheel Cookie Variations
If you’re enchanted by the festive charm of these Easy Pinwheel Cookies, you’ll undoubtedly adore our other delectable holiday treats! We believe that the joy of baking should extend to a variety of flavors and styles. Explore the links below to discover more easy, printable recipes that are perfect for sharing the holiday spirit with friends and family. From classic shortbreads to rich cheesecakes, there’s a festive delight for every palate.
Check out this recipe

Check out this recipe

Check out this recipe

Check out this recipe

Check out this recipe
Check out this recipe

Check out this recipe
Check out this recipe

Check out this recipe
Other Delicious Pinwheel Cookie Variations
While Christmas colors are classic, pinwheel cookies offer endless possibilities for customization! You can easily adapt this recipe by changing the gel food coloring to suit any holiday or occasion. Imagine vibrant rainbow swirls for a birthday, patriotic red, white, and blue for the Fourth of July, or pastel shades for Easter. Don’t be afraid to get creative with your color combinations!
- Rainbow Pinwheel Cookies
- Patriotic Pinwheel Cookies
- Jack Frost Pinwheel Cookies
More Themed Cookie Recipes You’ll Love
Beyond pinwheels, we have a variety of other themed cookie recipes perfect for adding a special touch to your holiday celebrations throughout the year.
- Spooky Halloween Sugar Cookies
- Delightful Easter Sugar Cookies
If you’ve fallen in love with this Christmas Pinwheel Cookies recipe as much as we have, please consider sharing your joy! A five-star review helps us immensely, and we’d be thrilled if you could help us spread the word by sharing this recipe on Facebook and Pinterest!
CONNECT WITH YUMMI HAUS!
Be sure to follow me on my social media, so you never miss a post!
Substack, FB, Pinterest, IG, Email Subscription

Rate this Recipe
Christmas Pinwheel Cookies
Ingredients
- 3 cups all-purpose flour
- 1 tsp baking powder
- ½ tsp salt
- 1 cup butter at room temperature
- 1½ cups granulated sugar
- 2 large eggs
- 2 tsp vanilla extract
- 1 tsp red gel food coloring – I used super red
- 1 tsp green gel food coloring – I used forest green
- Christmas sprinkles if desired
Instructions
-
Combine flour, salt & baking powder in a bowl, mix and set aside.
-
In another large mixer bowl, cream together the softened butter & sugar.
-
Once smooth, add the eggs & vanilla and beat well.
-
Add the flour mixture to the butter mixture a little at a time. Mix until the dough is smooth and flour is fully incorporated.
-
Separate your dough into three equal parts.
-
Set one of the portions aside – this will be your white/cream color.
-
Color one of the portions of dough red, and one green. Use the mixer to beat the color into the dough until you have reached the desired shade of each color. Be sure to rinse out the bowl and the beater inbetween the colors so that you don’t cross the colors and end up with something other than the desired color.
-
Once the dough is tinted to the desired color – form it into a ball, then flatten it into a patty and then reshape the edges to form a rectangle.
-
Wrap each flattened rectangle in plastic, and allow the dough to firm up in the refrigerator for about an hour or two.
-
Roll out each ball of dough to about ⅛ – ¼” thick, and stack them on top of the other (I did red on the bottom, then white, and then finally green).
-
Trim the edges with a pizza cutter so you have nice, straight edges.
-
If desired – Pour some sprinkles into your hand & brush the outside of the dough with a bit of water and then press the sprinkles into the outside of the dough log.
-
Roll the dough into a log, wrap in plastic wrap and chill in the refrigerator for at least 1 hour.
-
Preheat the oven to 350 degrees.
-
Cut the log of dough into ¼ – ½” thick cookies and place the rounds on a parchment lined baking sheet – approx 2 inches apart. The thinner the blade used to slice them, the better. A thick blade will tend to squish the dough.
-
Bake at 350 for 10-12 minutes, or until no longer shiny on top.
Nutritional information for the recipe is provided as a courtesy and is approximate. Please double-check with your own dietary calculator for the best accuracy. We at Yummi Haus cannot guarantee the accuracy of the nutritional information given for any recipe on this site.