
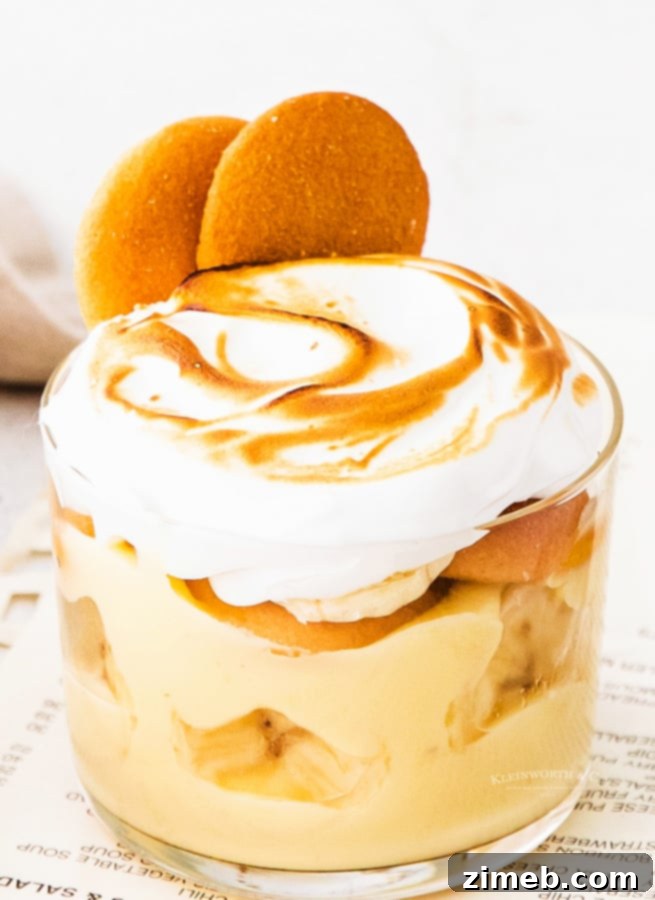
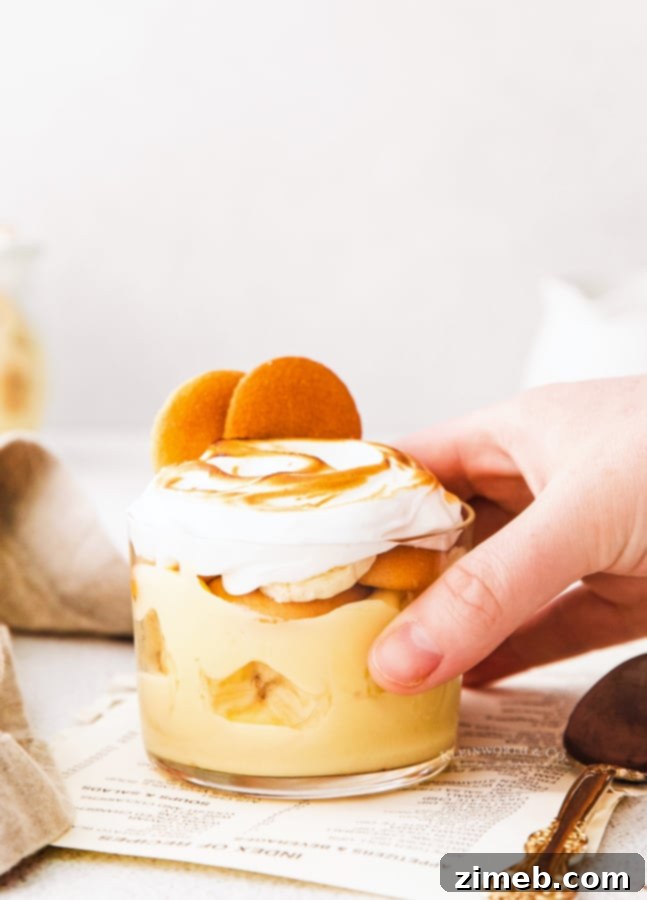
This delightful banana pudding recipe offers the perfect blend of creamy sweetness and a subtle hint of vanilla, making it an ideal choice for any occasion – be it a simple family dessert, a crowd-pleasing potluck contribution, or even a special school lunch treat. Its luscious texture and timeless flavor ensure it’s a favorite for all ages.
There’s nothing quite like a truly satisfying dessert, especially one that ventures beyond the usual cakes, ice creams, or cookies. Sometimes, the best sweet escapes are found in treasured family recipes, those nostalgic treats that transport you back to simpler times. This classic banana pudding is exactly that kind of dessert for me. It’s a recipe I’ve cherished since childhood, a staple at my Grandma and Great-Grandma’s supper gatherings, always the much-anticipated highlight of the evening.
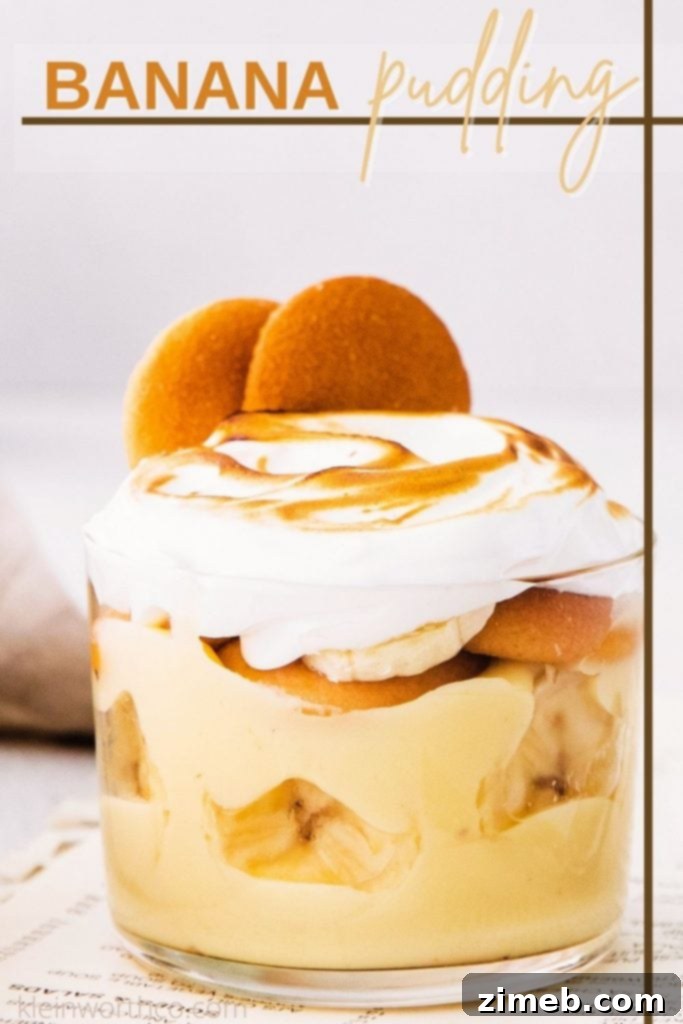
While banana pudding is famously a beloved Southern dessert, this particular recipe effortlessly transcends geographical boundaries. Despite my family’s roots primarily in the Northwest and Northeast, this rendition of banana pudding has been passed down through generations, cherished for its undeniably scrumptious taste. It’s more than just a dessert; it’s a culinary heirloom, a testament to enduring family traditions and heartwarming flavors that everyone falls in love with.
One of the many reasons I adore this recipe is its no-bake nature, making it incredibly simple and stress-free to prepare. This is particularly perfect for those warmer evenings when autumn’s crisp air hasn’t quite settled in, and you’re craving something cool, refreshing, and utterly decadent without needing to turn on the oven. The simplicity of assembly combined with its rich, comforting taste makes it a standout. I guarantee that once you try this incredible banana pudding, it will quickly earn a permanent spot as a family favorite in your home, just as it has in mine!
Unforgettable Homemade Banana Pudding
There’s a special kind of magic that comes with homemade desserts, and this banana pudding is no exception. Crafting it from scratch allows for a depth of flavor and a silky-smooth texture that simply can’t be replicated with store-bought mixes. Each spoonful is a testament to fresh ingredients and a little bit of love, promising a truly unforgettable experience. This isn’t just a dessert; it’s a comforting classic that brings smiles and creates lasting memories around the table.
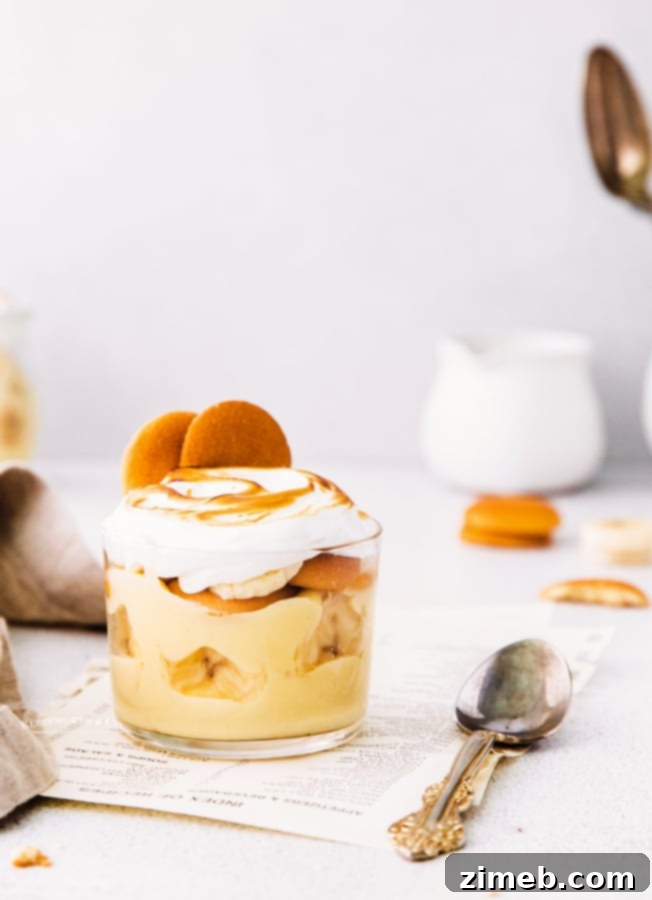
Frequently Asked Questions About Banana Pudding
Where Did Banana Pudding Originate?
Banana pudding is indeed a quintessential Southern dessert, celebrated for its comforting simplicity and delightful flavor profile. While its exact origins are debated, it gained widespread popularity across the American South in the late 19th and early 20th centuries, thanks in part to the increased availability of bananas and the innovative use of vanilla wafers. It’s a dish deeply ingrained in Southern culinary tradition, often served at family gatherings, church picnics, and holiday celebrations. Its creamy layers, sweet bananas, and crisp wafers create a harmonious blend that has rightfully earned it a place as a national favorite, appreciated far beyond its Southern roots. The rich, creamy texture combined with the natural sweetness of bananas makes it an irresistible treat that appeals to nearly everyone.
Can I Use Whipped Cream Instead of Meringue?
Absolutely, you certainly can! If you prefer, homemade whipped cream, canned whipped cream, or even a store-bought whipped topping can be used as an alternative to meringue. They all offer a lighter, airier finish to the pudding and can be quicker to prepare. However, I wholeheartedly recommend trying the meringue. It adds an incredible depth of flavor with its toasted, slightly caramelized top, and a distinct texture that elevates this banana pudding from delicious to truly extraordinary. The crisp, sweet meringue provides a beautiful contrast to the smooth, creamy pudding layers, creating a sophisticated touch that makes this dessert truly special. It’s worth the extra step for that amazing finish!
Can This Recipe Be Doubled?
Yes, this recipe is perfectly adaptable for larger gatherings! If you have a sufficiently large serving dish, you can easily double all the ingredients to create a more generous portion. Doubling this recipe is highly recommended, especially if you plan on bringing it to a potluck, family reunion, or any event where you need to feed a crowd. It’s a guaranteed hit, and you’ll want to make sure there’s enough for everyone to enjoy seconds (or even thirds)!
The Joy of Homemade Banana Pudding
There’s an unparalleled satisfaction that comes from creating a classic dessert like banana pudding from scratch. This homemade version isn’t just about mixing ingredients; it’s about building layers of comforting flavors and textures that evoke warmth and nostalgia. From the velvety smooth vanilla custard to the perfectly ripe banana slices and the crisp vanilla wafers, every element contributes to a symphony of taste that store-bought versions simply cannot match. It’s a labor of love that pays off with every delightful bite.
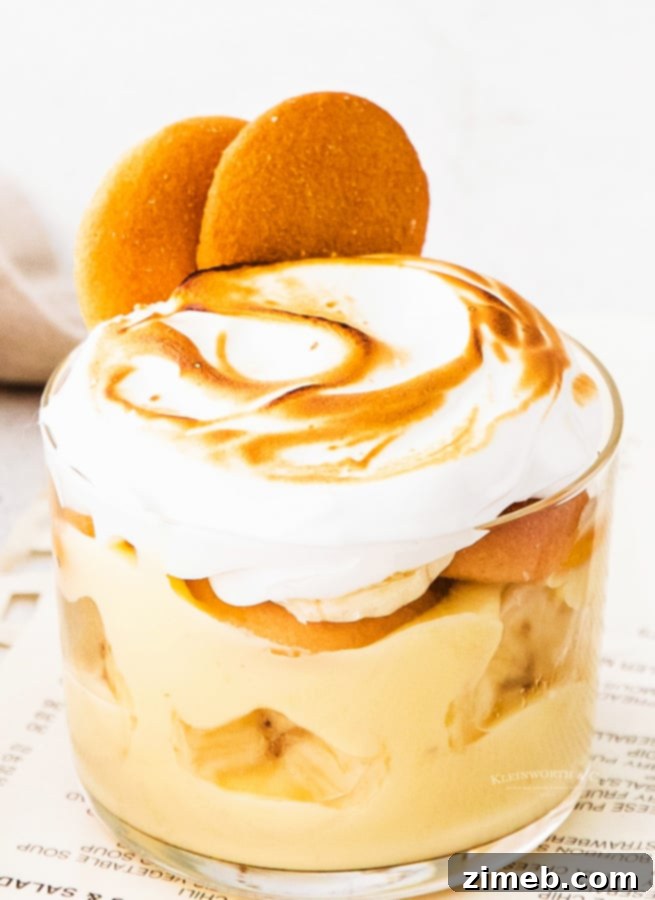
How to Keep Bananas from Browning?
If you’re a fan of bananas, you know how quickly they can start to brown once sliced, which isn’t very appealing when presenting a beautiful dessert. To maintain the fresh, vibrant look of your banana pudding, especially if you’re making it ahead of time, here are a few effective strategies to prevent those slices from oxidizing too quickly:
- Choose Bananas Wisely: Opt for bananas that are just ripe, leaning slightly towards the firmer, greener side. Overly ripe bananas will brown faster. They should be yellow with just a few small brown specks, not entirely brown.
- Store in an Airtight Container: Once sliced, place your bananas in an airtight container. Limiting their exposure to air significantly slows down the browning process. You can layer them between parchment paper if you have many slices.
- Rinse in Club Soda: A quick rinse of sliced bananas in club soda can work wonders. The carbonation and acidity help to create a barrier, protecting the fruit from oxidation. Simply dip them briefly and then gently pat dry before layering.
- Spritz with Lemon Juice: A light spritz of lemon juice (or lime juice, or even pineapple juice) is a classic and highly effective method. The ascorbic acid in citrus fruits acts as a natural antioxidant, inhibiting the enzymes that cause browning. Be mindful not to use too much, as it can impart a slight citrus flavor to the bananas. A fine mist is usually sufficient.
Implementing these tips will help ensure your banana pudding looks as good as it tastes, even when prepared in advance.
Can I Use Frozen Bananas?
Absolutely, using frozen bananas is an excellent idea and can actually enhance your banana pudding in a couple of ways! First, frozen bananas inherently last longer than fresh ones, providing you with greater flexibility in your preparation schedule. This means you can slice and freeze them well in advance, giving you more time between preparing the pudding base and assembling the final dessert. Second, and perhaps even more importantly, incorporating frozen banana slices helps to keep the pudding extra cold and firm, especially on a warm day. As they slowly thaw, they release their sweet flavor and contribute to a wonderfully chilled dessert. We frequently add frozen bananas to our pudding, and the result is always a delightfully cool and refreshing treat!
Effortless Elegance: Easy Banana Pudding
This recipe proves that incredible desserts don’t have to be complicated. Our easy banana pudding brings together simple ingredients in a way that creates a rich, complex flavor without any fuss. It’s perfect for busy weeknights, last-minute potlucks, or simply when you crave a homemade treat but are short on time. The ease of preparation, combined with its creamy texture and sweet banana goodness, makes this a go-to recipe for any home cook looking to impress with minimal effort.
Ingredients for The Best Homemade Banana Pudding
For the Velvety Pudding
- 1 ½ cups milk (whole milk is recommended for richness)
- ½ cup heavy cream
- 2 large egg yolks (remember to save the whites for the meringue!)
- ¼ cup granulated sugar
- 1 tablespoon cornstarch (for that perfect thick consistency)
- 2 teaspoons vanilla extract (pure vanilla for the best flavor)
For the Golden Meringue Topping
- 2 large egg whites (the ones you saved from earlier!)
- ½ cup granulated sugar
- 1 teaspoon vanilla extract
For Assembly and Layering
- 2 cups Nilla Wafers (the classic choice for authentic banana pudding)
- 3 ripe bananas, sliced (but not overly soft)
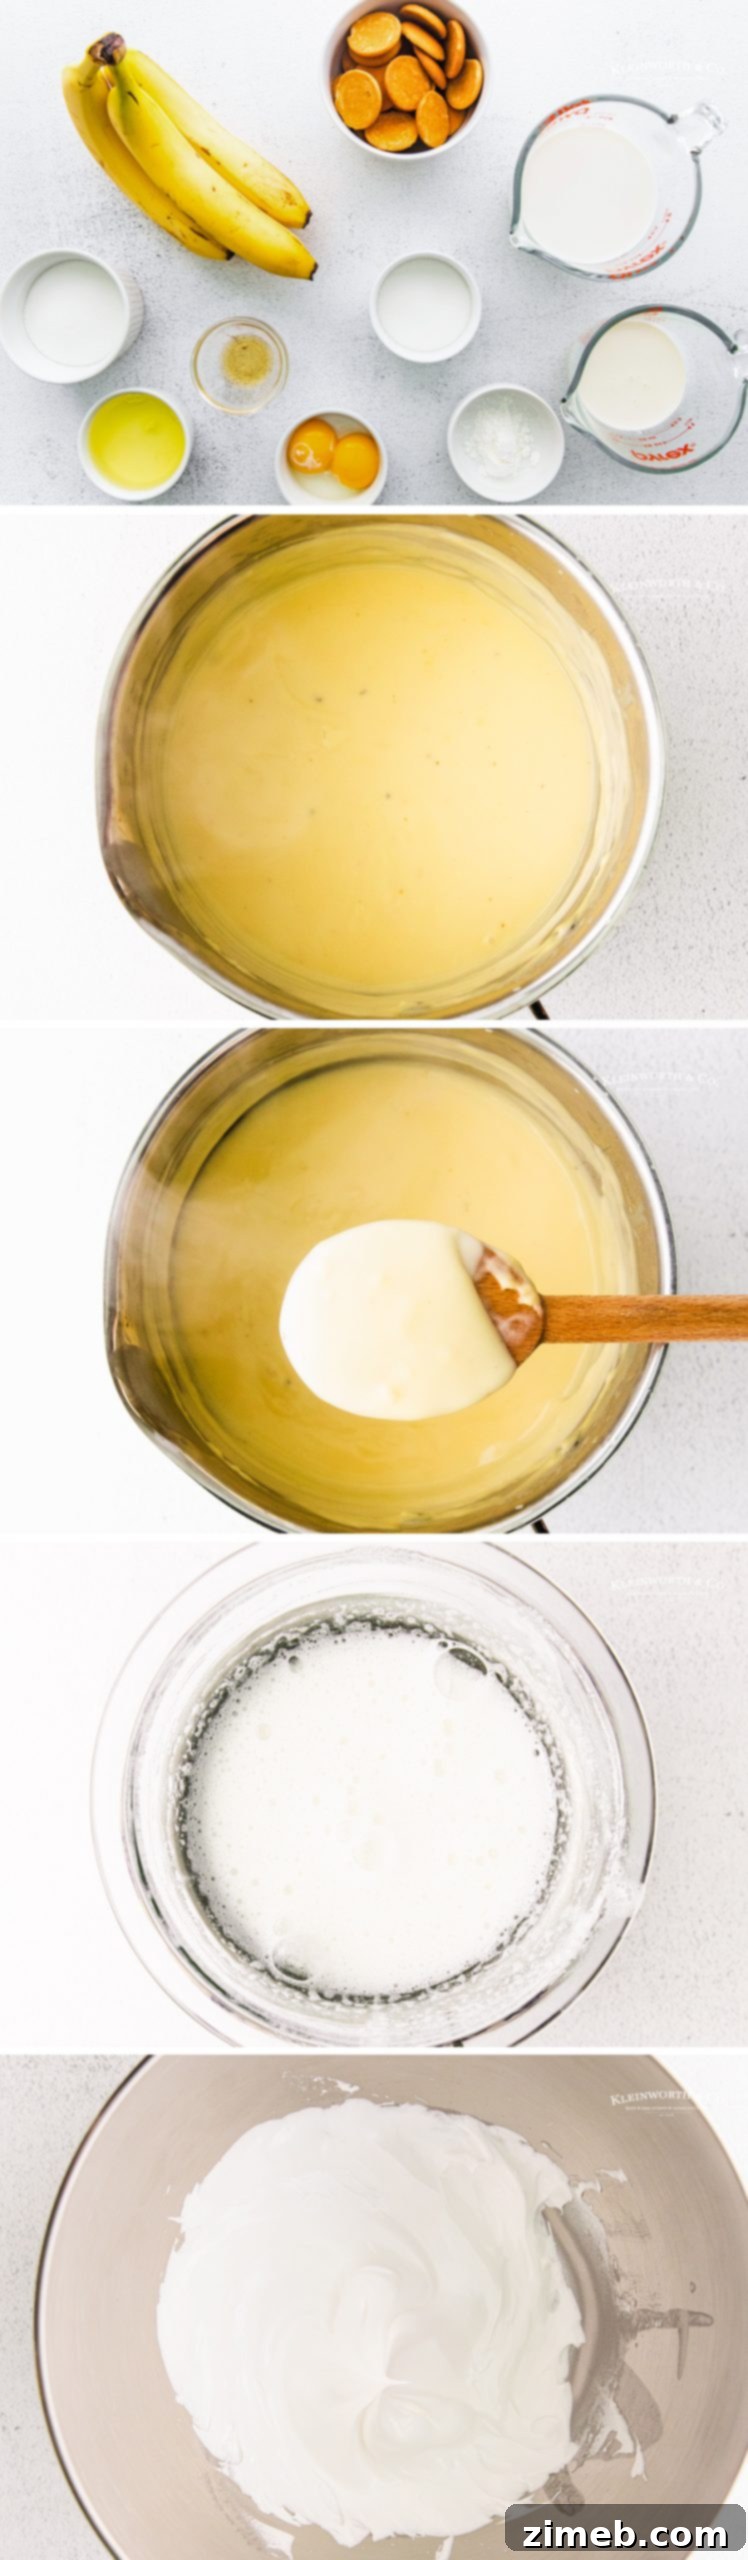
How to Make Classic Banana Pudding from Scratch
Crafting this delightful banana pudding is a rewarding experience, combining simple steps to create a dessert that tastes like it came straight from Grandma’s kitchen. Follow these instructions for a perfect, creamy, and irresistible treat.
Step 1: Preparing the Silky Vanilla Pudding
- In a large, heavy-bottomed saucepan, combine the milk, heavy cream, egg yolks, granulated sugar, and cornstarch. Whisk these ingredients together until thoroughly blended and smooth.
- Place the saucepan over medium-high heat. Cook the mixture, whisking continuously to prevent sticking and ensure even cooking, until it begins to thicken. This typically takes about 5-7 minutes. The pudding is ready when it’s thick enough to generously coat the back of a spoon.
- Remove the saucepan from the heat. Stir in the vanilla extract until fully incorporated. Immediately cover the surface of the pudding with plastic wrap, ensuring the wrap directly touches the pudding. This crucial step prevents a “skin” from forming as it cools. Transfer the covered pudding to the refrigerator and chill for at least 1 hour, or until it’s perfectly cold and set.
Step 2: Crafting the Fluffy Meringue
- Set a heatproof bowl over a pot of simmering water (a double boiler works perfectly here), ensuring the bottom of the bowl does not touch the water.
- Add the egg whites and granulated sugar to the bowl. Whisk constantly over the simmering water for approximately 2 minutes, or until all the sugar has completely dissolved. You can test this by rubbing a small amount of the mixture between your fingers – it should feel smooth, not grainy.
- Carefully remove the bowl from the heat. Transfer the warm egg white mixture to the bowl of a stand mixer fitted with the whisk attachment (or use a hand mixer). Beat on high speed for about 8 minutes, or until stiff, glossy peaks form.
- Finally, add the vanilla extract to the meringue and mix briefly, just until it’s combined. Set the meringue aside until you are ready to assemble the pudding.
Step 3: Assembling Your Banana Pudding Masterpiece
- Begin by covering the bottom of your chosen serving dish with a single layer of Nilla Wafers. You can opt for one large, communal serving dish or prepare individual cups for a personalized touch.
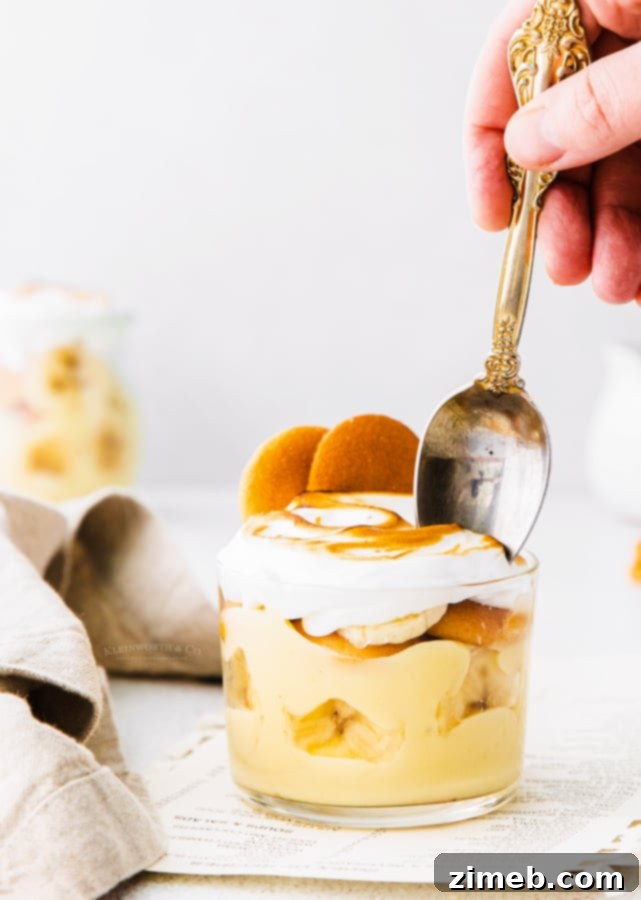
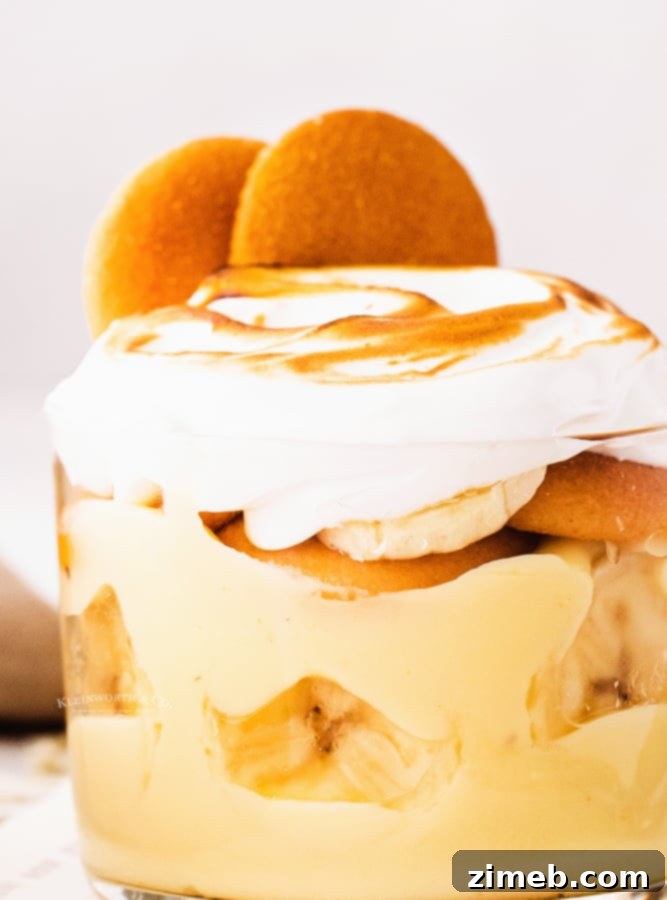
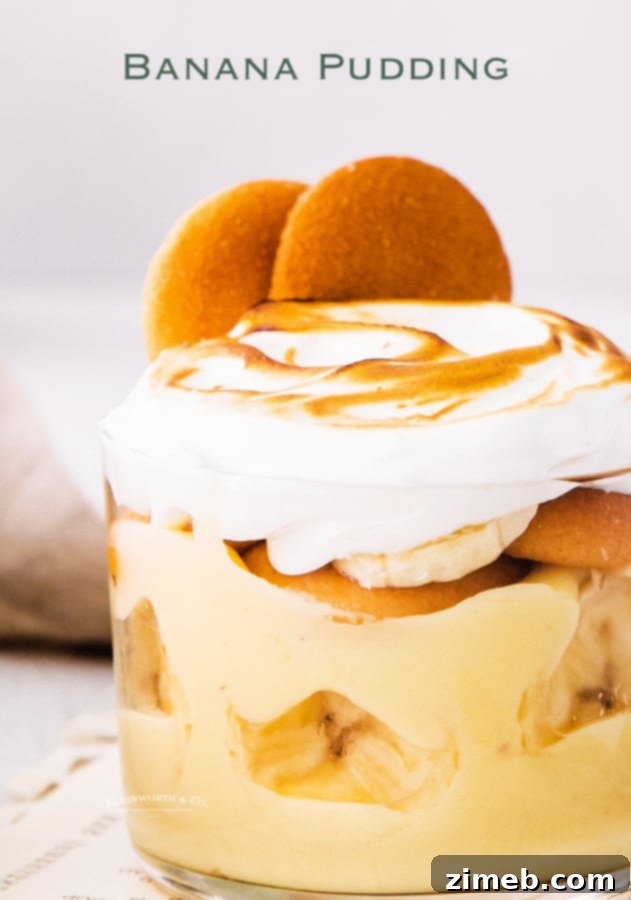
- Evenly spread a layer of the chilled vanilla pudding over the wafers, followed by a layer of freshly sliced bananas. Continue to repeat these layers – wafers, pudding, bananas – until all your components are used, ensuring that the final layer is pudding.
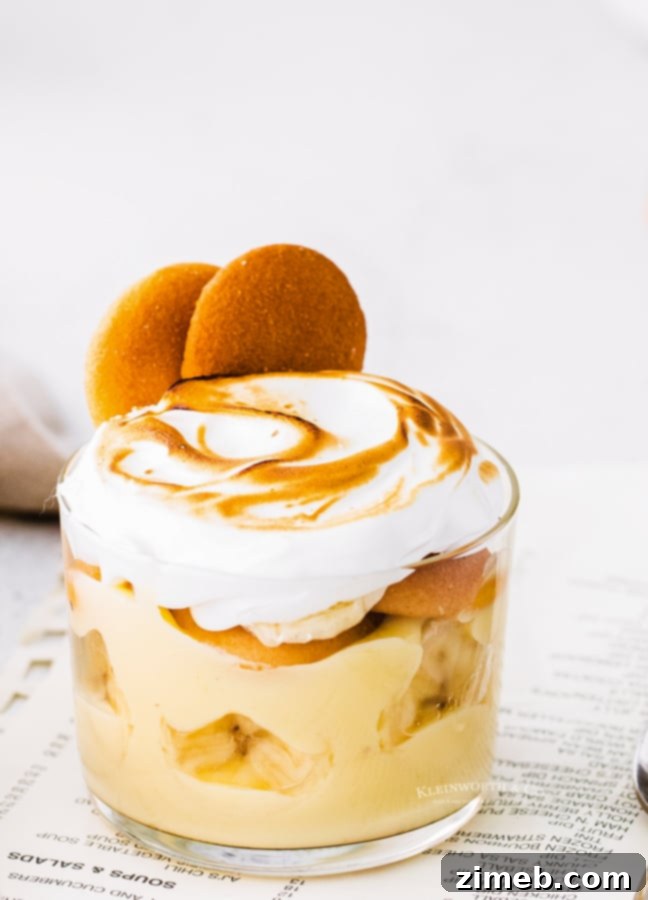
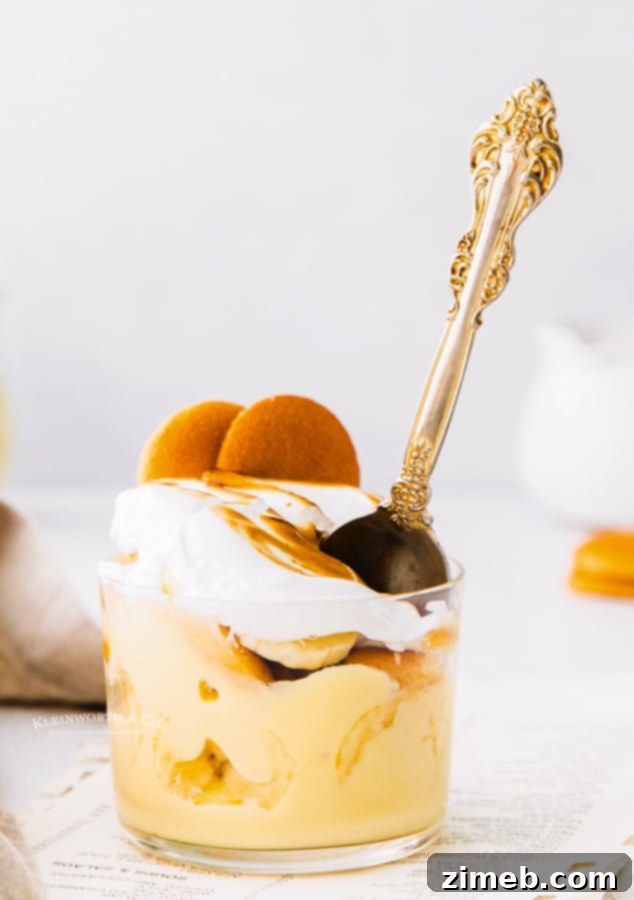
- Carefully spread or pipe the prepared meringue evenly over the top pudding layer. For a beautiful, golden-brown finish, use a kitchen torch to toast the meringue for about 10 seconds. This step is optional but highly recommended for both flavor and presentation.
- Serve your banana pudding immediately for the best texture and flavor, or store it in the refrigerator until ready to enjoy, up to four hours in advance.
- Make-Ahead Tip: For optimal freshness and meringue texture, you can assemble the pudding layers (through step 2) up to 24 hours in advance. Then, prepare and toast the meringue just before you plan to serve. Meringue tends to become runny when stored in the fridge overnight, so timing this step right before serving will ensure a perfect presentation.
Essential Tools and Products for Your Banana Pudding
This banana pudding recipe is wonderfully easy and yields a truly delicious result. Whether you’re a seasoned baker who already has these items on hand or a first-timer venturing into homemade pudding, you’re going to love the process and the outcome. To help you along, I’ve compiled a list of my absolute must-have tools and ingredients that make preparing this pudding recipe an absolute breeze.
- Granulated Sugar: A kitchen staple for perfect sweetness.
- Cornstarch: The secret to a perfectly thick, smooth pudding.
- Pure Vanilla Extract: Don’t skimp on quality; it makes a huge difference in flavor.
- Nilla Wafers: The classic cookie that provides the perfect crunch and subtle flavor.
- Large Saucepan: Essential for cooking your pudding base evenly.
- Whisk: For smooth, lump-free pudding and fluffy meringue.
- Plastic Wrap: To cover the pudding directly and prevent skin formation.
- Double Boiler: Or a heatproof bowl over simmering water for perfect meringue.
If you adore this Easy Banana Pudding recipe, you’ll be thrilled to discover these other delightful treats. Click each link below to find the simple, printable recipe and expand your dessert repertoire!
Check out this recipe

Check out this recipe
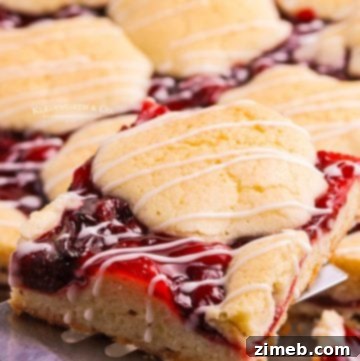
Check out this recipe
Check out this recipe
Check out this recipe
Check out this recipe
Check out this recipe

Check out this recipe
Check out this recipe
Check out this recipe
If you’ve enjoyed making this delicious Homemade Banana Pudding as much as I do, please take a moment to leave a five-star review below. Your feedback means the world! And don’t forget to share your delightful creation with friends and family on Facebook and Pinterest!
CONNECT WITH YUMMI HAUS!
Be sure to follow me on my social media, so you never miss a post!
Substack, Facebook, Pinterest, Instagram, Email Subscription
Rate this Recipe
Banana Pudding Recipe
This banana pudding recipe is perfect for any easy dessert, potluck dish, or even a school lunch. It’s creamy and sweet with a hint of vanilla, topped with a golden meringue.
Pin
Prep Time 30 mins
Cook Time 20 mins
Chill 1 hr
Total Time 1 hr 50 mins
Ingredients
Pudding
- 1 ½ cups milk
- ½ cup heavy cream
- 2 large egg yolks (save the whites for the meringue below)
- ¼ cup granulated sugar
- 1 tablespoon cornstarch
- 2 teaspoons vanilla extract
Meringue
- 2 large egg whites
- ½ cup granulated sugar
- 1 teaspoon vanilla extract
Assemble
- 2 cups Nilla Wafers
- 3 ripe bananas, sliced
Instructions
Vanilla Pudding
- Add the milk, heavy cream, egg yolks, sugar, and cornstarch to a large saucepan set over medium-high heat.
- Cook, whisking constantly, until the mixture thickens enough to coat the back of a spoon– about 5-7 minutes.
- Stir in the vanilla extract and cover the pudding with plastic wrap. Transfer it to the fridge until chilled– about 1 hour. (Make sure the plastic wrap is laying directly on the pudding – touching it. This helps prevent a skin from forming on the top of the pudding as it chills.)
Meringue
- Place a heatproof bowl over a pot of simmering water. (or you can use a double-boiler)
- Place the egg whites and granulated sugar in the bowl and whisk constantly until all of the sugar has dissolved– about 2 minutes.
- Transfer the mixture to the bowl of a hand or stand mixer fitted with the whisk attachment and mix on high speed until stiff peaks form– about 8 minutes.
- Add the vanilla extract and mix just until combined. Set aside until ready to use.
Assemble
- Cover the bottom of your serving dish with Nilla Wafers (you can either do one big serving dish or individual cups– up to you).
- Cover with a layer of pudding followed by a layer of sliced bananas. Repeat until all components are completely used, making sure the last layer is pudding.
- Spread or pipe the meringue evenly over the custard layer. Toast the top of the meringue with a kitchen torch until golden brown– about 10 seconds. (torching is optional)
- Serve immediately or store the pudding in the fridge until ready to enjoy– up to four hours in advance.
- You can assemble the pudding up to 24 hours in advance– assemble through step 2 and then make and toast the meringue right before you plan to serve it! The meringue tends to become runny when stored in the fridge overnight so it’s best to make it right before you serve it.
Nutritional information for the recipe is provided as a courtesy and is approximate. Please double-check with your own dietary calculator for the best accuracy. We at Yummi Haus cannot guarantee the accuracy of the nutritional information given for any recipe on this site.
Love this recipe?
Follow @KleinworthCo for even more tasty recipes!