
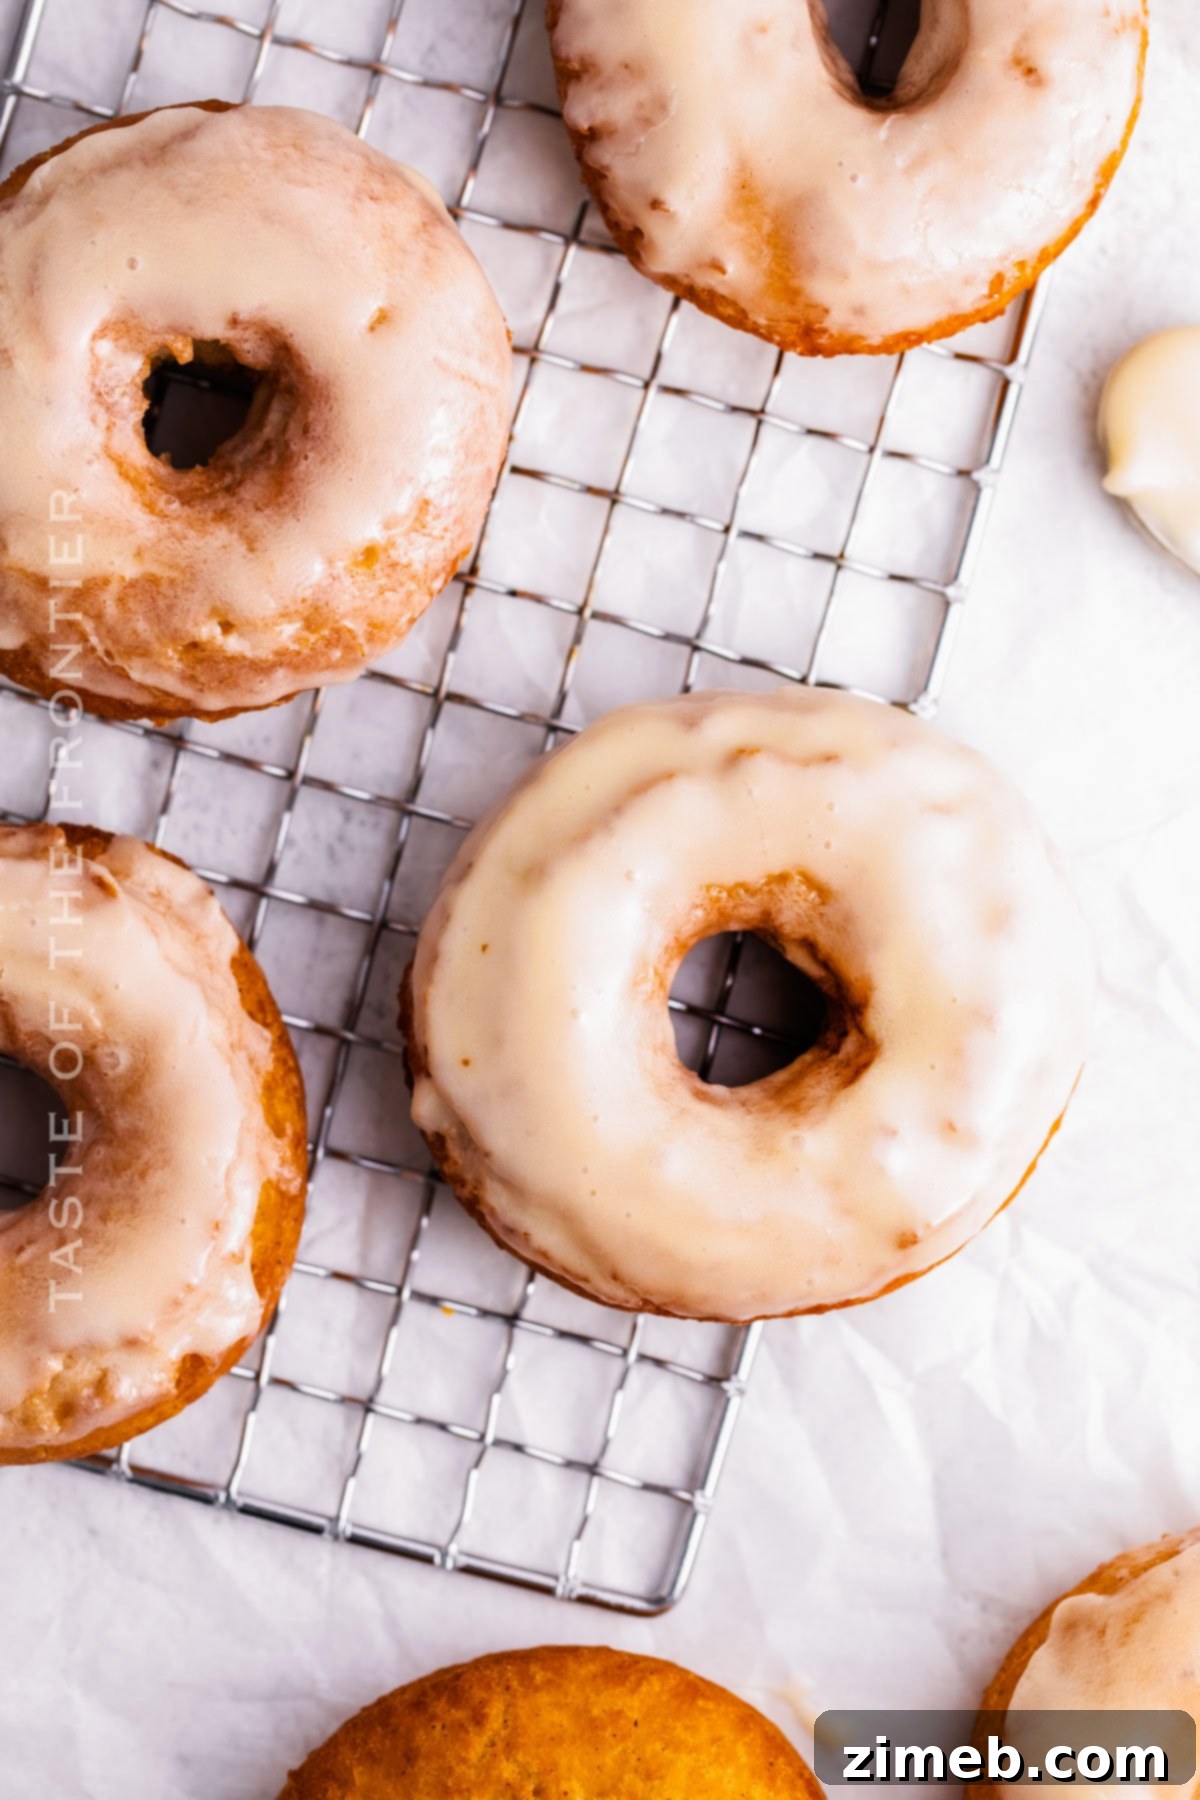
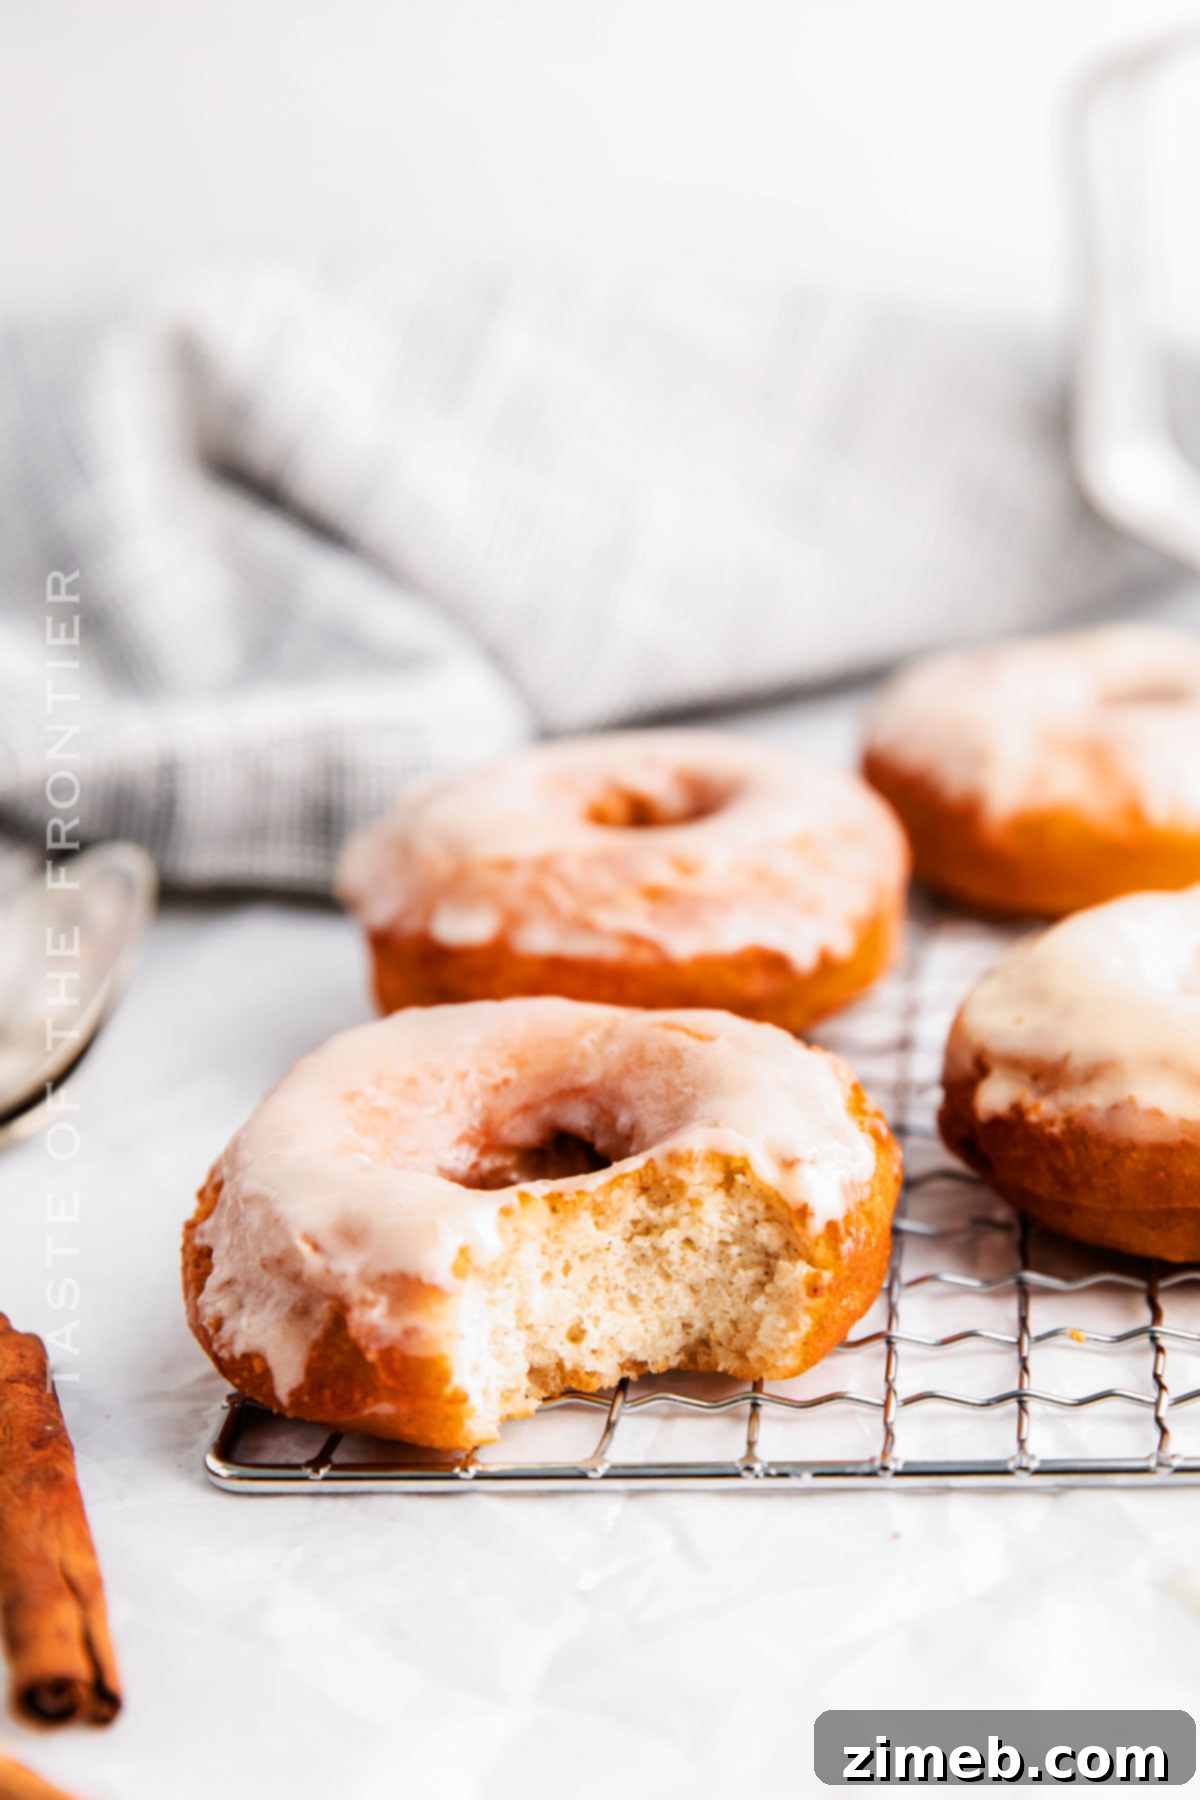
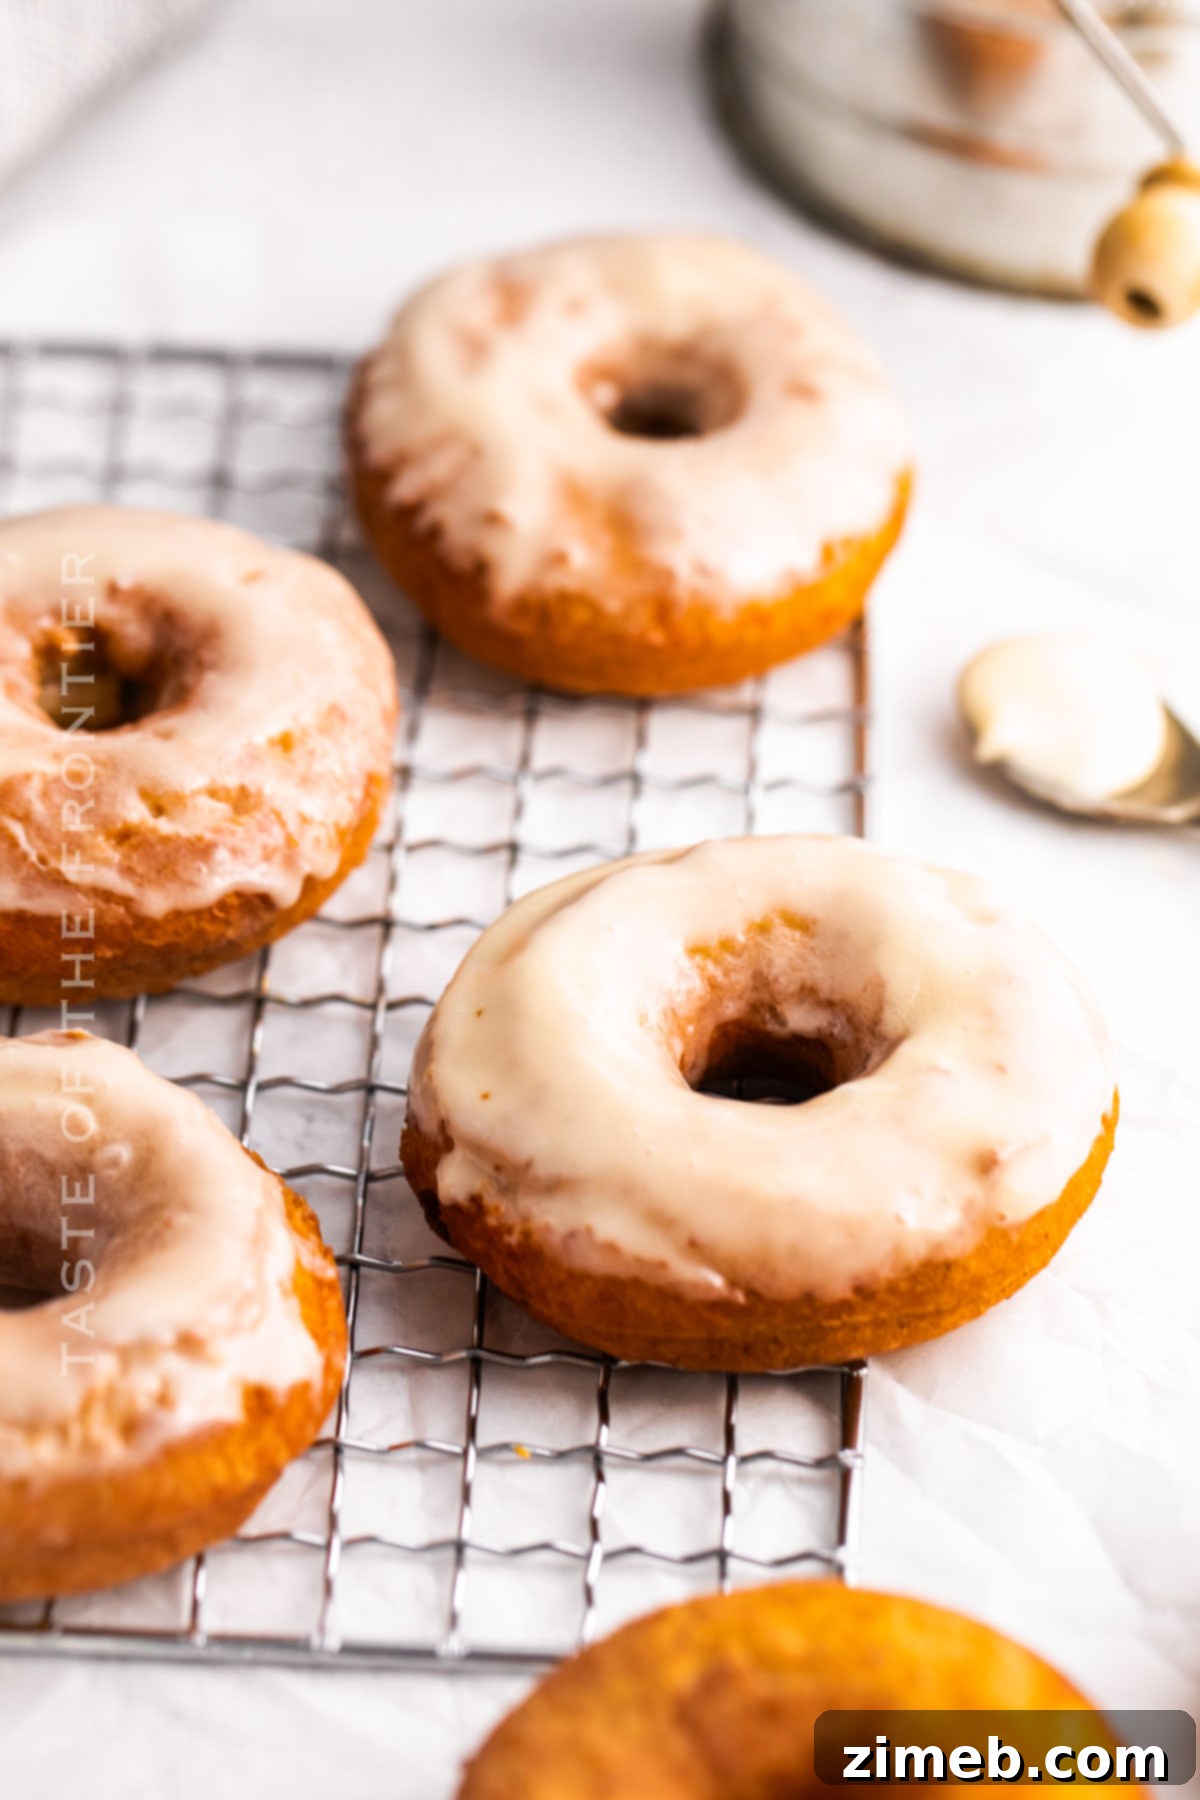
Welcome to the ultimate guide for creating irresistible **Old Fashioned Glazed Donuts** right in your own kitchen! Forget the long lines at the donut shop; this recipe brings the magic of a classic, perfectly crafted donut straight to your home. Imagine biting into a golden-brown exterior that gives way to a wonderfully soft, tender crumb, all enveloped in a sweet, glistening glaze that clings to your fingers. This isn’t just a recipe; it’s an invitation to a nostalgic journey, a moment of pure bliss with every mouthful. Whether you’re seeking a delightful morning treat to pair with your coffee, an afternoon pick-me-up, or a dessert that evokes simpler times, these homemade glazed donuts are a timeless classic that truly never goes out of style.
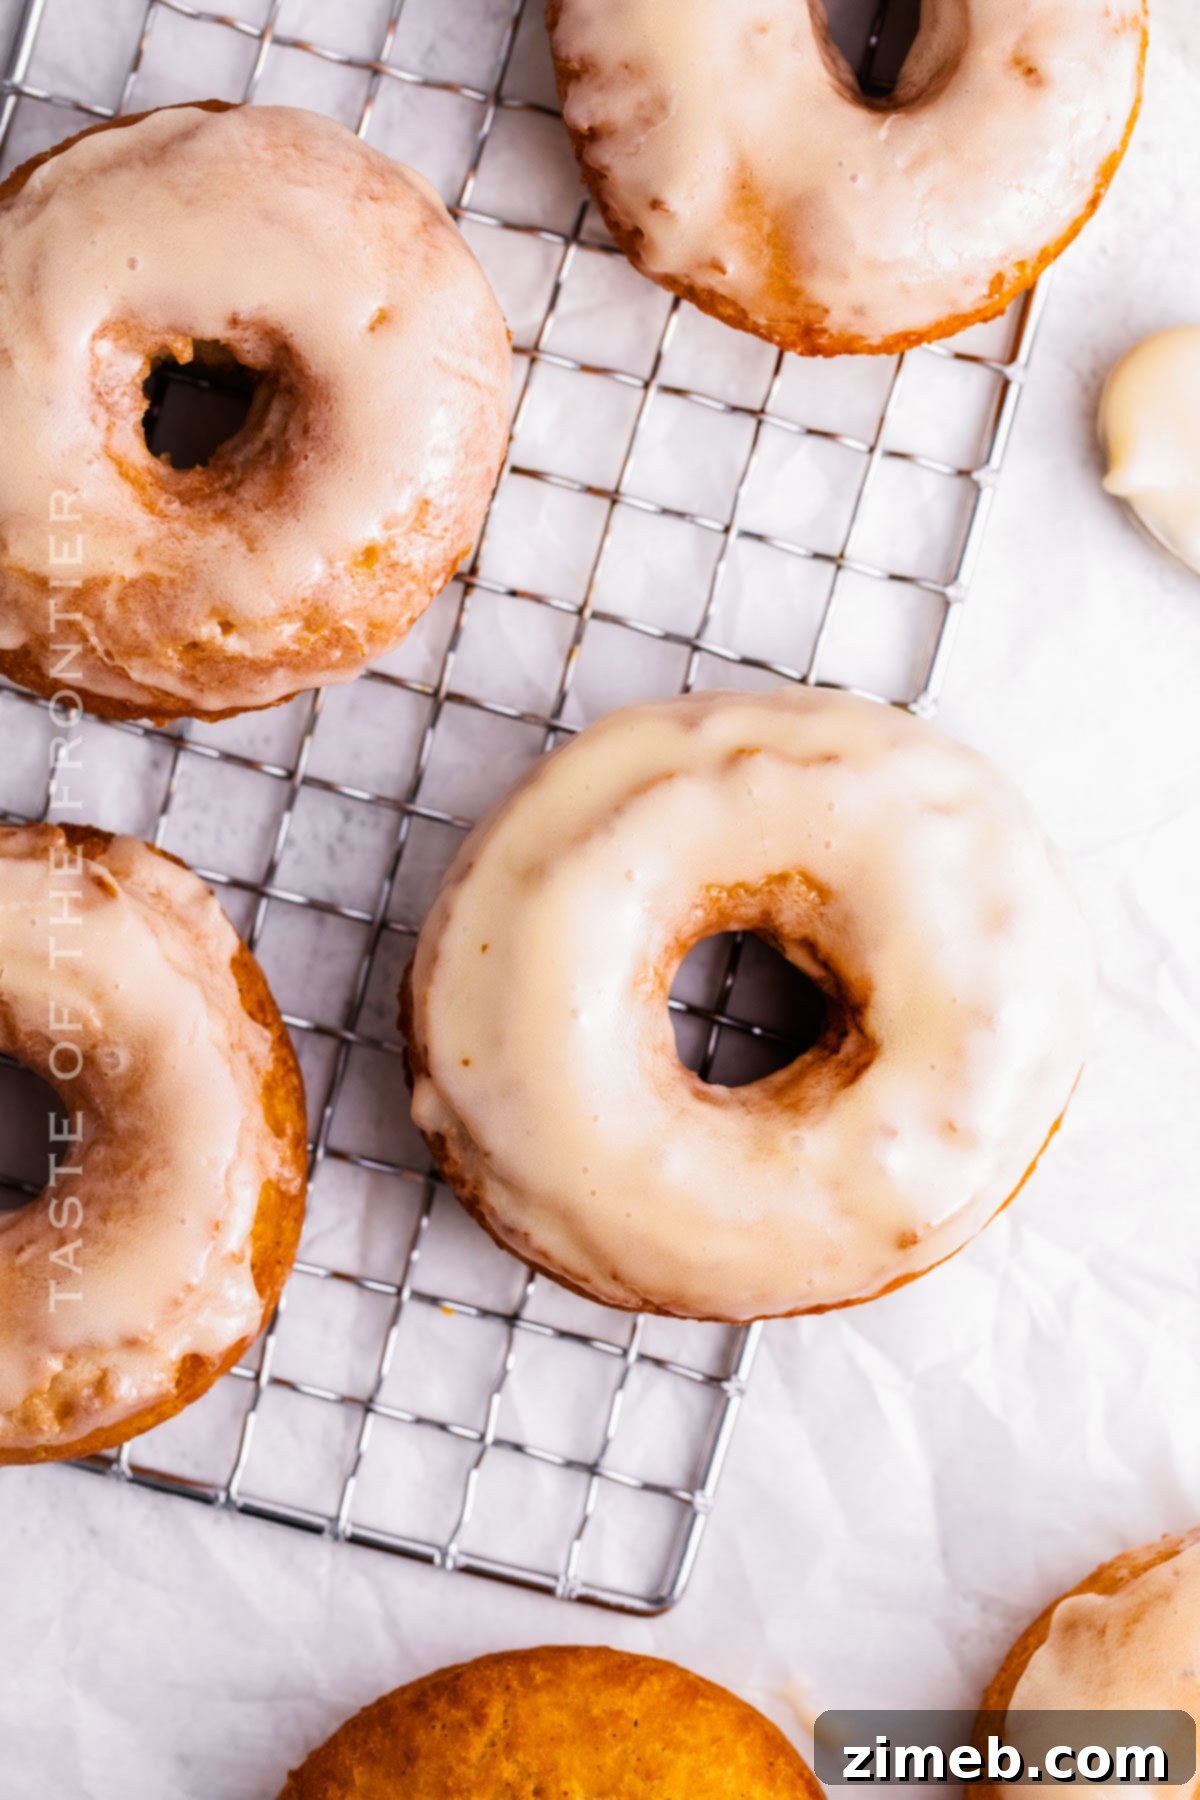
Why Homemade Old Fashioned Glazed Donuts Are the Best
There’s an unparalleled joy and satisfaction that comes from making donuts from scratch. This isn’t just about saving a trip to the bakery; it’s about crafting a treat with fresh ingredients, infusing it with love, and experiencing the incredible aroma that fills your home. Homemade old fashioned glazed donuts offer a superior taste and texture that store-bought versions often can’t match. You control the quality of ingredients, ensuring a wholesome and delicious result. Plus, it’s a fantastic activity to share with family, creating cherished memories around a delicious culinary endeavor.
Each bite of these classic donuts is a testament to the fact that some recipes are truly timeless for a reason. They offer a perfect harmony of crispiness and tenderness, a comforting sweetness that isn’t cloying, and an inviting aroma that promises pure delight. Whether you’re a seasoned baker or trying your hand at donut making for the very first time, the joy these treats bring remains constant. Get ready for happy baking and even happier eating!
Common Questions About Old Fashioned Glazed Donuts
What’s the difference between old-fashioned donuts and regular donuts?
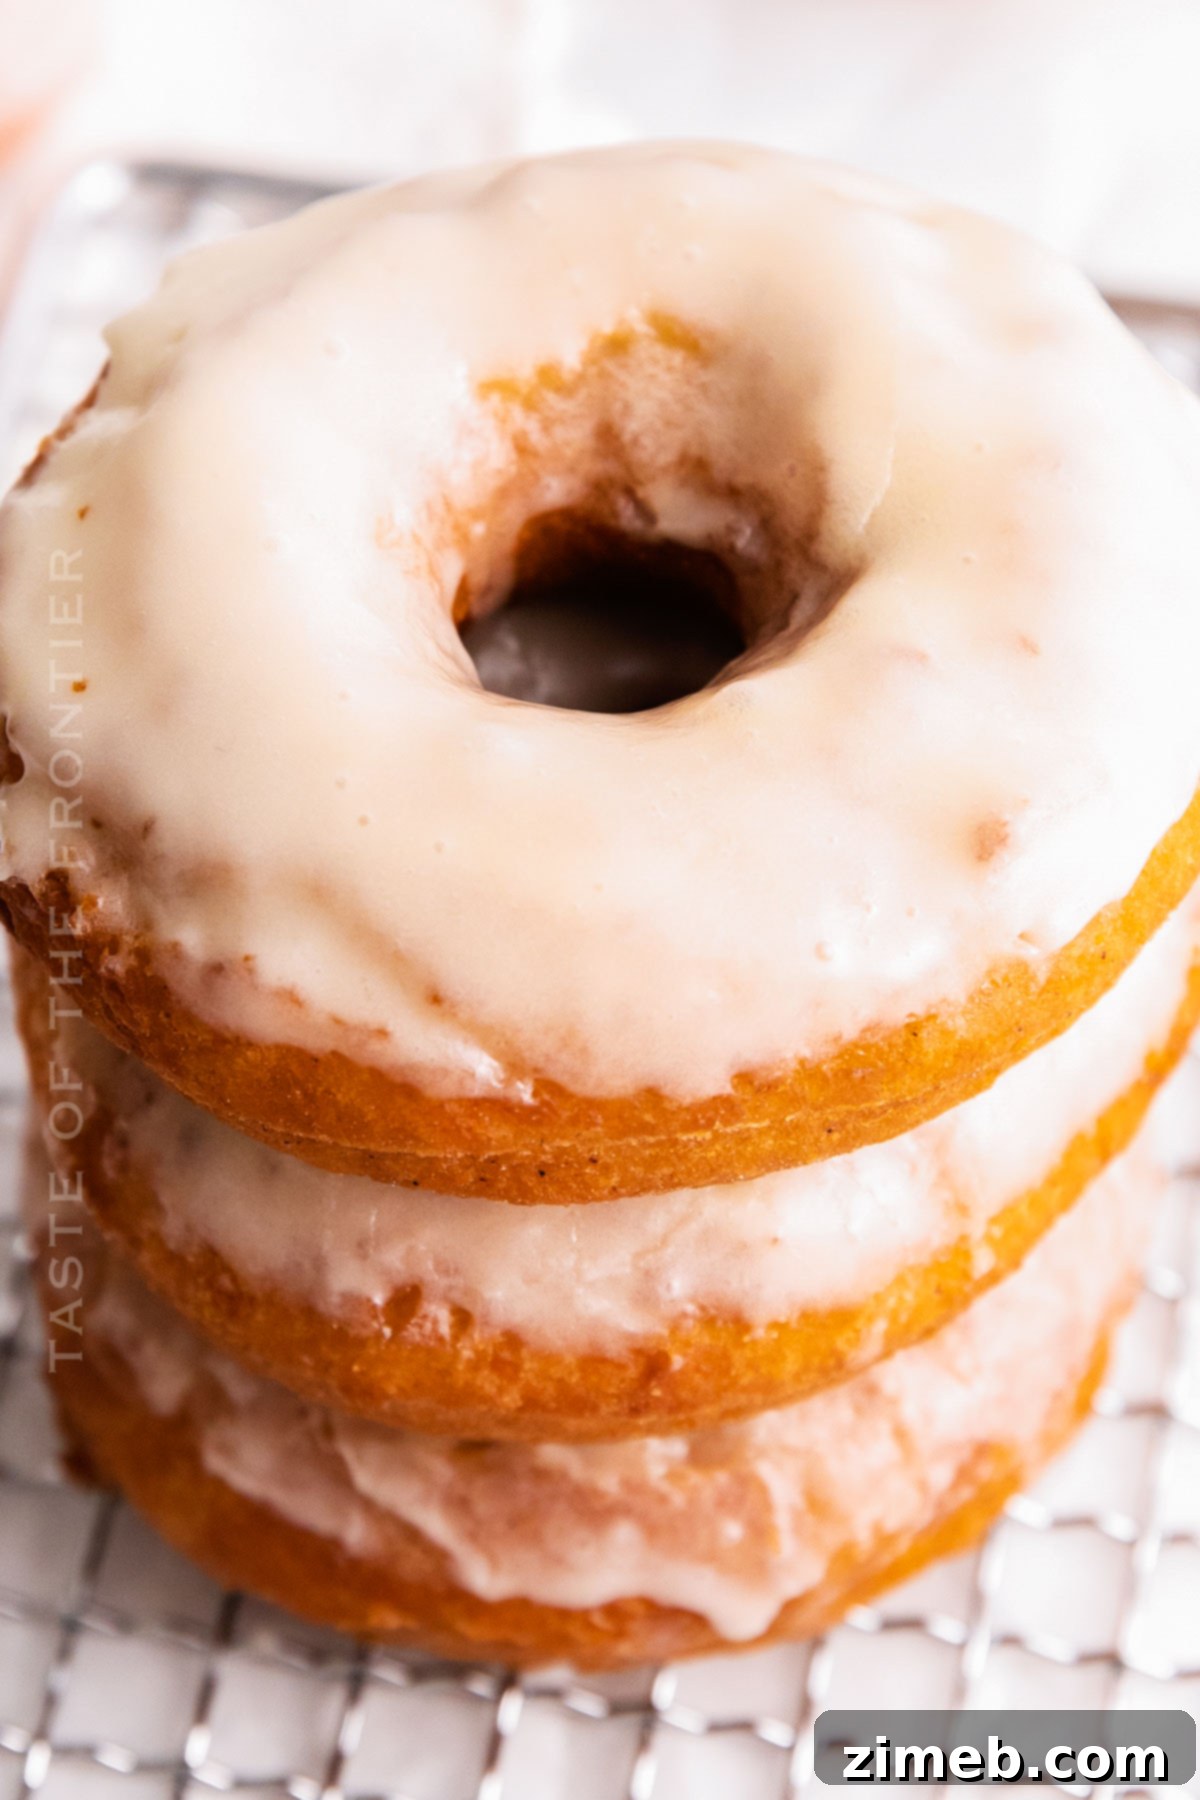
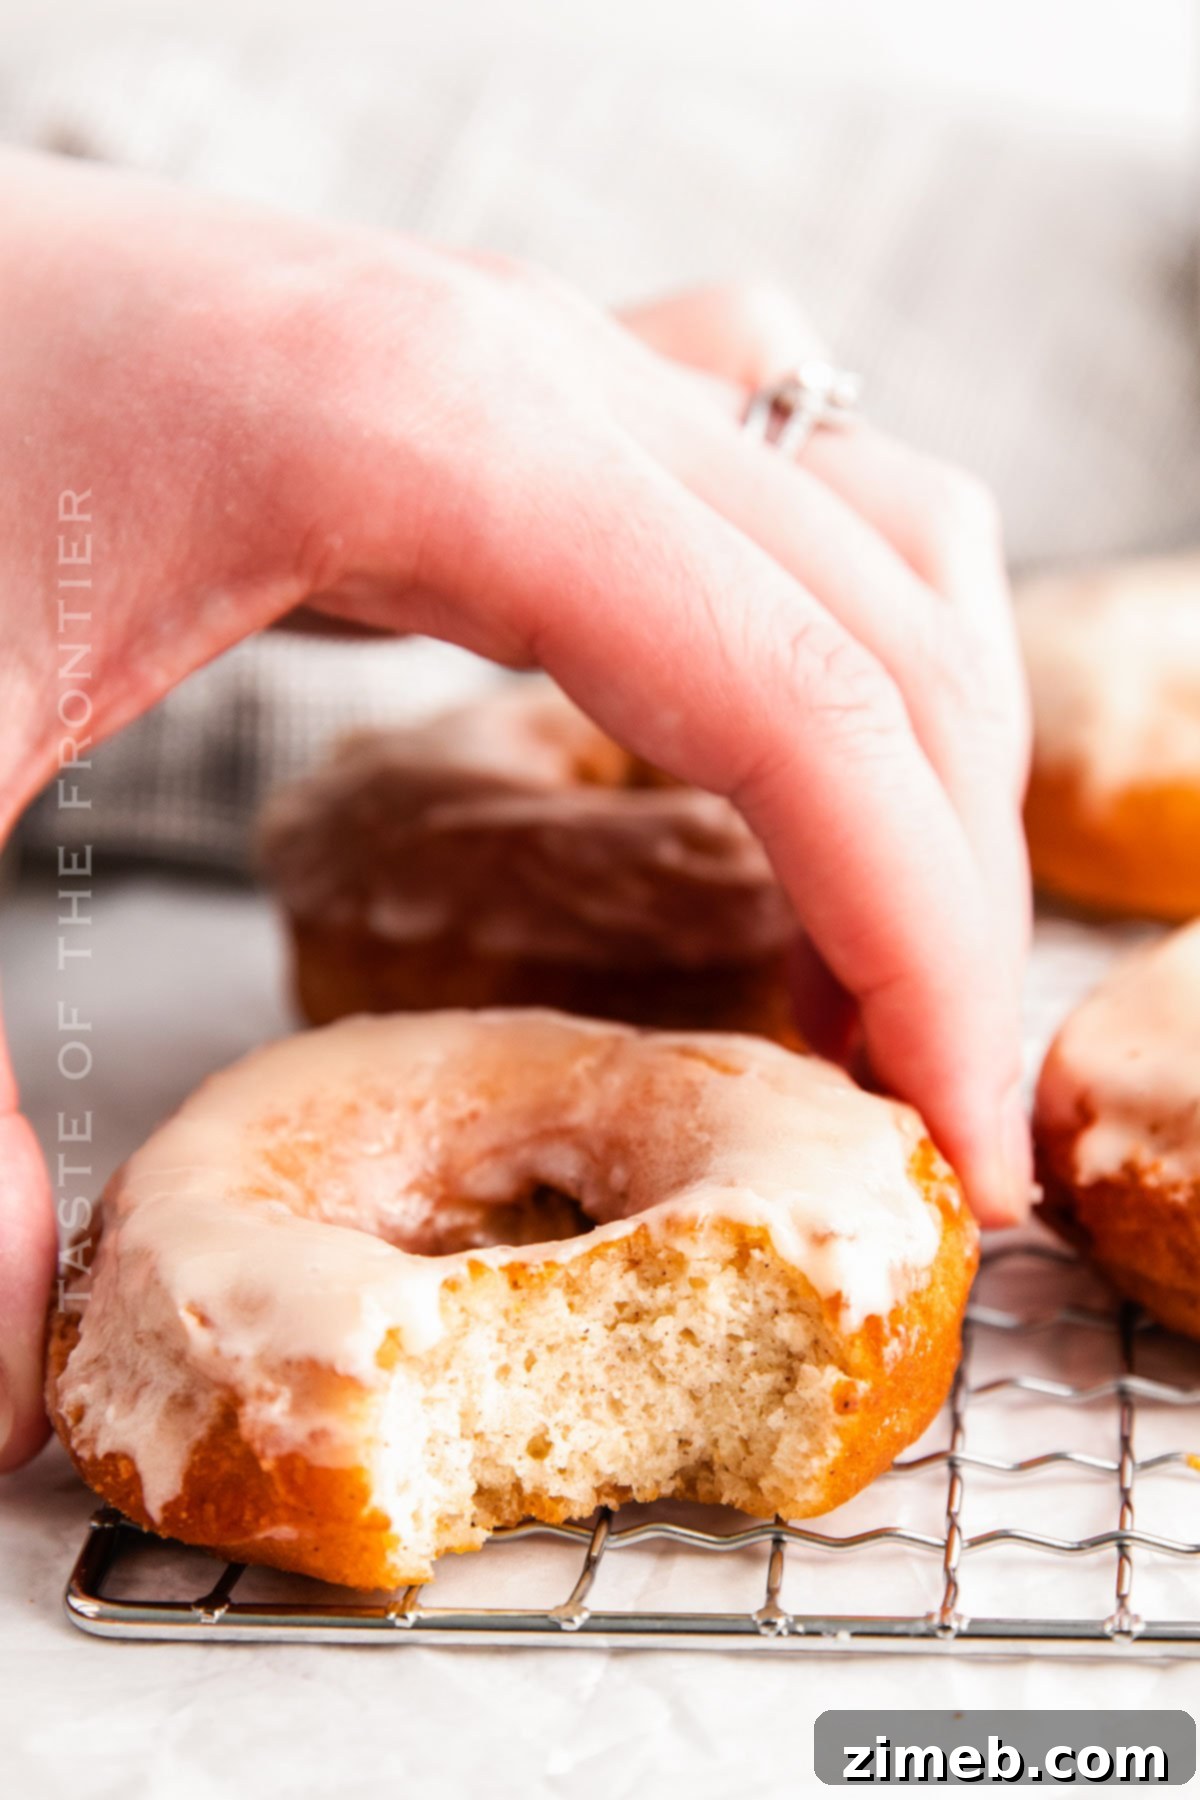
The distinction between old-fashioned donuts and their regular counterparts lies primarily in their texture and leavening agent. Old-fashioned donuts are celebrated for their distinctive ridged edges and a denser, somewhat crumbly interior. This unique texture comes from the absence of yeast; instead, they rely on baking powder for their rise. This makes them significantly different from the light, airy, and fluffy texture found in yeasted donuts. The resulting dense crumb of an old-fashioned donut makes it incredibly satisfying and more filling, offering a hearty bite that truly stands out.
Do I need a donut cutter?
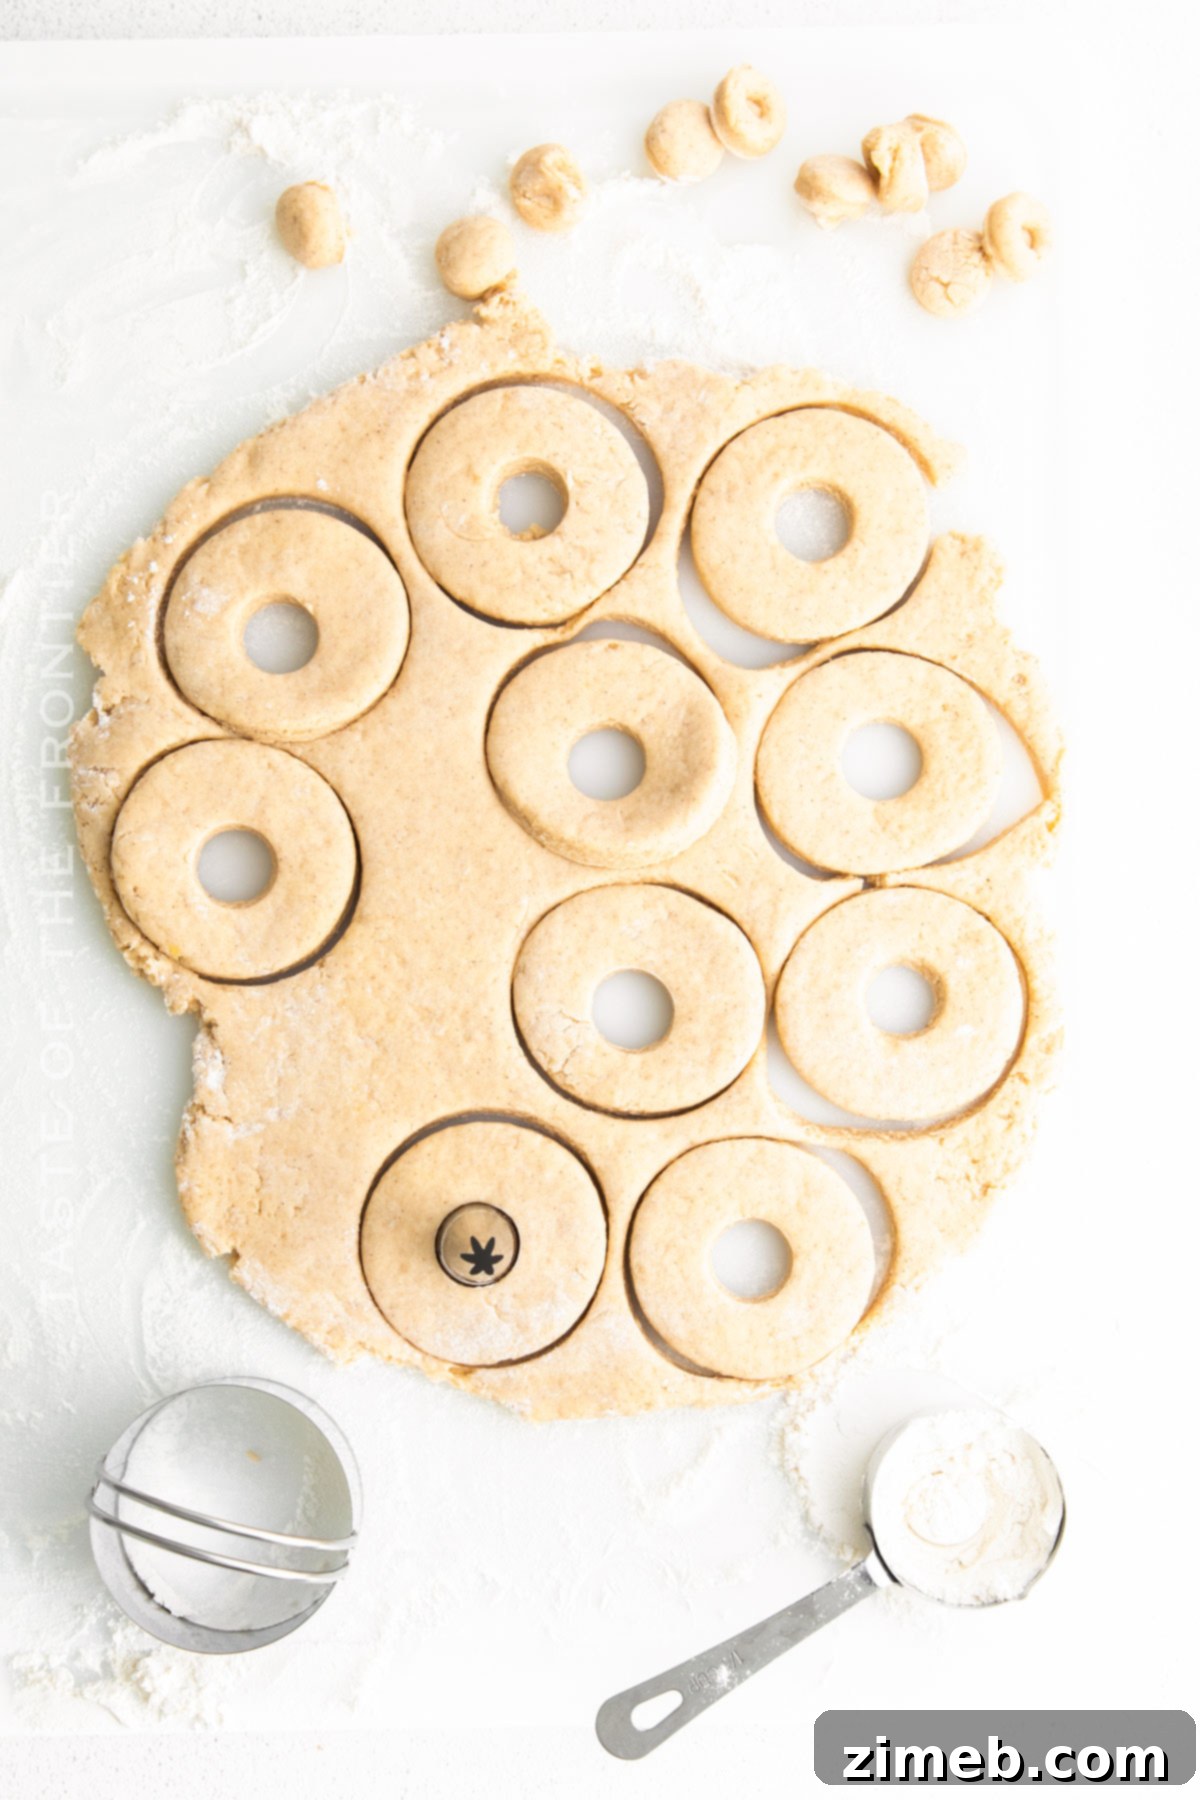
While a dedicated donut cutter certainly streamlines the process and ensures uniformly shaped donuts, it’s not strictly essential. Don’t let the lack of a specialized tool deter you! You can easily achieve the classic ring shape using common kitchen items. A biscuit cutter, a wide-mouthed glass, or even a cookie cutter can work perfectly for the outer circle. For the signature hole in the middle, a smaller round cutter, a piping nozzle, or even a bottle cap will do the trick. The key is to be resourceful and embrace the homemade charm.
How hot should the oil be for frying?
Achieving the perfect oil temperature is paramount for frying exquisite donuts. Too cool, and your donuts will soak up too much oil, becoming greasy and heavy. Too hot, and they’ll brown too quickly on the outside, leaving the inside raw. The ideal temperature for frying these old fashioned glazed donuts is 375°F (190°C). A reliable candy thermometer or deep-fry thermometer is your best friend here, allowing you to monitor and adjust the heat precisely. Maintaining a consistent temperature ensures your donuts cook evenly, developing that beautiful golden crust and a tender, cooked interior.
Storage Tips for Optimal Freshness
While it’s highly likely that these delectable old-fashioned cake donuts will disappear quickly after they’re made, it’s always good to know how to properly store them, just in case! We rarely have leftovers when these are around, but here are some tips for keeping them fresh in the refrigerator or freezer.
Refrigerator
For best flavor and texture, old fashioned glazed donuts are truly at their peak when enjoyed at room temperature on the day they are made. However, if you need to extend their freshness for a few days, you can refrigerate them. Place them in an airtight container to prevent them from drying out. When you’re ready to enjoy them again, simply warm them slightly in the microwave for a few seconds or in a toaster oven to revive their delightful texture.
Freezer
To preserve your donuts for an even longer period, freezing is an excellent option. For best results, allow the glazed donuts to cool completely. Then, wrap each donut individually in plastic wrap, ensuring it’s sealed tightly to prevent freezer burn. Place the individually wrapped donuts in a freezer-safe airtight container or a heavy-duty freezer bag. They can be stored in the freezer for up to 2-3 months. When that craving strikes, simply thaw them at room temperature for an hour or two, or gently reheat them in the oven until warmed through.
Essential Tips for Donut Mastery
Crafting the perfect batch of old fashioned glazed donuts is an art, but with these pointers, you’ll be a master in no time. My biggest advice? Don’t be afraid to experiment! Practice truly makes perfect, and every batch is a step closer to your ideal donut.
- Achieve Golden Perfection: Fry your donuts until they reach a beautiful, uniform golden brown on both sides. This ensures a delightful crisp exterior and a thoroughly cooked, tender interior that embodies the classic old-fashioned appeal.
- Use Fresh, Neutral Oil: Always opt for fresh vegetable oil or another neutral-flavored oil for frying. This prevents any unwanted flavors from transferring to your delicious donuts, allowing their inherent sweetness and subtle spice to shine through.
- Precise Heat Control is Key: As mentioned, maintaining the correct oil temperature (around 375°F or 190°C) is crucial. Use a candy thermometer to keep a close watch and adjust your heat as needed. Consistent temperature prevents soggy or undercooked donuts.
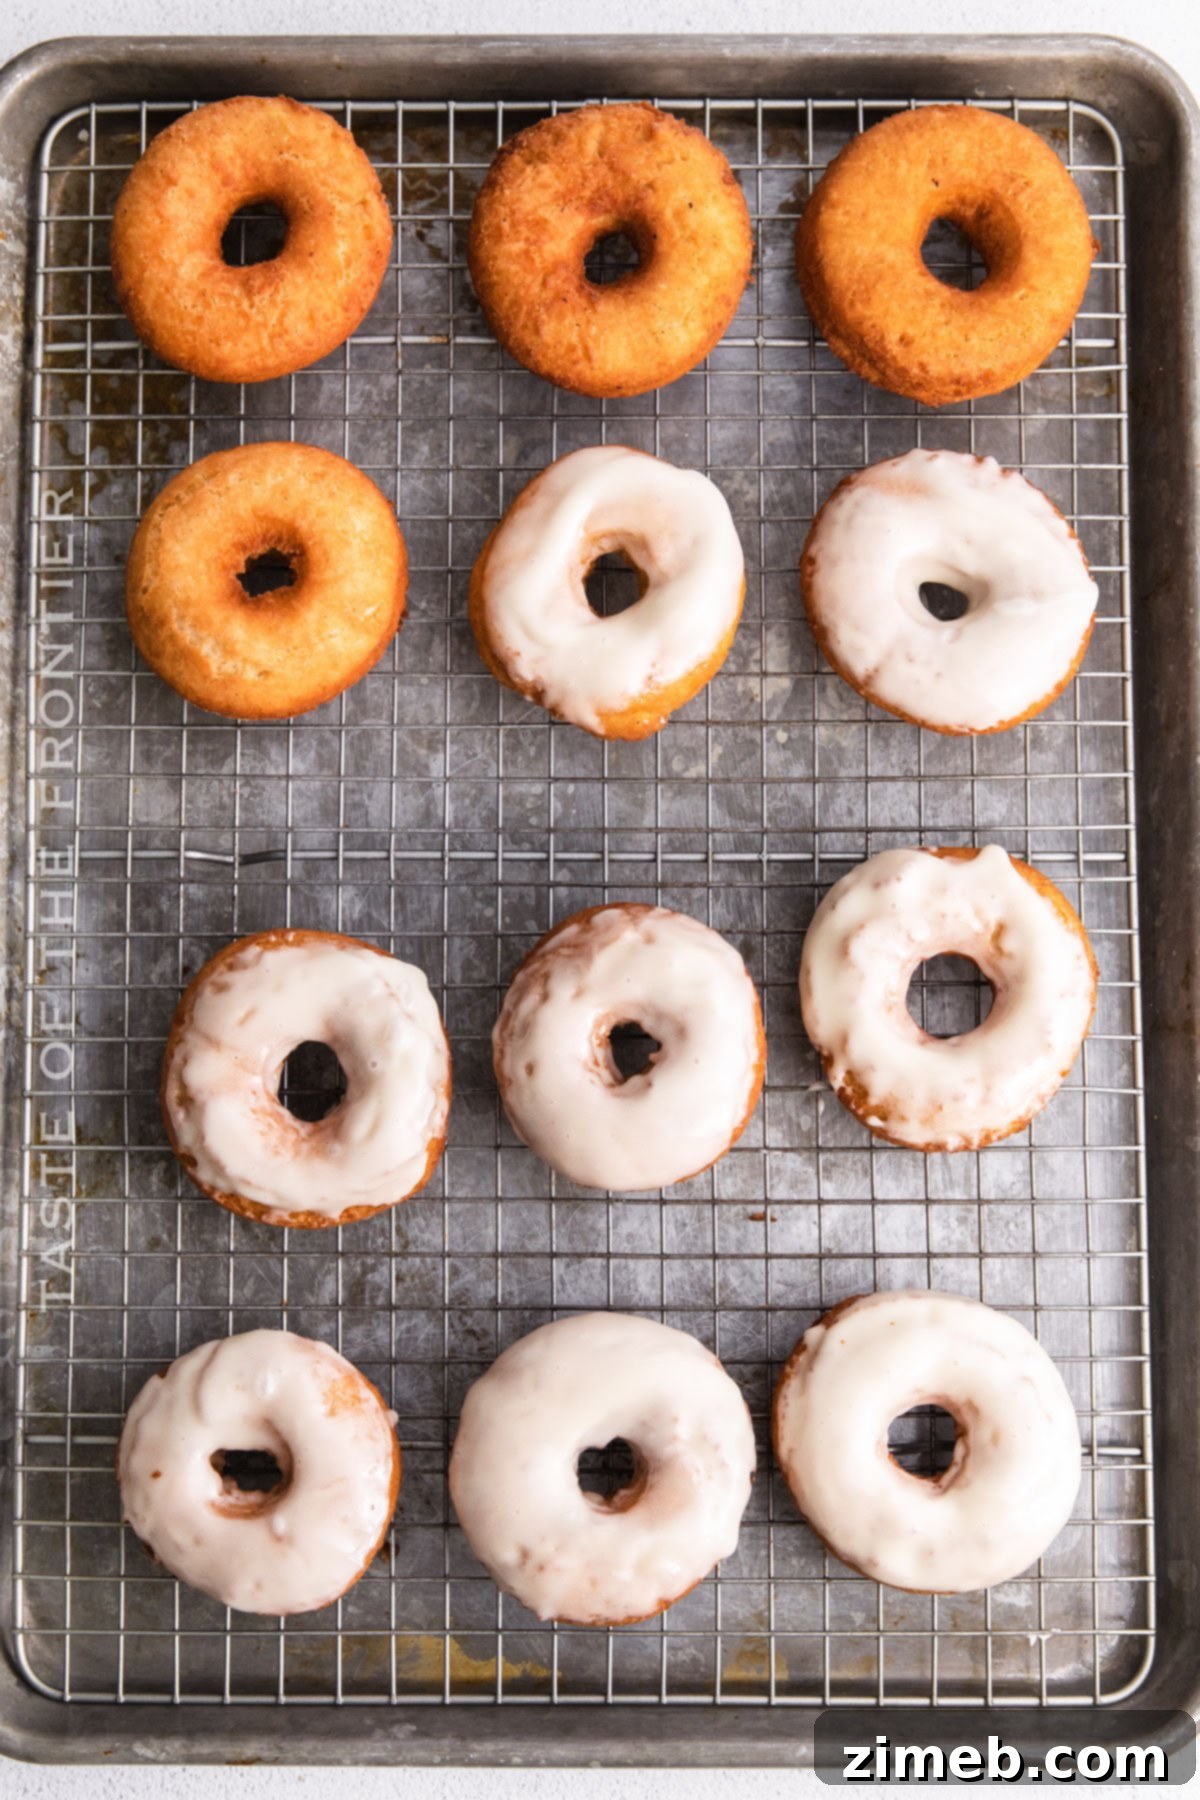
- Glaze While Warm: The magic happens when you dip warm donuts into the glaze. The residual heat from the donut will slightly melt the glaze, allowing it to coat evenly and create that signature thin, glossy, and slightly crackled finish. Don’t wait for them to cool completely!
- Avoid Overcrowding the Pot: Resist the urge to fry too many donuts at once. Overcrowding significantly drops the oil temperature, leading to greasy, poorly cooked donuts. Fry only a few at a time, giving them ample space to cook properly and maintain oil temperature.
- Don’t Skip Chilling the Dough: Chilling the donut dough is a vital step. It makes the dough easier to handle, prevents it from absorbing too much oil during frying, and helps the donuts maintain their shape and develop that desirable ridged texture.
- Flour Your Surface and Cutter: Lightly flour your work surface and donut cutter to prevent sticking. This ensures clean cuts and easy handling of the dough.
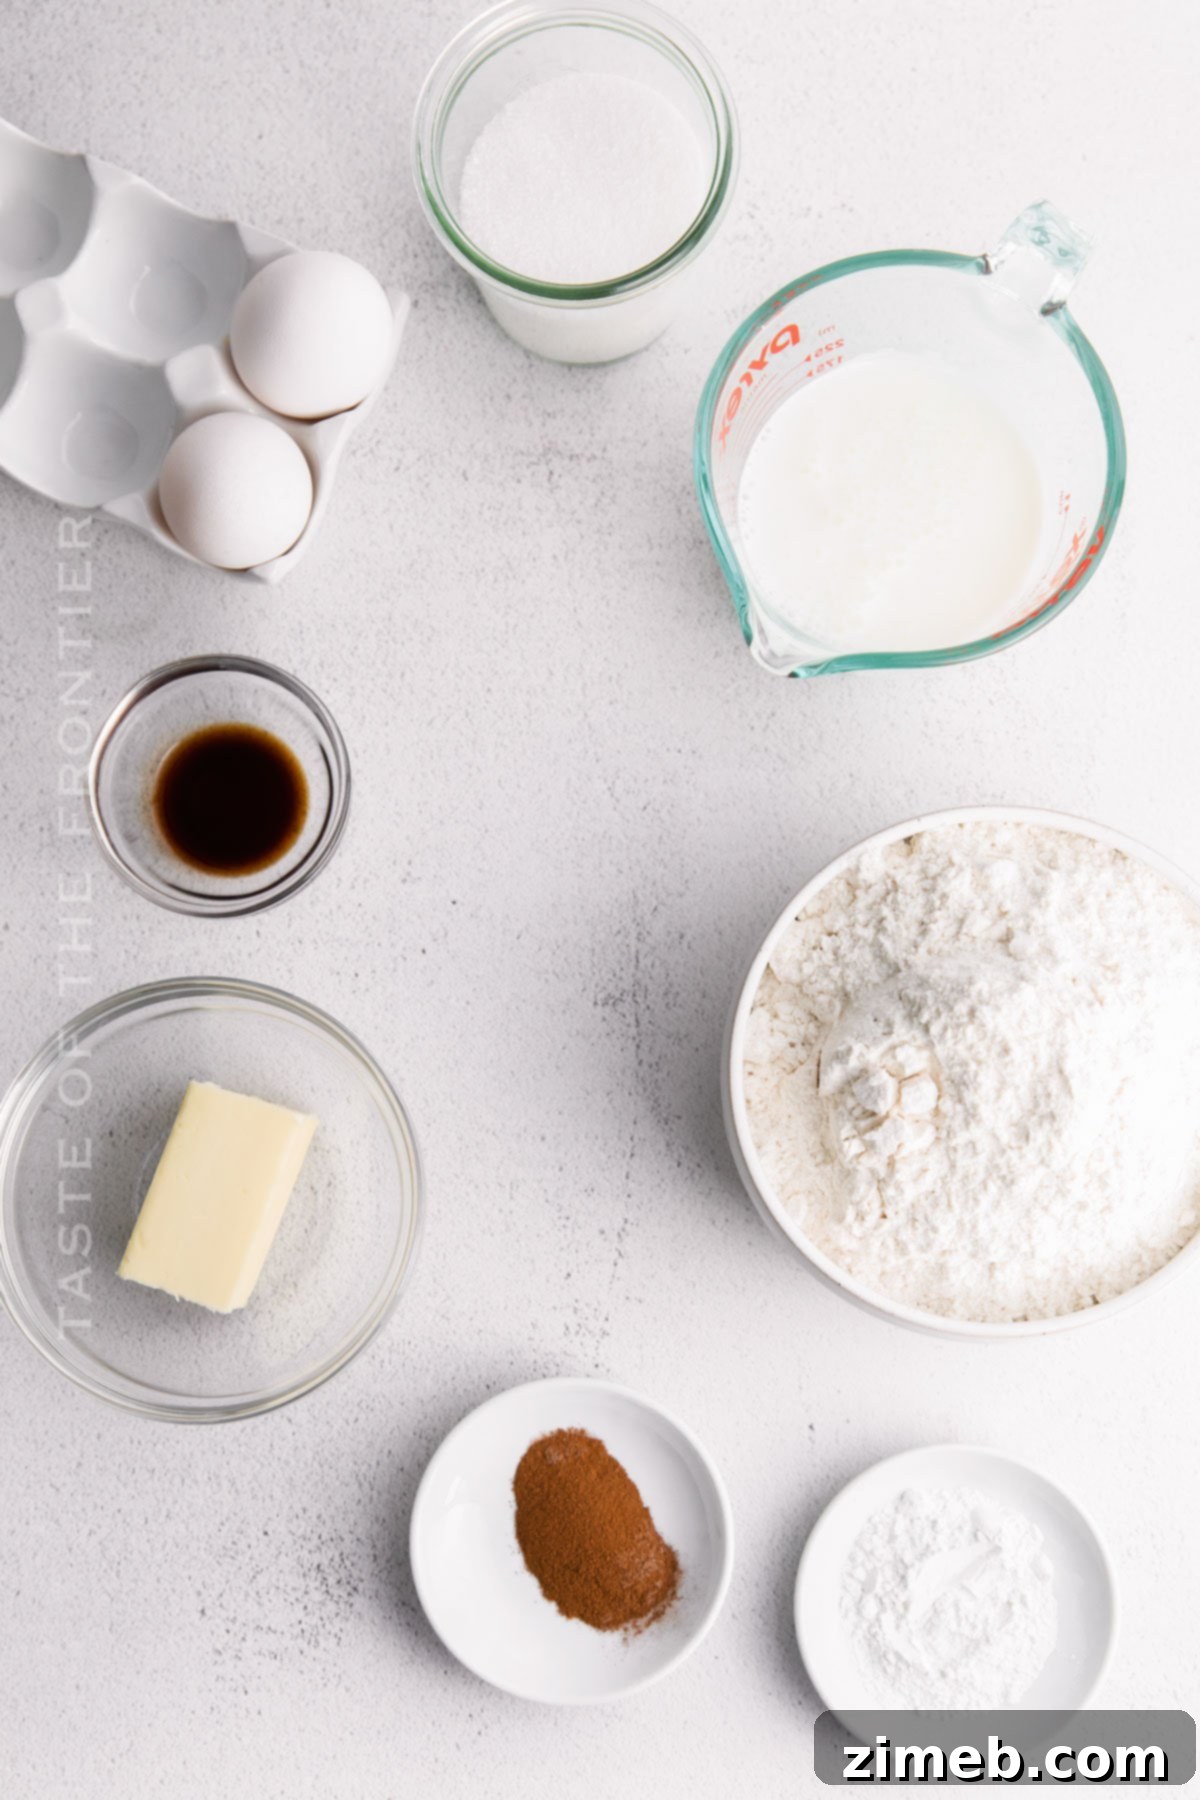
Ingredients for Your Old Fashioned Glazed Donuts
Gathering your ingredients is the first exciting step to making these wonderful treats. My kids love helping out, imagining we’re running our very own donut shop. It’s a fantastic way to create special family memories while baking!
- All-purpose flour: The backbone of our donut dough, providing structure.
- Baking powder: The leavening agent that gives these donuts their unique rise and texture.
- Ground cinnamon: Adds a warm, classic spice note to the dough.
- Optional ground nutmeg: Enhances the traditional flavor profile with its subtle aromatic touch.
- Granulated sugar: Sweetens the dough and contributes to the golden-brown crust.
- Large eggs: Bind the ingredients together and add richness and moisture.
- Butter (melted): Provides a tender crumb and delicious flavor.
- Buttermilk: Reacts with the baking powder to create a light texture and adds a slight tang that balances the sweetness.
For the Glaze:
- Confectioner’s sugar: Forms the smooth, sweet base of the classic glaze.
- Heavy cream: Gives the glaze a rich, creamy consistency and glossy finish.
- Pure vanilla extract: A touch of vanilla elevates the flavor of the simple glaze.
How to Make Old Fashioned Glazed Donuts: A Step-by-Step Guide
Get ready to create some truly magical treats! Follow these detailed instructions, and you’ll be enjoying your absolute favorite homemade donuts in no time. I’m confident you’re going to fall in love with them!
For the Donuts:
- Combine Dry Ingredients: In a medium-sized mixing bowl, thoroughly whisk together the all-purpose flour, baking powder, ground cinnamon, and the optional ground nutmeg. Set this aside.
- Cream Sugar and Eggs: In the bowl of a stand mixer fitted with the paddle attachment, add the granulated sugar and large eggs. Beat on medium-high speed until the mixture becomes smooth, pale yellow, and slightly thickened, about 2-3 minutes. This incorporates air, contributing to the donut’s texture.
- Add Wet Ingredients: Next, pour in the melted butter and buttermilk. Mix on low speed just until they are combined with the egg and sugar mixture. Be careful not to overmix at this stage.
- Form the Dough: Switch to the dough hook attachment. Gradually add the prepared dry ingredients to the bowl. Mix on low speed until a smooth, cohesive dough forms. This usually takes about 2-3 minutes. The dough should be soft but not overly sticky.
- Chill the Dough: Lightly grease a clean bowl, place the dough inside, cover it, and refrigerate for at least one hour. This chilling period is crucial as it makes the dough easier to handle, prevents it from absorbing too much oil during frying, and helps create those distinct old-fashioned ridges.
- Prepare for Frying: After the dough has chilled, pour 3-4 inches of neutral frying oil into a large Dutch oven or a heavy-bottomed pot. Heat the oil over medium-high heat until it reaches a temperature of 375°F (190°C). Use a candy thermometer to monitor the temperature accurately.
- Roll Out Dough: While the oil is heating, transfer your chilled dough to a well-floured surface. Roll out the dough to an even ½-inch thickness.
- Cut the Donuts: Using a 2 ½-inch floured round cutter, cut out your donut shapes. Don’t forget to cut out the smaller hole in the center of each donut. For that classic old-fashioned look, gently score the top of each donut with a sharp knife to create a few shallow lines before frying.
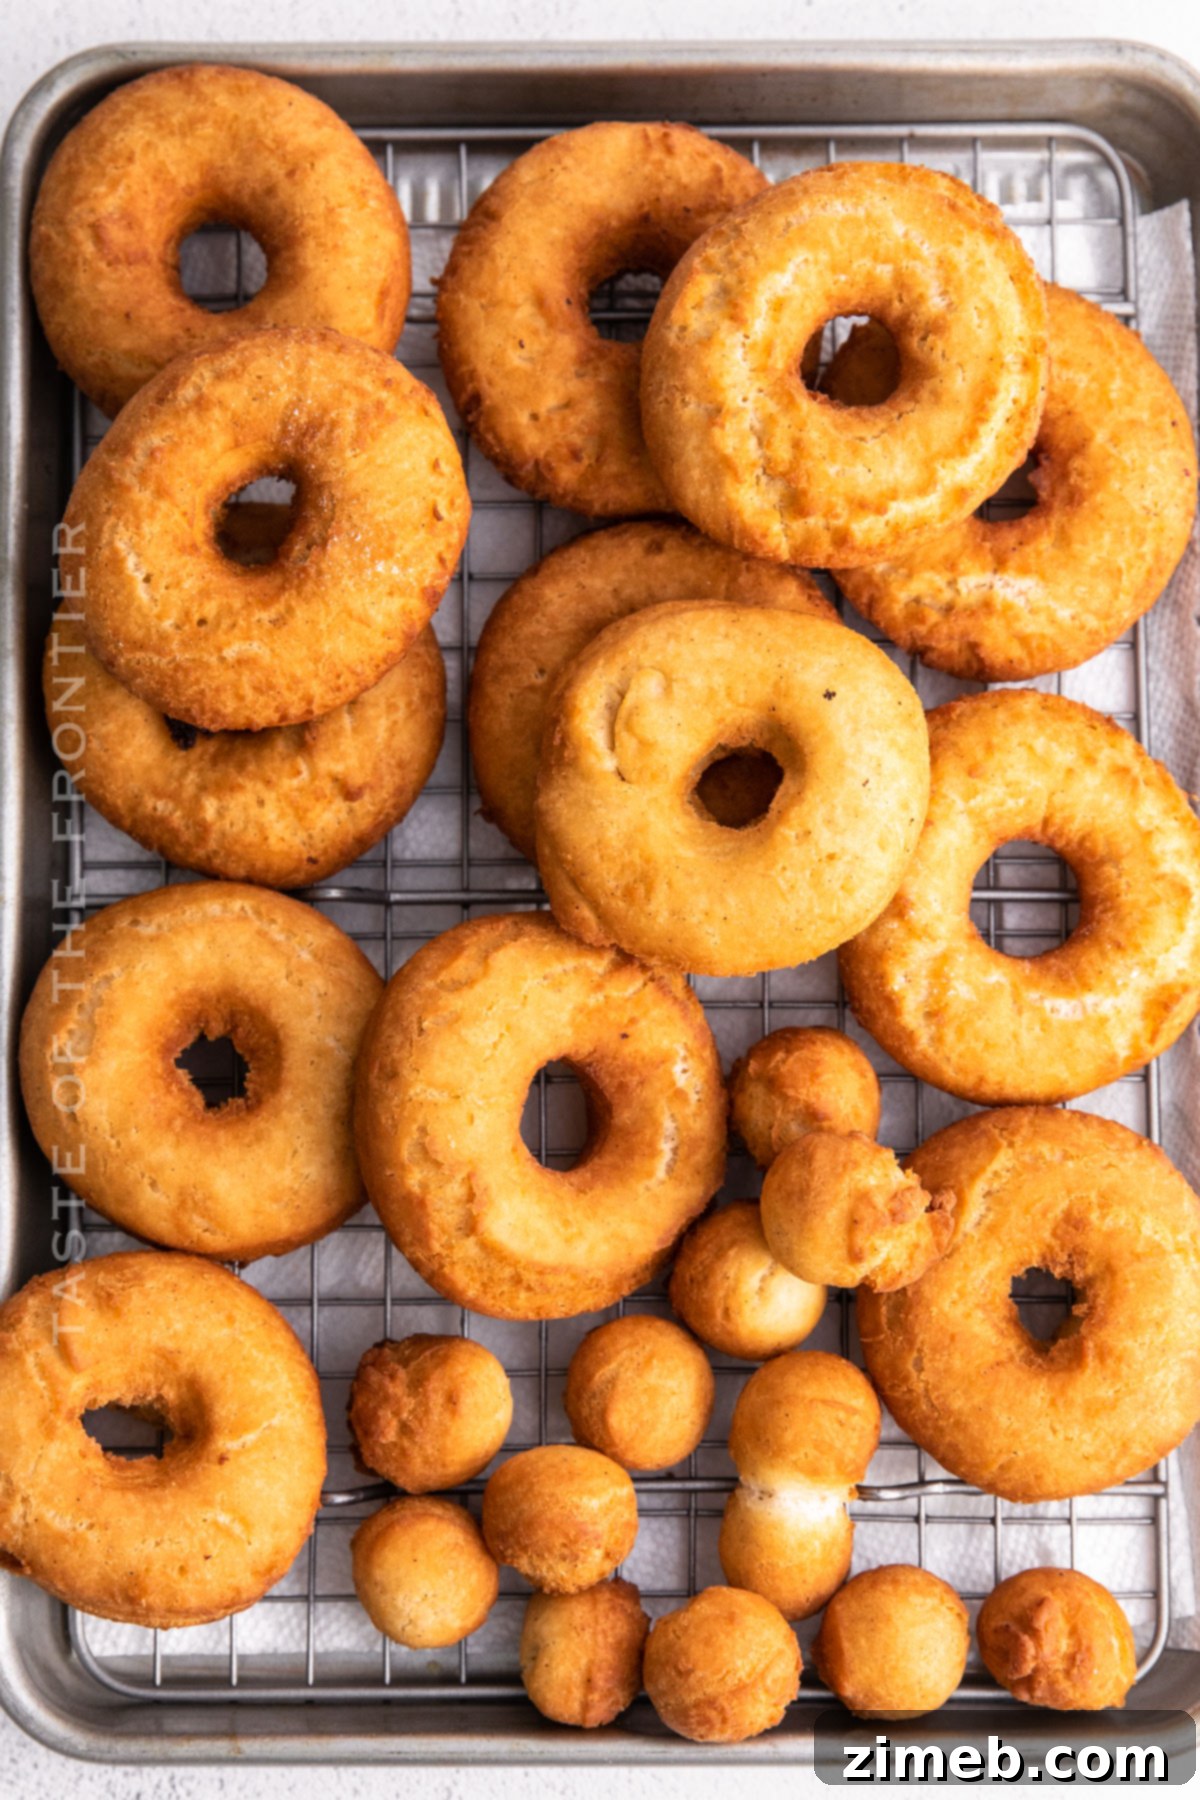
- Fry the Donuts: Carefully place a few donuts at a time into the hot oil. Avoid crowding the pan, as this can lower the oil temperature. Fry until they are golden brown, which typically takes about 2 minutes per side. Flip them gently using a slotted spoon or tongs.
- Cool the Donuts: Once golden, carefully remove the fried donuts from the oil and place them on a paper towel-lined baking sheet to drain any excess oil. Then, transfer them to a wire rack to cool slightly while you prepare the glaze. They should still be warm when glazed.
For the Glaze:
- Whisk Glaze Ingredients: In a medium-sized bowl, whisk together the confectioner’s sugar, heavy cream, and pure vanilla extract until the mixture is completely smooth and free of lumps. The glaze should be fluid enough to coat, but not too thin.
- Glaze and Enjoy: While the donuts are still warm, dip each one fully into the prepared glaze, ensuring both sides are coated. Allow any excess glaze to drip off. Place the glazed donuts back on the wire rack. Allow the glaze to set completely before storing, which usually takes about 30 minutes.
- Storage: Store your glazed donuts in an airtight container at room temperature for up to 1 week. However, for the absolute best taste and texture, they are truly best enjoyed on the very same day they are prepared.
Kitchen Supplies You’ll Need for Old Fashioned Glazed Donuts
Having the right tools makes all the difference in your donut-making adventure. While a deep fryer can certainly maintain a constant temperature, I find that a good old Dutch oven works perfectly and truly embraces the “old-fashioned” spirit of this recipe!
- A large mixing bowl: For combining dry ingredients and initial mixing.
- A bowl of a stand mixer with paddle and dough hook attachments: Essential for efficiently mixing and kneading the dough to the right consistency.
- A deep-fry thermometer or candy thermometer: Absolutely critical for monitoring and maintaining the precise oil temperature for perfect frying.
- A Dutch oven or large pot for frying: A heavy-bottomed pot that holds heat well is ideal for safe and even frying.
- Slotted spoon or spider: For safely adding and removing donuts from hot oil.
- Wire rack: For draining excess oil and allowing the glaze to set evenly.
- Baking sheet: To place the wire rack on and catch any drips.
- Donut cutter (or alternatives): A 2.5-inch round cutter and a smaller cutter for the center hole.
What to Serve With Old Fashioned Glazed Donuts
These glorious old fashioned glazed donuts are incredibly satisfying on their own, far surpassing those half-filled-with-air glazed donuts you sometimes find. However, they can also be part of a larger, delightful meal or paired with a complementary beverage.
- A robust cup of fresh-brewed coffee: The classic pairing for a reason, the bitterness of coffee perfectly balances the donut’s sweetness.
- A refreshing cold glass of milk: A simple yet comforting combination, especially loved by kids and adults alike.
- A side of fresh fruit salad: For a light, refreshing contrast to the rich donut, adding a healthy touch to your breakfast or brunch.
- A scoop of your favorite ice cream: Transform your donut into an indulgent dessert by serving it warm with a dollop of vanilla or coffee ice cream.
- Pan-fried breakfast sausage or crispy bacon: If you’re starting the day, these savory options provide a delightful counterpoint to the sweet donuts, creating a well-rounded breakfast spread.
Why You Should Make Old Fashioned Glazed Donuts Today
For me, the joy of home cooking lies in taking control of my food, knowing exactly what goes into it, and building the skills to create delicious meals from scratch. What inspires you in your kitchen? Here are just a few compelling reasons why this old fashioned glazed donut recipe should be next on your baking list:
- Nostalgic Bliss: Each bite transports you back to simpler times, evoking those cherished sweet childhood memories.
- Perfect for All Occasions: These donuts are incredibly versatile, making them ideal for a cozy family gathering, a festive holiday brunch, or a leisurely Sunday morning treat.
- Incredibly Delicious: They strike the perfect balance between sweet and satisfying, offering a delightful combination of soft interior, subtly crunchy exterior, and a rich, tender texture.
- Highly Versatile: Feel free to customize! You can easily adjust the glaze ingredients to your liking or experiment with various toppings and fillings to create your unique spin.
- Impress Your Guests: Your friends and family will be utterly amazed by your baking prowess when you present them with these homemade classic treats. They’ll taste the difference!
Creative Variations and Add-Ins for Your Old Fashioned Glazed Donuts
While the classic glazed old fashioned donut is perfection, there are countless ways to customize this recipe and explore new flavors. My next favorite would probably be a chocolate version, but the possibilities are endless! Here are just a few ideas to spark your creativity:
- Chocolate Glaze: Swap the vanilla glaze for a rich, decadent chocolate glaze. Simply melt chocolate chips with a bit of cream or butter, or use cocoa powder in your confectioner’s sugar glaze.
- Sprinkles: Add a festive touch and extra fun by liberally coating your freshly glazed donuts with colorful sprinkles before the glaze sets.
- Cinnamon Sugar Coating: For a different twist, skip the traditional glaze and roll the warm, just-fried donuts in a mixture of granulated sugar and cinnamon.
- Delicious Fillings: Take your donuts to the next level by injecting them with your favorite fillings. Try fruit jams, luscious custards, smooth chocolate ganache, or even a creamy peanut butter filling.
- Nutty Topping: For added texture and a gourmet touch, sprinkle some finely crushed almonds, walnuts, or pecans over the wet glaze.
- Maple Glaze: Replace some of the heavy cream in the glaze with pure maple syrup for a delightful autumnal flavor.
- Zesty Citrus Glaze: Add a tablespoon of fresh lemon or orange zest and a squeeze of juice to your vanilla glaze for a bright, tangy kick.
If you love this easy donut recipe, you’re going to love these other morning treats too. Please click each link below to find the easy, printable recipe!
Cinnamon Sugar Muffins
Cinnamon Sugar Muffins are easy to make and loaded with warm cinnamon flavor. They are sure to be your new favorite this fall.
Check out this recipe
Blueberry French Toast Recipe
This is the easiest Blueberry French Toast Recipe ever! Just prepare, refrigerate overnight, and then cook in the slow cooker. So simple!
Check out this recipe
Apple Butter Cruffins
Apple Butter Cruffins are a delicious fall treat. Light and fluffy and filled with sweet apple butter. A delightful way to start the day.
Check out this recipe
Homemade Waffle Recipe
No need to dine out to enjoy warm Belgian waffles. This Homemade Waffle Recipe is so easy and delicious – make extra for a quick breakfast all week long.
Check out this recipe
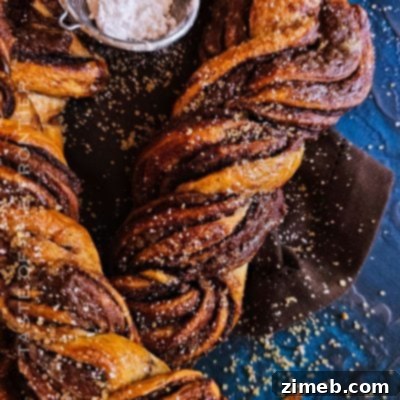
Chocolate Twist
This Chocolate Twist recipe is a tasty treat to serve for holidays, brunch with friends, or with some cocoa on a chilly weekend morning.
Check out this recipe
More Great Donut Recipes to Try
If you’ve loved making these old fashioned glazed donuts, you might also enjoy exploring other delightful donut creations:
- Apple Cider Donut Holes
- Oreo Cake Mix Donuts
- Easy Strawberry Jalapeño Donuts
- Cinnamon Toast Crunch Doughnuts
CONNECT WITH YUMMI HAUS!
Be sure to follow me on my social media, so you never miss a post!
Substack, FB, Pinterest, IG, Email Subscription
Old Fashioned Glazed Donut Recipe
Rate this Recipe
Old Fashioned Glazed Donut
This Old Fashioned Glazed Donut recipe makes it easy to enjoy your favorite weekend morning treat without having to run to the donut house.
Ingredients
Donuts
- 3¼ cups all-purpose flour
- 2 teaspoons baking powder
- 1 teaspoon cinnamon ground
- ½ teaspoon nutmeg ground – optional
- ⅔ cup granulated sugar
- 2 large eggs
- 4 tablespoons butter melted
- ⅔ cup buttermilk
Glaze
- 1 cup confectioner’s sugar
- 2 tablespoons heavy cream
- 1 teaspoon vanilla extract
Instructions
Donuts
-
In a small mixing bowl, mix the flour, baking powder, cinnamon, and nutmeg, if using.
-
Add the sugar and eggs to the bowl of a stand mixer fitted with the paddle attachment. Beat on medium-high speed until the mixture is smooth and pale yellow.
-
Next, add the melted butter and buttermilk and mix just until combined.
-
Switch to the dough hook attachment and add the dry ingredients to the bowl. Mix on low speed until a smooth dough forms– about 2-3 minutes.
-
Place the dough in a lightly greased bowl and place it in the fridge to chill for at least one hour.
-
After the dough has chilled, heat 3-4 inches of neutral oil into a large dutch oven and bring its temperature up to 375F.
-
While bringing up the oil temperature, roll out the dough to 1/2” thickness on a well-floured surface.
-
Using a 2 1/2” floured round cutter, cut out the doughnuts. Score the top of the doughnuts with a sharp knife.
-
Carefully place a few doughnuts at a time into the oil and fry until golden brown– about 2 minutes per side. Make sure not to crowd the pan too much.
-
Carefully remove the doughnuts from the oil and place them on a paper towel to remove excess oil, then transfer them to a wire rack to cool slightly.
Glaze
-
Whisk together all of the ingredients together in a medium-sized bowl.
-
Dip the doughnuts fully into the glaze one by one and enjoy. Allow the glaze to set fully before storing– about 30 minutes.
-
Store in an airtight container at room temperature for up to 1 week, but they are best enjoyed the day they are prepared.
Notes
The buttermilk can be replaced with regular milk if you don’t have any on hand.
Make sure to glaze the donuts while they are still warm— the warm donuts will melt the glaze and it will cover the donuts evenly.
Nutrition
Serving: 1g | Calories: 256kcal | Carbohydrates: 48g | Protein: 4g | Fat: 5g | Saturated Fat: 3g | Cholesterol: 14mg | Sodium: 128mg | Potassium: 62mg | Fiber: 1g | Sugar: 22g | Vitamin C: 0.02mg | Calcium: 48mg | Iron: 2mg | Net Carbohydrates: 36g
Nutritional information for the recipe is provided as a courtesy and is approximate. Please double-check with your own dietary calculator for the best accuracy. We at Yummi Haus cannot guarantee the accuracy of the nutritional information given for any recipe on this site.