
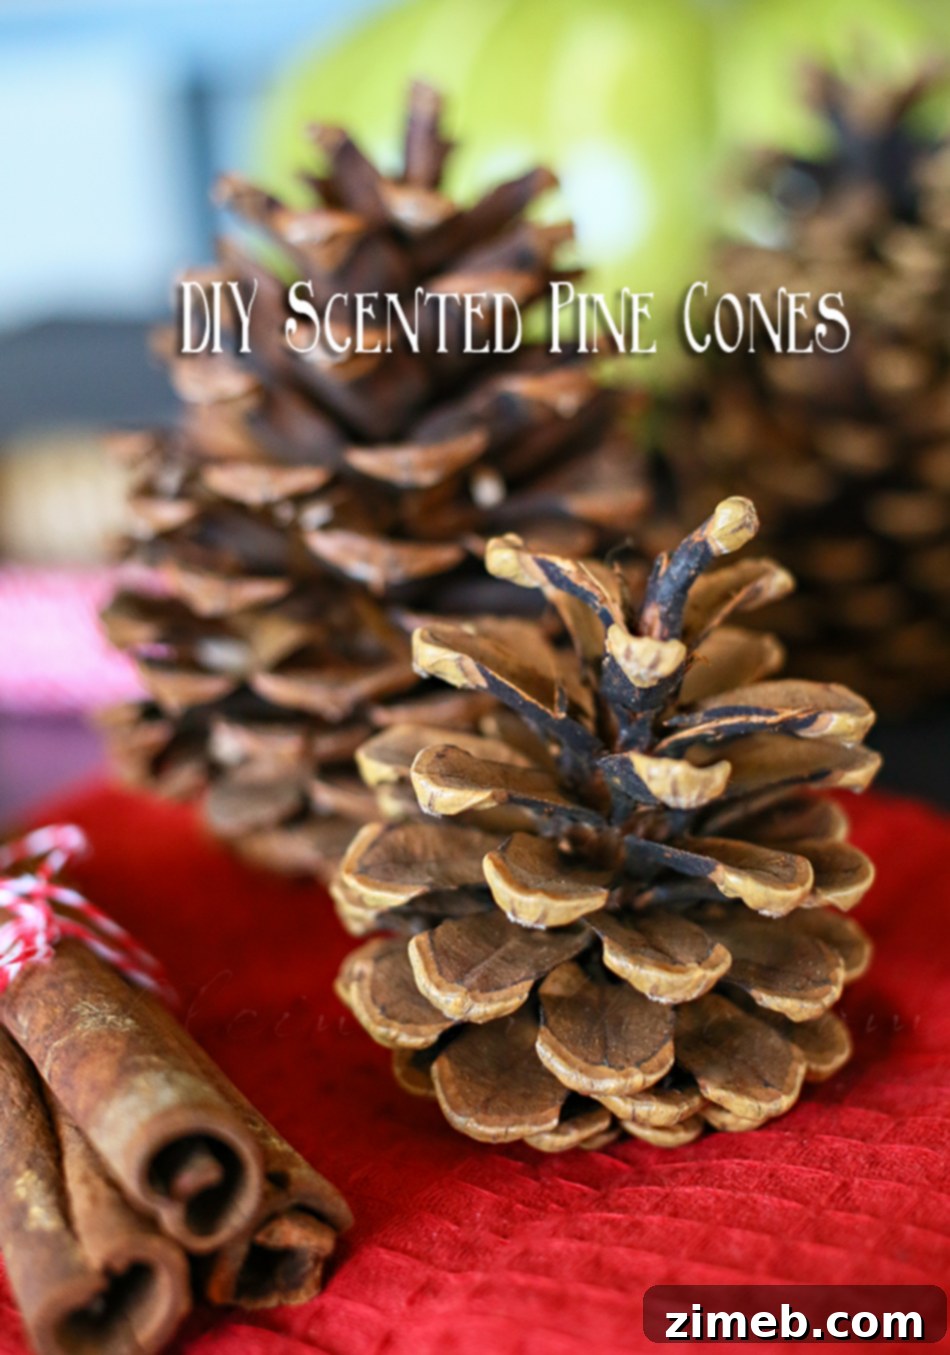
DIY Scented Pine Cones: Craft Your Own Natural Home Fragrance for Every Season
There’s a special kind of magic in the air when stores begin to fill with the comforting aroma of cinnamon-scented pine cones, especially as the cooler months approach. For many of us, this delightful scent evokes cherished memories of cozy homes and holiday traditions. Growing up, the warm, inviting fragrance of cinnamon was a constant in my home, thanks to my mom’s love for these aromatic decorations. That nostalgic scent lingered, creating a sense of warmth and welcome that I now strive to replicate in my own living space.
However, enjoying this delightful fragrance shouldn’t be limited to a specific time of year, nor should it come with a hefty price tag. Living in North Idaho, I’m surrounded by an abundance of natural pine cones. The thought of paying upwards of $10 for a small bag of commercially scented pine cones, simply because they’ve been coated with a familiar aroma, struck me as quite unnecessary. This realization sparked an idea: why not create my own DIY Scented Pine Cones? It turns out, the process is incredibly straightforward, yields a scent identical to the store-bought versions, and offers immense satisfaction. You, too, can easily infuse your home with this wonderful natural fragrance, any time you desire.
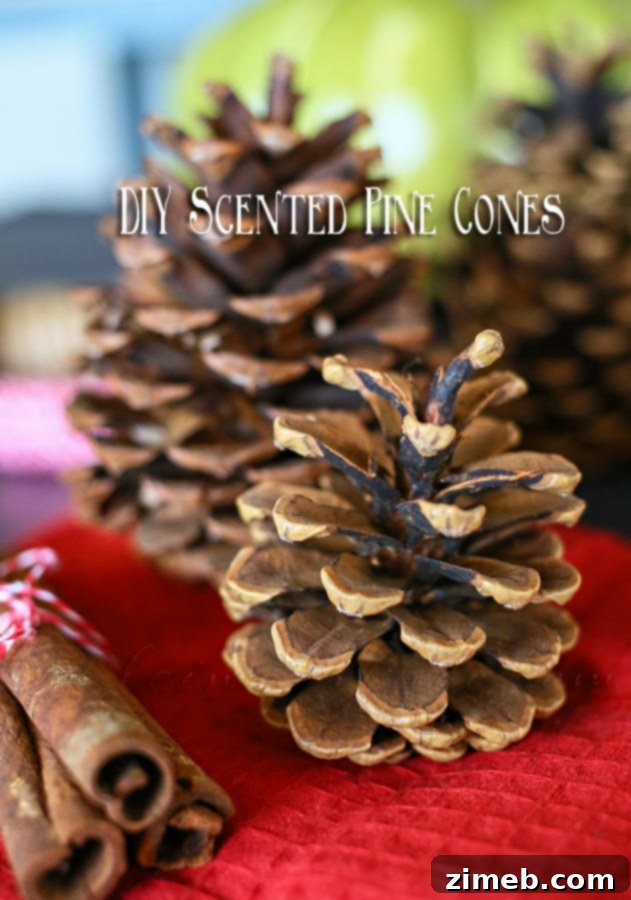
Why Choose DIY Scented Pine Cones? Unlocking the Benefits
Opting to make your own scented pine cones offers a multitude of advantages beyond just saving money. It’s an opportunity to embrace creativity, customize your home’s fragrance, and engage in a simple, satisfying craft. Here’s why DIY is the way to go:
Cost-Effectiveness: As mentioned, store-bought scented pine cones can be surprisingly expensive, especially considering their primary component is readily available in nature. By collecting your own pine cones and purchasing a small bottle of fragrance oil, you drastically cut down on costs, allowing you to create a much larger batch for a fraction of the price.
Customization and Scent Control: When you make your own, you’re in charge. You can choose your favorite essential oil or fragrance oil – be it classic cinnamon, refreshing evergreen, comforting vanilla, or a custom blend. You also control the intensity of the scent, adding more oil for a stronger aroma or less for a subtle hint. This flexibility is something you won’t find with pre-packaged options.
Natural and Sustainable Decor: Utilizing natural elements found in your local environment makes for sustainable and eco-friendly home decor. Instead of manufactured items, you’re bringing a piece of nature indoors, enhanced with your chosen scent. It’s a beautiful way to connect with the seasons and your surroundings.
Personal Satisfaction and Gifting: There’s an undeniable joy that comes from crafting something beautiful and fragrant with your own hands. These homemade scented pine cones aren’t just for your own enjoyment; they also make thoughtful and personalized gifts for friends, family, or neighbors. Package them in a rustic burlap bag or a charming basket for a truly unique present.
Year-Round Enjoyment: Why wait for fall or winter to enjoy the cozy aroma of cinnamon? With DIY scented pine cones, you can prepare a batch any time of year and bring that warm, inviting scent into your home whenever the mood strikes. They are perfect for holiday decorations but equally lovely for creating a welcoming ambiance during any season.
Gathering and Preparing Your Pine Cones: A Safe Approach
The first and most enjoyable step in this DIY project is collecting your pine cones. Look for ones that are fully open, intact, and relatively clean. You can find them in your own yard, local parks (check regulations first), or during a nature walk in a nearby forest. Varying sizes and shapes will add visual interest to your final display.
Once you’ve gathered your natural treasures, proper preparation is key to ensuring they are clean, dry, and safe for scenting. This stage also addresses an important safety concern.
The Essential Cleaning Process
Before bringing your pine cones indoors or starting the scenting process, it’s a good idea to give them a thorough cleaning. This helps remove any lingering dirt, debris, small insects, or sap that might be clinging to them from their natural environment. I prefer to give mine a good spray with the garden hose. Lay them out on a tarp or an old sheet and gently spray them down, rotating them to ensure all sides are rinsed. This simple step helps them look their best and ensures a cleaner end product.
Drying Safely: A Crucial Step (And Why Not to Bake!)
After cleaning, it’s imperative that your pine cones are completely dry before moving on to the scenting stage. Moisture can lead to mold or mildew, which would ruin your beautiful decorations. The safest and most recommended method for drying pine cones is air drying. Spread them out in a single layer on newspaper, a drying rack, or a mesh screen in a well-ventilated area, preferably outdoors on a sunny day or indoors in a dry room. This process might take several days to a week, depending on the humidity and the size of your pine cones. Turn them occasionally to ensure even drying.
It’s important to address a common suggestion: baking pine cones in an oven to open them up or dry them. As the wife of a fire chief, I strongly and unequivocally discourage this practice. Pine cones are, by their very nature, excellent fire starters and incredibly effective kindling. They contain natural resins and pitch, which can become highly combustible when exposed to high heat. Placing them into a hot oven poses a significant fire risk, as hidden pockets of pitch can ignite, potentially causing a dangerous problem in your home. Prioritize safety and stick to air drying methods for peace of mind.
Materials You’ll Need for Your Scented Pine Cones Project
Gathering your materials before you begin will make the entire process smooth and enjoyable. You won’t need many specialized items, just a few common household goods and a good quality scenting oil.
– A collection of thoroughly cleaned and dried pine cones
– A large, sealable zip-top bag (or several, depending on your batch size)
– A small spray bottle (a 2-ounce bottle works perfectly for this project)
– Cinnamon-scented oil (either essential oil or a high-quality fragrance oil)
– Water
– Optional: Gloves (if you have sensitive skin or prefer not to handle the oil directly)
Step-by-Step Guide: Crafting Your Own Aromatic Pine Cones
Now that your pine cones are ready and your materials are assembled, it’s time to infuse them with that wonderful cinnamon scent. Follow these simple steps for beautifully fragrant results.
Step 1: Place Pine Cones in a Bag. Once your pine cones are completely dry, carefully place them into a large zip-top bag. Don’t overfill the bag; leave enough space to shake them comfortably. If you have a very large batch, use multiple bags.
Step 2: Prepare Your Scent Mixture. In your small spray bottle, combine 1 ounce of cinnamon-scented oil with 1 ounce of water. This 1:1 ratio is a good starting point, allowing the oil to disperse evenly without being too concentrated initially. Shake the bottle gently to mix the oil and water. For other scents, adjust according to strength. Remember that essential oils are potent, so a little goes a long way.
Step 3: Spray the Pine Cones. With the pine cones inside the bag, begin to generously spray them with your oil mixture. Aim for an even coating, ensuring that most surfaces of the pine cones become quite wet. You want the scent to fully penetrate the scales.
Step 4: Seal and Shake. Close the zip-top bag securely, making sure it’s airtight. Then, give the bag a good shake. This helps to further distribute the liquid mixture, ensuring that all pine cones are thoroughly coated and that the scent penetrates deep into their structure.
Step 5: Re-Spray and Re-Shake. Open the bag and re-spray the pine cones, focusing on any areas that still appear dry. Close the bag again and give it another vigorous shake. This double application and mixing process enhances the scent absorption and longevity.
Step 6: The Soaking Period. Once you’re satisfied with the coverage, keep the bag closed and set it aside for a couple of weeks. This “soaking” period is crucial. It allows the pine cones ample time to fully absorb the scented oil mixture, locking in the fragrance and ensuring it lasts much longer. You can give the bag an occasional gentle shake every few days to redistribute any settling liquid.
Step 7: Display and Enjoy! After two weeks, your beautifully scented pine cones are ready! Open the bag, and you’ll be greeted with a wonderful burst of cinnamon aroma. They are now perfect for displaying in decorative bowls, baskets, on mantelpieces, or as part of a festive centerpiece. Let all that marvelous cinnamon scent be enjoyed throughout your home.
Tips for Elevating Your Scented Pine Cone Creation
To make your DIY scented pine cones even more impressive and long-lasting, consider these additional tips:
Choose Fully Open Pine Cones: Pine cones that are fully open will have more surface area and gaps between their scales to absorb the scenting mixture, leading to a stronger and more lasting fragrance. You can gently encourage slightly closed pine cones to open by air drying them thoroughly in a warm, dry spot.
Adjust Scent Intensity: If you prefer a stronger or more subtle scent, you can adjust the oil-to-water ratio in your spray bottle. For a bolder aroma, use slightly more oil; for a lighter touch, increase the water content. Experiment to find your perfect balance.
Re-Scenting for Longevity: Over time, the scent from your pine cones may begin to fade. Don’t throw them away! You can easily re-scent them by repeating the spraying and soaking process. This breathes new life into your decorations, allowing you to enjoy them for seasons to come.
Proper Storage: When not in use, store your scented pine cones in an airtight container or zip-top bag. This helps to preserve their fragrance, ensuring they’re just as potent when you bring them out again.
Safety First with Oils: While generally safe, some essential oils can be irritating to skin or harmful if ingested. Always handle oils carefully, and keep them out of reach of children and pets. If you have sensitive skin, wearing gloves during the spraying process is a good idea. Ensure pine cones are placed in areas where pets or young children won’t mouth or chew on them.
Beyond Cinnamon: Exploring a World of Scents
While cinnamon is a beloved classic, the beauty of DIY is the freedom to explore other fragrances. Consider these wonderful alternatives or combinations to create a unique aromatic experience in your home:
– Evergreen/Pine: For a refreshing, forest-like scent, perfect during the winter months.
– Orange or Citrus: A bright, uplifting aroma that pairs beautifully with cinnamon or stands alone.
– Clove or Nutmeg: Deep, spicy scents that complement cinnamon for a rich, warm blend.
– Vanilla: A sweet, comforting fragrance that adds a touch of creamy warmth.
– Frankincense & Myrrh: For a more exotic and grounding aroma, often associated with holidays.
You can even create seasonal blends, like cinnamon and orange for autumn, or evergreen and vanilla for winter. The possibilities are endless, allowing you to tailor the scent to your mood or the season.
Creative Ways to Incorporate Scented Pine Cones into Your Home
Once your pine cones are wonderfully fragrant, they become versatile decor items that can enhance various areas of your home. Here are some ideas:
– Decorative Bowl Fillers: Arrange them in a beautiful wooden bowl, a glass cloche, or a rustic basket on your coffee table, dining table, or entryway console.
– Mantelpiece Decor: Line them along a mantelpiece, perhaps interspersed with candles (placed safely away from the pine cones) or other seasonal greenery.
– Potpourri Additions: Mix them with dried orange slices, star anise, dried flowers, or other natural elements to create a custom potpourri blend.
– Window Sills & Shelves: Place small clusters on window sills or open shelves to add subtle bursts of fragrance and visual interest.
– Holiday Centerpieces: Incorporate them into your holiday table centerpieces, perhaps alongside candles, berries, or evergreen sprigs.
– Gift Enhancements: Add a few scented pine cones to gift baskets or tie one onto a wrapped present for an extra fragrant touch.
Conclusion: Embrace the Warmth of Homemade Scented Pine Cones
There’s immense satisfaction in crafting something beautiful and functional for your home, especially when it saves you money and allows for personal customization. Creating your own DIY Scented Pine Cones is a testament to this principle. It’s a simple, enjoyable project that transforms readily available natural elements into delightful, long-lasting home fragrances. No longer do you need to wait for the holidays or pay premium prices for that comforting cinnamon aroma. With just a few basic materials and a little patience, you can fill your home with a welcoming scent that evokes warmth, nostalgia, and the simple beauty of nature, all year round. So go ahead, gather those pine cones, pick your favorite scent, and enjoy the wonderful experience of making your own aromatic treasures!
Discover More Nature-Inspired DIY Projects
If you love incorporating natural elements into your home decor and enjoy simple, creative crafts, then you’re in for a treat! Pine cones are just one of many gifts from nature that can be transformed into beautiful and functional pieces for your living space. Explore these other inspiring DIY projects that bring the beauty of the outdoors inside, adding unique touches and warmth to your home.

Corn Husk Luminaries
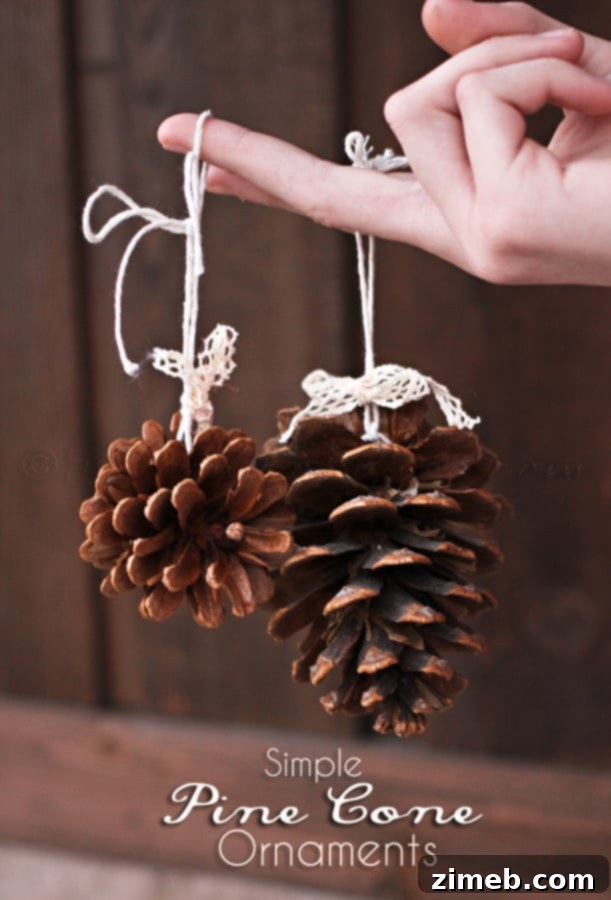
Simple Pine Cone Ornaments
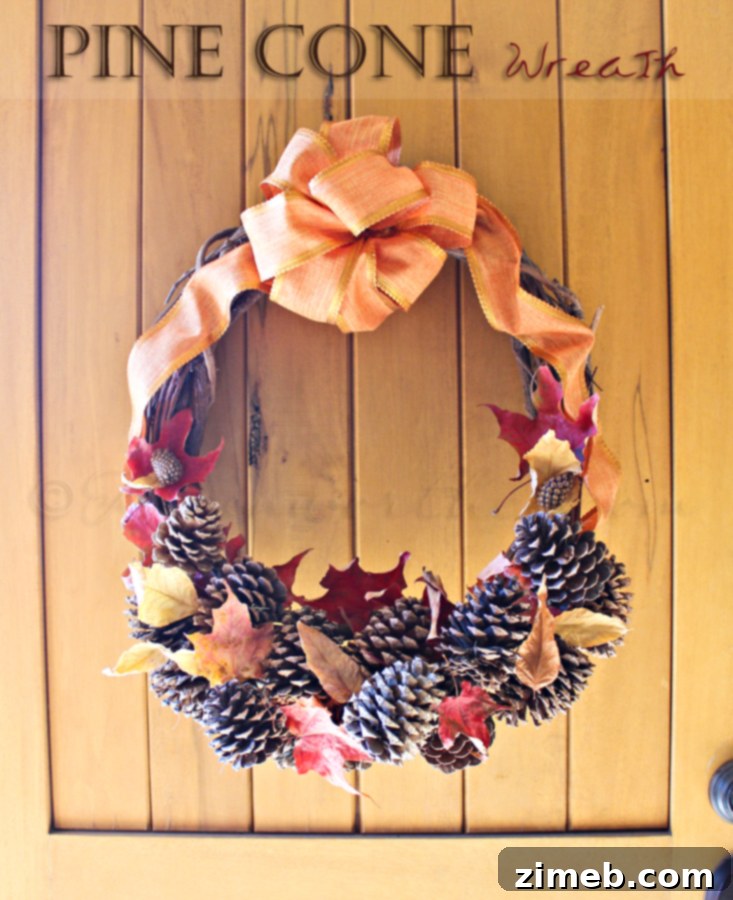
Pine Cone Wreath
To see where I am linking today- visit HERE