
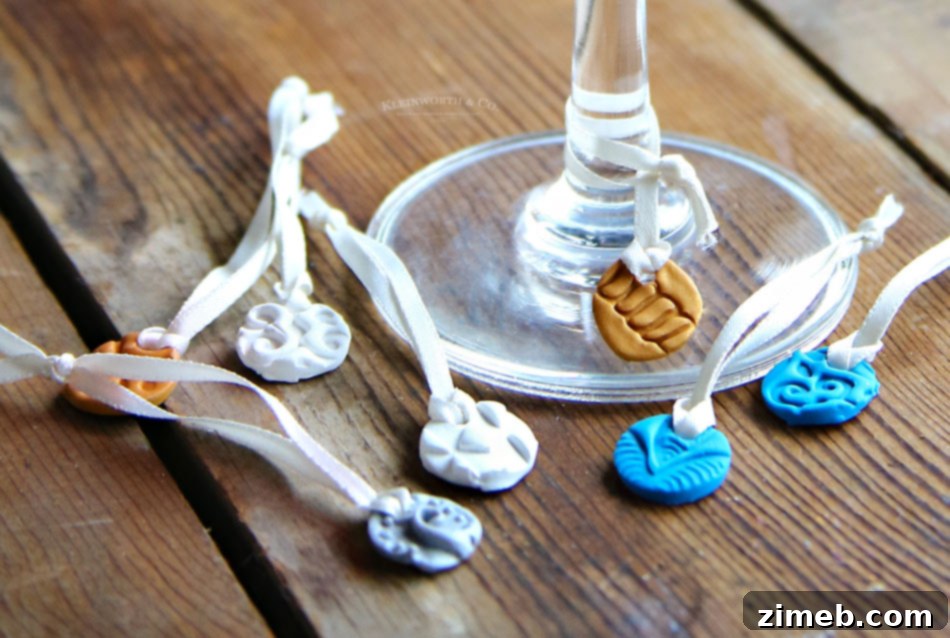
Elevate Your Gatherings: Crafting Personalized DIY Stamped Clay Wine Glass Charms
As the festive season approaches, and indeed, throughout the year, our calendars fill with joyful celebrations, lively dinner parties, and heartwarming family gatherings. There’s a special kind of magic in bringing friends and loved ones together, sharing laughter, delicious food, and, often, a fine glass of wine. However, a common dilemma arises amidst the merriment: the ever-present mystery of “whose glass is this?” We’ve all been there – setting down a drink only to momentarily forget its exact location, or worse, accidentally picking up someone else’s. This seemingly minor issue can subtly detract from the otherwise perfect party experience. But what if there was an elegant, simple, and incredibly fun solution?
Enter the world of **DIY Stamped Clay Wine Glass Charms**. These charming, handcrafted ornaments are more than just pretty accessories; they are practical party essentials designed to help your guests personalize their drinks and effortlessly keep track of their glasses. Imagine a unique, custom-made marker for each guest, not only solving a common party problem but also adding a delightful, personal touch to your tablescape. They serve as wonderful conversation starters and can even double as thoughtful party favors. Today, we’re excited to share a comprehensive tutorial on how to create these beautiful, easy-to-make wine glass charms, ensuring your next party is both stylish and stress-free.
This post contains some affiliate links, meaning we may earn a small commission if you make a purchase through them, at no extra cost to you. Please read our full disclosure policy for more information.
Crafting Elegance: A Step-by-Step Guide to Making Your Own Wine Glass Charms
Creating personalized wine glass charms is a fantastic way to infuse your parties with a unique flair that store-bought items simply can’t replicate. This project is not only creatively satisfying but also surprisingly simple, making it accessible for crafters of all skill levels. Let’s gather our materials and dive into the enjoyable process of making these delightful little identifiers.
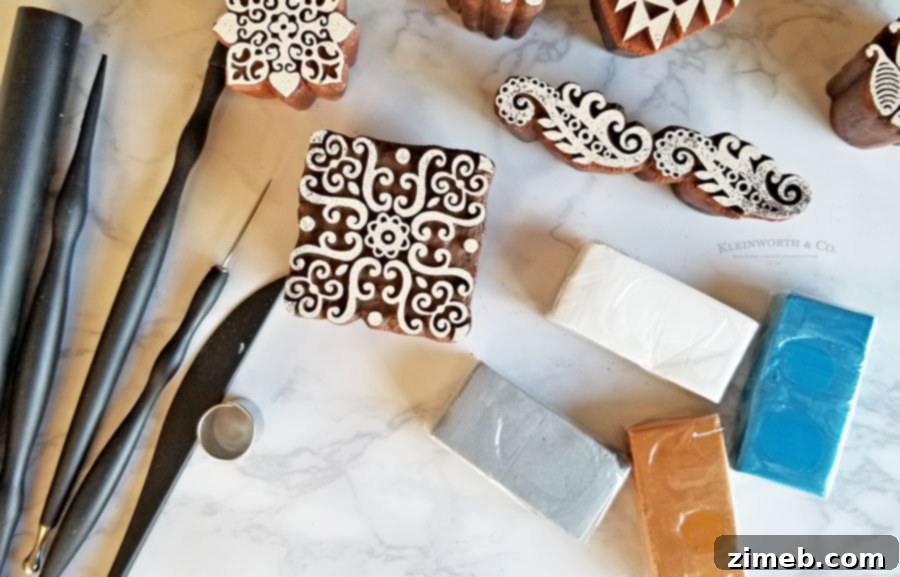
Here are the essential supplies you will need to embark on this creative journey:
High-Quality Sculpting Clay: Polymer clay (oven-bake) or air-dry clay are excellent choices. Polymer clay offers durability and vibrant colors, while air-dry clay is great for beginners as it doesn’t require an oven. We recommend an oven-bake clay for lasting results.
Clay Sculpting Tools: While not strictly necessary, a basic set of clay tools can help with smoothing, shaping, and detailing your charms. A small roller, a pointed tool, and a cutting tool are particularly useful.
Decorative Stamps: The heart of your charm’s design! Choose stamps with various patterns, letters (for initials), or small festive designs that match your party theme. Rubber or clear acrylic stamps work well.
Small Round Cutter: Cookie cutters or craft cutters in small, manageable sizes (e.g., 1-inch to 1.5-inch diameter) are perfect for creating uniform charm bases. You can also experiment with other shapes like squares, stars, or hearts.
Assorted Ribbon or Twine: Approximately 8 inches per charm. Satin ribbon, grosgrain ribbon, jute twine, or even thin leather cord can add a beautiful finishing touch and allow you to easily attach the charms to wine glass stems. Choose colors that complement your clay and party decor.
Step 1: Prepare Your Clay. Begin by conditioning your sculpting clay. This usually involves kneading a small piece until it becomes soft and pliable. For polymer clay, this process helps activate the polymers and makes it easier to work with. For air-dry clay, kneading ensures consistency. Once softened, place a small portion of the clay on a clean, non-stick surface, such as parchment paper or a silicone mat, to prevent it from sticking.
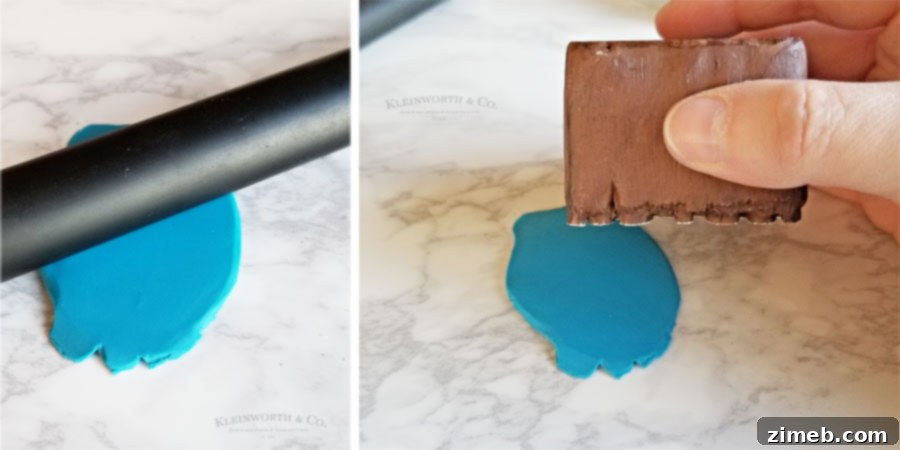
Step 2: Flatten the Clay. Using a rolling pin or a smooth cylindrical object (even a glass bottle can work!), carefully flatten the conditioned clay to an even thickness, ideally about 1/8 to 1/4 inch. Consistency in thickness is key for even baking or drying and a professional finish. Ensure the surface is smooth and free of major imperfections.
Step 3: Imprint Your Design. Now for the fun part – personalization! Select your chosen stamp and firmly press it into the flattened clay. Apply even pressure across the entire stamp to ensure a clear, crisp impression of the pattern or letter. Gently lift the stamp to reveal your design. If the impression isn’t perfect, simply re-roll the clay and try again. Don’t be afraid to experiment with different stamps and textures!
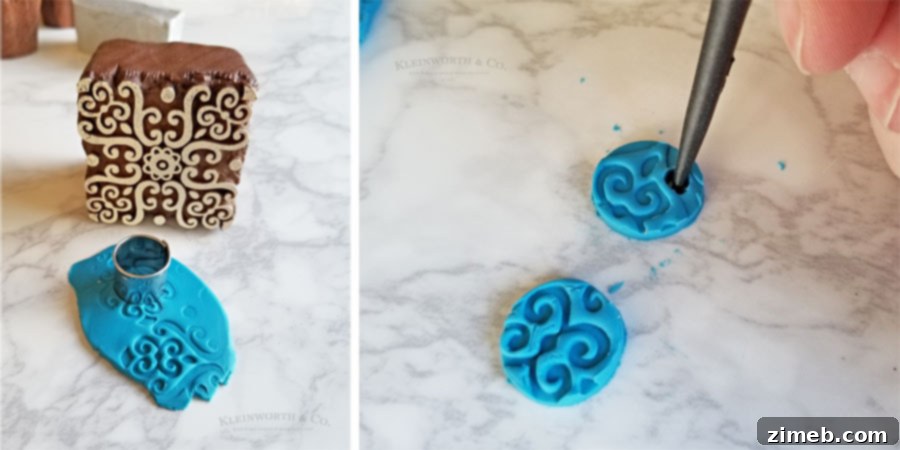
Step 4: Cut Out Your Charms. With your design imprinted, take your small round cutter (or other preferred shape) and press it firmly into the clay, centering your stamped design within the cutter. Twist slightly to ensure a clean cut. Carefully remove the excess clay from around your charm. Repeat this process until you have enough charms for all your anticipated guests, plus a few extras!
Step 5: Create a Hanging Hole. Before the clay dries or bakes, you’ll need to create a hole for threading your ribbon. Using a pointed object like a chopstick, a skewer, or a specialized clay piercing tool, carefully make a small hole near the top edge of each charm. Ensure the hole is large enough to accommodate your chosen ribbon or twine, but not so close to the edge that the clay might break. Gently twist the tool to create a clean, smooth opening.
Finishing Your DIY Stamped Clay Wine Glass Charms
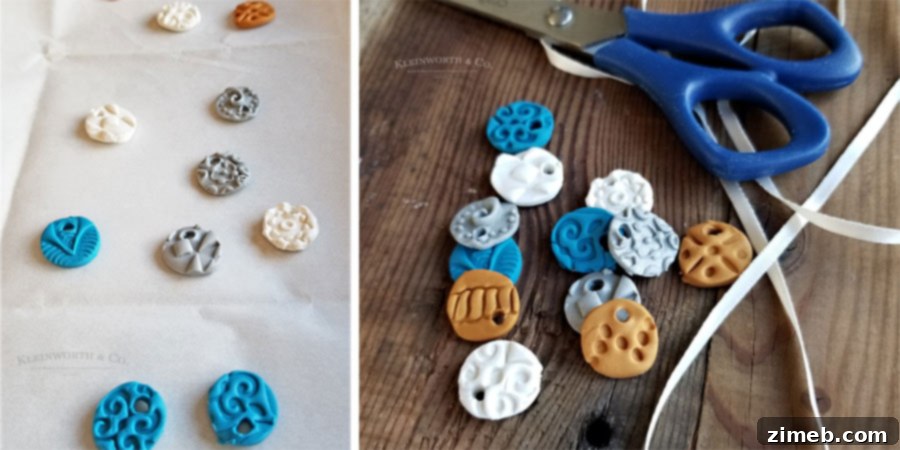
Step 6: Bake or Dry Your Charms. If you are using oven-bake polymer clay, carefully transfer your charms to a small baking sheet lined with parchment paper. Bake according to your clay manufacturer’s instructions, typically at 275 degrees Fahrenheit (135 degrees Celsius) for about 15-20 minutes, depending on thickness. It’s crucial not to overbake, as this can cause cracking or discoloration. If using air-dry clay, simply let them dry completely in a well-ventilated area, which can take 24-72 hours. Once baked or dried, allow the charms to cool completely.
Step 7: Add the Ribbon. Once your clay charms are cool and hardened, it’s time to add the finishing touch. Cut an 8-inch length of your chosen ribbon or twine. Thread one end of the ribbon through the hole you made in the charm, then bring the two ends together and tie them in a simple knot to form a loop. Alternatively, you can feed both ends through and then tie them around the stem of the wine glass, allowing the charm to hang freely. Trim any excess ribbon for a neat appearance.
Step 8: Attach to Wine Glasses. Your personalized wine glass charms are now complete and ready to adorn your guests’ drinks! Simply loop the ribbon around the stem of a wine glass. The ease of attachment and removal makes these charms incredibly user-friendly and ensures everyone can identify their glass with a unique, handmade marker.
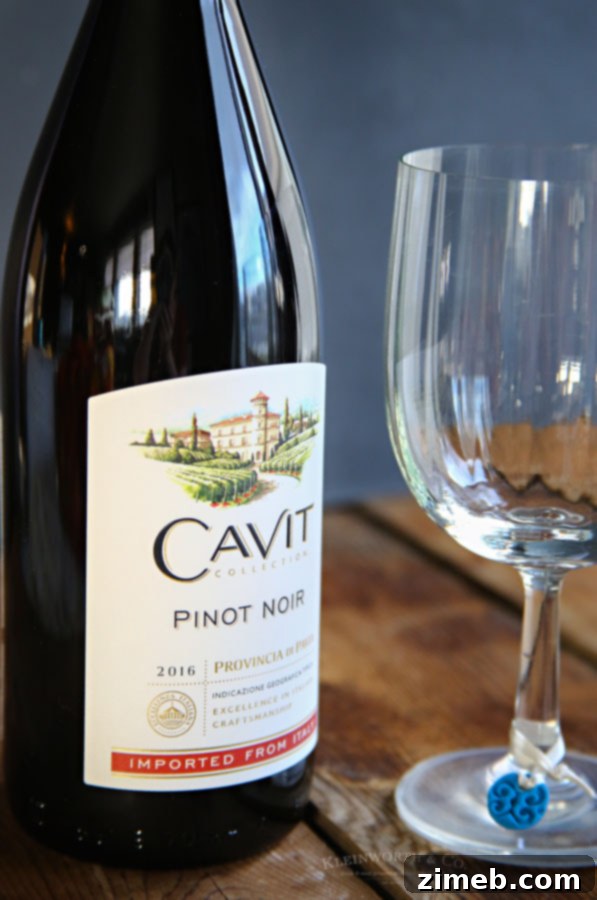
These handmade charms are absolutely perfect for any upcoming gathering, be it a festive holiday dinner, a casual brunch, or a sophisticated cocktail party. They add a level of thoughtfulness and customization that elevates the entire hosting experience. As you prepare for your celebrations, consider serving a delightful wine, such as a smooth Pinot Noir from Cavit, known for its quality and inviting character. Enjoying a good wine with friends and family, especially when accompanied by such charming details, truly makes for memorable moments.
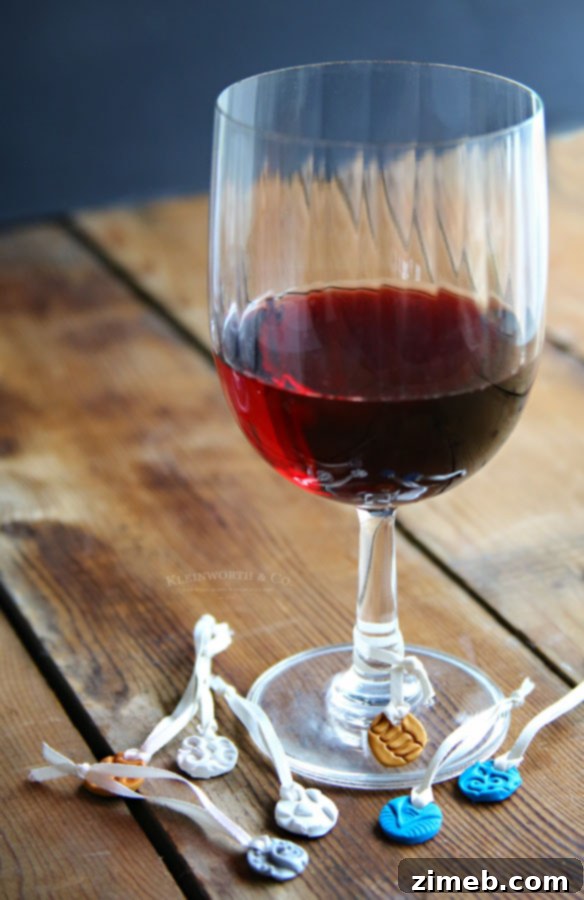
Cavit wines, hailing from the picturesque Trentino region of northern Italy, are celebrated for their exceptional craftsmanship and authentic regional character. They are a fantastic choice for any social occasion, consistently delighting guests and sparking appreciative comments. The simple elegance of a great wine, paired with the personalized touch of these DIY charms, creates an inviting and memorable atmosphere for everyone.
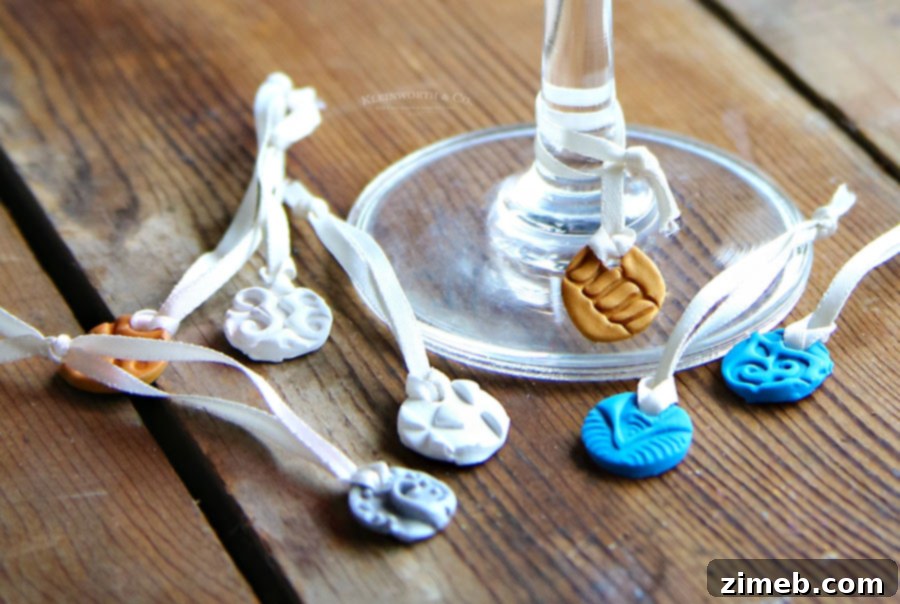
One of the most appealing aspects of these stamped clay charms is their incredible versatility. The creative possibilities are truly boundless! You can craft them in any color to perfectly match your party’s theme, season, or holiday. Imagine vibrant red and green for Christmas, pastels for an Easter brunch, or sophisticated metallics for a New Year’s Eve bash. Similarly, the choice of ribbon or twine can completely transform their look – from rustic jute for a farmhouse-style gathering to shimmering organza for a more formal affair. Consider adding a touch of acrylic paint to highlight your stamped designs, or a clear glaze for extra durability and a glossy finish. You could even use letter stamps to personalize each charm with a guest’s initial, or the date of a special event, making them cherished keepsakes.
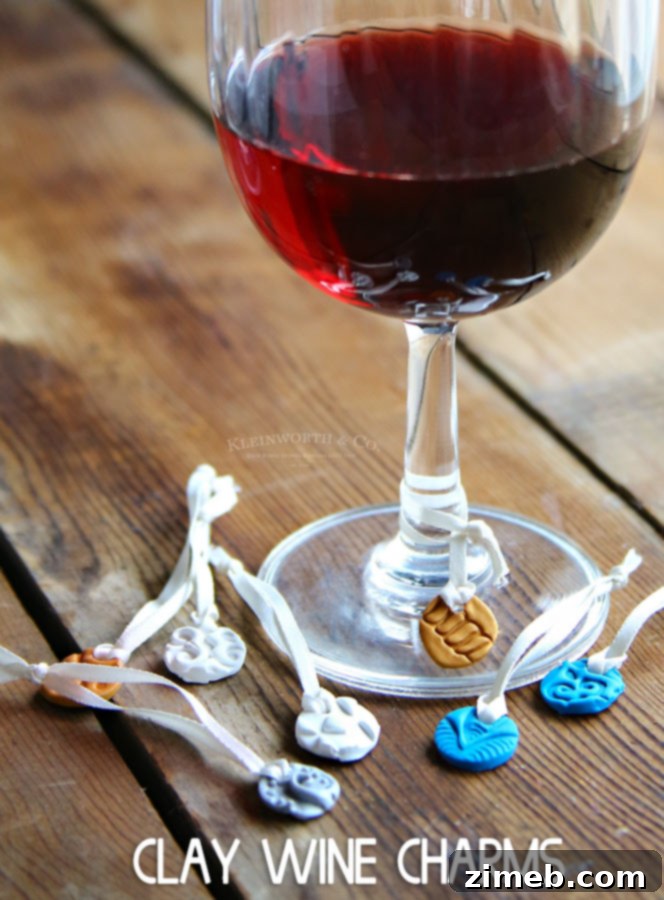
These DIY Stamped Clay Wine Glass Charms are more than just functional items; they are miniature works of art that reflect your personality and attention to detail as a host. They ensure your guests feel uniquely welcomed and cared for, providing a thoughtful solution to a common party nuisance. This project also makes for a wonderful activity to share with friends or family, creating memories as you craft together. Once made, these charms are easy to store and can be reused for countless future events. To ensure you can easily revisit this delightful craft, be sure to bookmark this page or Pin these ideas to your favorite crafts or party planning boards on Pinterest. Happy crafting and even happier hosting!
Looking for more amazing party ideas and delicious recipes to impress your guests?
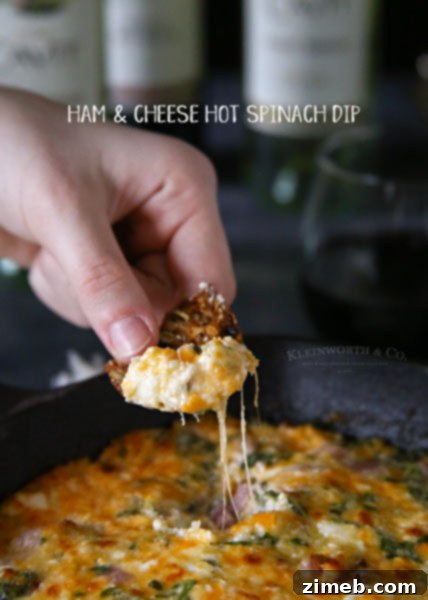
Irresistible Ham & Cheese Hot Spinach Dip
This creamy, savory dip is a guaranteed crowd-pleaser. Perfect for pairing with your favorite crackers or crusty bread, it’s an ideal appetizer that’s both comforting and elegant. It complements a festive spread beautifully, providing a warm and inviting flavor profile that guests will adore alongside their perfectly identified wine glasses.
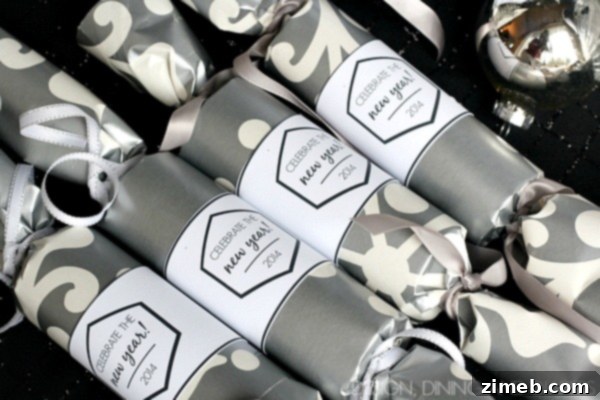
Charming DIY Party Favor Tutorial
Extend your personal touch beyond just wine charms with these easy-to-make party favors. Offering a small token of appreciation to your guests is a lovely way to end an evening. These DIY favors can be customized to match your theme, leaving a lasting impression and a sweet memory of your thoughtfully curated event.
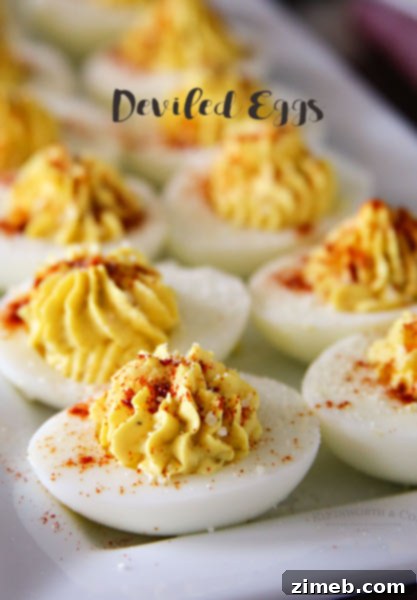
Timeless Traditional Deviled Eggs
A staple at any gathering, deviled eggs are a classic for a reason. This recipe delivers perfectly creamy and flavorful deviled eggs that are always a hit. They are simple to prepare in advance, making your party planning smoother, and their bite-sized nature makes them a perfect companion to a glass of wine and good conversation.
Don’t miss these other fantastic ideas from talented bloggers to enhance your next event:
- 20 of the BEST Cupcake Ideas for Parties & Bake Sales | Kitchen Fun With My 3 Sons
- DIY Festive Paper Honeycomb Garland | House & Home