
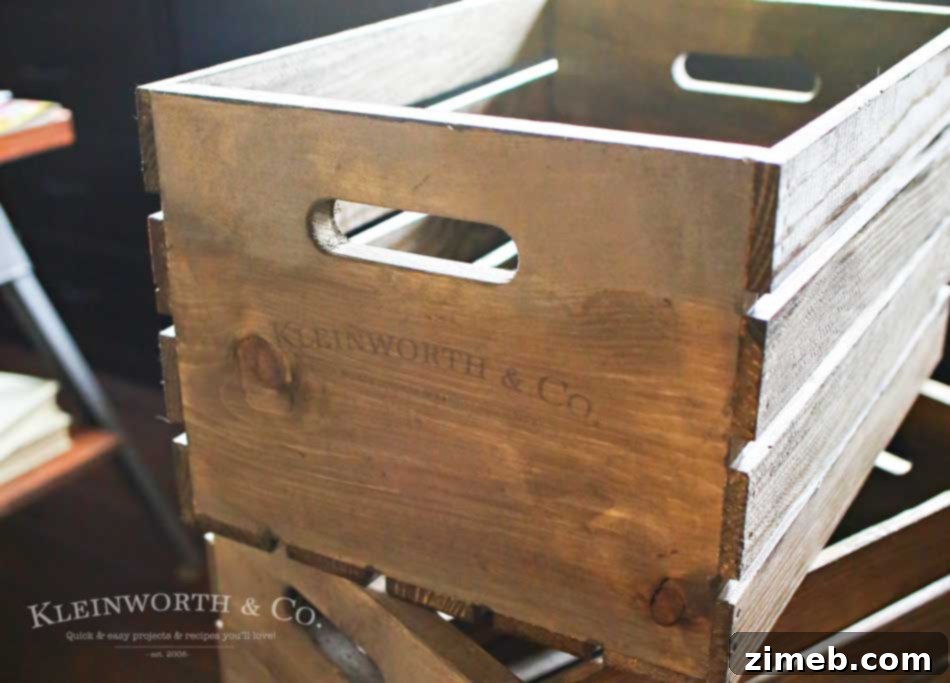
Transform Your Home: Easy DIY Vintage Crates with Image Transfer Tutorial for Farmhouse Decor
Embrace the charm of yesteryear with a touch of modern farmhouse elegance. In today’s design landscape, vintage-inspired decor is experiencing a phenomenal resurgence, especially with the widespread appeal of shows like *Fixer Upper* that champion rustic aesthetics and clever repurposing. If you’re looking to infuse your living space with character, practicality, and that sought-after farmhouse feel, then this DIY project is perfect for you. We’ll guide you through creating stunning **DIY Vintage Crates with an Easy Image Transfer Tutorial** using readily available materials like freezer paper. This simple yet impactful craft allows you to personalize ordinary wooden crates, transforming them into stylish storage solutions or decorative accents that perfectly complement any home decor scheme.
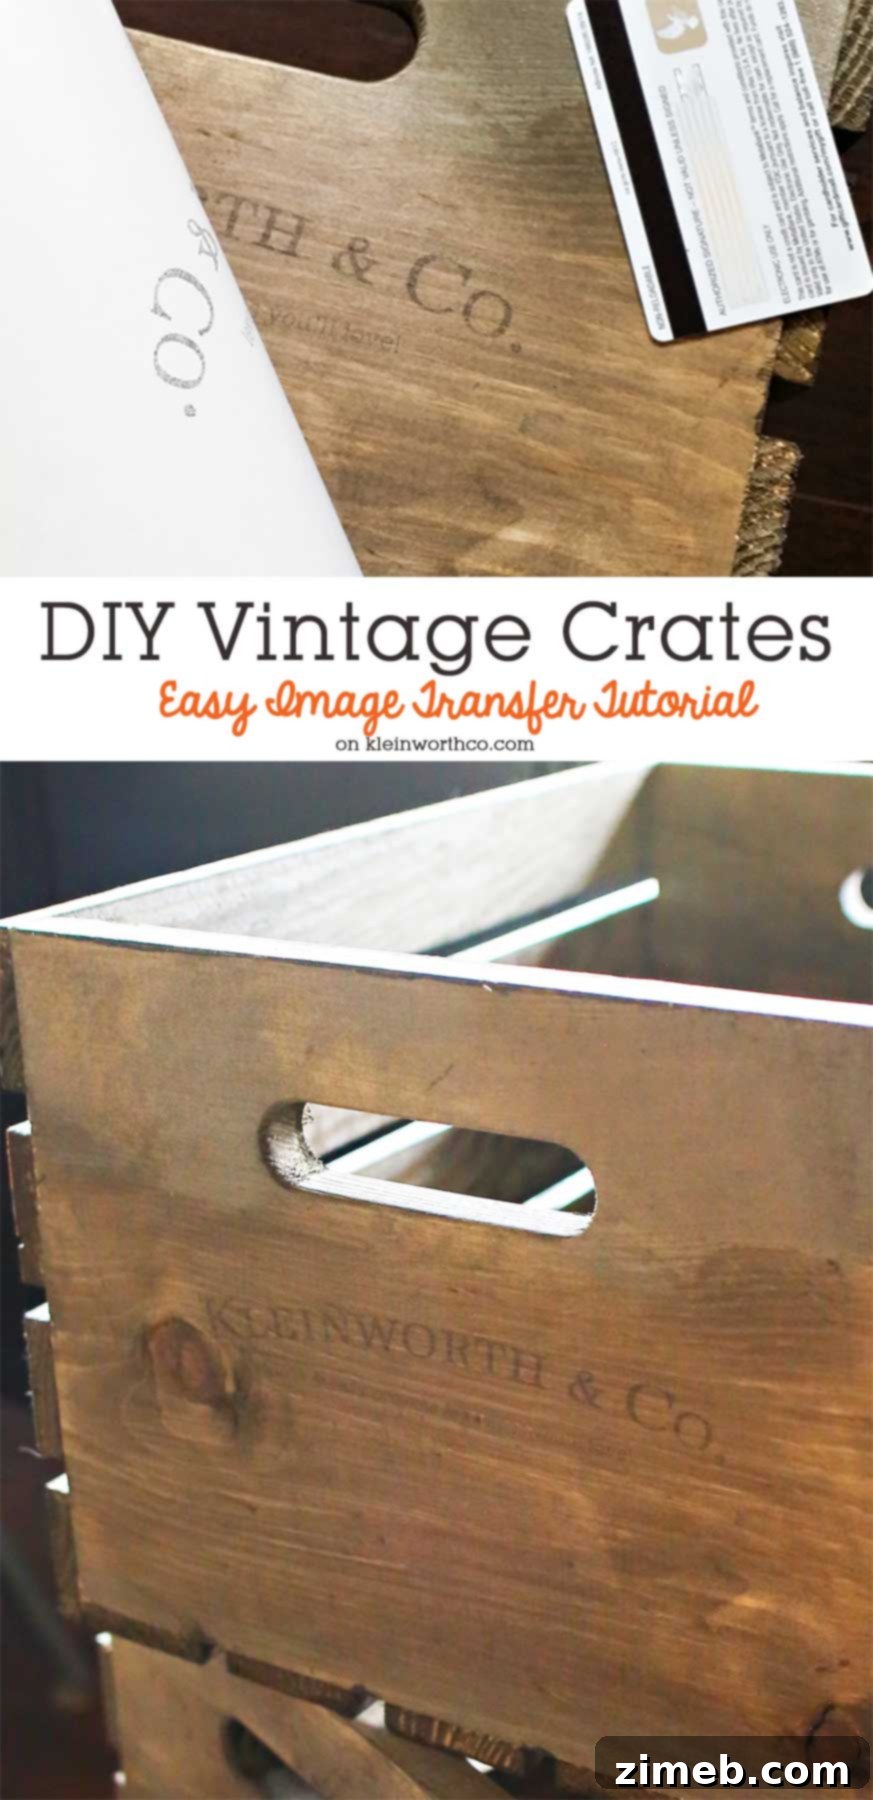
Today, we’re thrilled to have Niklas, my son, share his brilliant idea for adding a unique, vintage flair to his under-bed storage. Take it away, Niklas!
Hey everyone, it’s Niklas, and I’m really excited to share my project with you today. Thanks for visiting our blog!
The weather here in Coeur d’Alene has been wonderfully mild, signaling that spring is just around the corner. With the changing seasons, I felt it was the perfect time to tackle some much-needed spring cleaning. As many of you can probably relate, my biggest challenge during this process is always finding effective and aesthetically pleasing ways to organize my belongings. I wanted a solution that wasn’t just functional, but also added to the overall style of my room.
Fortunately, I have an amazing mom who’s always full of creative ideas and ready to help me brainstorm solutions for these kinds of dilemmas! Together, we decided that creating custom vintage-style crates for under-bed storage would be an excellent choice. Our goal was to achieve a beautiful, weathered look that would blend seamlessly with a rustic or farmhouse theme, moving beyond plain, utilitarian boxes.
After carefully selecting our crates and applying a rich, distressed stain, we realized they needed a personal touch to truly capture that “used” and authentic feel. We thought it would be incredibly cool to transfer our K&Co. logo onto them, making them appear like genuine antique pieces. This image transfer technique instantly elevated the crates from simple storage to decorative statements. Follow along with our detailed, step-by-step tutorial below to see exactly how we brought this vision to life!
Preparing Your Vintage Crates: Materials and Staining
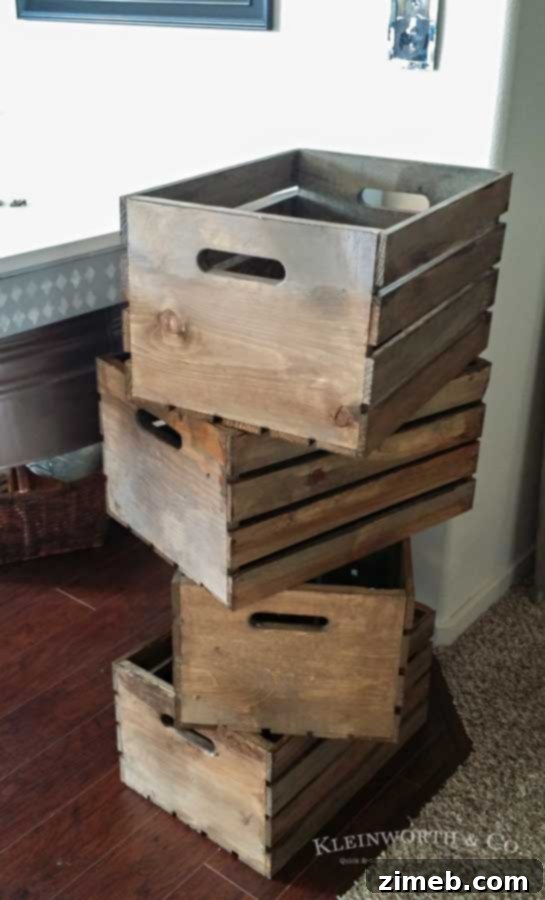
Our journey began with a set of plain, unfinished wooden crates. We sourced ours in their natural, raw wood state from Michaels, which is an excellent starting point for any customization project. If you don’t have a Michaels nearby or prefer shopping online, you can easily find similar Large Wood Crates on Amazon that will work just as wonderfully. The key is to select sturdy, unfinished crates that provide a clean canvas for your creative endeavors.
Once we had our crates, the next crucial step was to give them that desired weathered and aged appearance. For this, we utilized our absolute favorite deck stain, which we happened to have leftover from our easy DIY picnic table project. This particular stain consistently delivers the ideal distressed look that we adore and perfectly complements the vintage aesthetic we were aiming for. The rich color and semi-transparent finish allow the natural wood grain to show through, enhancing the antique effect.
The product we used is **Olympic Maximum Stain + Sealant in One (semi-transparent) in the color “Coffee.”** This stain not only imparts a beautiful, deep hue but also provides a protective sealant, ensuring the durability and longevity of your newly styled crates. Applying it evenly and allowing proper drying time is essential to achieving a professional and lasting finish. Remember to work in a well-ventilated area and follow the manufacturer’s instructions for application and safety.
Mastering the Easy Image Transfer Technique
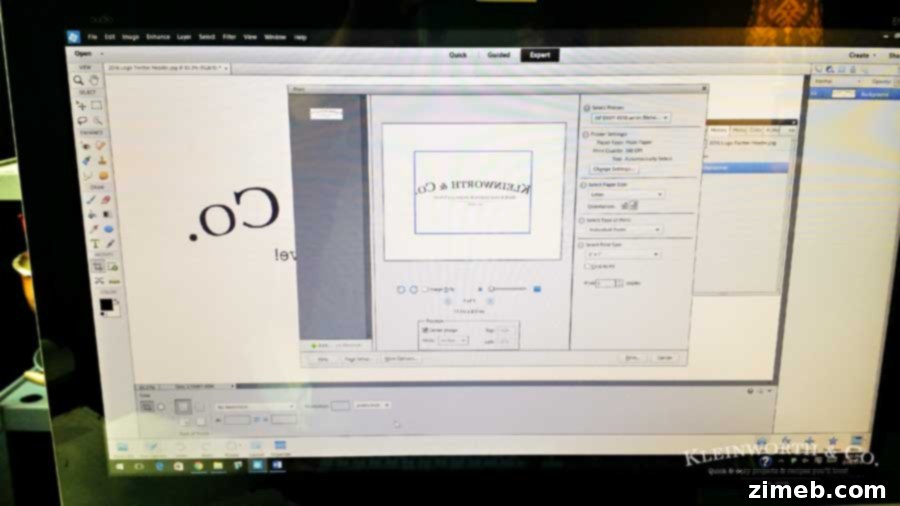
The magic of transforming these crates truly happens with the image transfer technique. This method allows you to add custom logos, vintage graphics, or any desired text directly onto your stained wood, creating a unique and personalized piece. The secret ingredient here is freezer paper, which has a wax coating on one side that helps transfer ink effectively. To begin, first trim your freezer paper to the standard size of an 8.5 x 11-inch sheet, ensuring it will feed smoothly into your inkjet printer. It’s crucial to identify the slick, waxy side of the paper – this is the surface onto which your image will be printed.
Next, you’ll need to prepare your chosen image. Whether it’s a family monogram, a vintage advertisement, or your own custom logo like our K&Co. design, the most important step is to **reverse or mirror the image** in a photo editing program such as Adobe Photoshop, GIMP, or even a simple online editor. This is absolutely critical because when you transfer the image, it will appear in reverse on the crate. Reversing it beforehand ensures that any text or specific designs will be legible and correctly oriented once transferred. Once your image is mirrored, send it to your inkjet printer, making sure to print directly onto the shiny, slick side of the freezer paper. The wax coating prevents the ink from fully absorbing, keeping it wet and ready for transfer.
Applying Your Image Transfer: Step-by-Step
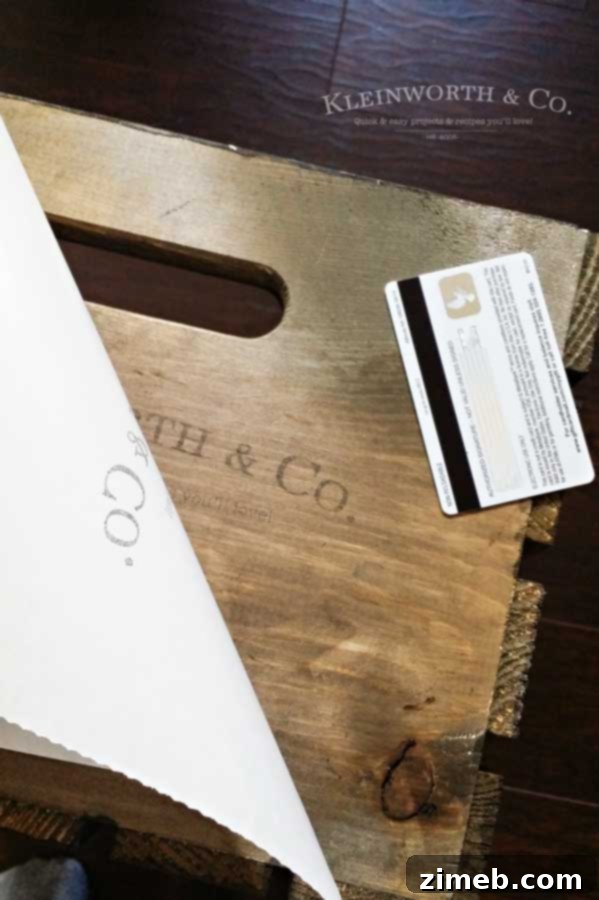
Immediately after printing, while the ink is still wet on the freezer paper, carefully position the paper print-side down onto the desired surface of your stained crate. Ensure it’s exactly where you want the image to appear. Once positioned, take a firm, flat object—like an old gift card, a credit card, or a bone folder—and begin to firmly rub the back of the freezer paper. Apply steady, even pressure across the entire image area. This rubbing action helps to press the wet ink from the freezer paper onto the wood, essentially “stamping” your design onto the crate. The goal is to transfer as much ink as possible, so don’t be shy with the pressure!
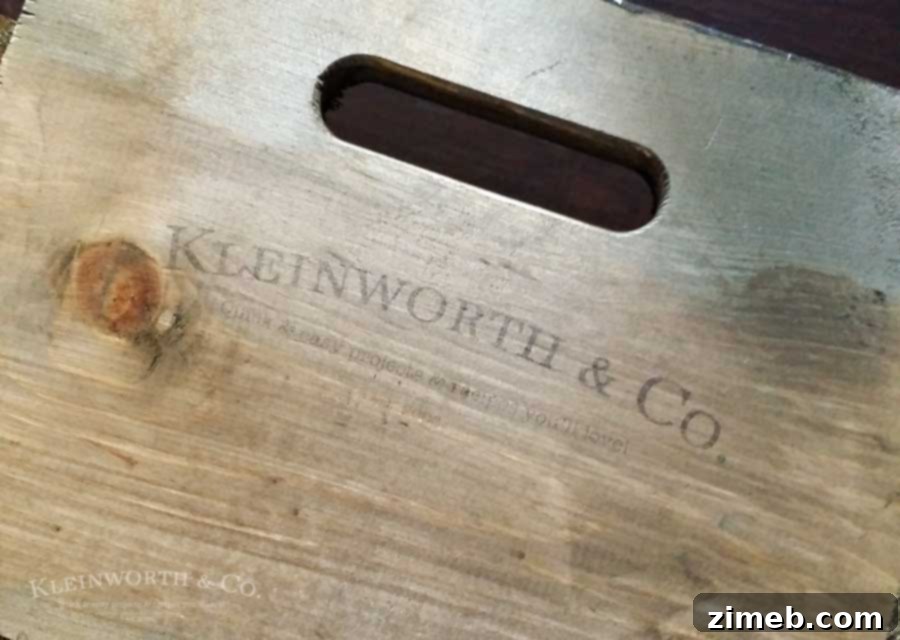
We meticulously continued this process for each of our crates, taking our time to ensure a crisp and clear transfer every time. Patience is key when working with this technique to achieve the best results.
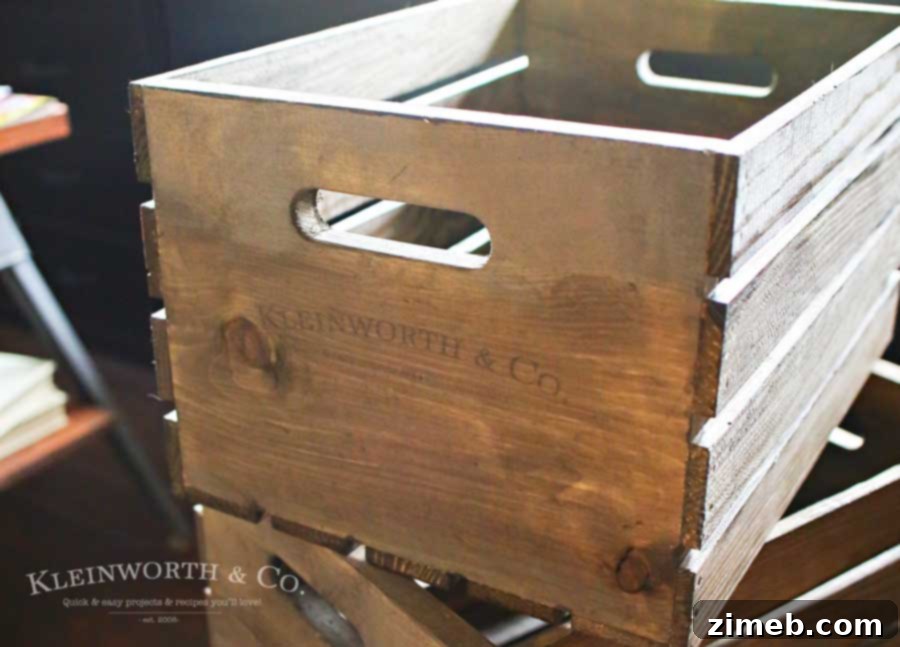
It’s worth noting that achieving a perfect print on the slick surface of freezer paper can sometimes take a couple of attempts, especially with an inkjet printer. The ink, being designed to absorb into porous paper, might smudge slightly on the non-absorbent waxy surface. For our last two crates, we actually printed the images a couple of times to get the desired clarity. If you encounter smudging, try reducing the amount of ink your printer uses (often an option in printer settings) or simply be prepared to print a few test sheets. Despite these minor adjustments, the overall process remains remarkably simple and yields fantastic results, making it a very accessible DIY project for anyone!
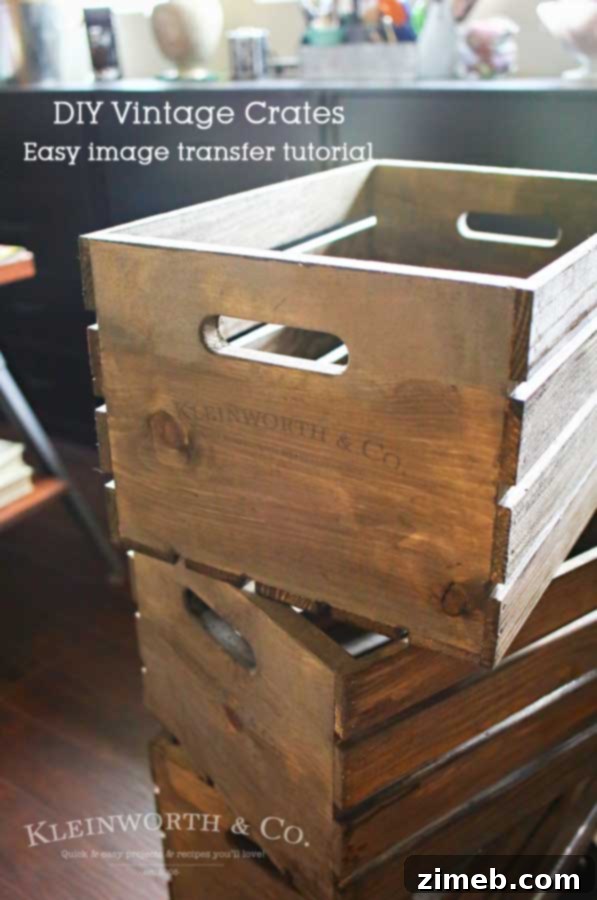
Once our crates were stained and thoroughly dry, the image transfer portion of the project was surprisingly quick. From printing the images to carefully placing and rubbing them onto the crates, the entire transfer process took no more than 30 minutes, bringing our vintage crate vision to life with remarkable speed and ease.

A huge thank you to Niklas for sharing this incredibly fun and effective project! These vintage crates turned out absolutely fantastic, adding both style and practical storage to his room. It’s a wonderful example of how a simple DIY can make a big difference.
*This post contains affiliate links. If you purchase something from a link shown here, it helps to maintain the free content that I share at no additional cost to you.
Looking for more of our fun projects for the home?
If you enjoyed transforming these crates, you’ll love exploring some of our other creative and budget-friendly DIY projects designed to enhance your home’s aesthetic and functionality.
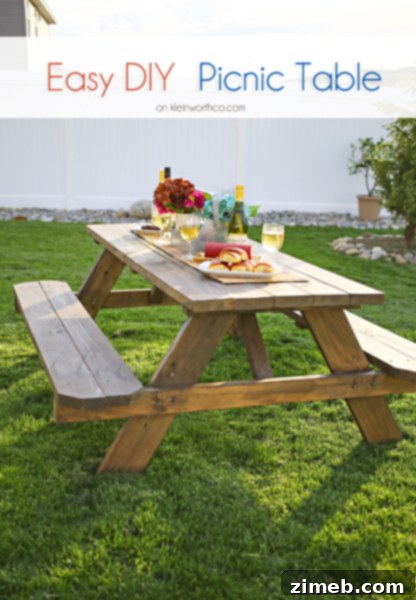
Easy DIY Picnic Table
Industrial Cart Coffee Table
DIY Pallet Console Table
Don’t miss these great ideas from other talented bloggers, perfect for inspiring your next home project:
Funky Junk Interiors – Make your own Old Signs!
Knick of Time – Tiered Stands with Repurposed Bowls and Tins
To see where I am linking today- visit HERE