
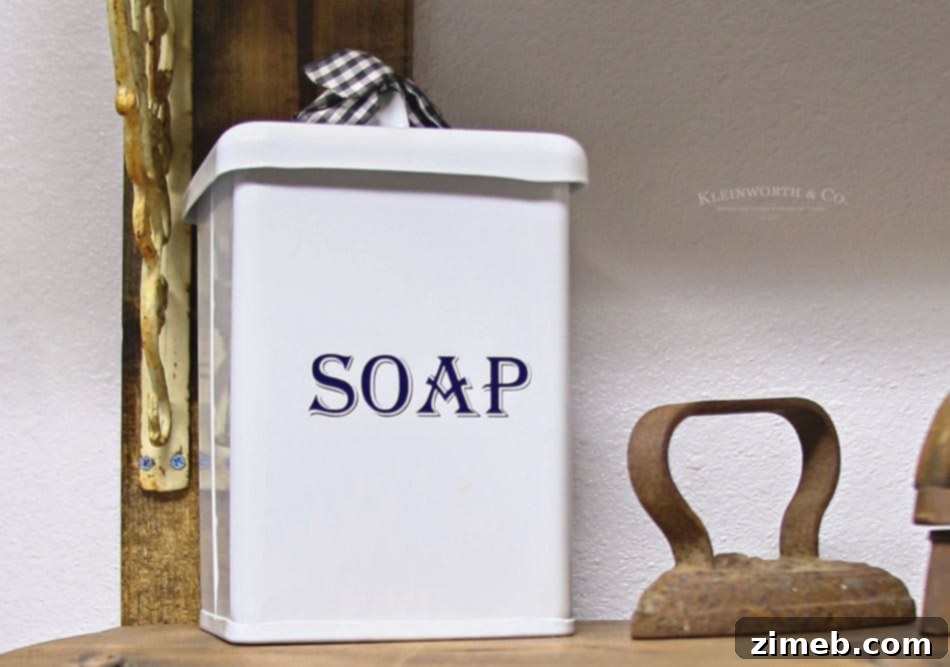
Crafting Charm: Easy Vintage Soap Canister Cricut Tutorial for Your Laundry Room
Transforming a space into a haven of functionality and style often comes down to the smallest, most thoughtful details. This easy-to-follow Vintage Soap Canister Cricut Tutorial allows you to infuse your laundry room with delightful, vintage-inspired storage, making organization both beautiful and effortless. Imagine a perfectly tidy laundry area, where every item has its designated, charming spot. This project offers just that – a simple yet impactful way to elevate your home décor.
The satisfaction of a well-organized and aesthetically pleasing home cannot be overstated. After recently embarking on a significant laundry room makeover, the desire for cohesive and personalized storage became paramount. This DIY endeavor is a testament to how creative crafting tools, like the Cricut machine, can bring unique visions to life, turning ordinary objects into cherished decorative pieces. Let’s dive into how you can create your own vintage soap canister, adding a touch of timeless elegance to your laundry routine.
Transforming Your Laundry Space with DIY Elegance
If you’ve been following our journey, you’ll know that a significant laundry room renovation kicked off the new year. This wasn’t just a simple refresh; it was a comprehensive project involving building, redesigning, and painting, which absorbed a good portion of January. The outcome, however, has been incredibly rewarding. Stepping into a neat, clean, and perfectly organized space, where every item, from laundry detergent to soap, has its designated place, brings an immense sense of calm and efficiency.
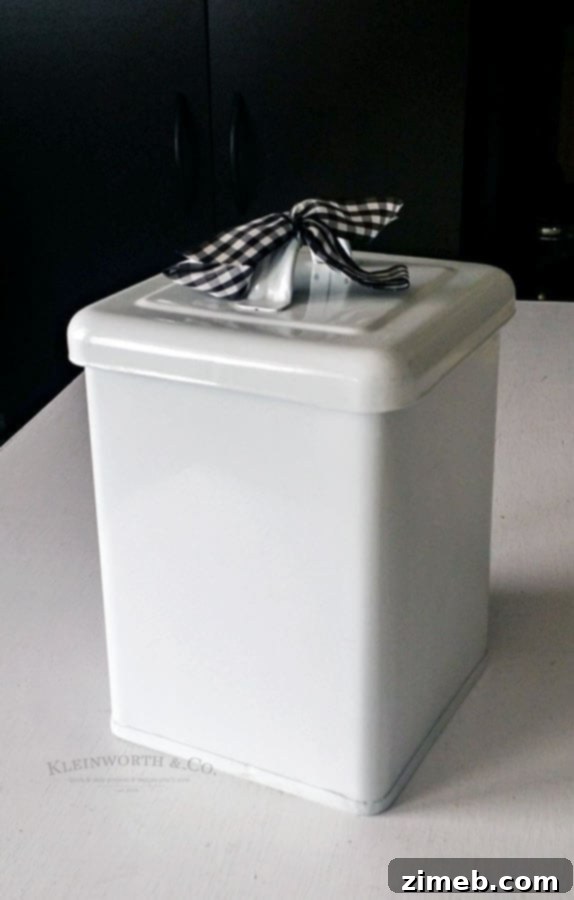
The true joy of any makeover often lies in the decorating phase, once the major structural pieces are in place. For this laundry room, I curated a selection of vintage pieces I had collected over time, specifically envisioning them for this space. Other elements were sourced by “shopping” my own home, reimagining existing items. One such treasure was a lovely white, vintage-inspired canister. I immediately envisioned it adorned with custom text, giving it an authentic vintage feel to perfectly complement the room’s aesthetic. This vision was brought to life with my incredible new Cricut Explore Air™ 2 machine, a tool that has truly revolutionized my crafting experience. Get ready to create your own charming storage with this Vintage Soap Canister Cricut Tutorial!
Essential Supplies for Your Cricut Project
Embarking on any DIY project requires the right tools and materials, and crafting with vinyl is no exception. Having a well-prepared supply list ensures a smooth and enjoyable creative process. For this particular vintage soap canister project, you’ll find that the necessary items are straightforward and readily available, especially if you’re already a Cricut enthusiast. Quality supplies contribute significantly to the professional finish of your final product, ensuring durability and a polished look that stands the test of time.
This post contains some affiliate links. Click here to read my full disclosure policy.
Supply List:
-
Cricut Explore Air™ Machine + Tools & Mats Set: This comprehensive set provides everything you need to get started, including essential tools and cutting mats, making it ideal for both beginners and experienced crafters.
-
Canister: Choose a canister that complements your décor. A ceramic, metal, or even glass canister with a smooth surface will work best for vinyl application.
-
Vinyl: Select a high-quality adhesive vinyl in a color that enhances your vintage theme. Permanent vinyl is recommended for items that might be handled frequently or exposed to moisture.
-
Transfer Tape: Essential for smoothly transferring your cut vinyl design from its backing onto the canister without distortion.
Why the Cricut Explore Air 2 is a Game Changer for Crafters
My journey with Cricut began years ago when my mom acquired one of the very first machines. We were both captivated by its capabilities, even back then. When it came time for me to invest in my own cutting machine, choosing Cricut was a natural decision, especially knowing that my new machine would be compatible with all her inherited cartridges. This backward compatibility was a huge bonus; I was able to insert her old cartridges and seamlessly upload all those design files to my personal account, unlocking a treasure trove of past creativity. This unique feature truly sets Cricut apart, offering both nostalgia and modern functionality.
Beyond cartridge compatibility, the vast library of files available within the Cricut Design Space is simply phenomenal. With over 60,000+ images and countless fonts, the creative possibilities are endless, making it incredibly easy to start designing your first project, no matter your experience level. But what truly makes the Cricut Explore Air 2 a standout for me is its incredible convenience. The Bluetooth connectivity means I can design from the comfort of my desk or even on my tablet, while the machine remains plugged in on my studio table, where I have ample space for cutting and assembling. This flexibility is a huge advantage, allowing for a streamlined workflow and unparalleled creative freedom. It truly goes without saying, my excitement for the Cricut Explore Air 2 is immense!
Step-by-Step Vintage Soap Canister Cricut Tutorial
Step 1: Design Your Vintage Label or Choose from the Library
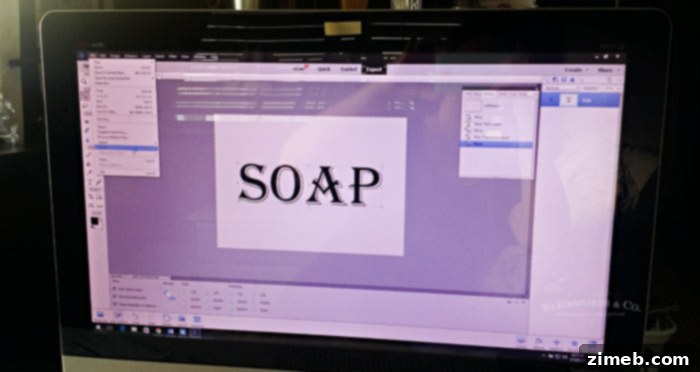
The first creative step involves deciding on your design. If you’re looking to personalize your canister completely, you can create your own image. I crafted my design in Photoshop, and the most delightful challenge was selecting the perfect vintage-inspired font to convey the desired aesthetic. Once your design is complete, simply save it as a JPG file – it’s incredibly straightforward! For those who prefer a quicker start or are new to design software, you have two excellent alternatives: you can either download the specific image I used for this project (link provided further down), or you can explore the extensive Cricut Design Space. The Design Space offers an incredible array of pre-made images and fonts, making it effortless to find something that suits your style without needing to design from scratch.
Step 2: Uploading Your Design to Cricut Design Space
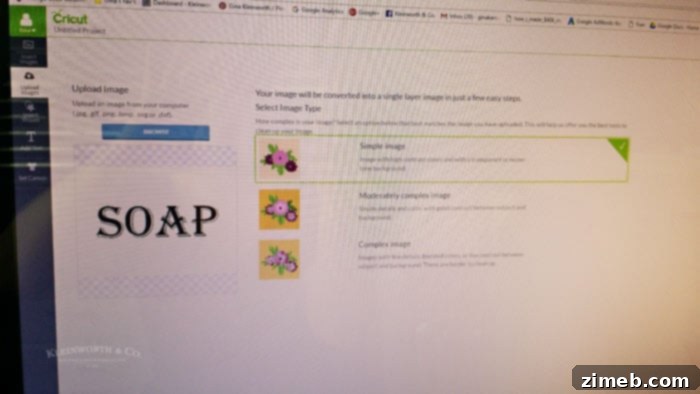
Once you have your desired image, whether custom-made or downloaded, the next step is to bring it into the Cricut Design Space. This process is seamless and intuitive. Begin by choosing “New Project” within the software. From there, you’ll select the option to upload your image. For text-based designs like our vintage soap label, you can typically choose the “simple image” option during the upload process, as it efficiently handles designs with clear outlines. This is also the point where you could browse the incredible Cricut Design Space Image Library, which boasts an impressive collection of over 60,000+ diverse images. This vast resource makes it incredibly easy for anyone, regardless of their design expertise, to find inspiration and create stunning projects in no time. Simply click to select the image you wish to use, and the software will effortlessly insert it into your new project document, guiding you through any further steps. The versatility of the Cricut platform, allowing you to use custom designs, cartridges, or its expansive library, truly opens up a world of creative possibilities.
Step 3: Refine Your Image – Erase Unwanted Areas
After uploading your design, you’ll enter the image refinement stage. This is where you meticulously select and erase any areas of the image that you do not want your Cricut machine to cut. For a text-based design, this typically means removing the background or any extraneous elements, leaving only the letters or shapes you intend to transfer to your canister. The Design Space interface makes this process user-friendly, allowing you to clearly define the cut lines. Precision here ensures that your final vinyl design is clean and accurately reflects your vision. Take your time during this step to ensure all unwanted parts are eliminated, as this directly impacts the weeding process later on.
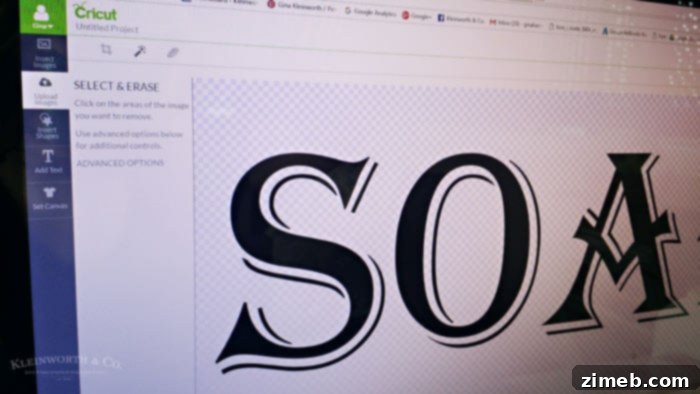
Step 4: Position Your Design for Cutting Accuracy
With your image refined, the next critical step is to accurately position it on the virtual cutting mat within the Design Space. This digital representation of your physical cutting mat is crucial for ensuring your vinyl is cut correctly and efficiently. You’ll need to adjust the size and placement of your design on the screen to precisely match the dimensions of the vinyl piece you plan to use. This step is vital for minimizing material waste and ensuring that your design fits perfectly on your canister. Double-check your measurements and position to avoid any miscuts, ensuring your vintage label is exactly as you envisioned.
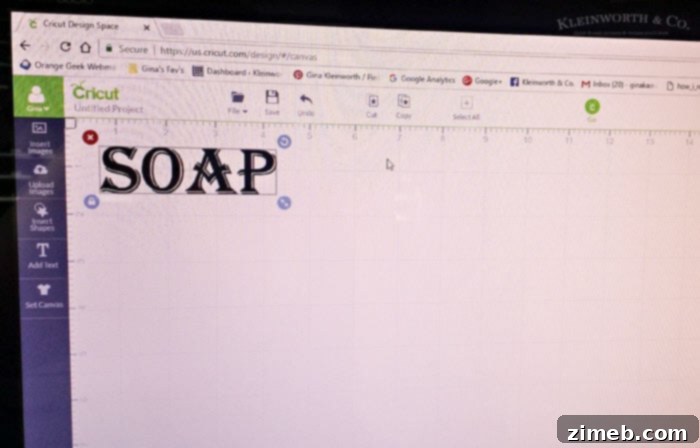
Step 5: Prepare Your Materials for Cutting
Now it’s time to prepare your physical materials for the cutting process. Carefully select your chosen vinyl and position it smoothly and securely onto your cutting mat. Ensure there are no bubbles or wrinkles, as these can affect the precision of the cut. A clean, flat surface is essential for the Cricut machine to perform its best. Depending on your mat’s stickiness and the vinyl type, you might use a brayer to ensure full adhesion. Once the vinyl is firmly in place, it’s ready to be loaded into your Cricut Explore Air 2.
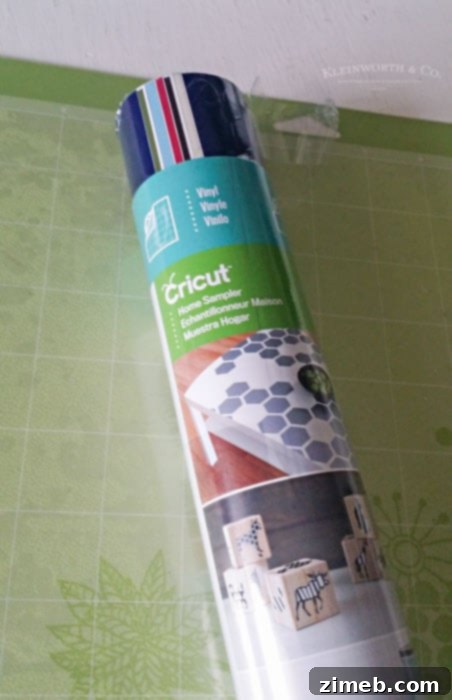
Step 6: Configure Your Cricut Machine and Initiate Cut
With your vinyl loaded, turn your attention to the Cricut machine’s settings. Crucially, set the machine’s dial to “Vinyl” to ensure the blade applies the correct pressure for a clean cut. For quicker projects like this one, you can also select “Fast Mode” within the Design Space software; this accelerates the cutting process without compromising accuracy for most vinyl projects, saving you valuable time. Once your settings are configured, simply press “GO!” on your machine or click the corresponding button in the software. There’s a tangible excitement in watching the Cricut machine spring to life, knowing it’s about to transform a flat sheet of vinyl into a beautiful, intricate design.
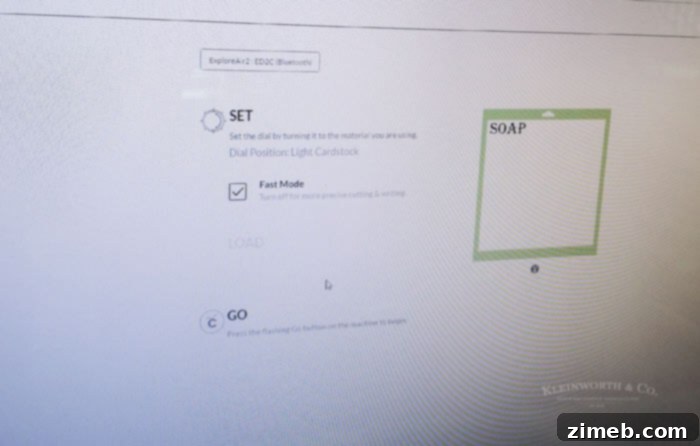
Step 7: Witness the Magic of Precision Cutting
The Cricut Explore Air 2 performs its magic with impressive speed and precision. Watch as the machine’s blade glides across the vinyl, expertly cutting out your vintage text design. The efficiency of this process is truly remarkable; your intricate design is cut in a matter of moments, ready for the next stage of application. The quiet hum of the machine and the swiftness of the blade never cease to impress, especially when you consider the complexity it can handle.
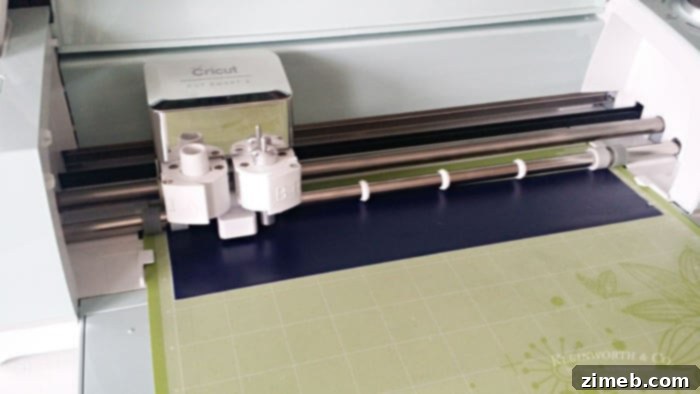
Step 8: Inspect Your Perfectly Cut Vinyl
Once the cutting cycle is complete, carefully remove your cutting mat from the machine. You’ll see your design precisely cut into the vinyl. The crisp lines and accurate shapes are a testament to the Cricut’s capabilities. This step is about visually confirming that your design has been perfectly executed before moving on to the meticulous process of weeding. Take a moment to admire the clean cut; it sets the stage for a flawless final application.
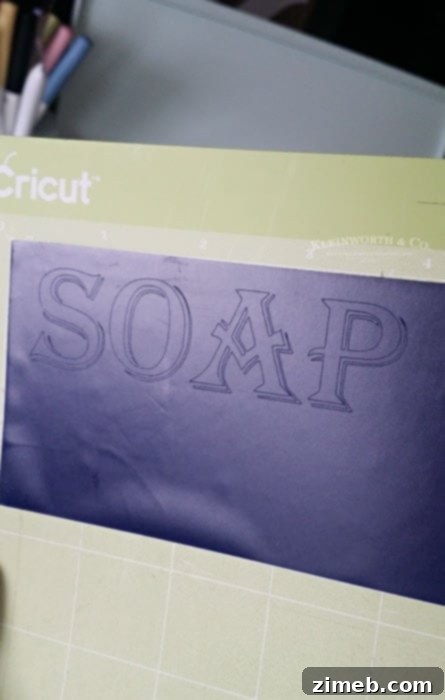
Step 9: Weeding and Transferring Your Vinyl Design
This stage requires patience and a steady hand. First, carefully remove the cut vinyl from the cutting mat. Because the cuts for this vintage text were quite detailed, I opted for a slightly unconventional yet effective method: placing the vinyl onto the canister *before* weeding. To do this, place a piece of transfer tape over the top of your cut vinyl design. Press firmly to ensure good adhesion, then carefully peel the vinyl’s backing away, exposing the sticky side of your design adhered to the transfer tape. Now, meticulously position the transfer tape (with the vinyl design attached) onto your canister exactly where you want it. Rub the design firmly with a scraper tool or a credit card to ensure it adheres strongly to the canister surface. Slowly and carefully peel off the transfer tape, making sure the vinyl design remains on the canister. If any part of the design lifts, simply press the transfer tape back down and rub again before attempting to peel it off.
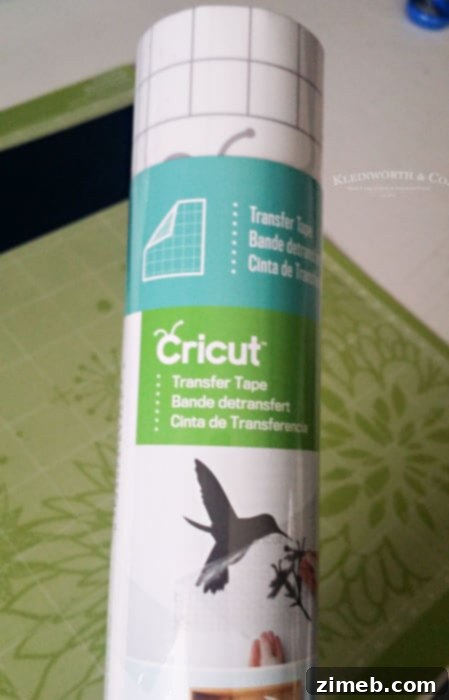
Once the design is on the canister, grab your weeding tool – a fine-tipped tool perfect for precision. With extreme care, begin removing all the unwanted vinyl pieces from within your cut design. This includes the inner parts of letters (like the center of an ‘O’ or ‘A’) and any negative space around your text. This can be a time-consuming part of the process, especially for intricate designs, so remember to be patient and work slowly. Rushing can lead to tearing the vinyl or accidentally removing parts of your design. The weeding tool helps you lift and peel away tiny vinyl scraps with ease, revealing your beautiful, crisp design underneath. This meticulous attention to detail is what gives your project a professional, polished finish.
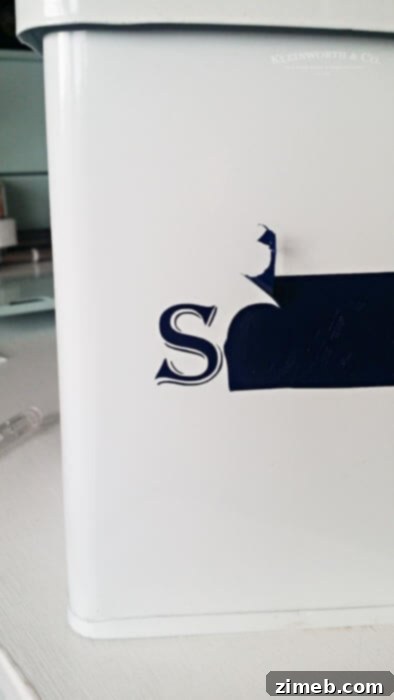
Step 10: The Finishing Touch – Admire Your Craft!
And there it is! Your custom-designed vintage soap canister is complete. The moment you step back and see the finished product is incredibly satisfying. The simple vinyl text transforms an ordinary canister into a unique, vintage-inspired piece that looks like it’s been lovingly collected over time. It beautifully reminds me of my cherished vintage bread bin, seamlessly fitting into the overall aesthetic. I absolutely adore how this project turned out and, more importantly, how effortlessly it came together thanks to the Cricut machine. It’s a testament to how accessible and rewarding DIY crafting can be.
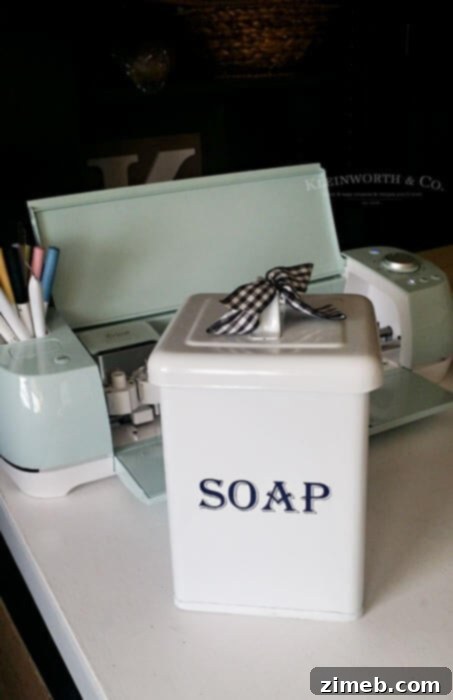
Styling Your New Vintage Storage Canister
The beauty of this vintage soap canister lies not just in its functionality but also in its ability to enhance your home’s aesthetic. Placed strategically in your laundry room, it instantly elevates the space, adding character and warmth. For instance, it looks absolutely stunning nestled beside my collection of vintage cast iron irons, creating a cohesive and charming display that speaks to a bygone era. Consider pairing it with other rustic elements, natural textures, or antique finds to amplify its vintage appeal.
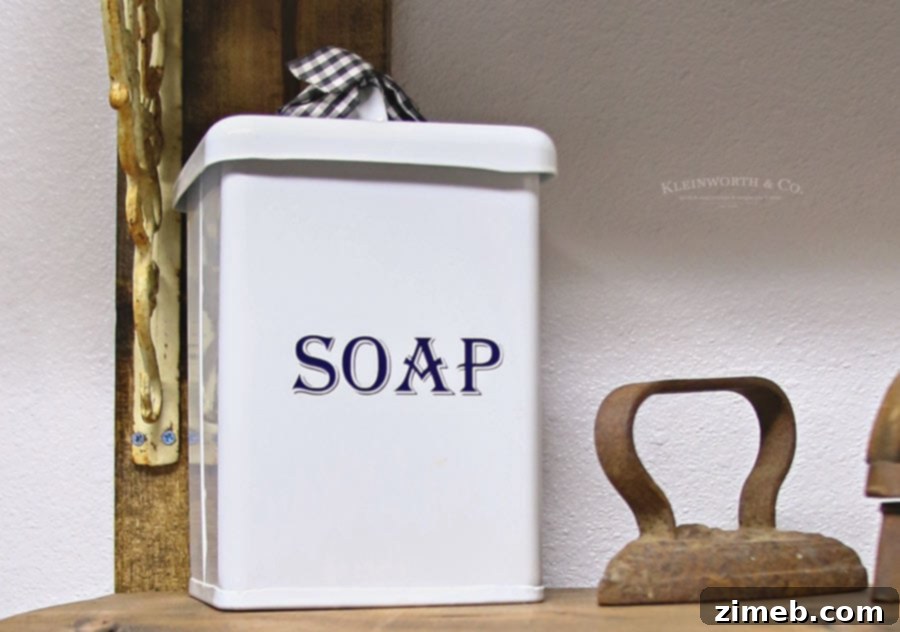
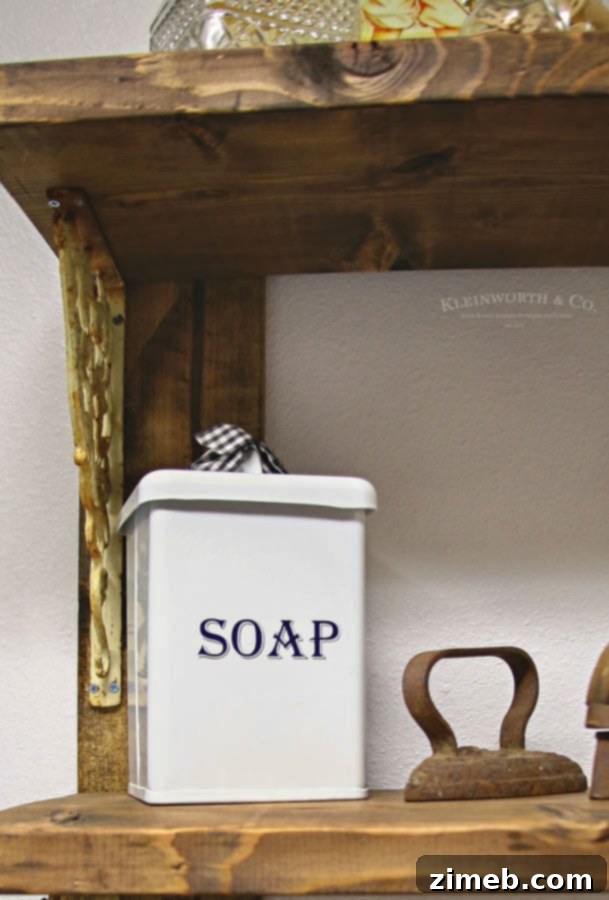
Beyond its decorative charm, this canister serves as perfect laundry room storage for all those little essentials that often clutter countertops. Think clothes pins, stray buttons, dryer sheets, small detergent pods, or any other tiny items you need to keep organized and out of sight. It’s the ideal solution for hiding these necessities in a pretty, purposeful container, ensuring your laundry room remains both beautiful and highly functional. This project truly embodies the fusion of form and function, proving that even everyday items can be transformed into delightful pieces of decor.
Unleash Your Creativity with Cricut!
I had so much fun making this project! I am loving my new Cricut Explore Air™ 2 machine and highly recommend it for anyone looking to add a personalized, DIY touch to their home decor and organization. The ease of use, combined with its powerful features, makes creative projects like this not just possible, but incredibly enjoyable. Don’t hesitate to dive into the world of Cricut and explore the endless possibilities for custom crafting!
Get Started: Download Your Custom Design!
DOWNLOAD IMAGE FILE HERE
Looking for More Fun Projects for the Home?
If this vintage soap canister project has sparked your DIY inspiration, you’re in luck! There’s a world of creative possibilities waiting to transform your living spaces. From rustic accents to personalized apparel, the realm of home crafting offers endless opportunities to express your unique style. Explore these additional projects for more ideas to refresh and personalize your home:
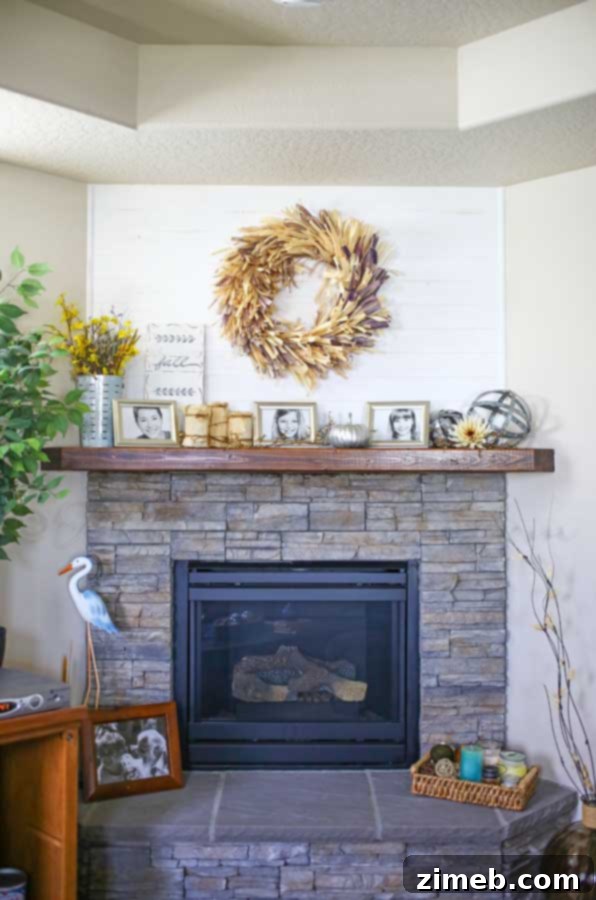
DIY Shiplap Fireplace
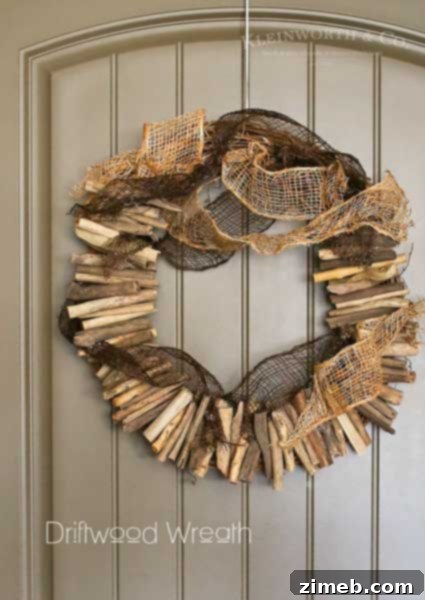
Driftwood Wreath

But First….. Coffee – DIY T Shirt
Don’t miss these insightful ideas from fellow bloggers who are also passionate about crafting and home decor. Their unique perspectives and projects can offer even more inspiration and techniques for your next DIY adventure:
- Cricut Explore Air 2 vs the Silhouette Cameo 3 from Create Craft Love
- Pencil Pouch from Happiness is Homemade
These resources offer a deeper dive into the world of creative cutting machines and practical, charming projects that you can easily recreate at home. Happy crafting!
To see where I am linking today – visit HERE
This is a sponsored conversation written by me on behalf of Cricut. The opinions and text are all mine.