
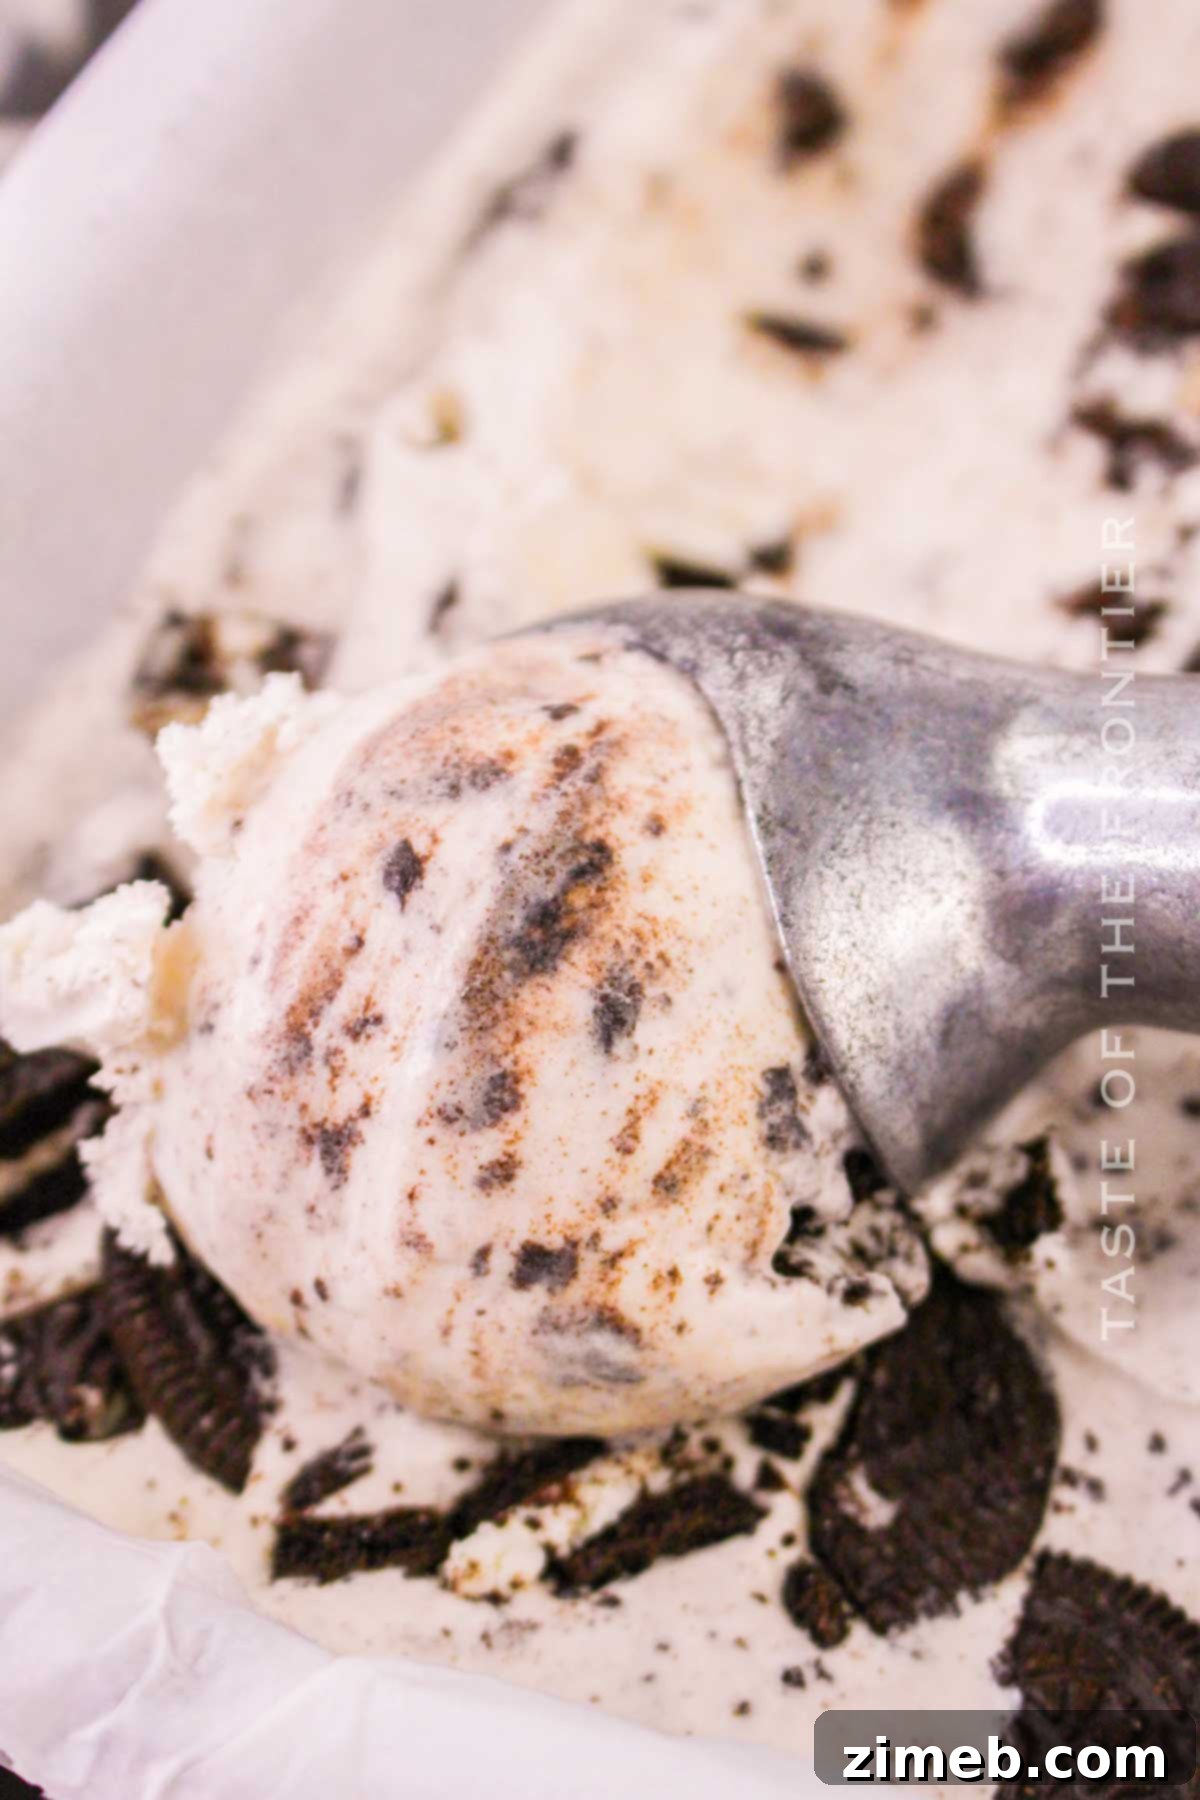
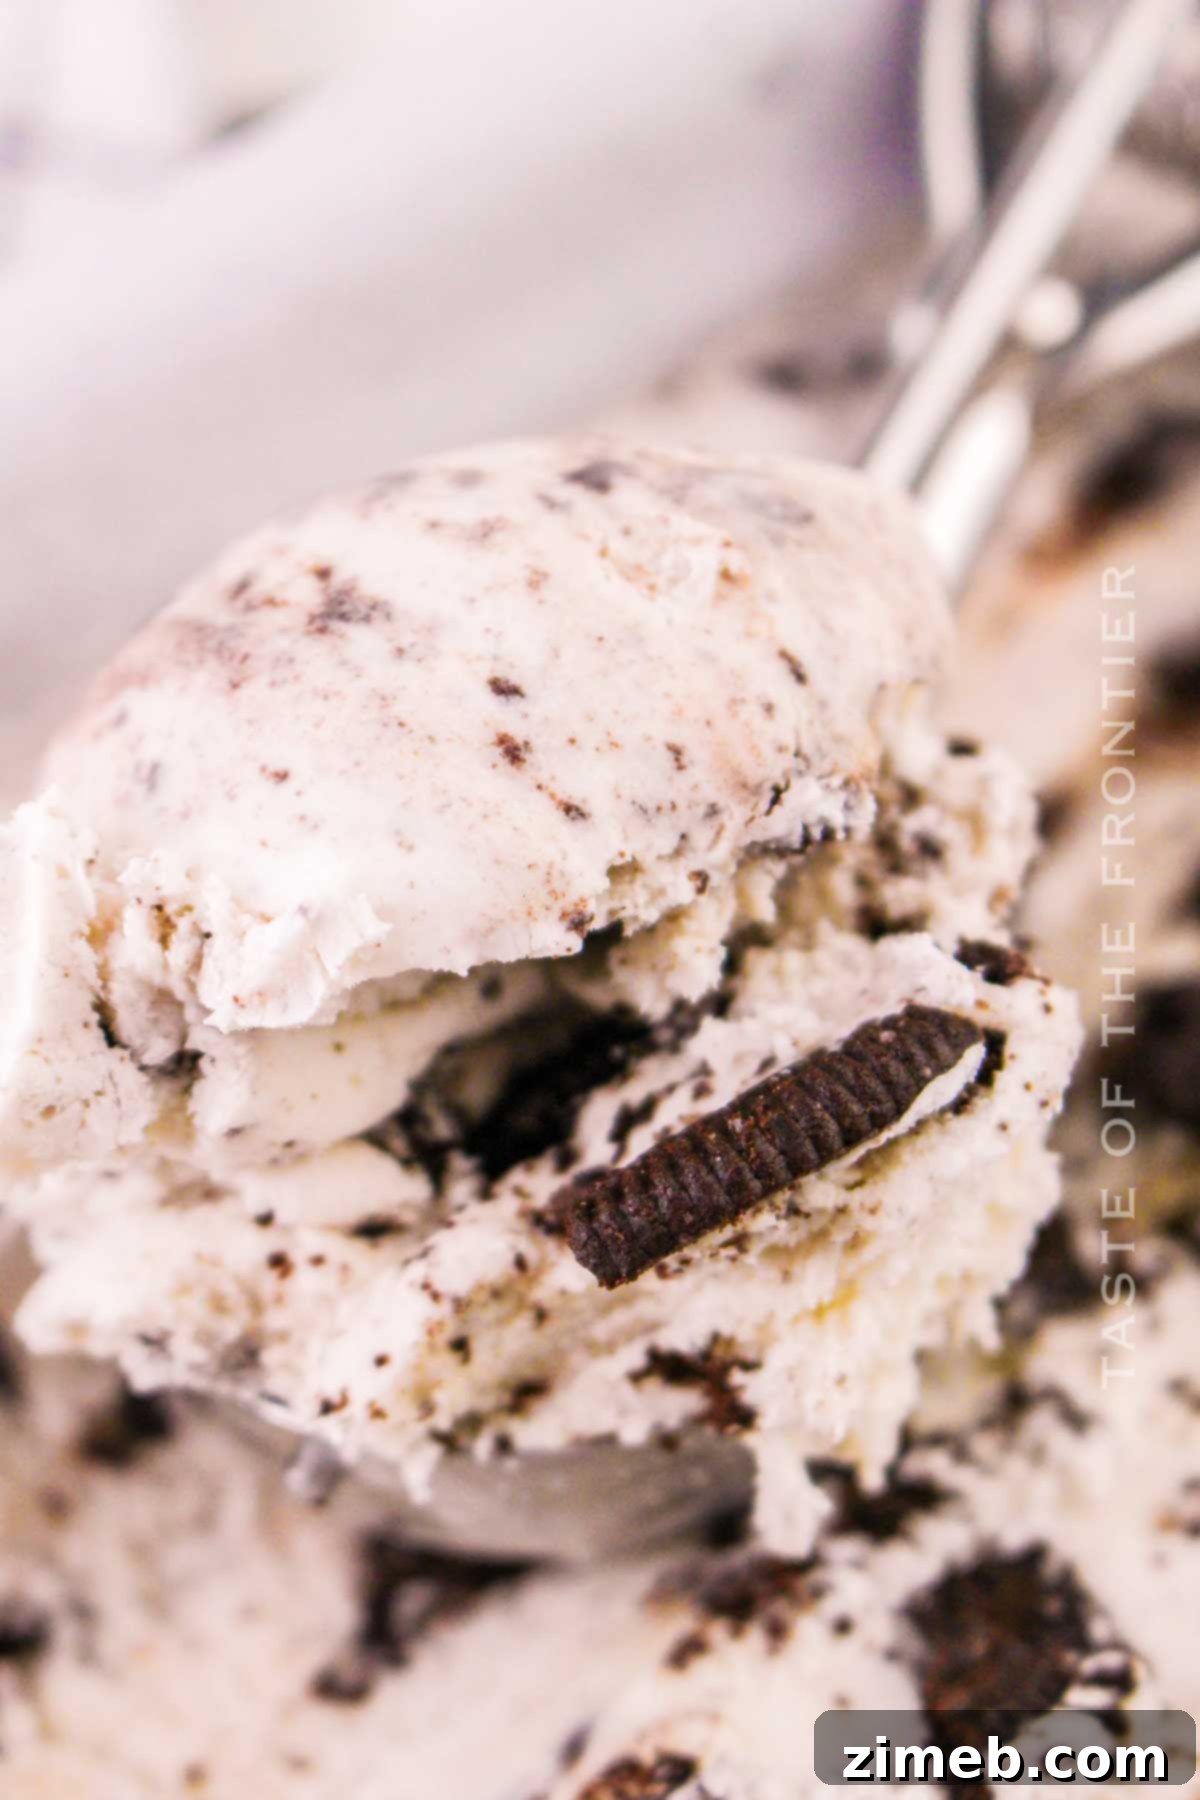
There’s a reason why some flavors become iconic, and few capture the hearts (and taste buds) quite like Cookies and Cream. Imagine a luxuriously creamy vanilla ice cream, generously studded with delightfully crunchy, dark chocolate cookie pieces. This isn’t just any dessert; it’s a symphony of textures and flavors that transports you straight back to childhood. While store-bought versions are readily available, nothing truly compares to the fresh, vibrant taste and perfect scoopability of homemade cookies and cream ice cream. This comprehensive guide will walk you through crafting your own batch using an ice cream maker, ensuring a smooth, rich, and utterly irresistible treat that will have everyone asking for seconds. Get ready to create a dessert experience that elevates the classic to extraordinary.
Whether you call them Oreos or simply chocolate sandwich cookies, the magic lies in their contrast with the sweet, velvety vanilla base. Our recipe focuses on delivering that perfect balance: a silky, churned ice cream base that provides a cool, sweet foundation, beautifully complemented by the satisfying bite of cookie chunks. It’s a simple pleasure, yet profoundly satisfying, making it the ideal frozen dessert for any occasion, from a casual weeknight treat to a celebratory gathering.
Gina’s Recipe Rundown: Unveiling the Magic of Homemade Cookies and Cream
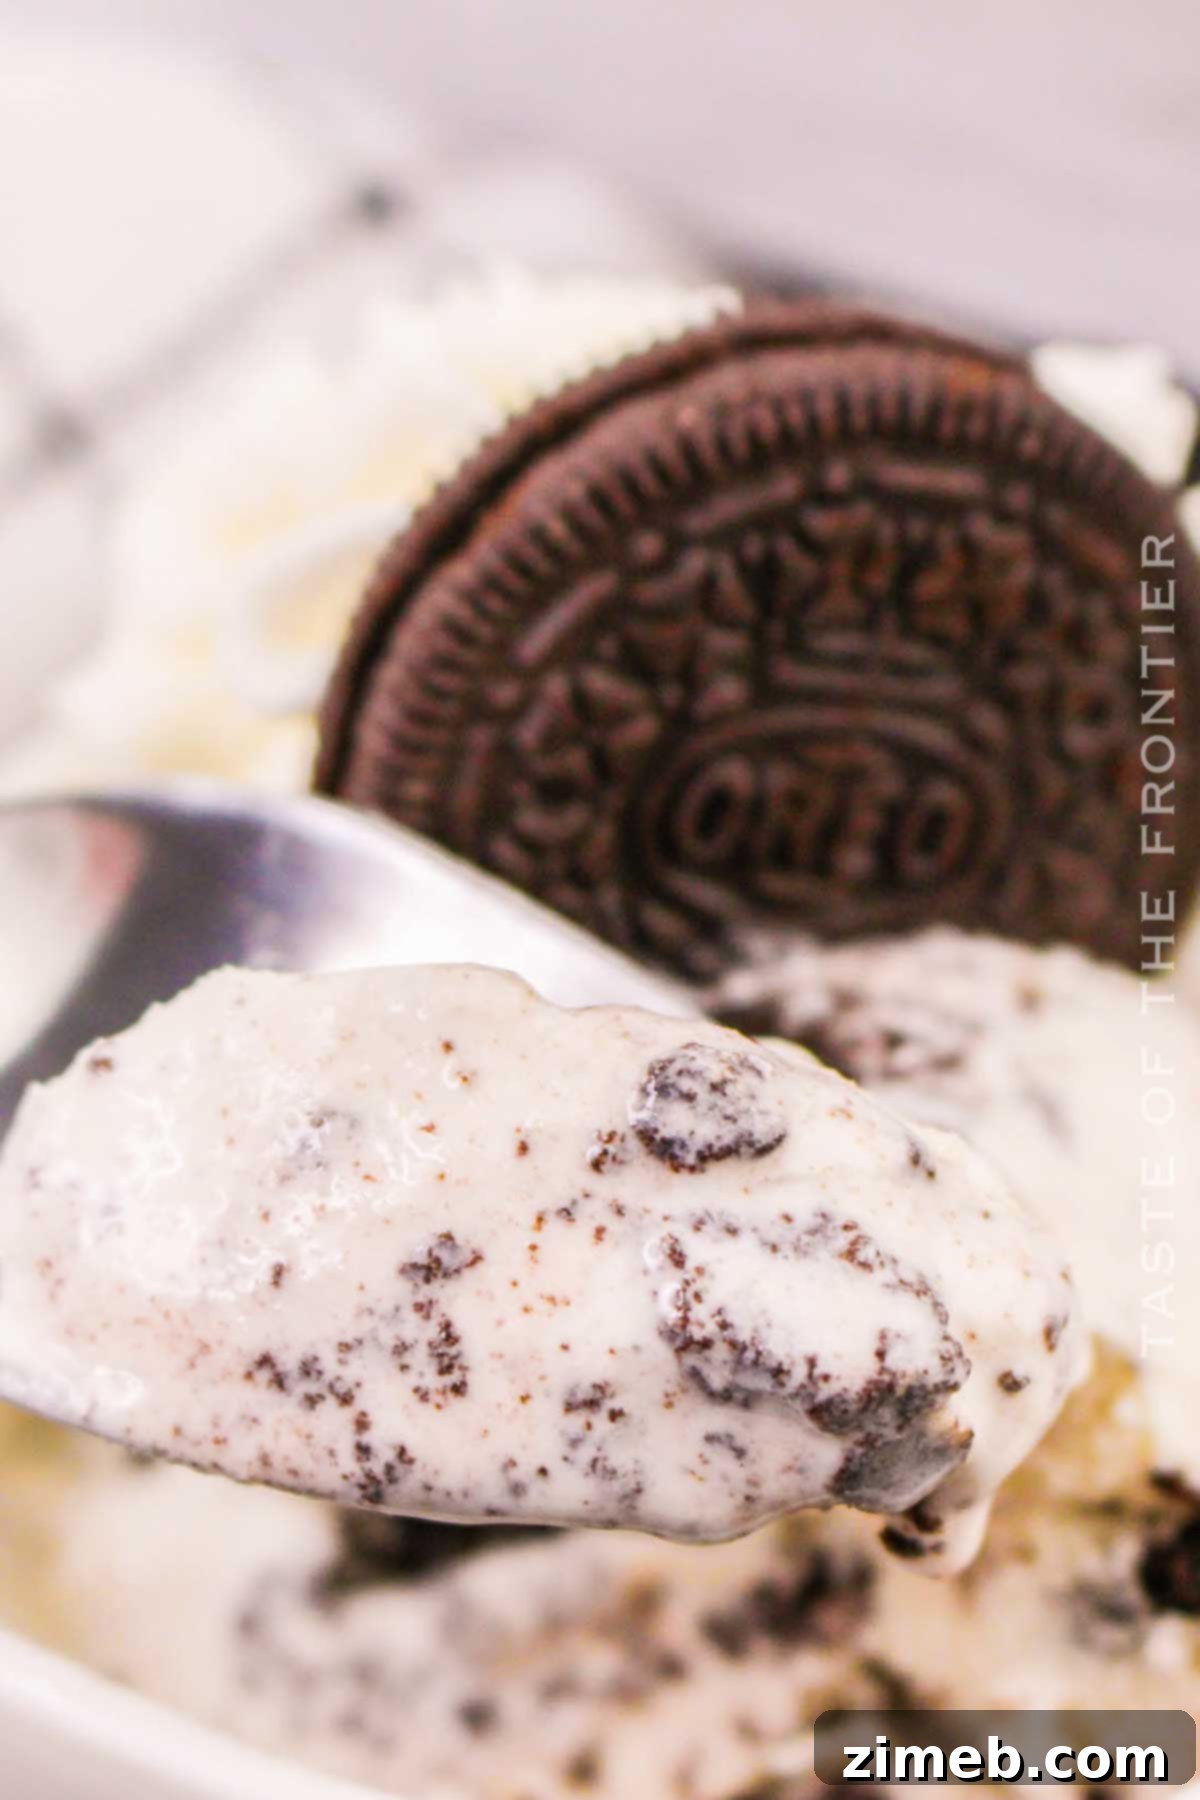
Texture: Prepare yourself for an exquisite sensory experience. Our homemade cookies and cream ice cream boasts a luxuriously silky, churned consistency that melts delightfully on your tongue. This velvety base is wonderfully contrasted by generous chunks of chocolate cookies, which remain slightly crunchy and provide a satisfying chew. Each spoonful offers a perfect interplay between smooth and textured, ensuring a dynamic and enjoyable bite every single time.
Taste: This recipe delivers the quintessential cookies and cream flavor profile, elevated to new heights. You’ll savor an ultra-creamy, sweet vanilla foundation that perfectly balances the rich, slightly bitter notes of the chocolate cookie pieces. It evokes that classic, comforting nostalgia of a beloved childhood treat, but with a depth and freshness that only a homemade version can achieve. It’s a harmonious blend that’s simply irresistible.
Ease: Don’t let the idea of homemade ice cream intimidate you! This recipe is surprisingly straightforward, especially with the help of an ice cream maker. The process involves just a few simple steps: quickly whisking together the base ingredients, allowing them to chill, churning in your machine, incorporating the cookie chunks, and finally, a bit of freezing time. It’s a rewarding culinary adventure that’s accessible to home cooks of all skill levels, culminating in a perfectly creamy, homemade delight.
Why I love it: I am absolutely smitten with this ice cream because it embodies everything I adore about a classic dessert. Its irresistibly creamy texture, coupled with an abundance of perfectly sized cookie chunks, creates a truly addictive experience. It tastes precisely like the nostalgic cookies and cream treat we all grew up with, but the homemade touch elevates it to something even more special – fresh, flavorful, and made with love. It’s a guaranteed crowd-pleaser and a personal favorite!
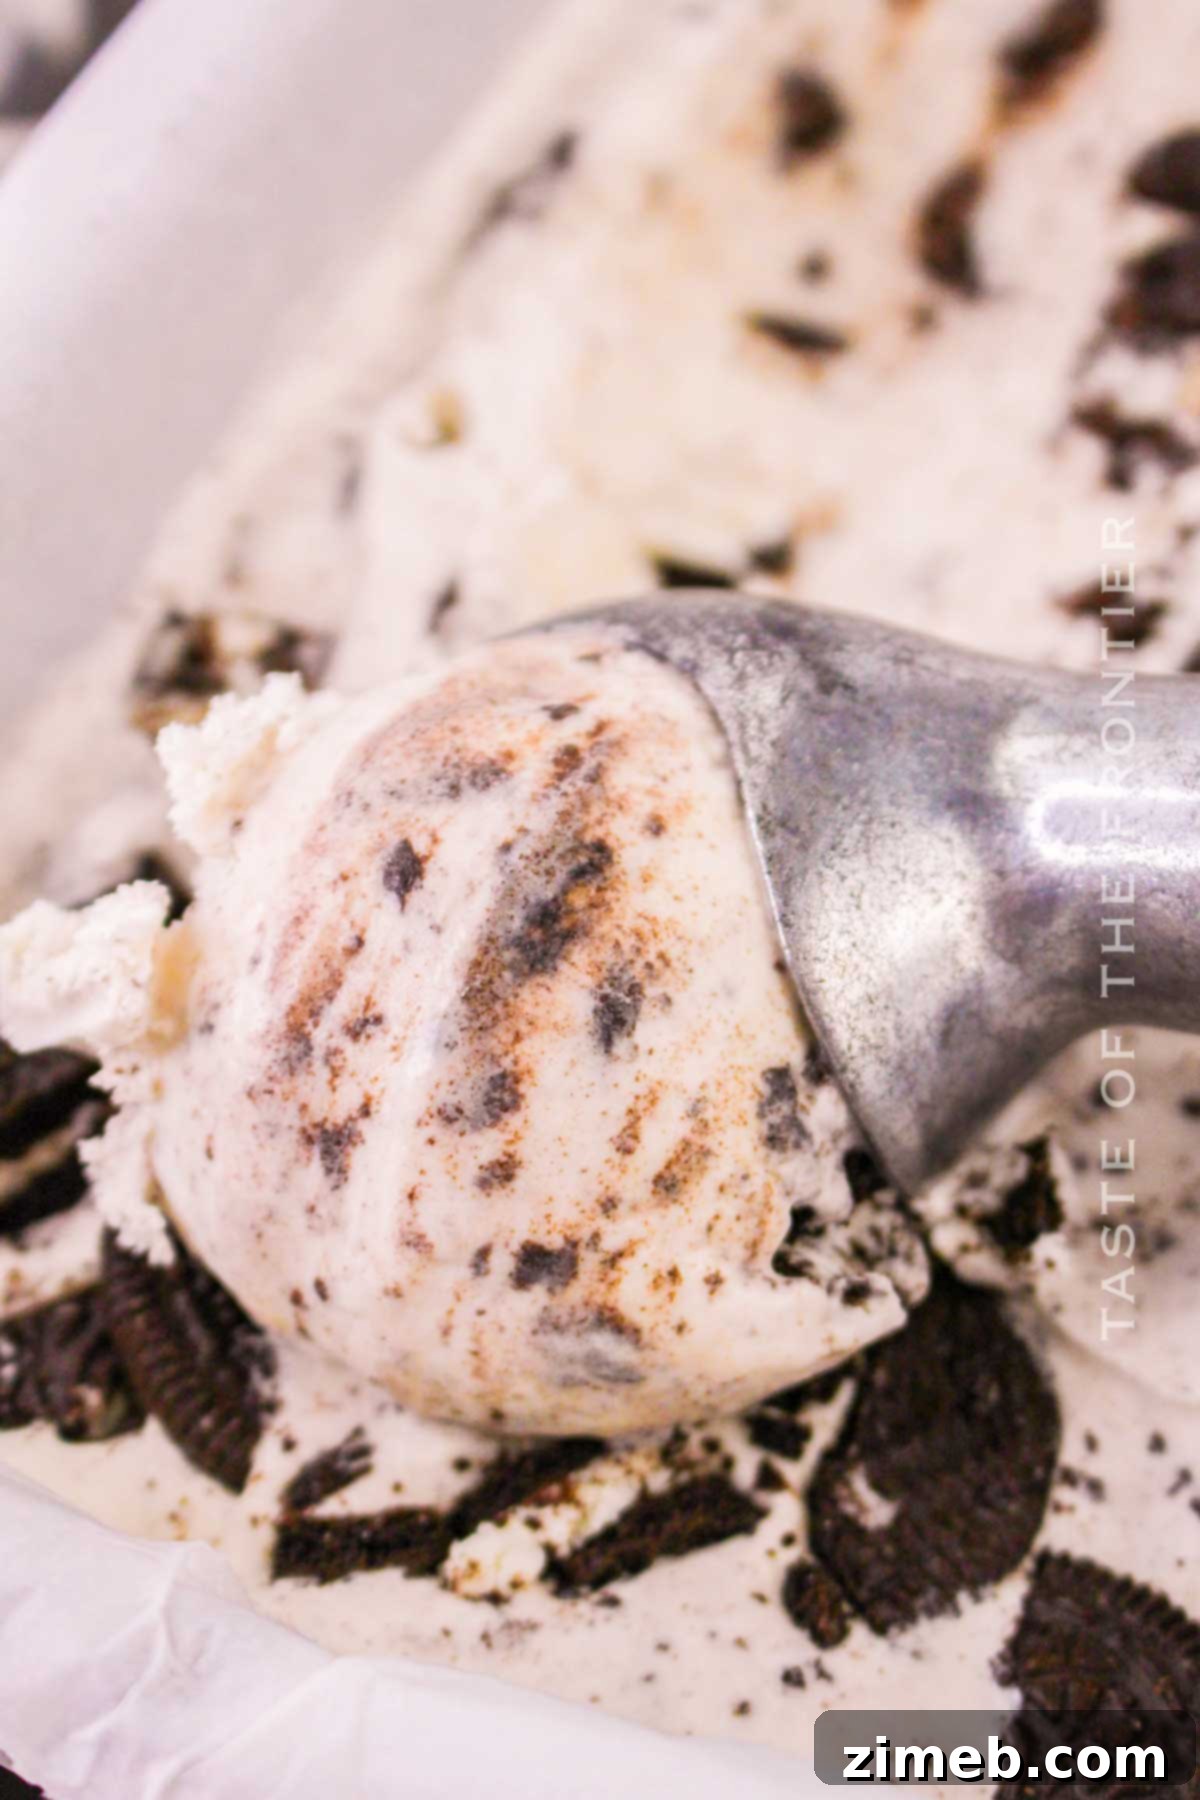
For those who harbor a deep affection for both crunchy cookies and luscious ice cream, this easy frozen dessert offers an experience far superior to any store-bought alternative. There’s an undeniable charm and freshness to homemade ice cream that simply cannot be replicated by commercial varieties, and this cookies and cream recipe exemplifies that perfectly.
The “Cookies ‘n Cream” flavor has captivated palates worldwide since its inception in the late 1970s, quickly climbing the ranks to become one of the best-selling ice cream varieties. And honestly, it’s no surprise! Its appeal lies in its ingenious simplicity and irresistible deliciousness. The combination of sweet vanilla and chocolatey crunch creates a delightful dance for your taste buds, leaving you craving more with every spoonful.
So, if you find yourself constantly wanting another scoop, why not take matters into your own hands and create your very own homemade version? The wonderful perk of being an adult is having the freedom to indulge in all the ice cream you desire, and this recipe empowers you to do just that, whenever the craving strikes!
Embark on a culinary journey to create an ice cream that’s not just a dessert, but a delightful experience. Our detailed guide ensures that even first-time ice cream makers can achieve professional-quality results, yielding a treat that’s perfectly balanced in sweetness, texture, and flavor. Say goodbye to mediocre pints and hello to your new favorite homemade frozen delight.
Why This Homemade Cookies and Cream Ice Cream Recipe is a Game Changer
- Effortless Simplicity with Only 6 Core Ingredients: You’ll be amazed at how quickly you can whip up this incredible ice cream using just six fundamental ingredients. What’s even better? Four of these are likely staples you already have in your pantry and refrigerator, making this a convenient and accessible recipe for anyone to try. No complicated shopping trips or obscure items needed!
- Remarkably Quick Prep Time – Under 20 Minutes! Forget recipes that demand hours of active cooking. This ice cream base comes together in barely 20 minutes, involving just a few easy steps. After your initial mixing and a brief chill period, your ice cream maker and freezer take over, doing all the hard work for you. The most challenging aspect of this entire process will be patiently waiting for it to freeze to perfection!
- Your Personal Stash of Gourmet Ice Cream: Imagine having a perfectly crafted, indulgent batch of homemade ice cream readily available in your freezer. This recipe empowers you to create your own personal supply, ready for you to dive into on a scorching summer day, a cozy movie night, or whenever a sweet craving hits. It’s pure dessert luxury, made precisely to your liking.
- The Timeless Allure of Vanilla Chocolate Flavors: The classic combination of rich vanilla and decadent chocolate is a pairing that truly never gets old. This recipe celebrates that enduring appeal by featuring a creamy vanilla base, beautifully complemented by the iconic crunch of chocolate sandwich cookies. While I adore chocolate, using a vanilla base with chocolate cookies offers a delightful contrast that prevents it from becoming overly rich, striking that perfect balance for a universally loved treat.
- A Super Simple, Egg-Free Base – No Cooking Required! For those who prefer to avoid raw eggs or complex custard bases, this recipe is a dream come true. We keep our creamy ice cream light and straightforward; there’s absolutely no cooking, tempering, or whisking of egg yolks involved. This not only simplifies the process significantly but also ensures a wonderfully fresh and clean vanilla flavor that isn’t masked by a rich custard, proving that incredible taste doesn’t require extra fuss.
Essential Ingredients for Your Perfect Homemade Cookies and Cream Ice Cream
This irresistible Oreo ice cream recipe requires just five fundamental ingredients for the ice cream base, plus your chosen chocolate sandwich cookies. It’s an incredibly simple dessert that’s perfect for satisfying those sweet cravings, even after a busy weeknight dinner.
- Heavy Cream (Strictly Full Fat): This is the cornerstone of our ice cream, providing the luxurious thickness, unparalleled softness, and creamy texture that makes homemade ice cream so special. Opting for full-fat heavy cream (at least 36% milkfat) is crucial here, as it delivers the richness and body needed to prevent ice crystals and ensure a smooth, indulgent scoop. For a no-churn alternative, sweetened condensed milk can be a fantastic “secret ingredient” that negates the need for an ice cream maker, by providing both sweetness and creaminess.
- Whole Milk (Full Fat): Pairing whole milk with heavy cream creates a perfectly balanced and silky-smooth ice cream mixture. The full fat content of the milk contributes to the overall richness and helps achieve that desirable melt-in-your-mouth consistency. You could also consider using half-and-half for an even more pronounced milky and creamy flavor, adding another layer of indulgence to your base.
- Granulated Sugar: Essential for sweetening the cream base and balancing its inherent richness. Granulated sugar dissolves beautifully into the cold mixture, ensuring a consistently sweet flavor throughout the ice cream. Adjust the amount to your personal preference, though the ¾ cup specified strikes a delightful balance with the sweetness of the cookies.
- Pure Vanilla Extract or Vanilla Bean Paste: Vanilla is the heart of this classic ice cream base. Pure vanilla extract offers a warm, aromatic foundation, while vanilla bean paste provides a more intense flavor and adds beautiful specks of vanilla bean for a gourmet touch. Feel free to experiment with other extracts like almond or peppermint for a unique twist, but for the authentic cookies and cream experience, high-quality vanilla is key. For a special adult-only treat, a dash of vanilla bean crush (containing vanilla seeds and alcohol) can add an extravagant kick.
- Pinch of Salt: Never underestimate the power of salt in dessert cuisine! A small pinch of salt is vital for enhancing and balancing the sweetness of the sugar and vanilla, bringing all the flavors together in harmony. It prevents the ice cream from tasting one-dimensionally sweet, instead creating a more complex and satisfying profile.
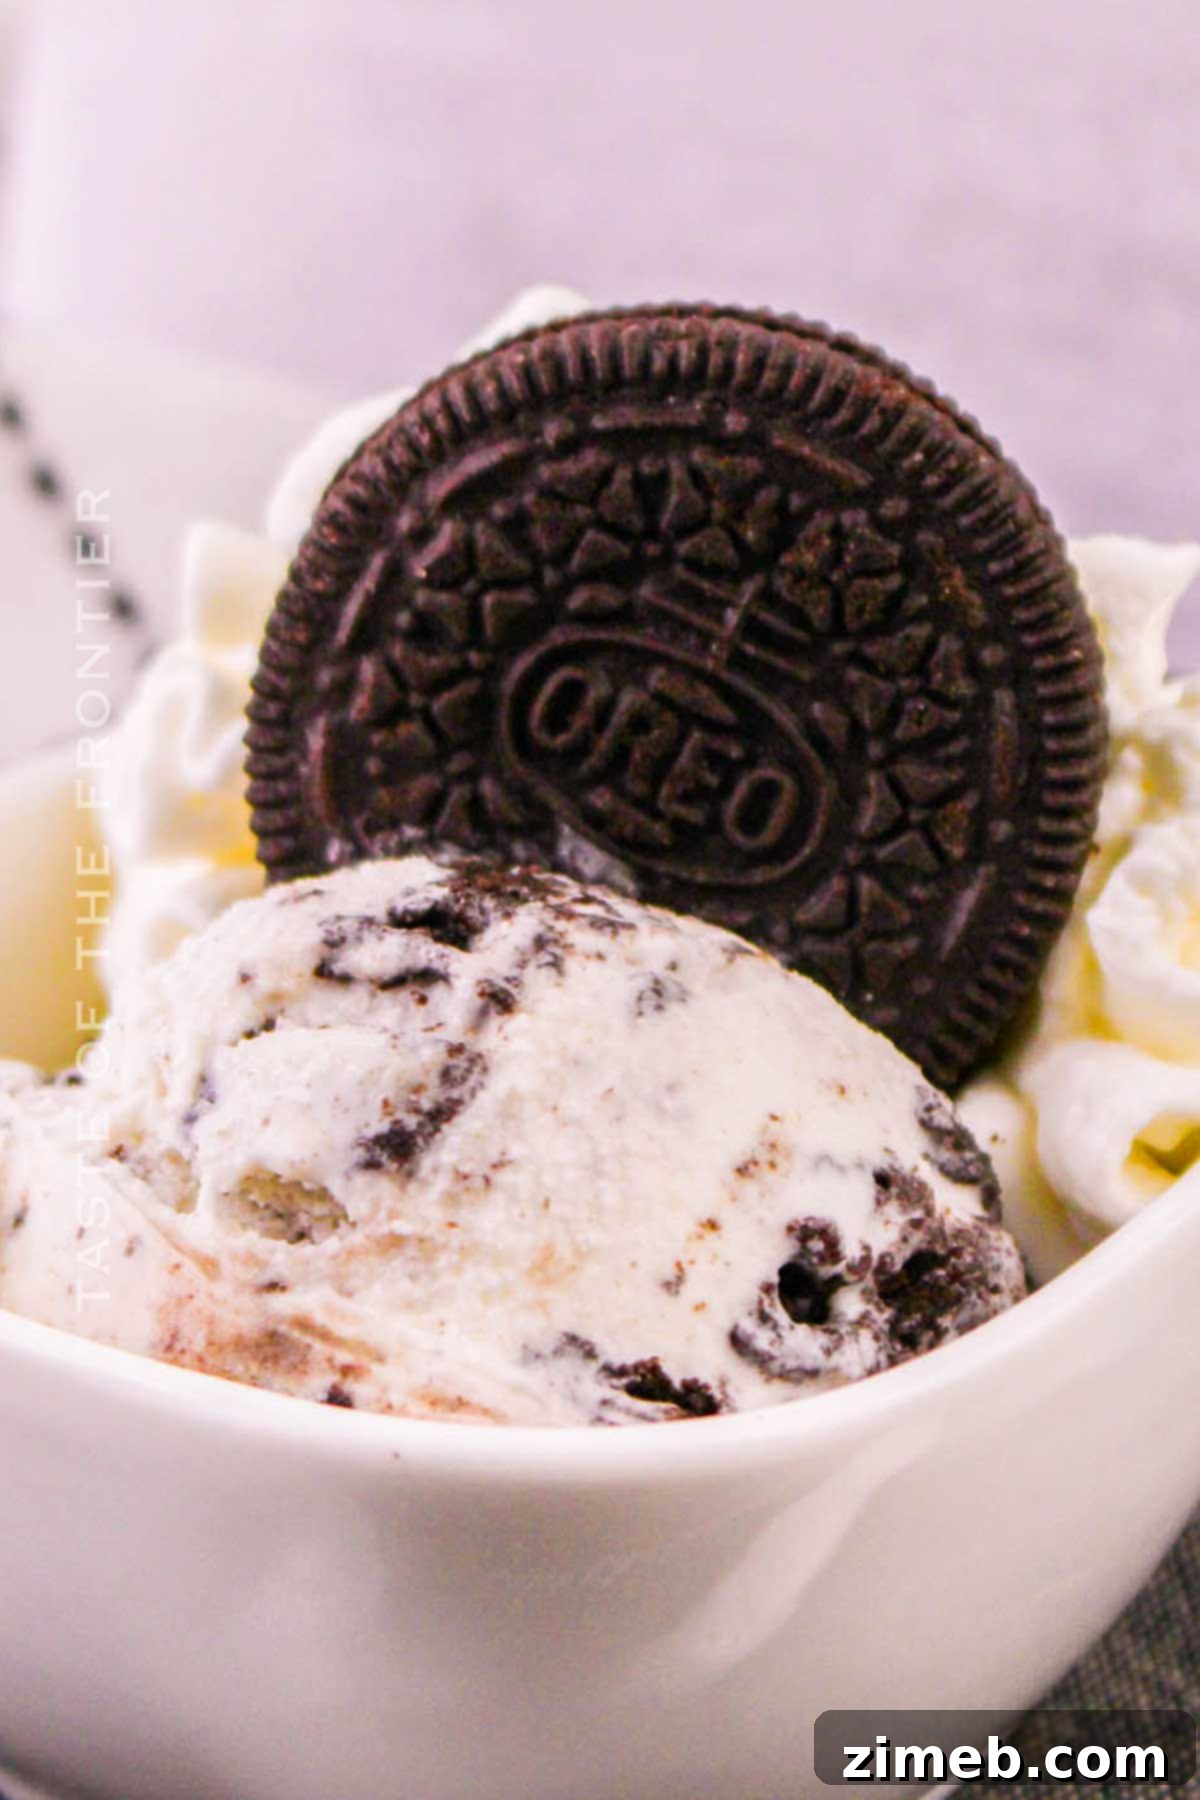
- Oreo Cookies (Roughly Chopped): The star of the show! I highly recommend using classic Oreo cookies, roughly chopped into large chunks. These larger pieces don’t get too soft or cakey when folded into the ice cream, retaining their satisfying crunch and structural integrity. The classic chocolate and vanilla combination of Oreos offers the perfect visual contrast (dark cookies against white ice cream) and flavor synergy. While Oreo is the go-to, feel free to use any other brand of chocolate sandwich cookies you love. Don’t be shy with the quantity – a generous amount of cookies ensures an exciting bite every time. Remember to leave the creamy filling inside; it adds to the flavor and texture!
- Optional: Sugar Cones: To complete the nostalgic experience, serving your homemade cookies and cream ice cream in crisp sugar cones is highly recommended. The added crunch and sweetness from the cone provide another wonderful textural element and a classic presentation.
Essential Kitchen Appliances for Crafting Homemade Ice Cream
- Ice Cream Maker: While an investment, a good ice cream maker is truly invaluable for anyone serious about homemade ice cream. These machines continuously churn and cool the mixture, which is essential for achieving a smooth, creamy texture and preventing large, undesirable ice crystals from forming. There are generally two types: freezer bowl models (where the bowl is pre-frozen for 12-24 hours) and compressor models (which freeze as they churn, offering more convenience). Choosing the right one depends on your budget and frequency of use, but both will significantly elevate your homemade ice cream experience.
- Optional: Ice Cream Scoop: While not strictly necessary, a high-quality ice cream scoop can make serving a joy. Scoops with a non-stick coating or a heat-conductive liquid in the handle can effortlessly glide through even firm ice cream, creating beautifully round, restaurant-worthy portions.
- Freezer-Safe Container (e.g., pie pan, loaf pan, or dedicated ice cream tub): After churning, your ice cream needs a proper home in the freezer. A sturdy, airtight, freezer-safe container is crucial for storage. This prevents freezer burn, maintains the ice cream’s quality, and keeps it tasting fresh. Rectangular loaf pans or specialized ice cream tubs work wonderfully, but any container that can be tightly sealed will suffice.
The Magic Behind the Machine: How an Ice Cream Maker Works
An ice cream maker is the unsung hero of homemade ice cream, performing two crucial functions simultaneously: churning and cooling the ice cream mixture. As the base gradually freezes, the machine’s paddle continuously stirs or “churns” the mixture. This constant agitation is vital for two primary reasons:
- Prevents Large Ice Crystals: Without churning, the water content in your ice cream base would freeze into large, detectable ice crystals, resulting in a grainy, icy texture. The continuous movement breaks up these crystals as they form, keeping them small and imperceptible, which is key to achieving that wonderfully smooth, creamy mouthfeel.
- Incorporates Air (Overrun): Churning also gently incorporates air into the mixture, increasing its volume and creating a lighter, softer texture. This trapped air is known as “overrun” and is what gives ice cream its characteristic light, scoopable quality rather than a dense, solid block of frozen cream.
In essence, an ice cream maker ensures optimal texture, flavor, and prevents the formation of undesirable ice crystals, transforming a simple liquid base into a delightful frozen dessert. When we opt not to use an ice cream maker, we are typically making what’s known as “no-churn” ice cream. While delicious in its own right, no-churn relies on different ingredients (like sweetened condensed milk and whipped cream) and techniques to achieve a similar creamy texture without the mechanical churning process.
Crafting Your Own: Step-by-Step Guide to Homemade Cookies and Cream Ice Cream
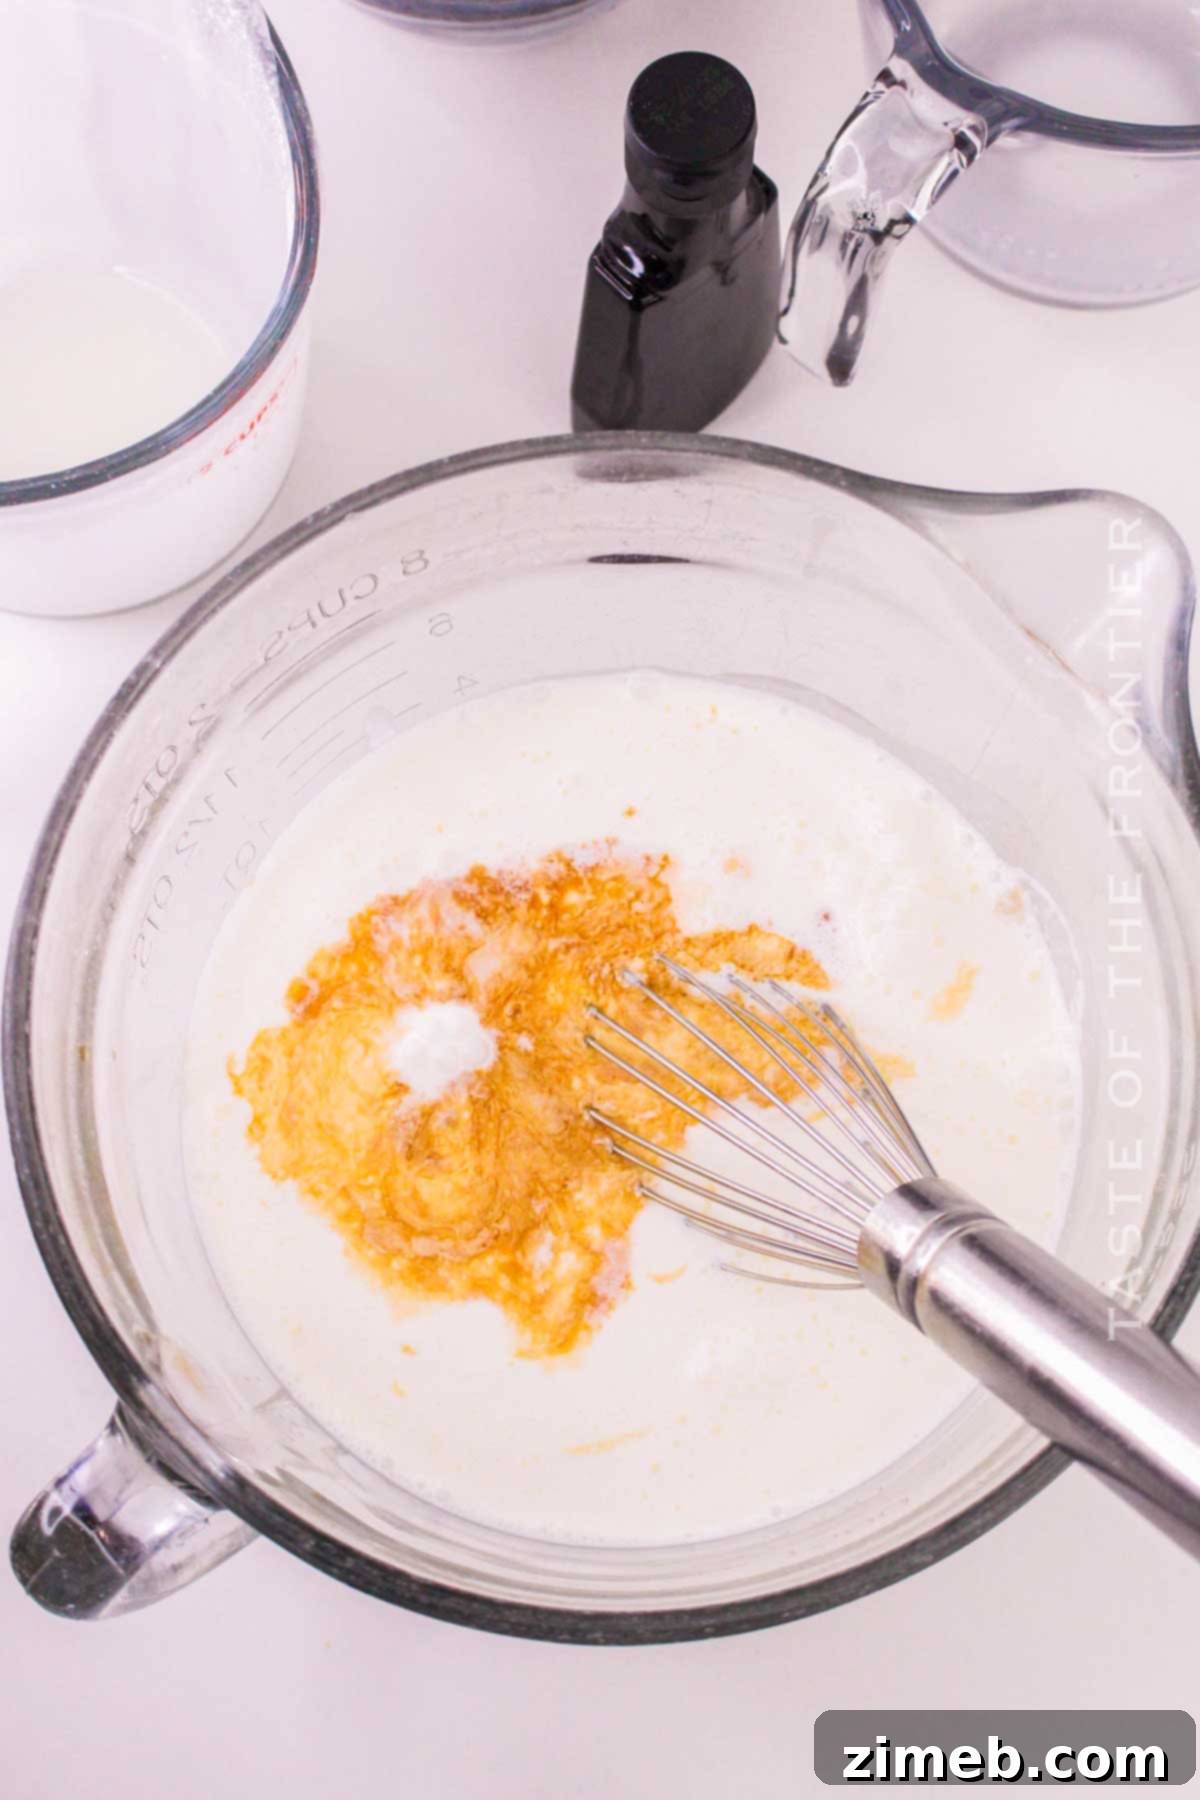
- Prepare the Base Mixture: In a large, spacious bowl, combine the heavy cream, whole milk, granulated sugar, pure vanilla extract (or vanilla bean paste), and a pinch of salt. Using a sturdy whisk, stir vigorously until the granulated sugar is completely dissolved. Ensure there are no grainy sugar particles remaining at the bottom of the bowl. This step is crucial for a smooth ice cream texture.
- Chill the Mixture Thoroughly: Once the ingredients are well combined and the sugar is dissolved, cover the bowl tightly with plastic wrap. Transfer it to the refrigerator and chill for a minimum of 1 hour, or ideally, until the mixture is thoroughly cold. A well-chilled base will significantly speed up the churning process and contribute to a creamier final product.
- Set Up Your Ice Cream Maker: Before pouring in your mixture, refer to your ice cream maker’s manufacturer’s instructions for proper assembly and pre-preparation. If you have a freezer-bowl model, ensure the bowl has been pre-frozen for at least 12-24 hours prior to starting this recipe.
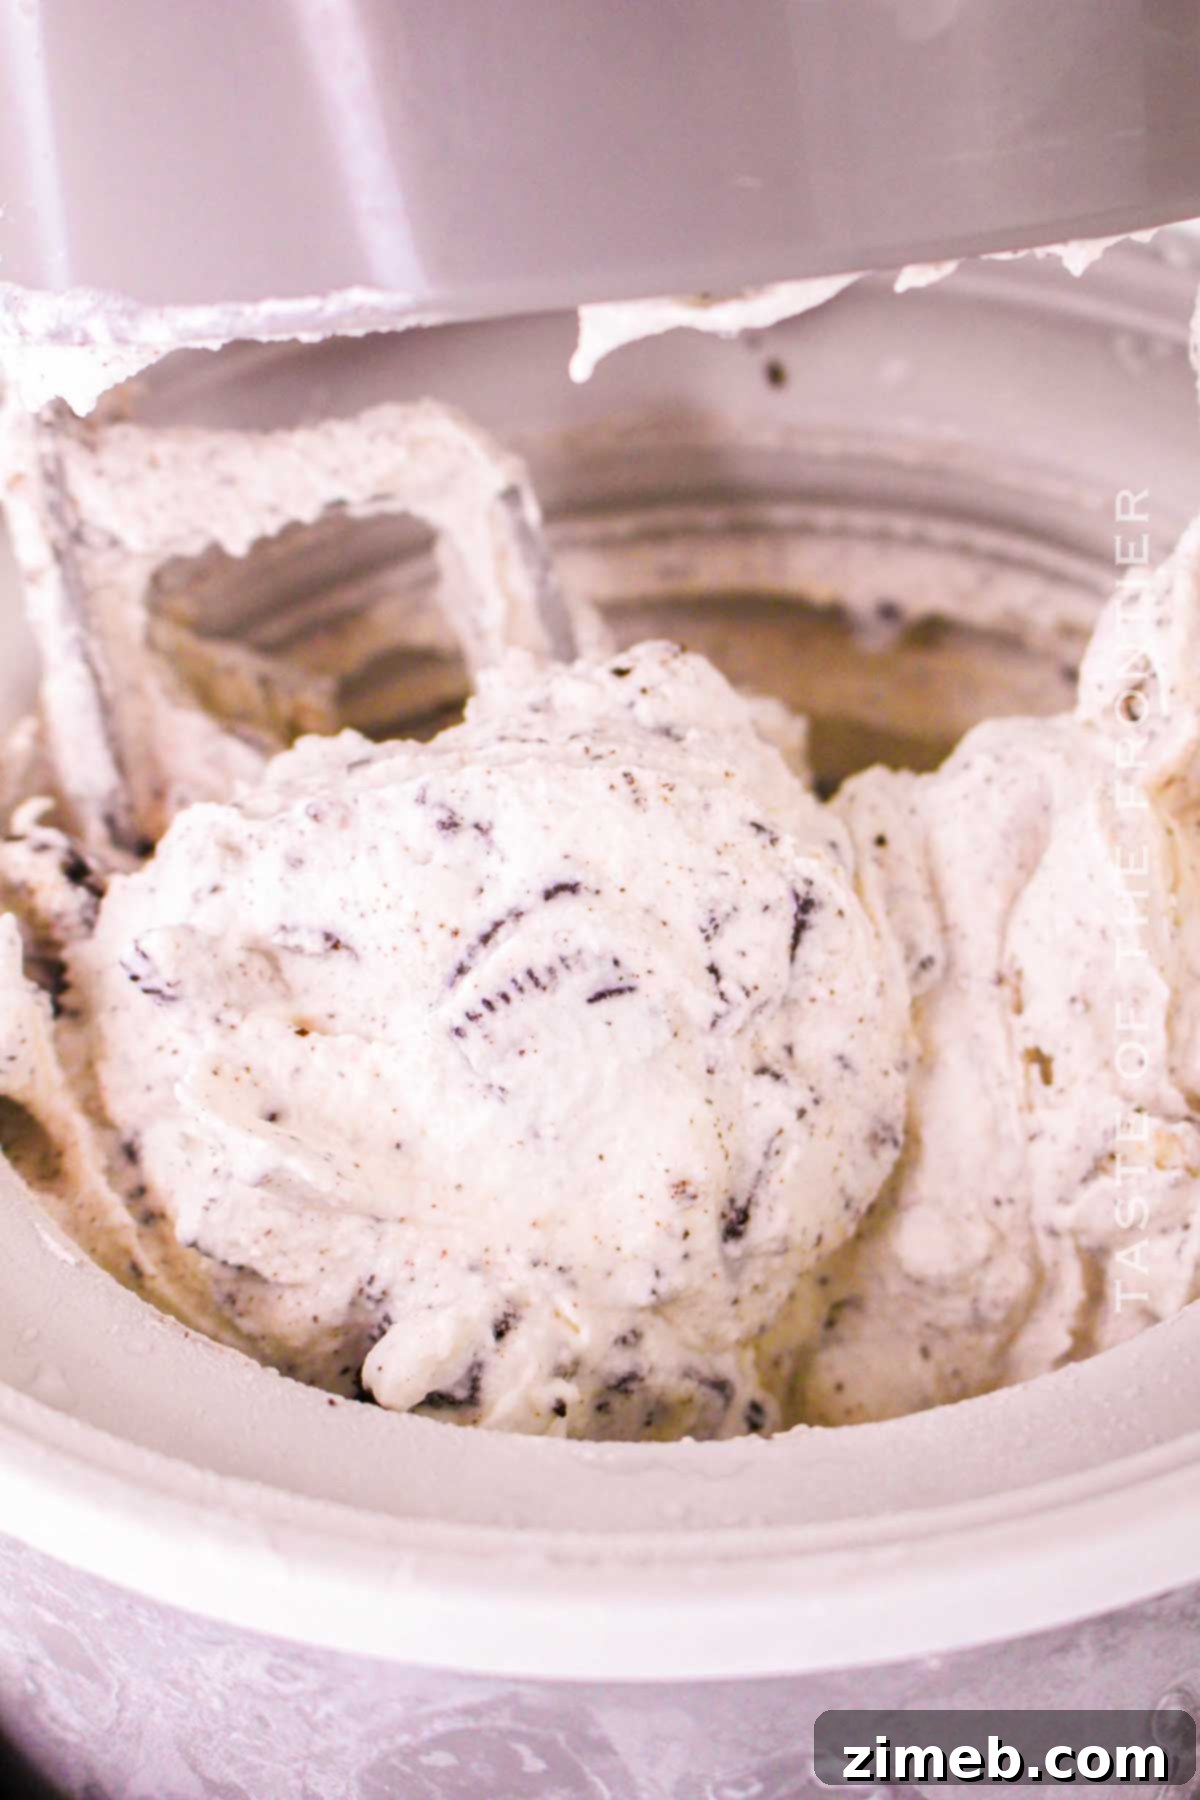
- Churn the Ice Cream Base: Carefully pour the chilled ice cream mixture into the prepared bowl of your ice cream maker. Begin churning according to the manufacturer’s instructions. The churning process typically takes about 20-25 minutes, but this can vary depending on your specific machine and the initial temperature of your mixture. Watch as it gradually thickens and transforms into a soft-serve consistency.
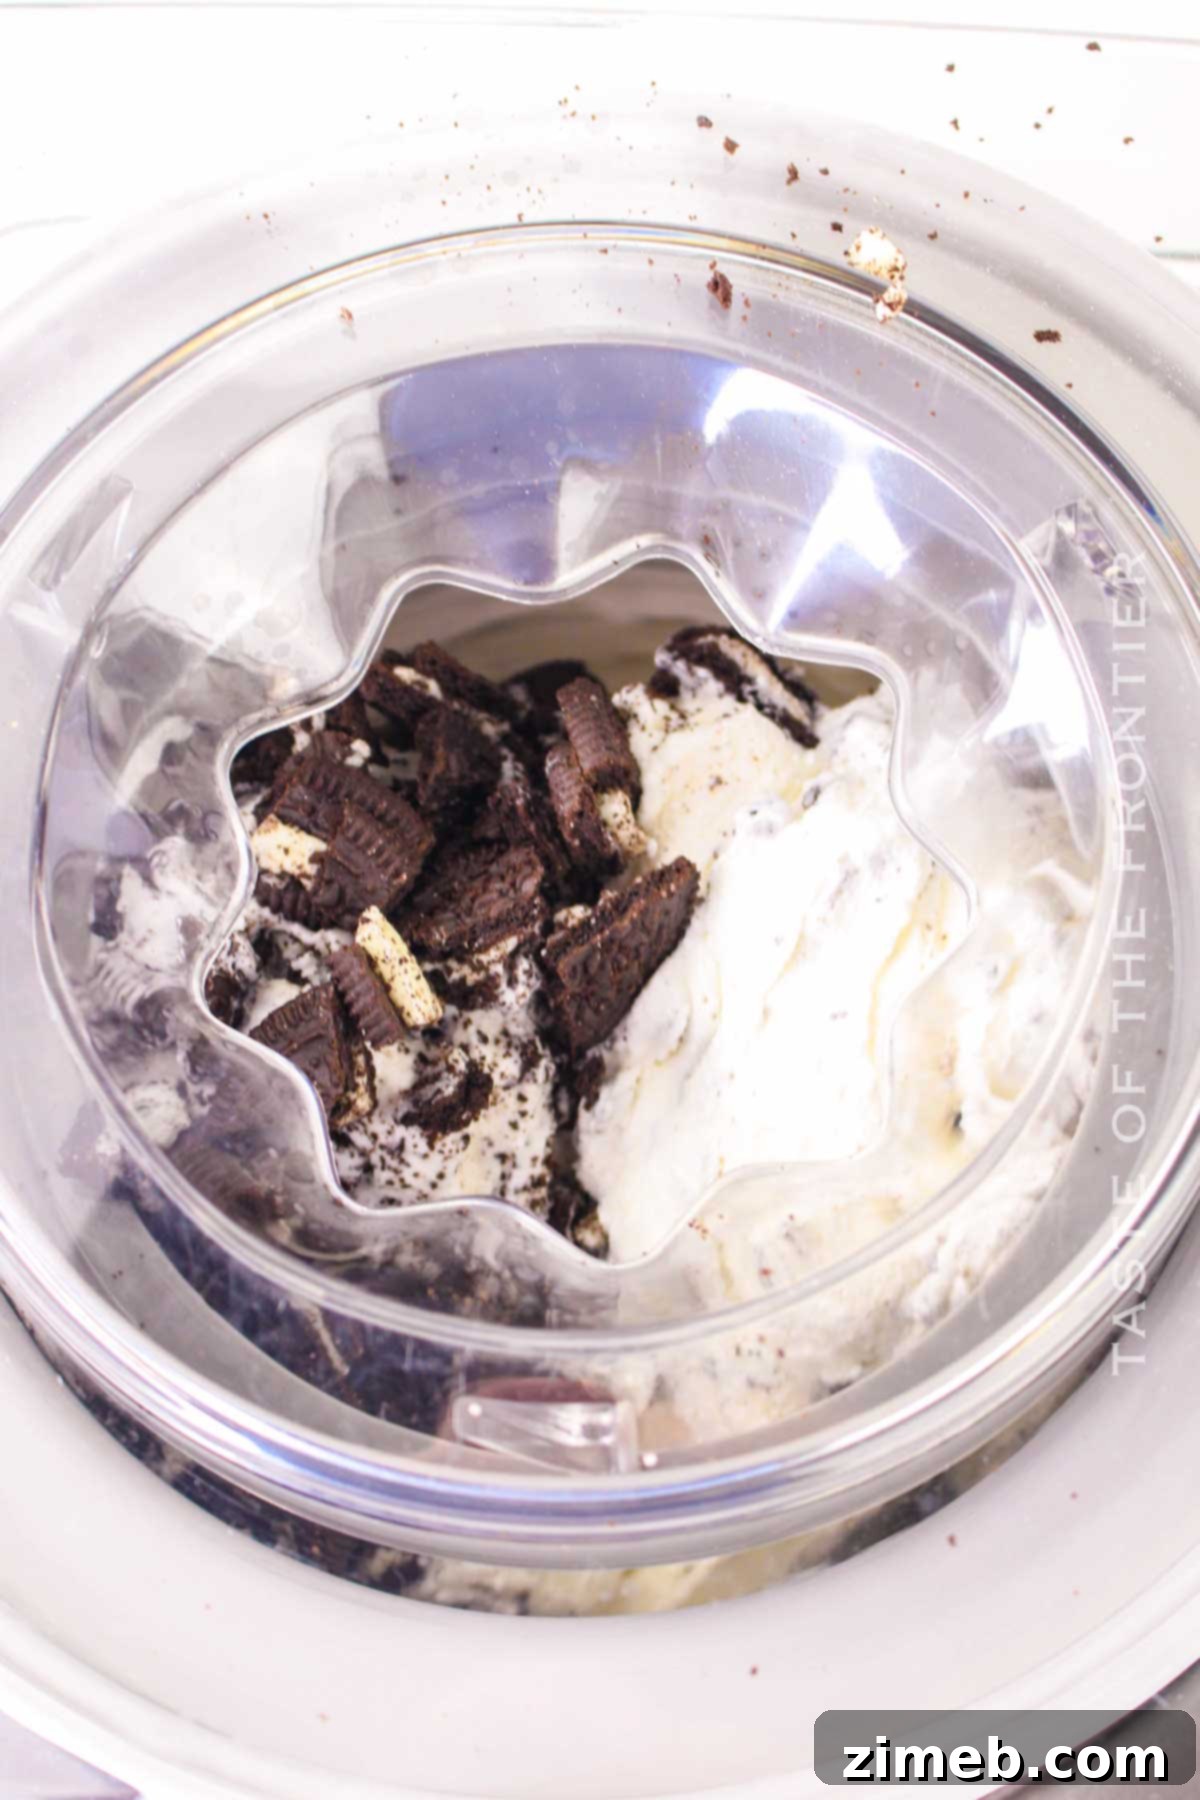
- Incorporate the Cookie Chunks: Approximately 5-10 minutes before the ice cream is expected to finish churning (when it resembles a thick soft-serve), add your generous chunks of roughly chopped Oreo cookies directly into the machine. Allow the machine to continue churning for the remaining time, ensuring the cookies are evenly distributed throughout the luscious ice cream base. This final mixing ensures every spoonful gets a perfect cookie crunch.
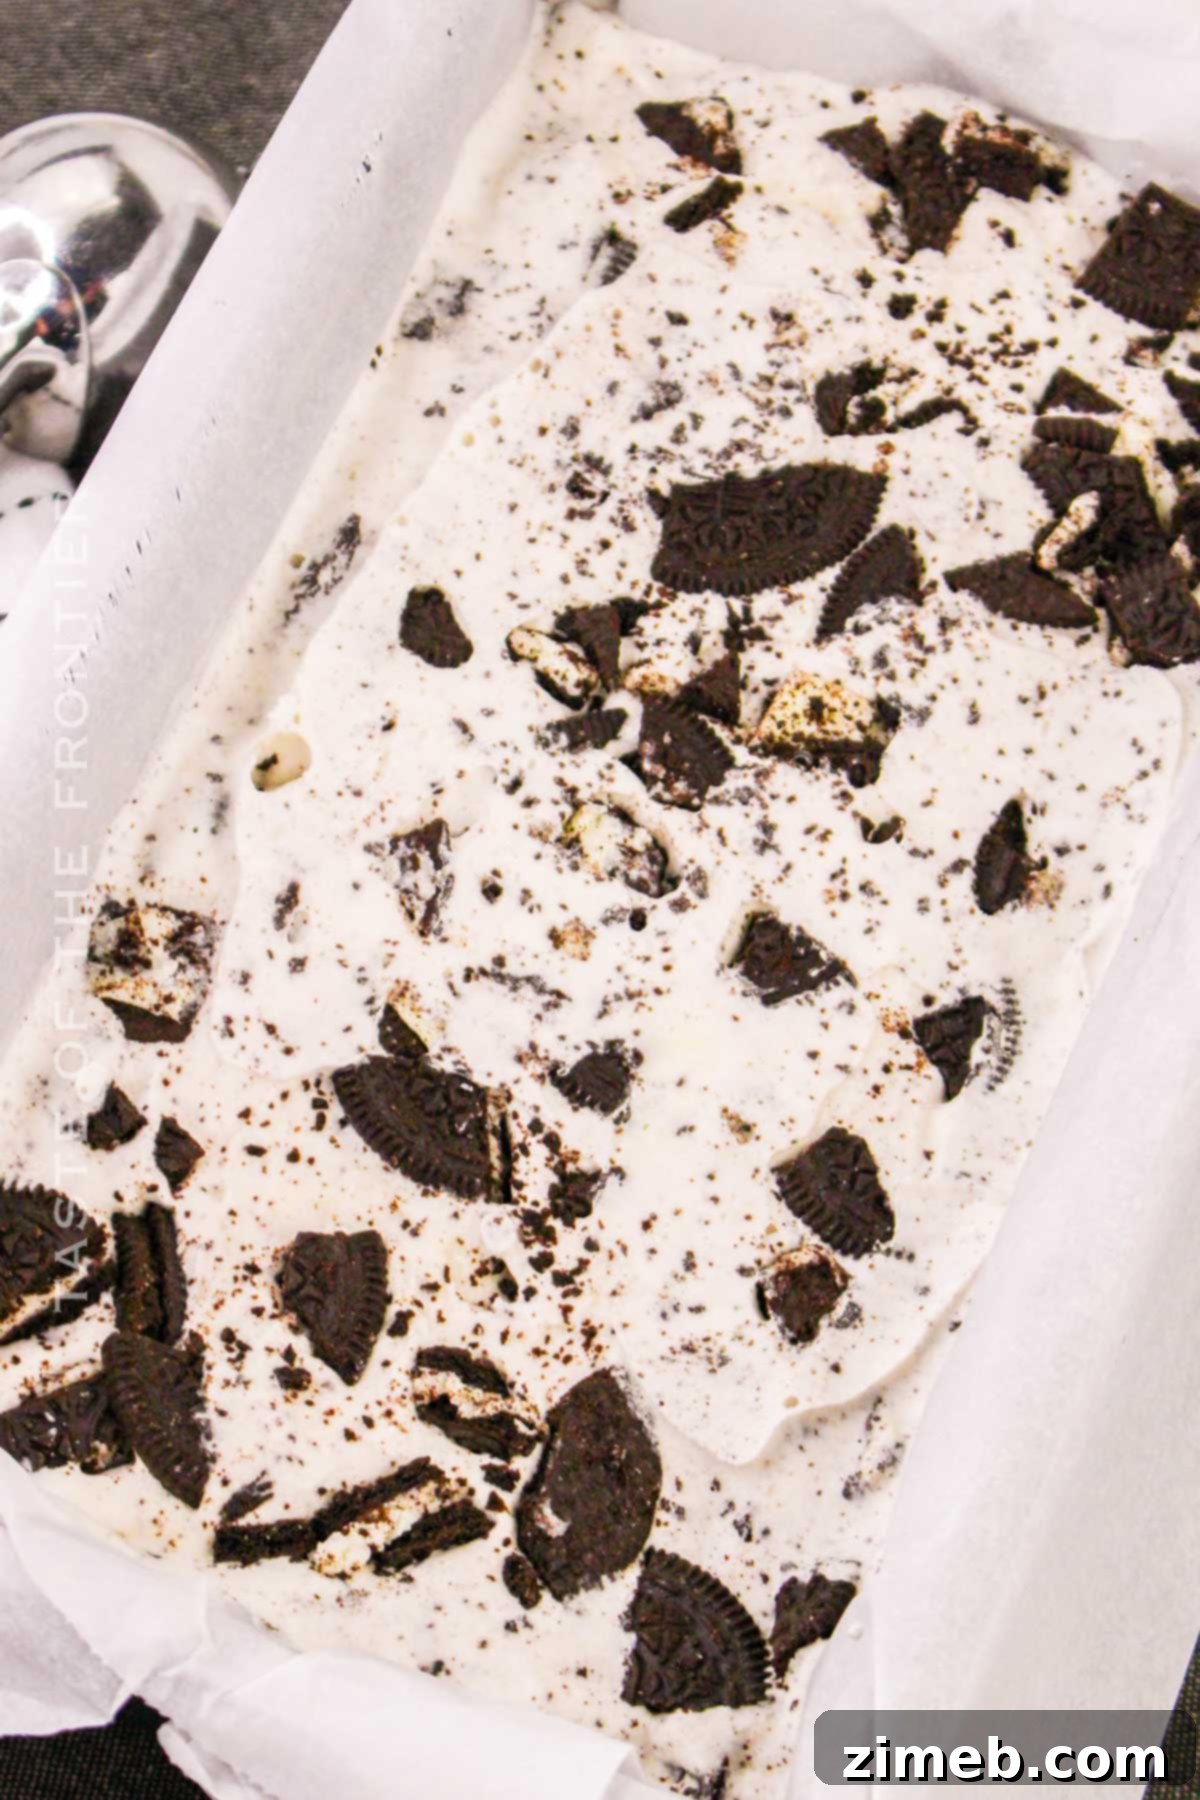
- Transfer to Storage Container: Once churning is complete, transfer the freshly churned ice cream (which will still be soft) into an airtight, freezer-safe container.
- Prevent Ice Crystals During Freezing: To meticulously prevent any ice crystals from forming on the surface during the final freezing stage, gently press a piece of plastic wrap directly onto the surface of the ice cream, ensuring it makes full contact. This acts as a barrier against moisture and air.
- Final Freeze and Serve: Securely seal the container with its lid. Place the container in the freezer for a minimum of 2 hours, or until the ice cream has firmed up to your desired scoopable consistency. For a firmer, more traditional ice cream, overnight freezing is recommended. Serve this decadent treat as a stand-alone dessert, or as a delightful topping for warm pies, fudgy brownies, or any other dessert that could use a creamy, crunchy upgrade.
Mastering the Art of the Perfect Scoop: Serving Your Homemade Ice Cream
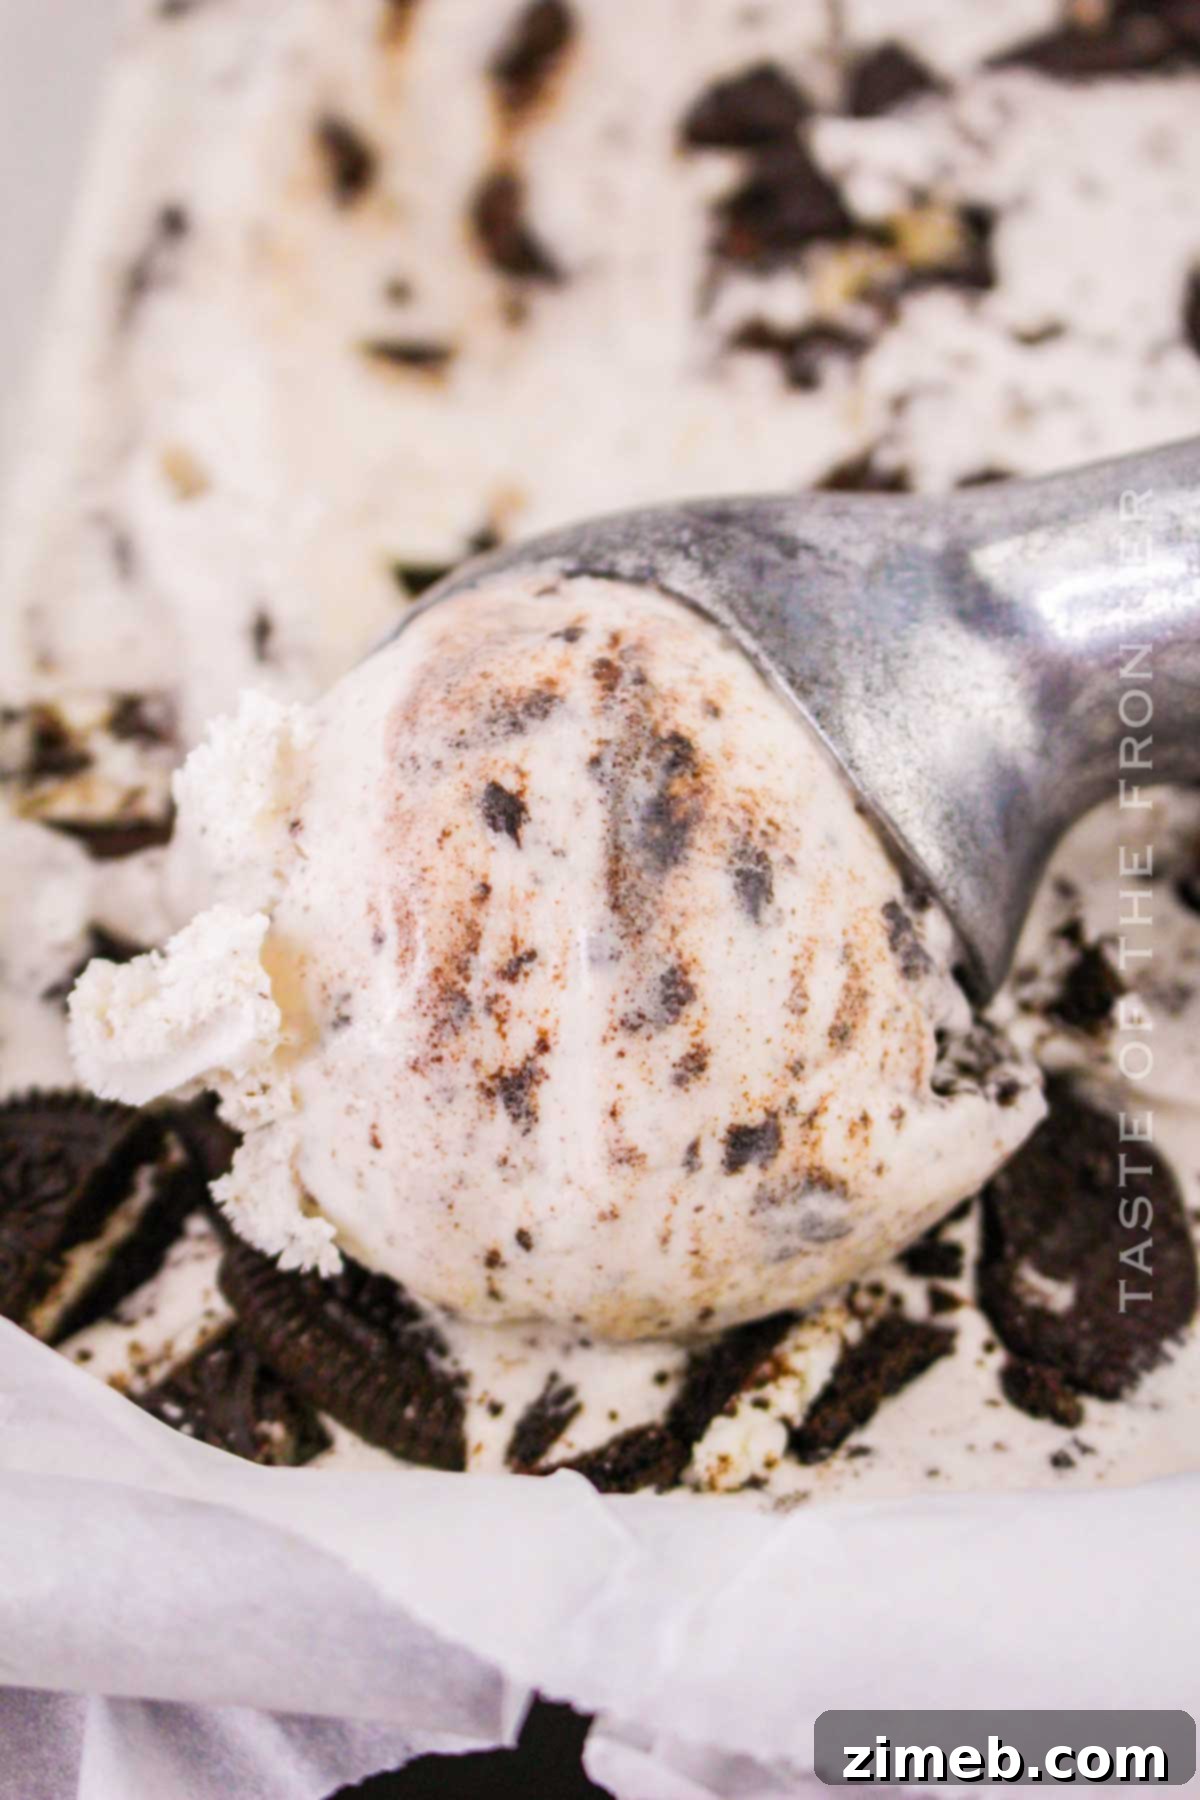
Achieving those beautiful, restaurant-worthy scoops of ice cream is an art, and it starts with proper tempering. Instead of battling rock-hard ice cream straight from the freezer, allow it to soften slightly. Move your freezer-safe container from the deep freeze to the main compartment of your refrigerator for about 10-15 minutes before serving. Alternatively, leave it at room temperature for a shorter duration of 3-5 minutes, keeping a close eye on it to prevent excessive melting.
Once tempered, equip yourself with an ice cream scooper. For the cleanest, most effortless scoops, dip your scooper in a cup of hot water for a few seconds. Immediately dry it off – this creates a thin film of warmth that allows the scooper to glide through the ice cream like butter. When scooping, aim for the edges of the container first, as this is where the ice cream typically softens earliest. Instead of zig-zagging, try to scoop in long, continuous motions. If you’re using a rectangular dish, make straight lines; for round containers, scoop along the rim in a circular motion to form elegant curls.
If an official ice cream scooper isn’t available, a regular tablespoon can work surprisingly well. To create that classic oval or round shape, scoop a generous amount of ice cream onto the spoon. Without lifting the spoon from the ice cream, rotate it in a smooth, circular motion, allowing the ice cream to curl around itself. Remember to dip your spoon in warm water between each scoop to maintain that non-stick advantage, making the entire serving process much smoother and more enjoyable.
Optimal Storage: Keeping Your Homemade Ice Cream Fresh and Delicious
Proper storage is paramount to maintaining the exceptional quality and texture of your homemade cookies and cream ice cream. Transfer the churned ice cream into a high-quality, airtight, freezer-safe container. It’s important not to fill the container completely to the brim, as homemade ice cream tends to expand slightly when fully frozen. Leaving a small amount of headspace (about half an inch) prevents cracking or overflowing.
This ice cream can be stored in the freezer for approximately 2-4 weeks, retaining its peak flavor and texture. Beyond this period, while still safe to eat, its quality may start to diminish. If you don’t have a dedicated airtight container, you can improvise by wrapping the ice cream very tightly within its pan or dish, using multiple layers of plastic wrap and then aluminum foil. Crucially, never store homemade ice cream uncovered. Exposure to air is the primary culprit behind freezer burn, which causes an unpleasant icy, crystalized texture and loss of flavor.
It’s important to remember that homemade ice cream recipes typically forgo artificial stabilizers, gums like Xanthan gum, or preservatives often found in commercial varieties. This natural composition means your homemade creation will melt faster at room temperature. Always return it to the freezer promptly after serving to preserve its creamy consistency and prevent it from becoming a soupy mess.
Exciting Flavor Variations to Elevate Your Cookies and Cream Ice Cream
While the classic vanilla and chocolate combination is undeniably perfect, don’t hesitate to improvise and explore new flavor dimensions! Both vanilla and chocolate are incredibly versatile and pair beautifully with a wide array of ingredients. Here are some fantastic ideas to spark your creativity:
- Espresso Powder: For coffee lovers, whisking in a teaspoon or two of instant espresso powder with the dry ingredients adds a subtle, sophisticated depth that enhances the chocolate notes without overpowering the vanilla. It’s a coffee-infused delight!
- Rich Chocolate Ice Cream Base: For the true chocoholics, swap out the vanilla extract for cocoa powder in the base mixture. This transforms it into a decadent chocolate ice cream with cookie chunks, a double-chocolate dream.
- Alternative Extracts: Replace or complement vanilla extract with other intriguing flavors. Almond extract adds a lovely nutty aroma, while coconut extract can transport you to a tropical paradise. Peppermint extract offers a refreshing minty twist that pairs exceptionally well with chocolate.
- Chocolate or Fudge Drizzle: Turn your scoops into an instant sundae! Swirl in a rich chocolate sauce or hot fudge into the ice cream during the last few minutes of churning, or simply drizzle it generously over individual servings. Caramel sauce is another fantastic choice for a sweet, buttery contrast.
- Fruity Twists: Believe it or not, fruit can be a wonderful addition. A swirl of strawberry or raspberry jam adds a delightful tang and fruity sweetness. Orange zest or a touch of orange extract can create a vibrant, citrusy counterpoint to the chocolate, reminiscent of chocolate-orange confections.
- Minty Freshness: As mentioned, mint extract is a game-changer when combined with chocolate. Add a few drops to your vanilla base for a refreshing mint-chocolate cookie ice cream that’s invigorating and utterly delicious.
- Golden Oreo Delight: If you prefer a more pronounced vanilla flavor or a milder chocolate experience, swap the classic chocolate Oreos for Golden Oreo cookies. This creates an all-vanilla and cream ice cream with the same satisfying crunch, perfect for those who adore pure vanilla goodness.
*Remember: Syrups, jams, and most liquid flavorings are best incorporated into the ice cream base during the final stages of churning, just before the full freezing process, to ensure even distribution and prevent crystallization.*
Irresistible Topping Ideas for Your Cookies and Cream Masterpiece
While this ice cream is perfectly delicious on its own, a few well-chosen toppings can transform it into an even more spectacular dessert experience. Here are some ideas to inspire your ice cream sundae creations:
- Extra Coarsely Chopped Oreos: You can never have too many cookies! Reserve some extra roughly chopped Oreo pieces to sprinkle generously over your finished scoops. This adds another layer of fresh crunch and visual appeal.
- Decadent Caramel Sauce: A drizzle of warm, gooey caramel sauce provides a sweet, buttery counterpoint to the chocolate and vanilla, creating a truly luxurious flavor profile.
- Pillowy Whipped Cream: Of course! A generous dollop of whipped cream is the ultimate classic ice cream topping. Whether you use a convenient store-bought cool whip or whip up a batch of homemade stabilized whipped cream, its light, airy texture and delicate sweetness perfectly complement the rich ice cream.
- Chocolate Syrup or Hot Fudge: For an extra dose of chocolatey goodness, a swirl of chocolate syrup or a warm, thick hot fudge sauce is always a welcome addition.
- Sprinkles: Add a festive touch with a shower of colorful sprinkles! They’re especially fun for kids (and adults who are kids at heart).
- Toasted Nuts: For an added layer of texture and nutty flavor, a sprinkle of toasted pecans, walnuts, or almonds can be a wonderful complement.
Expert Tips for Crafting the Ultimate Cookies and Cream Ice Cream
- Reserve Cookies for Extra Crunch: For a delightful textural surprise, set aside a small handful of chopped cookie pieces before adding them to the churner. Sprinkle these reserved chunks on top of individual servings just before indulging. They’ll offer a fresh, undiluted crunch that contrasts beautifully with the softer cookies already incorporated into the ice cream.
- Chill Everything Thoroughly: The colder your ingredients are when they enter the ice cream maker, the faster and more efficiently the churning process will occur. This is key to preventing larger ice crystals and ensuring a super smooth, creamy outcome. Aim for all liquids to be refrigerator-cold.
- Pre-Chill Your Ice Cream Maker Bowl: If you’re using a freezer-bowl style ice cream maker, ensure its bowl has been in the freezer for a full 24 hours (or as per manufacturer instructions) before use. A perfectly frozen bowl is critical for proper churning and freezing.
- Achieving Desired Firmness: Directly after churning, your ice cream will have a soft-serve consistency, which is delicious in its own right! For a firmer, more traditional scoopable texture that holds its shape, transfer it to a freezer-safe container and allow it to freeze overnight.
- Blend for Ultimate Smoothness: For an exceptionally smooth ice cream base, you can briefly blend all the liquid ingredients together (heavy cream, milk, sugar, vanilla, salt) in a blender until completely smooth before chilling. This ensures the sugar is fully dissolved and the mixture is emulsified, leading to an even creamier texture.
- Keep Cookie Stash Handy: If you find yourself frequently making this delightful recipe, consider keeping a bag of pre-chopped Oreos in your freezer. This makes the next batch even quicker and more convenient to prepare when the craving strikes.
- Add a Splash of Alcohol for Softer Scoops: A little culinary secret to make your homemade ice cream easier to scoop straight from the freezer is to add a tablespoon or two of alcohol (such as unflavored vodka or rum) to the churned ice cream before its final freeze. Alcohol has a lower freezing point than water, which subtly inhibits the formation of large ice crystals, resulting in a slightly softer, more pliable consistency.
Frequently Asked Questions About Homemade Cookies and Cream Ice Cream
What Can I Use Instead Of An Electric Ice Cream Maker To Make No-Churn Ice Cream?
Absolutely! You don’t necessarily need an ice cream maker to create delicious homemade ice cream, though the texture will be slightly different. No-churn ice cream recipes typically rely on a base of heavy cream, whipped to stiff peaks, combined with sweetened condensed milk and vanilla extract. The whipped cream introduces air, while the sweetened condensed milk provides richness and helps keep the mixture from freezing too solid, thanks to its high sugar content and viscosity.
To make a no-churn version, you would whisk heavy cream until fluffy, then gently fold in sweetened condensed milk and vanilla. This mixture is then frozen directly, without churning, for a minimum of 4-5 hours or overnight. For no-churn recipes, it’s crucial *not* to add additional whole milk, half-and-half, or eggs, as these ingredients require churning to prevent excessive ice crystal formation. Churned ice cream, using an ice cream maker, generally requires less freezing time (often just 2 hours to reach soft-serve consistency) because the churning process contributes to faster freezing and air incorporation.
How To Make Homemade Ice Cream Soft And Fluffy?
Achieving a soft and fluffy texture in homemade ice cream is all about controlling ice crystal formation and incorporating enough air. For churned ice cream, the ice cream maker does most of this by continuously breaking down ice crystals and adding “overrun” (air). For no-churn methods, or to enhance the fluffiness of churned ice cream, consider these techniques:
- Sweetened Condensed Milk: Its high sugar content and thick consistency naturally lower the freezing point and prevent large ice crystals, resulting in a smoother, softer texture.
- Whipped Cream: When making no-churn ice cream, whipping heavy cream to stiff peaks before folding it in traps air, making the final product lighter and fluffier.
- Corn Syrup: A small amount of corn syrup can be added to ice cream bases (both churned and no-churn) as it helps to inhibit sugar crystallization and keeps the ice cream smoother and more pliable.
- A Splash of Alcohol: Adding a tablespoon or two of unflavored alcohol, such as vodka or rum, can lower the freezing point of the mixture. This results in a softer, more scoopable ice cream, as the alcohol molecules interfere with the water’s ability to form large ice crystals.
- High Fat Content: Using full-fat dairy products (heavy cream, whole milk) contributes significantly to a rich, smooth texture because fat doesn’t freeze hard, making the ice cream creamier and less icy.
Do I Need To Use Eggs To Make Homemade Ice Cream?
No, incorporating an egg custard base is entirely optional when making homemade ice cream. There are two primary styles of ice cream: custard-based (often called French-style) and Philadelphia-style. Custard-based ice creams include egg yolks, which are cooked with milk and cream to create a rich, thick base. The egg yolks contribute to an incredibly smooth, dense, and luxurious texture, and also act as an emulsifier, enhancing stability.
However, many delicious modern recipes, like this one, are Philadelphia-style, meaning they are egg-free. These recipes rely solely on high-fat dairy (heavy cream and whole milk) to provide richness and creaminess. The benefit of an egg-free recipe is its simplicity – there’s no need for cooking, tempering egg yolks, or worrying about proper heating to ensure safety. This makes the preparation process much quicker and more accessible, yielding a lighter yet still wonderfully creamy ice cream with a clean, unadulterated flavor profile that many prefer.
What Is The Difference Between Cookies And Cream And Oreo Ice Cream?
The distinction between “Cookies and Cream” and “Oreo Ice Cream” is largely one of branding and specificity. “Cookies and Cream” is a general flavor category that describes a vanilla-flavored ice cream base embedded with chunks of chocolate sandwich cookies. Any brand of chocolate sandwich cookies can be used to create a “Cookies and Cream” ice cream.
On the other hand, “Oreo Ice Cream” specifically refers to a cookies and cream ice cream where the chocolate sandwich cookies used are the branded Oreo cookies. Oreo is a trademarked product, so officially, only ice cream made with actual Oreo cookies can be labeled as “Oreo Ice Cream.” While most people associate cookies and cream with Oreos due to their immense popularity, it’s important to remember that not all cookies and cream ice creams are made with the specific Oreo brand. This recipe, for example, uses Oreo but acknowledges that other chocolate sandwich cookies can be substituted, making it a “Cookies and Cream” recipe that *can* be made with Oreos.
Why Do Cookies And Cream Ice Cream Taste So Good?
The universal appeal and deliciousness of cookies and cream ice cream stem from a masterful combination of contrasting elements that create a truly harmonious sensory experience:
- Perfect Flavor Balance: It brings together the sweet, comforting notes of creamy vanilla with the rich, slightly bitter, and deeply satisfying taste of chocolate cookies. This powerful yet subtle flavor pairing prevents either component from becoming overwhelming, resulting in a perfectly balanced profile.
- Dynamic Textural Contrast: Perhaps the most compelling reason is the incredible interplay of textures. You get the ultra-smooth, velvety melt of the ice cream base beautifully juxtaposed with the satisfying crunch and chewiness of the cookie pieces. This textural variation keeps every bite interesting and engaging.
- Nostalgic Comfort: For many, cookies and cream is a flavor deeply associated with childhood memories and simple pleasures. This nostalgic connection adds an emotional layer to its deliciousness, making it a comforting and beloved treat.
- Simplicity and Elegance: Despite its complex appeal, the core concept is wonderfully simple. It’s a classic pairing executed flawlessly, proving that sometimes the most elegant and delicious frozen treats are those that are straightforward yet perfectly conceived. It’s a testament to the idea that complementary flavors and textures create an enduring culinary delight.
If you adore this homemade Cookies and Cream ice cream, you’re sure to fall in love with these other delightful ice cream creations! Explore more easy, printable recipes by clicking each link below:
Check out this recipe

Check out this recipe
Check out this recipe
Check out this recipe
Check out this recipe

More Delicious Treats Featuring Oreo Cookies
Oreo Balls – Oreo Truffles: Indulge in these bite-sized, decadent treats perfect for parties or a sweet craving.
Oreo Frosting: Elevate your cakes and cupcakes with this rich, cookies and cream flavored frosting.
Easy No-Bake Oreo Cheesecake: A simple yet impressive dessert that combines creamy cheesecake with the irresistible crunch of Oreos, no oven required!
Oreo S’mores: A delightful twist on the classic campfire treat, perfect for chocolate and marshmallow lovers.
CONNECT WITH YUMMI HAUS!
Be sure to follow me on my social media channels, so you never miss a delicious post or new recipe!
Substack, Facebook, Pinterest, Instagram, Email Subscription

Rate this Recipe
Cookies and Cream Ice Cream
Ingredients
- 2 cups heavy cream
- 1 cup whole milk
- ¾ cup granulated sugar
- 1 tablespoon vanilla extract
- 1 pinch salt
- 20 Oreo cookies roughly chopped
Instructions
-
Whisk the heavy cream, whole milk, sugar, vanilla extract, and salt in a large bowl until the sugar is completely dissolved.
-
Cover the bowl and refrigerate for at least 1 hour, or until the mixture is well chilled.
-
Follow the manufacturer’s instructions to set up your electric ice cream machine.
-
Pour the chilled mixture into the ice cream machine and churn according to the manufacturer’s instructions. This typically takes about 20-25 minutes.
-
About 5 minutes before the ice cream is finished churning, add the chopped cookies to the machine. Allow the machine to mix in the cookies evenly.
-
Transfer the ice cream to an airtight container.
-
Place a piece of plastic wrap directly on the surface of the ice cream to prevent ice crystals from forming.
-
Seal the container with its lid and freeze for at least 2 hours or until firm before serving.
Notes
- For extra crunch, reserve a handful of cookie pieces to sprinkle on top when serving.
- Ensure all ingredients are cold before starting to speed up the churning process.
Equipment
-
ice cream maker
Nutrition
Nutritional information for the recipe is provided as a courtesy and is approximate. Please double-check with your own dietary calculator for the best accuracy. We at Yummi Haus cannot guarantee the accuracy of the nutritional information given for any recipe on this site.