

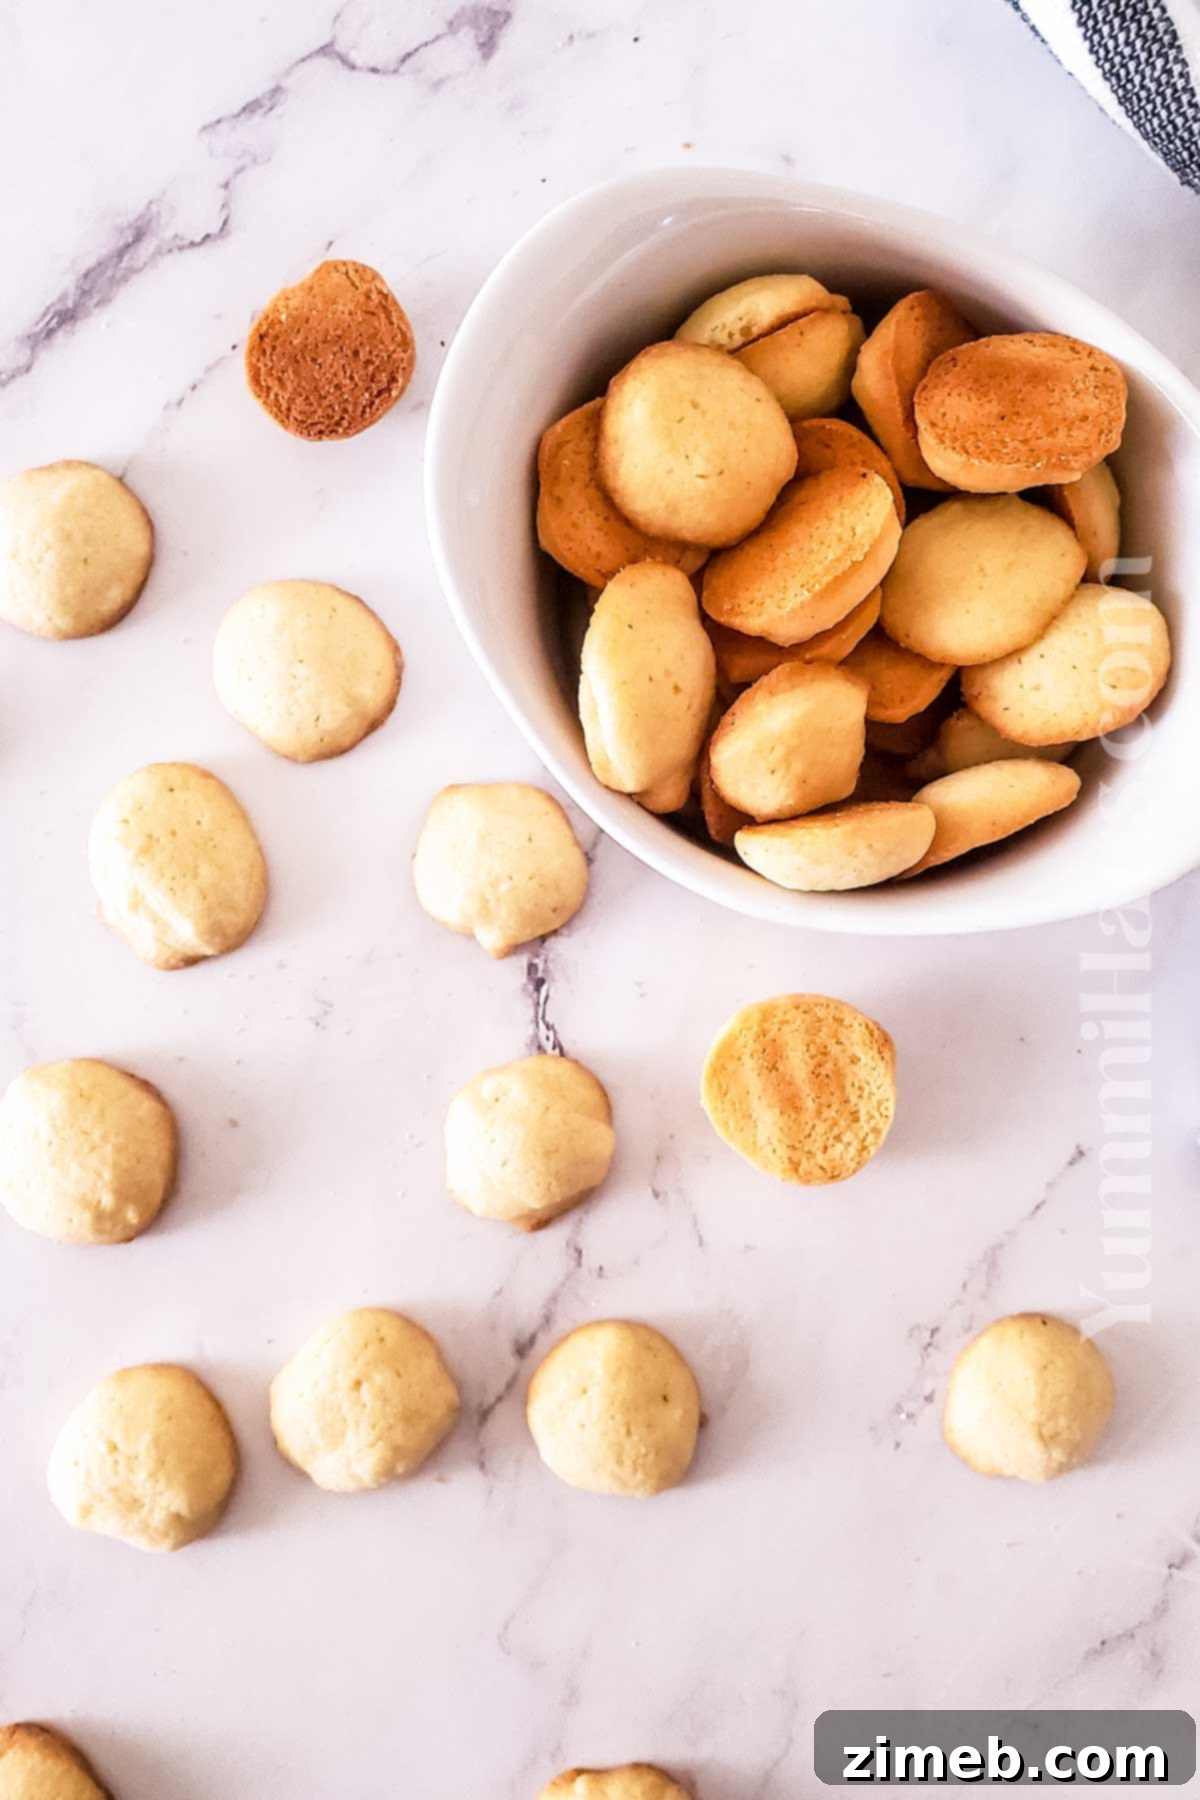
Welcome to the ultimate guide for crafting the most delectable homemade Vanilla Wafers you’ll ever taste! Forget those store-bought boxes; these buttery, soft, and slightly chewy cookies offer a flavor and texture far superior to anything you’ll find on a supermarket shelf. Perfect for snacking, elevating your favorite desserts, or sharing as a thoughtful homemade gift, these classic vanilla cookies are a testament to how simple ingredients can create extraordinary treats.
If you’ve always been a fan of Nilla wafers – the iconic vanilla-flavored crisp cookies – prepare to have your expectations exceeded. This recipe empowers you to create a generous batch of these beloved treats right in your own kitchen using only basic pantry staples. Not only is it remarkably easy and budget-friendly, but making them from scratch also ensures you avoid any artificial flavorings, preservatives, or high-fructose corn syrup often found in commercial versions. The result is a purer, richer vanilla experience that truly stands out.

Beyond their superior taste, home-baked Vanilla Wafers offer peace of mind. You control every ingredient, ensuring a wholesome treat for your family and friends. The simplicity of this recipe, coupled with the impressive yield, makes it an ideal choice for busy bakers and those new to cookie making. Dive in and discover the joy of creating these timeless cookies that promise to become a staple in your home.
Why You’ll Adore This Homemade Vanilla Wafer Recipe
This recipe isn’t just about making cookies; it’s about creating a beloved classic that brings smiles and satisfaction. Here’s why these homemade vanilla wafers will quickly become a favorite in your baking repertoire:
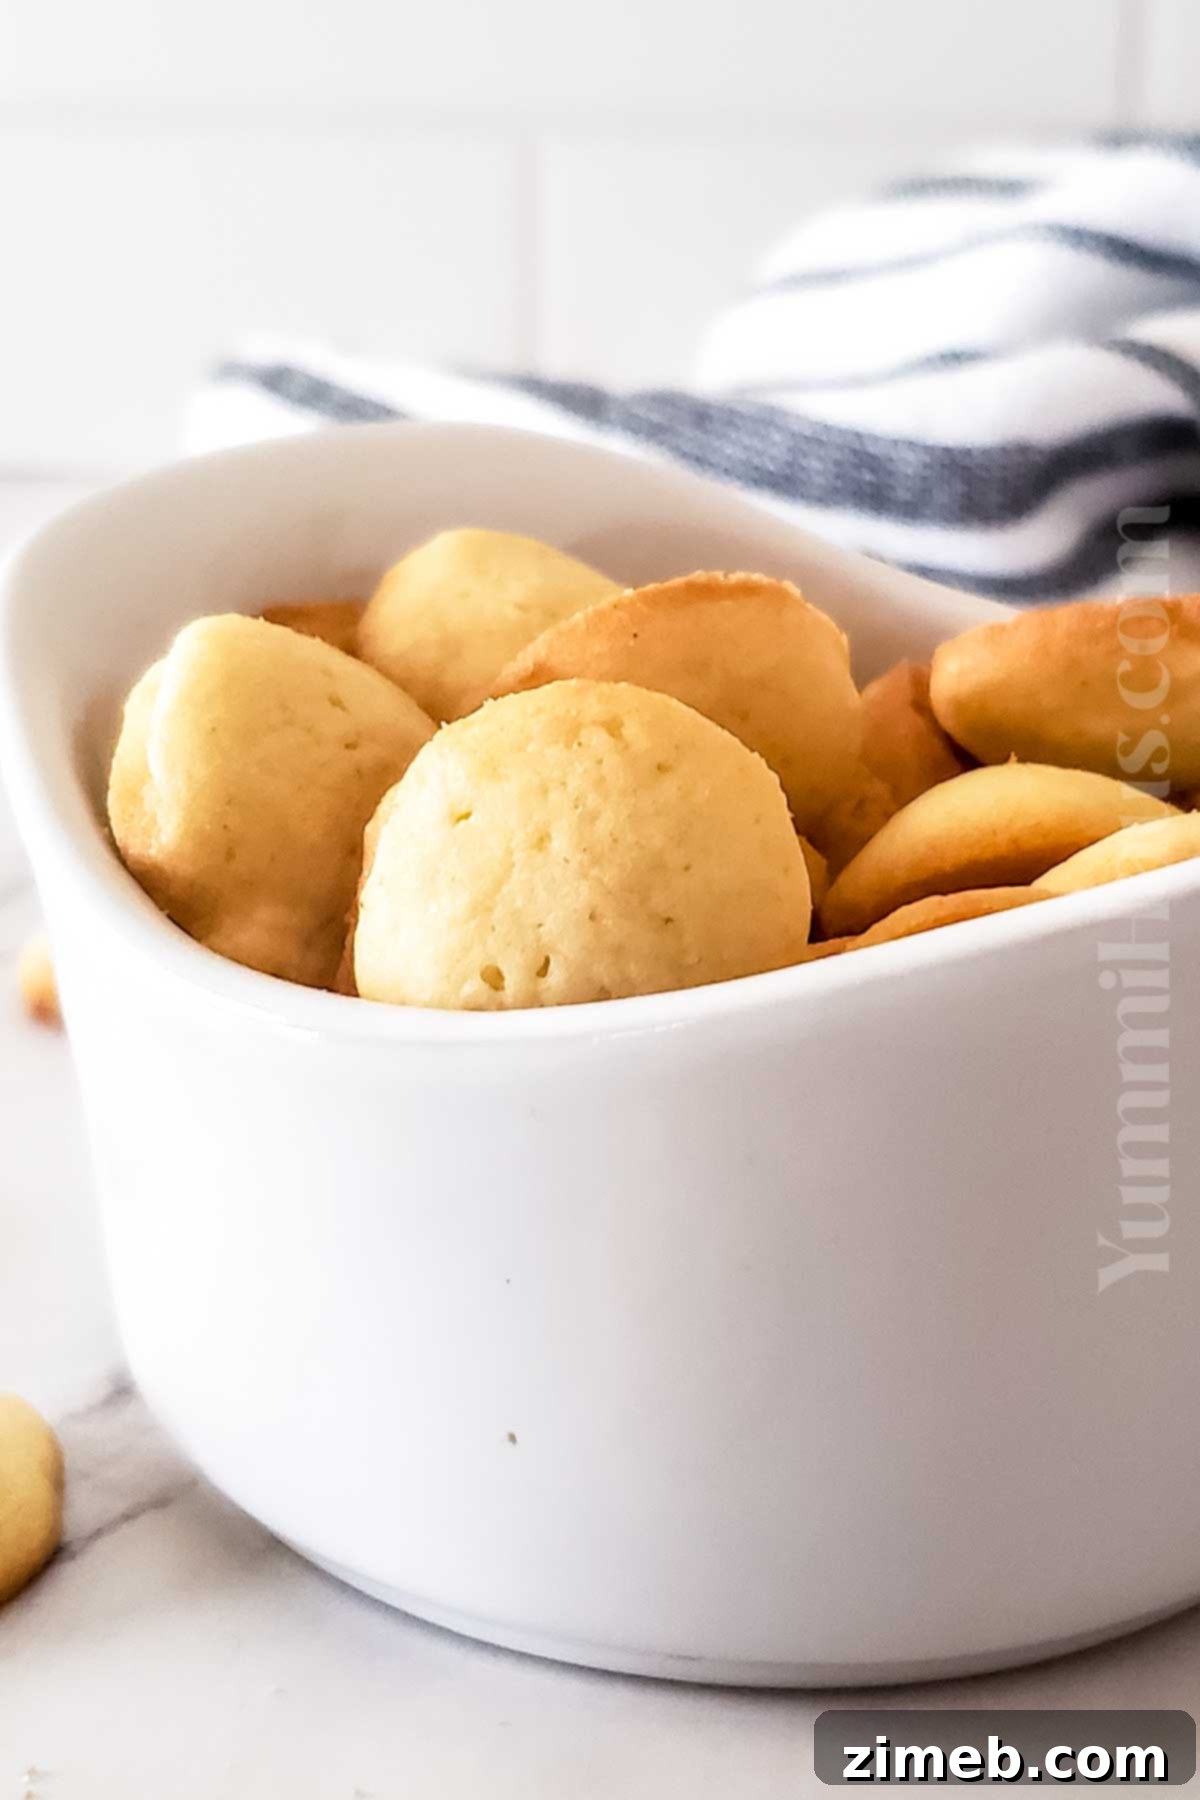
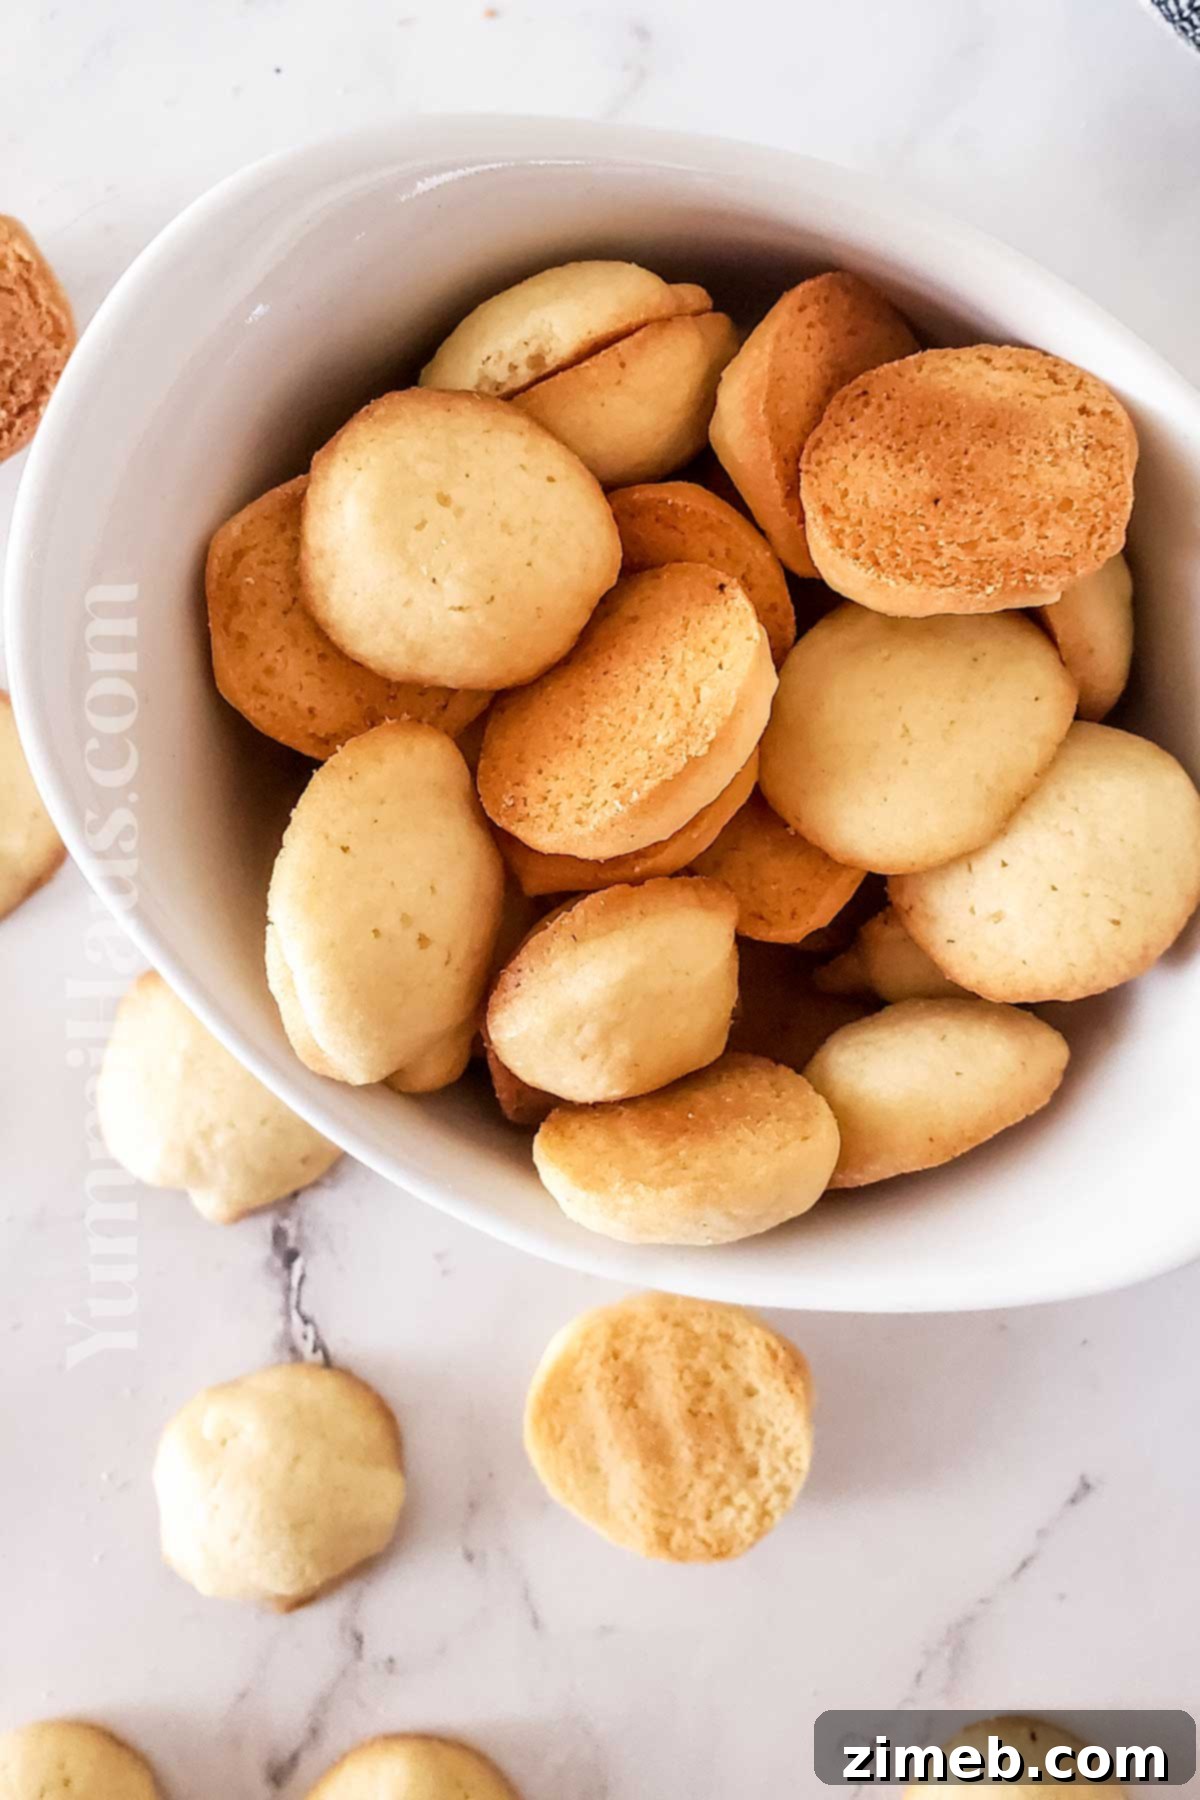
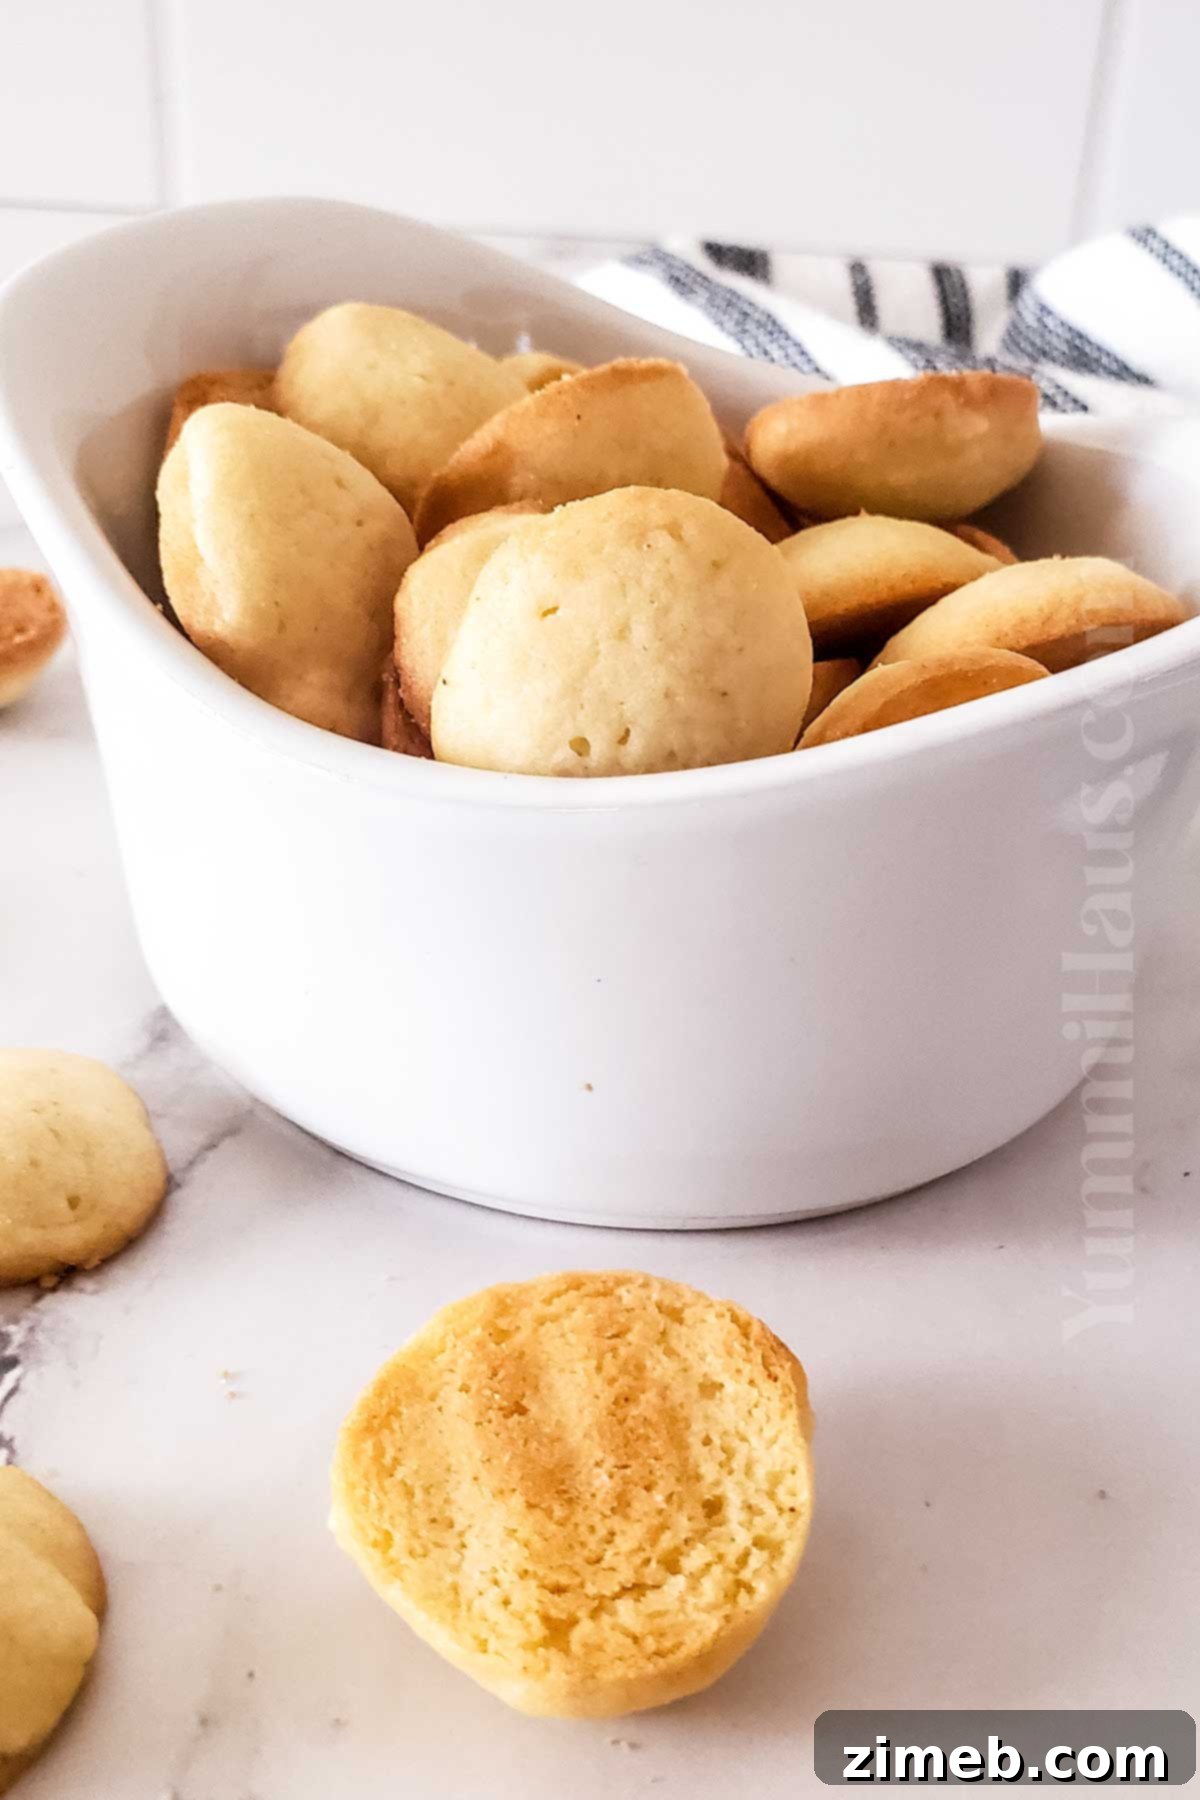
- Unmatched Flavor and Texture: There’s simply no comparison between these homemade treats and their mass-produced counterparts. Our vanilla wafers boast a delightful chewy center, perfectly contrasted with crisp, golden edges, and a rich, authentic buttery vanilla flavor that store-bought versions simply can’t replicate. Each bite is a testament to fresh, quality ingredients.
- Remarkable Yield, Minimal Effort: This recipe is a baker’s dream, yielding an impressive 70 cookies in approximately 45 minutes of total time, including prep and bake time. The preparation itself is straightforward and quick, making it ideal even for busy schedules. Plus, these cookies store beautifully, so you can bake ahead for parties, picnics, or simply to have a delicious treat on hand. Just a fair warning: they tend to disappear quickly, especially around “tiny humans” (and adults!).
- The Perfect Edible Gift: Who doesn’t love the comforting taste of vanilla wafers? Their universal appeal makes them an excellent choice for homemade gifts during the holiday season, for hostess gifts, or as a thoughtful gesture any time of year. Package them in a cute tin or bag, and you’ll surely win hearts.
- Versatile Dessert Foundation: While irresistible on their own, homemade vanilla wafers are also the secret ingredient to many iconic desserts. They are the absolute best base for classic banana pudding, offering both texture and an enhanced vanilla profile. Try layering them with fresh banana slices and whipped cream for an easy, delightful dessert that will impress.
Key Ingredients for the Perfect Vanilla Wafers
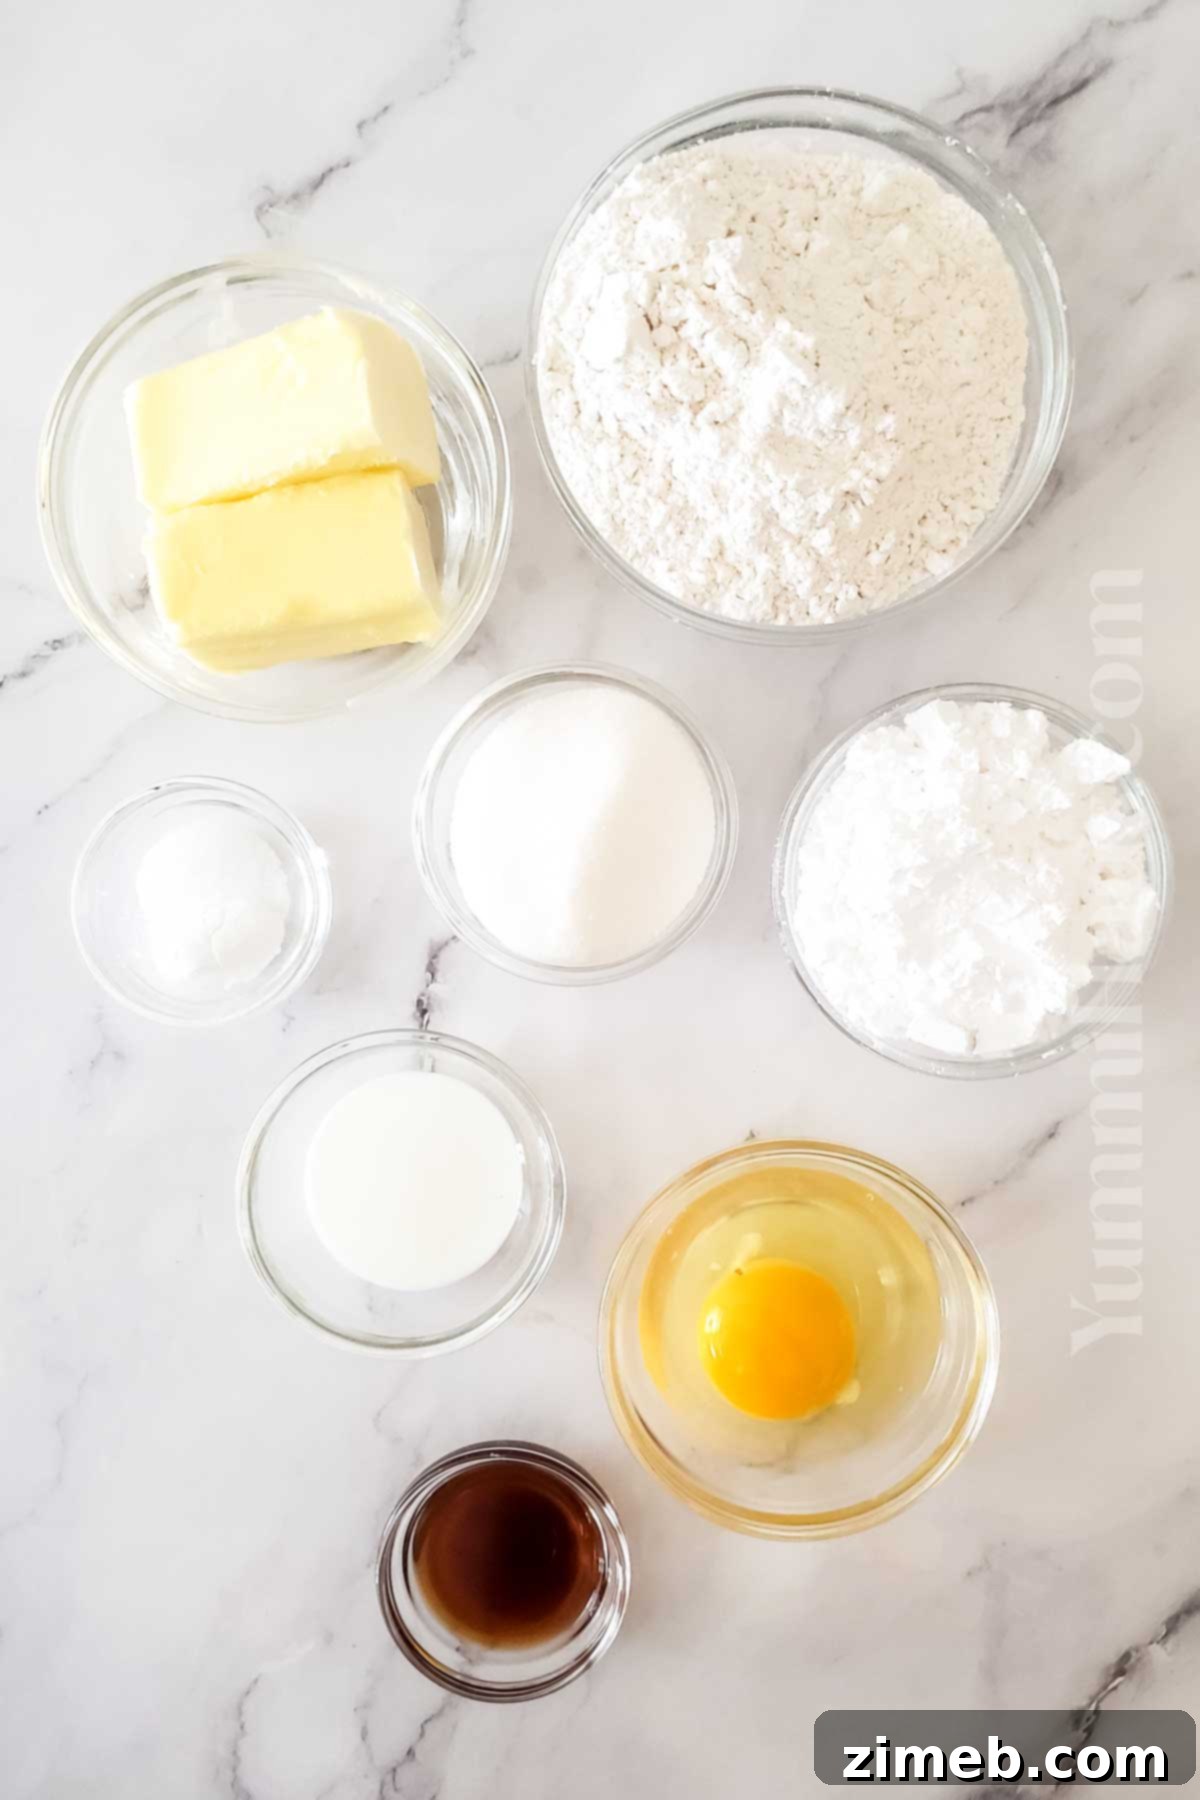
The beauty of this vanilla wafer recipe lies in its simplicity, relying on common pantry staples to achieve its signature taste and texture. While the original 19th-century recipes might have varied, our modern take uses readily available ingredients to deliver a superior product. Here’s a closer look at what you’ll need and why each component is crucial:
- All-Purpose Flour, Baking Powder, and Salt: These form the structural foundation of our cookies. All-purpose flour provides the right balance for a tender yet firm wafer. Baking powder acts as a leavening agent, giving the cookies a slight lift and delicate crumb. A pinch of salt is vital for balancing the sweetness and enhancing all the flavors. If you’re looking for an extra crispy edge, consider adding a tiny bit of baking soda to your dry mixture, as it helps with browning and crispness, especially when combined with an acidic ingredient (though not explicitly in this recipe, it can react with butterfat for a subtle effect). For those with dietary restrictions, gluten-free all-purpose flour blends can often be substituted successfully.
- Unsalted Butter (Room Temperature): Butter is the heart of these wafers, imparting a rich, buttery flavor and contributing to their tender texture. It’s crucial for the butter to be softened to room temperature, as this allows it to cream properly with the sugars, creating air pockets that lead to a lighter cookie. If you only have salted butter, you can use it, but omit the additional salt from the recipe.
- Confectioners’ Sugar and Granulated Sugar: We use a combination of both for a reason! Confectioners’ sugar (powdered sugar) helps create a smooth, fine texture in the dough, contributing to the wafer’s delicate melt-in-your-mouth quality. Granulated sugar, with its slightly larger crystals, plays a key role in achieving those coveted crispy edges and a subtle chewiness. This blend ensures a perfect balance of texture.
- Large Egg (Room Temperature): The whole egg acts as a binder, adding moisture, richness, and contributing to the cookie’s structure and amazing texture. Using a room temperature egg helps it incorporate more smoothly into the butter mixture, preventing curdling and ensuring a homogenous dough. While some recipes might call for egg whites only, using the whole egg enhances both flavor and richness.
- Pure Vanilla Extract: As the name suggests, vanilla is the star here! Opt for pure vanilla extract for the best, most authentic flavor. Artificial or imitation vanilla extract, while cheaper, often has a bitter aftertaste and lacks the complex aromatics of genuine vanilla. If you desire a taste *exactly* like the classic store-bought Nilla Wafers, imitation extract is what they use, but for a truly delicious homemade cookie, pure vanilla is highly recommended.
- Whole Milk (Room Temperature): Full-fat whole milk adds richness and helps to achieve the desired dough consistency. Like the egg, using room temperature milk ensures it blends seamlessly into the batter. For an even richer, more decadent cookie, you can substitute whole milk with heavy cream, which will make the wafers even more tender and flavorful.
Essential Kitchen Equipment
Making homemade vanilla wafers is a straightforward process that doesn’t require a lot of specialized tools. Here’s a list of the basic kitchen equipment that will help you achieve perfect results:
- Mixing Bowls: You’ll need at least two bowls – one large bowl for your wet ingredients and creaming the butter, and a medium bowl for whisking together the dry ingredients.
- Stand Mixer or Hand-Held Electric Mixer: While you can technically cream butter and sugar by hand, an electric mixer (either a stand mixer with a paddle attachment or a hand-held electric mixer) will make the process much quicker and ensure a light, fluffy butter mixture, which is key to the cookie’s texture.
- Baking Pans/Cookie Sheets: You’ll need baking sheets, preferably lined with parchment paper, to prevent sticking and ensure even baking. Depending on the size of your oven and sheets, having two or three on hand will allow you to bake in efficient batches.
- Rubber Spatula: Essential for scraping down the sides of the mixing bowl, ensuring all ingredients are thoroughly combined, and gently folding in dry ingredients.
- Small Spatula or Offset Spatula: Useful for carefully transferring baked cookies from the hot sheet to a cooling rack.
- Optional – Piping Bag with a 2A Tip or Small Cookie Scoop: For perfectly uniform cookie dough balls, a piping bag with a round tip (like a 2A) or a small cookie scoop (about ½ teaspoon size) is highly recommended. This ensures consistent baking and a professional appearance.
Step-by-Step Guide: How To Make Perfect Homemade Vanilla Wafers
1: Prepare Your Workspace and Dry Ingredients
- Begin by preheating your oven to 350°F (175°C). This ensures the oven is at the correct temperature when your dough is ready, leading to consistent baking.
- Line your baking sheets with parchment paper. This prevents the cookies from sticking and makes cleanup much easier. Set the prepared sheets aside.
- In a medium bowl, whisk together the all-purpose flour, baking powder, and salt until they are thoroughly combined. This step ensures that the leavening agent and salt are evenly distributed throughout the dough. Set this dry mixture aside.
2: Cream the Butter and Sugars
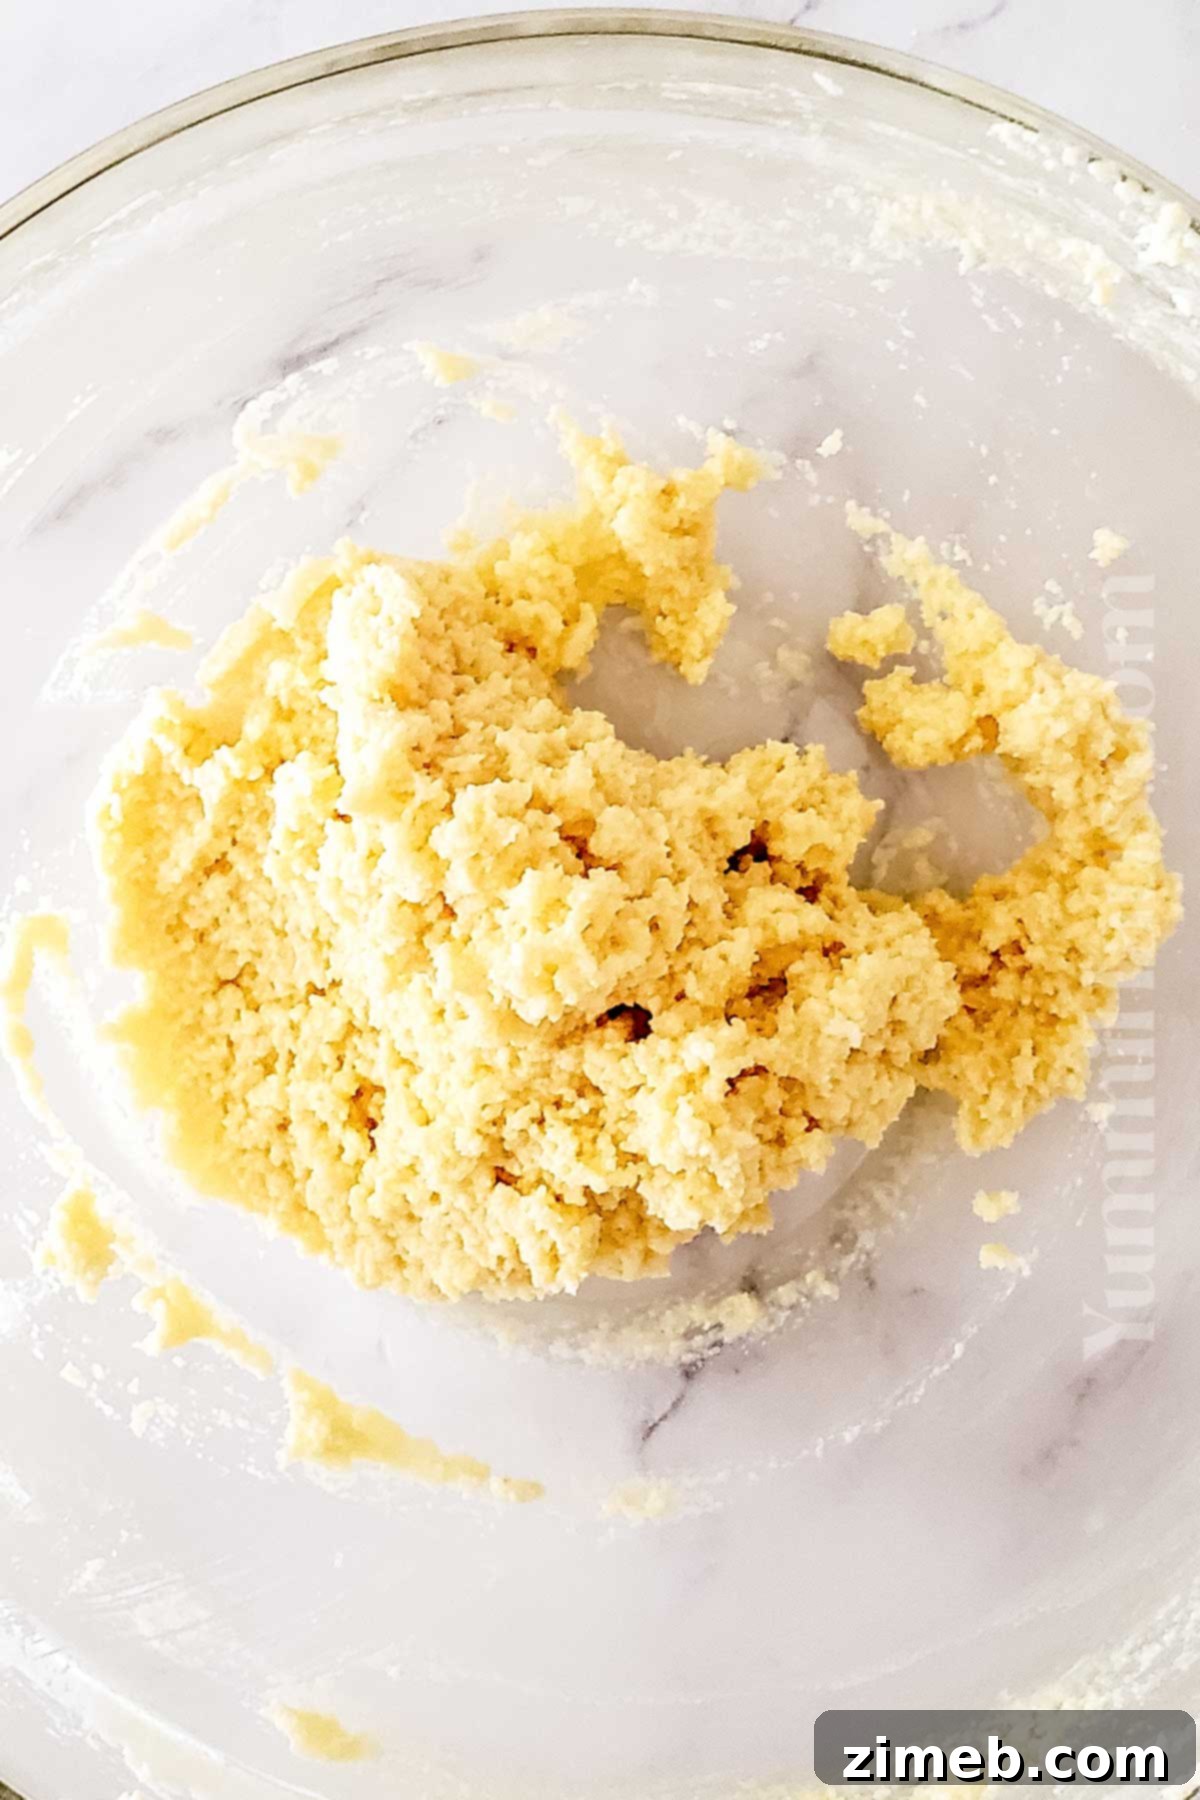
In a large mixing bowl, combine the softened unsalted butter, confectioners’ sugar, and granulated sugar. Using a stand mixer with a paddle attachment or a hand-held electric mixer, beat these ingredients together on medium-high speed until the mixture becomes light, fluffy, and pale in color. This creaming process typically takes 3-5 minutes and is crucial for incorporating air into the dough, which contributes to the wafers’ tender texture. Make sure the butter has fully absorbed both types of sugar, creating a smooth, cohesive base.
3: Incorporate the Wet Ingredients
Reduce the mixer speed to low. Gradually beat in the room temperature large egg, pure vanilla extract, and whole milk. Mix until all these wet ingredients are fully combined into the butter and sugar mixture. Scrape down the sides of the bowl with a rubber spatula to ensure everything is well incorporated and there are no streaks of unmixed ingredients.
4: Gently Mix Dry and Wet Ingredients
With the mixer still on low speed (or by hand with a rubber spatula), gradually add the dry flour mixture to the wet ingredients. Add a little at a time, mixing just until each addition is incorporated before adding more. Be careful not to overmix the dough, as overmixing can lead to tough cookies. Stop mixing as soon as the last of the flour streaks disappear and a soft, uniform dough forms.
6: Bake to Golden Perfection
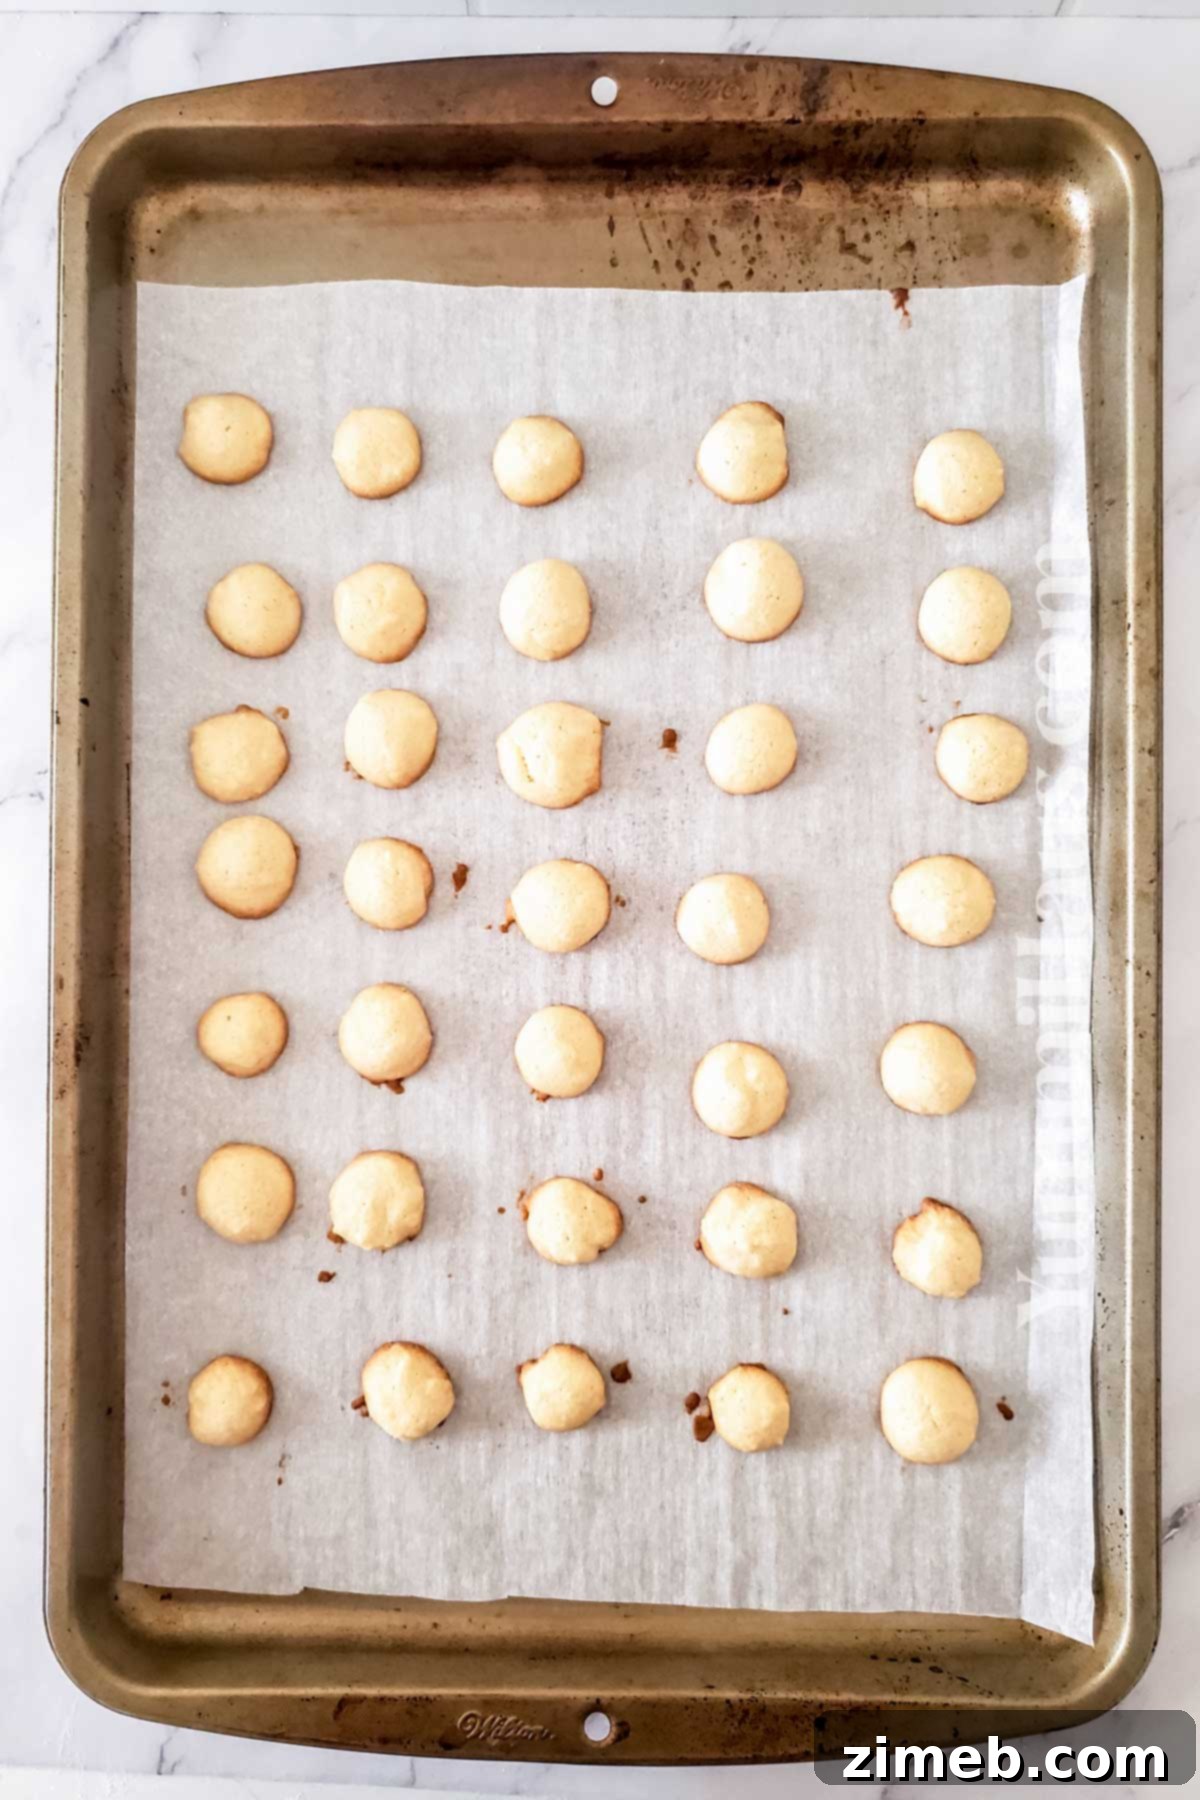
- Place the baking sheets into the preheated oven and bake for 12-15 minutes. For even baking, rotate the pans halfway through the baking time. The exact baking time may vary slightly depending on your oven and the size of your cookies.
- The vanilla wafers are ready when their tops are light yellow, and the bottoms have turned a lovely golden brown. They will be delicate when hot, so allow them to cool on the baking sheet for a few minutes before carefully transferring them to a wire rack to cool completely.
Storage Solutions for Freshness
One of the many advantages of these homemade vanilla wafers is how well they store, allowing you to enjoy them for days or even weeks. Proper storage is key to maintaining their delightful texture and flavor:
- Room Temperature: Once completely cooled, store your vanilla wafer cookies in an airtight container at room temperature. They will remain fresh and delicious for up to one week. Ensure the container is truly airtight to prevent them from going stale.
- Freezing: For longer storage, vanilla wafers freeze exceptionally well. Arrange the cooled cookies in a single layer on a baking sheet and flash freeze them for about 30 minutes until solid. Then, transfer them to a freezer-safe airtight container or heavy-duty freezer bag, layering them with parchment paper to prevent sticking. They can be frozen for up to one month. Thaw at room temperature before serving.
Remember, always allow the cookies to cool completely before storing or freezing. Storing warm cookies will create condensation, leading to soggy cookies.
Creative Substitutions & Exciting Variations
While the classic vanilla wafer is perfect as is, this recipe is wonderfully adaptable, allowing for simple substitutions and exciting variations to suit your taste or dietary needs. Get creative in the kitchen!
- Butter Type: While softened stick butter (creamed) yields the best flavor and texture by incorporating more air, you can use melted butter if you’re short on time. However, be aware that melted butter will result in a denser, less airy cookie.
- Egg Alternatives: For an even richer flavor and a slightly different texture, you can replace the one whole large egg with 1 large egg plus 3 additional egg yolks. The extra yolks add richness and tenderness.
- Chocolate Vanilla Wafers: Transform these classic cookies into a chocolate lover’s dream! Gently melt about ¼ to ½ cup of white chocolate chips or regular chocolate chips and stir it into the cookie batter along with the wet ingredients, or swirl it in at the end. This adds a delightful chocolatey dimension.
- Citrus Zest: Add a bright, refreshing twist by incorporating 1-2 teaspoons of finely grated lemon or orange zest into the dry ingredients. This will infuse the wafers with a lovely subtle citrus aroma and flavor.
- Spice It Up: For a warmer, cozier cookie, add ½ teaspoon of ground cinnamon or a pinch of nutmeg to your dry ingredients. This is especially delightful during the cooler months.
- Almond or Other Extracts: While vanilla is traditional, you can experiment with other extracts. Substitute half of the vanilla extract with almond extract for an almond-vanilla wafer, or even a touch of peppermint extract for a festive holiday cookie.
- Gluten-Free Wafers: As mentioned in the ingredients notes, a good quality 1:1 gluten-free all-purpose flour blend can be successfully used in this recipe. Just ensure your blend contains xanthan gum for best results.
Expert Tips for Crafting Perfect Vanilla Wafers Every Time
Achieving bakery-quality vanilla wafers at home is easier than you think with a few insider tips. Follow these expert suggestions to ensure your cookies turn out perfectly:
- Room Temperature Ingredients are Non-Negotiable: This cannot be stressed enough. Softened butter, a room temperature egg, and milk combine more easily and create a smoother, more emulsified batter. This leads to a superior texture and prevents your dough from separating.
- Don’t Overmix the Dough: Once you add the dry ingredients, mix just until combined. Overmixing develops the gluten in the flour, which can result in tough, dense cookies instead of light, tender wafers.
- Chill the Dough: The 15-minute chilling period is essential. It helps the butter re-solidify slightly, preventing the cookies from spreading too much during baking and ensuring they hold their shape better. If your kitchen is warm, you might want to chill for a bit longer.
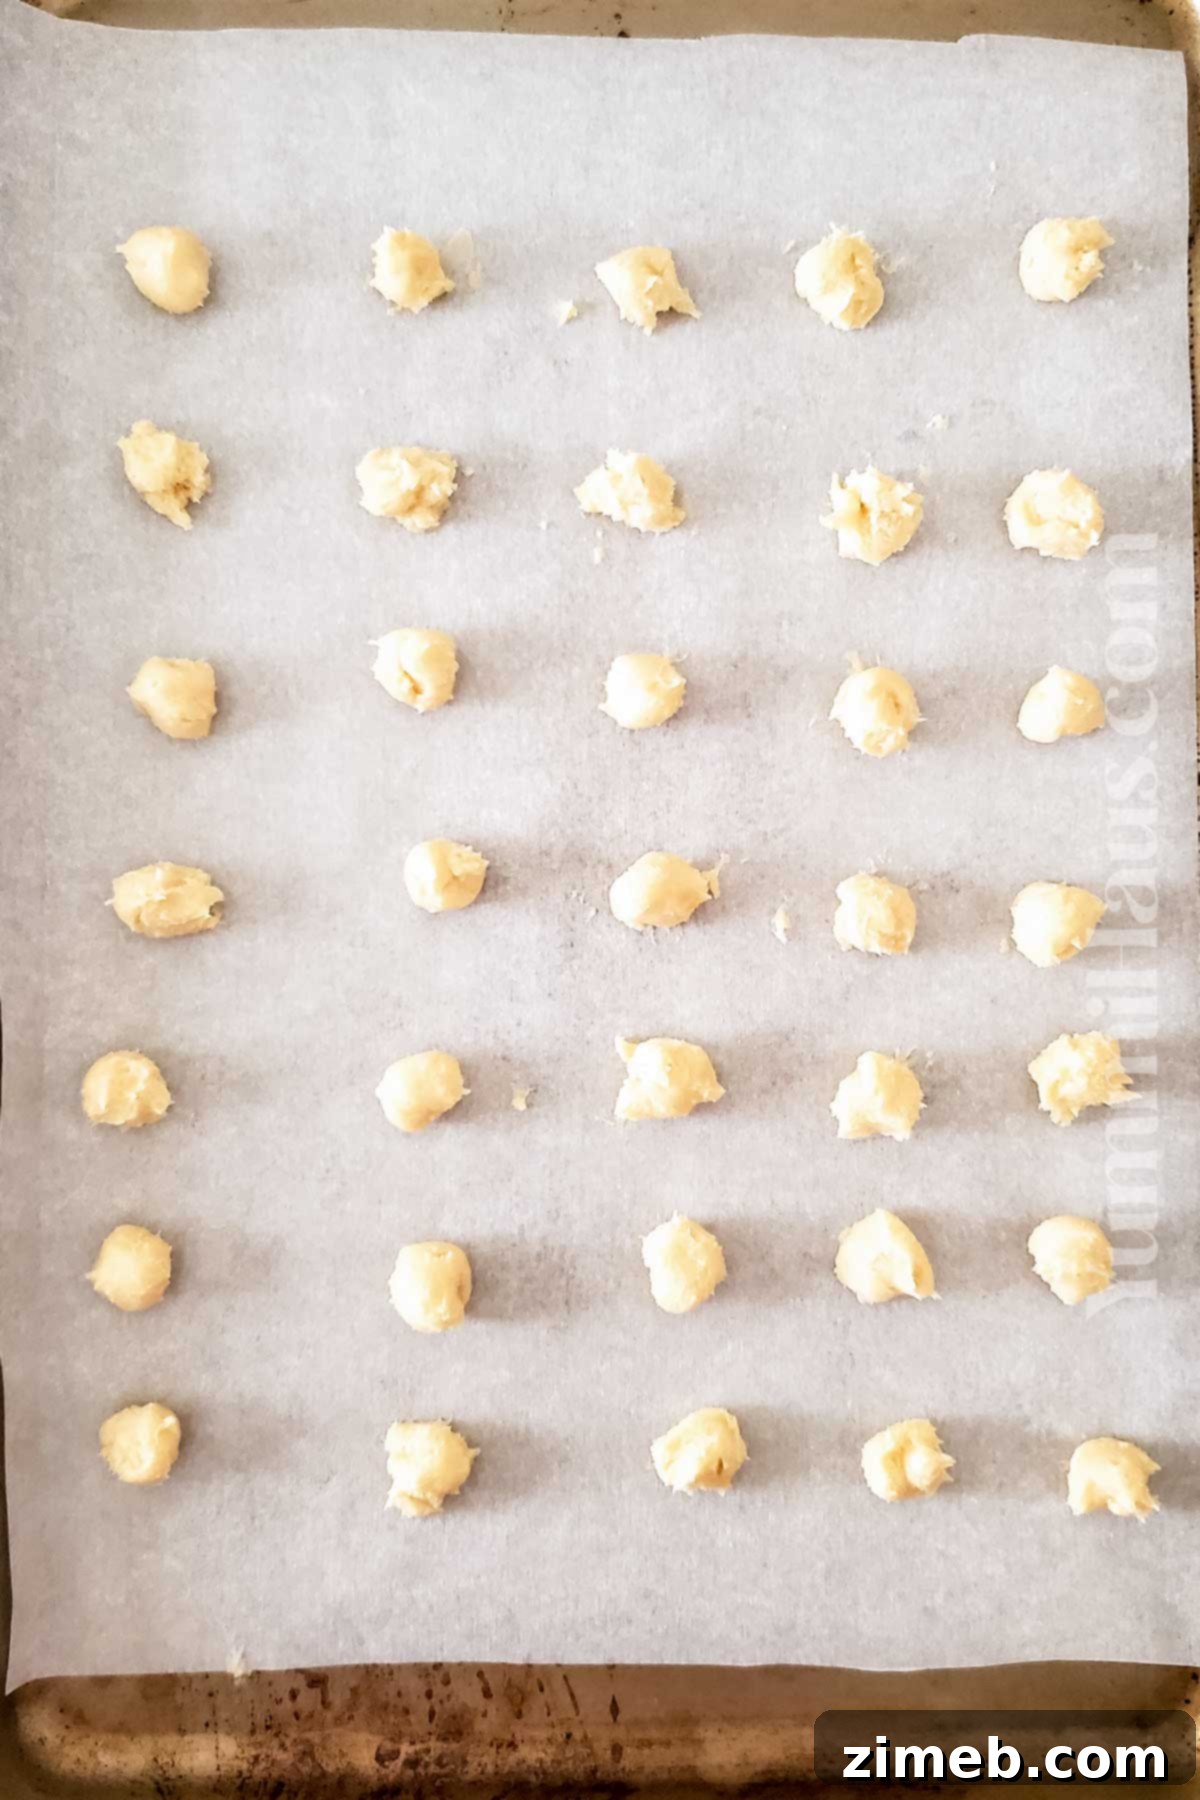
- Uniformity is Key: For even baking, aim for uniformly sized cookie dough balls. Using a small cookie scoop or a piping bag with a round tip (like a 2A) will help achieve this consistency. Uneven cookies will bake unevenly.
- Flatten for a Classic Wafer: If you prefer a thinner, crispier cookie closer to traditional store-bought vanilla wafers, lightly press down each dough ball with a wet finger or the back of a spoon before baking. For a chewier, richer, slightly thicker cookie, leave them as rounded balls.
- Watch Your Oven: Ovens can vary significantly. Keep a close eye on your cookies during the last few minutes of baking. The edges should be golden brown, and the centers light yellow. Adjust baking time as needed for your specific oven.
- Cool Completely: Allow the wafers to cool on the baking sheet for a few minutes before transferring them to a wire rack. They are delicate when hot and can break easily. Cooling completely on a rack allows air circulation, ensuring crispness.
- Avoid Prolonged Air Exposure: Vanilla wafers, especially homemade ones without preservatives, can go stale if exposed to air for too long. Store them in an airtight container once completely cooled to maintain their freshness and crisp-chewy texture.
- Best for Banana Pudding: For classic banana pudding recipes, fresh homemade vanilla wafers are absolutely unbeatable. Their authentic flavor and perfect texture absorb the pudding beautifully without becoming too mushy.
Frequently Asked Questions About Vanilla Wafers
What Is A Good Substitute For Vanilla Wafers?
When a recipe calls for vanilla wafers, especially in dessert preparations, homemade vanilla wafer cookies are, of course, the best substitute! If you’re looking for other alternatives, butter cookies or classic shortbread cookies can offer a similar buttery richness and crisp texture. For recipes that use vanilla wafers as a crust (like cheesecakes or pie crusts), you can easily substitute them with crushed Graham crackers or even crushed Oreo cookies for a chocolatey twist.
Are Nilla Wafers Cookies Or Crackers?
Nilla Wafers are undoubtedly cookies! They are a popular brand of sweet, vanilla-flavored cookies known for over 120 years. They are typically thin, small, and round, characterized by a delightful balance of a soft, slightly chewy center and crispy, golden-brown edges. Their sweet profile and tender crumb clearly place them in the cookie category, rather than savory crackers.
What Is The Difference Between Vanilla Wafers And Nilla Wafers?
The distinction between “Vanilla Wafers” and “Nilla Wafers” is primarily a matter of branding. “Nilla Wafers” is simply a shortened, trademarked brand name created by Nabisco for their specific line of vanilla-flavored wafer cookies. Therefore, “Vanilla Wafers” is the general term referring to any wafer-style cookie with vanilla flavor, while “Nilla Wafers” refers specifically to the popular product from Nabisco. Essentially, all Nilla Wafers are vanilla wafers, but not all vanilla wafers are Nilla Wafers.
Other Irresistible Copycat Cookie Recipes You’ll Love
If you’ve enjoyed mastering this classic vanilla wafer copycat recipe, you’re in for a treat! Many popular store-bought cookies have delicious homemade counterparts that are often even better than the originals. Explore these other fantastic copycat recipes and bring more beloved flavors into your kitchen:
Copycat DoubleTree Hotel Cookies
Indulge in thick, chewy chocolate chip cookies that taste exactly like the famous ones served at DoubleTree Hotels. These are truly over-the-top amazing!
Check out this recipe
Tagalong Cookies – Copycat Girl Scout
Recreate the iconic Girl Scout Tagalong cookies at home! These feature a tender shortbread cookie base, generously topped with a layer of creamy peanut butter, and enrobed in sweet chocolate. Irresistibly good!
Check out this recipe

Frosted Animal Cookies
Bring back childhood nostalgia with these adorable copycat frosted animal cookies. Simple vanilla cookies are decorated with a sweet confectioner’s glaze and festive rainbow nonpareils for a colorful and delicious treat.
Check out this recipe

Thin Mint Cookies
These homemade copycat Thin Mint Cookies are the real deal! Crisp, chocolatey cookies dipped in a refreshing mint and chocolate coating perfectly replicate the beloved Girl Scout cookie flavor and texture.
Check out this recipe
Famous Amos Cookies Recipe
With their signature crunchy edges, wonderfully chewy centers, and rich buttery flavor, this copycat Famous Amos Cookies Recipe is a delightful journey back to a classic favorite. You won’t believe how easy they are to make!
Check out this recipe

Perfect Pairings: Enjoy Your Vanilla Wafers With These Great Recipes
Homemade vanilla wafers are incredibly versatile and serve as a wonderful component in many desserts. Here are some fantastic recipes that beautifully complement or incorporate these delightful cookies:
Banana Pudding Cheesecake
Patriotic Cake Batter Dip
Classic Banana Pudding Recipe
Strawberry Ice Box Cake
CONNECT WITH YUMMI HAUS!
Be sure to follow me on my social media, so you never miss a post!
Substack, FB, Pinterest, IG, Email Subscription

Vanilla Wafers
Course: Dessert, Snack
Servings: 70 cookies
Homemade Vanilla Wafers have a buttery, vanilla flavor and crisp texture. These classic cookies are great for snacking, baking, and desserts.
Prep Time: 15 mins
Cook Time: 15 mins
Chill Time: 15 mins
Total Time: 45 mins
Ingredients
- 1 ½ cups all-purpose flour
- ¾ teaspoon baking powder
- ½ teaspoon salt
- ½ cup butter, softened (unsalted)
- ½ cup confectioners’ sugar
- ¼ cup granulated sugar
- 1 large egg, room temperature
- 1 tablespoon vanilla extract
- 1 tablespoon whole milk
Instructions
- Preheat the oven to 350 degrees F (175 C).
- Line a baking sheet with parchment paper. Set aside.
- Whisk the flour, baking powder, and salt in a small bowl. Set aside.
- Combine the butter, confectioner’s sugar, and granulated sugar in a large mixing bowl. Beat until the mixture is smooth and the butter has absorbed the sugars.
- Beat in the egg, vanilla, and milk. Mix well.
- Slowly stir in the dry mixture, adding a little at a time to work each addition into the wet ingredients before adding more until it has been fully combined.
- Cover and chill the dough in the refrigerator for 15 minutes.
- Once cold, drop ½ tsp-sized balls of dough onto the prepared baking sheet about 1” apart.
- Bake for 12-15 minutes, rotating the baking sheet halfway through. The tops of the cookies will be light yellow while the bottoms will be slightly browned.
Equipment
- 2 Bowls (1 large, 1 medium)
- Stand mixer or hand-held mixer
- Parchment Paper
- Rubber Spatula
- Spatula
Nutrition
Nutritional information for the recipe is provided as a courtesy and is approximate. Please double-check with your own dietary calculator for the best accuracy. We at Yummi Haus cannot guarantee the accuracy of the nutritional information given for any recipe on this site.
Love this recipe?
Follow @KleinworthCo for even more tasty recipes!