
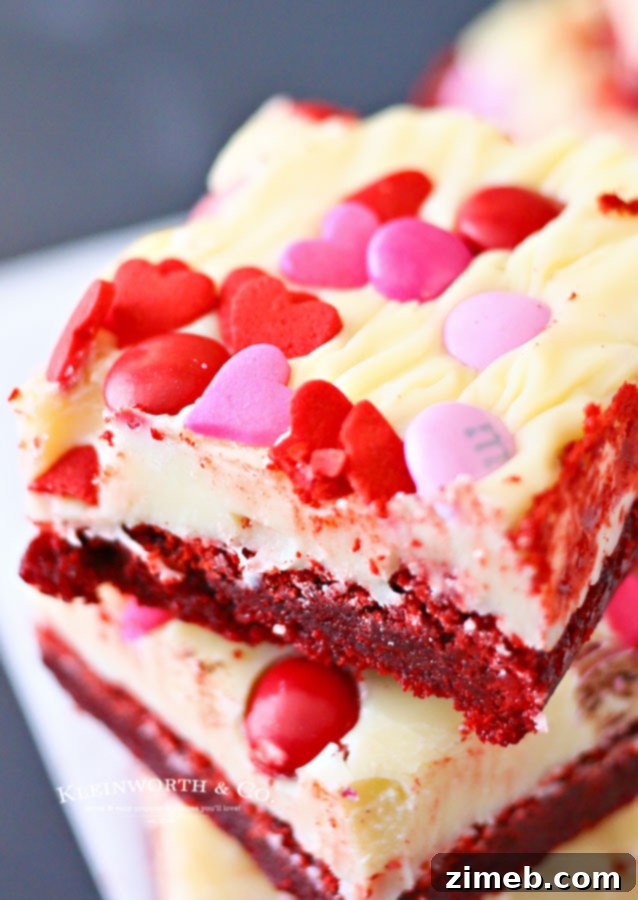
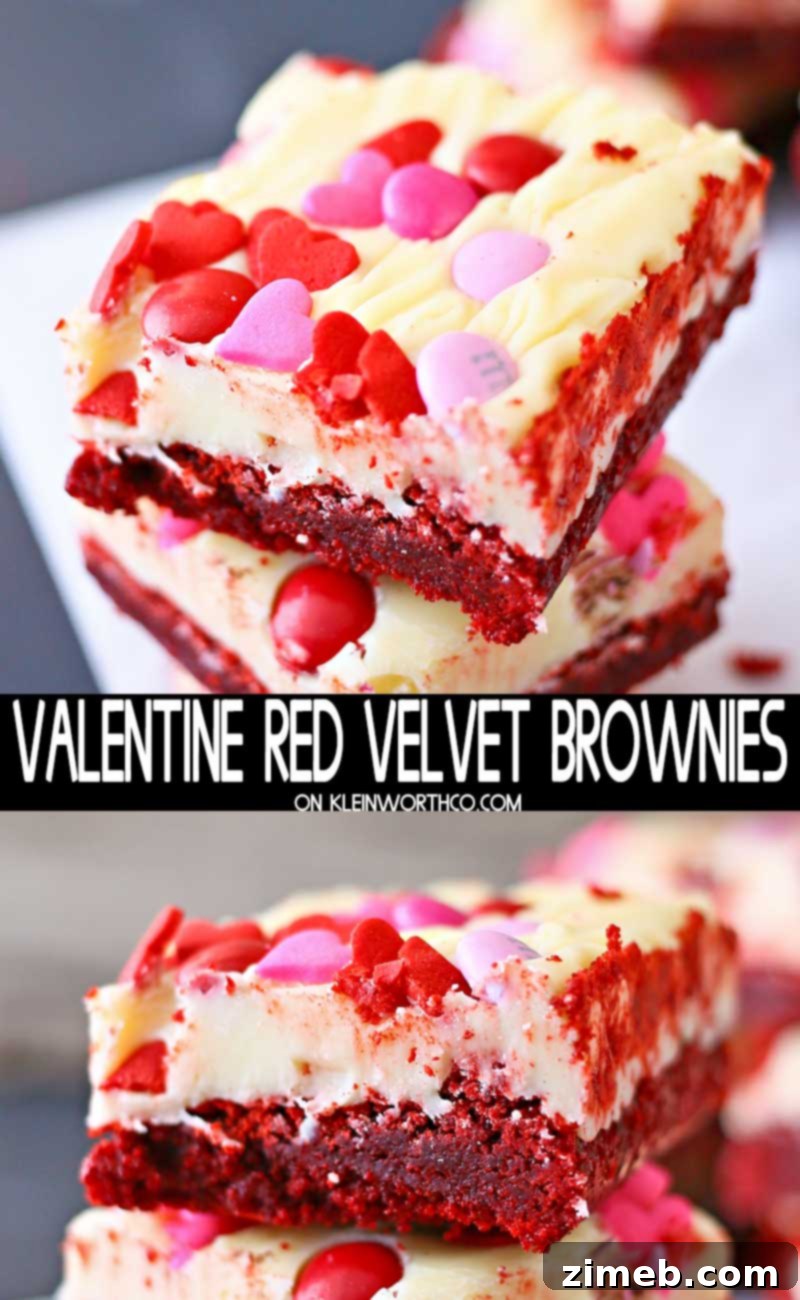
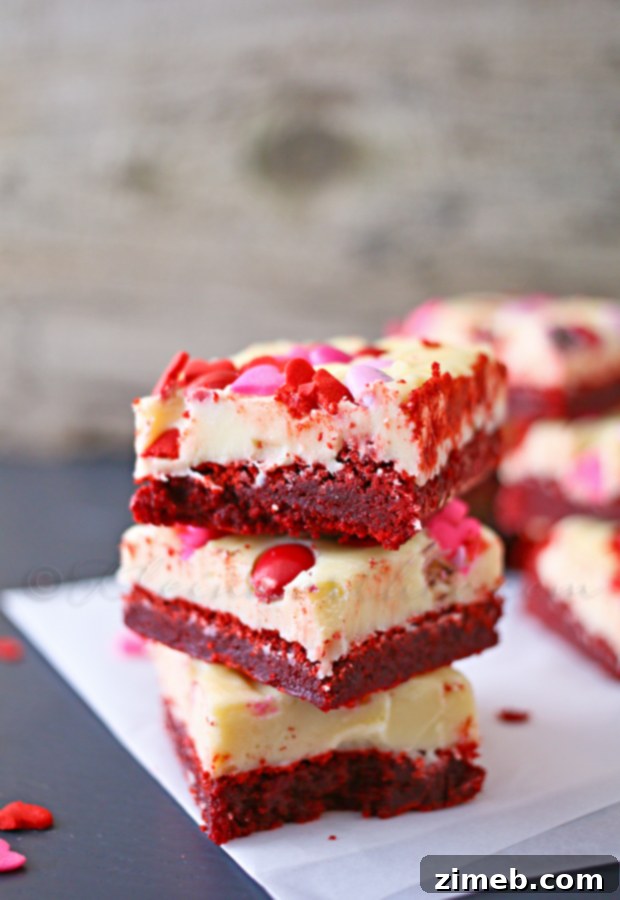
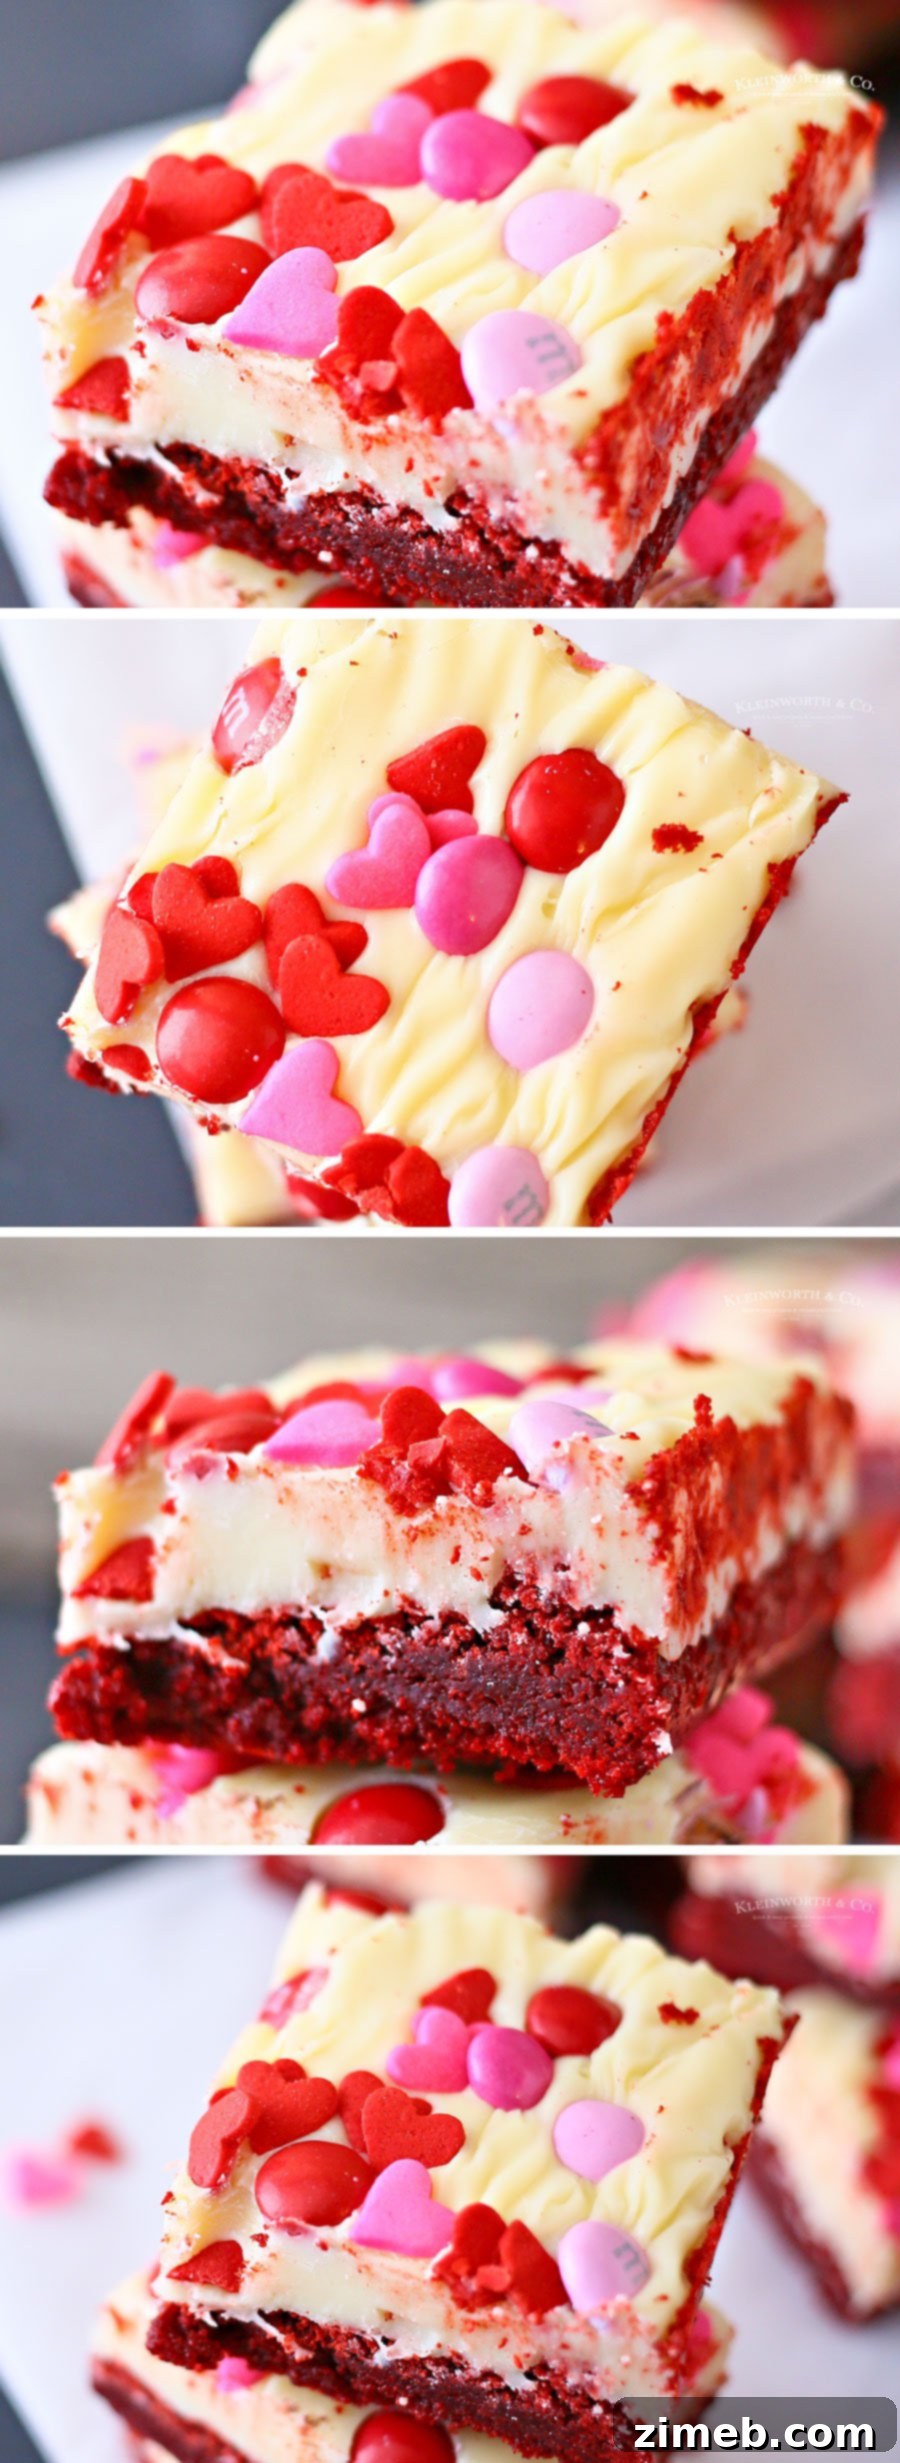
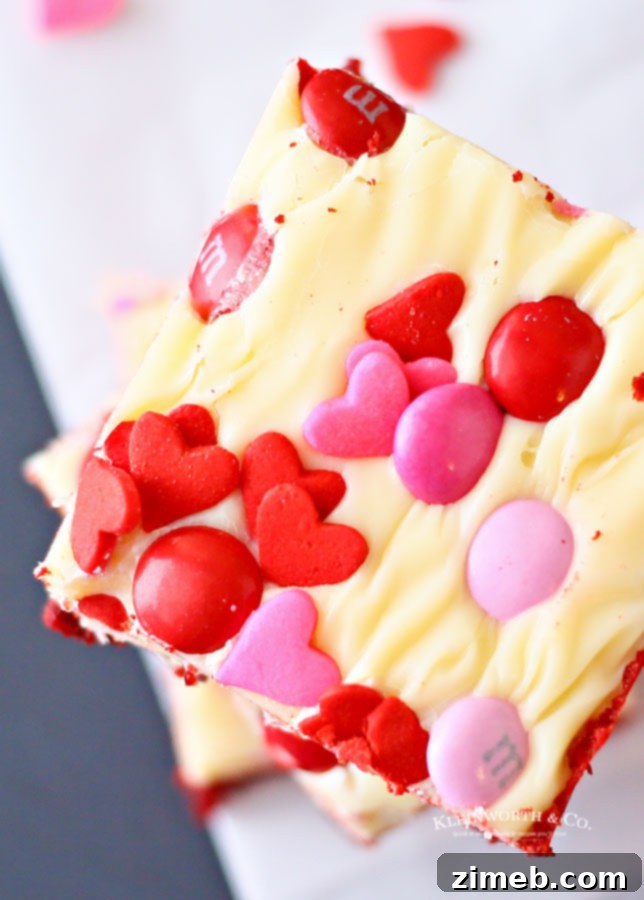
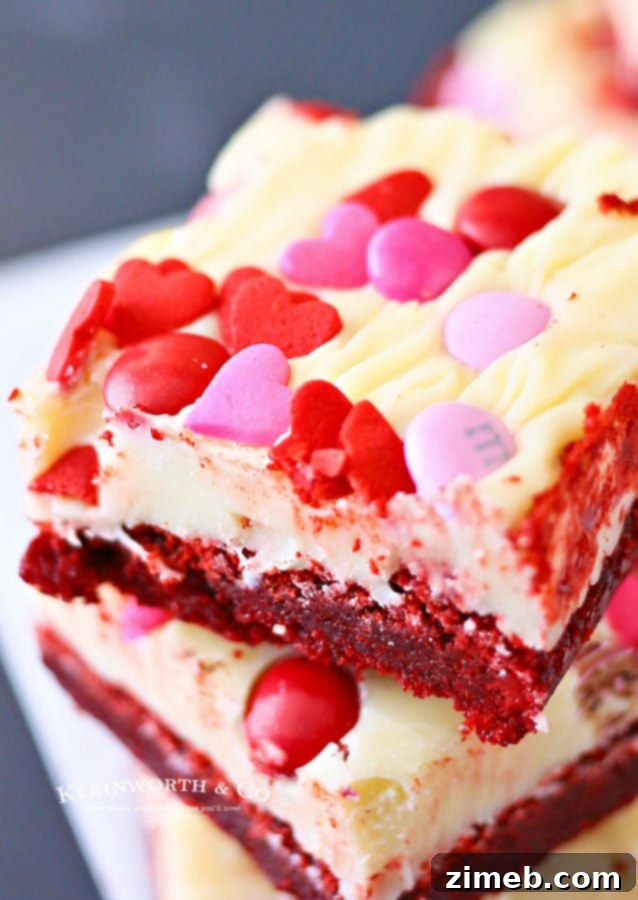
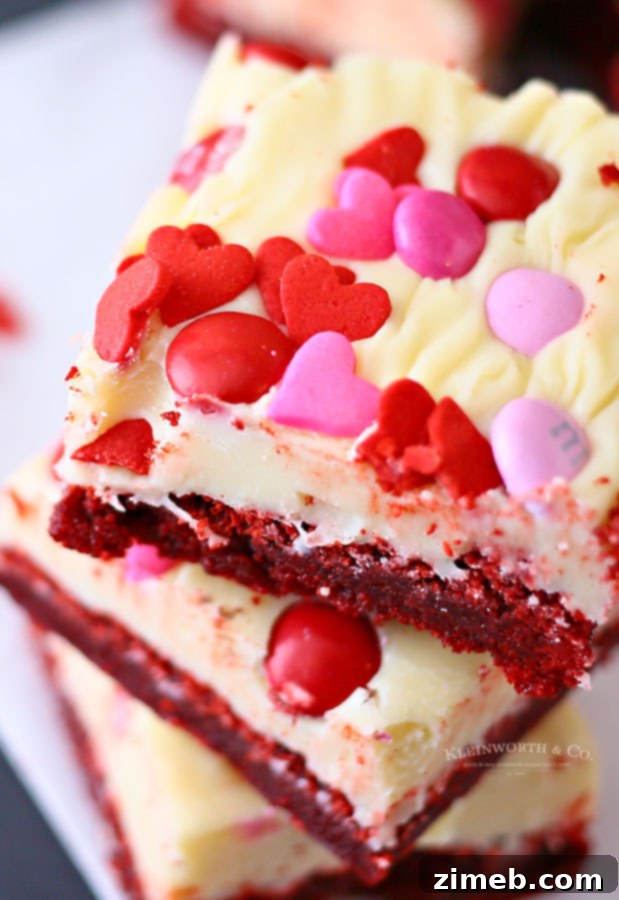
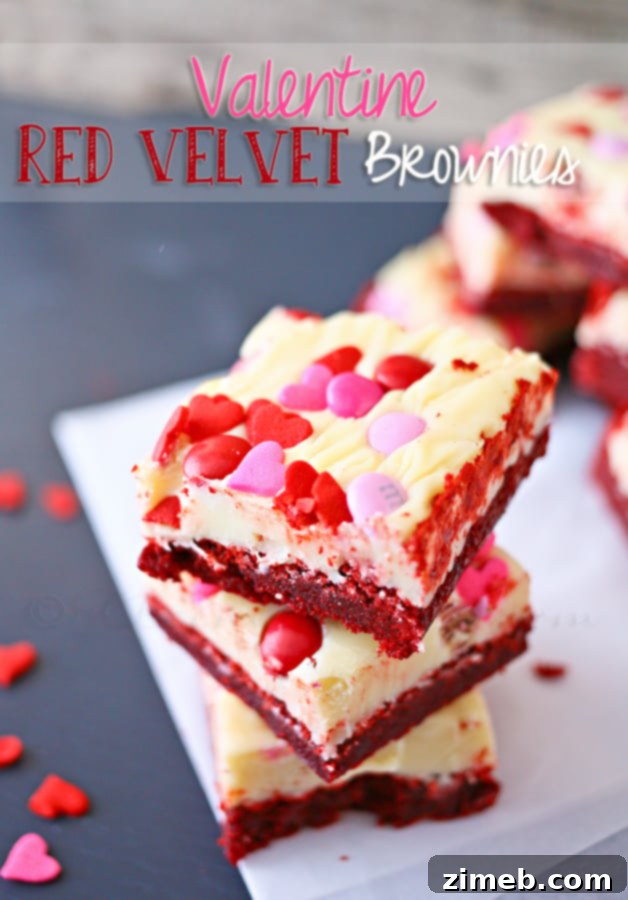
Valentine Red Velvet Brownies are a rich, decadent treat, perfect for celebrating love. These thick and chewy brownies are generously topped with a luscious white chocolate frosting and adorned with festive Valentine sprinkles, making them an irresistible delight for your sweetheart.
Who can resist the magic of red velvet? As Valentine’s Day approaches, our kitchens are often filled with the vibrant hue and distinctive flavor of this beloved classic. These Valentine Red Velvet Brownies have quickly become a family favorite, embodying everything we cherish about the holiday.
There’s something truly special about a homemade sweet treat, especially when it’s infused with the enchanting taste of red velvet, making it the ultimate indulgence for any romantic celebration.
This post contains some affiliate links. Click here to read my full disclosure policy.
The Enduring Allure of Red Velvet
Red velvet isn’t just a color; it’s a flavor, a texture, and an experience. Traditionally characterized by its striking reddish-brown color, a subtle cocoa flavor, and a distinctive tang from buttermilk and vinegar, it often pairs perfectly with a rich cream cheese frosting. While these brownies focus on a white chocolate frosting, the essence of red velvet’s appeal—its deep, inviting color and tender crumb—remains. For many, red velvet evokes feelings of warmth, comfort, and celebration, making it an ideal choice for special occasions like Valentine’s Day. The hint of cocoa perfectly complements the sweetness, creating a balanced and utterly delightful dessert.
A Sweet Inspiration: From Childhood Memories to Festive Treats
I still remember the wonderful Frosted Holiday Mint M&M Brownies that Kristyn shared last December. Her recipe sparked an idea that I just couldn’t shake. Growing up, my mom was a master baker, creating the most elaborate cakes imaginable. But when it came to brownies, they were usually simple, straight from a box, and devoured before they even had a chance to cool. So, the concept of frosted or elaborately decorated brownies was a new and exciting one for me.
The thought of those decorated brownies lingered in my mind. Then, my kids stumbled upon Kristyn’s post, and that sealed the deal. I knew I had to make some. But instead of mint, I decided to put a Valentine’s Day spin on them! I started with my beloved Red Velvet Brownie recipe, a tried-and-true favorite I first shared a few years ago. It provides the perfect chewy and rich base for any festive adornment.
Valentine Red Velvet Brownies: A Decadent Delight
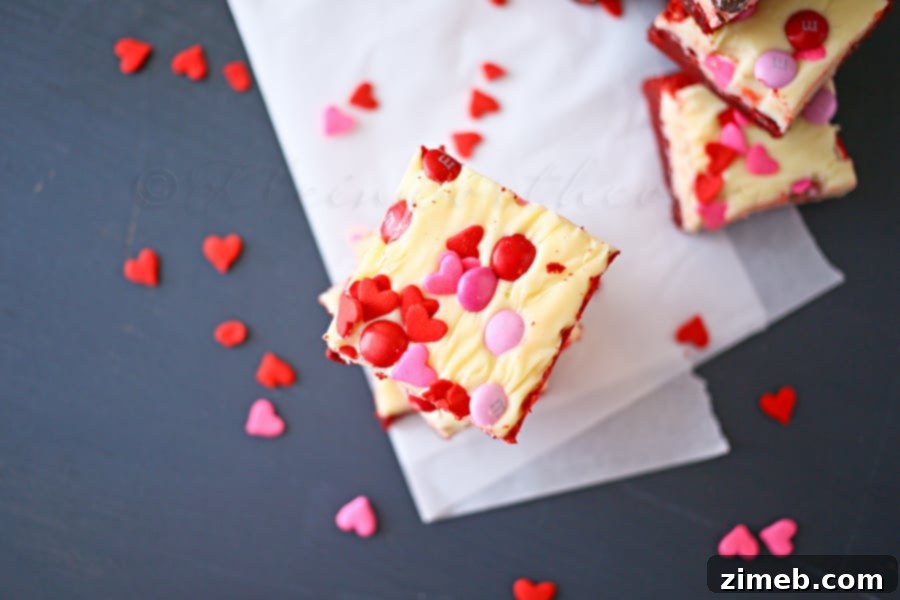
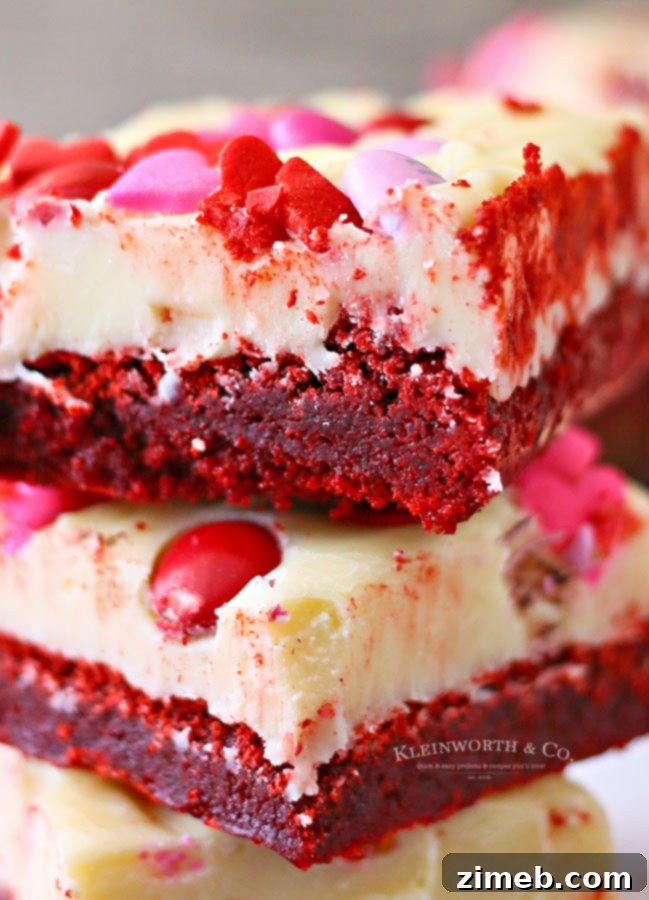
Taking a cue from Kristyn’s creative frosting idea, I crafted a smooth white chocolate topping and showered it with a delightful mix of Valentine sprinkles and M&M’s I found on a recent shopping trip. The result was a truly delightful goodie that captured the festive spirit of love. The combination of the rich, moist red velvet brownie, the creamy white chocolate, and the playful crunch of sprinkles creates a sensory experience that’s hard to beat.
Frequently Asked Questions for Brownie Perfection
Where can I find those adorable heart sprinkles?
Finding the perfect sprinkles can make all the difference! I often find mine on Amazon here. You might also have luck at larger grocery stores, specialty baking supply shops, or even craft stores around holiday seasons. Keep an eye out for different shapes and colors to match your theme!
What is the best way to cut brownies for clean, perfect squares?
Achieving clean cuts when portioning brownies can be surprisingly tricky, but with a few simple techniques, you’ll get professional-looking results every time. Here are my top tips:
- Use a hot knife: Run a sharp knife under hot water, wipe it clean, and then make a cut. Repeat this process for each cut. The heat helps the knife glide through the brownie and frosting without sticking or tearing.
- Opt for a plastic knife: This might sound unconventional, but plastic knives often work wonders for cutting brownies, especially if they have a sticky frosting. They create surprisingly clean edges.
- Ensure complete cooling: Patience is key! Brownies must be completely cooled before you attempt to cut them. Warm brownies will crumble and stick to the knife, resulting in messy pieces.
- Chill before cutting: If your decorations allow (meaning they won’t be damaged by cold), chilling the brownies in the refrigerator for at least 30 minutes, or even overnight, makes them much firmer and significantly easier to cut cleanly.
Can I use pre-packaged frosting for these brownies?
Absolutely! While homemade frosting adds a special touch, using a store-bought, pre-packaged frosting is a fantastic time-saver, especially if you’re in a rush. A good quality vanilla or cream cheese frosting from a tub would taste absolutely delicious with these vibrant red velvet brownies. Just make sure to choose one that complements the rich flavor of the brownie.
Can these brownies be frosted with cream cheese frosting instead?
You most certainly can! Cream cheese frosting is a classic pairing for red velvet, and it would be incredibly delicious on these brownies. I have a fantastic cream cheese frosting recipe here that I love to use not only for pumpkin and carrot cakes but also for any red velvet creation. It’s incredibly easy to make and yields a wonderfully tangy, creamy result. For a slightly different twist, my chocolate cream cheese frosting would also be a decadent and pretty tasty addition to these red velvet brownies, adding an extra layer of chocolatey goodness.
Step-by-Step Guide: How to Make Valentine Red Velvet Brownies
Creating these delightful Valentine Red Velvet Brownies is a straightforward process, resulting in a batch of irresistible treats that will surely impress. Follow these steps for perfect brownies every time.
For the Brownies:
- Preheat your oven to 325 degrees Fahrenheit (160 degrees Celsius).
- Prepare a metal 9″x9″ baking pan by lining it with either non-stick foil or regular foil sprayed generously with non-stick cooking spray. This crucial step ensures easy removal of the brownies later on.
- In a heavy, large saucepan, combine the cubed butter and semi-sweet chocolate chips. Stir continuously over low heat until both are completely melted and smooth. Remove the saucepan from the heat.
- Into the melted chocolate mixture, whisk in the granulated sugar. Once incorporated, add the eggs one at a time, whisking well after each addition until just combined.
- Stir in the vanilla extract, salt, and the red food coloring until the batter achieves a rich, even red hue.
- In a separate bowl, sift together the all-purpose flour and baking powder. Gradually add the sifted dry ingredients into the wet mixture, stirring gently until just blended. Be careful not to overmix the batter.
- Transfer the vibrant red batter evenly into your prepared baking pan.
- Bake for approximately 35-45 minutes, or until the brownies appear puffed and dry on top. A toothpick inserted into the center should come out with moist crumbs attached, indicating they are perfectly baked but still delightfully chewy.
- Allow the brownies to cool completely in the pan on a wire rack before proceeding to the frosting stage. This prevents the frosting from melting.
Once Cooled, Prepare Your White Chocolate Frosting:
Once your brownies are thoroughly cooled, it’s time to add the sweet finishing touch.
- In a small saucepan, combine the sweetened condensed milk and white chocolate chips.
- Heat this mixture over low heat, stirring constantly, until the white chocolate is completely melted and the frosting is smooth and creamy.
- Immediately pour the warm, melted white chocolate frosting over the cooled brownies while they are still in the pan, spreading it evenly to cover the surface.
- Generously top the frosting with Valentine M&M’s and an assortment of heart-shaped sprinkles.
- Allow the frosting to set completely before cutting. For the cleanest cuts and best results, I recommend chilling the brownies in the refrigerator overnight.
Irresistible Red Velvet Brownies
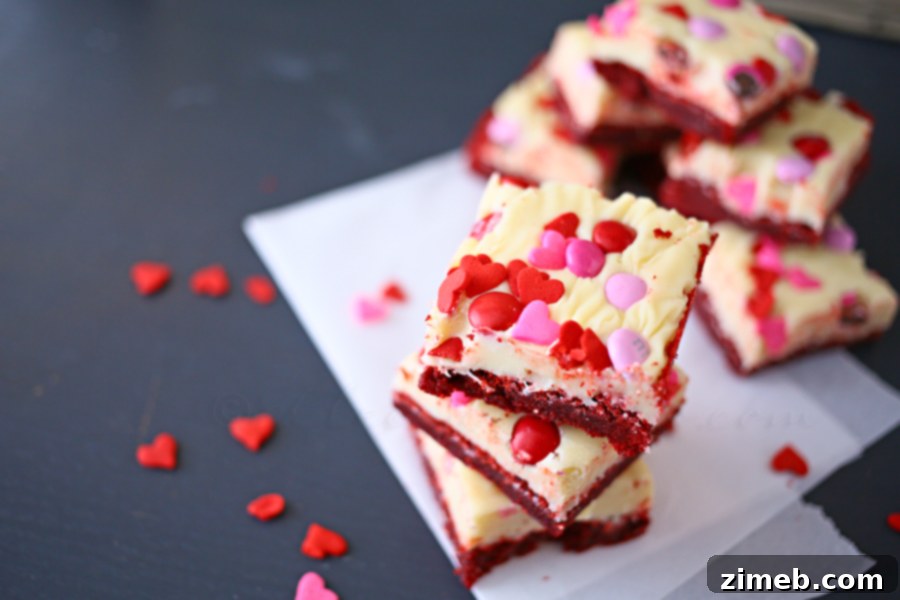
Aren’t they absolutely adorable? The vibrant red and cheerful sprinkles just scream Valentine’s Day!
Red velvet truly holds a special place in my heart, and these brownies are no exception.
Get ready for more red velvet delights because I can’t get enough of this amazing flavor!
Mastering the Art of Brownie Storage and Preservation
Proper storage is key to keeping your delicious Valentine Red Velvet Brownies fresh and enjoyable for as long as possible. Place any leftover brownies in an airtight container to prevent them from drying out. They can be kept at room temperature for up to 4 days, remaining wonderfully moist and flavorful. For optimal freshness, especially if your kitchen is warm, refrigerating them can extend their life slightly.
Can red velvet brownies be frozen?
Yes, absolutely! Freezing brownies is a fantastic way to prepare them ahead of time or save leftovers for later. However, there’s a trick to freezing frosted brownies, especially those with delicate decorations.
I typically prefer to freeze the brownies *before* adding the frosting and sprinkles. This is because sprinkles and M&M’s tend to “sweat” or become discolored when frozen and then thawed, which can make your beautifully decorated treats look less appetizing. If you freeze them unfrosted, you can thaw them later and add fresh frosting and decorations right before serving.
If you must freeze them with the frosting already applied, it’s certainly possible. Just be aware that the sprinkles might not look as vibrant upon thawing. Also, if you freeze them frosted, the frosting will set, preventing you from adding sprinkles or other decorations afterward, as they won’t stick. Always ensure they are in an airtight container or tightly wrapped to prevent freezer burn.
The Truth About Food Coloring: Achieving Vibrant Red Without Compromise
One common concern with red velvet recipes is the potential for a “food coloring taste,” especially when using liquid food coloring. With these brownies, I’ve found that the food coloring flavor isn’t overly pronounced. My secret? I primarily use gel food coloring, which is much more concentrated and requires only half the amount compared to liquid coloring to achieve the same vibrant red hue. This minimizes any potential off-flavors. If you’re particularly sensitive or want to be absolutely sure, you can always opt for a no-flavor food color specifically designed for baking, which ensures a beautiful color without impacting taste.
Essential Ingredients and Tools for Baking Success
This red velvet brownie recipe is incredibly easy and yields delicious results. Whether you’re a seasoned baker or new to making homemade red velvet brownies, having the right ingredients and a few key tools on hand will make the process smooth and enjoyable. Here’s a list of what you’ll need, including some items I absolutely rely on when whipping up a batch of these brownies.
- Butter
- Semi-sweet chocolate chips
- Granulated sugar
- Large eggs
- Vanilla extract
- Salt
- Red liquid food color OR red gel food color
- All-purpose flour
- Baking powder
- Sweetened condensed milk
- White chocolate chips
- Valentine M&M’s
- Heart Shaped Sprinkles
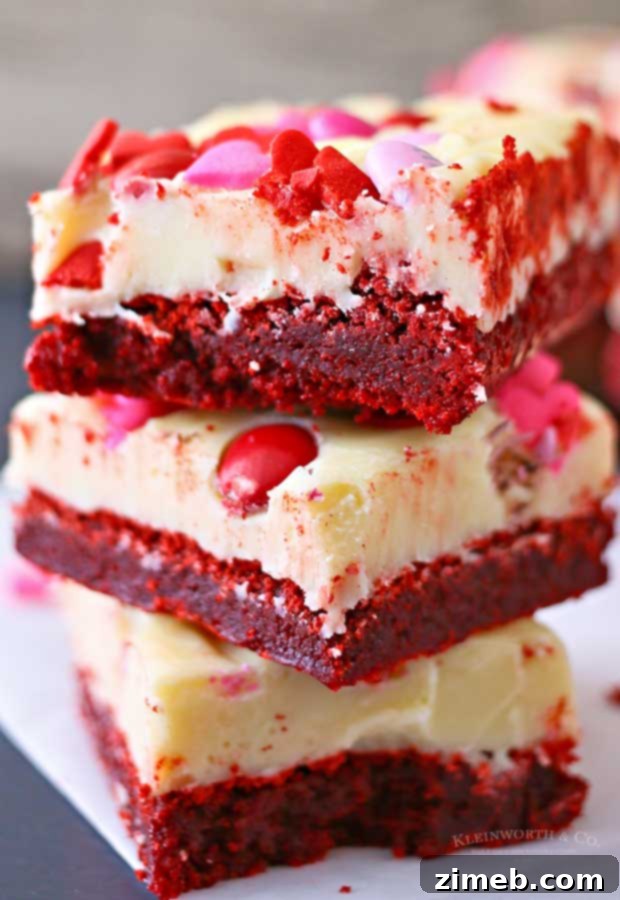
As expected, these irresistible brownies didn’t last long in our house. I confess, I barely shared!
More Sweet Treats for Every Occasion
More Red Velvet Recipes You’ll Love
If you’re a fan of red velvet, then you’re in for a treat! This versatile flavor can be enjoyed in so many forms. Here are some of our other favorite red velvet recipes:
- Red Velvet Cream Cheese Brownies
- Red Velvet Cake Mix Cookies
- Chocolate Chip Red Velvet Mini Loaves
- Red Velvet Cupcakes
- Red Velvet Cookie Dough
- Frostbitten Red Velvet Brownie Bites
- Red Velvet Bundt Cake
- Red Velvet Crinkle Cookies
- Easy Red Velvet Cake Mix Crinkle Cookies
- Red Velvet White Chocolate Chip Cookies
- Red Velvet Fudge
- 3-Layer Red Velvet Cake
If you adore this red velvet brownie recipe, you’re going to love these other delightful Valentine treats too. Each link below leads to an easy, printable recipe!
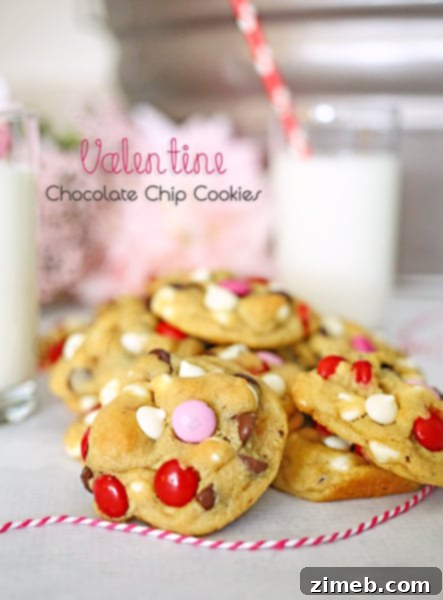
Valentine Chocolate Chip Cookies

Valentine Oreo Truffles
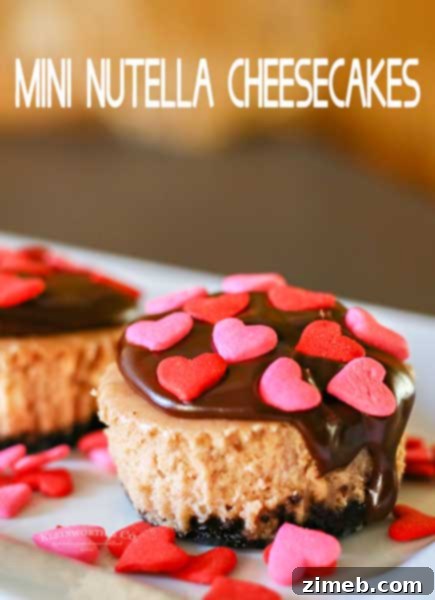
Nutella Mini Cheesecakes
Other Brownie Delights to Explore
Beyond red velvet, the world of brownies is vast and delicious. Here are some other brownie recipes that are sure to satisfy any craving:
- One Bowl Brownies
- Red Velvet Cream Cheese Brownies
- Frosted Peppermint Bark Brownies
- Easy S’mores Brownies
- Nutella Brownies
- Irish Cream Mint Brownies
- Kitchen Sink Brownies
The Ultimate Valentine Red Velvet Brownie Recipe
Get ready to impress your loved ones with these irresistible Valentine Red Velvet Brownies. This recipe is designed to be straightforward and rewarding, yielding a batch of thick, chewy, and beautifully frosted brownies perfect for any romantic gesture. With approximately 15 minutes of prep and 45 minutes of cook time, you can have these delightful treats ready in about 1 hour of active time, plus cooling.
Course: Dessert
Servings: 16 brownies
Ingredients
For the Brownies:
- ½ cup butter, cubed (1 stick)
- ⅓ cup semi-sweet chocolate chips
- 1½ cups granulated sugar
- 3 large eggs
- 1 tsp vanilla extract
- ¼ tsp salt
- 2 tbsp red liquid food color OR 1 tbsp red gel food color
- 1 cup all-purpose flour
- ½ tsp baking powder
For the White Chocolate Frosting:
- 1 can (14 ounces) sweetened condensed milk
- 2 cups white chocolate chips
- ½ cup Valentine M&M’s
- ⅛ cup Heart-Shaped Sprinkles
Instructions
Making the Brownie Base:
- Preheat oven to 325°F (160°C).
- Line a 9″x9″ metal baking pan with non-stick foil or regular foil sprayed with non-stick spray.
- In a large, heavy saucepan, melt butter and semi-sweet chocolate chips over low heat, stirring until completely smooth. Remove from heat.
- Whisk in granulated sugar, then add eggs one at a time, whisking until just combined.
- Stir in vanilla extract, salt, and red food coloring until the batter is uniformly red.
- Sift together flour and baking powder. Gently stir the dry ingredients into the wet mixture until just blended. Do not overmix.
- Pour the batter into the prepared pan and spread evenly.
- Bake for 35-45 minutes, or until the top is puffed and a toothpick inserted into the center comes out with moist crumbs.
- Cool completely in the pan on a wire rack.
Preparing and Applying the White Chocolate Frosting:
- Once brownies are cool, combine sweetened condensed milk and white chocolate chips in a small saucepan.
- Heat over low heat, stirring constantly, until fully melted and smooth.
- Immediately pour the warm frosting over the cooled brownies while still in the pan, spreading evenly.
- Sprinkle generously with Valentine M&M’s and heart-shaped sprinkles.
- Allow the frosting to set completely before cutting. For best results, refrigerate overnight.
Nutritional information for the recipe is provided as a courtesy and is approximate. Please double-check with your own dietary calculator for the best accuracy. We at Yummi Haus cannot guarantee the accuracy of the nutritional information given for any recipe on this site.
Love this recipe?
Follow @KleinworthCo for even more tasty recipes!

CONNECT WITH YUMMI HAUS!
Be sure to follow me on my social media, so you never miss a post!
Substack, FB, Pinterest, IG, Email Subscription
If you love this recipe for Valentine brownies as much as I do, please write a five-star review, and be sure to help me share on Facebook and Pinterest!