
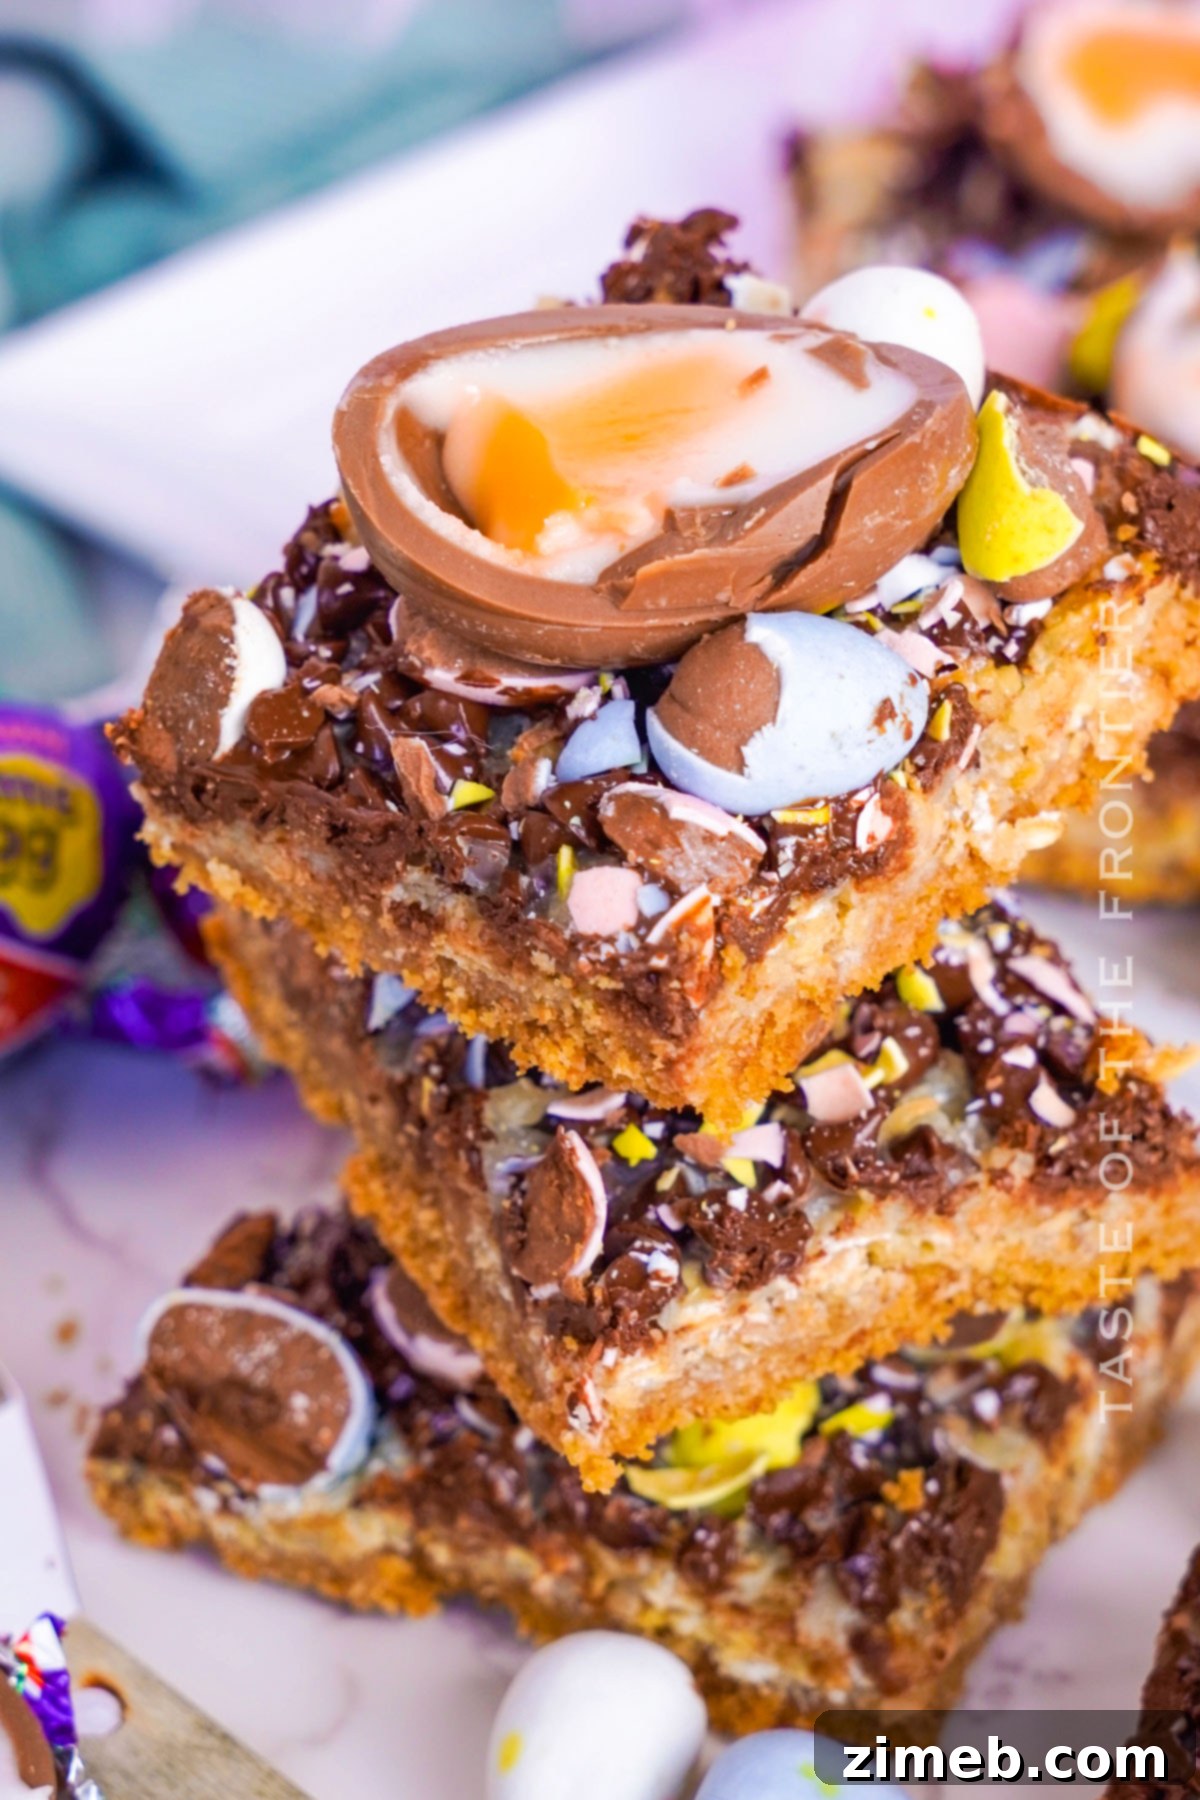
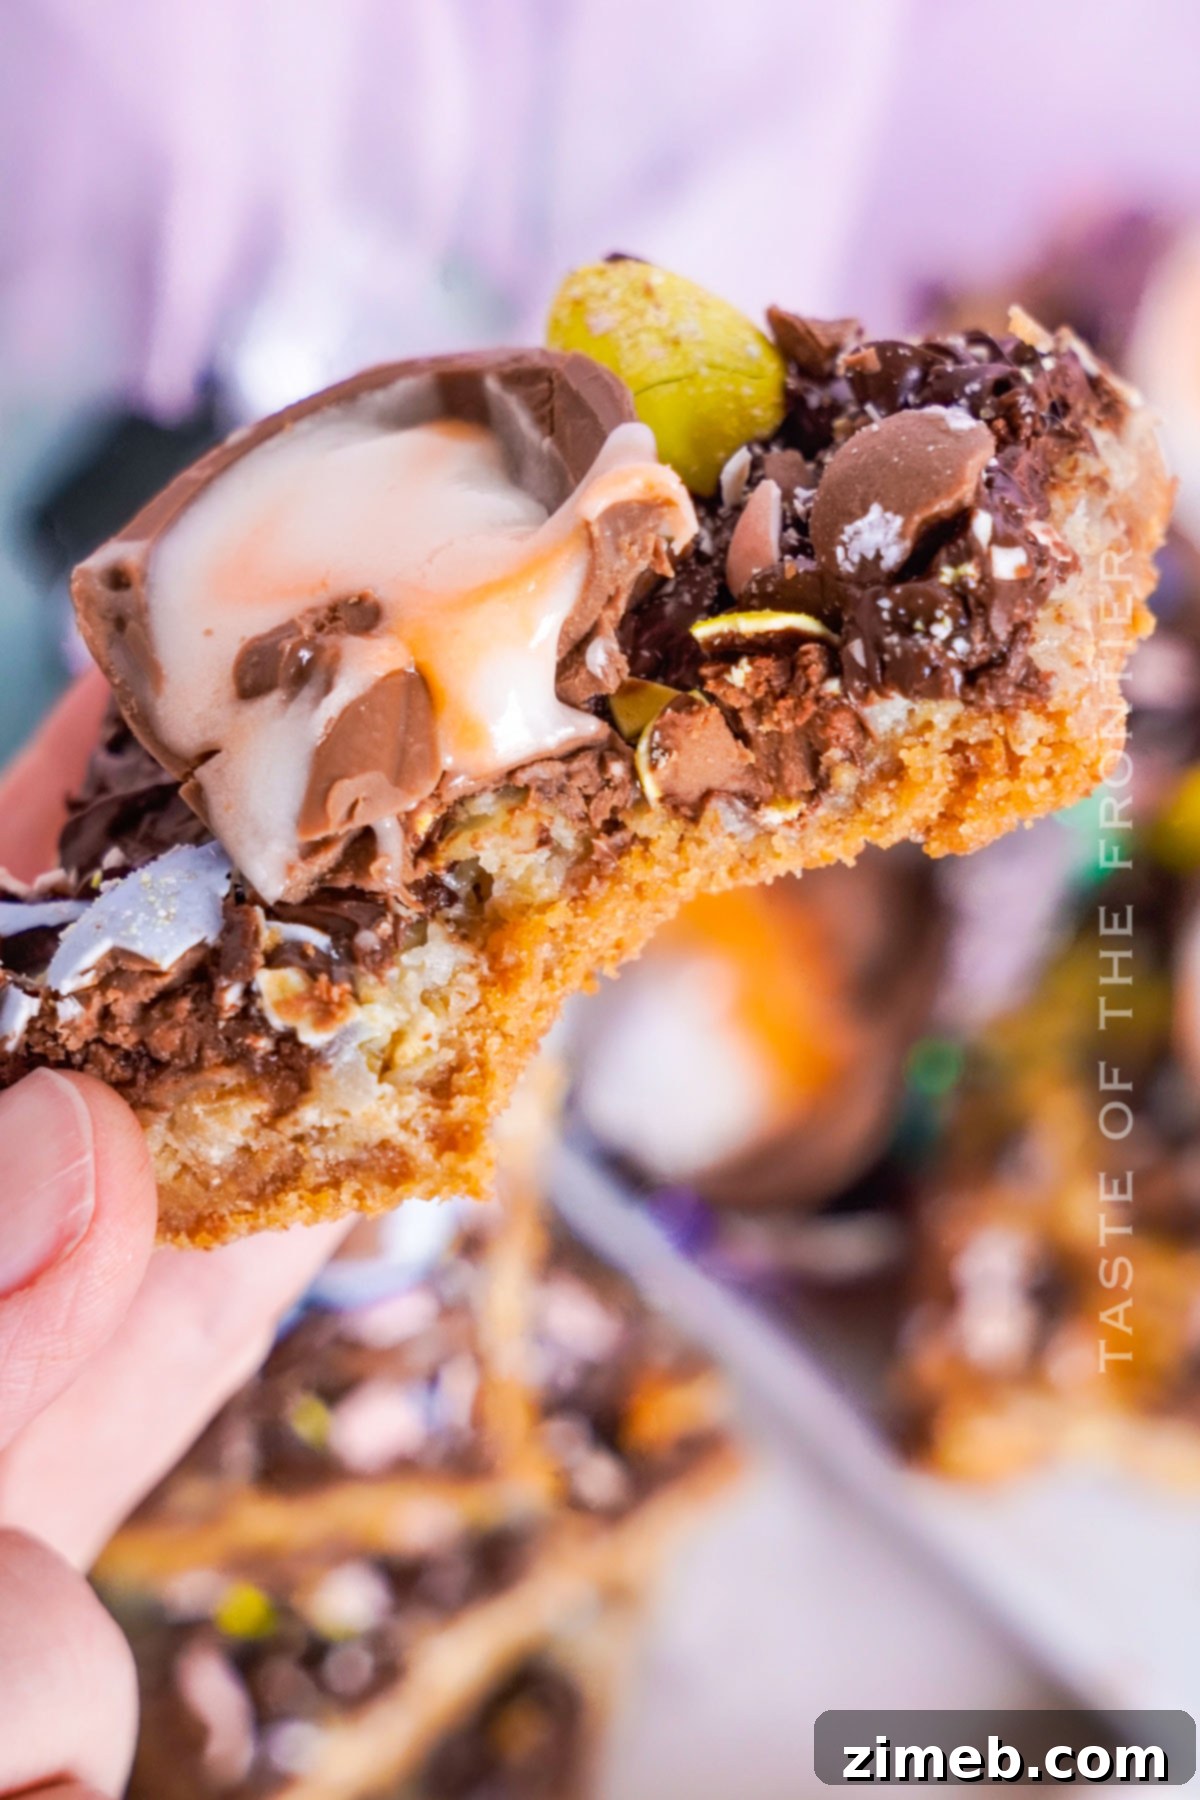
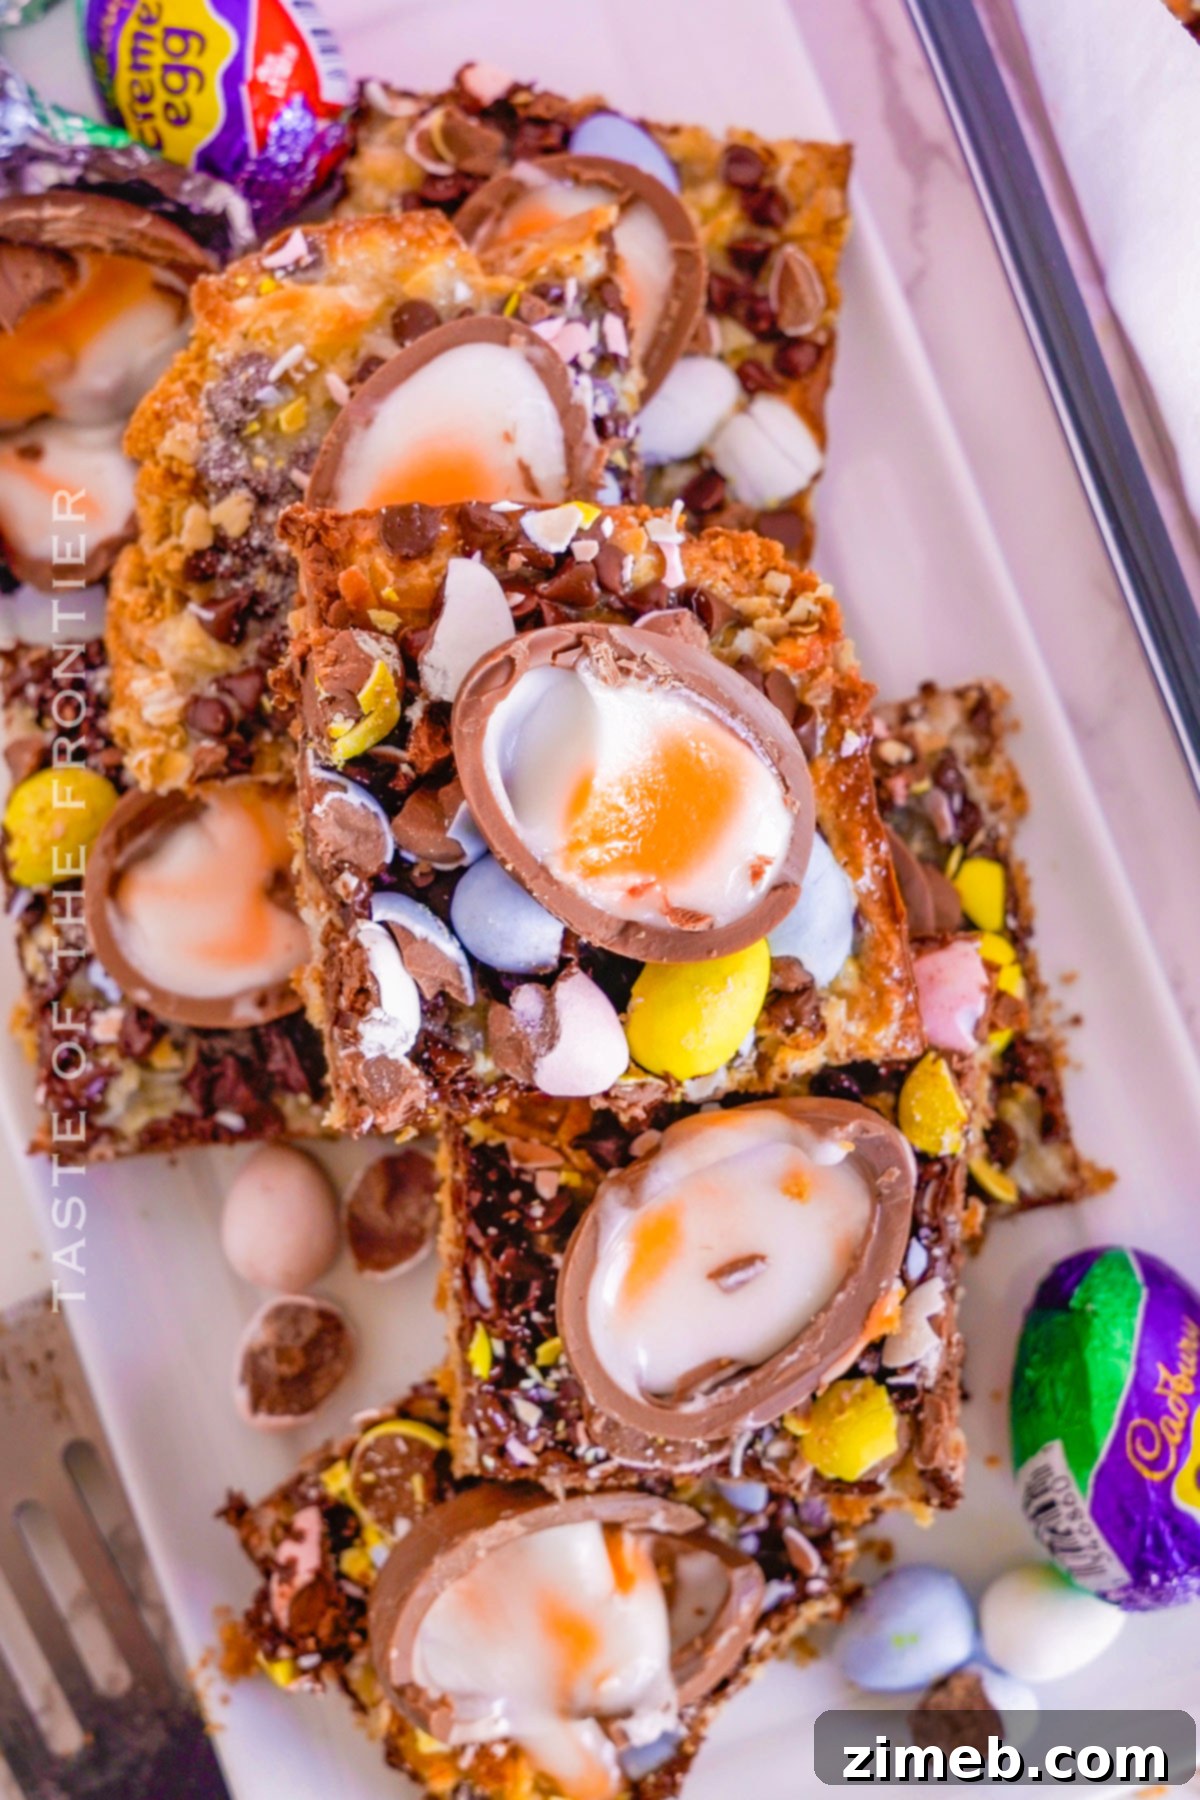
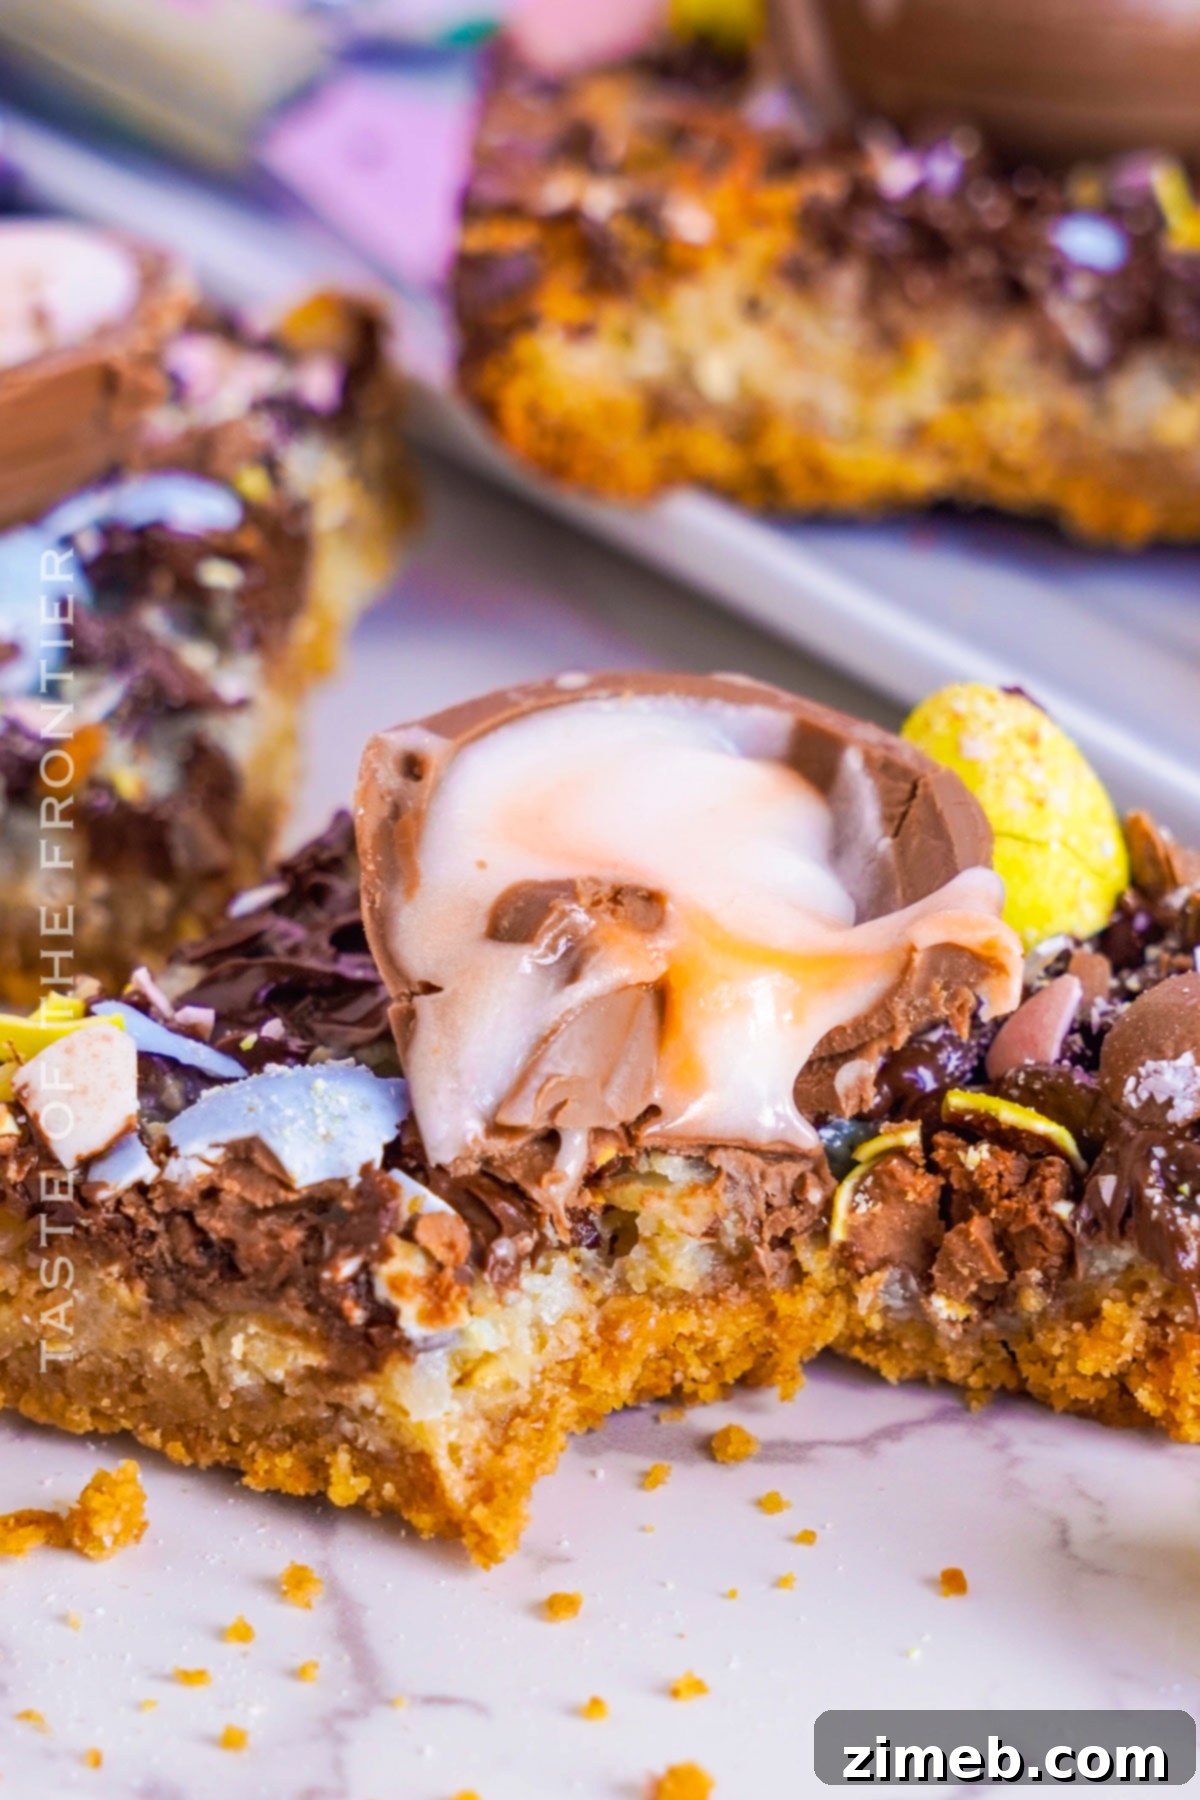
Cadbury Magic Bars feature a delightful graham cracker crust, layers of sweetened coconut, rich chocolate chips, and festive Cadbury Egg candies. This is an absolutely YUMMY Easter treat that’s sure to become a new holiday tradition!
For many years, the concept of a “magic bar” was completely unknown to me. It’s hard to believe, but it’s true! However, once I finally decided to dive into making this classic dessert, I quickly discovered its irresistible charm. In fact, I believe I’ve stumbled upon my husband’s new all-time favorite treat, and it’s quickly becoming a beloved staple in our home.
This post was originally crafted in 2014 and has since been thoughtfully updated numerous times to incorporate helpful FAQs, enrich the content, and feature updated, mouth-watering photos.
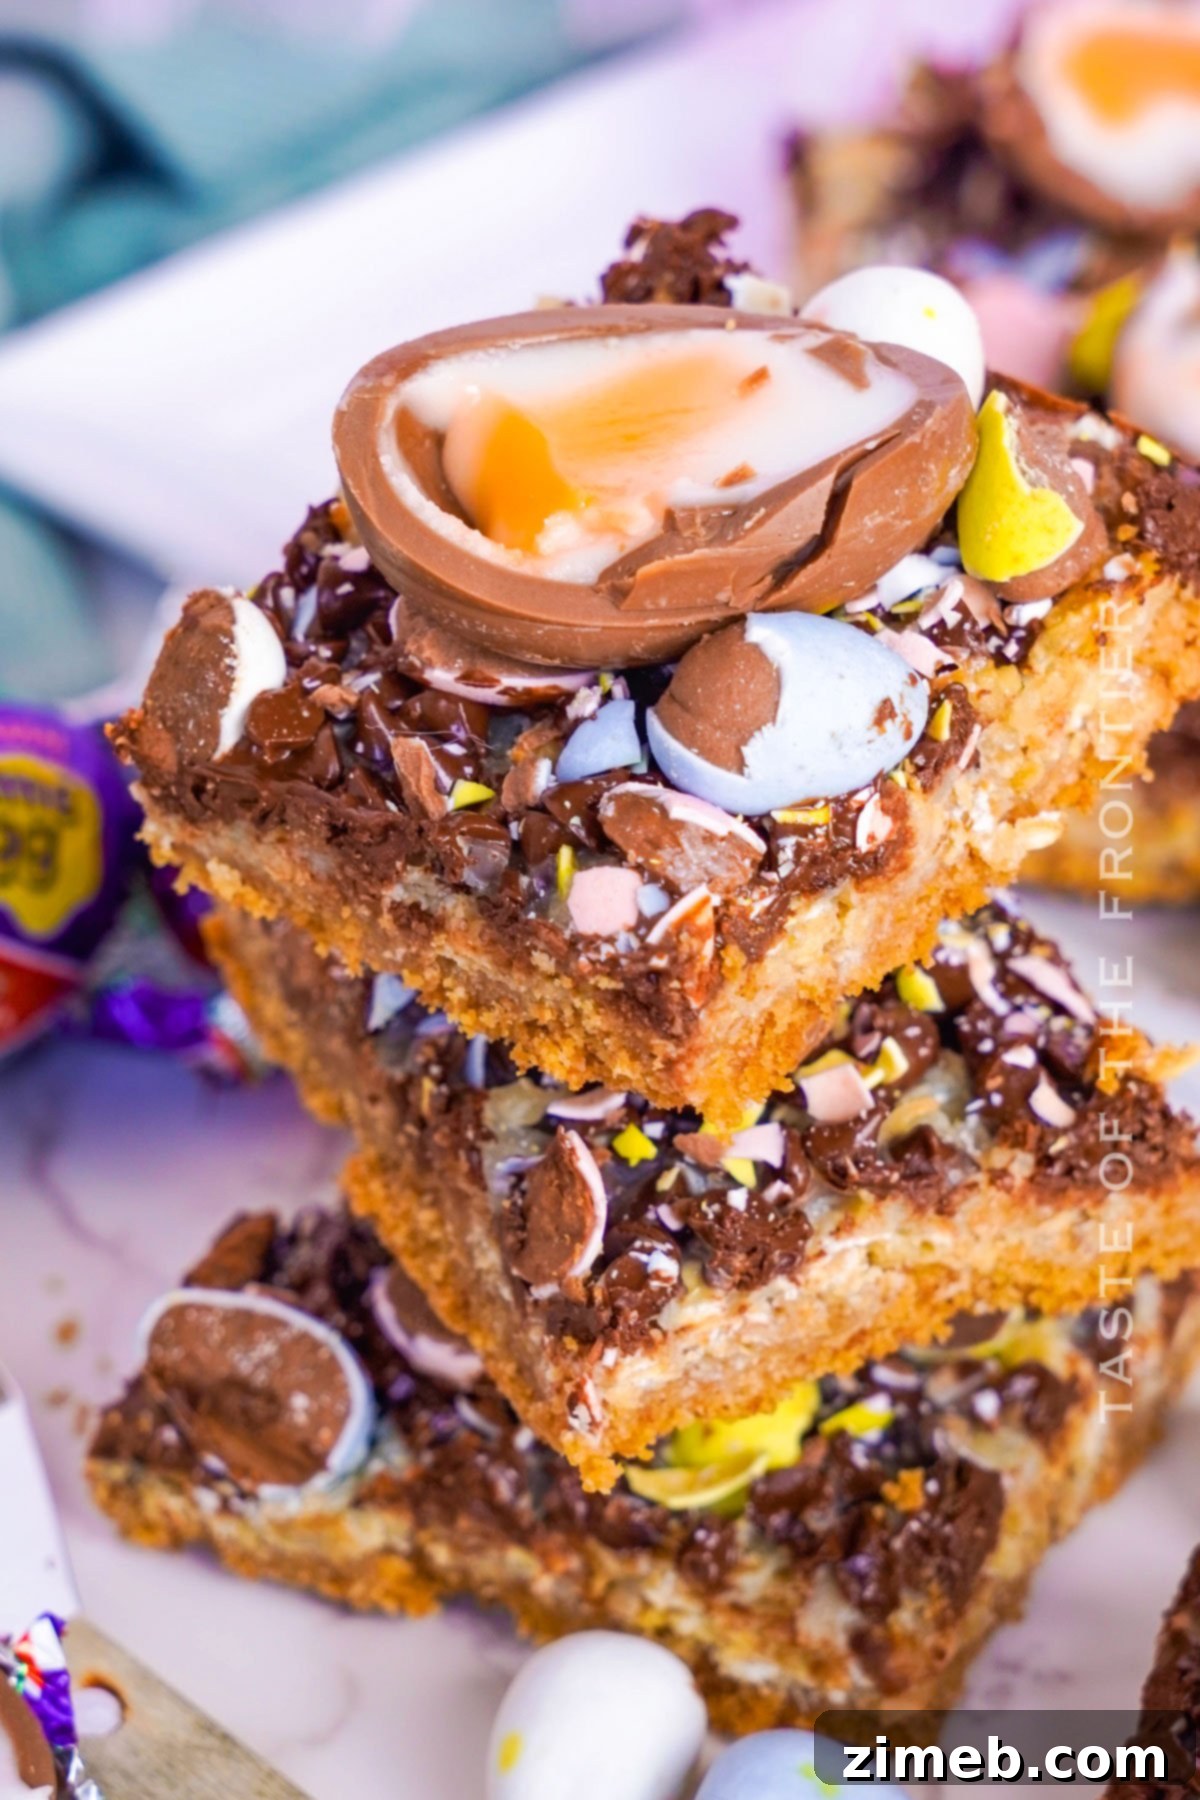
As Easter draws near, my thoughts naturally turn to festive baking. This year, I decided to create these irresistible Cadbury Magic Bars, putting a seasonal twist on the classic recipe by incorporating my absolute favorite Easter candy: Cadbury Egg Milk Chocolate Candies. The result was an instant hit, and my husband is already brimming with ideas for future variations. He’s truly smitten with them!
Just last Saturday, after dropping me off at my hair appointment, he made a quick trip to Costco. When I returned home and unpacked his purchases, I couldn’t help but notice a recurring theme: many of the bulk items he bought were key ingredients for magic bars! It was quite a revealing shopping spree.
He wasn’t exactly subtle about his cravings! I playfully called him out on it, but it’s genuinely heartwarming to know I’ve created something he loves so much. Given his newfound fondness for these decadent bars, prepare yourselves for more exciting magic bar recipes making an appearance here in the near future. The possibilities are truly endless!
Irresistible Cadbury Magic Bar Recipe
This post contains some affiliate links, meaning I may earn a small commission if you make a purchase through my links, at no extra cost to you. Click here to read my full disclosure policy for more details.
Commonly Asked Questions About Cadbury Magic Bars
What Exactly Are Magic Bars?
Magic Bars, also affectionately known as Seven-Layer Bars or Hello Dolly Bars, are a beloved dessert famous for their incredibly simple preparation and irresistibly rich, chewy texture. This quintessential sweet treat typically begins with a foundational layer: a buttery, crushed graham cracker crust. Over this sturdy base, various delectable toppings are generously layered.
The “magic” in these bars truly unfolds with a generous drizzle of sweetened condensed milk, which acts as the magical binder. This sweet liquid caramelizes and melds all the subsequent layers together as it bakes. The traditional toppings often include a delightful mix of semi-sweet chocolate chips, fragrant sweetened coconut flakes, and crunchy chopped nuts, creating a harmonious blend of flavors and textures.
Once assembled, the bars are baked in the oven until the top achieves a beautiful golden-brown hue and the filling sets into a gloriously gooey, yet firm, confection. The result is a truly decadent bar that offers a symphony of sweet, crunchy, and delightfully chewy sensations in every bite. Their name, “Magic Bars,” perfectly encapsulates how these seemingly simple ingredients transform in the oven into such a wonderfully complex and satisfying dessert. Their versatility and ease of customization make them a perpetual favorite for home bakers and a guaranteed crowd-pleaser at any gathering or celebration.
What’s Inside a Cadbury Creme Egg?
The much-loved filling of a Cadbury Creme Egg is a distinctive, creamy, and intensely sweet fondant. This signature gooey center is primarily composed of sugar, various syrups, and a specific flavoring, often enhanced and stabilized with dried egg white. This unique blend is meticulously crafted to perfectly mimic the appearance and texture of a real egg yolk and white, creating a fun and whimsical surprise inside each chocolate shell.
Encased within a smooth, rich milk chocolate egg, this sweet fondant core is what gives Cadbury Creme Eggs their iconic status and makes them such a anticipated seasonal treat. The contrast between the firm chocolate and the flowing, sugary interior is a key part of their enduring appeal, especially during the festive Easter period.
Are Cadbury Eggs Available Year-Round?
To the disappointment of many enthusiastic fans, the classic regular-sized Cadbury Creme Eggs and their smaller counterparts, Cadbury Mini Eggs, are primarily seasonal confections. Their widespread availability is typically limited to the period surrounding Easter, usually appearing on store shelves in the months leading up to the holiday. This limited-time release contributes significantly to their special appeal and anticipation each year.
While dedicated Cadbury aficionados might occasionally find them in specialty candy stores or through online retailers outside the traditional Easter window, general retail availability is strictly confined to the spring season. This strategic scarcity ensures that Cadbury Eggs remain a cherished and exciting part of Easter celebrations, making their annual return a true harbinger of spring for many.
A Sweet Legacy: The History of Cadbury Creme Eggs
The Cadbury Creme Egg holds a special place in the hearts of chocolate lovers, particularly during Easter. Its rich history traces back to the esteemed British confectionery company, Cadbury. While Cadbury had been crafting chocolate eggs since the early 1900s, often filling them with various sweets like sugared almonds, the iconic Cadbury Creme Egg as we recognize it today made its official debut in the United Kingdom in 1971.
The distinct appeal of the Creme Egg lies in its unique construction: a smooth milk chocolate shell enrobing a creamy, sugary fondant filling, designed to charmingly resemble the yolk and white of a real egg. This clever and delightful concept quickly captured the public’s imagination and taste buds.
The journey to the modern Creme Egg was a process of refinement. Early Cadbury chocolate eggs laid the groundwork, but it was the development of the sweet, flowing fondant that became the signature and differentiating feature of the Creme Egg. What began as a wildly popular seasonal treat in its home country soon transcended borders, gaining immense international popularity. Today, Cadbury Creme Eggs are a cherished Easter tradition in numerous countries worldwide, including the United States, Canada, Australia, and New Zealand, symbolizing the joy and indulgence of the holiday season.
Throughout the years, Cadbury has introduced various innovations, experimenting with different fondant flavors and chocolate coatings to keep the treat exciting. Despite these creative variations, the original milk chocolate egg with its unmistakable gooey fondant center has consistently remained the most iconic and beloved version, cementing its status as an enduring confectionery classic and an indispensable part of Easter festivities.
Why You’ll Fall in Love with Cadbury Magic Bars
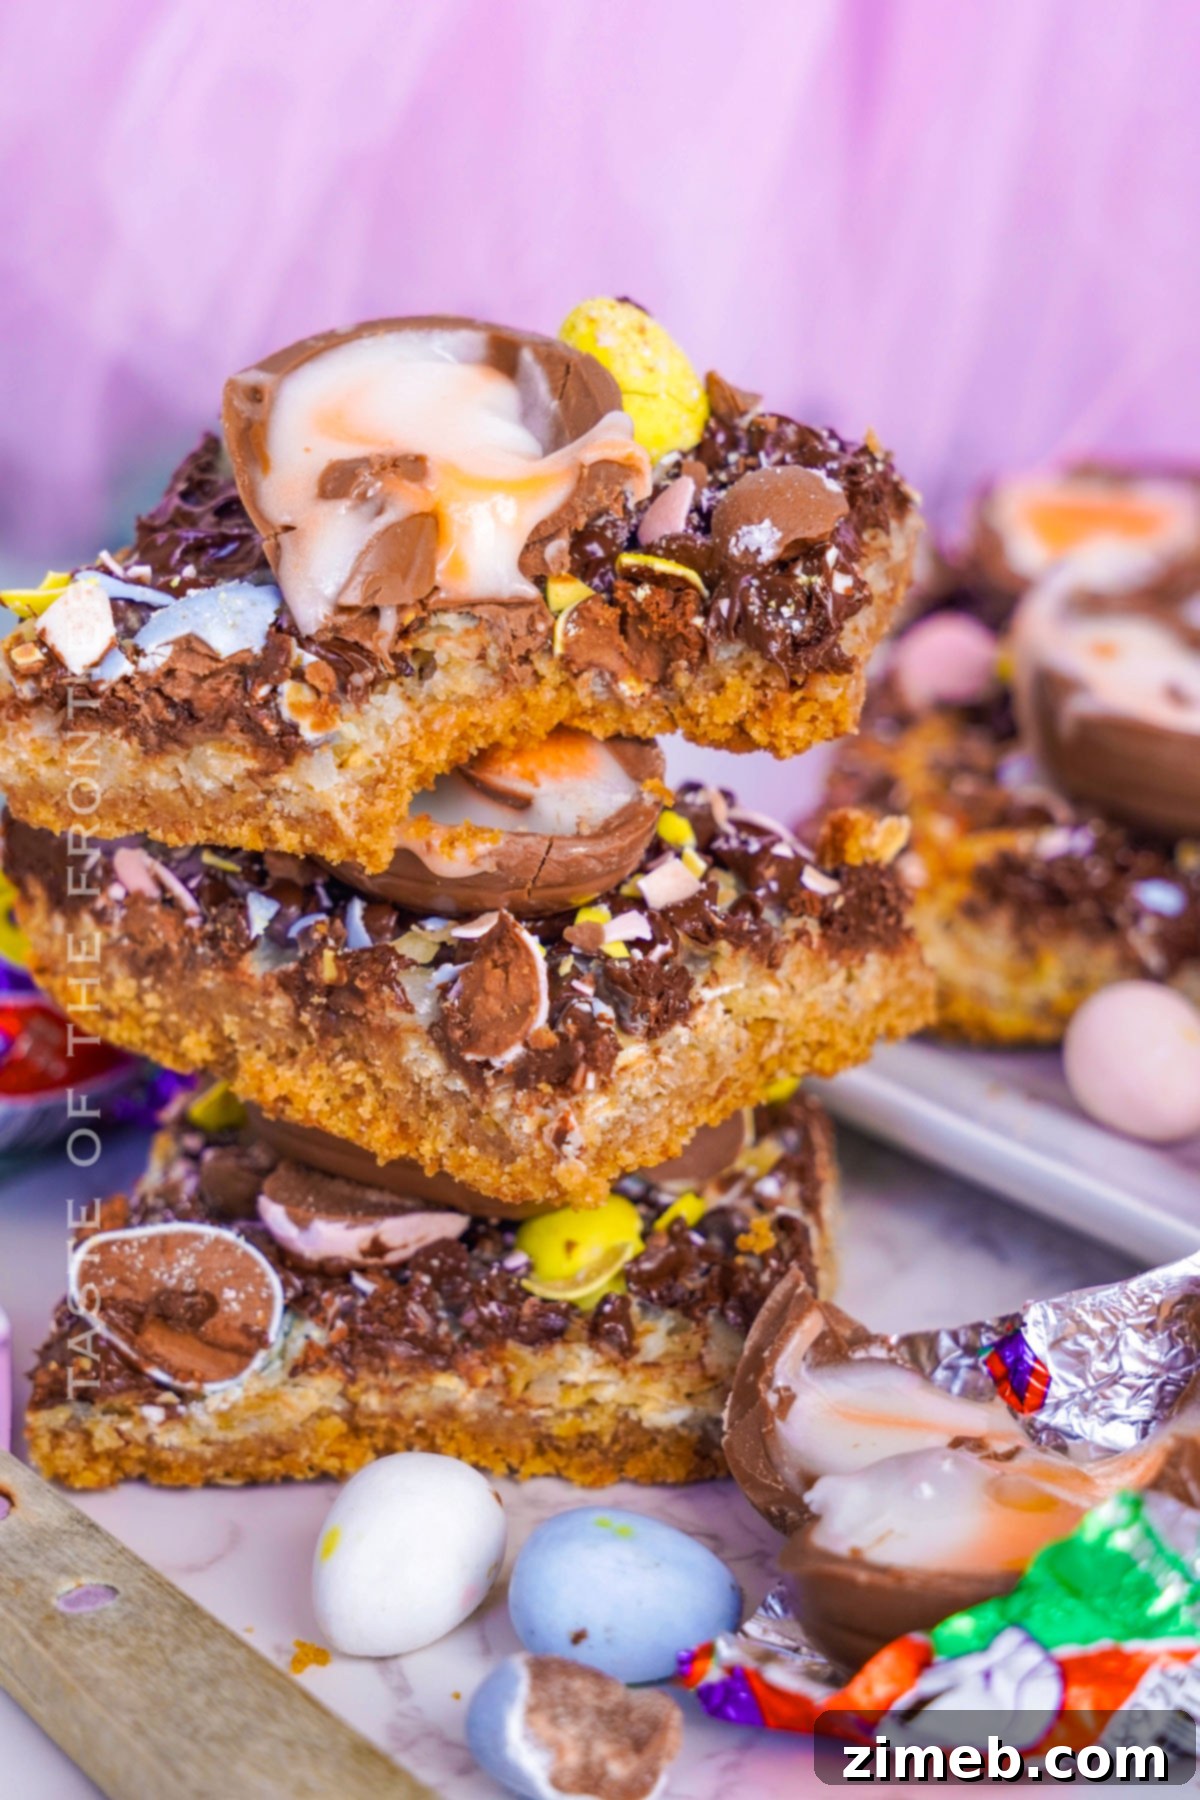
Cadbury Magic Bars are far more than just another dessert; they are a delightful celebration packed into every square! This recipe elevates the timeless magic bar by infusing it with the joyous spirit of Easter, thanks to the inclusion of everyone’s favorite seasonal candy: Cadbury Eggs. Imagine a perfectly crisp, buttery graham cracker crust providing the ideal foundation for layers of sweet, tender coconut, rich, melting chocolate chips, and the unmistakable crunch and creamy sweetness of crushed Cadbury Mini Eggs, all crowned with elegant halves of Cadbury Creme Eggs. It’s a masterful blend of textures and flavors that promises to be the showstopper at any Easter gathering or spring celebration.
Beyond their absolutely incredible taste, these bars boast an astonishing simplicity in preparation. They require minimal effort to achieve maximum impact, making them an ideal choice for busy holiday schedules when you want to create something spectacular without spending hours in the kitchen. Their vibrant appearance and festive ingredients, particularly the iconic Cadbury Eggs, make them universally appealing to guests of all ages, from children delighted by the colorful candy to adults reminiscing about their own Easter memories.
If your goal is to present a dessert that combines effortless baking, unparalleled flavor, and a generous sprinkle of Easter magic, then these Cadbury Magic Bars are your perfect answer. They are guaranteed to leave a lasting impression and quickly become a cherished new tradition for your family and friends, eagerly anticipated year after year.
Essential Ingredients for These Decadent Cadbury Magic Bars
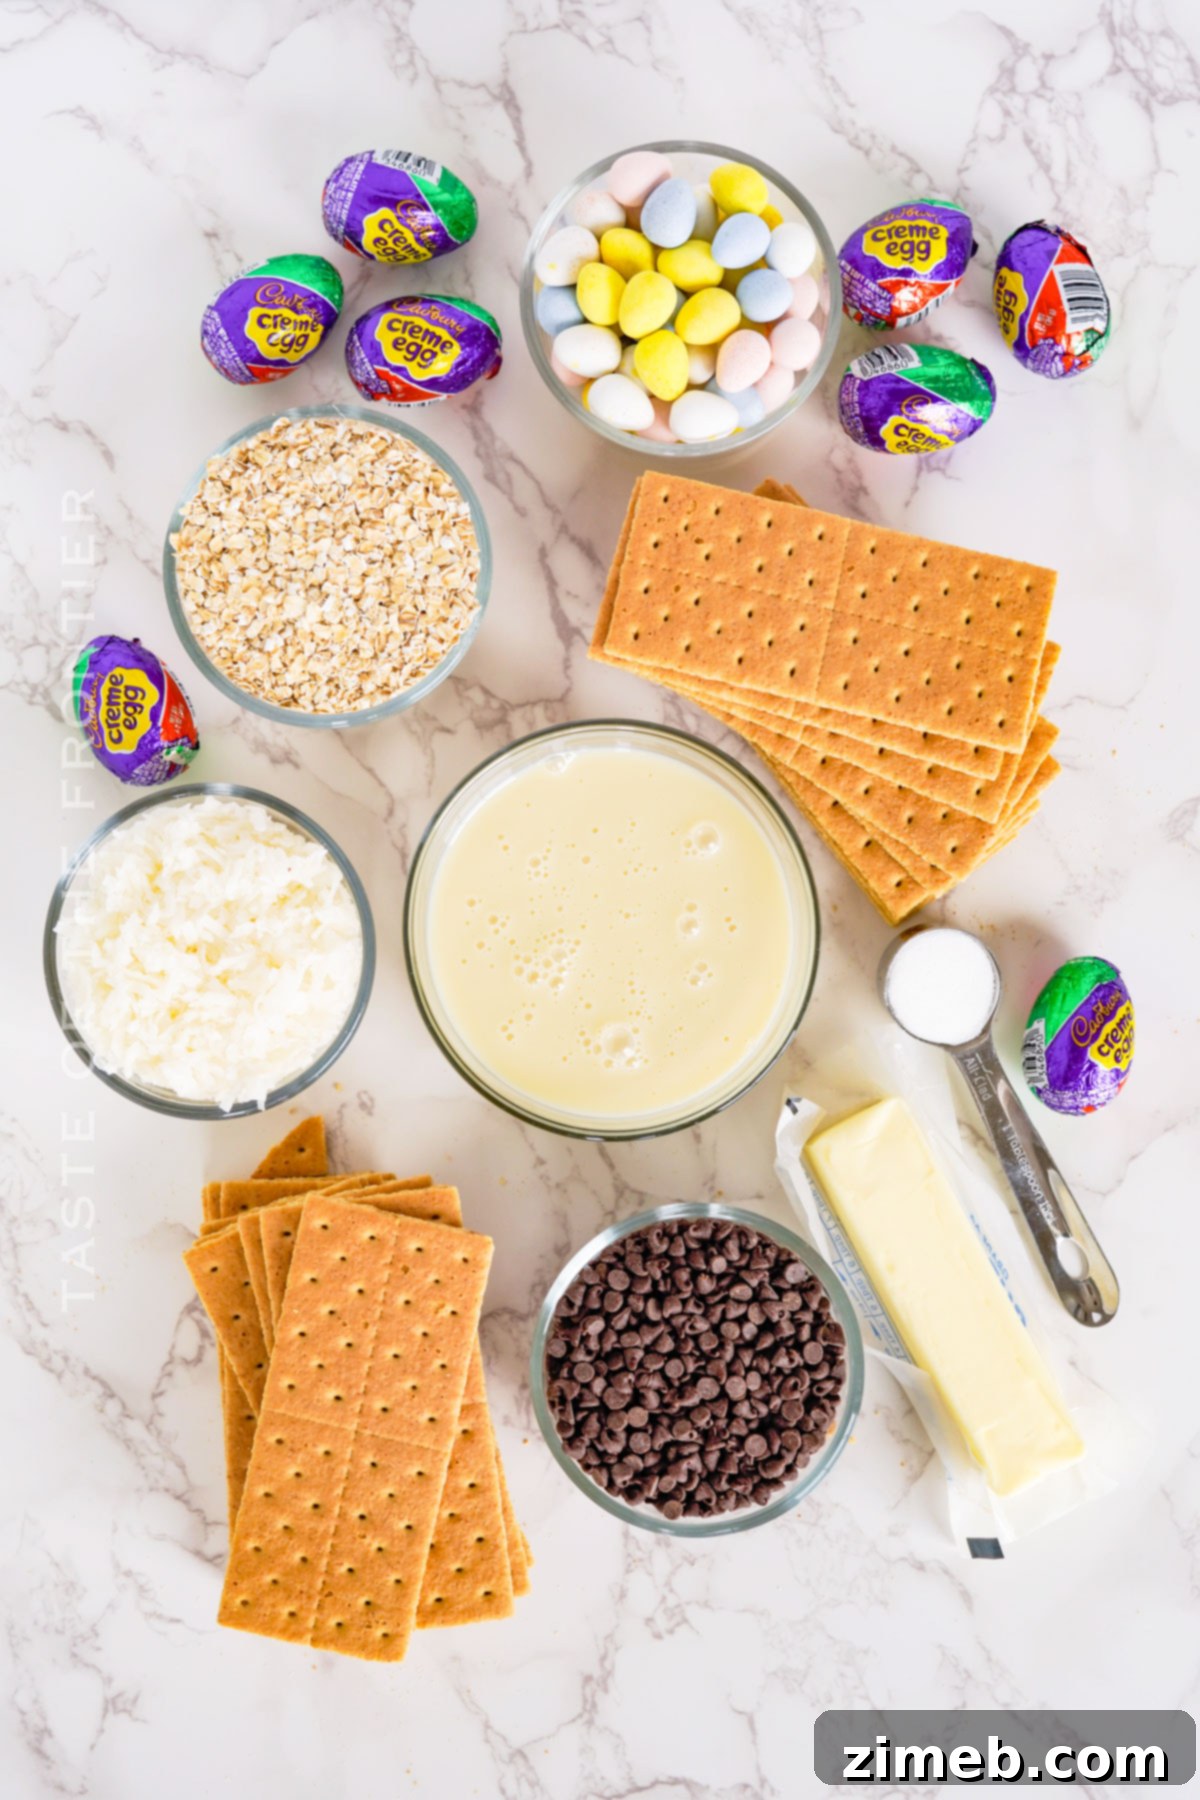
Crafting these wonderfully decadent Cadbury Magic Bars requires a thoughtful selection of readily available ingredients, each playing a crucial role in developing their signature taste, texture, and festive appeal:
- Graham Cracker Crumbs: These form the indispensable base of your magic bars, providing a crisp, buttery, and slightly sweet foundation that perfectly complements the rich layers above. You can create your own by finely crushing about 15 whole graham crackers in a food processor or opt for the convenience of pre-made crumbs.
- Granulated Sugar: A small amount of granulated sugar is added to the graham cracker crust to enhance its sweetness and create a beautifully caramelized base once baked, ensuring a balanced flavor from the very bottom.
- Unsalted Butter (Melted & Slightly Cooled): Crucial for binding the graham cracker crumbs, melted butter creates a rich, firm, and cohesive crust. Using unsalted butter gives you precise control over the overall salt content, allowing the other flavors to shine without being overpowered. One stick (½ cup) is typically perfect.
- Chopped Pecans or Quick Oats: These ingredients introduce a delightful textural dimension. Chopped pecans offer a satisfying nutty crunch, imparting a rich, earthy flavor. Alternatively, quick oats provide a softer, chewier texture and a subtle, wholesome taste. Choose based on your textural preference or what you have readily available.
- Sweetened Shredded Coconut: A defining feature of classic magic bars, sweetened coconut contributes a distinct tropical flavor and a wonderfully chewy texture. It toasts beautifully during baking, adding depth and a golden hue to the top layer.
- Sweetened Condensed Milk (1 Can, 14 ounces): This is truly the “magic” component! This thick, sweet milk binds all the layers of toppings together, transforming into a rich, golden, and incredibly gooey caramel-like sauce during the baking process. It’s essential for achieving the iconic sticky, chewy consistency that defines magic bars.
- Semi-Sweet Chocolate Chips: These melt into luscious pockets of rich chocolate throughout the bars, offering a classic, deeply satisfying cocoa flavor that pairs exquisitely with the sweetness of the Cadbury Eggs and coconut.
- Mini Cadbury Egg Candies (Crushed): The star of this Easter-themed variation! Crushed mini Cadbury Eggs provide a delightful crunch and a vibrant burst of their signature chocolate and candy-shell flavor, making these bars uniquely festive and irresistible.
- Cadbury Creme Eggs (Cut in Half): Reserved for garnishing, these iconic eggs, cut in half, are placed atop the cooled bars. They add an extra touch of visual appeal and a luxurious, creamy finish, showcasing their beloved fondant filling.
- Mini Marshmallows (Optional): For an added layer of indulgence and a wonderfully soft texture, mini marshmallows can be sprinkled on top during the final minutes of baking. They’ll melt slightly and toast to a golden perfection, adding a delightful s’mores-like element to your magic bars.
Unleash Your Creativity: Endless Mix-in and Flavor Variations for Magic Bars
The enduring appeal of Magic Bars lies not just in their deliciousness, but also in their remarkable versatility. While our Cadbury rendition is a spectacular seasonal favorite, the beauty of this dessert is how easily it can be customized to suit any palate, holiday, or occasion. Don’t feel confined to the traditional; let your culinary imagination soar and experiment with these exciting mix-in ideas to create your very own signature magic bar!
- Chocolate Chips Galore – Why stop at one type? Elevate the chocolate experience by combining milk, dark, and white chocolate chips for a complex and layered sweetness. For a bolder twist, try specialty chips like butterscotch, caramel, or even mint chocolate chips, each melting into luxurious pockets of flavor within the gooey condensed milk.
- Nutty Crunch Creations – Introduce a satisfying crunch and earthy depth with a variety of nuts. Walnuts and pecans are classic choices, offering a robust flavor, while slivered almonds provide a delicate crispness. For something different, try chopped peanuts for a salty-sweet profile or even candied pecans for an extra layer of indulgence. Lightly toasting nuts before adding them can significantly enhance their aroma and flavor.
- Dried Fruit Delights – Infuse a sweet and tangy element with dried fruits. Vibrant dried cranberries add a zesty counterpoint to the sweetness, while dried cherries bring a rich, deep berry flavor. Golden raisins or chopped dried apricots can also offer a pleasant chewiness and a burst of fruity brightness, making each bite a delightful surprise.
- Marshmallow Magic – For an extra layer of soft, pillowy sweetness and a delightful texture, mini marshmallows or marshmallow bits are a fantastic addition. They melt slightly during baking, creating gooey, caramelized pockets that evoke a cozy campfire s’mores experience within your bars.
- Candy Extravaganza – Beyond the festive Cadbury Eggs, the possibilities for candy mix-ins are boundless! Crush up your favorite candy bars like Snickers or Twix, or sprinkle in colorful M&Ms, Reese’s Pieces for a peanut butter kick, or even chopped gummy candies for a chewy, fruity surprise. This is an excellent way to theme your bars for different holidays or personal preferences.
- Coconut Connoisseur – While sweetened shredded coconut is a staple, explore other coconut options. Unsweetened shredded coconut can provide a more subtle coconut flavor with less added sugar, while large coconut flakes offer a more pronounced chew. For an even deeper flavor, lightly toast the coconut before adding it to your layers.
- Caramel Swirl Sensation – For an intensely rich and gooey experience, generously drizzle a layer of caramel sauce over the sweetened condensed milk before adding your other toppings. As it bakes, the caramel will meld beautifully, creating luscious ribbons of buttery sweetness throughout the bars, elevating them to an extraordinary level of decadence.
- Peanut Butter Perfection – If you’re a fan of the classic peanut butter and chocolate combination, swirl a layer of creamy or crunchy peanut butter directly onto the condensed milk. This introduces a wonderfully nutty and savory-sweet dimension that pairs exceptionally well with chocolate chips and other mix-ins.
- Salty-Sweet Pretzel Twist – For an irresistible salty-sweet flavor contrast, consider adding a layer of crushed pretzels. They can be incorporated into the graham cracker crust for extra texture or sprinkled over the middle layers. The saltiness of the pretzels beautifully balances the richness of the other sweet ingredients.
Always remember, the ultimate goal is to craft a dessert that you and your loved ones will absolutely adore. Don’t shy away from mixing and matching these ideas or conjuring up your own unique combinations. Magic Bars truly live up to their name by allowing you to create endless, delicious possibilities that are sure to impress and delight!
How to Craft Your Delicious Cadbury Magic Bars: A Step-by-Step Guide
Creating these delightful Cadbury Magic Bars is a surprisingly straightforward process, promising a fantastic treat with minimal effort. Follow these clear, detailed steps to ensure a perfect batch of gooey, festive bars every time:
- Prepare Your Oven for Baking: Begin by preheating your oven to a consistent 350°F (175°C). Ensuring your oven is at the correct temperature from the start is essential for even baking and proper setting of the bars.
- Line Your Baking Dish with Precision: Take a standard 9×13 inch baking dish and carefully line it with parchment paper. Leave a generous overhang on the longer sides; this will serve as convenient handles, allowing you to easily lift the entire slab of cooled bars out of the pan. Lightly spritz the parchment paper with cooking spray to further prevent any sticking, then set the prepared dish aside.
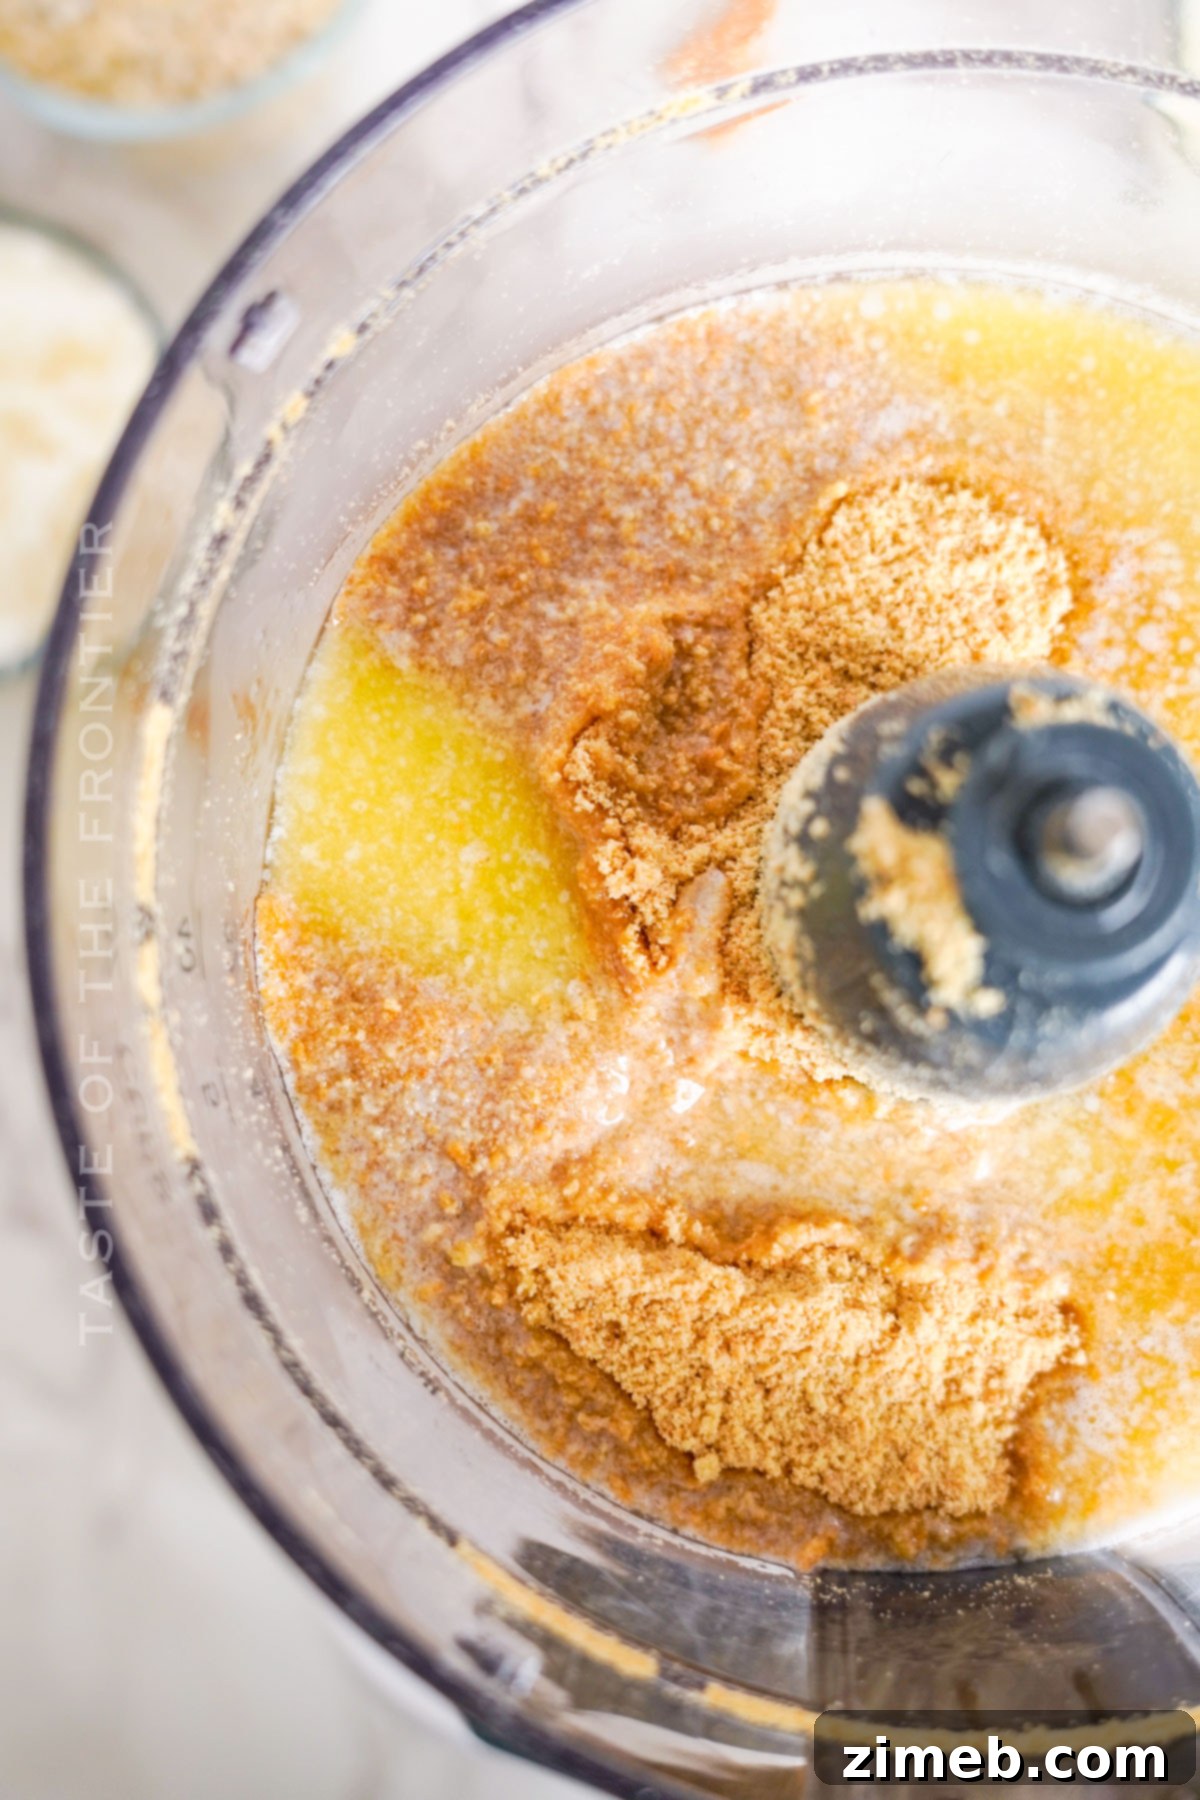
- Craft the Graham Cracker Crust: In the bowl of a food processor, combine your graham cracker crumbs with the granulated sugar. Pulse the mixture until it achieves a fine, uniform crumb texture, similar to sand. If you don’t own a food processor, you can place the graham crackers in a large, sturdy resealable bag and crush them thoroughly using a rolling pin or the bottom of a heavy pan until they are finely ground.
- Bind the Crust Together: Transfer the finely crushed graham cracker and sugar mixture into a small mixing bowl. Pour the melted and slightly cooled unsalted butter over the crumbs. Mix everything thoroughly until all the crumbs are evenly moistened and have the consistency of wet sand, ensuring a cohesive crust.
- Form the Sturdy Base: Transfer the buttered graham cracker mixture into your prepared 9×13 inch baking dish. Using the back of a spoon or your hands, press the mixture firmly and evenly into the bottom of the dish. This compaction is key to creating a solid, stable foundation that will support all the delicious layers without crumbling.
- Layer the Toppings – Phase One: Evenly sprinkle the chopped pecans (or quick oats, if you’re using them) over the compacted graham cracker crust. Follow this with an even, generous layer of the sweetened shredded coconut, ensuring good coverage across the entire surface.
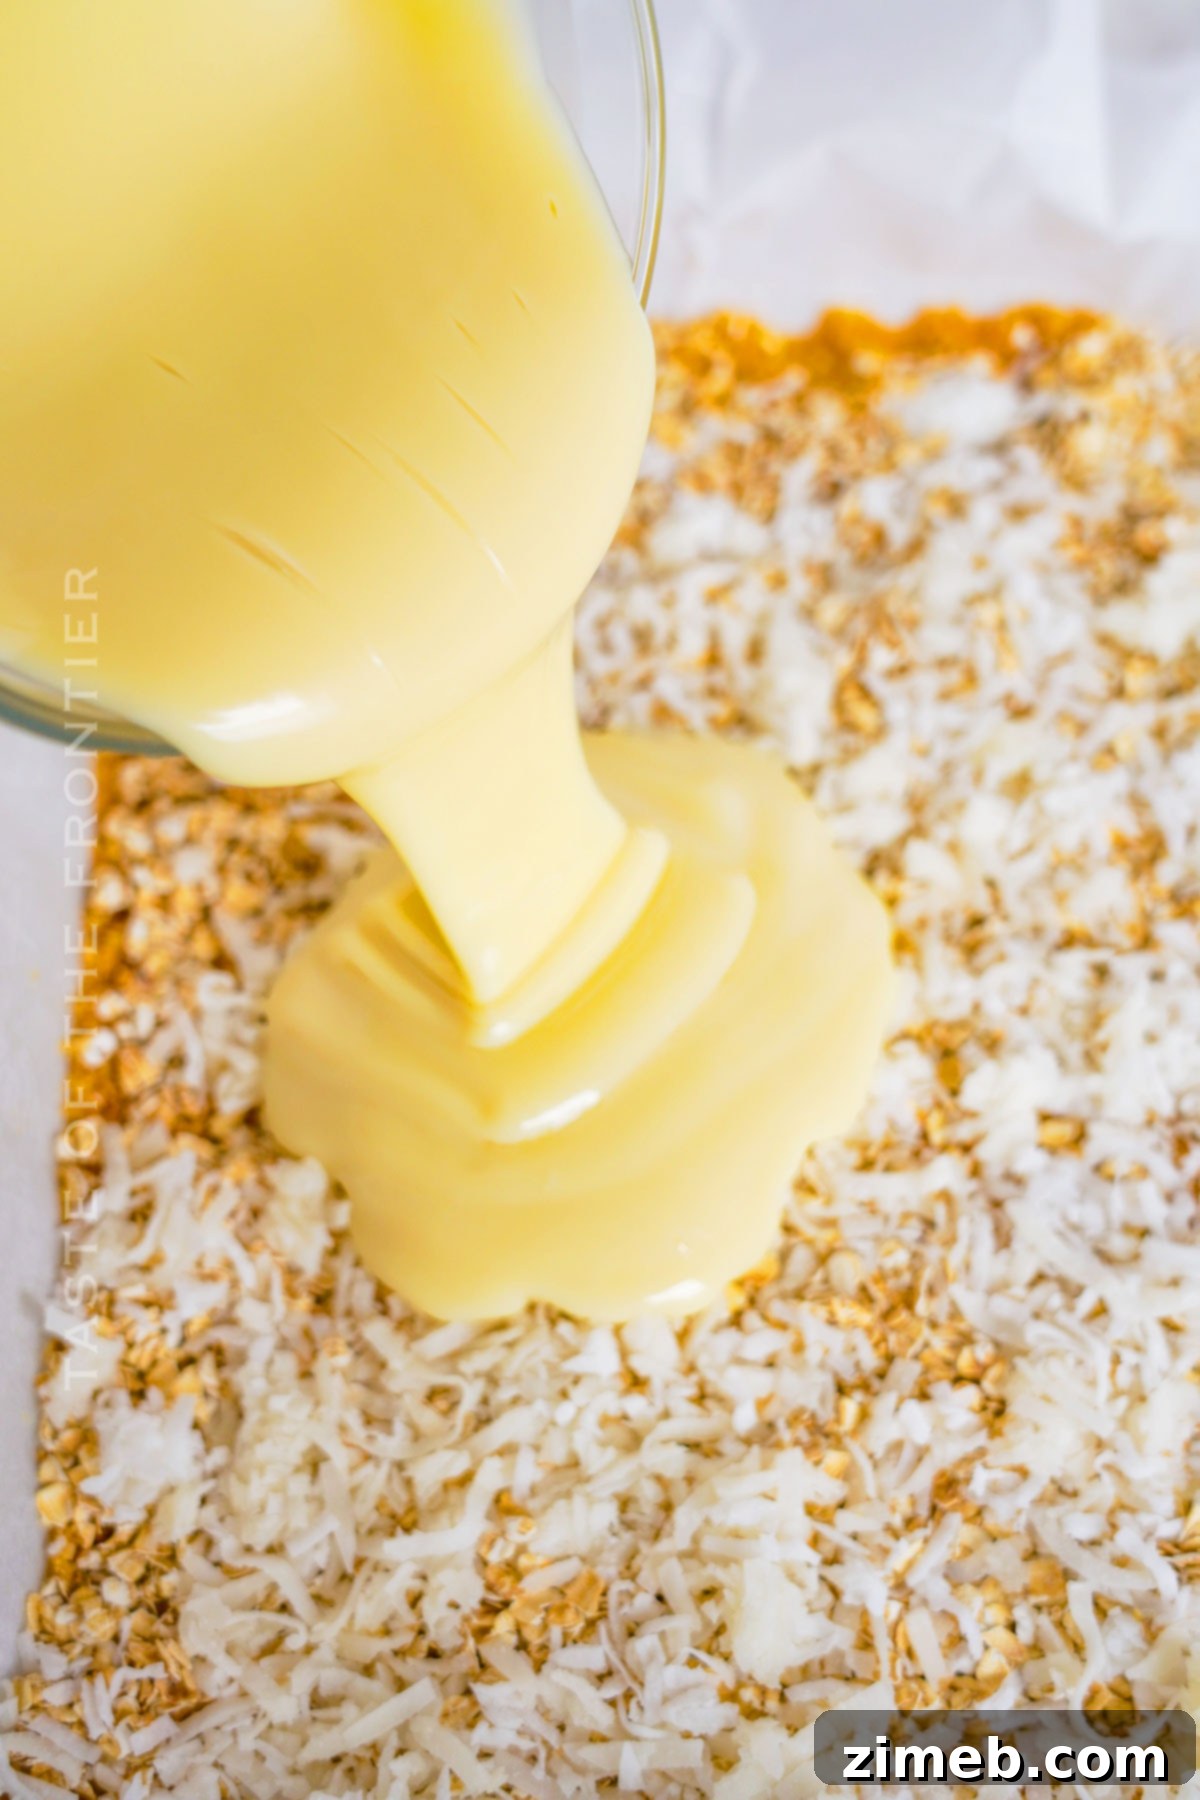
- The Magical Drizzle: Sweetened Condensed Milk: Gently and thoroughly drizzle the entire can of sweetened condensed milk over the coconut and nut layers. Use an offset spatula or the back of a spoon to carefully spread the milk out smoothly, ensuring it reaches all the way to the edges of the pan and lightly coats all the toppings. This is the crucial “magic” layer that binds everything into its signature gooey texture.
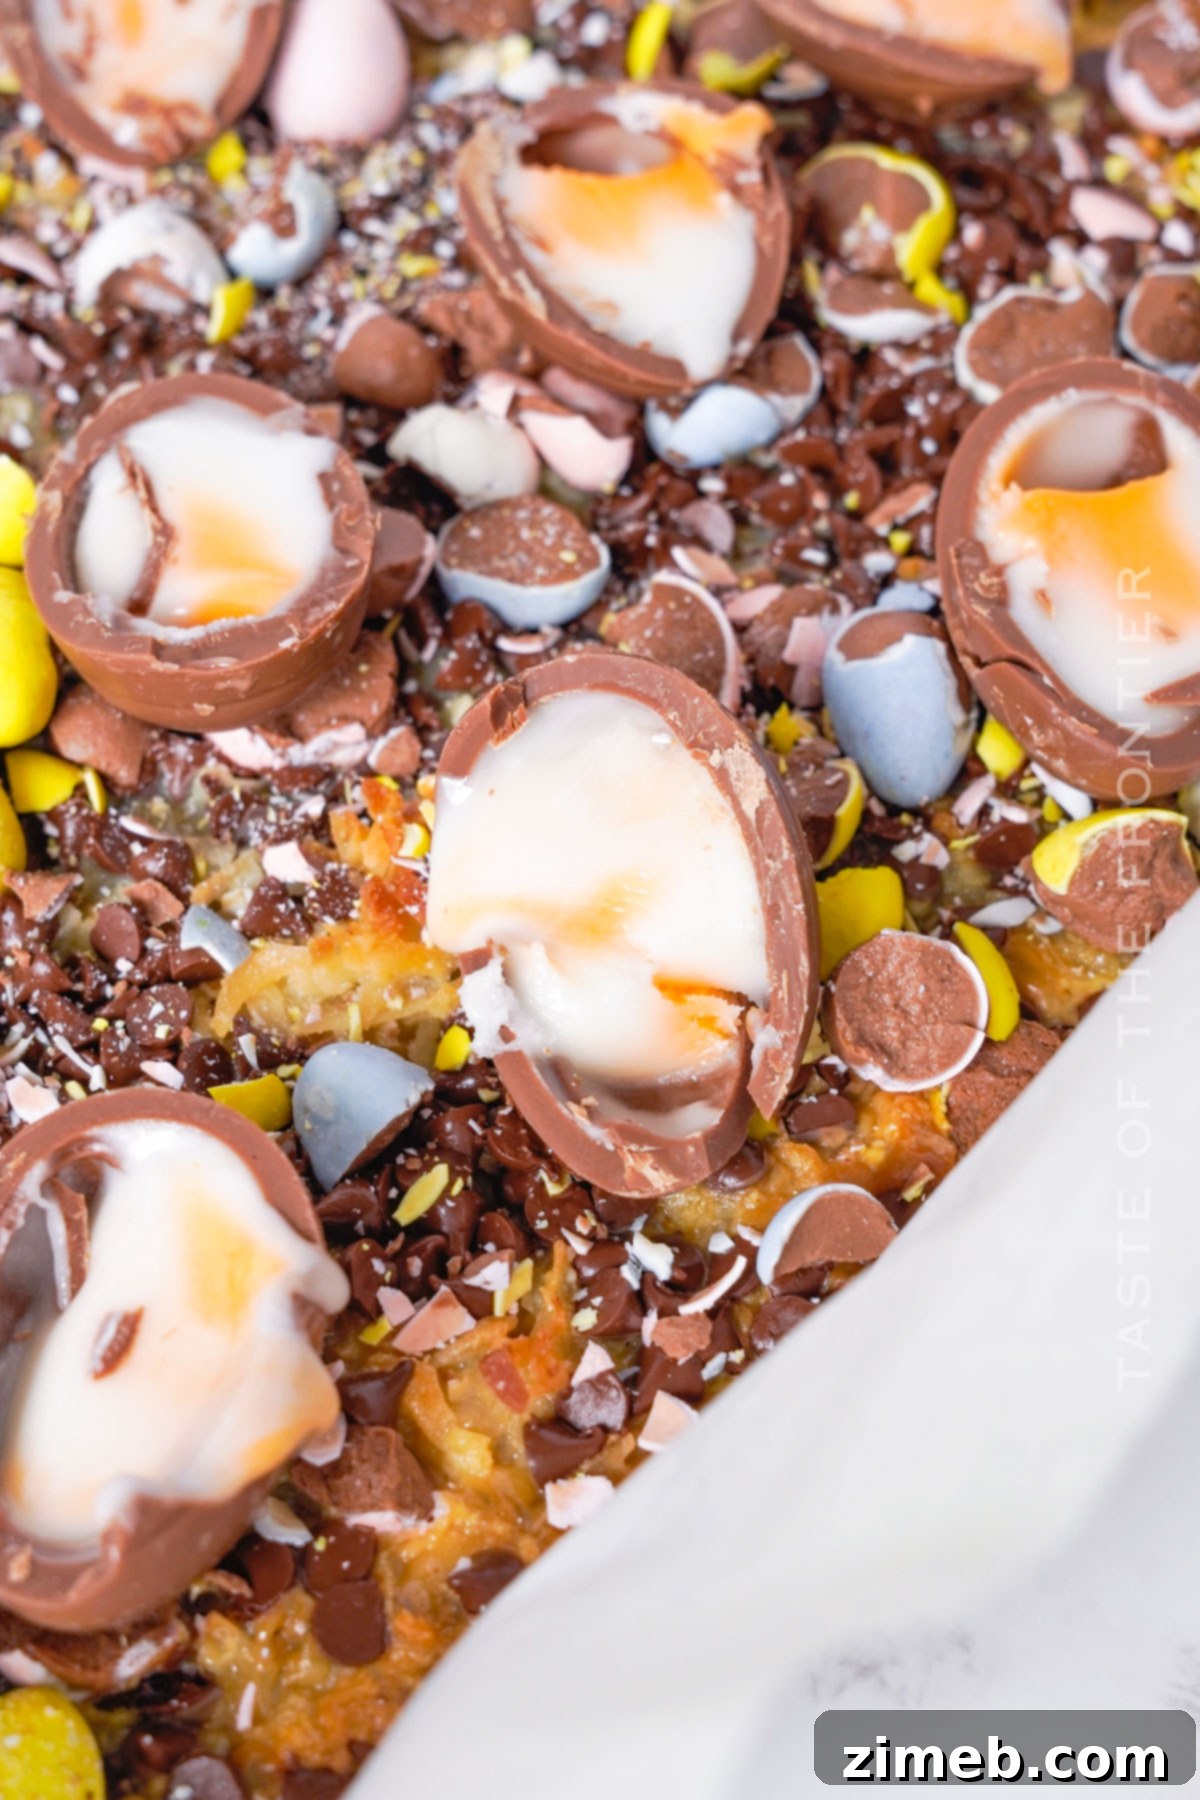
- Add the Chocolate and Cadbury Mini Eggs – Phase One: Distribute the semi-sweet chocolate chips evenly over the condensed milk layer. Then, take approximately half a cup of your crushed Cadbury Mini Egg candies and sprinkle them generously over the chocolate chips, adding a festive crunch.
- Initial Baking Phase: Place the baking dish into your preheated oven. Bake for about 25 minutes, or until the edges of the bars are beautifully golden brown and the filling appears set and slightly bubbly in the center. Avoid overbaking to maintain the gooey texture.
- Second Layering – Post-Bake Warmth: Carefully remove the partially baked bars from the oven. Immediately sprinkle the remaining crushed Cadbury Mini Eggs over the warm, soft filling. If you’re opting to use mini marshmallows, add them now as well; the residual heat from the bars will allow them to soften and lightly toast, adding another layer of deliciousness.
- Crucial Cooling Step: This step is absolutely essential for achieving clean, neat cuts. Allow the bars to cool completely to room temperature on a wire rack while still in the baking dish. Do not rush this process; patience will be rewarded as the sweetened condensed milk needs time to fully set, ensuring the bars hold their shape.
- Prepare the Cadbury Creme Egg Garnish: While the bars are cooling down, take your whole Cadbury Creme Eggs and carefully cut each one in half. These elegant halves will serve as the perfect decorative and delicious topping for your finished bars.
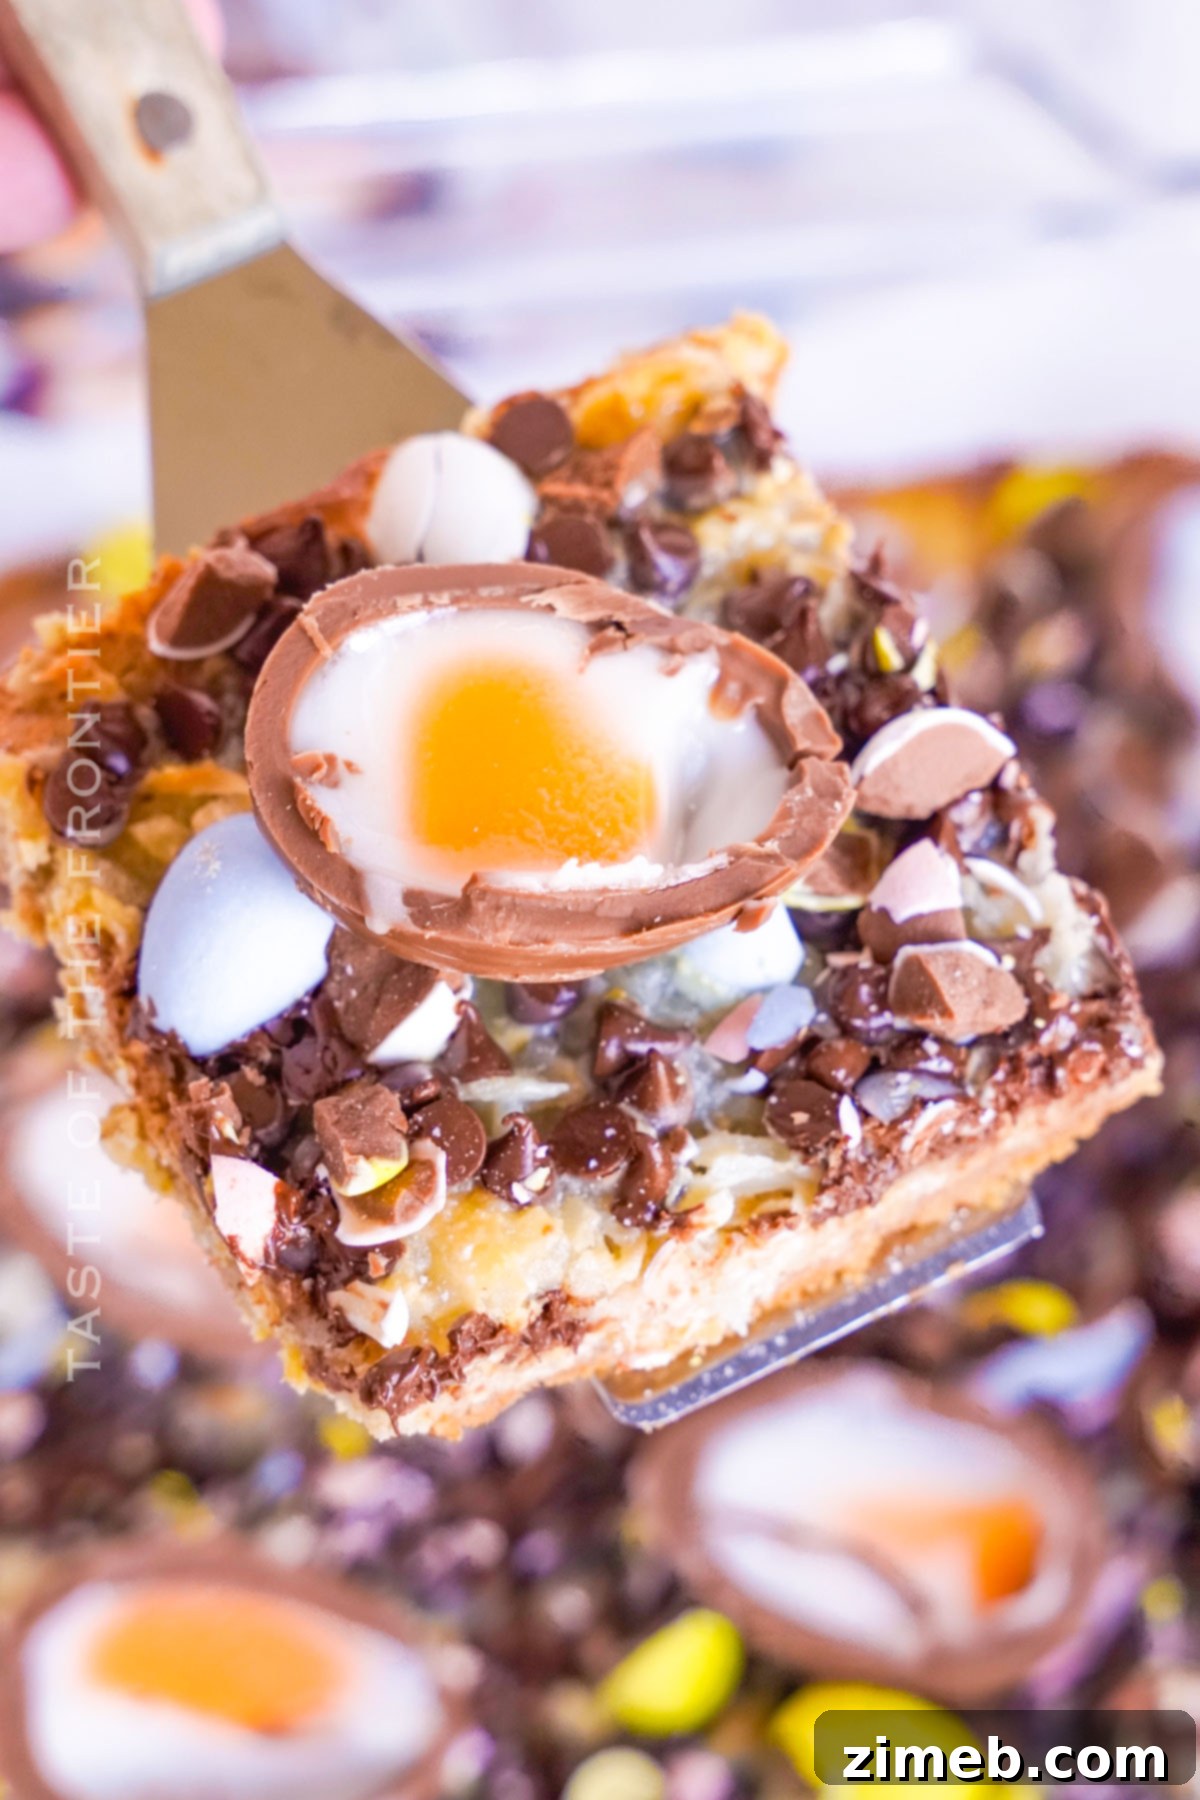
- Slice and Serve with Style: Once the bars are completely cooled and firm, use the parchment paper overhang to gently lift the entire slab of bars out of the baking dish and transfer it to a sturdy cutting board. Using a sharp, clean knife, cut the bars into your desired squares or rectangles. Finally, crown each individual bar with a halved Cadbury Creme Egg for a truly festive, indulgent, and visually stunning finish.
Now, serve and enjoy these irresistible Cadbury Magic Bars, a perfect blend of classic comfort and vibrant Easter delight!
Optimal Storage Solutions for Your Cadbury Magic Bars
To ensure your delectable Cadbury Magic Bars remain as fresh and enjoyable as possible, proper storage is key. Following these guidelines will help preserve their perfect gooey-chewy texture and rich flavor:
For immediate enjoyment and convenience, these freshly baked bars can be stored at room temperature. Place them in an airtight container, and they will retain their wonderful taste and texture for up to 5 days. This is ideal if you plan to serve them within a few days of baking. Keep them away from direct sunlight or heat sources to prevent premature softening of the chocolate and candy components.
If you prefer your bars chilled or need to extend their shelf life, the refrigerator is an excellent option. When stored in an airtight container in the fridge, your Cadbury Magic Bars will maintain their peak freshness for up to a full week. The cooler temperature helps them firm up slightly, resulting in an even denser and chewier bite, which many people prefer. Be sure the container is truly airtight to prevent them from absorbing any unwanted odors from other foods in the refrigerator.
Should you find yourself with a larger batch, or if you wish to savor these festive treats beyond the immediate Easter season, freezing is a fantastic long-term storage solution. To freeze them effectively, first wrap each individual bar tightly in plastic wrap. This crucial step prevents freezer burn and ensures the bars don’t stick together. After wrapping, arrange the individually wrapped bars in a single layer on a baking sheet and place them in the freezer until they are completely firm. Once hardened, you can then transfer these wrapped bars to a large, heavy-duty resealable freezer bag or another airtight freezer-safe container, stacking them to maximize freezer space. When properly frozen, Cadbury Magic Bars can remain fresh and delicious for an impressive 2 to 3 months. When you’re ready to enjoy them, simply thaw the desired number of bars at room temperature for a few hours, or overnight in the refrigerator, and they’ll be ready to delight once again.
Expert Tips for Crafting the Best Cadbury Magic Bars Every Time
Achieving perfectly gooey, delightfully chewy, and intensely flavorful Cadbury Magic Bars is straightforward when you keep a few expert tips in mind. These pointers will not only help you elevate your baking game but also ensure that every batch you create is a resounding success, leaving everyone craving more:
- Prioritize Quality Ingredients: The foundation of any truly exceptional dessert lies in the quality of its components. Always opt for high-quality chocolate chips that melt beautifully, fresh unsalted butter for a superior, clean flavor, and pure vanilla extract (if you choose to add a hint to your crust). Better ingredients genuinely make a discernible difference in the richness and depth of flavor of your final bars.
- Achieve a Firm and Even Crust: A well-compressed graham cracker crust is absolutely vital for a stable and delicious base. After thoroughly combining the crumbs, sugar, and melted butter, take the time to press the mixture firmly and uniformly into your prepared baking pan. This ensures the crust is compact, prevents it from crumbling when sliced, and creates a solid foundation that can perfectly support all the rich, gooey layers that follow.
- Sweetened Condensed Milk is Your Magic Ingredient: This is the literal “magic” in magic bars! It’s crucial to use sweetened condensed milk, not evaporated milk, as they are not interchangeable. Sweetened condensed milk is thick, richly sweet, and transforms into a wonderfully caramelized, gooey layer during baking, effectively binding all the other ingredients together to create that irresistible chewy texture. This is one ingredient you definitely don’t want to skimp on.
- Distribute Toppings with Care and Evenness: For a perfectly balanced flavor and texture in every single bite, it’s important to take your time and spread all the delicious toppings—from the coconut and nuts to the chocolate chips and crushed Cadbury Eggs—as evenly as possible across the condensed milk layer. Thoughtful distribution ensures that each square offers a delightful mix of all the glorious elements, preventing any one bite from being too sparse or too dense.
- Avoid Overbaking for Ultimate Gooeyness: Overbaking is the arch-nemesis of a perfectly gooey magic bar. Keep a vigilant eye on your bars as they bake and remove them from the oven as soon as the edges turn a beautiful light golden brown and the center appears set but still retains a slight softness. Remember, they will continue to firm up as they cool. An overbaked bar can quickly become dry and tough, losing its signature soft, chewy consistency.
- Patience with Cooling is a Virtue: Resist the tempting urge to slice into your magic bars immediately after they emerge from the oven. Allowing them to cool completely to room temperature in the pan is paramount. This critical cooling period gives the sweetened condensed milk ample time to fully set and firm up, making the bars significantly easier to slice into clean, distinct squares without creating a sticky, crumbling mess.
- Optimal Storage for Lasting Freshness: Once fully cooled, store your Cadbury Magic Bars in an airtight container to maintain their freshness and desirable texture. They can be kept at room temperature for up to 5 days, or, for an even chewier and firmer texture, store them in the refrigerator for up to 2 weeks. For longer storage options, refer to the detailed freezing instructions provided earlier in the post.
- Explore Endless Topping Possibilities: While Cadbury Eggs make these bars uniquely festive for Easter, remember that the layer bar concept is incredibly versatile. Feel empowered to experiment with a myriad of other toppings to suit different tastes or occasions. Consider additions like creamy milk chocolate chips, intense dark chocolate chips, classic old-fashioned oats, a playful bunny bait Easter snack mix, crunchy golden Oreos, or even luscious chewy toffees for distinct and equally delicious flavor profiles.
- The Quintessential Easter Treat: These chewy mini egg cookie bars are not only a simple pleasure to prepare but also serve as the perfect, most welcoming addition to your holiday dessert table. Their festive appearance and delightful taste make them one of those easy desserts that are simply adored by everyone, bringing smiles and sweet memories, perhaps even a treat left out for the Easter bunny!
Perfect Pairings: What to Serve with Your Cadbury Magic Bars
Cadbury Magic Bars are undoubtedly a sensational dessert that can stand proudly on their own. However, pairing them with thoughtfully chosen complementary flavors and beverages can significantly elevate the entire dessert experience, turning a simple treat into a memorable occasion. Here are some delightful ideas to serve alongside your magical Easter treats:
- Indulgent Ice Cream Companionship: For a truly decadent and contrasting dessert, serve your warm Cadbury Magic Bars with a generous scoop of ice cream. A classic vanilla bean ice cream provides a perfect, creamy contrast, allowing the flavors of the bar to shine. Alternatively, chocolate or caramel ice cream can intensify the rich, sweet notes of the bars, creating an even more indulgent experience.
- Light and Airy Whipped Cream: A dollop of freshly made, lightly sweetened whipped cream offers a wonderful light and airy counterpoint to the dense, chewy texture of the magic bars. Its subtle sweetness enhances the overall dessert without overwhelming the complex flavors of the bars, providing a refreshing balance.
- Refreshing Fresh Fruit Medley: Brighten your dessert plate and introduce a welcome freshness with a side of seasonal fresh fruit. Sliced strawberries, juicy raspberries, or perfectly ripe bananas can add a refreshing, slightly tart, or creamy element that beautifully cuts through the richness of the bars. Berries, in particular, offer a lovely pop of color and a tangy contrast.
- Cozy Hot Beverages for Comfort: There’s something undeniably comforting about pairing a sweet treat with a warm drink. Serve your Cadbury Magic Bars alongside a steaming mug of rich hot cocoa, a freshly brewed cup of robust coffee, or your favorite aromatic herbal tea. This combination creates a cozy, satisfying, and perfectly balanced experience, ideal for a relaxed evening or after-dinner indulgence.
- The Classic Cold Glass of Milk: Sometimes, the simplest pairings are truly the best and most nostalgic. A tall, cold glass of milk is the quintessential accompaniment to any bar cookie or chewy dessert. Cadbury Magic Bars are no exception; this timeless combination is universally loved and perfectly complements the sweetness and richness of the bars.
- Rich Chocolate Sauce Drizzle: For the ultimate chocolate lover, a luxurious drizzle of warm fudge or a rich chocolate sauce over the top of the bars adds another profound layer of deep chocolatey goodness. This transforms an already indulgent treat into an extraordinary dessert experience, creating a harmonious chocolate symphony.
Feel absolutely free to get creative and explore other combinations that tantalize your palate. Whether you opt for a straightforward side or design a more elaborate dessert spread, Cadbury Magic Bars are versatile enough to shine brilliantly in any setting, making them a fantastic and flexible choice for Easter celebrations, casual get-togethers, or any special occasion that calls for something truly delicious.
My Favorite Tools for Crafting These Magical Bars…
This Cadbury Magic Bar recipe is wonderfully straightforward and incredibly delicious! If you’re anything like me around this time of year, you might already have most of these essential kitchen items readily available. And even if you’re entirely new to making magic bars and feel a little apprehensive, rest assured, you’re going to quickly fall in love with how easy and incredibly rewarding this recipe is to make.
To help you get started on your baking journey and ensure a smooth, enjoyable process from start to finish, I’ve compiled a carefully curated list of the absolute essentials I rely on every single time I whip up a batch of these glorious magic bars. Having the right tools at your fingertips can genuinely make all the difference, transforming baking from a potential chore into a pure joy. (For even more of my tried-and-true favorites, you can EXPLORE MY COMPLETE LIST OF FAVORITES IN MY ONLINE STORE).
- Reliable 9×13 Baking Pan: A sturdy, high-quality baking pan is paramount for ensuring your bars bake evenly and, crucially, for preventing them from sticking. A good pan makes removal and cleanup so much easier.
- Versatile Stand or Hand Mixer: While this particular recipe might not strictly require a heavy-duty mixer for all steps, having one on hand can significantly speed up and simplify the process of combining ingredients for other variations, or for preparing other elements of a dessert spread. It’s a true kitchen workhorse.
- Durable Heat-Resistant Spatula: An indispensable tool for any baker! A good spatula is perfect for scraping down bowls, meticulously spreading the thick condensed milk layer evenly, and safely handling warm ingredients without any risk of damage.
- Accurate Measuring Cups: Precision is a cornerstone of successful baking. A reliable set of measuring cups ensures you achieve the exact proportions for your ingredients, which is critical for consistently delicious results every single time you bake.
- Comprehensive Set of Measuring Spoons: Equally as important as measuring cups for smaller quantities, a full set of measuring spoons ensures that all your spices, flavorings, and other precise additions are perfectly measured, contributing to a balanced and nuanced flavor profile.
Investing in a selection of good quality kitchen tools not only significantly enhances the enjoyment of the baking process itself but also contributes directly to more consistent, professional-looking, and, most importantly, incredibly delicious results. Happy baking, and may your kitchen be filled with wonderful aromas and even better treats!
Craving More Easter Delights? Explore These Festive Recipes!
If you’ve fallen completely in love with this easy Cadbury Magic Bar recipe and are eager to discover even more enchanting and festive treats for your upcoming Easter celebration, you’re in for a delightful journey! Below, we’ve carefully curated a collection of other irresistible Easter-themed desserts that are absolutely sure to bring an abundance of joy and sweetness to your holiday table. Each link will effortlessly take you to a simple, printable recipe, making your holiday baking adventures both effortless and incredibly fun. Get ready to impress your family and guests and sweeten your Easter festivities with these fantastic and inspiring ideas!
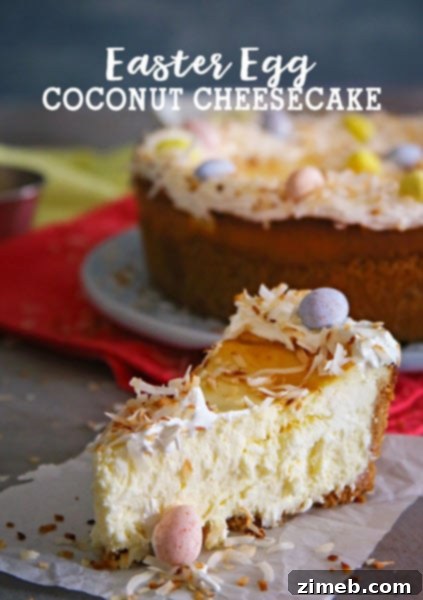
Easter Egg Coconut Cheesecake
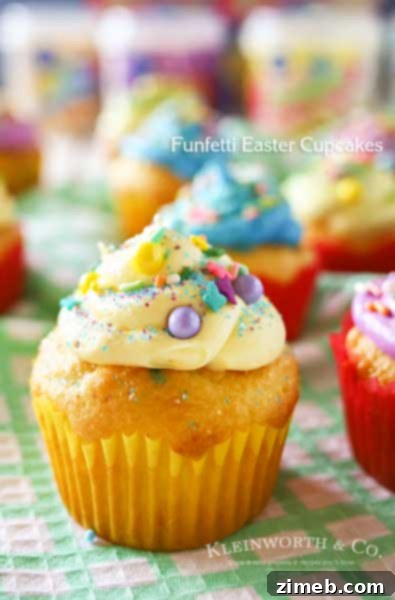
Funfetti® Easter Cupcakes
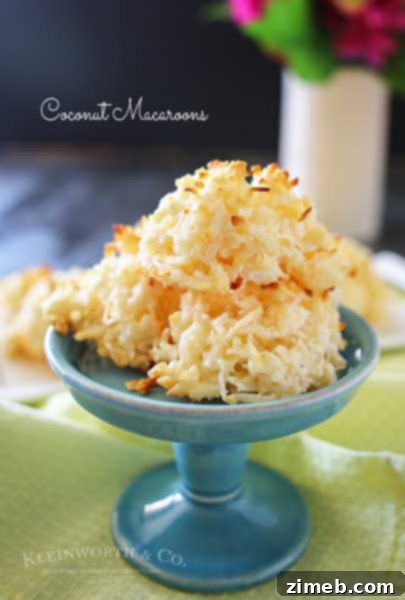
Coconut Macaroons
Check out this recipe
Check out this recipe
Check out this recipe

Check out this recipe
Check out this recipe
If you’ve enjoyed making and tasting this delightful recipe for Cadbury Magic Bars as much as I have, please consider leaving a five-star review below. Your valuable feedback helps other bakers and dessert enthusiasts discover these amazing treats! Also, don’t forget to help spread the Easter joy and deliciousness by sharing this incredible recipe on Facebook and Pinterest with your friends, family, and fellow food lovers!
CONNECT WITH YUMMI HAUS!
Be sure to follow me on social media to never miss out on new, delicious recipes, baking inspiration, and delightful kitchen tips!
Substack, Facebook, Pinterest, Instagram, Email Subscription
Rate this Recipe
Cadbury Magic Bars
Ingredients
- 2 cups graham cracker crumbs about 15 whole crackers
- 1 tbsp granulated sugar
- ½ cup unsalted butter melted & slightly cooled (1 stick)
- 1 cup pecans chopped or you can use quick oats
- 1½ cups sweetened shredded coconut
- 14 ounces sweetened condensed milk (1 can)
- 1 cup semi-sweet chocolate chips
- 1 cup mini Cadbury Eggs Candies crushed
- 8 Cadbury cream eggs cut in half
- 1 cup mini marshmallows optional
Instructions
-
Preheat the oven to 350 degrees.
-
Line 9×13 baking dish with parchment – spritz with cooking spray and set aside.
-
In a food processor, combine graham crackers and sugar – pulse until it reaches the texture of fine crumbs.
-
Transfer to a small bowl and add the melted butter. Mix well until all of the crumbs are moist.
-
Transfer to the prepared dish and press into a flat, even layer.
-
Top with the pecans or oats as well as the coconut.
-
Drizzle sweetened condensed milk over the top. Spread evenly.
-
Add the chocolate chips and a half cup of the crushed Cadbury mini eggs.
-
Bake until edges are golden – about 25 minutes.
-
Remove from the oven and top with the remaining Cadbury mini eggs and if you are using the marshmallows, add them now too.
-
Cool completely on a wire rack before pulling it out by the parchment.
-
While it is cooling, cut the Cadbury creme eggs in half.
-
Once the bars are cooled, cut them into squares and top them with the Cadbury egg halves.
Notes
These bars can be stored in an airtight container in the refrigerator for up to a week. They will also keep well at room temperature for up to 5 days.
Nutrition
Nutritional information for the recipe is provided as a courtesy and is approximate. Please double-check with your own dietary calculator for the best accuracy. We at Yummi Haus cannot guarantee the accuracy of the nutritional information given for any recipe on this site.