
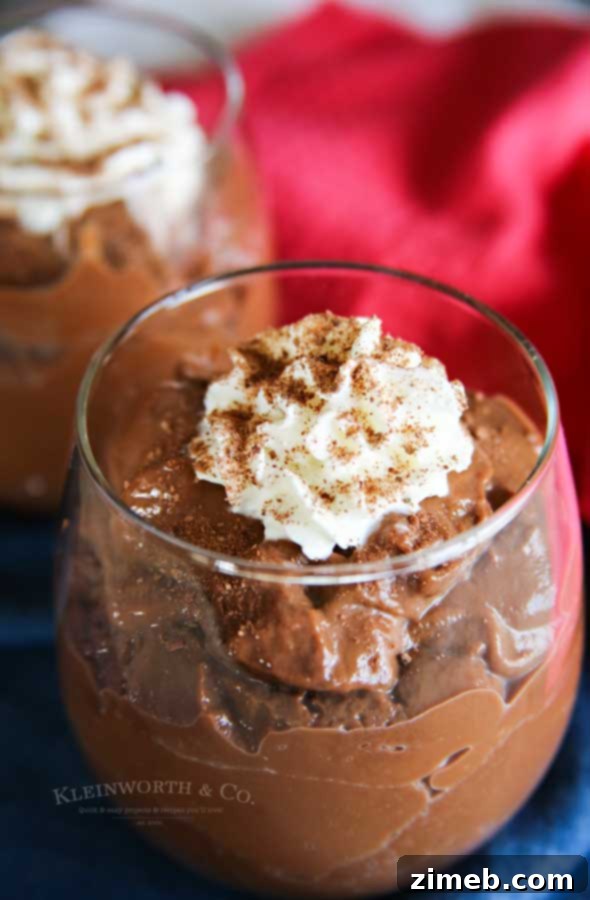
Are you ready to indulge in a dessert that’s truly extraordinary, remarkably easy to make, and infinitely more satisfying than anything from a box? Prepare to fall in love with this recipe for Homemade Chocolate Pudding from Scratch. It’s a decadent, velvety-smooth treat that boasts a rich chocolate flavor, offering a comforting embrace with every spoonful. Forget those artificial-tasting instant mixes; this classic recipe delivers pure, unadulterated chocolate bliss, making it a timeless family favorite.
There’s a special kind of magic that happens when you make chocolate pudding from scratch. It’s not just about the incredible taste; it’s about the warmth, the aroma filling your kitchen, and the nostalgic connection to simpler times. Growing up, I cherished memories of my grandmother, a true culinary wizard, whipping up her famous chocolate pudding almost weekly. It was a ritual, a testament to her love for my chocoholic grandfather, who savored every bite. That rich, homemade goodness was a staple in our home, a sweet tradition passed down through generations.
Today, I proudly carry on that cherished tradition with my own family. There’s something deeply satisfying about recreating a beloved family recipe, especially one that brings so much joy. The process itself is therapeutic, transforming simple ingredients into a luxurious dessert. Recently, during a period of home confinement, I found myself with an abundance of milk nearing its expiration date. My immediate thought? Pudding, of course! While my daughter initially suggested her usual instant mix, we were out of the boxed variety, which turned out to be a blessing in disguise. It was the perfect opportunity to dust off grandma’s treasured recipe and make the real deal – a truly good, old-fashioned chocolate pudding.
Scroll to the bottom for the complete, Printable Recipe Card!

Why Homemade Chocolate Pudding is Superior to Box Mixes
Once you experience the depth of flavor and luscious texture of this homemade chocolate pudding, you’ll understand why it’s light-years ahead of any boxed alternative. The difference is truly astounding. While instant puddings offer convenience, they often rely on artificial flavors and stabilizers, resulting in a thin texture and a somewhat muted, artificial chocolate taste. This scratch-made version, however, uses real cocoa powder and butter, creating an intensely rich, naturally smooth, and incredibly satisfying dessert that simply can’t be replicated with a mix.
What’s more, the effort required isn’t significantly greater than preparing an instant pudding. With just a few basic pantry staples and about 10-15 minutes of active cooking time, you can create a show-stopping dessert that tastes like it came from a gourmet kitchen. After years of occasionally falling back on the boxed variety, rediscovering my grandmother’s recipe was a revelation. I honestly don’t think I’ll ever go back to instant pudding. The profound, authentic chocolate flavor and the irresistibly creamy consistency are simply unparalleled. It’s not just a dessert; it’s an experience.
This post contains some affiliate links. Click here to read my full disclosure policy.
Frequently Asked Questions About Homemade Chocolate Pudding
What type of milk is best for chocolate pudding?
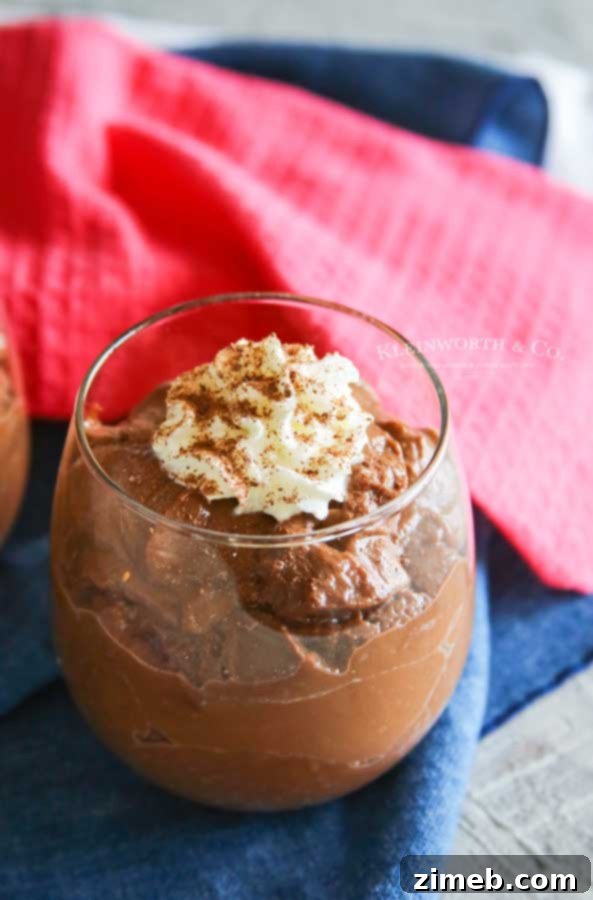
For this particular batch, I used 2% milk, and the results were wonderfully creamy. If you desire an even richer, more luxurious texture, whole milk is an excellent choice as its higher fat content contributes to a silkier mouthfeel. While I haven’t personally experimented with 1% milk, it might yield a slightly thinner pudding. Plant-based milks like almond milk or oat milk can also be used, but note that they may alter the final flavor and consistency slightly. For best results, use a full-fat dairy milk if possible.
Can I use a sugar substitute in this recipe?
I haven’t personally tested this recipe with sugar substitutes, so I cannot definitively say how the texture or flavor would be impacted. Sugar plays a role not only in sweetness but also in the pudding’s structure. If you choose to experiment, I recommend using a sugar substitute designed for a 1:1 replacement ratio with granulated sugar. Please let me know your results if you try it!
Can homemade chocolate pudding be frozen?
Yes, you can freeze homemade chocolate pudding. To do so, transfer the cooled pudding into airtight, freezer-safe containers, leaving a little headspace for expansion. It can be frozen for up to 3 months. Be aware that upon thawing, the texture might change slightly, potentially becoming a bit grainier or more watery. To minimize this, thaw it slowly in the refrigerator overnight and give it a good whisk before serving.
How many servings does this recipe yield?
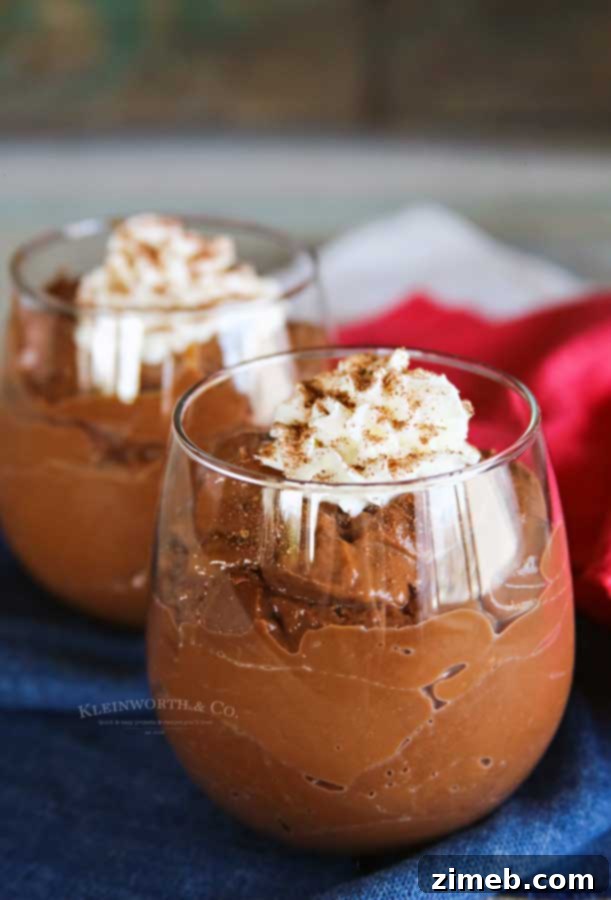
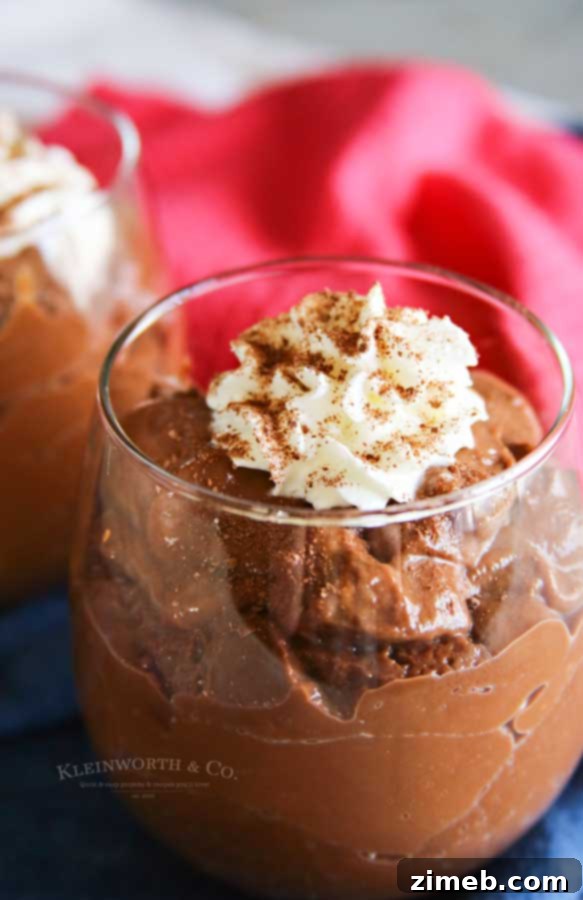
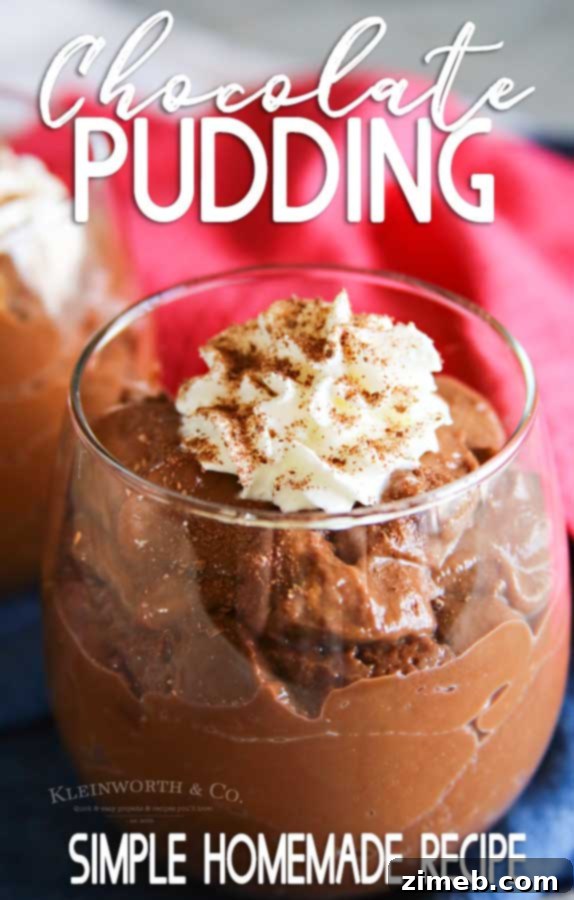
This recipe is designed to produce approximately 8 servings of delicious homemade chocolate pudding. The individual glasses shown in the photos, particularly the stemless wine glasses, are quite generous. It took many spoonfuls to fill them to that level, easily making each one more than a single standard serving. You can adjust the serving size based on your desired portion control or the type of serving dishes you use.
Can this easy chocolate pudding recipe be doubled?
Absolutely! We frequently double this recipe, especially when entertaining guests or preparing enough to last through a leisurely weekend. Doubling the recipe works beautifully without compromising the quality or consistency of the pudding. Just be sure to use a larger saucepan to accommodate the increased volume and allow a bit more time for the mixture to come to a boil and thicken.
Step-by-Step Guide: How to Make Homemade Chocolate Pudding
Creating this luscious homemade chocolate pudding is simpler than you might think. Follow these straightforward steps for a perfectly smooth and rich dessert every time:
- Combine Dry Ingredients: In a medium-sized, heavy-bottomed saucepan, whisk together the granulated sugar, unsweetened cocoa powder, cornstarch, and a pinch of table salt. Thoroughly combine these dry ingredients to prevent lumps when the liquid is added.
- Add Milk: Gradually whisk in the cold milk. Continue whisking until the mixture is completely smooth and all the dry ingredients are fully dissolved into the milk. This step is crucial for preventing a lumpy pudding.
- Cook and Thicken: Place the saucepan over medium heat. Bring the mixture to a full boil, stirring constantly with a whisk or rubber spatula. Constant stirring is essential to prevent the pudding from sticking to the bottom of the pan and burning, and to ensure even thickening.
- Boil for One Minute: Once the pudding reaches a full boil, continue to boil for exactly one minute, still stirring vigorously. This allows the cornstarch to fully activate and thicken the pudding to the perfect consistency.
- Remove from Heat and Finish: Take the saucepan off the heat. Immediately stir in the butter and vanilla extract until they are fully incorporated and the butter has melted completely, adding richness and a wonderful aromatic finish.
- Chill Properly: Carefully transfer the hot pudding mixture into a large, clean bowl. Cover the bowl with plastic wrap, making sure the plastic wrap directly touches the surface of the pudding. This prevents a “skin” from forming on top as it cools.
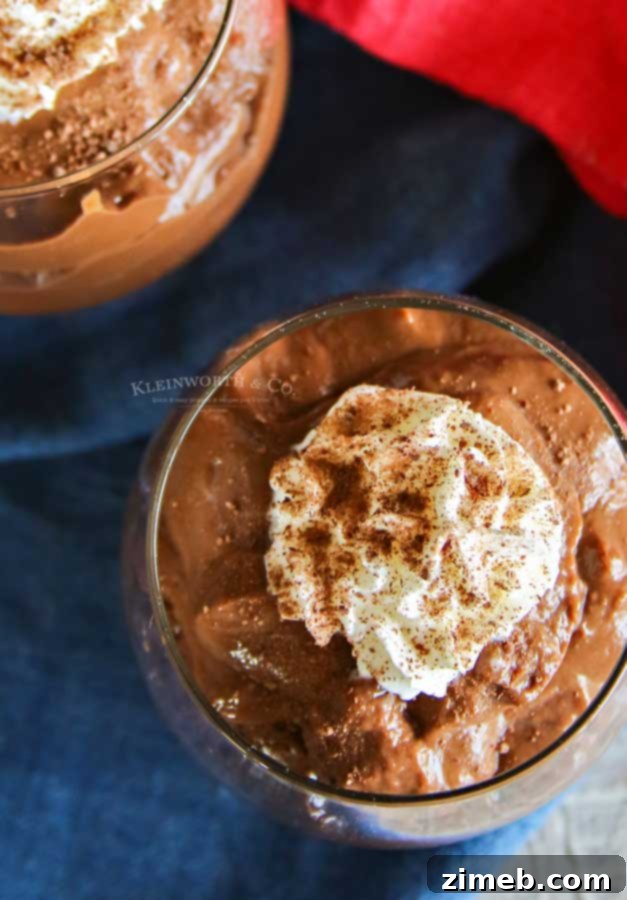
- Refrigerate and Serve: Refrigerate the pudding for at least 30 minutes, or until it is thoroughly chilled and set. Serve your delicious homemade chocolate pudding with a generous dollop of whipped cream and delicate chocolate shavings on top for an extra touch of decadence.
Storing Your Delicious Homemade Chocolate Pudding
What is the best way to store leftover chocolate pudding?
To maintain its optimal texture and freshness, store any leftover chocolate pudding in the refrigerator. The key is to ensure it is covered properly. Place a piece of plastic wrap directly on the surface of the pudding, ensuring it touches every part to create a seal. This prevents a “skin” from forming and keeps the pudding from absorbing refrigerator odors. Stored this way, your homemade chocolate pudding will remain fresh and delicious for up to 3 days.
Why must the plastic wrap be touching the pudding surface?
This is a crucial step for achieving that perfectly smooth and appetizing pudding texture. If the plastic wrap does not touch the surface of the pudding, especially during the initial chilling phase, a thick, unappealing skin will form on top as it cools and sets. While this skin can be removed before serving, it’s far better to prevent it from forming in the first place. The direct contact of the plastic wrap creates a barrier, trapping moisture and ensuring a consistently creamy surface throughout.
Essential Ingredients for Your Homemade Chocolate Pudding
Crafting this incredible homemade chocolate pudding from scratch requires just a few pantry staples. Each ingredient plays a vital role in creating its sinfully rich flavor and decadent texture:
- Granulated Sugar: Provides the perfect sweetness and contributes to the pudding’s smooth consistency.
- Cocoa Powder: The star ingredient! Use a good quality unsweetened cocoa powder for the deepest, most authentic chocolate flavor.
- Cornstarch: Acts as the primary thickening agent, giving the pudding its characteristic velvety texture.
- Table Salt: A small pinch enhances the chocolate flavor and balances the sweetness. Don’t skip it!
- Milk: The liquid base. Whole milk or 2% milk is recommended for the best creamy results.
- Butter: Adds richness, a silky mouthfeel, and a subtle shine to the finished pudding.
- Vanilla Extract: A splash of pure vanilla extract elevates and complements the chocolate notes beautifully.
Recommended Kitchen Tools and Products for Perfect Pudding
This easy chocolate pudding recipe is not only delicious but also incredibly straightforward to make. Even if you’re new to baking or cooking from scratch, you’ll find it surprisingly simple. To ensure your success and make the process even more enjoyable, here’s a list of kitchen essentials I find invaluable when preparing this delightful dessert recipe. Having these items on hand will make your pudding-making experience a breeze:
- Granulated Sugar: Essential for sweetness.
- Cocoa Powder: For that deep chocolate flavor.
- Cornstarch: The perfect thickener.
- Table Salt: To enhance and balance flavors.
- Vanilla Extract: For aromatic depth.
- Saucepan: A heavy-bottomed one is best to prevent scorching.
- Chocolate Flakes: Perfect for garnishing.
- Spatulas: For stirring and scraping the pan.
- Stemless Wine Glasses: Elegant serving suggestion for individual portions.
More Decadent Chocolate Desserts to Explore
If you’ve enjoyed this easy chocolate pudding recipe, you’re in for a treat! Here are more fantastic dessert ideas that chocolate lovers will adore. Click each link below to discover the simple, printable recipes:
Triple Chocolate Banana Bread
This Triple Chocolate Banana Bread is a chocolate lover’s dream come true. Not only is it incredibly easy to bake, but this versatile batter yields three mini loaves, making it a wonderful way to utilize those perfectly overripe bananas. Each bite is packed with intense chocolate flavor!
Check out this recipe
World’s Best Chocolate Cake
Rich, moist, and utterly decadent – it truly lives up to its name as the World’s Best Chocolate Cake recipe. This magnificent three-layer chocolate cake is an absolute masterpiece, ideal for celebrating birthdays, holidays, or any special occasion that calls for an unforgettable dessert.
Check out this recipe
Easy Microwave Reese’s Fudge
This Easy Microwave Reese’s Fudge is a remarkably simple fudge recipe bursting with delicious peanut butter cups. Made with only 4 ingredients and requiring just 2 minutes in the microwave, it’s the quickest way to satisfy your sweet tooth cravings.
Check out this recipe

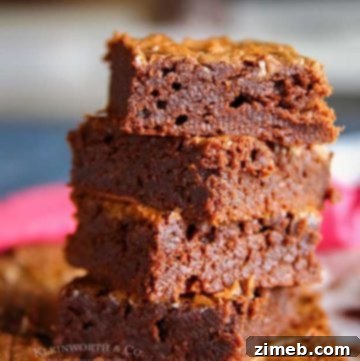
Nutella Brownie Recipe
This Nutella Brownie Recipe creates the VERY BEST thick and chewy brownies, complete with a perfectly crackly top. You only need one bowl and just 4 simple ingredients to whip up these incredible treats!
Check out this recipe
Easy S’mores Funnel Cake
Easy S’mores Funnel Cake brilliantly brings your favorite summer flavors together in one delightful dessert. Imagine a golden-brown graham cracker funnel cake, generously topped with warm hot fudge and a luscious marshmallow sauce – it’s an absolute treat!
Check out this recipe

Air Fryer Chocolate Chip Skillet Cookie
The Air Fryer Chocolate Chip Skillet Cookie is a wonderfully thick and utterly delicious cookie, perfectly baked in your air fryer. Serve it warm with a scoop of vanilla ice cream on top – it’s an ideal dessert for two, or a delightful treat just for yourself!
Check out this recipe

The Best Homemade Chocolate Pudding for Every Occasion
This homemade chocolate pudding isn’t just a recipe; it’s an invitation to create something truly special and memorable in your kitchen. Whether you’re whipping it up for a casual weeknight dessert, a cozy family gathering, or a special occasion, its rich flavor and incredibly smooth texture are sure to impress. It’s a testament to the fact that the simplest ingredients, when combined with a little love and care, can yield the most extraordinary results. Once you taste this decadent, creamy chocolate pudding, you’ll understand why it quickly becomes a cherished favorite, destined to be made again and again.
This is absolutely delicious and guaranteed to be a hit!
CONNECT WITH KLEINWORTH & CO!
Be sure to follow me on my social media, so you never miss a post!
FB, Pinterest, IG, Email Subscription

Print Recipe
Pin Recipe
Homemade Chocolate Pudding
Homemade Chocolate Pudding is an easy chocolate pudding from scratch recipe that is sinfully rich & decadent. Better than any box mix – oh so good!
Course: Dessert
Servings: 8 servings
Prep Time: 5 mins
Cook Time: 10 mins
Chill Time: 30 mins
Total Time: 45 mins
Ingredients
- 1 ⅓ cup granulated sugar
- ⅔ cup cocoa powder
- ⅓ cup cornstarch
- pinch of table salt
- 4 ½ cups milk
- 4 tbsp butter
- 1 tsp vanilla extract
Instructions
- In a medium saucepan, stir together sugar, cocoa powder, cornstarch, and salt.
- Whisk in the cold milk and mix until combined.
- Cook over medium heat, bringing to a boil, stirring constantly.
- Boil for 1 minute, continuing to stir.
- Remove from heat & stir in the butter and vanilla.
- Carefully transfer to a large bowl and cover with plastic wrap. Place the plastic directly on top of the pudding mixture so that it is touching it.
- Refrigerate for at least 30 minutes before serving with a dollop of whipped cream and chocolate shavings on top.
Nutritional information for the recipe is provided as a courtesy and is approximate. Please double-check with your own dietary calculator for the best accuracy. We at Yummi Haus cannot guarantee the accuracy of the nutritional information given for any recipe on this site.