
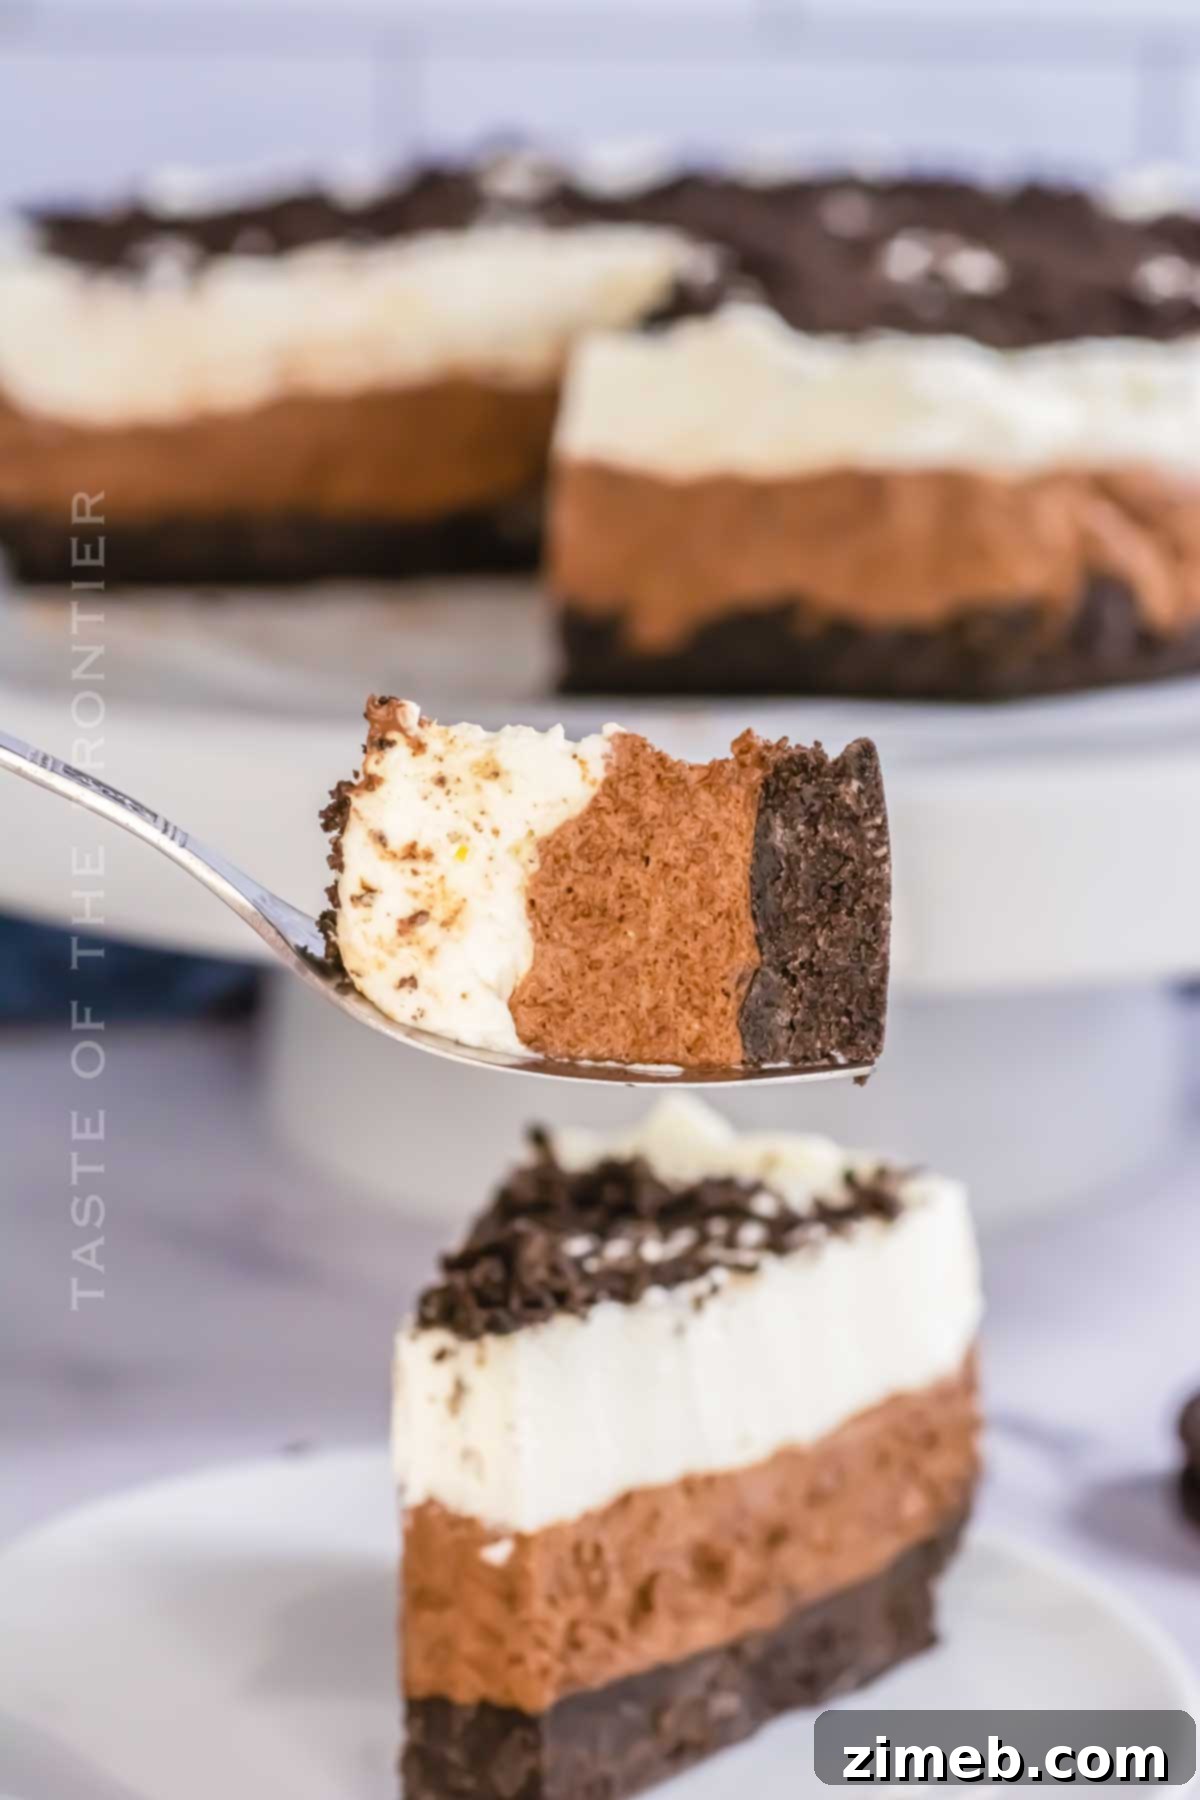
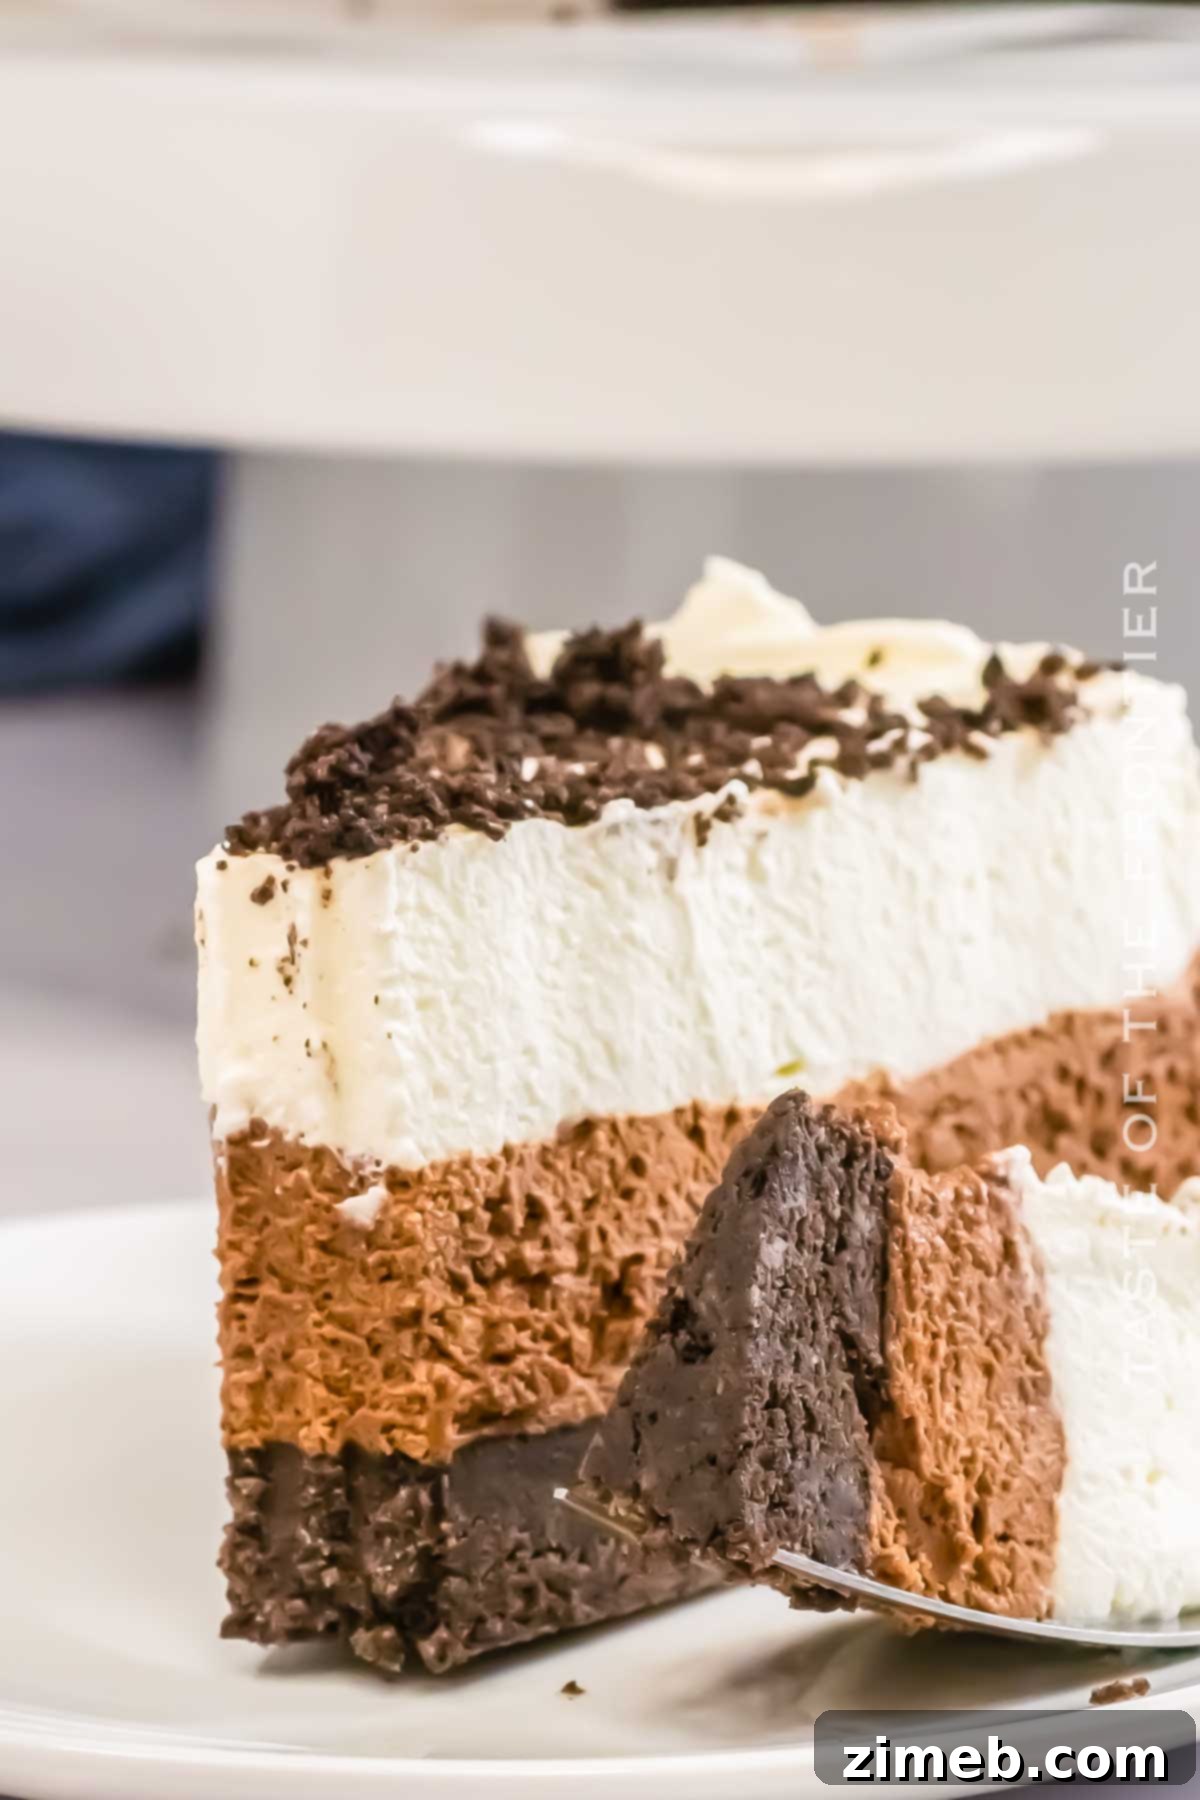
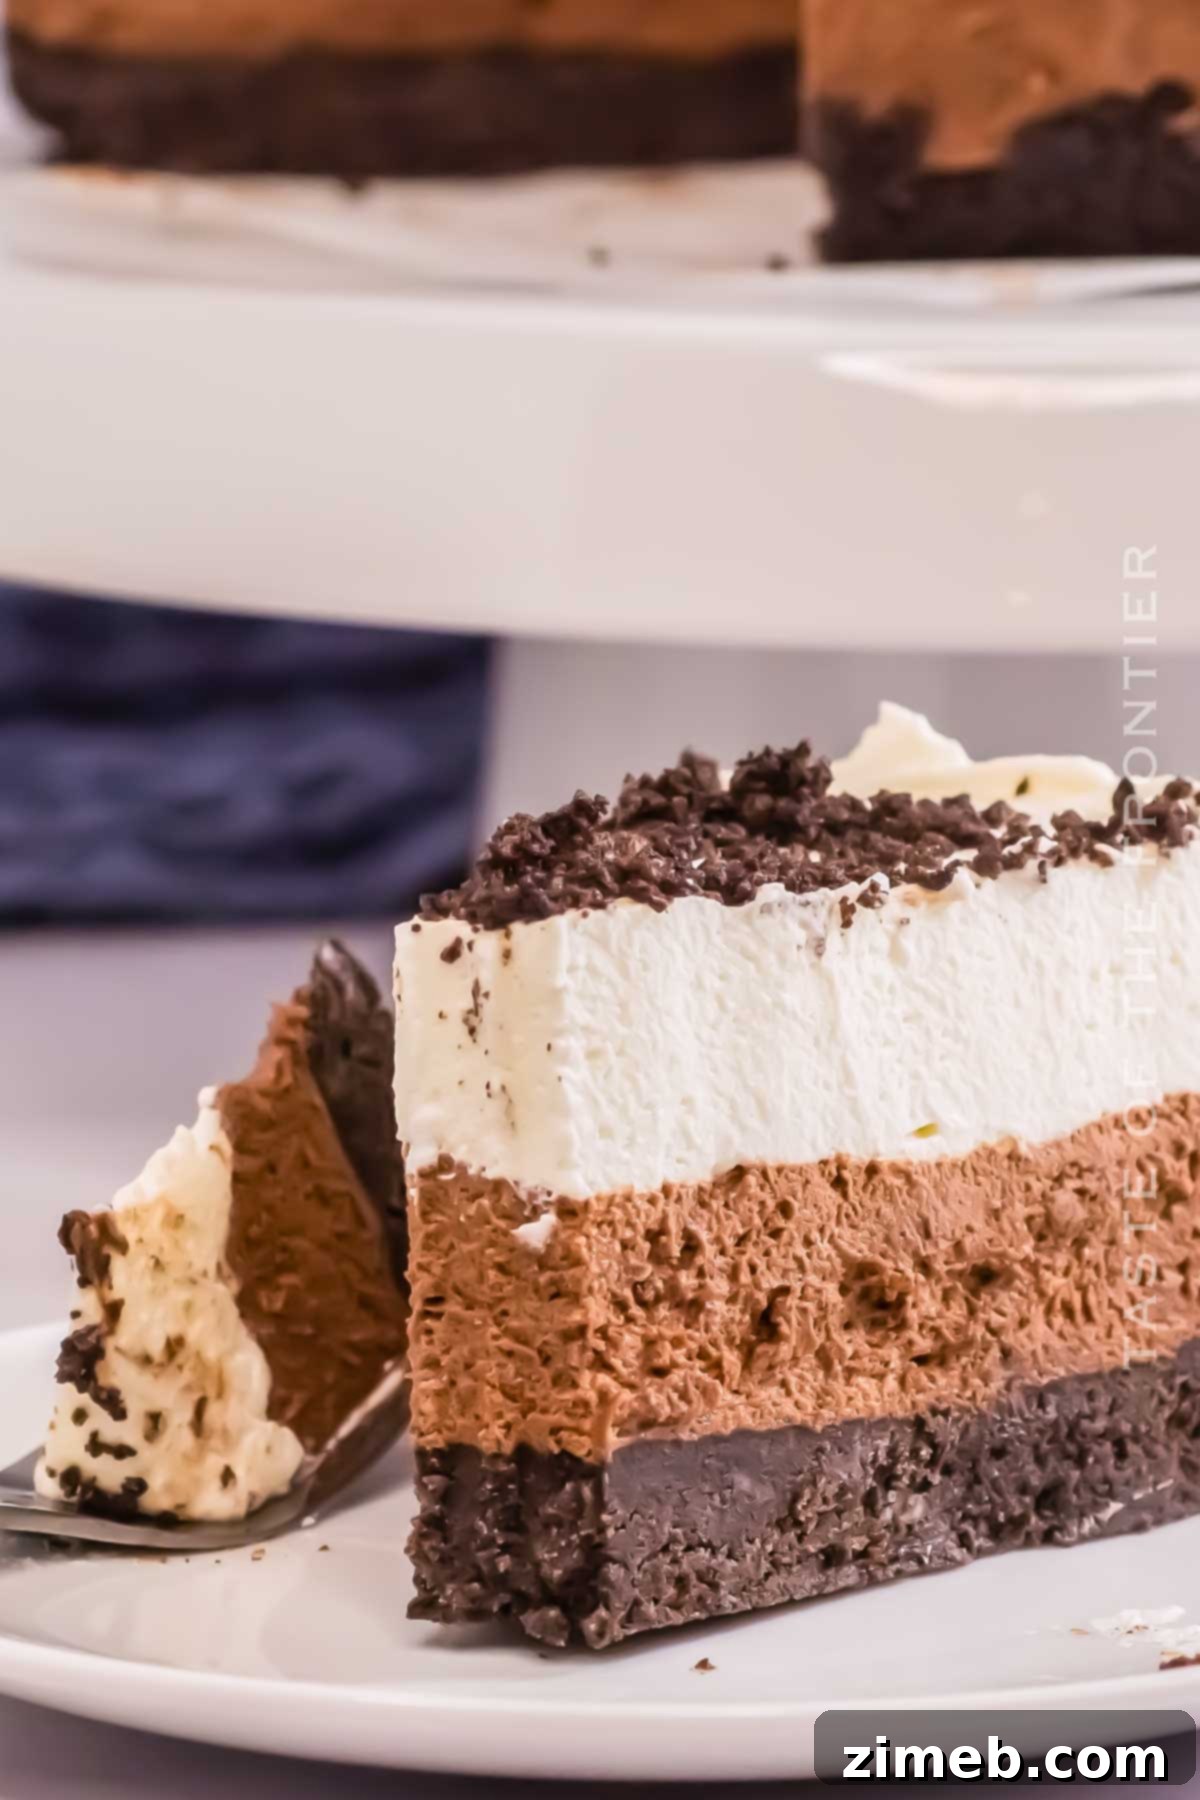
Prepare to delight your senses with an incredibly simple, yet utterly decadent dessert: the No-Bake Oreo Mousse Cake. Imagine a dessert that brings together the satisfying crunch of an Oreo cookie crust, a rich and velvety chocolate chip cookie mousse, and a fluffy layer of whipped cream – all without ever needing to turn on your oven. This 5-ingredient masterpiece is a chocolate lover’s dream, offering a light, creamy, and indulgent experience that tastes truly heavenly.
This cookies and cream mousse cake is not just a treat for your taste buds; it’s a guaranteed showstopper for any occasion. Whether you’re hosting a potluck, celebrating a birthday, marking St. Valentine’s Day, or gathering around a holiday table, this easy-to-make dessert will undoubtedly impress your guests. Its elegant presentation and irresistible flavor make it an instant favorite, ensuring everyone asks for the recipe.
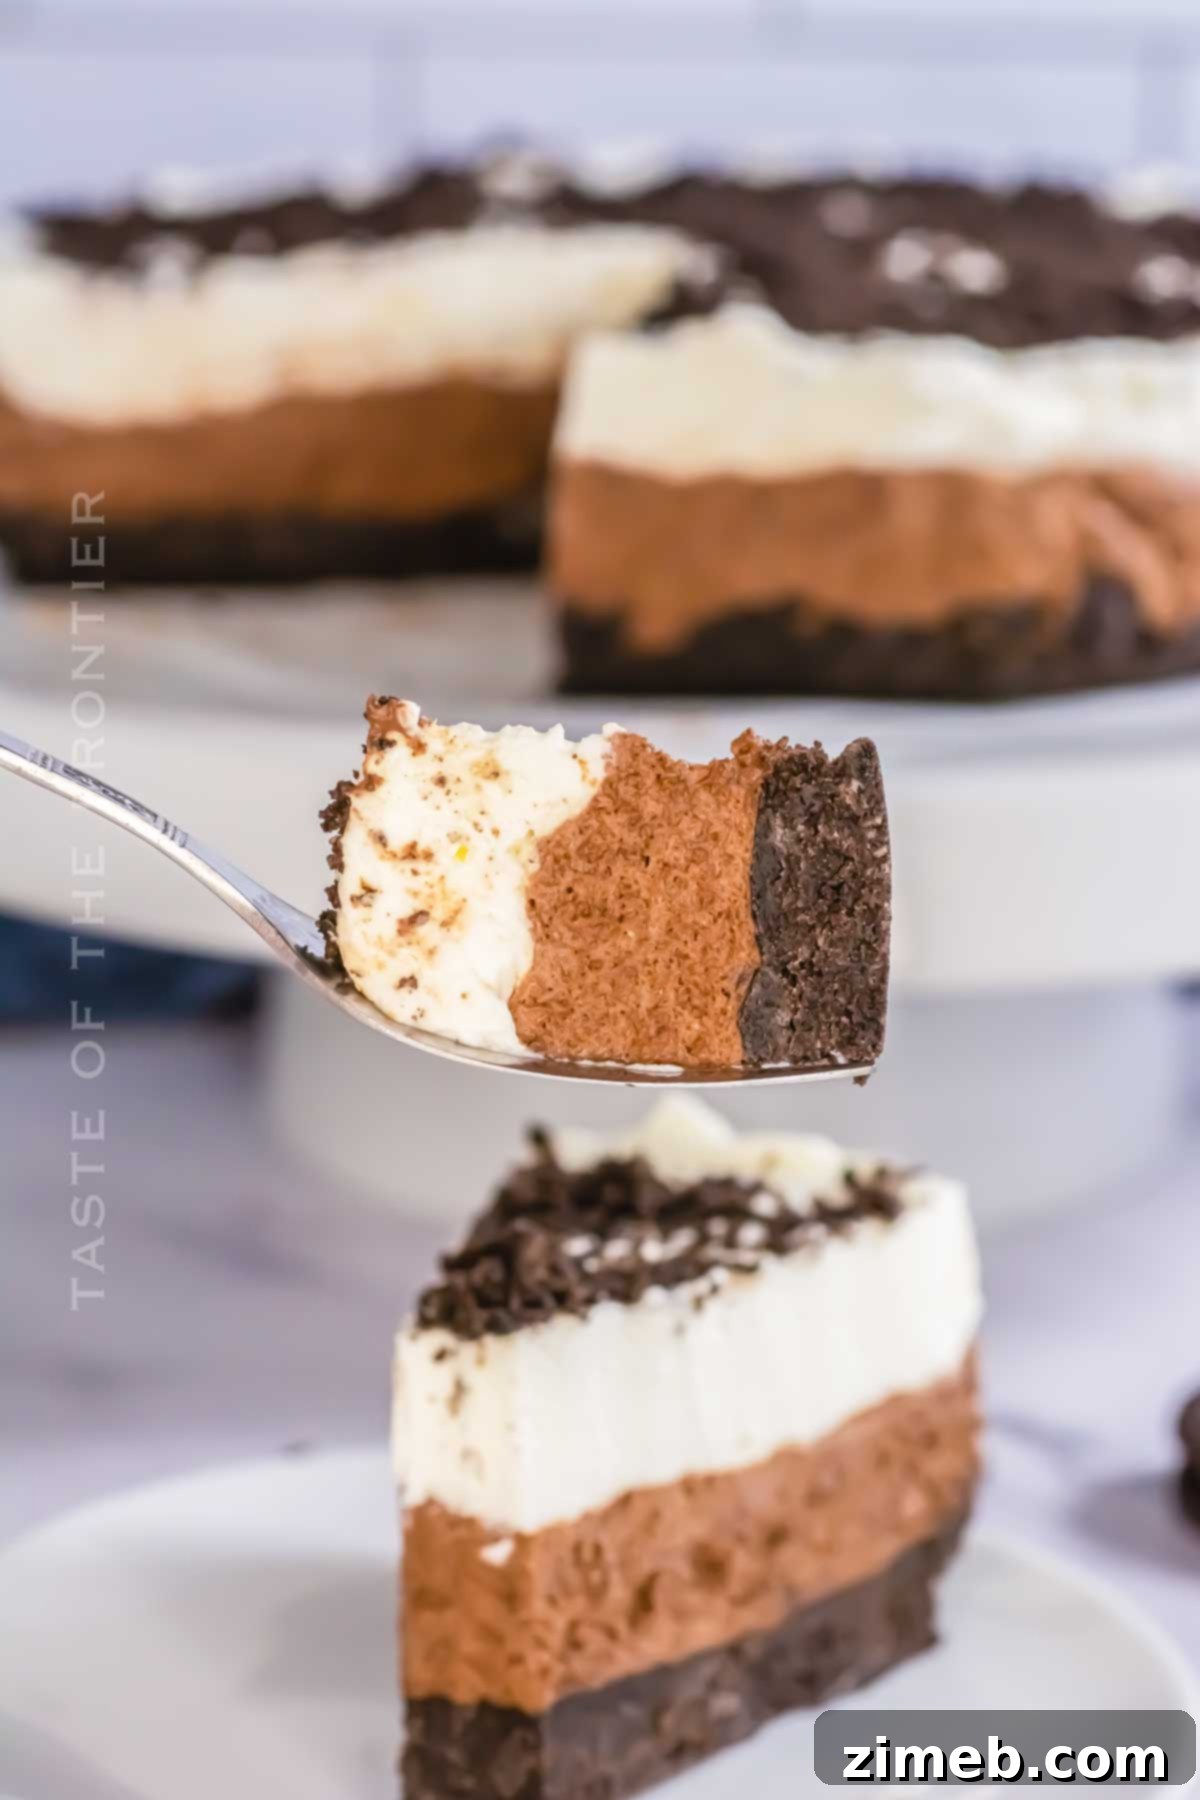
While traditional French chocolate mousse recipes often call for fresh eggs and intricate techniques, my version offers a delightful twist. By utilizing staple American ingredients, we achieve the same silky, fresh texture and luxurious taste with incredible ease. This recipe prioritizes simplicity without compromising on the decadent experience, making gourmet desserts accessible to every home cook.
You might also recognize this delightful creation as a Cookies and Cream Mousse Cake, a fitting name given that we generously use Oreo cookies as the foundational element of this spectacular dessert. Whatever you call it, one bite is all it takes to fall in love.
Why You’ll Love This No-Bake Oreo Mousse Cake
This Oreo Mousse Cake isn’t just delicious; it’s incredibly practical and rewarding to make. Here’s why this recipe deserves a permanent spot in your dessert rotation:
- Effortless No-Bake Preparation: Forget about heating up your kitchen! This is a truly no-bake recipe, meaning your oven stays off. The entire cake sets beautifully in the refrigerator, resulting in a light, airy, and utterly refreshing dessert that’s perfect for warmer months or when you simply want to avoid baking.
- Lightning-Fast Prep Time: Who knew a gourmet-looking dessert could come together so quickly? You can assemble this showstopper in as little as 15 minutes, then simply let it chill overnight. This makes it an ideal make-ahead dessert option, freeing up your time on the day of your event.
- Simple, Wholesome Ingredients: No need for exotic ingredients or complicated binders. This recipe skillfully avoids gelatin, raw eggs, and cream cheese, relying instead on just 5 basic ingredients to create a restaurant-quality dessert. It’s accessible, straightforward, and produces incredible results.
- Elegantly Delicious and Versatile: The combination of crunchy Oreo crust, smooth chocolate mousse, and delicate whipped cream is simply irresistible. This dessert boasts an elegant appearance that belies its simple preparation. Plus, the recipe is easily adaptable, offering various tweaks and additions you can explore on your next culinary adventure.
Understanding the Magic: Mousse vs. Mousse Cake
While often used interchangeably, there’s a subtle distinction between a classic mousse and a mousse cake. Understanding this difference helps appreciate the structure of our delightful dessert:
Mousse: At its heart, a mousse is a classic French dessert renowned for its light, airy, and creamy texture. Traditionally, chocolate mousse is crafted from fresh eggs, sugar, rich whipping cream, and high-quality chocolate. The key characteristic of mousse is its delicate, aerated consistency, achieved by folding whipped egg whites or whipped cream into a flavored base. It’s typically served on its own, perhaps in a parfait glass or ramekin, as a single, luscious dessert.
Mousse Cake: A mousse cake elevates the simple mousse by incorporating it as a layer within a larger dessert structure. When this creamy chocolate mixture is layered atop a solid base – such as a crunchy tart shell, a crumbly cookie crust, or even between layers of traditional cake or dough – it transforms into a mousse cake. These cakes can be baked or no-bake, offering incredible versatility. Our Oreo Mousse Cake falls into the “no-bake” category, utilizing the Oreo crust as its delightful foundation.
Mousse cakes are celebrated for being some of the most approachable dessert recipes for any occasion, combining the elegance of a mousse with the satisfying structure of a cake.
Essential Ingredients for Your Oreo Mousse Cake
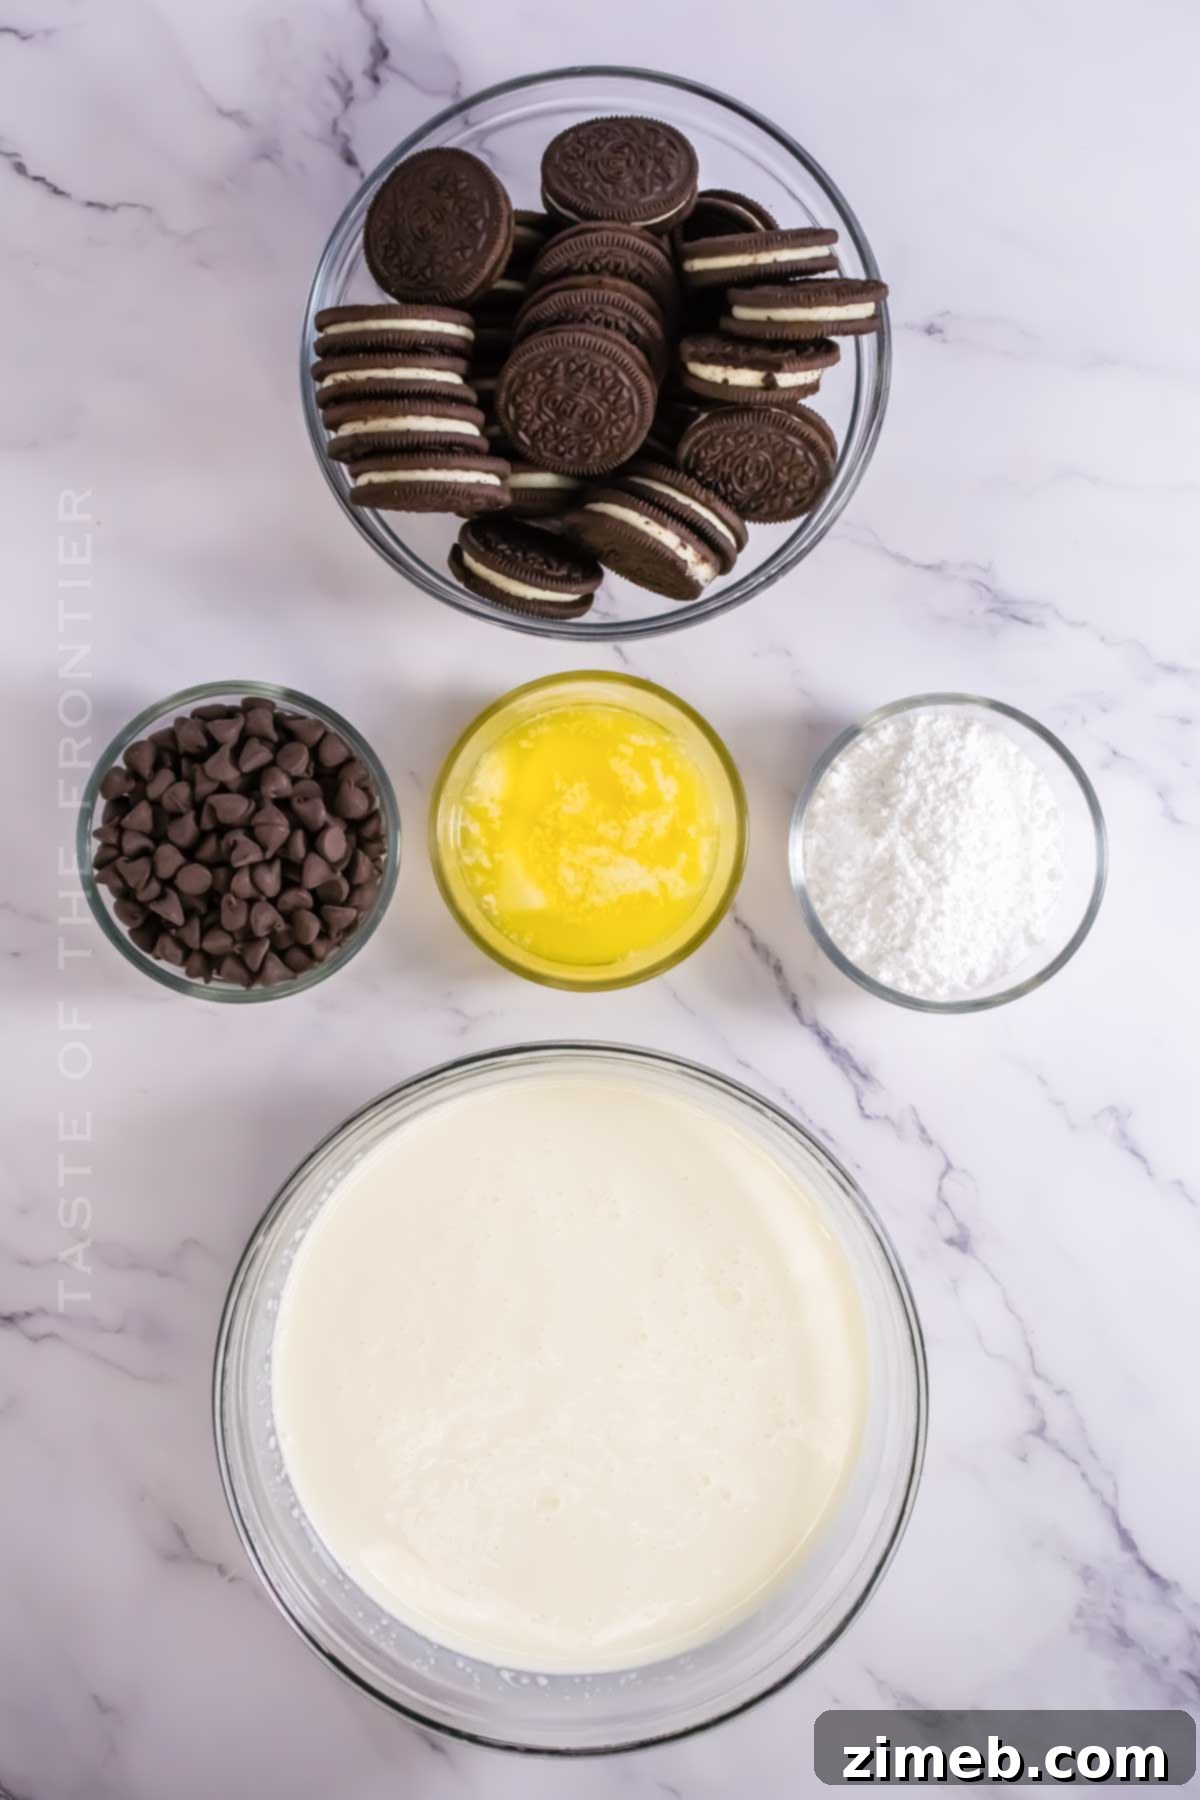
This easy no-bake dessert relies on a handful of simple ingredients to deliver its signature decadent Oreo chocolate flavors. Quality ingredients make a significant difference, so choose them wisely:
- Oreo Cookies: You’ll need one standard package of crushed Oreo cookies. It’s crucial to use standard Oreos, not the double-stuffed variety, as the extra cream filling can alter the crust’s texture. While I typically opt for classic chocolate Oreos for a deep, rich flavor, feel free to experiment with other flavors! Vanilla or mint Oreos can create delightful variations that pair wonderfully with the chocolate mousse.
- Unsalted Butter: Melted unsalted butter is essential for combining and binding the crushed Oreo crumbs into a firm, no-bake crust. Unsalted butter allows you to control the overall saltiness of the dessert.
- Semi-Sweet Chocolate Chips: Approximately 8 ounces of semi-sweet chocolate chips (containing at least 50% cocoa) will form the luscious mousse layer. These should be melted until smooth. If you don’t have chips, a good quality regular chocolate bar, finely chopped, works just as well. While semi-sweet is my go-to, feel free to swap them with richer dark chocolate chips for a more intense flavor, or smoother milk chocolate for a milder, sweeter profile.
- Heavy Whipping Cream: Three cups of heavy whipping cream are the backbone of both the mousse and the final whipped cream layer. Look for cream with a minimum of 36% fat content for optimal whipping results. For best results, ensure your cream is very cold when you start whipping.
- Confectioner’s Sugar (Powdered Sugar): This finely milled sugar is mixed with the heavy whipping cream to create a stable and sweet whipped cream mousse base. Its fine texture ensures a smooth, lump-free consistency.
- Additional Crushed Oreos: For a beautiful and delicious finish, reserve some crushed Oreos for decorating the top of your cake. You can also use whole Oreos for topping, nestled gracefully into a dollop of whipped topping or chocolate shavings.
Essential Kitchen Tools for Mousse Cake Success
Having the right tools makes the preparation of this Oreo Mousse Cake even smoother. Here’s what you’ll need:
- 9-inch Springform Pan: This is crucial for easy removal of the cake once set. Line the bottom with parchment paper and grease the sides, or use a cake collar, to ensure a clean release.
- Food Processor, Blender, or Ziploc Bag with Rolling Pin: You’ll need one of these to efficiently crush your Oreo cookies into fine crumbs for both the crust and the decoration. A food processor is the quickest, but a Ziploc bag and rolling pin work perfectly for a hands-on approach.
- Stand Mixer with Whisk Attachment (or Hand-Held Electric Mixer): Essential for whipping the heavy cream to stiff peaks, creating that light and airy texture characteristic of a perfect mousse. A stand mixer offers hands-free convenience, but a good quality hand mixer will also do the job.
- Microwave-Safe Bowl: For melting your chocolate chips quickly and evenly. Ensure it’s large enough to comfortably stir the chocolate.
- Optional: Cake Plate or Serving Platter: For an elegant presentation of your finished mousse cake.
Step-by-Step: Crafting Your Perfect Oreo Mousse Cake
Making this No-Bake Oreo Mousse Cake is surprisingly simple, broken down into three easy phases. Follow these steps for a dessert that looks and tastes like it came from a professional patisserie:
1: Preparing the Irresistible Oreo Cookie Crust
The foundation of our mousse cake is a sturdy and flavorful Oreo cookie crust. This simple base provides a wonderful contrast to the creamy layers above.
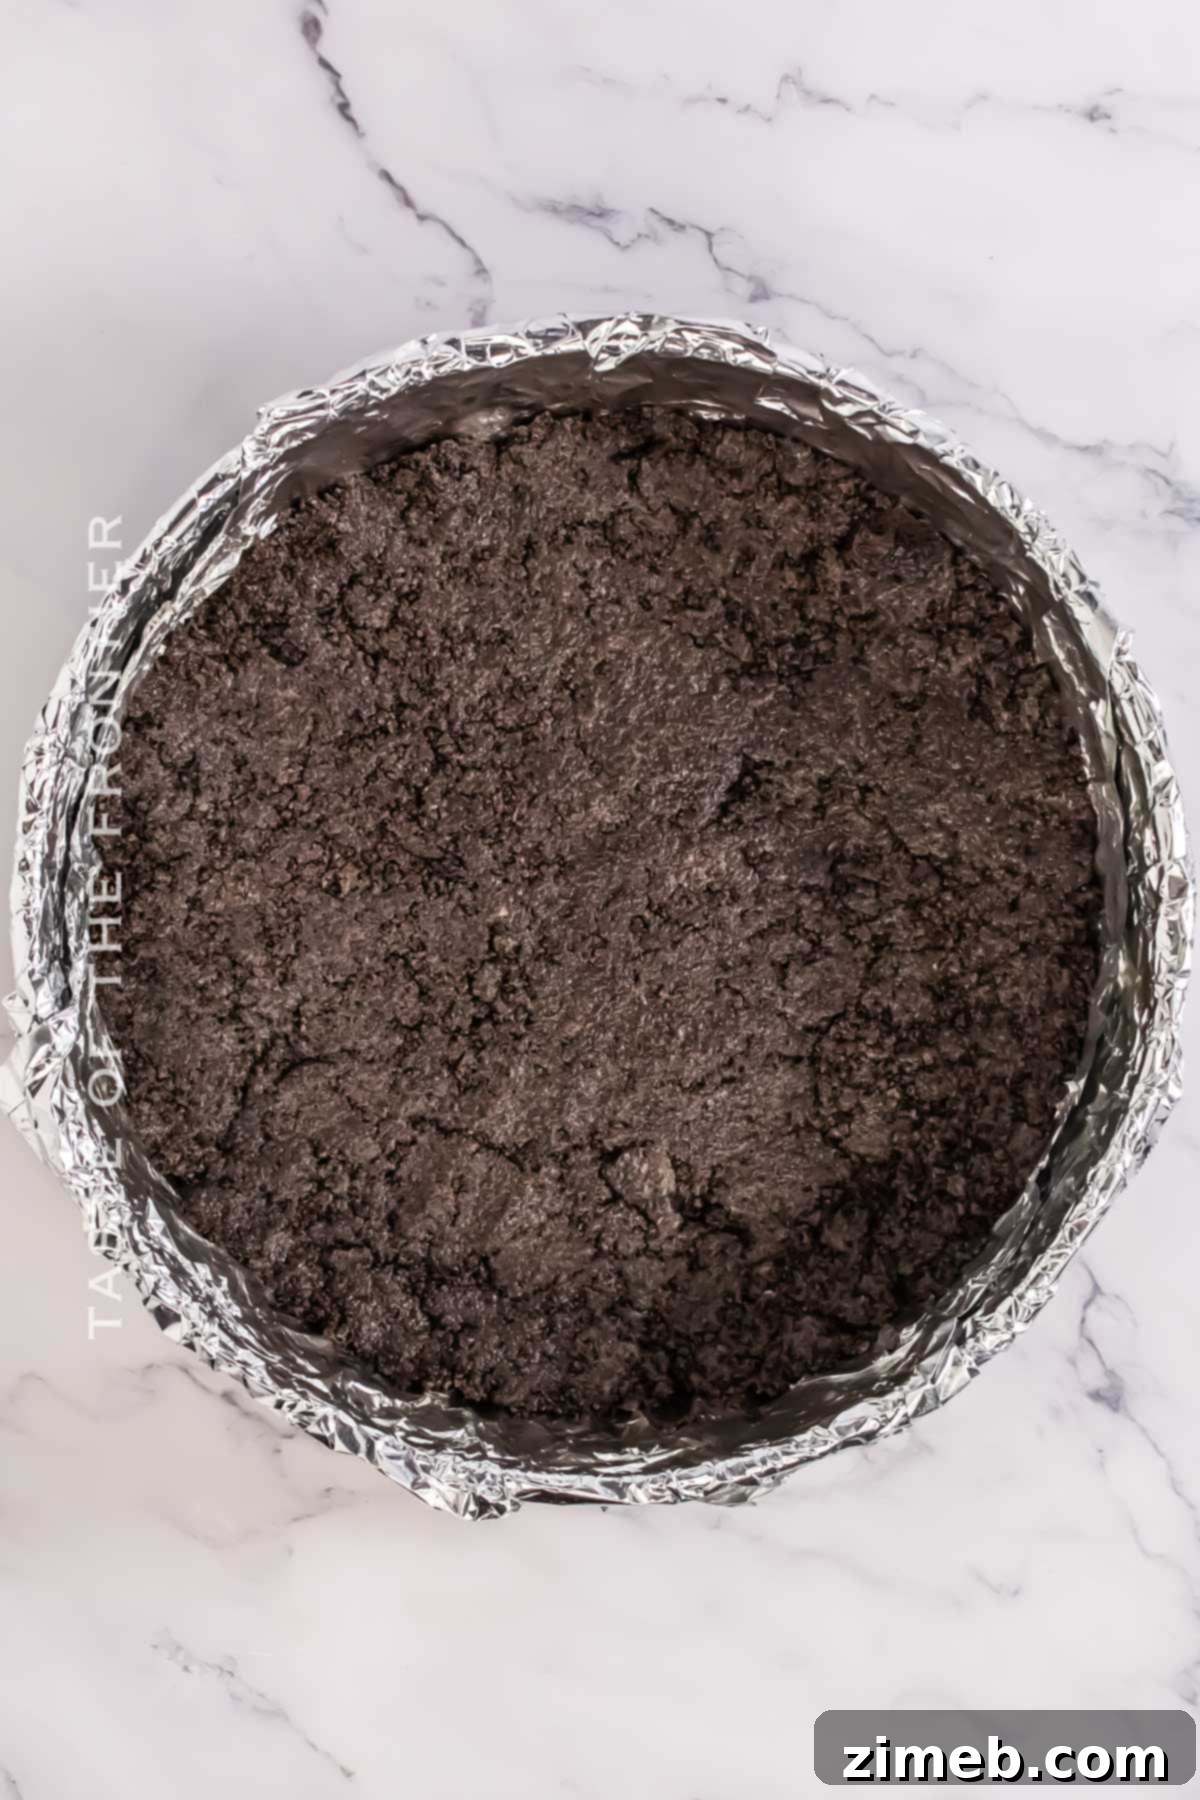
- Begin by combining the finely crushed Oreo cookies and the melted unsalted butter in a medium mixing bowl. Use a spoon or your hands to mix them thoroughly until all the cookie crumbs are evenly moistened and resemble wet sand.
- Carefully press this moist mixture into the bottom of your prepared 9-inch springform pan. Use the back of a spoon or the bottom of a flat glass to press the crumbs firmly and evenly across the base of the pan. This creates a compact and stable crust. Once pressed, transfer the pan to the freezer to chill while you prepare the filling. This quick chill helps the crust set firmly and prevents it from crumbling when sliced.
2: Creating the Silky Smooth Chocolate Mousse Layer
The heart of this dessert is the rich and airy chocolate mousse. Achieving the perfect texture requires a few careful steps.
- Melt the semi-sweet chocolate chips. Place them in a microwave-safe bowl and heat in 30-second intervals, stirring vigorously after each interval. Continue this process until the chocolate is completely melted and smooth. Crucially, set the melted chocolate aside to cool slightly to room temperature. Folding warm chocolate into whipped cream can cause the cream to deflate, preventing the mousse from setting properly.
- In the chilled bowl of a stand mixer fitted with the whisk attachment (or using a hand-held electric mixer), combine the cold heavy whipping cream and confectioner’s sugar. Beat on medium-high speed until stiff peaks form. Stiff peaks mean that when you lift the whisk, the whipped cream holds its shape without drooping. Chilling your mixing bowl and whisk attachment for 10-15 minutes beforehand can significantly help achieve firmer peaks faster.
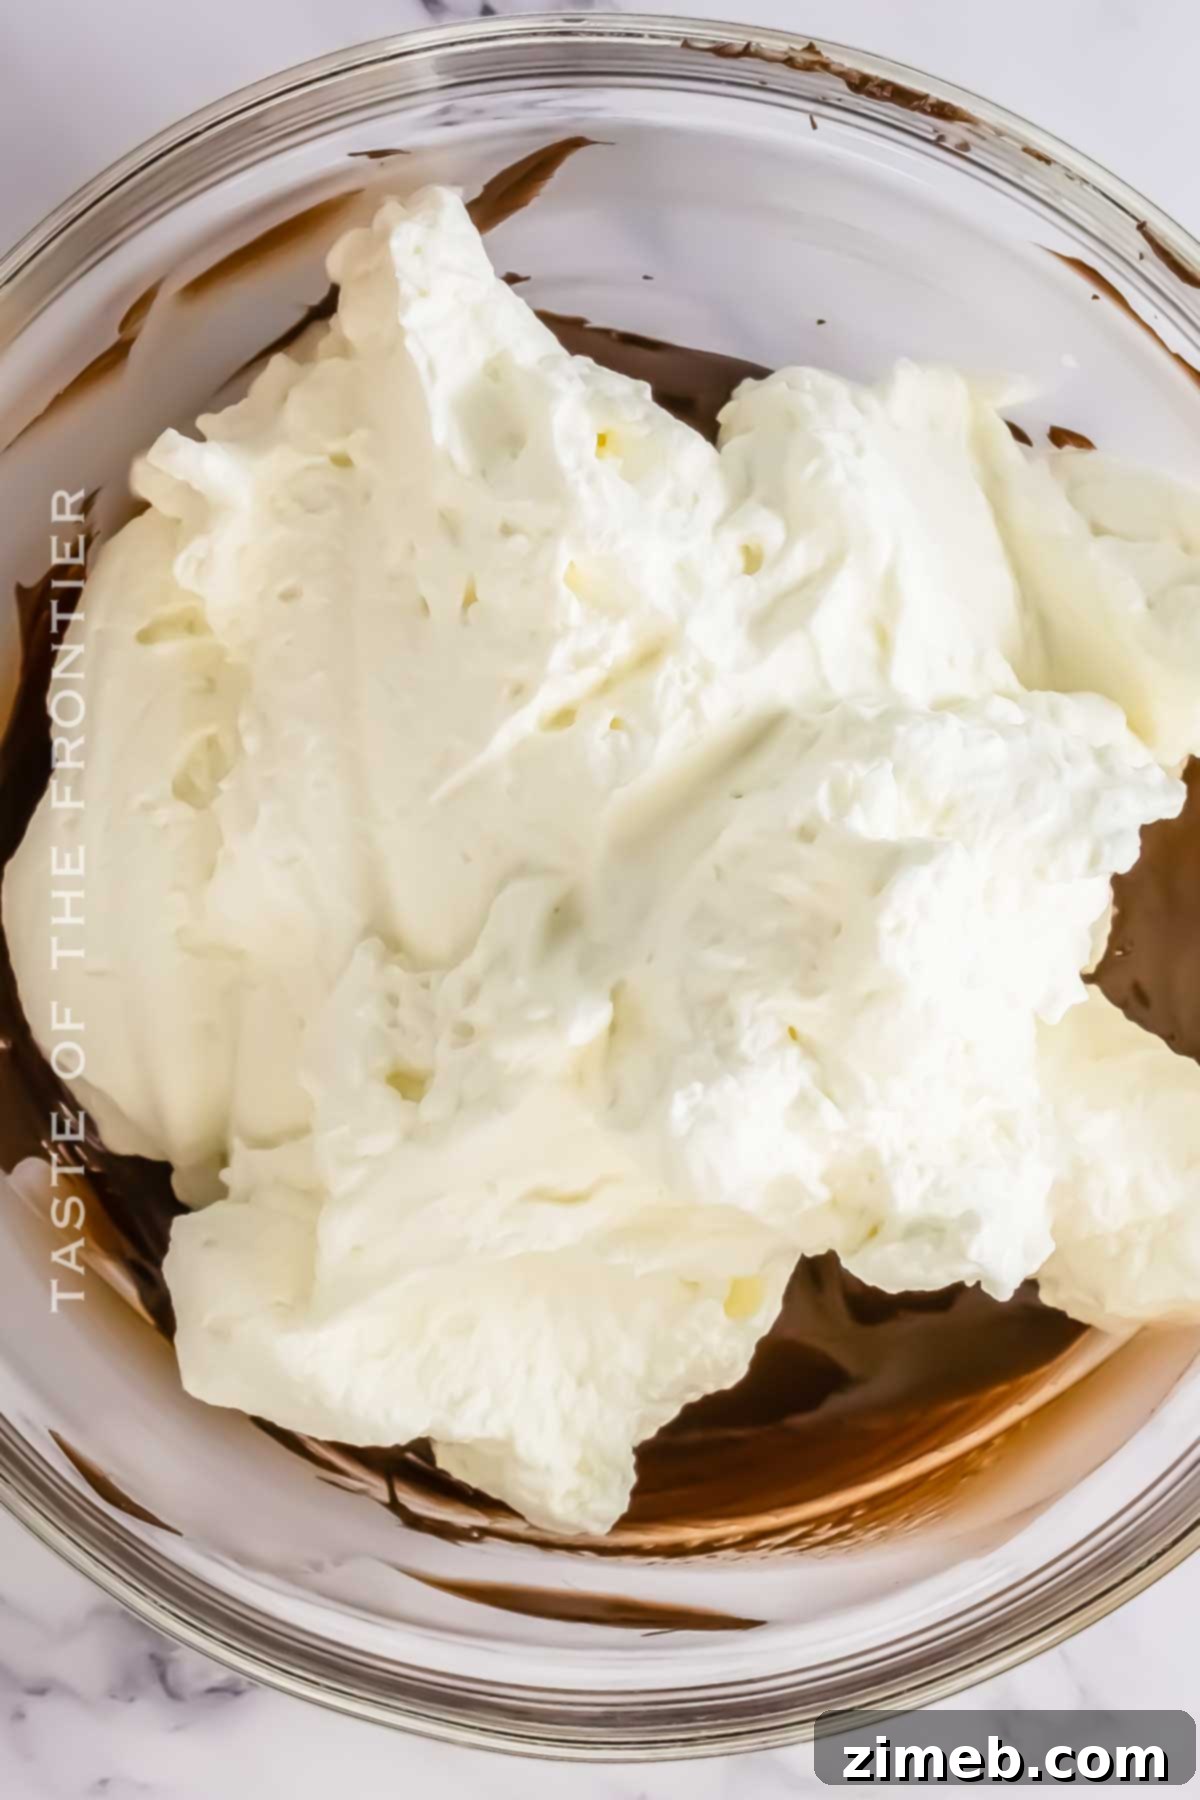
- Gently fold approximately half of the prepared whipped cream into the slightly cooled melted chocolate. Use a rubber spatula and a gentle, folding motion to combine the two mixtures until no streaks of white cream or separate chocolate are visible. Be careful not to overmix, as this can deflate the air from the whipped cream, resulting in a dense mousse. The key is to maintain that light, airy texture.
3: Assembling & Chilling Your Dream Dessert
Now it’s time to bring all the delicious layers together and allow them to set into a cohesive, sliceable cake.
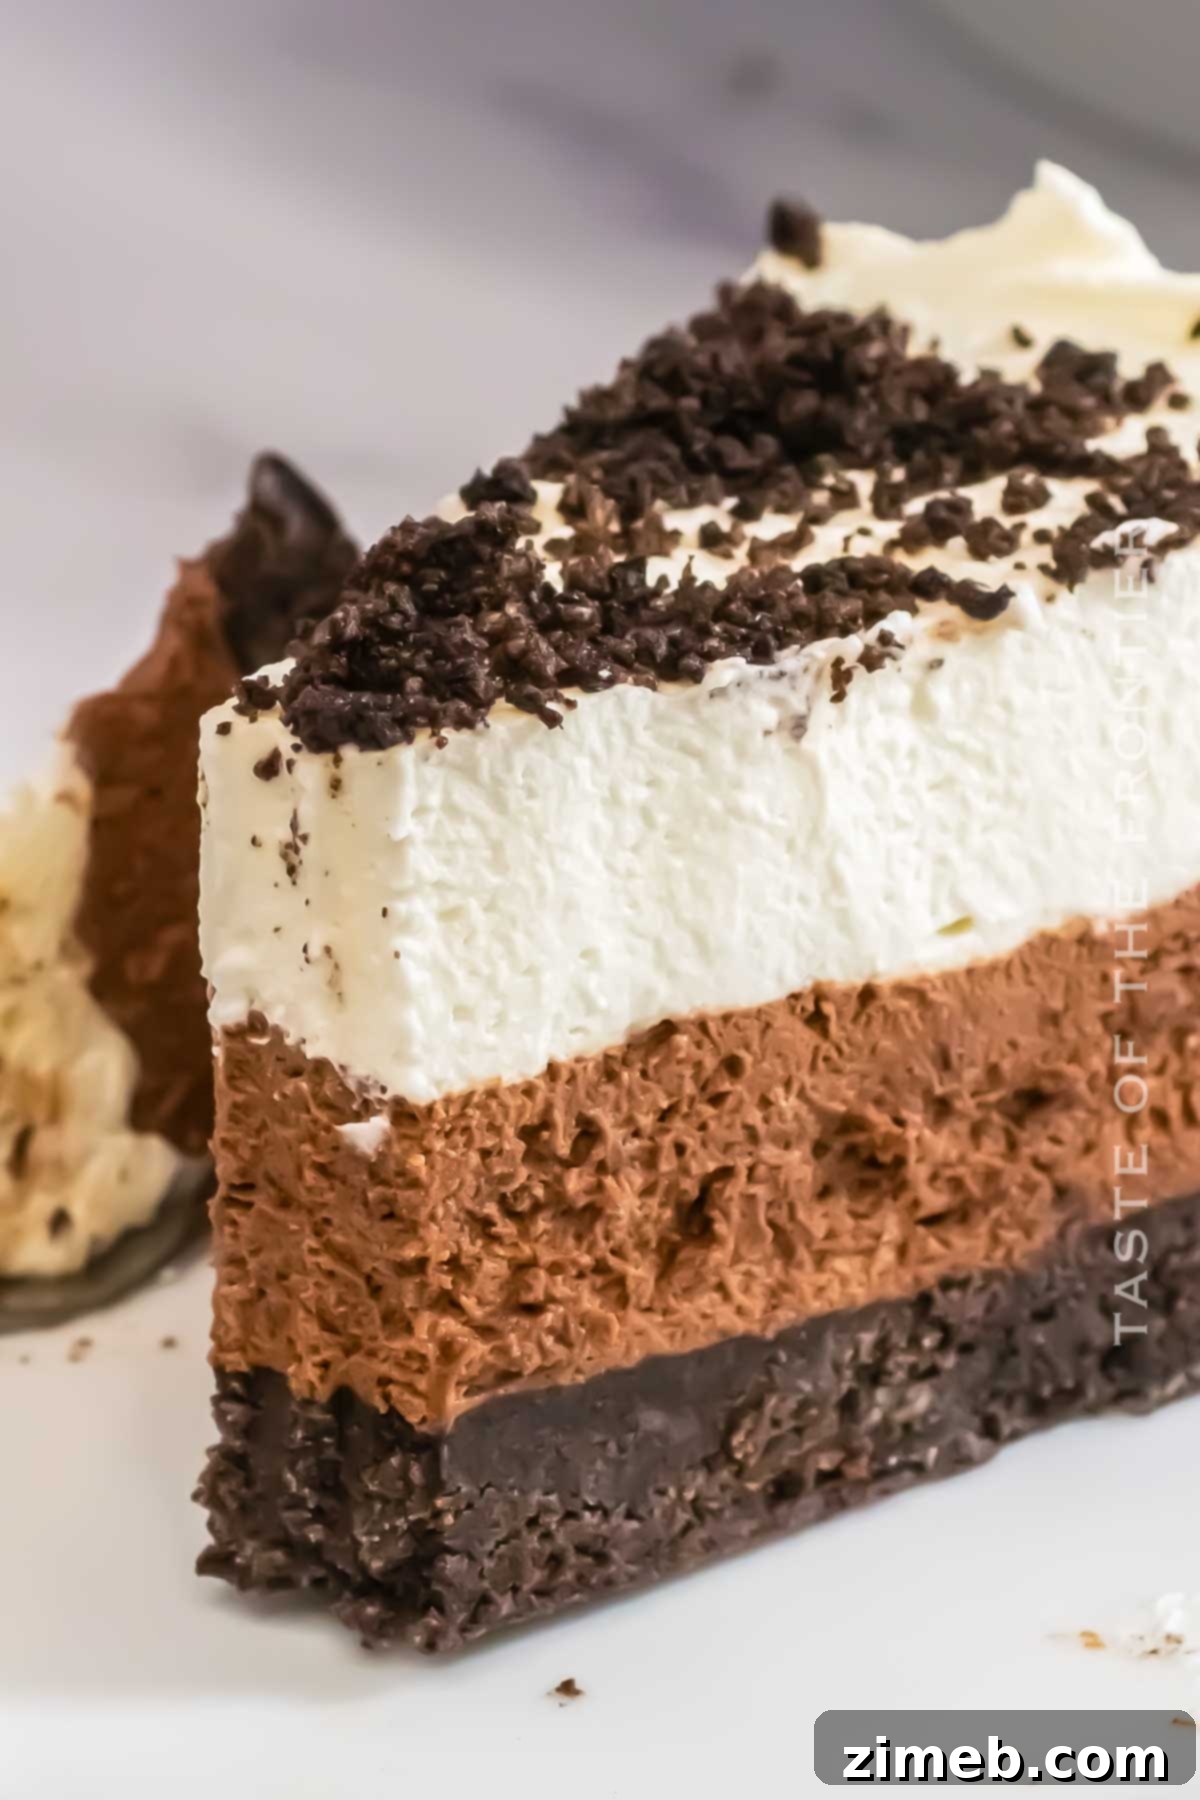
- Retrieve your springform pan with the chilled Oreo crust from the freezer. Carefully pour the chocolate mousse mixture over the crust. Use an offset spatula or the back of a spoon to gently spread the chocolate layer evenly to the edges of the pan.
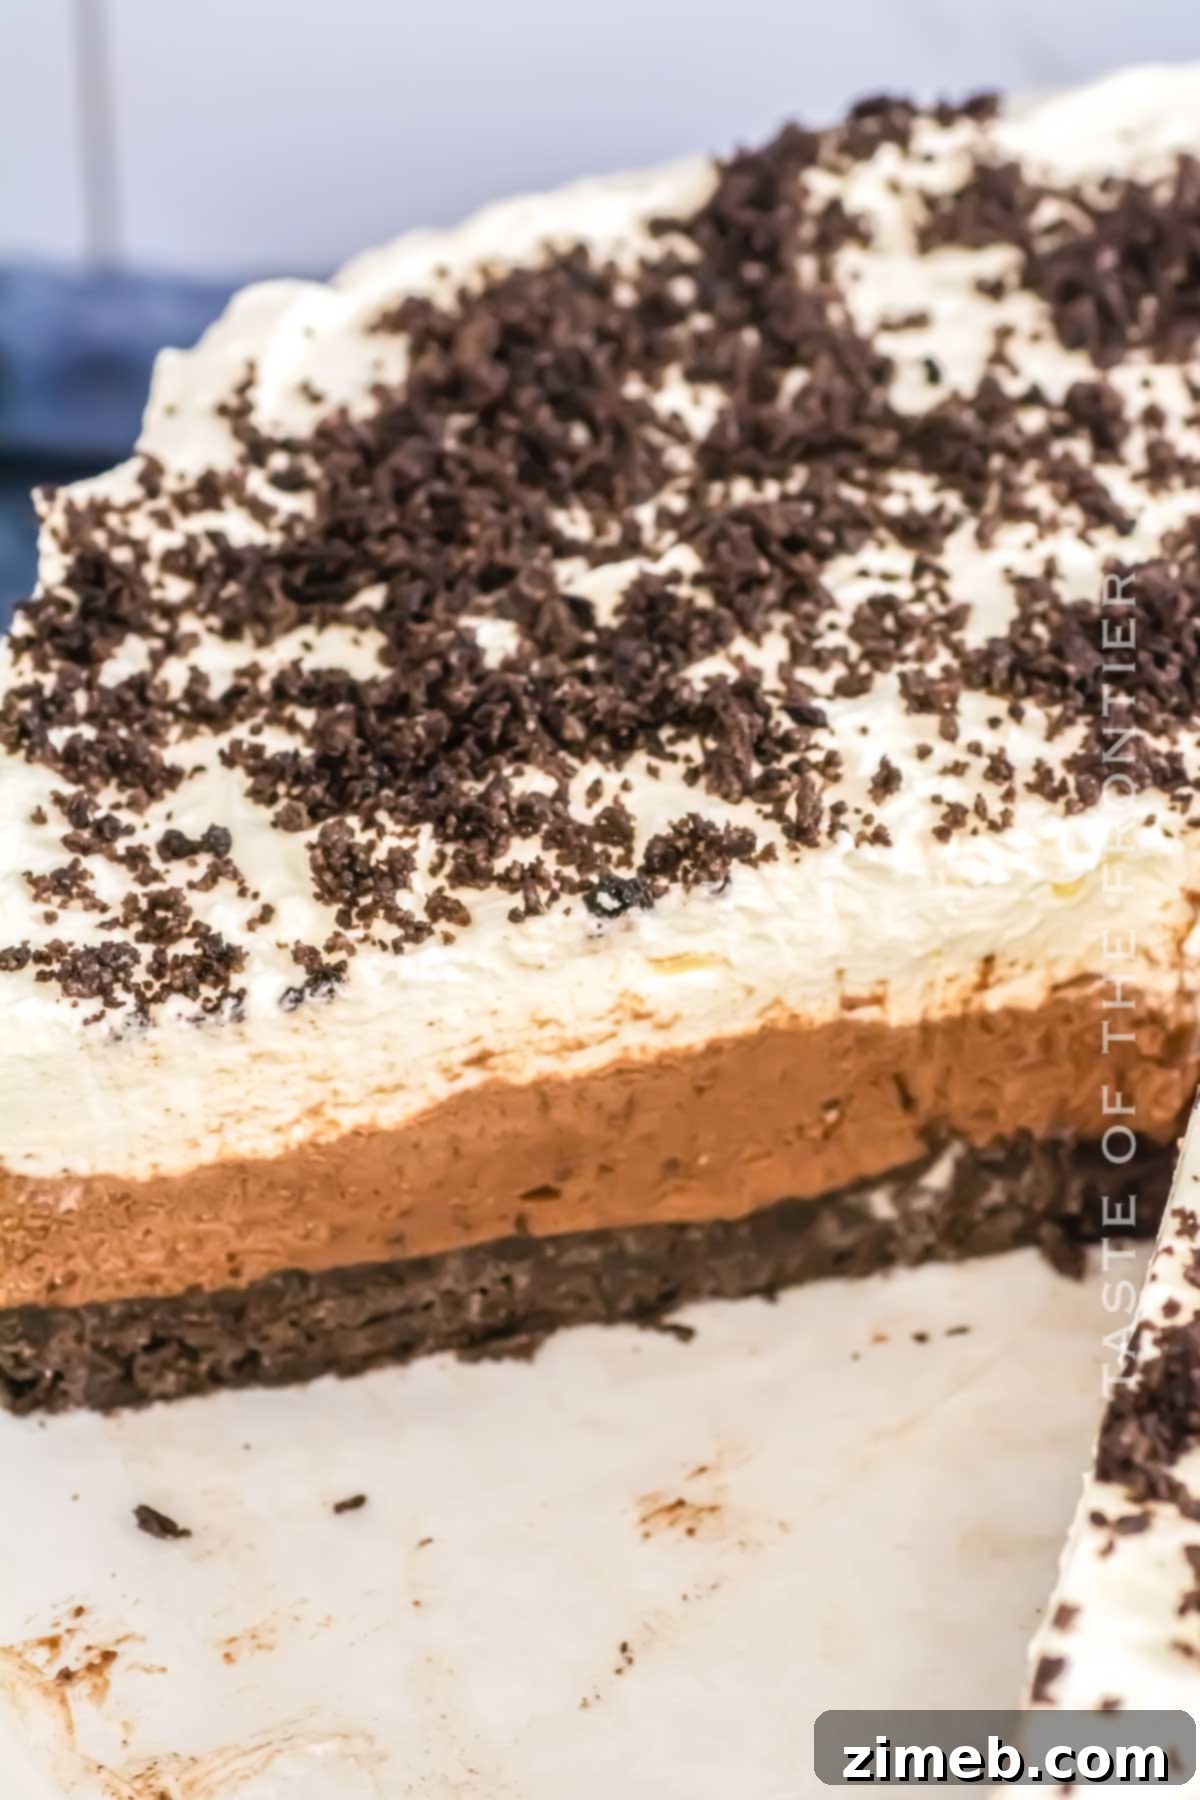
- Next, carefully spread the remaining whipped cream evenly over the chocolate mousse layer. Take your time to create a smooth, appealing top layer.
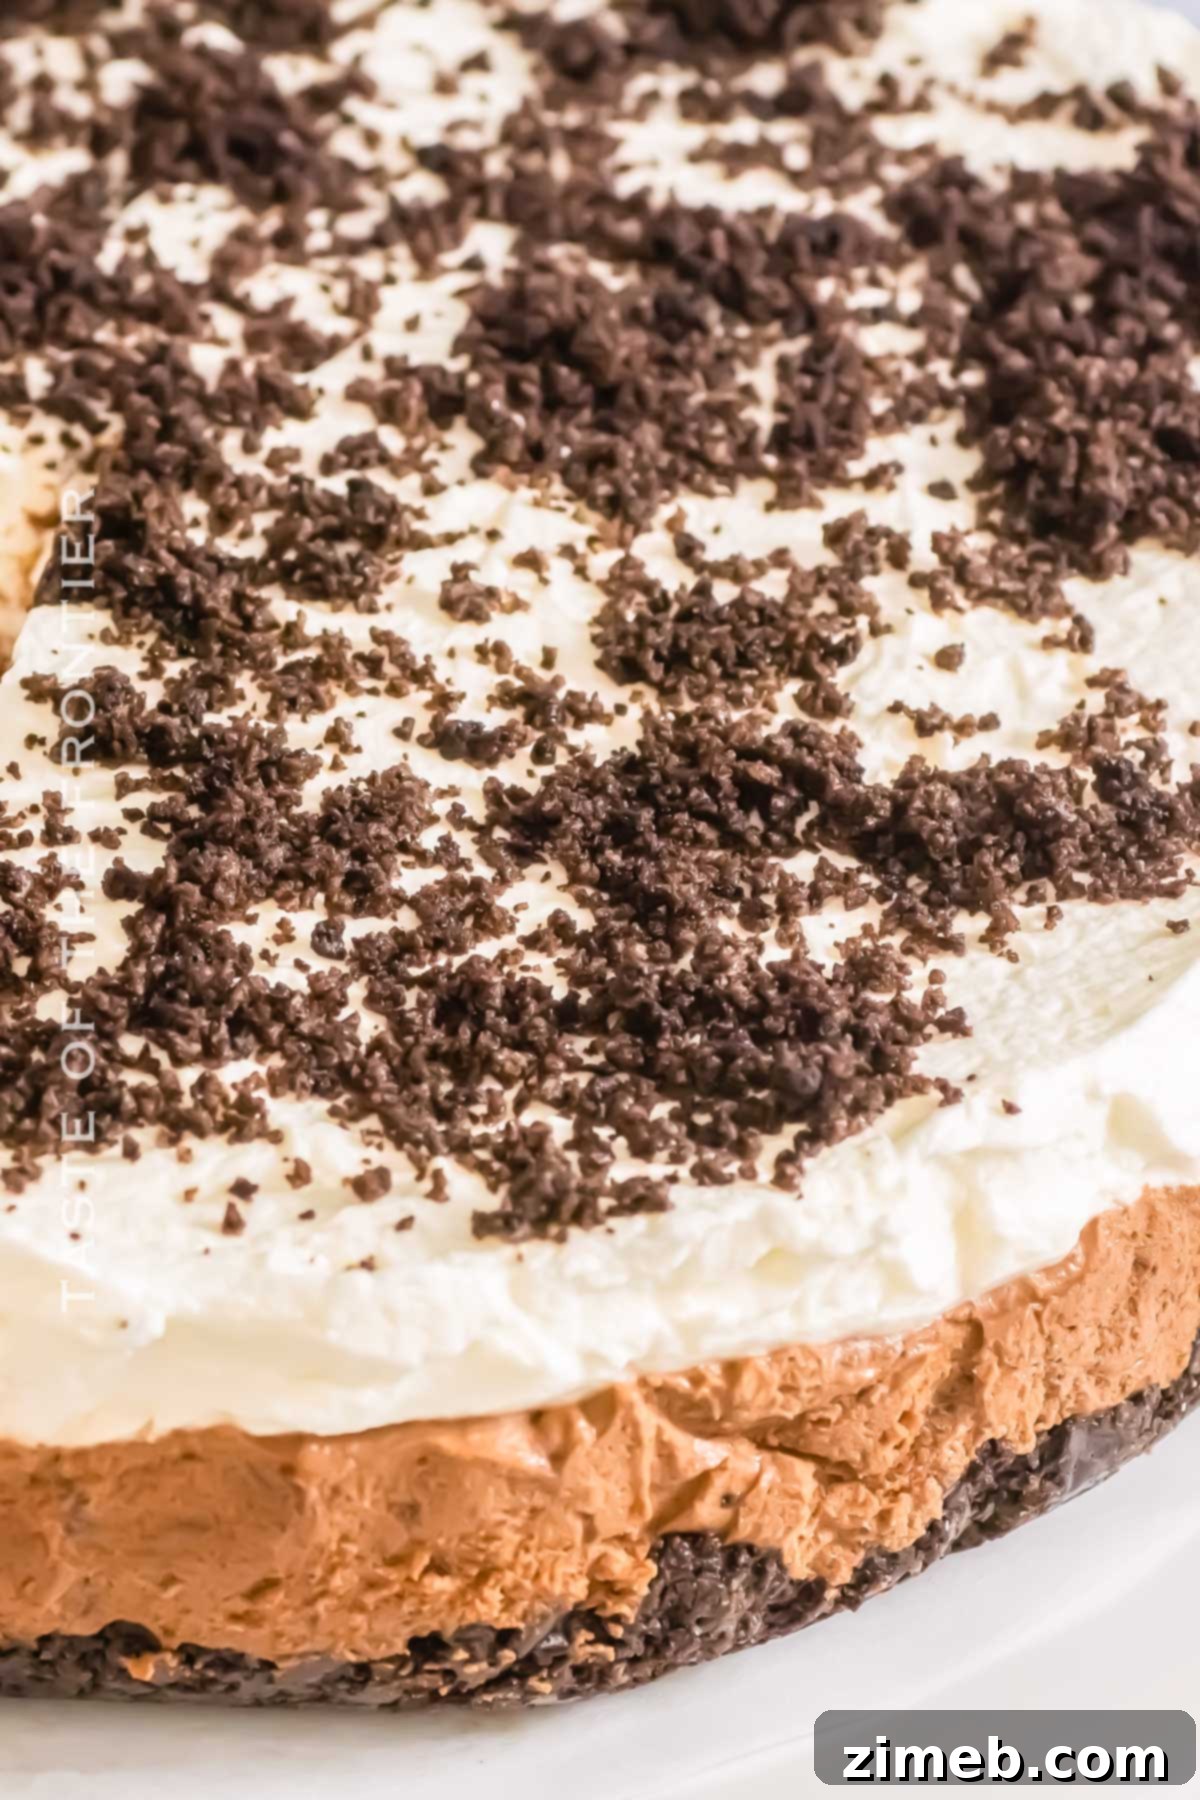
- For a final touch of visual appeal and flavor, sprinkle the top of the whipped cream layer generously with additional crushed Oreo pieces. You can also arrange whole Oreos or chocolate shavings for an extra decorative flourish.
- Loosely cover the assembled cake with plastic wrap (ensure the plastic wrap doesn’t touch the whipped cream surface, or it may stick). Refrigerate the cake for approximately 4 hours, or until it is completely set. For best results and the firmest texture, chilling overnight is highly recommended.
- When ready to serve, carefully remove the sides of the springform pan. For neat, clean slices, dip a sharp knife in hot water and wipe it dry before each cut. Serve your exquisite No-Bake Oreo Mousse Cake plain, or elevate it further with a dollop of fresh whipped cream, delicate chocolate shavings, or a dusting of cocoa powder. It pairs perfectly with a warm cup of hot chocolate!
Storing Your Delicious No-Bake Mousse Cake
Proper storage is key to enjoying your Oreo Mousse Cake for as long as possible while maintaining its freshness and texture:
- Refrigeration: The assembled cake should be stored in an airtight container or tightly covered with plastic wrap in the refrigerator. It will maintain its quality and deliciousness for up to 2 days.
- Make-Ahead Tip: If you plan to make the cake a day in advance, hold off on adding any final toppings (like additional crushed Oreos, chocolate shavings, or fresh fruit) until just before you’re ready to serve. This keeps the toppings fresh and prevents them from becoming soggy.
- Freezing: While I generally don’t recommend freezing an entire mousse cake as its delicate texture can be affected upon thawing, it is possible to freeze individual slices. Wrap each slice tightly in plastic wrap, then place them in an airtight freezer-safe container for up to 2 months. Note that the texture may become slightly denser after freezing. Once frozen, do not refreeze after thawing. Thaw frozen slices in the refrigerator overnight before serving for the best results.
Creative Substitutions & Variations for Your Oreo Mousse Cake
This Oreo Mousse Cake recipe is wonderfully flexible, allowing for numerous substitutions and creative variations to suit your taste or dietary needs. Here are some ideas to inspire your next dessert creation:
- Alternative Mousse Fillings: If a classic chocolate mousse isn’t quite what you’re craving, you can easily swap the mousse layer with a different creamy filling. Consider a rich chocolate pudding, a sweet banana pudding, or a simple vanilla pudding for a similar creamy texture but a distinct flavor profile.
- Boost the Chocolate Flavor: For an even deeper, more complex chocolate taste, try adding a teaspoon of instant coffee or espresso powder to the melted chocolate. Coffee is a well-known baking secret that enhances chocolate’s richness without imparting a coffee flavor itself – it’s baking chemistry in action!
- Layered Oreo Delight: Take your Oreo experience up a notch by incorporating whole Oreo sandwich cookies as layers in between your mousse layers. You can use them as they are for added crunch, or for a softer texture, briefly dip them in milk before layering.
- Upgrade the Base: For an ultra-indulgent twist, replace the traditional Oreo crust with a fudgy brownie layer. Bake a thin brownie base, then assemble the mousse and whipped cream layers on top. To complete this luxurious dessert, consider adding a glossy chocolate ganache topping.
- Cheesecake-Style Mousse Cake: Transform this into an Oreo cheesecake by substituting the chocolate mousse layer with a creamy mixture of cream cheese or mascarpone. This will result in a richer, denser, and tangier dessert, much like a classic cheesecake, and it typically has a slightly longer refrigerator shelf life.
- Flavorful Oreo Crusts: Don’t limit yourself to classic chocolate Oreos for the crust. Explore other Oreo flavors like Golden Oreos (vanilla), Peanut Butter Oreos, or even seasonal varieties to create unique flavor combinations.
- Fresh Fruit Garnish: Add a burst of freshness and color by garnishing your finished cake with fresh berries such as raspberries or strawberries. The tartness of the fruit complements the sweetness of the cake beautifully.
Expert Tips for Mousse Cake Perfection
Achieving the perfect no-bake Oreo Mousse Cake is simple with these expert tips:
- For Smooth Spreading: An offset spatula is your best friend for spreading both the chocolate mousse and whipped cream layers evenly. If your mousse seems too loose to spread, briefly chill it in the refrigerator for 10-15 minutes to firm it up slightly before spreading. Similarly, a chilled mixing bowl can significantly improve the volume and stability of your whipped cream.
- Flattening the Crust: For a perfectly flat and compact Oreo crust, use the bottom of a flat glass or measuring cup to firmly press the crumbs into the bottom of the pan. This ensures your base is even and holds together beautifully.
- Clean Slices: To achieve beautifully clean slices of your mousse cake, especially when serving, use a sharp, dry knife. For an extra clean cut, run the knife under hot water, wipe it dry, and then slice. Repeat for each cut.
- Melting Chocolate Method: While microwaving chocolate is quick, melting it in a small saucepan over very low heat or using a double boiler provides more control, reducing the risk of overheating and seizing the chocolate. Stir constantly until smooth.
- Cold Cream is Key: Always start with very cold heavy whipping cream. Cold cream whips faster and achieves stiffer, more stable peaks, which is crucial for the structure of your mousse.
- Gentle Folding: When combining the melted chocolate and whipped cream, always use a gentle folding technique with a rubber spatula. Avoid stirring or beating, as this will deflate the air from the whipped cream and result in a dense, rather than airy, mousse.
Frequently Asked Questions About Mousse Cakes
Even with simple recipes, questions can arise. Here are answers to some common queries about making mousse cakes:
Why Might My Mousse Not Set Properly?
There are a few common reasons why your mousse might not set:
- Warm Chocolate: If you fold the whipped cream into melted chocolate that is still warm, the heat can cause the whipped cream to deflate, leading to a runny mousse. Always ensure the melted chocolate has cooled to room temperature.
- Under-Whipped Cream: Not beating the heavy cream until it forms stiff peaks means it lacks the necessary structure to hold the mousse together. The cream needs to be firm enough to support the other ingredients.
- Overmixing: While whipping cream needs to be firm, once you start folding it into the chocolate, overmixing can deflate the air. Gently fold until just combined.
How Can I Fix a Runny Mousse?
If your chocolate mousse turns out a bit too runny, you might be able to salvage it:
- Refrigeration: Sometimes, simply chilling it for longer can help. Give it an extra few hours or even overnight in the coldest part of your fridge.
- Adding Thickener: As a last resort, you can try gently reheating a small portion of the runny mousse, then whisk in about half a tablespoon of cornstarch (mixed first with a little milk or water to form a slurry). Let it cool slightly, then fold it back into the rest of the mousse. This can help thicken it without compromising too much on texture, though it’s best to avoid this if possible.
What Exactly Is Oreo Mousse Made Of?
Our simple Oreo mousse focuses on three primary ingredients:
- Crushed Oreo Cookies: These provide the signature “Oreo” flavor and texture.
- Heavy Cream: Whipped to light and airy perfection, it forms the base of the mousse.
- Confectioner’s Sugar: To sweeten and stabilize the whipped cream.
When combined with melted chocolate, these ingredients transform into the rich, creamy, and irresistible chocolate Oreo mousse layer found in this cake.
If you love this dessert recipe, you’re going to love these other no-bake treats too. Please click each link below to find the easy, printable recipe!
Strawberry Delight
This no-bake Strawberry Delight is a refreshing and creamy dessert, layered with sweet strawberries, fluffy whipped topping, and a buttery graham cracker crust.
Check out this recipe

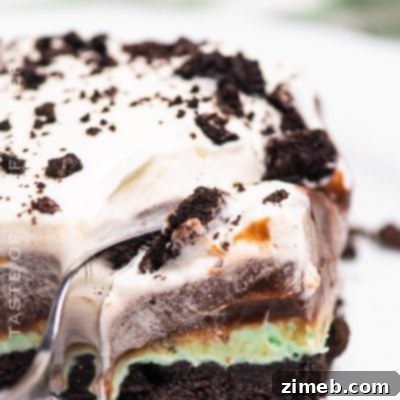
No-Bake Chocolate Mint Lush Dessert
You’ll love this No-Bake Chocolate Mint Lush Dessert made with layers of crushed Oreo, chocolate and mint pudding, and whipped cream.
Check out this recipe
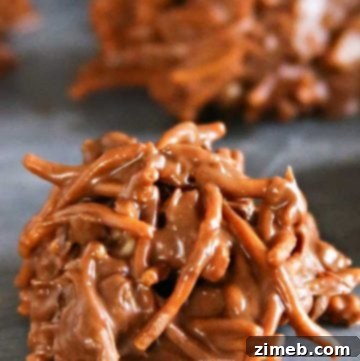
No-Bake Chocolate Haystacks
No-Bake Chocolate Haystacks are a classic holiday treat. They are easy to make with just 4 ingredients, PLUS they keep well when included in care packages.
Check out this recipe
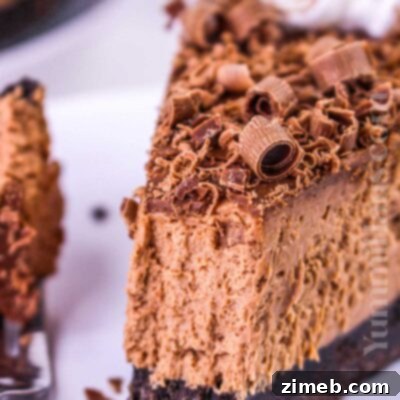
No Bake Chocolate Cheesecake
Indulge in a creamy, decadent No-Bake Chocolate Cheesecake that’s as easy as it is delicious! This dessert is perfect for any occasion.
Check out this recipe
Peppermint Oreo Balls
These peppermint Oreo balls are a no-bake dessert that makes any dessert table pretty and festive for the holidays.
Check out this recipe

More Great Mousse Recipes
Chocolate Chocolate Mousse Cake
Chocolate Mousse
CONNECT WITH YUMMI HAUS!
Be sure to follow me on my social media, so you never miss a post!
Substack, FB, Pinterest, IG, Email Subscription
Oreo Mousse Cake
This rich and creamy Oreo Mousse Cake is easy to make and full of chocolatey goodness, making it the perfect dessert for any occasion.
Ingredients
- 14.3 oz Oreo Cookies crushed (1 package – standard Oreos, not double stuffed)
- ⅓ cup unsalted butter melted
- 8 oz semi-sweet chocolate chips melted
- 3 cups heavy whipping cream
- ½ cups confectioner’s sugar
Additional:
- Crushed Oreos, to decorate
Instructions
- Combine the crushed Oreos and melted butter in a mixing bowl. Mix them together until the crumbs are moist.
- Press the mixture into the bottom of a lined 9-inch springform pan. Chill in the freezer until ready to fill.
- Melt the chocolate chips in a medium microwave-safe bowl in 30-second increments (stirring in between each round) until melted and stir until smooth. Set aside to cool slightly.
- Whip the heavy cream and confectioner’s sugar in the bowl of a stand mixer with the whisk attachment on medium speed until stiff peaks form. (This works best if the bowl is chilled prior to whipping).
- Gently fold half of the whipped cream into the slightly cooled melted chocolate until combined.
- Transfer the chocolate mixture into the springform pan with the Oreo crust. Spread evenly to the edges.
- Spread the remaining whipped cream evenly over the chocolate layer.
- Sprinkle with additional crushed Oreo pieces.
- Cover loosely and refrigerate for approximately 4 hours or until set.
Notes
Nutrition
Calories: 514kcal |
Carbohydrates: 41g |
Protein: 5g |
Fat: 38g |
Saturated Fat: 20g |
Cholesterol: 76mg |
Sodium: 172mg |
Potassium: 244mg |
Fiber: 2g |
Sugar: 27g |
Vitamin C: 0.4mg |
Calcium: 58mg |
Iron: 5mg |
Net Carbohydrates: 33g
Nutritional information for the recipe is provided as a courtesy and is approximate. Please double-check with your own dietary calculator for the best accuracy. We at Yummi Haus cannot guarantee the accuracy of the nutritional information given for any recipe on this site.
Follow @KleinworthCo for even more tasty recipes!