
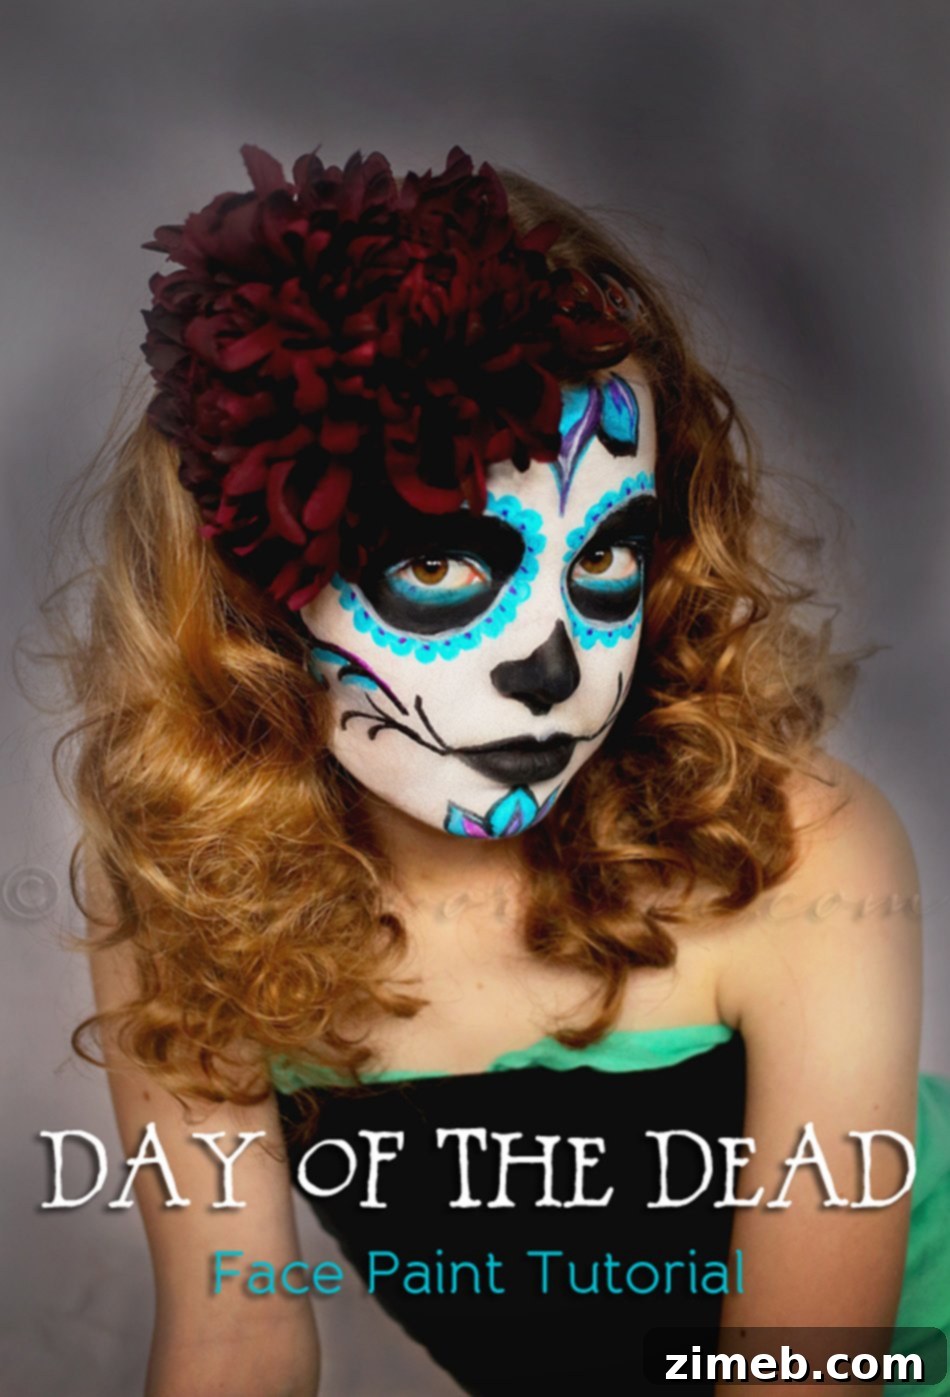
My fascination with sugar skulls runs deep – a profound admiration that transcends a mere “love.” Often recognized as a central emblem of Dia de los Muertos, or the Day of the Dead, these vibrant artistic representations first captured my imagination many years ago. I vividly recall the moment celebrity tattoo artist Kat Von D, on the show L.A. Ink, inked a stunning Day of the Dead skull design on someone. That image ignited an obsession within me that has only grown stronger with time. Fast forward to today, and I proudly wear my own custom sugar skull tattoo, a permanent testament to this enduring passion. As the autumn leaves began to turn and the air hinted at the festive season, I knew exactly how I wanted to celebrate: by transforming my daughters into beautiful sugar skulls. This personal journey led me to perfect the technique on my older daughter, culminating in this comprehensive Day of the Dead Face Paint Tutorial, designed to help you recreate this captivating look at home.
Embracing the Spirit of Dia de los Muertos with Face Paint
Dia de los Muertos is a profoundly beautiful and meaningful Mexican holiday, a celebration of life and memory that honors ancestors and loved ones who have passed away. Far from being a somber occasion, it is a joyful and vibrant commemoration, filled with colorful altars, marigolds, traditional foods, and, of course, the iconic sugar skulls, or “calaveras.” These intricate skulls, originally crafted from sugar and often adorned with bright icing and foil, symbolize death and rebirth, serving as a reminder of the cyclical nature of life. They are not meant to be frightening, but rather a playful and respectful representation of those we remember. Translating this rich cultural tradition into face paint allows us to participate in this artistic expression, honoring its heritage while creating a visually stunning and deeply personal tribute.
The Joy of Creation: A Personal Experience
The process of creating this sugar skull design on my daughter’s face was nothing short of exhilarating. Each stroke of the brush, each layer of color, brought the design to life, and I found myself completely immersed in the artistic endeavor. It was more than just face painting; it was an act of storytelling, a fusion of my personal passion and her youthful enthusiasm. The transformation was magical, and I genuinely felt like I could have continued painting all day long. This tutorial aims to share that joy and allow you to experience the same creative satisfaction.
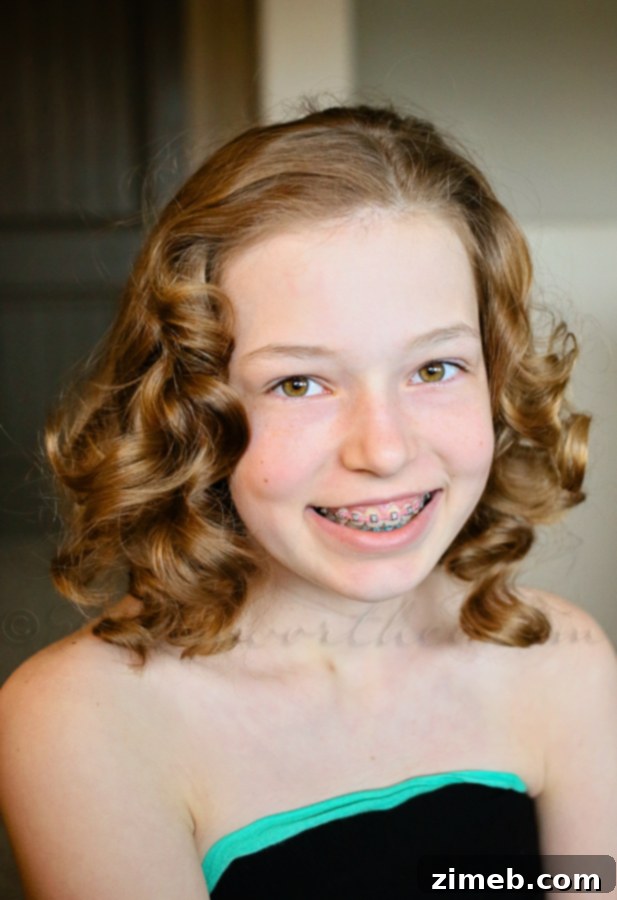
Here she is – one of my gorgeous daughters, patiently awaiting her transformation into a beautiful calavera.
Essential Supplies for Your Sugar Skull Face Paint
Before diving into the artistic process, gathering your supplies is crucial. High-quality face paints are essential for vibrant colors and comfortable wear. Here’s what you’ll need to create your stunning Day of the Dead masterpiece:
- Professional Face Paint Kit: Look for water-activated face paints that are hypoallergenic and FDA-compliant. A kit with white, black, and a variety of bright colors (turquoise, purple, pink, yellow, etc.) is ideal.
- Face Painting Sponges: Essential for applying base colors smoothly and evenly.
- Fine-Tipped Brushes: For detailed work, outlines, and delicate designs. Have a few different sizes on hand.
- Small Bowl of Water: For activating paints and rinsing brushes.
- Paper Towels or Cloth: For drying brushes and cleaning up any spills.
- Makeup Setting Spray (Optional): To help prolong the wear of your face paint, especially if it’s for an active event.
- Moisturizer (Optional): Apply a light layer before painting for easier application and removal, though some prefer to paint on clean, dry skin.
- Hair Ties or Headband: To keep hair out of the face during painting.
- Reference Images: Keep some sugar skull designs handy for inspiration!
- Mirror: A good mirror is essential for self-painting or checking your work.
Step-by-Step Day of the Dead Face Paint Tutorial
Creating a sugar skull face is a rewarding artistic endeavor. Remember, patience and a steady hand are your best tools. Let’s break down the process into manageable steps.
Step 1: The Pristine White Base
The foundation of any sugar skull design is a smooth, opaque white base. This acts as our canvas, allowing subsequent colors to truly pop. Think of your face paint much like watercolors; you activate it by wetting a sponge or brush. For the base, a slightly damp sponge is best. Load it generously with white paint and begin applying it evenly across the entire face, avoiding the hair and eyebrows if you plan to keep them natural. To achieve a perfectly opaque and vibrant white, I applied approximately four coats to my daughter’s face. Allow each thin layer to dry slightly before adding the next to prevent streaking and ensure full coverage. This step is critical for a professional-looking finish.
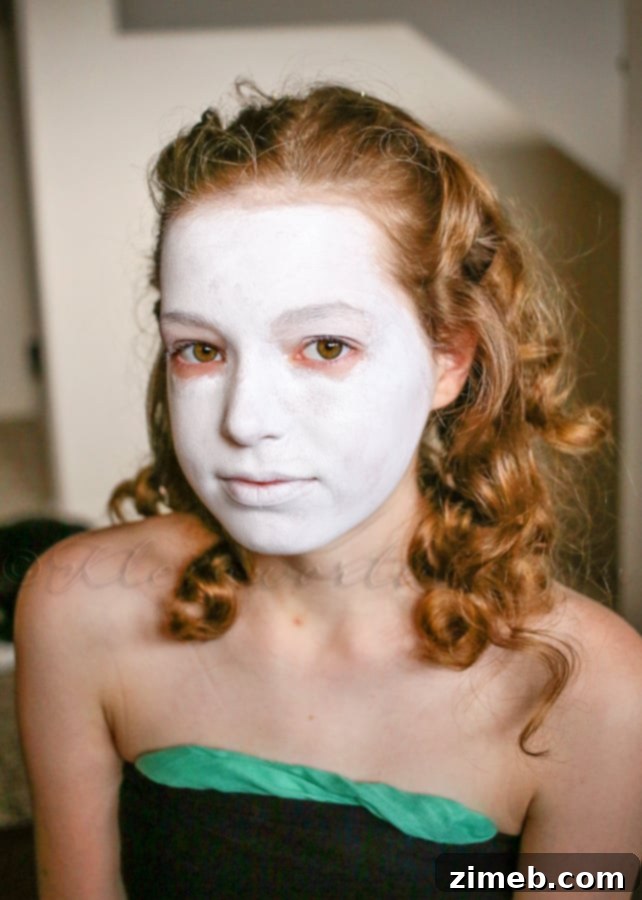
It works a lot like watercolors – just wet the sponge & paint on the face. I gave her about 4 coats of white to get to this opaque level.
Step 2: Defining the Core Features with Black
Once your white base is dry, it’s time to introduce the contrasting black details that give the sugar skull its iconic structure. Begin by using a slightly damp sponge or a broader brush to add a subtle contour under the cheekbones. This creates a more defined, skeletal structure. Next, switch to a fine-tipped brush and black paint to meticulously outline the eyes, creating large, hollow-looking sockets. You can fill these in with black or leave them partially open for later color. For the nose, draw an inverted heart or an upsidedown “V” shape, then fill it in with black to create the distinct skull nose cavity. Finally, draw a line across the lips, extending slightly past the natural lip line, and then add small vertical lines across it to simulate stitches. This creates the classic “stitched mouth” effect characteristic of sugar skulls. Precision in this step is key to conveying the skull-like appearance.
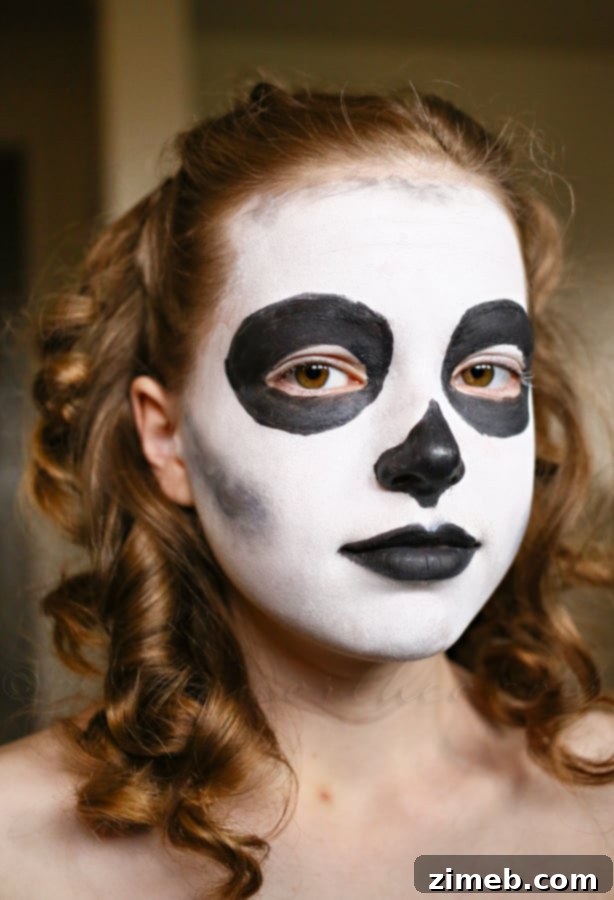
Then I added black & blended under her cheekbones & then used the paint brush to add the eyes, lips & nose detail.
Step 3: Infusing Vibrancy with Color and Floral Motifs
Now comes the truly creative and personal part: adding color! This is where the sugar skull truly comes to life. I allowed my daughter to choose her favorite colors, and she settled on a beautiful combination of turquoise and purple. You can choose any colors that resonate with you or complement your costume. Start by adding decorative elements around the eyes. I painted delicate petals around the black eye sockets, using turquoise, and then added a fine line of white paint between the black outline and the turquoise petals to make them stand out even more. For additional sparkle and depth, I dotted tiny specks of purple within the eye detail. Beyond the eyes, consider adding flower petals or swirls to the chin, forehead, and temples. Common motifs include hearts, diamonds, dots, and intricate scrollwork. Don’t be afraid to experiment with layering colors and creating unique patterns. This is your chance to make the sugar skull truly unique.
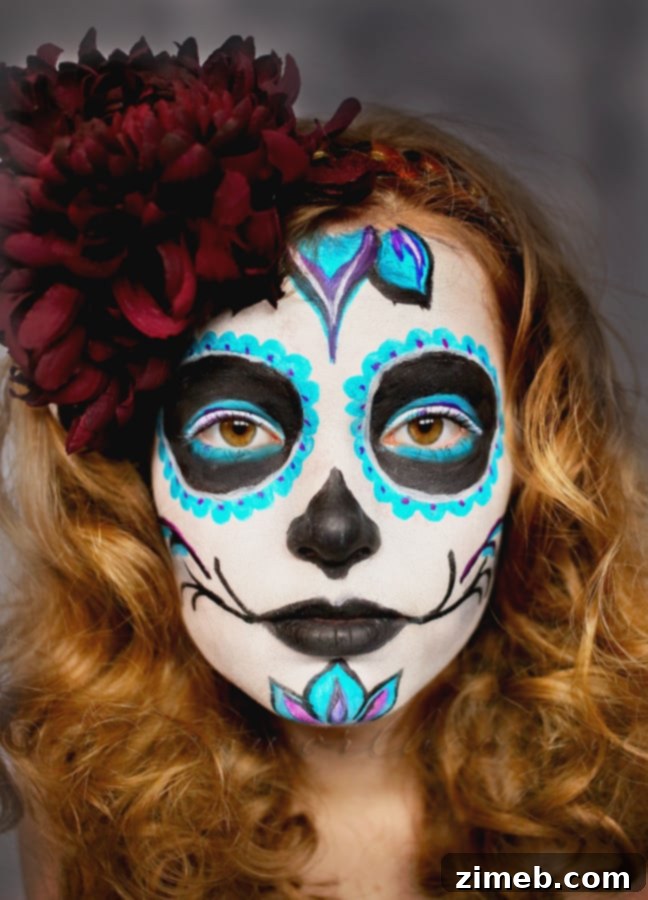
Then I let her choose the rest of the colors – which ended up being turquoise & purple.
I added the flower petals on her chin & forehead.
Then painted the petals around her eyes – adding a line of white between the black & turquoise.
I also added tiny dots of purple in the eye detail to bring it out more.
Step 4: Detailing the Mouth and Adding Final Flourishes
The mouth detailing is often one of the most distinctive features of a sugar skull. While there are countless elaborate designs one could choose, I opted for a simpler, elegant approach for this tutorial. After painting the initial black stitched line across the lips, you can add small dots or swirls at the ends of the stitches, or even extend the line with delicate vines or spirals. For an added touch, you can even paint a subtle black pattern on the teeth area if you wish to define them further. Once the face paint is complete, the entire look can be dramatically enhanced with hair and head adornments. Consider styling the hair into elaborate braids, voluminous waves, or adding a colorful wig. Fresh or artificial flowers, especially marigolds or roses, are traditionally used to adorn the head, either as a crown, headband, or strategically placed clips. These final touches bring the entire Day of the Dead sugar skull ensemble together, completing the festive and respectful tribute.
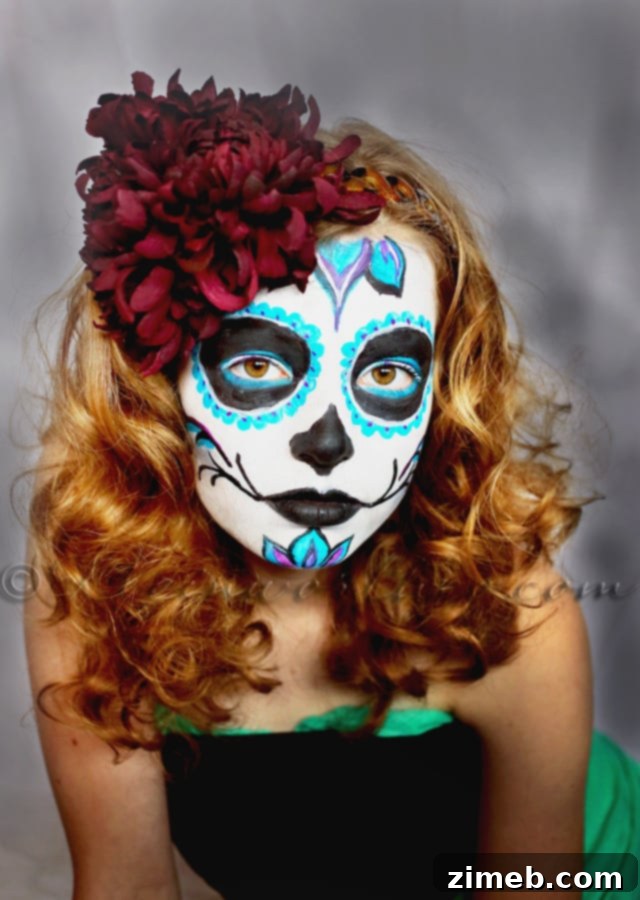
Then one of the most important parts is the detail off the mouth.
I had all sorts of ideas on this – but in the end, chose to keep it simple.
Bringing the Look to Life: Hair and Accessories
With the face paint meticulously applied, the next step is to elevate the entire look with complementary hair styling and accessories. For this particular design, I chose to add some large, wild hair, giving the entire appearance a dramatic and playful flair. You might opt for intricate braids adorned with ribbons, a voluminous bun, or even a colorful wig to match the vibrant energy of the sugar skull. The most traditional and impactful accessory for a sugar skull look is a crown of flowers. Fresh marigolds, known as cempasúchil, are culturally significant for Dia de los Muertos, but vibrant silk or fabric flowers in various colors work beautifully as well. Strategically placing these flowers, either as a full crown, a half-halo, or individually clipped into the hair, adds an authentic and stunning finishing touch. These elements are not just decorative; they enhance the overall theme and transform the face paint into a complete, artistic statement.
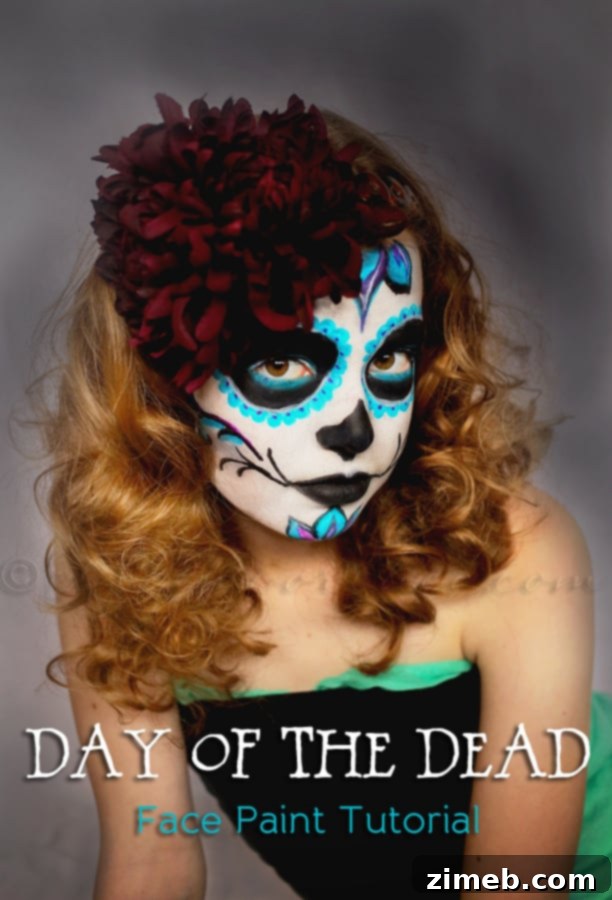
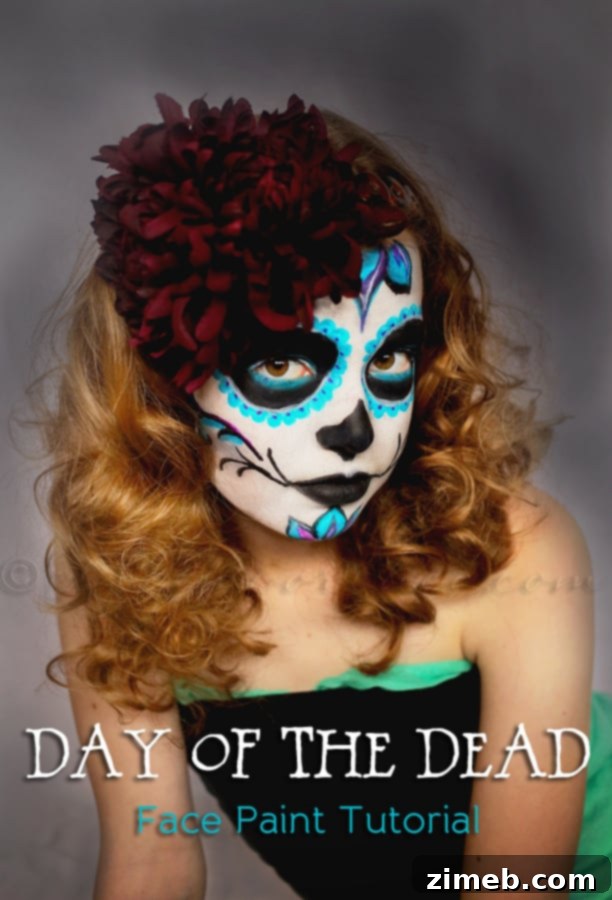
Adding some large & wild hair along with some flowers to adorn the head finishes off the look.
Tips for a Flawless Sugar Skull Face Paint Application
While the initial application took me close to two hours, working slowly and freehand, the process can become faster with practice. Here are some invaluable tips to help you achieve a stunning sugar skull design:
- Practice Makes Perfect: If you’re new to face painting, try practicing some of the intricate details on paper or your arm before moving to the face.
- Work in Good Lighting: Proper lighting is essential for seeing details and ensuring even application.
- Keep Your Subject Comfortable: If painting a child, ensure they are relaxed. Breaks might be necessary. Engage them in conversation or let them watch a show.
- Layer Thin Coats: For vibrant and opaque colors, especially white, apply several thin layers rather than one thick one. This prevents cracking and streaking.
- Clean Brushes Regularly: Rinse your brushes frequently, especially when switching colors, to maintain clean lines and prevent muddying.
- Start Simple: Don’t feel pressured to create an overly complex design on your first attempt. A simpler design executed well will look much better than a complex one that’s rushed.
- Reference Photos: Keep several sugar skull images handy for inspiration on patterns, colors, and overall composition.
- Use Setting Spray: For extended wear, a makeup setting spray can lock your design in place, especially crucial for active events like trick-or-treating.
- Gentle Removal: Face paint is typically water-soluble. Use warm water and a gentle cleanser or baby wipes for removal. Avoid harsh scrubbing.
I am absolutely thrilled with how this Day of the Dead sugar skull face paint turned out. The combination of personal passion, cultural appreciation, and creative expression made for a truly memorable experience. I’m already looking forward to Halloween, when both my girls can showcase their adorable and spirited sugar skull looks while happily passing out candy to trick-or-treaters. This tutorial is not just about face paint; it’s an invitation to celebrate, create, and connect with a beautiful tradition.
Want More Festive Halloween Themed Ideas?
Beyond face paint, there are countless ways to infuse the spirit of Halloween and Dia de los Muertos into your home and celebrations. From captivating decorations to delightful treats and engaging activities, these ideas are sure to add an extra layer of magic and fun to your festivities. Explore these creative projects to make your spooky season even more special.
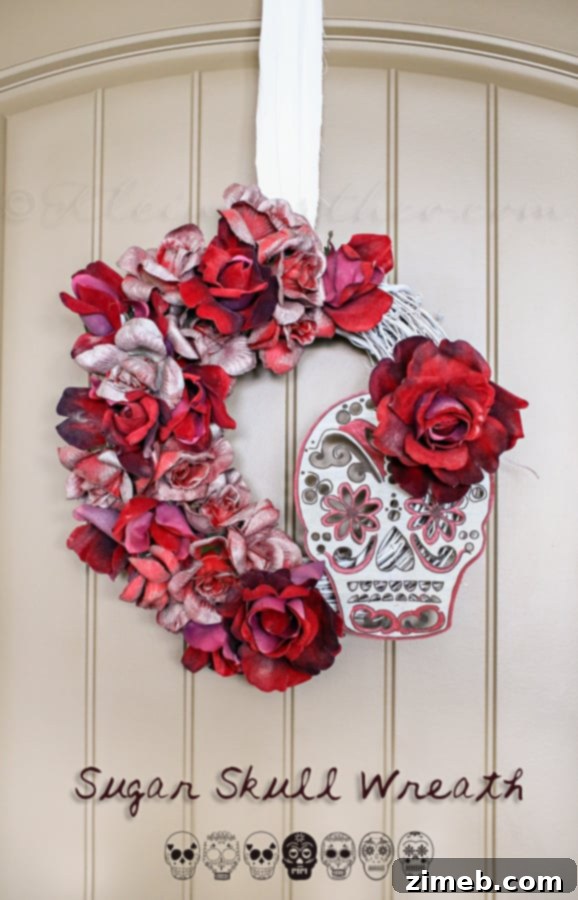
Craft a Beautiful Sugar Skull Wreath
Extend your sugar skull theme beyond face paint with this enchanting DIY Sugar Skull Wreath. Perfect for adorning your front door or an interior wall, this craft project allows you to celebrate the vibrant artistry of Dia de los Muertos throughout your home. It’s a wonderful way to welcome guests with a touch of cultural charm and festive elegance, making it a standout piece for both Halloween and Day of the Dead celebrations.
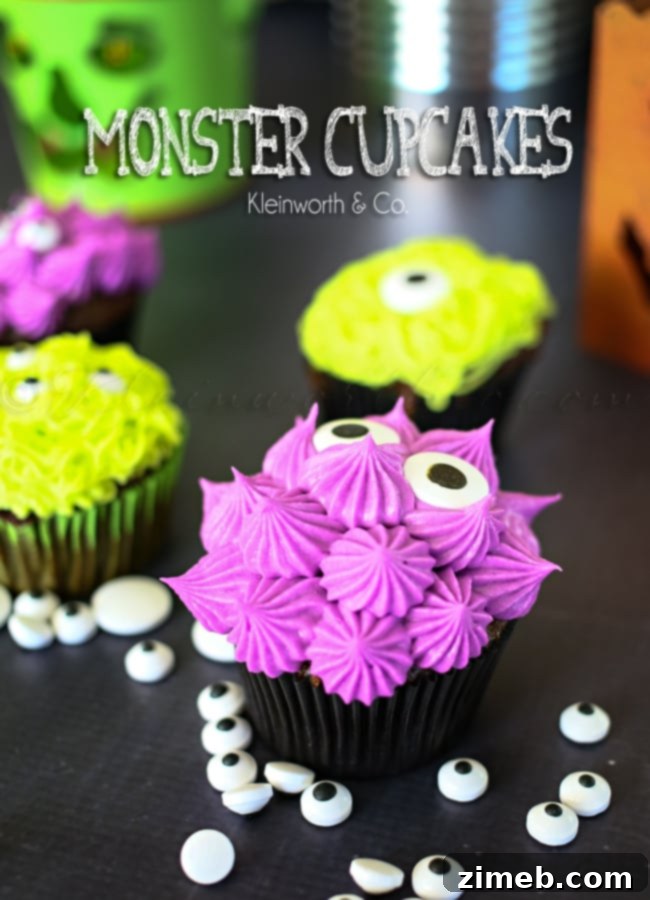
Bake Up Some Spooky Monster Cupcakes
No Halloween party is complete without some deliciously spooky treats! These Monster Cupcakes are a fantastic way to combine baking fun with festive creativity. Easy to make and incredibly fun to decorate, they’re guaranteed to be a hit with kids and adults alike. Get imaginative with colorful frostings, edible googly eyes, and various candies to bring your own unique monsters to life, adding a sweet and playful touch to your celebrations.
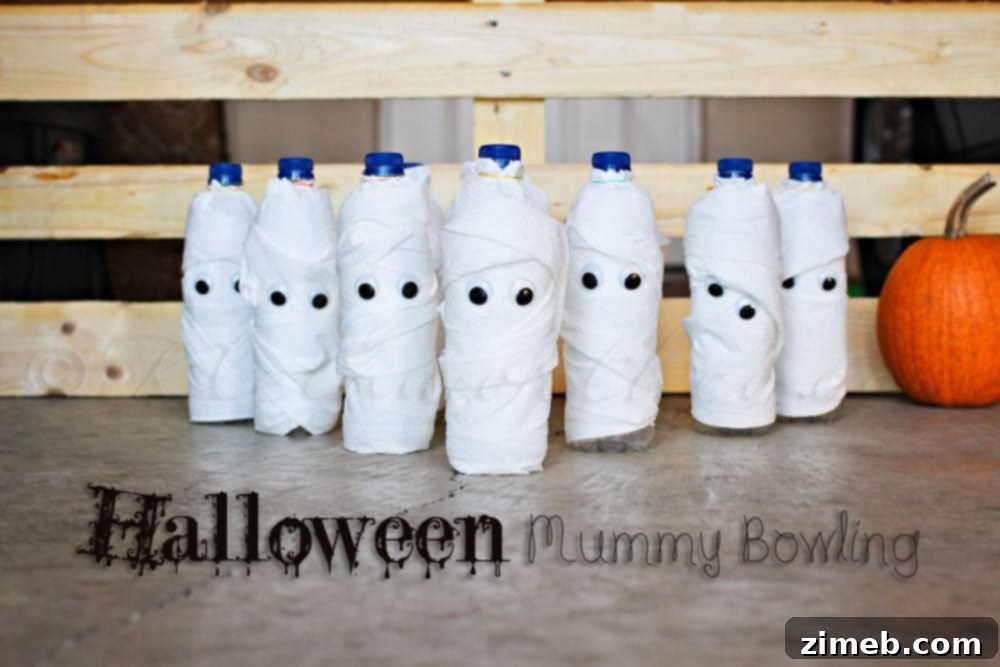
Create a Fun Halloween Mummy Bowling Game
Looking for an engaging activity to entertain little ghouls and goblins? This DIY Halloween Mummy Bowling game is the perfect solution! Simple to set up using everyday items, it provides hours of fun and laughter for children of all ages. It’s a wonderful way to get everyone involved in the festive spirit, offering a delightful break from candy-centric activities and ensuring your Halloween gathering is memorable for all the right reasons.
For more seasonal inspiration and creative ideas, make sure to visit other articles on our site!