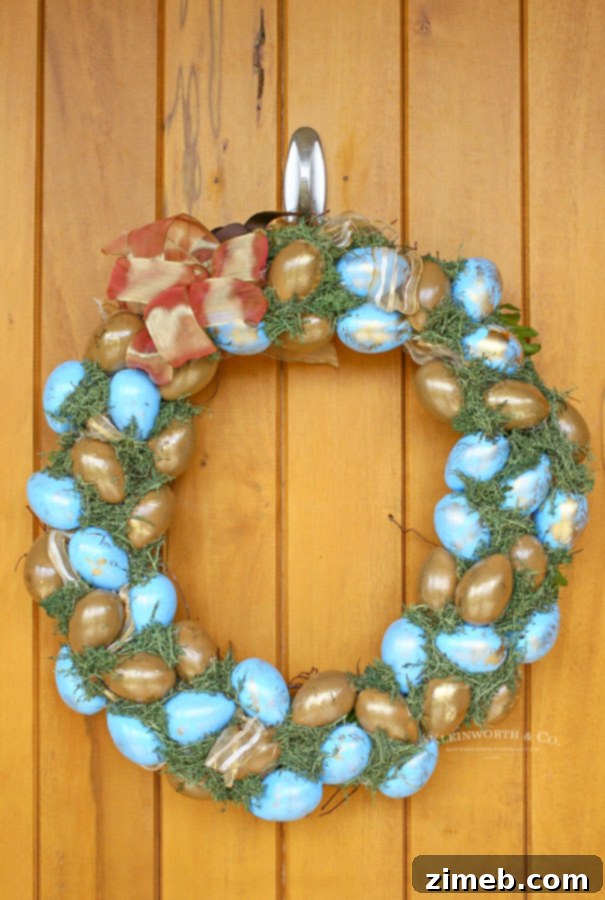
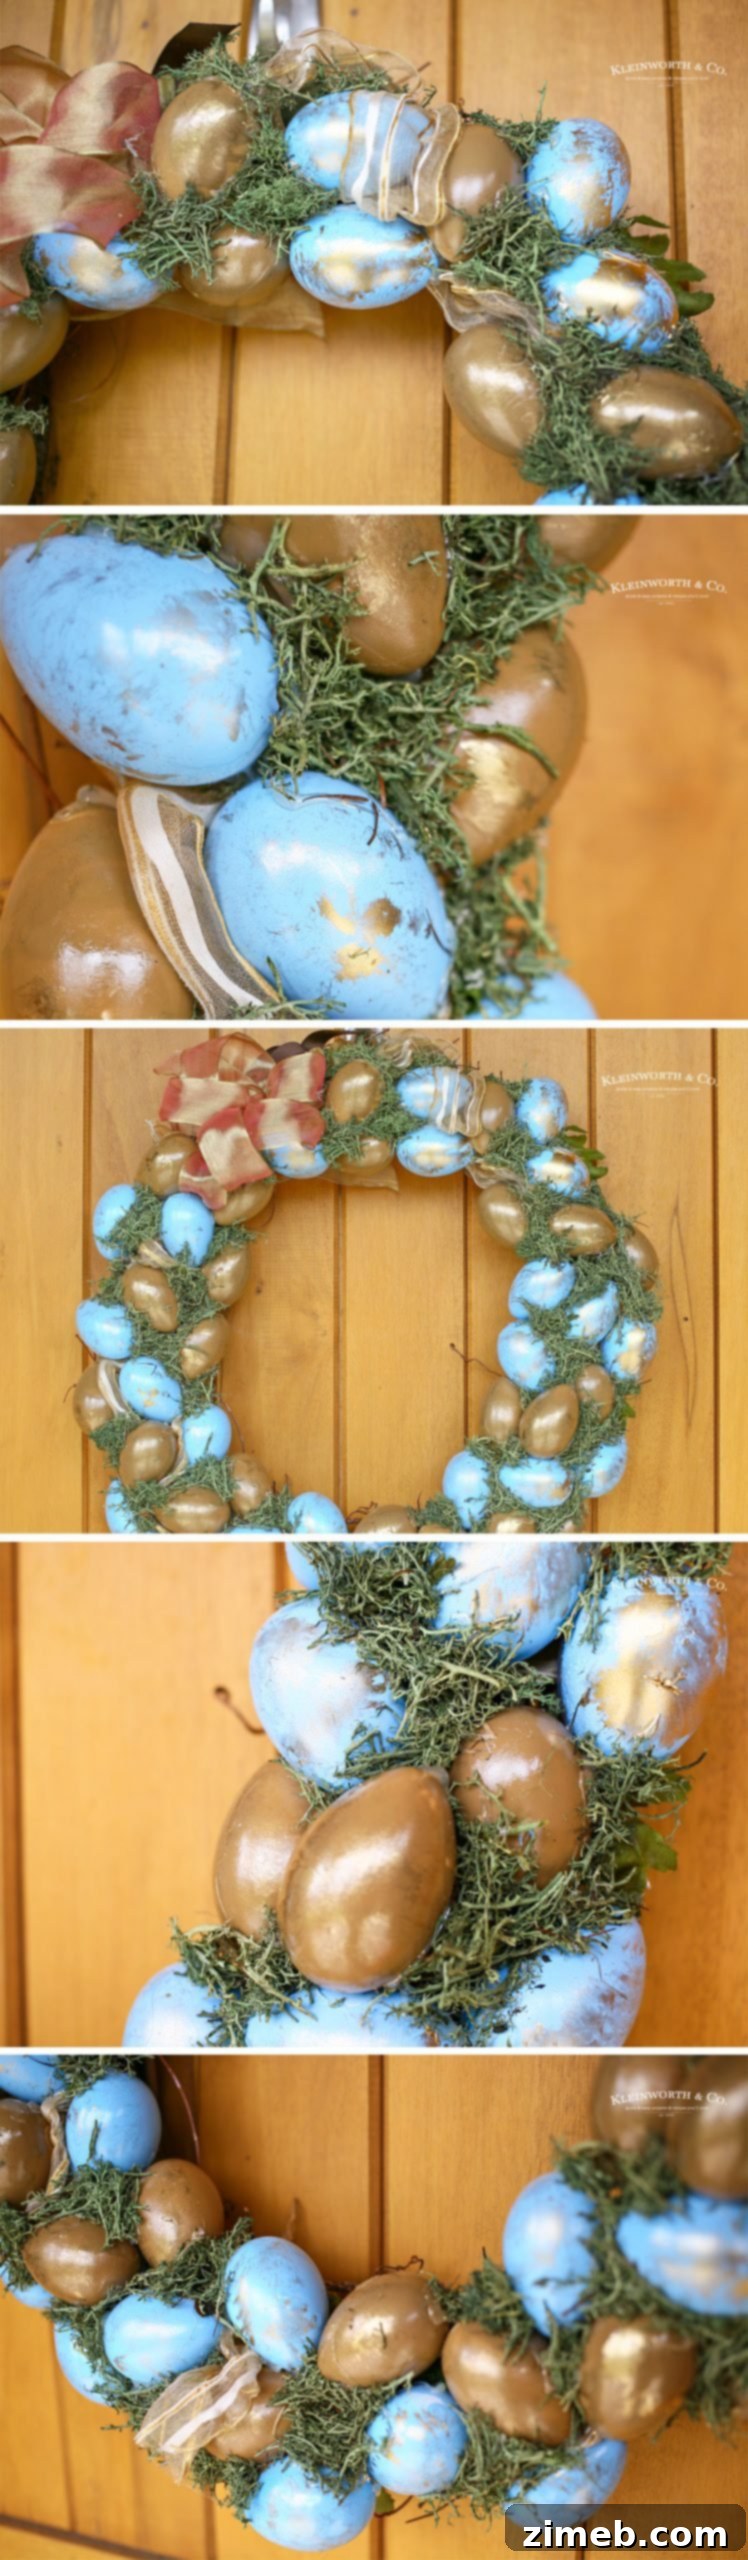
Welcome the vibrancy of spring and the joy of Easter into your home with this absolutely stunning Blue & Gold Easter Wreath. Handcrafted with care using beautifully painted faux eggs and lush moss, this DIY masterpiece is the perfect way to adorn your front door and celebrate the season’s arrival in style.
As someone who loves to refresh my home decor with the changing seasons, especially my front door wreath, I have a confession to make. Life sometimes gets in the way of even the best intentions! After traveling for Thanksgiving and not returning until the cusp of the New Year, I completely missed the chance to decorate for Christmas. My festive plans were put on hold, and the holiday cheer felt a little muted.
Upon arriving home from my mom’s, I fully expected to see my autumn Thanksgiving wreath still proudly hanging on the front door. To my surprise, my wonderful husband had sweetly taken the initiative to pull out a few holiday decorations, including a Christmas wreath, trying his best to bring some festive spirit to our home. It was a thoughtful gesture, even if it was a little late in the season.
Since I returned at the tail end of December, I enjoyed those belated Christmas decorations for only a couple of days before it was time to pack them all away. In a rush, I impulsively hung up a random, uninspired wreath that I genuinely disliked, vowing to create some beautiful new ones for the upcoming seasons. A crafter’s promise to oneself, right?
Well, as April gracefully rolled in, all the supplies I had meticulously gathered for a Valentine’s Day wreath and a St. Patrick’s Day wreath were still neatly tucked away in my closet. And that “random wreath I can’t stand” was, predictably, still greeting visitors at my front door. It’s a common tale for many busy individuals – life’s demands often push creative projects to the back burner.
Crafting the Perfect Easter Wreath: A DIY Journey
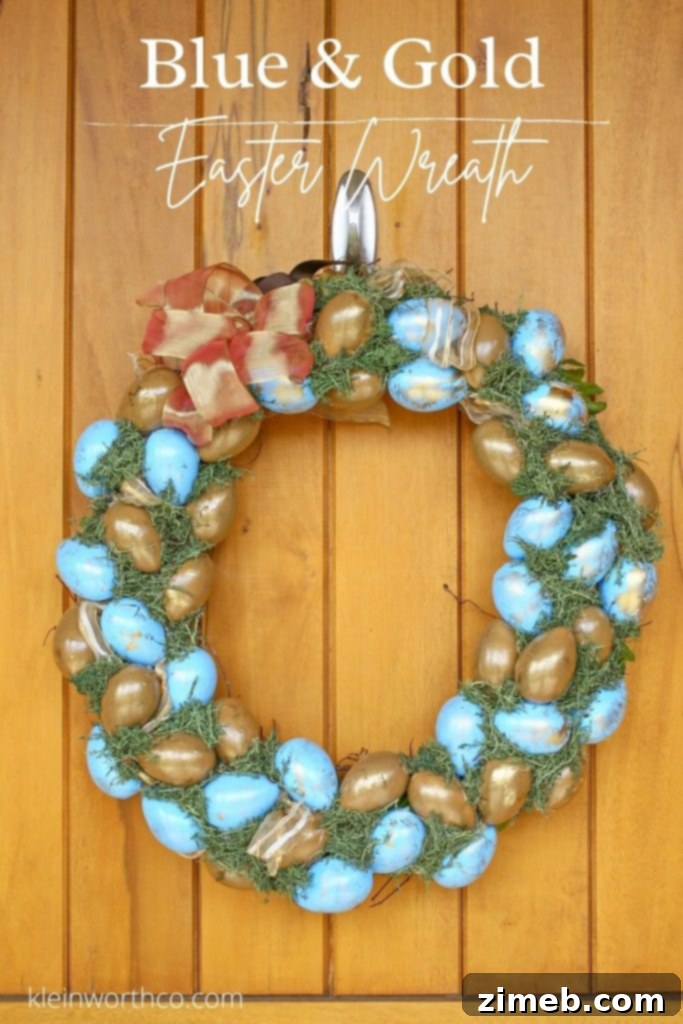
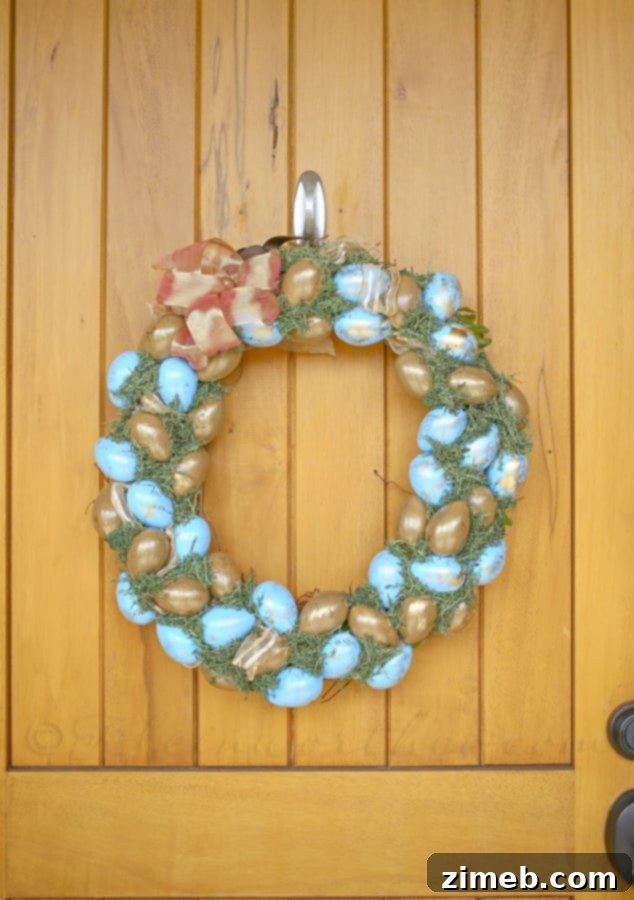
Determined to finally bring some fresh, seasonal charm to our entryway, I dispatched my husband with a crucial shopping list: paintable faux eggs and a selection of vibrant spray paints. After a few hours of enjoyable crafting, the moment finally arrived. My front door now proudly showcases this stunning Blue & Gold Easter Wreath, radiating the freshness and hope of spring. It’s truly a breath of fresh air!
I’m already setting my sights on May, hoping that by starting my planning now, I might just manage to create a new wreath before the month transitions again. The satisfaction of a completed DIY project, especially one that greets you every time you come home, is incredibly rewarding. This wreath isn’t just decor; it’s a symbol of welcoming the new season with open arms and a touch of personal artistry.
Designing Your Dream Easter Egg Wreath: Step-by-Step
The foundation of this beautiful Easter egg wreath begins with simple yet effective materials. I started with four dozen paintable faux eggs. These craft eggs are fantastic because they closely mimic the appearance of real eggs, providing a natural base that’s also durable and reusable year after year. Their pristine white surface is perfect for taking on any color you desire.
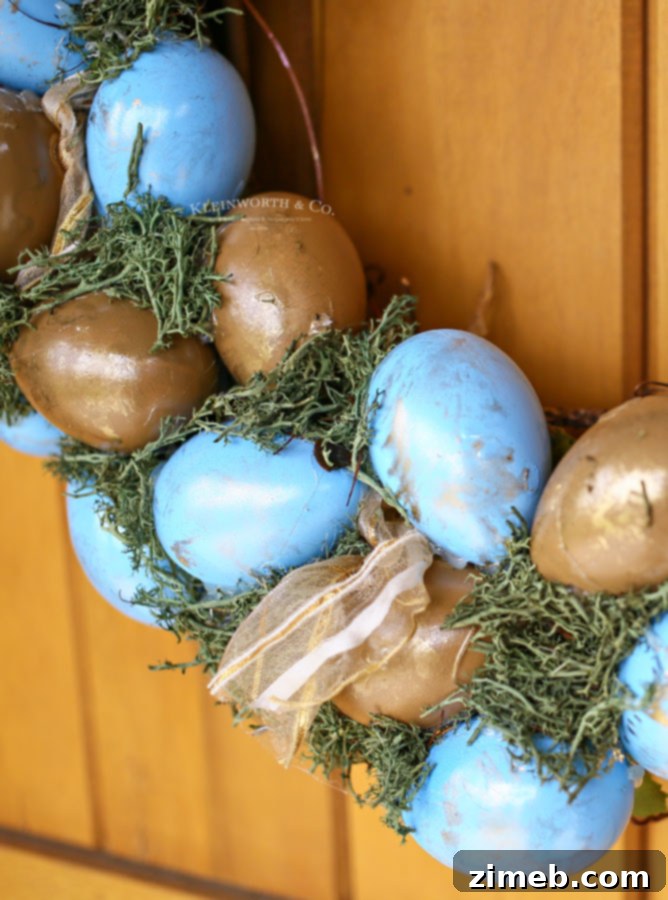
For the color palette, I chose a classic and elegant combination: half of the eggs were spray painted in a rich brown, while the other half received a delicate coat of robin’s egg blue. This duo evokes a sense of natural beauty and springtime freshness. Once thoroughly dry, I began the assembly process. Using a hot glue gun, I randomly affixed the painted eggs onto a sturdy grapevine wreath form, interspersing them with loops of decorative ribbon. The beauty of a grapevine wreath is its organic texture, which provides an excellent, forgiving base for attaching elements.
To add depth and a touch of rustic charm, I then strategically used reindeer moss to fill in any visible gaps between the eggs and the wreath form. This not only enhances the natural aesthetic but also ensures a full, professional-looking finish. The moss adds a lovely contrast to the smooth eggs and provides an earthy element that truly completes the spring look.
Elevating Your Easter Door Decorations with Gold Accents
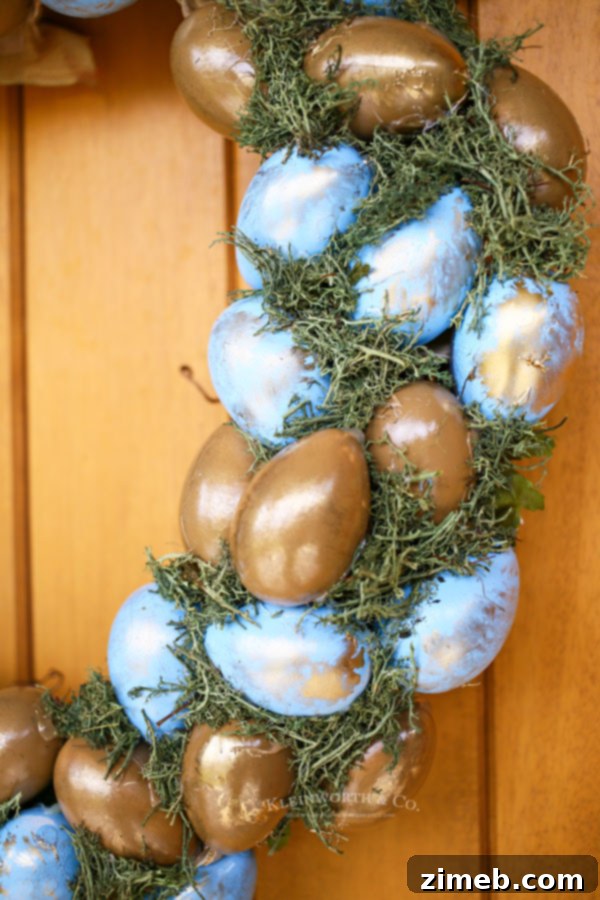
With the eggs and moss securely in place, the wreath was already lovely, but it was time for the “gold” in our Blue & Gold Easter Wreath. This step adds a touch of elegance and sparkle that truly makes the wreath stand out. To achieve this, I sprayed a small amount of gold spray paint into a disposable tin foil bowl. This allowed me to easily dip a paintbrush into the paint without oversaturating it.
Then, using a dry brush technique, I lightly dabbed the gold paint onto the eggs. The key here is not to be too precise; a few gentle dabs on each egg create a beautiful, aged, and slightly metallic shimmer rather than a solid gold coating. This imperfect application gives the wreath a handcrafted, artistic feel. That’s all it takes – a simple touch of gold transforms the entire piece, making it feel both natural and luxurious.
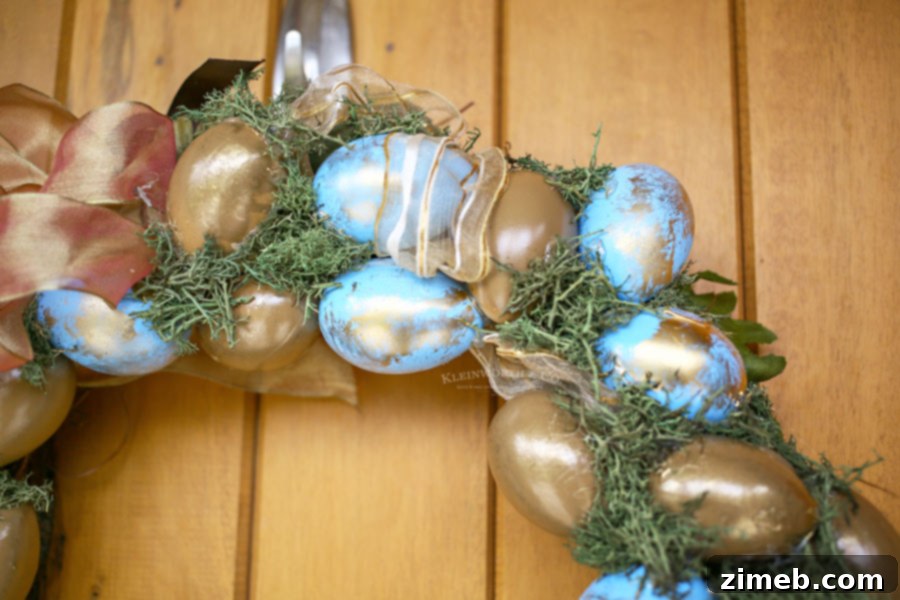
Now that it’s complete, I’m sure my neighbors are thinking, “Finally, it’s about time!” There’s an immense sense of relief and satisfaction when a lingering DIY project is finally brought to fruition. It feels incredibly good to have that little task off my shoulders, no longer nagging at the back of my mind. It’s amazing how these small creative accomplishments can bring a profound sense of peace and contentment.
Yes, things like decorating and crafting can genuinely keep me up at night if left undone – what can I say? The urge to create and beautify my surroundings is a strong one! This Blue & Gold Easter Wreath is not just a decoration; it’s a testament to the joy of making something beautiful with your own hands and the simple pleasure of welcoming a new season.
Easter Wreaths to Make: Your Crafting Questions Answered
Commonly Asked Questions for DIY Wreaths
Can this Easter wreath be made with a different type of wreath form?
Absolutely, while a grapevine wreath form provides an excellent natural base, you can certainly explore other options for your Easter wreath project. A styrofoam wreath form, for instance, is another viable choice. It’s lightweight and easy to pierce with hot glue, making it suitable for attaching eggs and moss. However, I wouldn’t recommend a thin wire form for this specific design, as you need a solid surface for the eggs to adhere securely and create a full, lush appearance. The key is to have a base that offers enough surface area and stability for all your decorative elements.
Can another type of glue be used for this DIY Easter egg wreath?
While it might be possible to use other types of adhesive, hot glue is highly recommended for this Easter wreath DIY for several important reasons. Traditional craft glues often require a significant amount of drying time, which would make the assembly process much slower and more cumbersome, as you’d have to wait for each section to dry before moving on. More importantly, hot glue provides an almost instant, strong bond that is crucial for holding the eggs and moss firmly in place.
Furthermore, hot glue offers exceptional durability. It will hold your wreath together for years, even when exposed to various weather conditions on your front door. Other glues may not withstand temperature fluctuations or humidity as well, potentially causing your beautifully crafted eggs to detach over time. For a project like this, where you want lasting beauty and minimal fuss, hot glue is truly the superior choice.
Your DIY Easter Wreath: Materials for Success
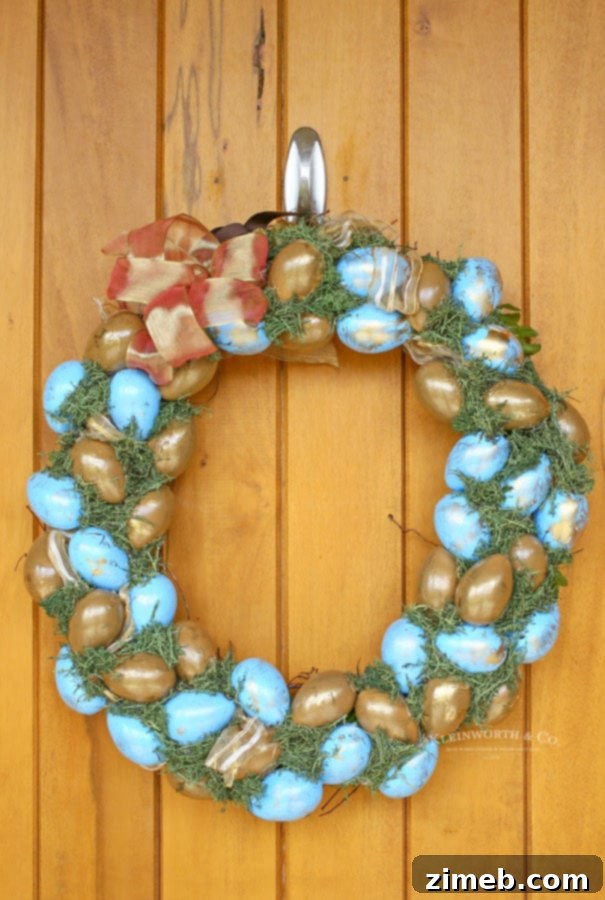
Products I love when making this Easy Easter Wreath…
Creating this beautiful Easter egg wreath is incredibly straightforward and rewarding. If you’re like me, you might already have some of these essential crafting items on hand. Or perhaps you’re venturing into wreath-making for the very first time and feel a tad apprehensive – don’t worry, you’re going to absolutely love the process and the stunning result! I’ve compiled a list below of the specific products I couldn’t do without when crafting this charming wreath, ensuring you have everything you need for a smooth and enjoyable DIY experience.
- grapevine wreath form – The perfect rustic base for your spring creation.
- faux craft eggs – Durable and paintable, ideal for repeated use.
- PREPAINTED Craft Eggs (newly available after I made this project) – A fantastic shortcut if you want to skip the painting step!
- brown spray paint – For a natural, earthy egg tone.
- blue spray paint – To achieve that classic robin’s egg blue.
- gold spray paint – For those elegant, dry-brushed metallic accents.
- paintbrushes – Essential for the dry brushing technique.
- craft moss – To fill gaps and add a touch of nature.
- ribbon – To add a complementary decorative touch.
- hot glue gun – Your best friend for quick and secure assembly.
- hot glue sticks – Stock up, you’ll need them!
- non-damaging wreath hook – To display your beautiful creation without harming your door.
Beyond the Egg Wreath: More Easter & Springtime Inspiration
If you’ve enjoyed creating this beautiful and Easy Easter Wreath, you’re undoubtedly ready to dive into more delightful spring and Easter-themed ideas! From delicious desserts perfect for your holiday table to other creative crafts, we have a collection of recipes and projects that embody the spirit of the season. Please explore each link below to discover more culinary and crafting inspiration!
Check out this recipe

Check out this recipe

Check out this recipe

Check out this recipe

Check out this recipe

Check out this recipe

Check out this recipe
Check out this recipe

Check out this recipe

Check out this recipe

More Easter Wreath Ideas and Seasonal Door Decor
Displaying Your Beautiful Easter Door Wreath
Once your DIY Blue & Gold Easter Wreath is complete, the final step is to proudly display it! Whether it graces your front door, hangs in your entryway, or brightens an interior wall, this wreath is designed to bring a smile to everyone who sees it. Its elegant colors and handcrafted charm make it a focal point of your spring decor. If you love this Blue & Gold Easter Wreath as much as I do, please spread the joy by sharing it with your friends and family on Facebook and Pinterest! Your shares help inspire others to embrace the spirit of DIY and seasonal decorating.
CONNECT WITH YUMMI HAUS!
Be sure to follow me on my social media, so you never miss a post!
Substack, Facebook, Pinterest, Instagram, Email Subscription