
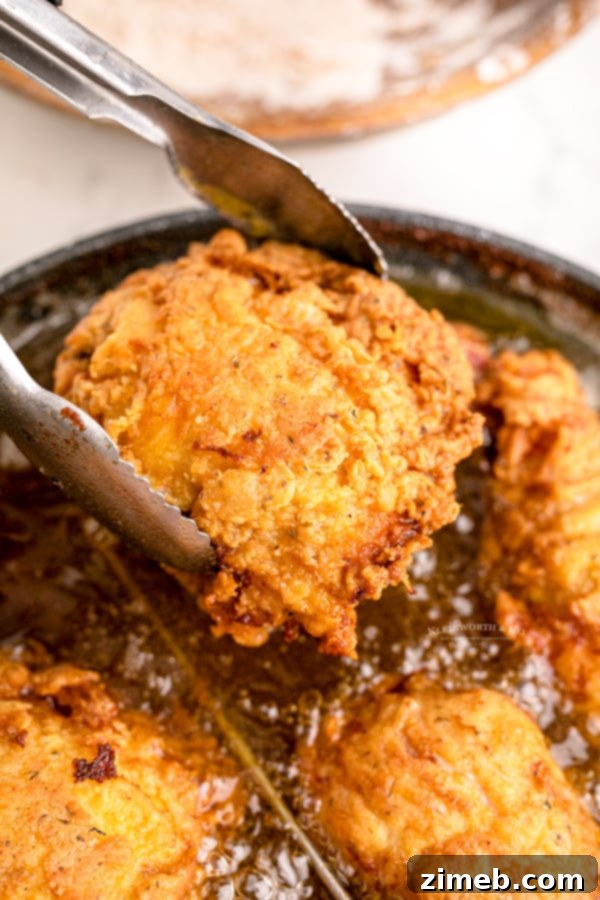
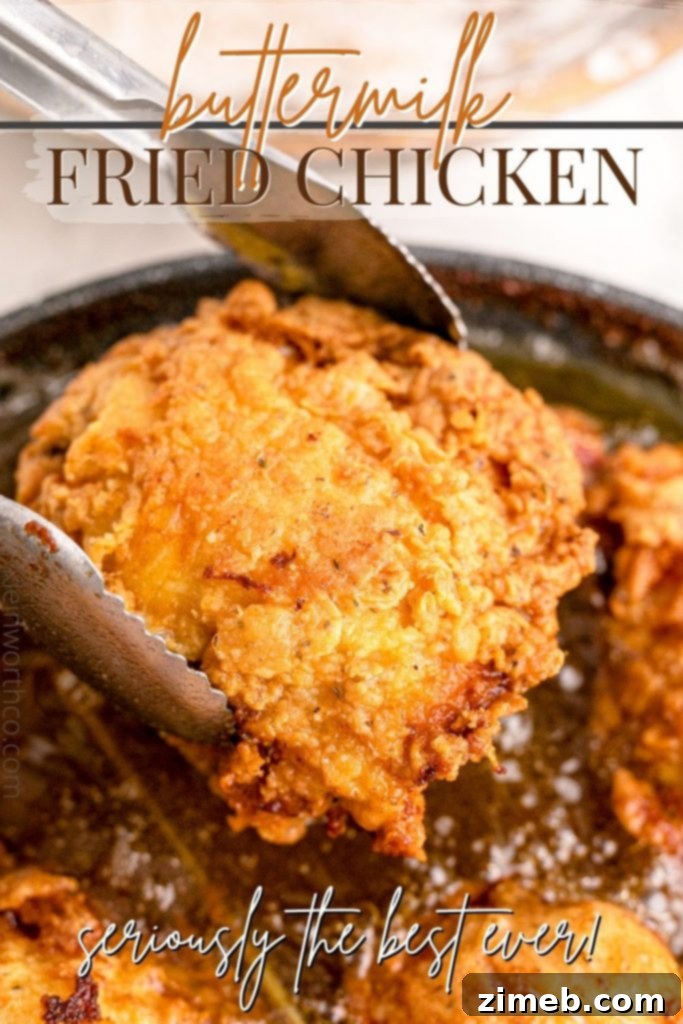
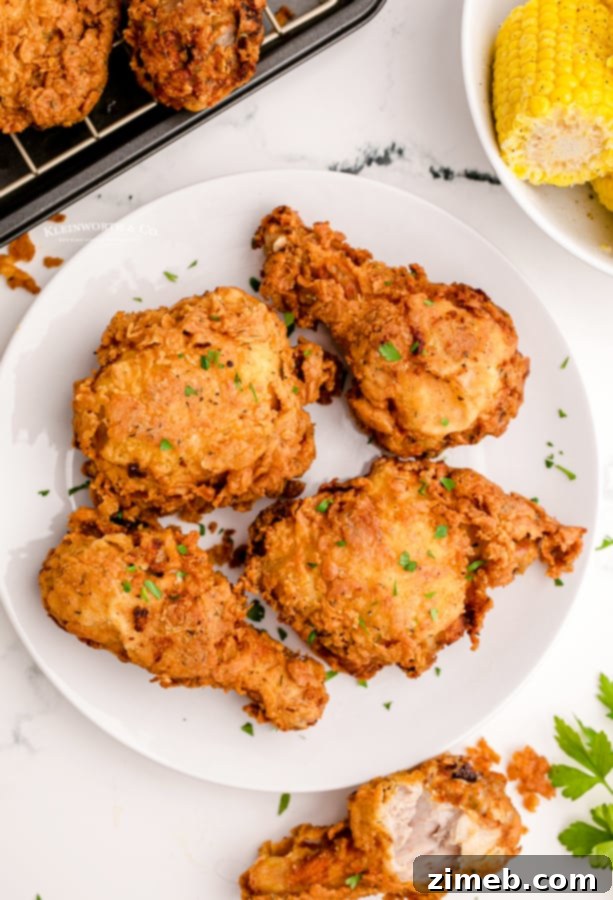
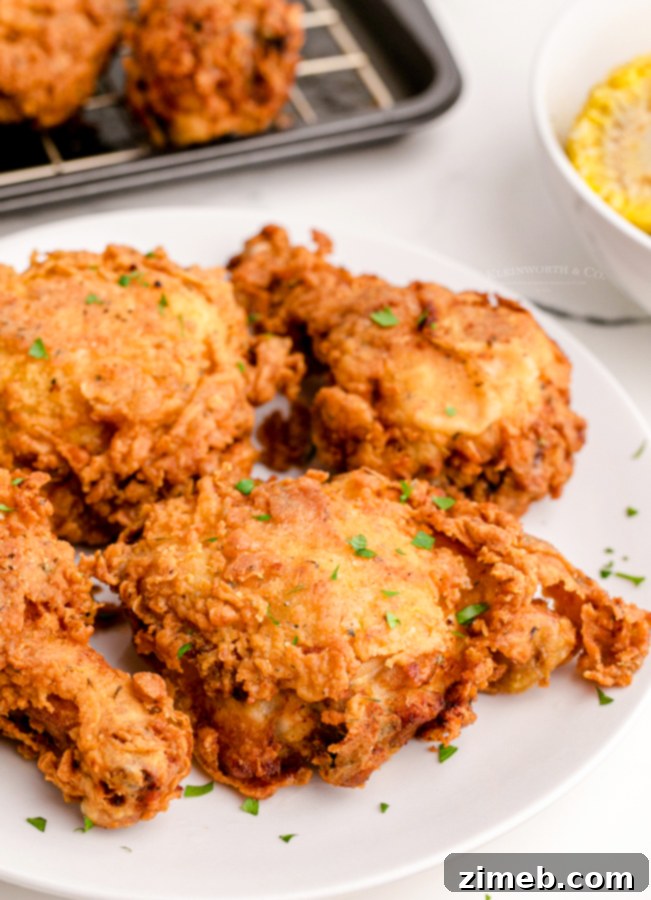
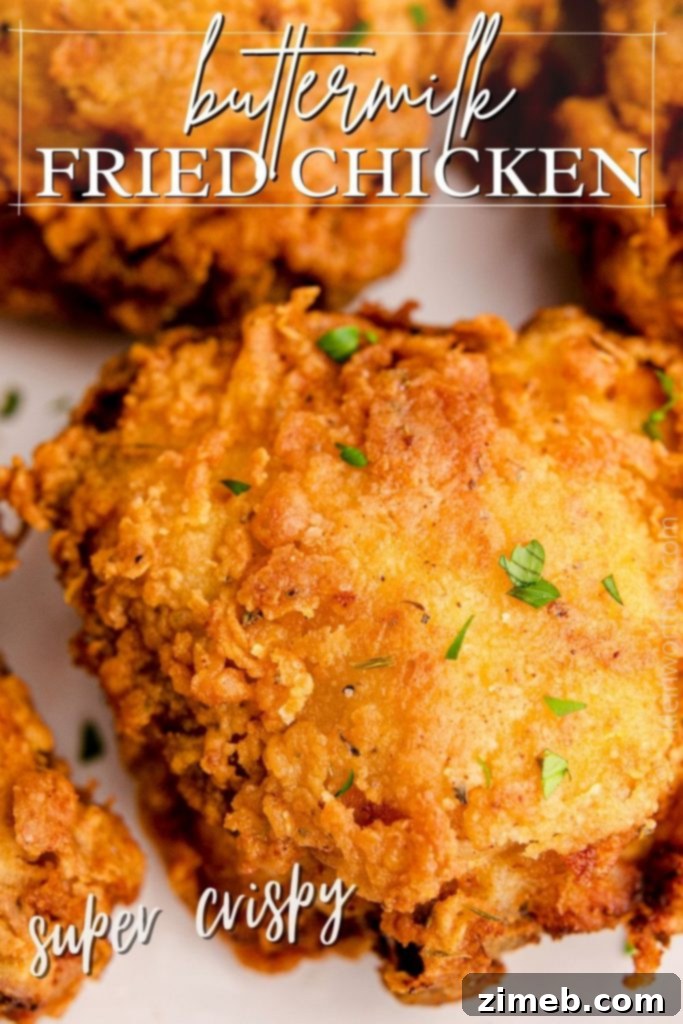
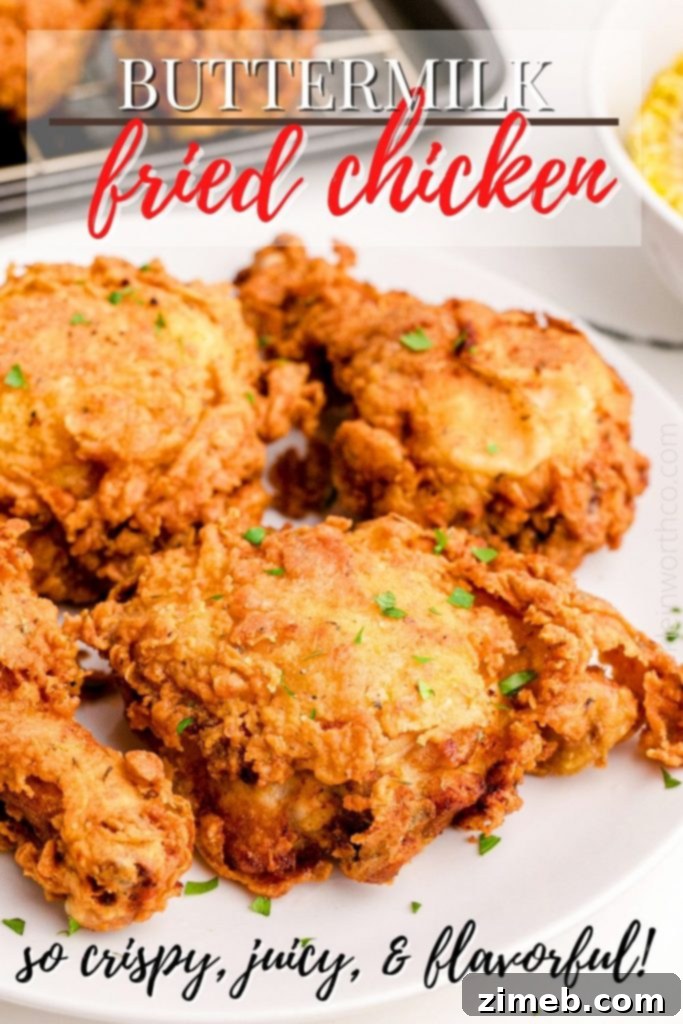
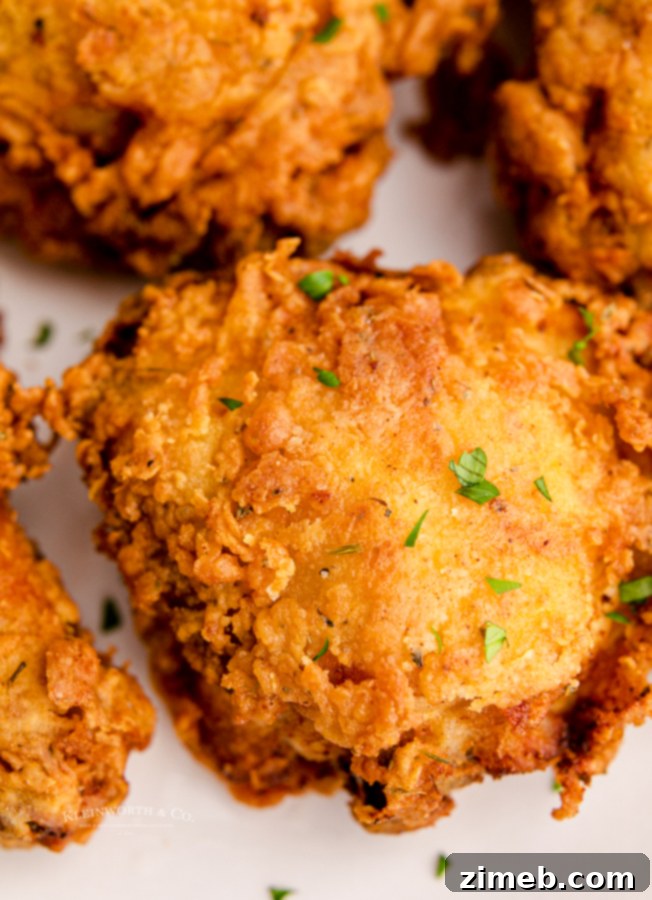
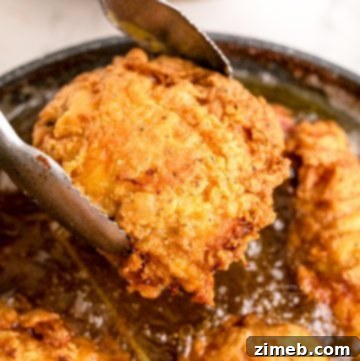
Easy Buttermilk Fried Chicken is more than just a recipe; it’s a culinary experience. Imagine perfectly brined chicken, tenderized by buttermilk, generously coated in a seasoned flour mixture, then fried to achieve that irresistible crispy, golden-brown skin and exceptionally juicy interior. This classic dinner is a true testament to timeless comfort food.
Are you a fan of truly exceptional fried chicken? We certainly are, and it’s a dish that frequently graces our dinner table. There’s something uniquely satisfying about that perfectly crispy, golden, and crunchy chicken that makes it an undisputed family favorite. It’s a dish that evokes warmth, togetherness, and pure culinary delight.
You simply cannot go wrong with these succulent chicken pieces, each one exquisitely coated in a symphony of seasonings. Every bite bursts with flavor, promising a dining experience that will quickly become your new all-time favorite. It’s the kind of dish that disappears quickly from the platter, leaving everyone reaching for another piece.
My passion for cooking was ignited at a young age, watching my great-grandmother and grandmother in the kitchen. They were true farm women, taking immense pride in preparing elaborate feasts for dinner every single night. For them, food was a profound expression of love, a way to nourish and connect with our entire family.
So, when my husband and I were dating, one of the very first special meals I prepared for him was this cherished buttermilk fried chicken recipe. While I scaled down grandma’s original recipe, which could feed an army, the foundational flavors and techniques remained perfectly intact. It was a culinary legacy, passed down through generations, and it quickly became a favorite for us, too.
The Art of Buttermilk Fried Chicken: A Family Tradition
I still remember the early days of making this dish. We barely had the proper kitchen tools! I used a tiny fry pan, and my only tongs were a pair of salad tongs. They, predictably, got ruined in the process, but we still laugh about that culinary adventure to this day. It’s a fond memory that reminds us how simple ingredients and genuine effort can create something truly special, even without fancy equipment.
Fast forward many years, with demanding jobs and a household full of kids, we often opted for my oven-baked fried chicken recipe as a convenient alternative. It’s incredibly delicious and remarkably easy to prepare. However, there are times when only the authentic, deep-fried chicken with its unparalleled crispness and rich flavor profile will truly satisfy that craving. I highly recommend trying both versions, but for that quintessential Southern taste, this original recipe from grandma is simply AH-MAZ-ING!
Why Buttermilk is the Secret to Unforgettable Chicken
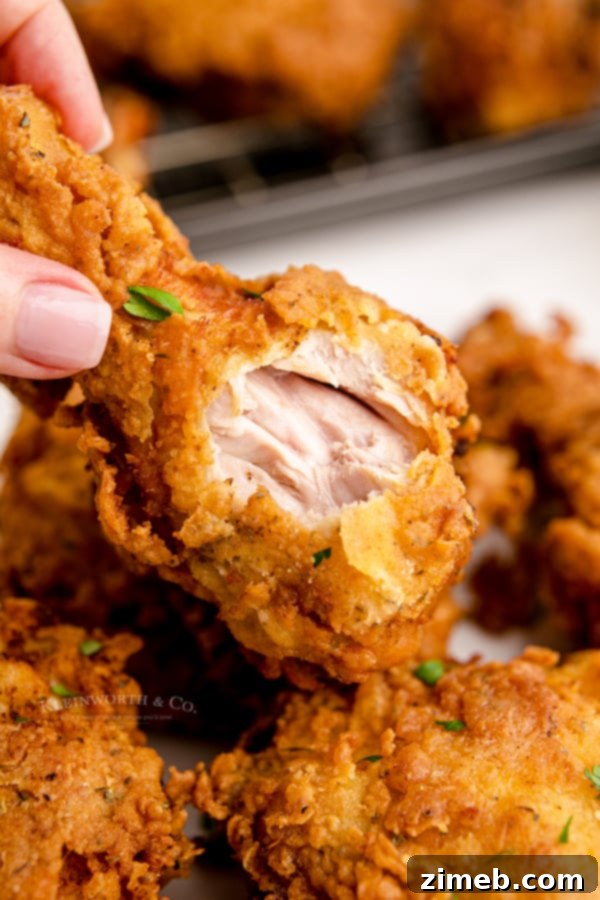
The magic of this recipe truly lies in the buttermilk. Buttermilk is a highly acidic liquid that plays a crucial role in tenderizing the chicken. Unlike other marinades that can sometimes make chicken tough or rubbery, buttermilk gently breaks down the protein fibers, resulting in incredibly succulent and moist meat without altering its texture negatively. This acidic soak ensures that every bite is tender and flavorful, right down to the bone.
Beyond tenderization, the buttermilk creates a fantastic base for the seasoned flour coating. It adheres beautifully to the chicken, forming a moist, sticky layer that, when dropped into hot oil, transforms into that coveted crispy, golden crust. This combination of tender meat and a perfectly seasoned, crunchy exterior is what sets classic buttermilk fried chicken apart. The brining process not only infuses the chicken with flavor but also helps it retain moisture during frying, preventing it from drying out.
Frequently Asked Questions About Buttermilk Fried Chicken
How to store and reheat leftover fried chicken?
- Leftover buttermilk fried chicken can be safely stored in an airtight container in the refrigerator for 3-5 days.
- For the best reheating results, preserving that desirable crispiness, use an oven. Preheat to 325°F (160°C) and bake for approximately 10-15 minutes, or until the chicken is thoroughly heated through. Alternatively, an air fryer at 325°F (160°C) for about 5-7 minutes works wonderfully, making the skin nice and crisp again.
- Fried chicken also freezes well for longer storage, up to 3 months. To reheat from frozen, place it directly in a preheated oven at 450°F (230°C) for about 15-20 minutes, or until piping hot and crispy.
What is the best type of flour for fried chicken?
When my grandmother perfected this recipe, all-purpose flour was the staple, and it remains our preferred choice. Over the years, I’ve experimented with various flour types, but I consistently return to standard all-purpose flour. It provides the ideal texture for a crispy coating and is conveniently inexpensive and readily available in most grocery stores, ensuring consistent results every time (unless, of course, unforeseen circumstances affect supply!).
Crafting the Perfect Buttermilk Fried Chicken Recipe
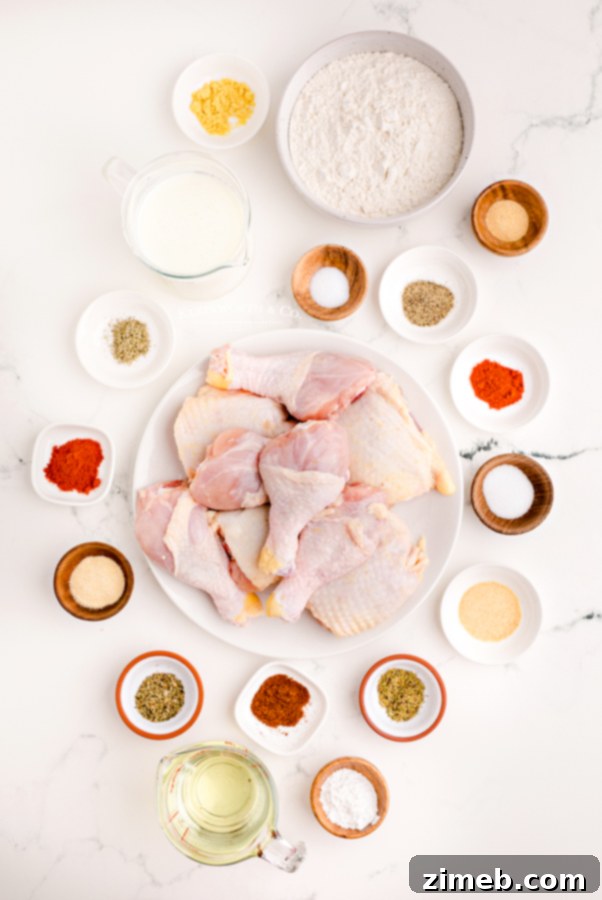
Ingredients for Buttermilk Fried Chicken
- Chicken pieces (bone-in, skin-on thighs and drumsticks are highly recommended for the best flavor and texture)
- For the first seasoning and marinade: salt, black pepper, garlic powder, dried mustard, paprika, sage, and buttermilk.
- For the second coating of seasoned flour: all-purpose flour, baking powder, salt, garlic powder, paprika, dried basil, dried thyme, onion powder, and a touch of cayenne pepper for a subtle kick.
- Vegetable oil for frying (ensure enough to reach 1-2 inches deep in your frying pan).
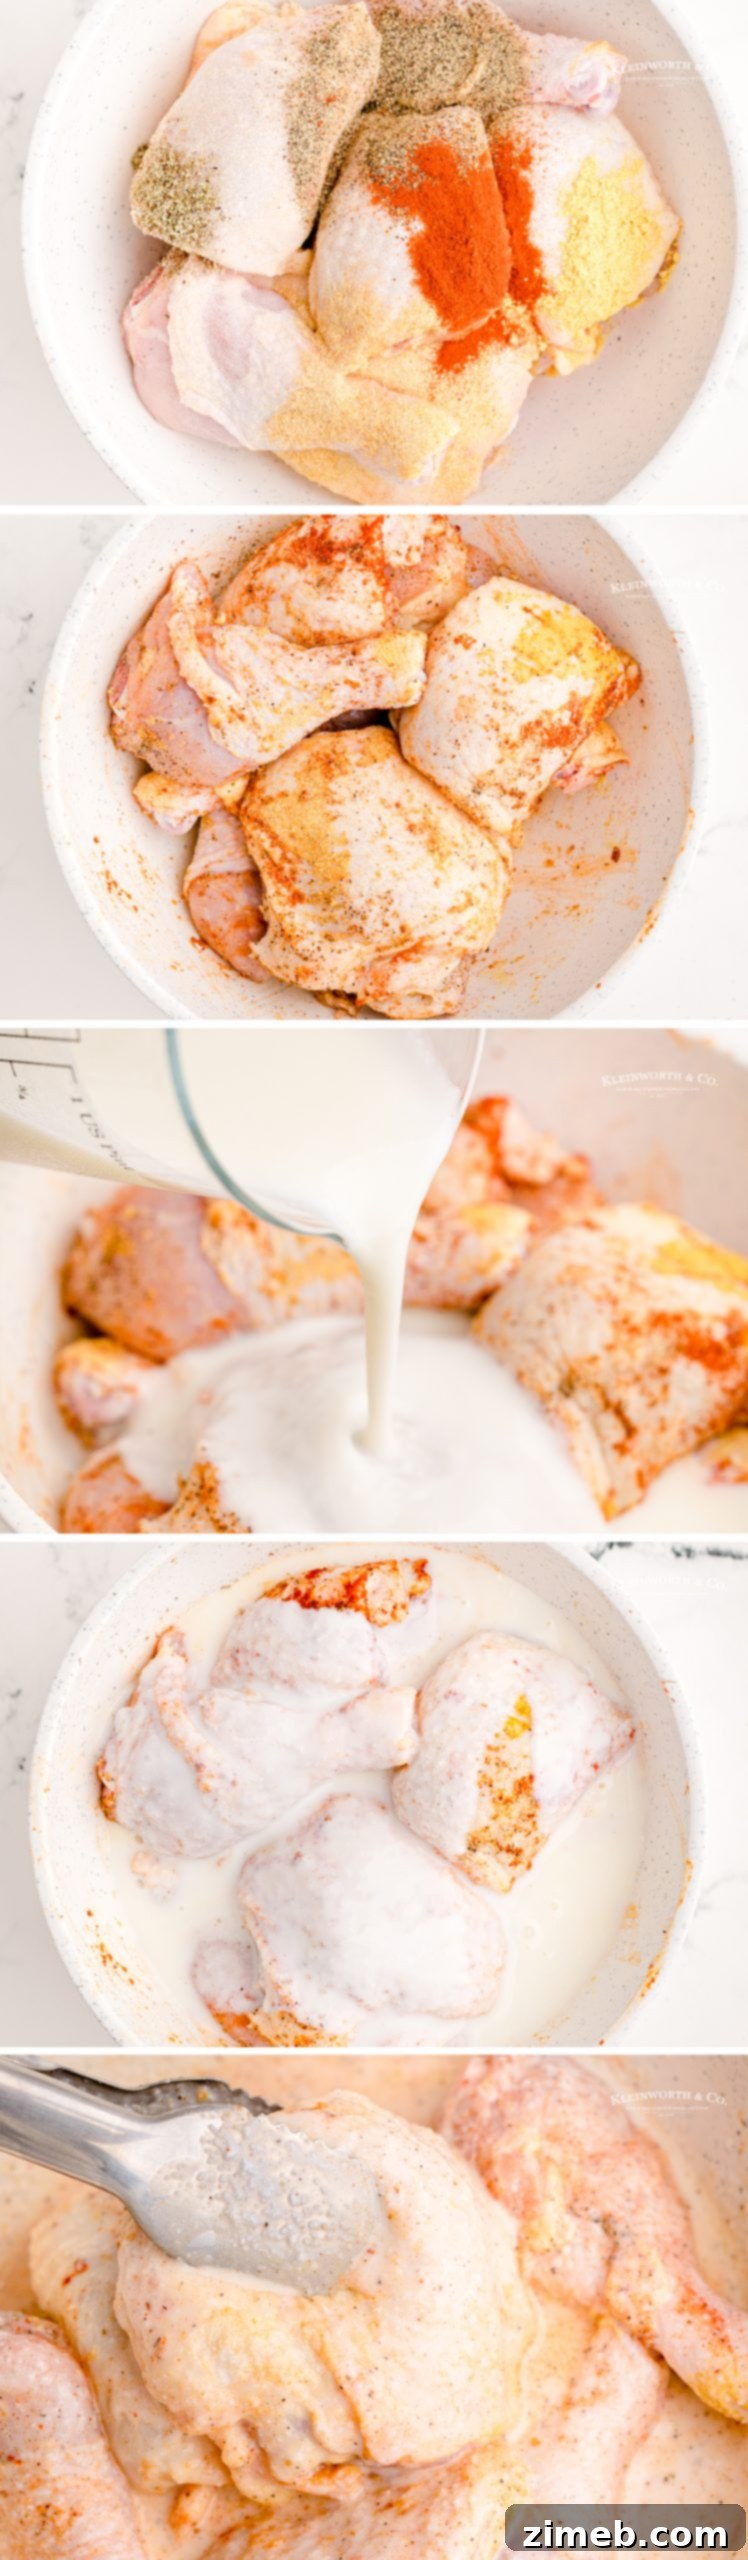
How to Make Buttermilk Fried Chicken
- Begin by placing your chicken pieces in a large, non-reactive bowl.
- Sprinkle generously with the first set of seasonings: salt, pepper, garlic powder, dried mustard, paprika, and sage. Toss thoroughly to ensure each piece of chicken is evenly coated.
- Pour the buttermilk over the seasoned chicken, stirring well to fully submerge and coat all pieces.
- Refrigerate this mixture for at least 1 hour. For maximum tenderness and flavor infusion, marinating for 4 hours or even overnight is highly recommended. The longer the brine, the better the results.
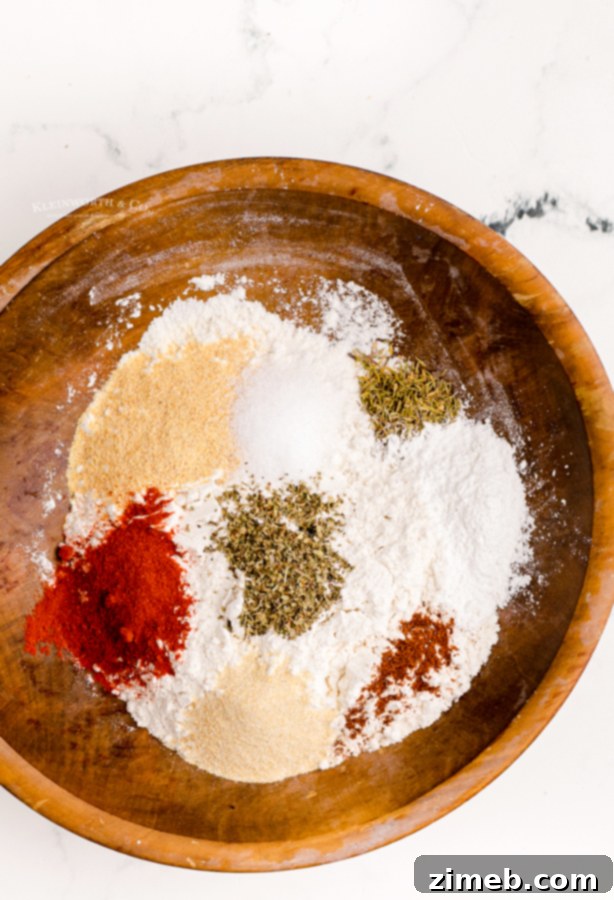
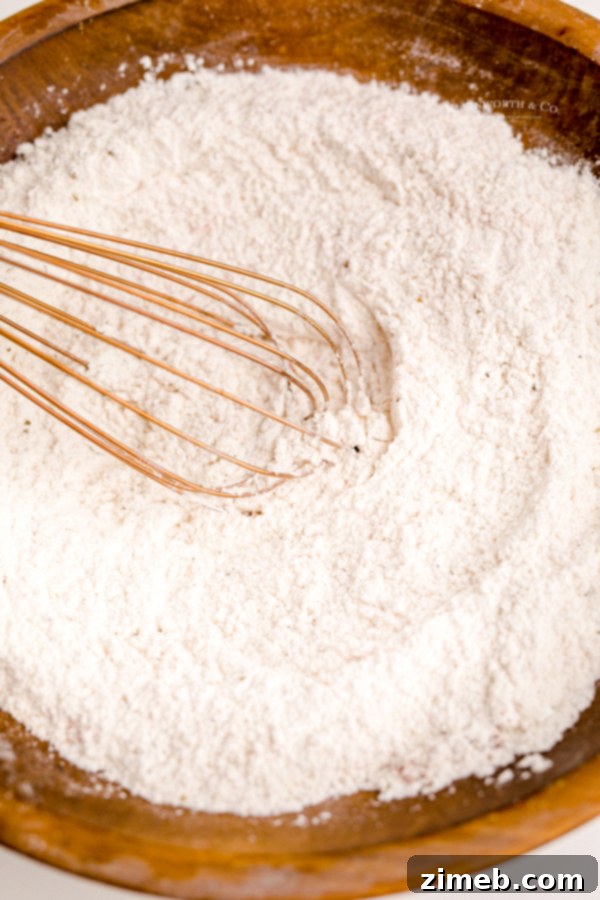
- In a separate shallow dish, whisk together the dry ingredients for the second coating: all-purpose flour, baking powder, salt, garlic powder, paprika, basil, thyme, onion powder, and cayenne pepper. Mix well until all spices are evenly distributed.
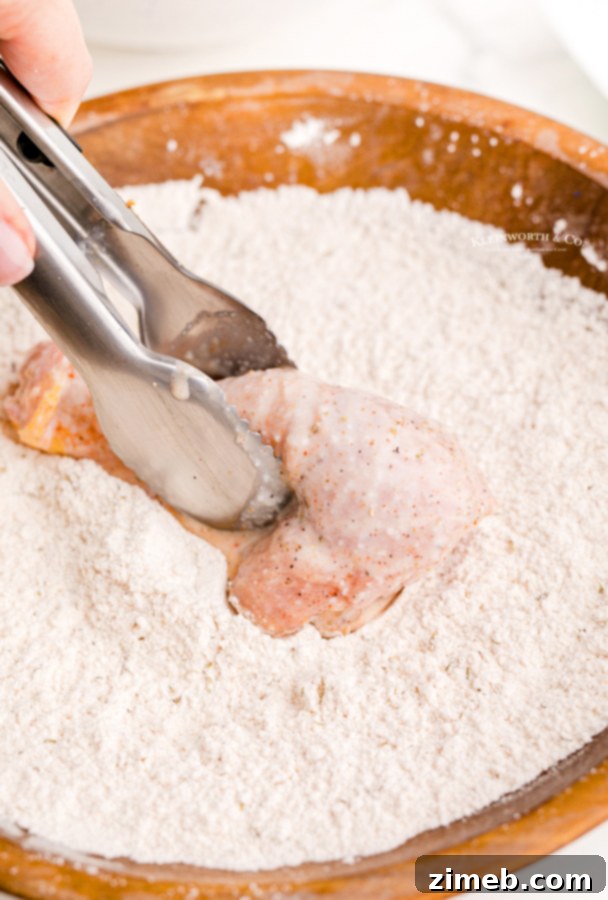
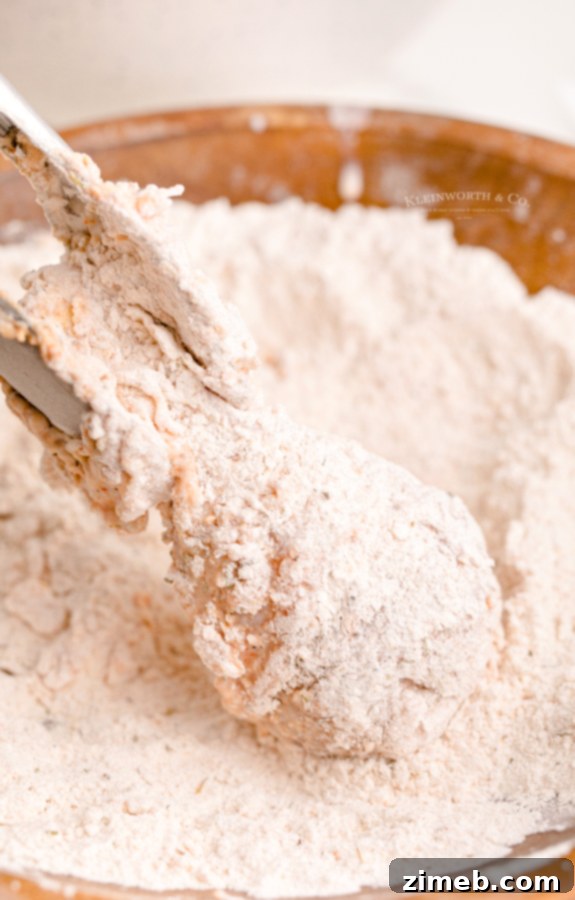
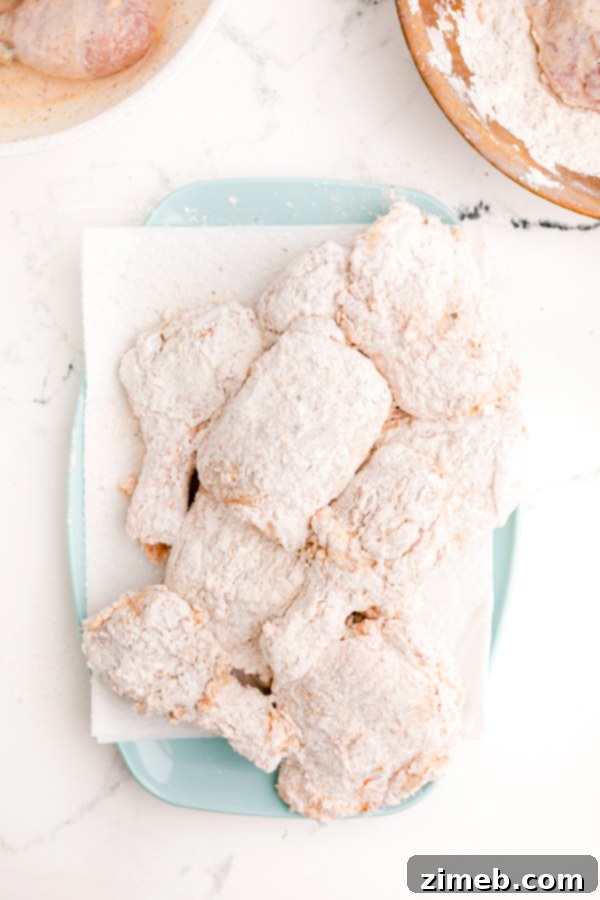
- Remove one piece of chicken at a time from the buttermilk marinade, allowing excess liquid to drip off. Place it into the shallow dish with the seasoned flour mixture and toss vigorously. Ensure the entire surface of each chicken piece is thoroughly coated before setting it aside on a clean plate or wire rack. Repeat for all chicken pieces.
- Heat 1-2 inches of vegetable oil in a deep frying pan or Dutch oven to approximately 340-350°F (170-175°C). Maintaining the correct oil temperature is crucial for achieving a crispy exterior without burning, while simultaneously cooking the chicken through to perfection.
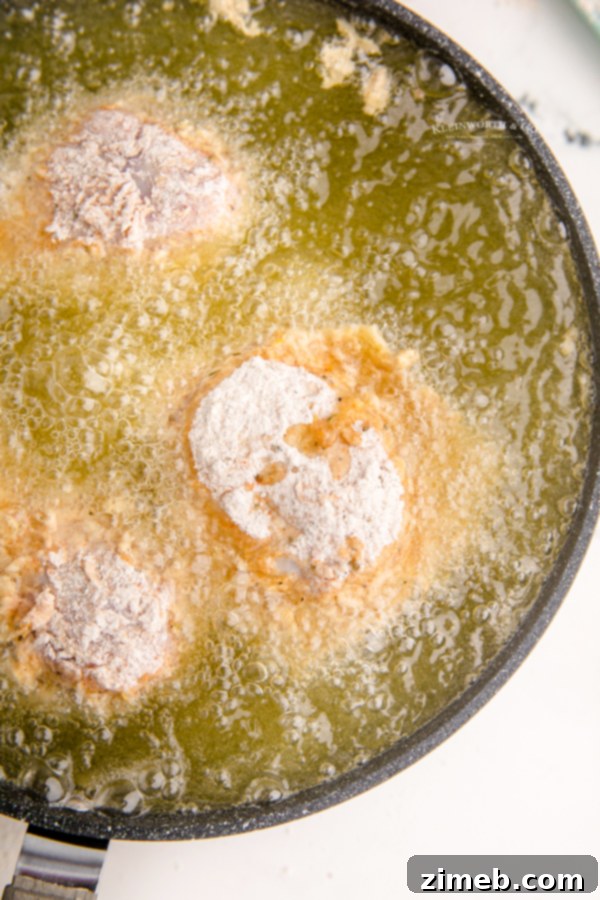
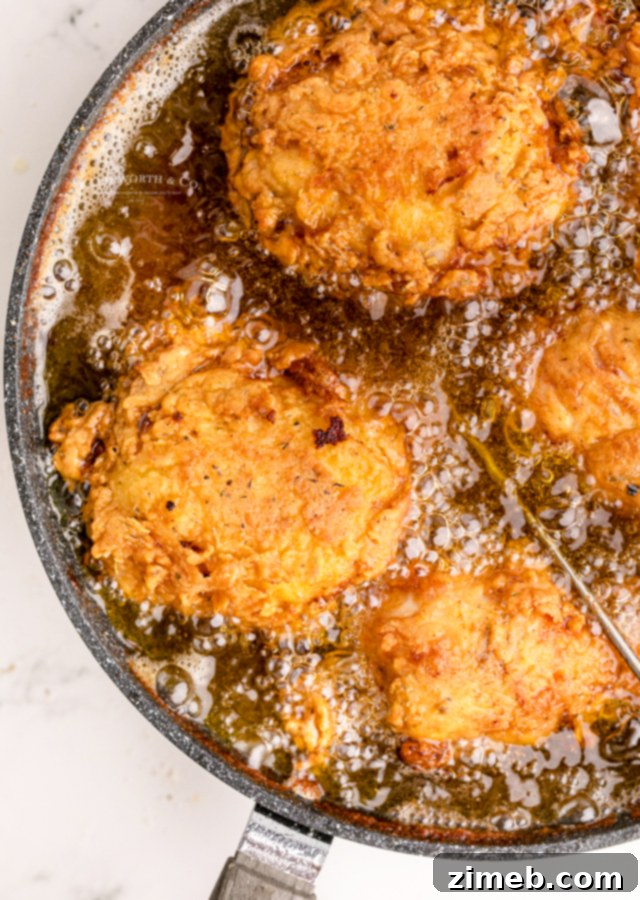
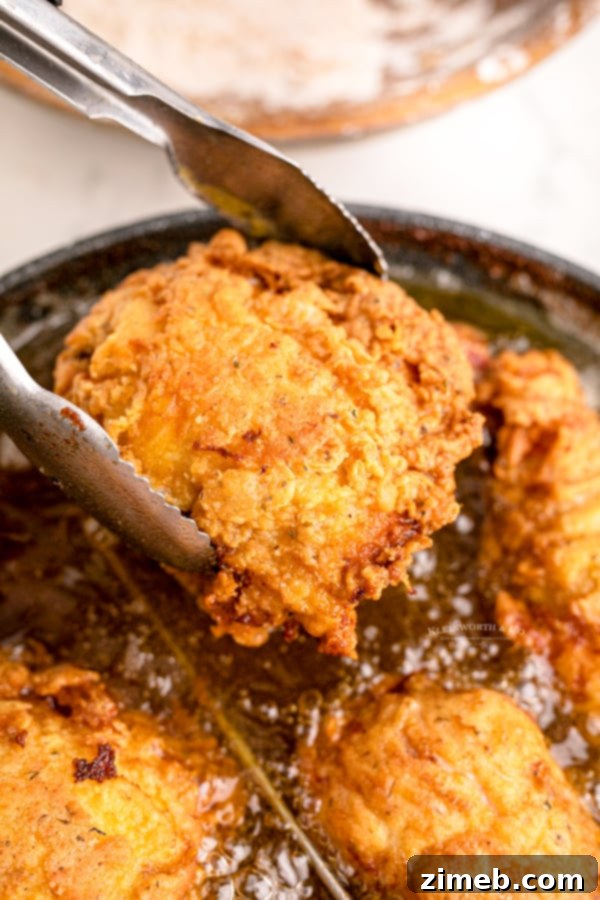
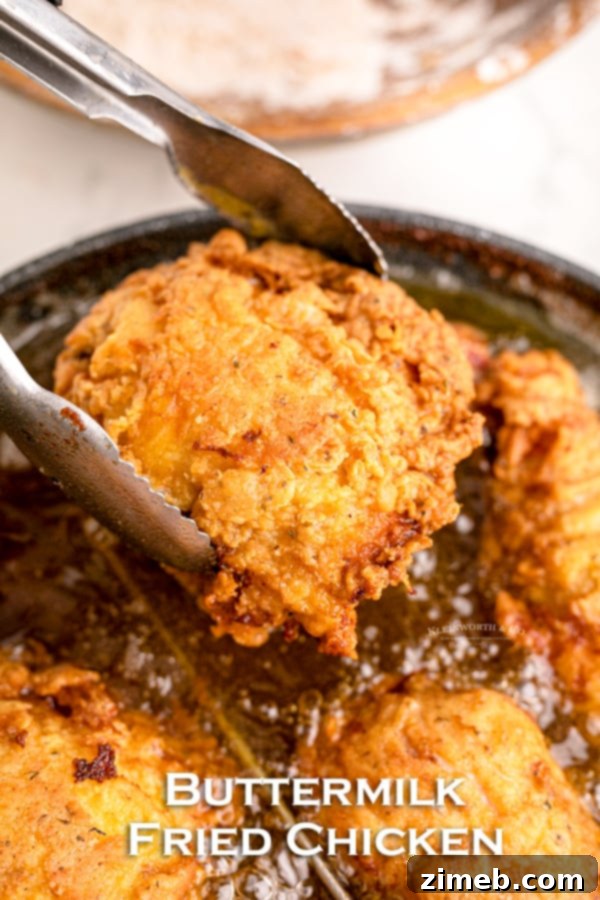
- Carefully place 4-5 coated chicken pieces into the hot oil, ensuring not to overcrowd the pan. Crowding will lower the oil temperature too much, resulting in greasy chicken. Fry, turning as necessary, until each piece is a beautiful golden brown and fully cooked. This typically takes about 15-20 minutes per piece, depending on size. The internal temperature should reach a safe 165°F (74°C). Use a reliable meat thermometer to verify doneness. Keep a candy thermometer in the oil and adjust the heat as needed to maintain the ideal temperature, as the cold chicken will cause the oil temperature to drop.
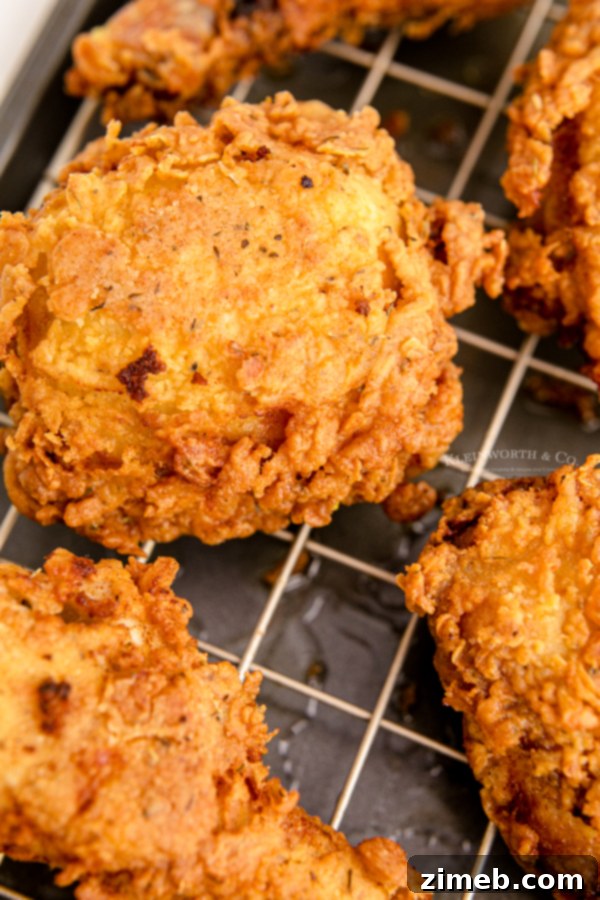
- Once cooked, transfer the fried chicken to a wire rack placed over a baking sheet. This allows excess oil to drain and promotes air circulation, helping the chicken stay wonderfully crispy.
I don’t have a candy thermometer – how can I tell if the oil is the right temperature?
While a thermometer is ideal for precision, you can use a simple trick with a wooden spoon. Stand a wooden spoon handle in the center of the hot oil. If the oil is at the correct temperature, small bubbles will steadily form and float up around the handle. If the oil bubbles vigorously and rapidly, it’s too hot. If only a few sparse bubbles appear or none at all, the oil is not hot enough and needs more time to heat up. Adjust your heat accordingly.
What is the best oil for deep frying?
The key to selecting the right oil for deep frying lies in its smoke point. We’ve learned from extensive frying experience that the right oil is paramount for a perfect recipe. Using oils with a low smoke point or strong flavor, like peanut oil, can cause the chicken to cook too hot and too fast, leading to a burnt exterior and an undercooked interior. You need an oil that can withstand high temperatures without breaking down or imparting undesirable flavors.
I prefer neutral-flavored oils with high smoke points, such as vegetable oil or canola oil. Sunflower oil is another excellent option, though it tends to be more expensive. Sticking to readily available and affordable options like vegetable or canola oil is usually best, as it’s what grandma always used, and it always delivers delicious results.
I don’t have any buttermilk – what can I substitute?
No buttermilk? No problem! You can easily create a substitute. Pour 2 tablespoons of lemon juice or white vinegar into a liquid measuring cup. Then, fill the rest of the cup with regular milk until it reaches the 2-cup mark (or whatever amount your recipe requires). Stir gently and let it sit for about 10 minutes. The milk will curdle slightly, mimicking the acidity and texture of buttermilk, making it ready for use in your recipe.
What is the ideal temperature for deep frying chicken?
Maintaining an oil temperature of approximately 340-350°F (170-175°C) is key for perfectly fried chicken. This is why a trusty thermometer is indispensable. When you add cold chicken to the hot oil, the temperature will inevitably drop. You’ll need to attentively adjust your heat to bring it back up to and maintain that ideal range. However, be vigilant, as the temperature can rise quickly. Distractions like your phone or TV can lead to burnt chicken, so stay focused on the frying process.
What if the chicken looks burnt on the outside but isn’t cooked inside?
This is a clear indicator that your oil is too hot. Immediately turn down the heat on your stove to lower the oil temperature. If the outside is browning too quickly, the interior won’t have enough time to cook through. Adjust the heat, perhaps even removing the pan from direct heat for a moment, to let the oil cool slightly before continuing to fry at a lower, more controlled temperature.
What if I don’t have a meat thermometer to check doneness?
While an internal meat thermometer is the most reliable way to ensure food safety (chicken should reach 165°F or 74°C), you can also check for doneness visually. Look for a consistently golden-brown skin. Internally, the meat should be opaque white throughout, with absolutely no pink visible, and the juices should run clear, not pink. If you’re unsure, it’s always better to cook a little longer or cut into the thickest part of a piece to visually confirm.
Can I substitute baking soda for baking powder?
No, baking powder and baking soda are not interchangeable in this recipe. They are very different leavening agents that react differently. Baking powder is a combination of baking soda, an acid (like cream of tartar), and a starch, designed for a balanced rise. Baking soda requires an additional acid to activate. If you don’t have baking powder, simply omit it from the recipe. The chicken will still be delicious, though perhaps slightly less crispy or airy in its coating.
Can this buttermilk fried chicken recipe be doubled?
Absolutely! This recipe can easily be doubled, and we often do so for larger gatherings. Just be aware that doubling the recipe will extend the overall cooking time, as you’ll likely need to fry the chicken in more batches to avoid overcrowding the pan and maintaining optimal oil temperature.
Can I substitute skinless chicken?
Yes, you certainly can! This recipe works exceptionally well with skinless chicken pieces. While the skin adds an extra layer of flavor and crispiness, using skinless chicken will still yield tender, juicy, and flavorful results, just with a slightly different texture on the outside. Adjust frying time if pieces are smaller or cook faster.
What to serve with fried chicken?
Fried chicken is a versatile main course that pairs beautifully with a variety of classic Southern sides. Here are some of our favorite recipes to complement this chicken dinner:
- Strawberry Jello Salad: A refreshing, sweet counterpoint.
- Crusty Artisan Bread: Perfect for soaking up any flavorful juices.
- Sea Salt Garlic Corn: A simple yet delicious vegetable side.
- Slow Cooker Corn Casserole: Creamy, comforting, and incredibly easy.
- One Hour Dinner Rolls: Warm, fluffy, and homemade.
- Garlic Mashed Potatoes: A timeless, creamy pairing.
- Bacon and Garlic Green Beans: Flavorful and vibrant, adding a touch of green.
Can I make this chicken in the oven or air fryer instead of deep frying?
Due to the buttermilk brine, this specific recipe doesn’t perform as well when baked in a conventional oven. The buttermilk coating tends to become too sticky and thick to achieve that desirable crispy texture without deep frying. If you prefer an oven method, I recommend trying my dedicated oven-fried chicken recipe, which is designed for optimal results in the oven. Alternatively, for a crispy crust without deep frying, you could try coating the buttermilk-brined chicken in panko breadcrumbs or crushed corn flakes instead of flour before baking.
However, this recipe can be successfully adapted for an air fryer! Simply spray the floured chicken generously with oil (a cooking spray works well) and air fry at 360°F (180°C) for approximately 15-20 minutes, flipping the pieces halfway through the cooking time to ensure even crisping and thorough cooking.
What is the best cut of chicken for this fried chicken recipe?
For this traditional buttermilk fried chicken recipe, bone-in, skin-on thighs and drumsticks are truly the best choices. They offer the perfect meat-to-skin ratio, ensuring a super delicious and juicy meal. The bones add flavor, and the skin renders beautifully, contributing significantly to that sought-after crispy texture. While other cuts can work, these two will give you the most authentic and satisfying results.
Why marinate chicken in buttermilk?
Marinating chicken in buttermilk serves multiple crucial purposes that elevate this dish. First and foremost, buttermilk’s mild acidity works as a phenomenal tenderizer. It breaks down the tough muscle fibers in the chicken, resulting in incredibly moist and tender meat without making it chewy, as some stronger acidic marinades can do. This ensures a succulent interior that practically melts in your mouth.
Secondly, the buttermilk creates a perfect adhesive layer for the seasoned flour coating. This sticky base ensures the flour mixture adheres uniformly, forming a robust crust. When the chicken hits the hot oil, this buttermilk-flour combination acts almost like a searing effect, locking in moisture and transforming into that signature crispy, golden-brown exterior. The result is a harmonious balance: a wonderfully crispy outside perfectly complementing a juicy, tender interior.
How long should chicken marinate in buttermilk?
For this recipe, a minimum of 1 hour of marination is recommended to allow the buttermilk to work its magic. However, if your schedule allows, marinating for a longer period will yield even more tender and flavorful chicken. I often aim for at least 4 hours, or even let it marinate overnight in the refrigerator. Unlike traditional marinades, which can sometimes over-tenderize or break down meat too much with prolonged exposure, buttermilk is gentler and benefits from extended marination, only making the chicken better.
Essential Tools for Perfect Fried Chicken
Making homemade fried chicken is incredibly satisfying, and with the right tools, it becomes even easier and more enjoyable. Whether you’re a seasoned chef or a first-timer, having these items on hand will set you up for success. I’ve compiled a list of my absolute must-haves for making this fantastic chicken recipe:
- Meat thermometer: Crucial for ensuring chicken reaches a safe internal temperature.
- Candy thermometer: Essential for accurately monitoring oil temperature.
- Deep frying pan or Dutch oven: A sturdy vessel with high sides for safe deep frying.
- Wire rack: For draining excess oil and keeping chicken crispy.
- Measuring cups: For precise dry ingredient measurements.
- Wet ingredient measuring cup: For accurate liquid measurements.
If you adore this Easy Buttermilk Fried Chicken recipe, you’ll undoubtedly love these other fantastic chicken dinner ideas. Click each link below to explore the easy, printable recipes!
Ritz Cracker Chicken Casserole
Ritz Cracker Chicken Casserole is a super easy weeknight dinner that’s great for using leftover or rotisserie chicken. It’s a family favorite!
Check out this recipe
Grilled Chicken Salad
Enjoy flavorful, juicy chicken on a bed of lettuce with your favorite dressing and extras with this Grilled Chicken Salad recipe. It’s easy to make and is the perfect meal to have for lunch or dinner.
Check out this recipe
Chili Lime Chicken – Air Fryer
Easy Chili Lime Chicken made in the air fryer is quick to make! A juicy, flavorful, crispy chicken dinner that’s ready in less than an hour.
Check out this recipe
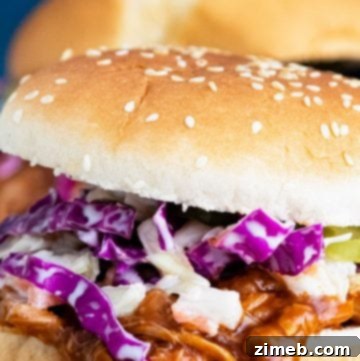
Instant Pot BBQ Chicken
Instant Pot BBQ Chicken is a quick and easy meal for busy weeknights that gets dinner done in record time. Just toss and go, so simple!
Check out this recipe
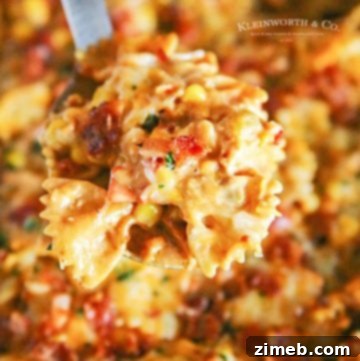
BBQ Ranch Chicken Casserole
BBQ Ranch Chicken Casserole is a quick and easy dinner loaded with chicken, cheese, and pasta, tossed and baked with BBQ sauce and ranch.
Check out this recipe
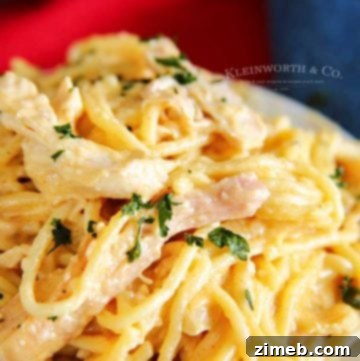
Cheesy Chicken Spaghetti
The Cheesy Chicken Spaghetti is an easy pressure cooker dinner using leftover rotisserie chicken. Quick to make & so delicious too.
Check out this recipe
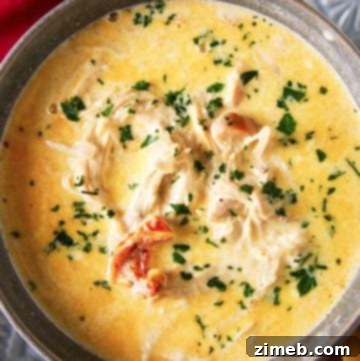
Instant Pot Creamy Chicken Soup
Instant Pot Creamy Chicken Soup made in the pressure cooker with either fresh, leftover or rotisserie chicken along with sun-dried tomatoes, cheese & more. Positively delicious!
Check out this recipe
Chicken Noodle Casserole
Chicken Noodle Casserole – simple & delicious comfort food.
Check out this recipe
If you genuinely enjoyed this recipe for easy buttermilk fried chicken, please consider leaving a five-star review and helping us share this delicious dish on Facebook and Pinterest! Your feedback and shares are greatly appreciated.
CONNECT WITH YUMMI HAUS!
Be sure to follow me on my social media channels, so you never miss a delicious post or recipe!
Substack, Facebook, Pinterest, Instagram, Email Subscription
Easy Buttermilk Fried Chicken
Easy Buttermilk Fried Chicken is a classic dinner recipe made with chicken brined in buttermilk, dredged in flour and spices, and fried to crispy, juicy perfection.
Course: Dinner
Servings: 4
Prep Time: 15 mins
Cook Time: 45 mins
Chill Time: 1 hr
Ingredients
Chicken
- 8 pieces chicken (approximately 3 pounds, bone-in, skin on, thighs and drumsticks are best)
First Coat of Seasonings (for Brine)
- 1 tsp salt
- 1 tsp pepper
- 1 tsp garlic powder
- 1 tsp dried mustard
- ½ tsp paprika
- ½ tsp sage
- 2 cups buttermilk
Second Coat of Seasonings (for Dredging)
- 2 cups all-purpose flour
- 1 tbsp baking powder
- 1 ½ tsp salt
- 1 ½ tsp garlic powder
- 1 ½ tsp paprika
- 1 ½ tsp basil
- 1 ½ tsp thyme
- 1 ½ tsp onion powder
- 1 tsp cayenne pepper
Frying
- Vegetable oil (to be 1-2 inches deep in a deep frying pan)
Instructions
- Place chicken pieces in a large bowl.
- First Coat of Seasonings: Add salt, pepper, garlic, dried mustard, paprika, and sage. Stir to coat the chicken evenly.
- Pour the buttermilk over the seasoned chicken. Stir well to coat the chicken.
- Refrigerate this mixture for at least 1 hour, or for a more tender result, leave it overnight.
- Second Coat of Seasonings: In a shallow dish, whisk together the flour, baking powder, salt, garlic powder, paprika, basil, thyme, onion powder, and cayenne pepper.
- Remove each piece of chicken from the marinade, place it into the shallow dish with the flour mixture, and toss to coat thoroughly. Ensure the entire surface of each piece of chicken is coated very well. Set aside.
- Heat the oil in a deep frying pan to about 340-350 degrees F (170-175°C). The goal is to fry the outside to a crisp golden brown without burning while cooking the chicken all the way through.
- Carefully place the coated chicken pieces into the hot oil. Cook 4 or 5 pieces at a time; do not overcrowd the pan. Turn as necessary and fry until golden brown. Each piece will take approximately 15-20 minutes to cook completely. Ensure the internal temperature reaches 165 degrees F (74°C). Keep a candy thermometer in the oil and adjust heat as needed to maintain the temperature around 340-350 degrees F, as the cold chicken will cause the oil temperature to drop.
- Allow the cooked chicken to drain on a wire rack to help it stay crispy.
Notes
It may take a few test pieces to find the perfect oil temperature that cooks the chicken golden on the outside and fully cooked on the inside. Don’t be discouraged if your first batch isn’t perfect; practice makes perfect!
Nutritional information for this recipe is provided as a courtesy and is approximate. Please double-check with your own dietary calculator for the best accuracy. We at Yummi Haus cannot guarantee the accuracy of the nutritional information given for any recipe on this site.
Love this recipe?
Follow @KleinworthCo for even more tasty recipes!