
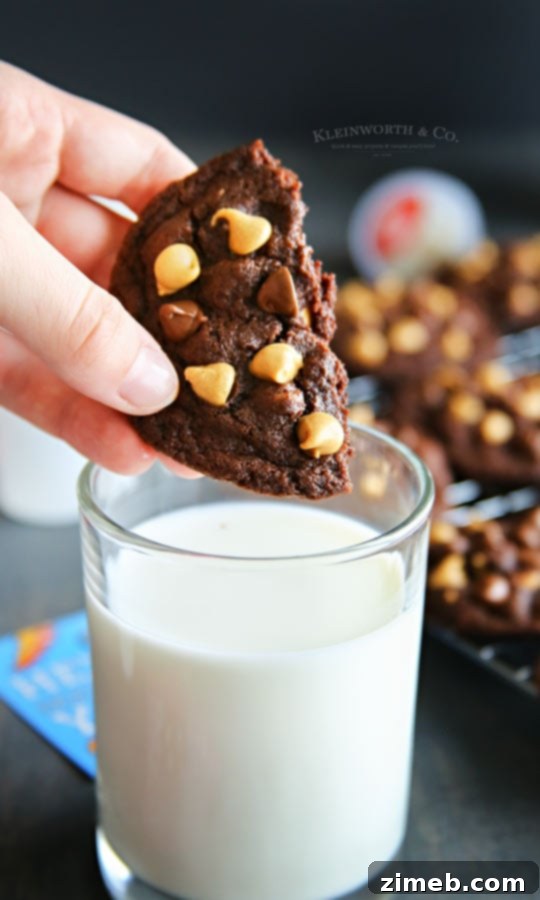
Indulge in the decadent delight of soft batch style Peanut Butter Chocolate Brownie Cookies – the most irresistible no-chill chocolate cookies you’ll ever bake. Perfectly fudgy and bursting with flavor, these are the ultimate treat to celebrate the start of a new school year.
As the summer days gracefully give way to autumn, the familiar buzz of “back to school” fills the air. It’s a time of fresh starts, new routines, and perhaps a little bit of delightful chaos. While preparing for the academic year ahead can be a whirlwind, finding moments to connect and celebrate with your family is essential. What better way to create lasting memories and welcome children home than with a special, homemade treat? This year, let’s kick off the school season with smiles, stories, and a plate full of our incredible Peanut Butter Chocolate Brownie Cookies.
These aren’t just any cookies; they’re a celebration in every bite, designed to be an easy win for busy parents. Forget complicated recipes that require hours of chilling; these brownie cookies are ready to enjoy in no time. They’re perfectly soft, wonderfully fudgy, and generously studded with not one, but three types of chocolate chips, alongside creamy peanut butter chips. Imagine the joy on your kids’ faces as they recount their day, sharing laughter and the irresistible taste of these homemade marvels.
This post is brought to you by Seattle’s Best Coffee, who understand the importance of a smooth start to any day, especially those bustling back-to-school mornings. Just as these cookies promise a delightful afternoon, a perfect cup of coffee from Seattle’s Best ensures parents are ready to tackle anything the day brings. All opinions expressed here are 100% my own.
While I typically lean towards healthier snacks for daily after-school fuel, the first day back calls for something truly special. These Peanut Butter Chocolate Brownie Cookies fit the bill perfectly. They’re not just a dessert; they’re a tangible way to show your love and make the transition back to school feel like an exciting event rather than a chore. These cookies are fantastic for sharing stories about the first day, celebrating new friendships, and marking the beginning of another wonderful academic year.
The Magic of Peanut Butter Brownie Cookies

What makes these cookies so incredibly special? It’s their unique soft-batch style, reminiscent of a fudgy brownie in cookie form. They offer that delightful chewiness that everyone loves, combined with the rich depth of chocolate and the creamy, savory notes of peanut butter. And the best part? No chilling required! This means you can go from craving to cookie much faster, making them an excellent choice for those spontaneous baking sessions or when you need a quick pick-me-up.
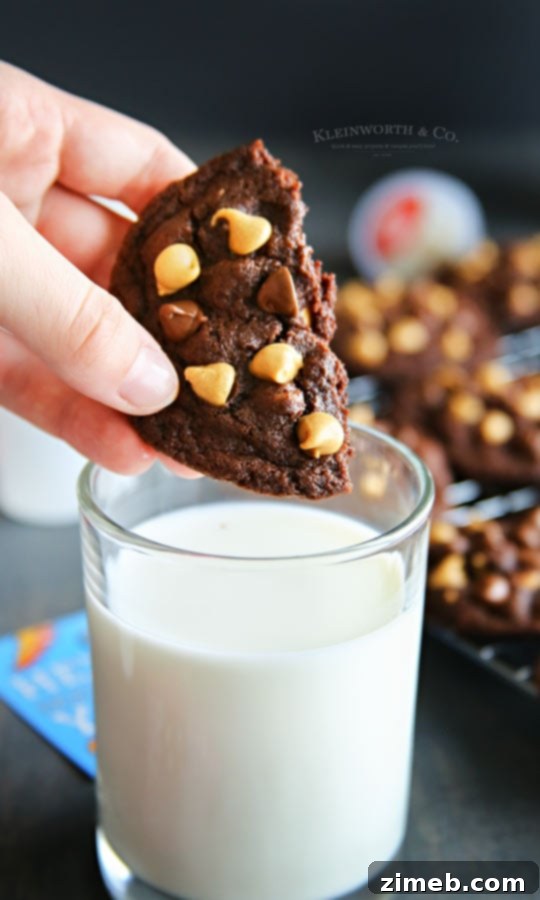
As the kids happily dunk their warm cookies in a glass of cold milk, I find my perfect pairing in a freshly brewed cup of Seattle’s Best Coffee. Their smooth, rich flavor perfectly complements the sweetness of these indulgent treats. It’s a little ritual that helps me unwind and connect after a busy day, savoring the simple joys of a homemade dessert and quality coffee.
Crafting the Perfect Brownie Cookie

These brownie cookies are truly a triple threat when it comes to chocolate, loaded with milk chocolate chips, peanut butter chips, and an extra sprinkle of dark chocolate chips for topping. The combination creates a symphony of textures and flavors that will undoubtedly make them a new family favorite. They’re soft, gooey, and packed with an intense chocolate flavor that is balanced beautifully by the salty-sweetness of peanut butter. It’s a recipe that consistently delivers a perfect cookie, making it a go-to for any occasion that calls for something extraordinary.
Beyond being a delicious treat, baking these cookies can be a wonderful family activity. Kids love helping in the kitchen, from measuring ingredients to folding in the chocolate chips. It’s a great way to teach them basic baking skills and create cherished memories together. Plus, the reward is a batch of warm, fragrant cookies straight from the oven – an experience that’s hard to beat.
Peanut Butter Chocolate Cookies: Tips for Success
Frequently Asked Baking Questions
Why are room temperature ingredients essential?
Achieving the perfect texture in your Peanut Butter Chocolate Brownie Cookies largely depends on using room temperature ingredients, particularly butter and eggs. When butter is at room temperature, it’s soft enough to cream smoothly with sugars, creating tiny air pockets that are crucial for a light and fluffy cookie. If your butter is too cold, it won’t incorporate properly, leading to a dense, uneven dough. Similarly, room temperature eggs emulsify better with the other ingredients, ensuring a homogenous batter where everything blends perfectly, preventing any unblended pockets and contributing to a uniform bake.
The science behind this is simple: room temperature dairy products form an emulsion more effectively. This emulsion traps air, which then expands during baking, giving your cookies that desirable soft, chewy texture and preventing them from becoming flat or crumbly. It’s a small step that makes a significant difference in the final outcome of your baked goods.
How to Make Peanut Butter Chocolate Brownie Cookies: Step-by-Step
- Preheat your oven to 350°F (175°C).
- Line three baking sheets with parchment paper or silicone baking mats and set them aside. This helps prevent sticking and ensures even baking.
- In a large mixer bowl, combine the softened butter and both granulated and brown sugars. Beat them together on medium speed until the mixture is light, fluffy, and well combined (approximately 2-3 minutes).
- Add the large eggs one at a time, mixing well after each addition until just combined. Avoid overmixing once the eggs are added.
- Stir in the pure vanilla extract.
- In a separate bowl, whisk together the dry ingredients: all-purpose flour, cocoa powder (ensure it’s not Dutch-processed for this recipe), baking soda, and table salt.
- Gradually add the dry ingredient mixture to the wet ingredients, beating on low speed until just combined. Be careful not to overmix the dough, as this can lead to tough cookies.
- Gently fold in 1 cup of peanut butter chips and 1 cup of milk chocolate chips using a spatula.
- Using a medium cookie scoop, drop rounded portions of dough onto the prepared baking trays, spacing them about 2 inches apart.
- For an extra touch, press several more peanut butter chips and some dark chocolate chips onto the tops of each dough ball. This makes for a more visually appealing cookie.
- Bake for 8-10 minutes. The edges should be set, but the centers may still look slightly soft, which is perfect for a fudgy texture.
- Immediately after removing the cookies from the oven, if desired, press a few more peanut butter and dark chocolate chips onto the hot cookies. The residual heat will melt them slightly, making them look even more enticing.
- Allow the cookies to cool on the baking sheets for 5 minutes before carefully transferring them to a wire rack to cool completely. This prevents them from breaking and helps them set.
Can these cookies be prepared in advance?
Absolutely! This cookie dough is fantastic for making ahead of time. You can store the unbaked dough in the refrigerator for up to 4 days. Make sure to wrap it tightly in plastic wrap or place it in an airtight container to prevent it from drying out or absorbing other odors from your fridge. When you’re ready to bake, let the dough sit at room temperature for about 20-30 minutes before scooping and baking as directed. This allows the dough to soften slightly, making it easier to portion and ensuring a consistent bake.
Alternatively, you can scoop the dough onto baking sheets, freeze the individual balls until solid, and then transfer them to a freezer-safe bag. Frozen dough balls can be stored for up to 3 months. When baking from frozen, simply add a few extra minutes to the baking time.
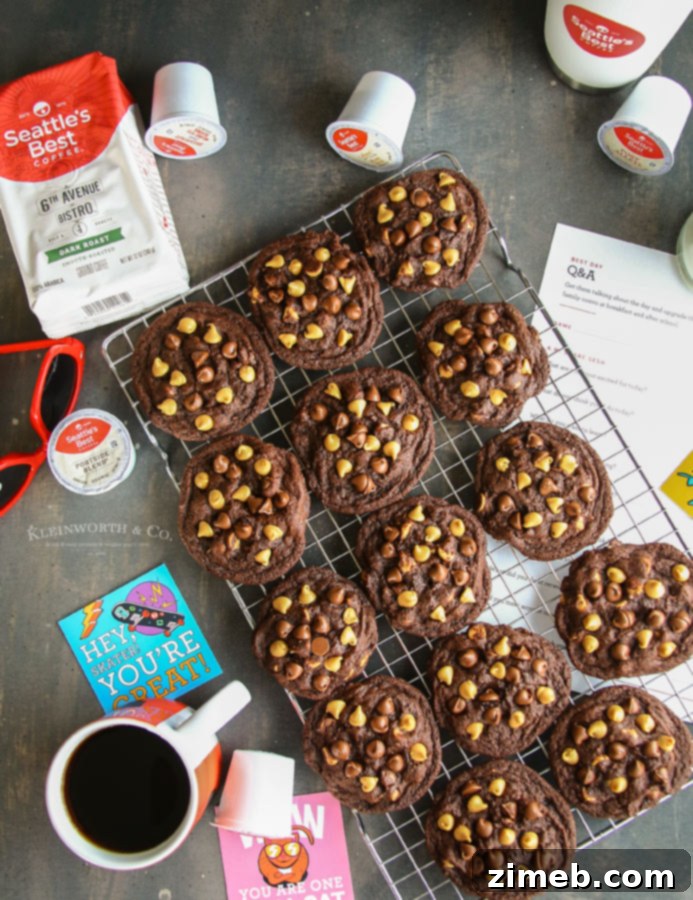
Key Ingredients for Peanut Butter Chocolate Brownie Cookies
- Butter: Softened to room temperature (2½ sticks). Crucial for proper creaming and texture.
- Granulated Sugar: Provides sweetness and contributes to the cookie’s structure.
- Firmly Packed Brown Sugar: Adds moisture, chewiness, and a deeper, caramel-like flavor.
- Large Eggs: At room temperature, for emulsification and binding.
- Pure Vanilla Extract: Enhances all the other flavors.
- All-Purpose Flour: The primary structural component of the cookies.
- Cocoa Powder: Essential for the brownie-like flavor and color. Use regular (natural) cocoa, not Dutch-processed, for this recipe.
- Baking Soda: A leavening agent that reacts with the acidity in natural cocoa powder to help the cookies rise.
- Table Salt: Balances the sweetness and enhances the chocolate and peanut butter flavors.
- Peanut Butter Chips: For that irresistible nutty flavor, plus extra for topping.
- Milk Chocolate Chips: Adds creamy, sweet chocolate notes throughout.
- Dark Chocolate Chips: Reserved for topping, they add a rich, slightly bitter contrast.
Understanding Cocoa Powder: Natural vs. Dutch-Processed
The type of cocoa powder you use can significantly impact the final taste, color, and texture of your baked goods. In this recipe, we specifically call for natural (non-Dutch-processed) cocoa powder. Here’s why:
Natural Cocoa Powder: This cocoa powder is simply roasted cocoa beans ground into a fine powder. It has a reddish-brown color and a distinctively strong, slightly bitter, and acidic flavor. This acidity is key because it reacts with baking soda (an alkaline leavening agent) to produce carbon dioxide gas, which helps baked goods rise and become light and airy. Recipes using natural cocoa powder usually pair it with baking soda.
Dutch-Processed Cocoa Powder: Also known as alkalized cocoa, this powder is made from cocoa beans that have been washed in an alkaline solution (like potassium carbonate). This process neutralizes the cocoa’s acidity, making it darker, milder in flavor, and less bitter. Because it’s neutral, Dutch-processed cocoa does not react with baking soda. Therefore, recipes calling for Dutch-processed cocoa typically use baking powder (which contains its own acid) or a combination of both to achieve lift.
Using the wrong type of cocoa powder can lead to a completely different result. If you use Dutch-processed cocoa in a recipe calling for natural cocoa and baking soda, your cookies might not rise properly, resulting in a dense, flat texture. Always pay close attention to the specific type of cocoa powder requested in a recipe for the best baking success.
Quick Methods to Achieve Room Temperature Butter
Getting butter to the perfect room temperature can sometimes be the trickiest part of baking. Here are a few reliable methods:
Method 1: The Countertop Approach
The simplest way is to plan ahead. Take your butter (and any other dairy ingredients like eggs) out of the refrigerator about 30 minutes to an hour before you plan to start baking. On a warm day, 30 minutes might be enough, but in cooler environments, it could take longer. The butter should be soft enough to indent with your finger without melting or becoming greasy.
I often pull out all my chilled ingredients first thing when I start prepping. This ensures everything is ready when I need it, preventing any mid-recipe surprises about missing or cold ingredients.
Method 2: Microwave Quick Softening (Use with Caution!)
If you’re short on time, the microwave can be a quick fix, but it requires extreme caution. Keep the butter wrapped in its paper (unless it’s foil-wrapped) and microwave it in very short bursts. I recommend 2-second intervals, flipping the stick after each burst. Continue this process for maybe 6-10 seconds total, depending on your microwave’s power. Stop as soon as it feels soft enough to indent easily. Over-softened or melted butter from the microwave WILL negatively affect the cookie’s texture, making them greasy or flat. It’s better to under-soften than over-soften.
Method 3: Warm Water Bath
This is my preferred emergency method. Place the wrapped butter sticks in a zip-top bag (to keep water out) and submerge the bag in a bowl of warm (not hot!) water. This method works beautifully for eggs too. The gentle warmth will bring the ingredients to room temperature evenly and relatively quickly without risking melting. Just a few minutes in the warm water should do the trick.

The journey back to school is filled with excitement and challenges, not just for the kids but for parents too. That’s why Seattle’s Best Coffee is there to help upgrade parents’ mornings, ensuring they are energized and ready to take on the first school day and every day that follows. Investing in a quality cup of coffee is a small luxury that can make a big difference in your daily routine. With so much to juggle, my coffee is truly an essential part of my back-to-school survival kit!
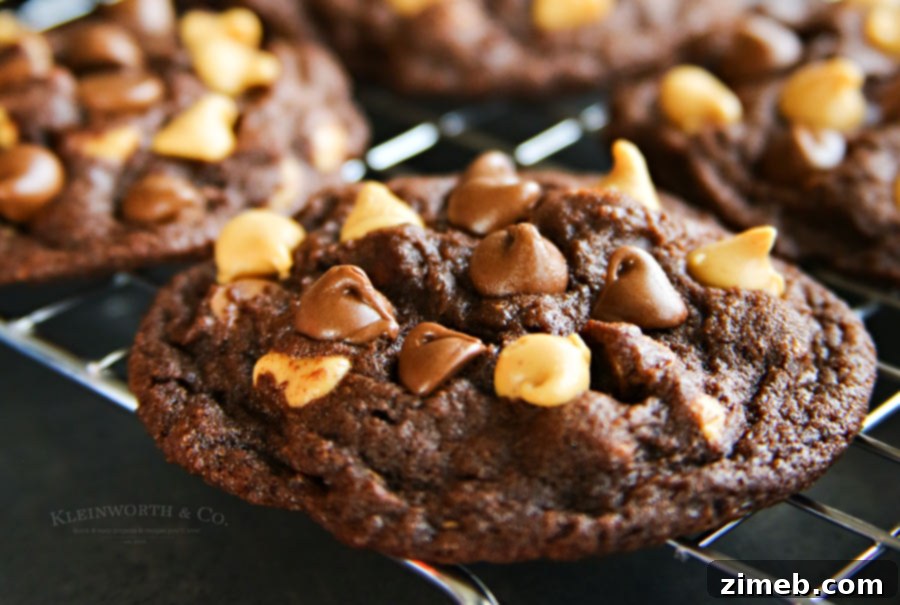
Just look at all that peanut butter & chocolate goodness! Every bite is pure bliss.
If you’re absolutely smitten with this Peanut Butter Chocolate Brownie Cookies recipe, you’ll be thrilled to discover more of our fantastic back-to-school ideas and family-friendly recipes. Click each link below to explore new ways to make the school year exciting and delicious!





Peanut Butter Chocolate Brownie Cookies
Dessert
36
cookies
15
mins
10
mins
25
mins
Ingredients
- 1¼ cups butter – soft/room temperature (2½ sticks)
- 1 cup granulated sugar
- 1 cup firmly packed brown sugar
- 2 large eggs – room temperature
- 2 tsp pure vanilla extract
- 2¼ cups all-purpose flour
- ¾ cup cocoa powder – not Dutch-Processed
- 1 tsp baking soda
- ½ tsp table salt
- 1 cup peanut butter chips + more for topping
- 1 cup milk chocolate chips
- ½ cup dark chocolate chips for topping only
Instructions
- Preheat the oven to 350°F (175°C).
- Line 3 baking sheets with parchment paper or a silicone mat – set aside.
- In the mixer bowl, beat together the butter & sugars until light & fluffy.
- Mix in the eggs one at a time just until combined.
- Beat in the vanilla.
- Slowly beat in the dry ingredients (flour, cocoa, baking soda & salt).
- Fold in 1 cup of the peanut butter chips & 1 cup of the milk chocolate chips.
- Use a medium cookie scoop & drop the dough onto the prepared baking trays.
- Place several more peanut butter chips & some dark chocolate chips around the tops of the dough.
- Bake for 8-10 minutes – immediately add more peanut butter & dark chocolate chips to the cookies after baking while they are still hot.
- Allow the cookies to cool for 5 minutes on the baking sheet before transferring to a cooling rack.
Nutritional information for the recipe is provided as a courtesy and is approximate. Please double-check with your own dietary calculator for the best accuracy. We at Yummi Haus cannot guarantee the accuracy of the nutritional information given for any recipe on this site.
Love this recipe?
Follow @KleinworthCo for even more tasty recipes!