
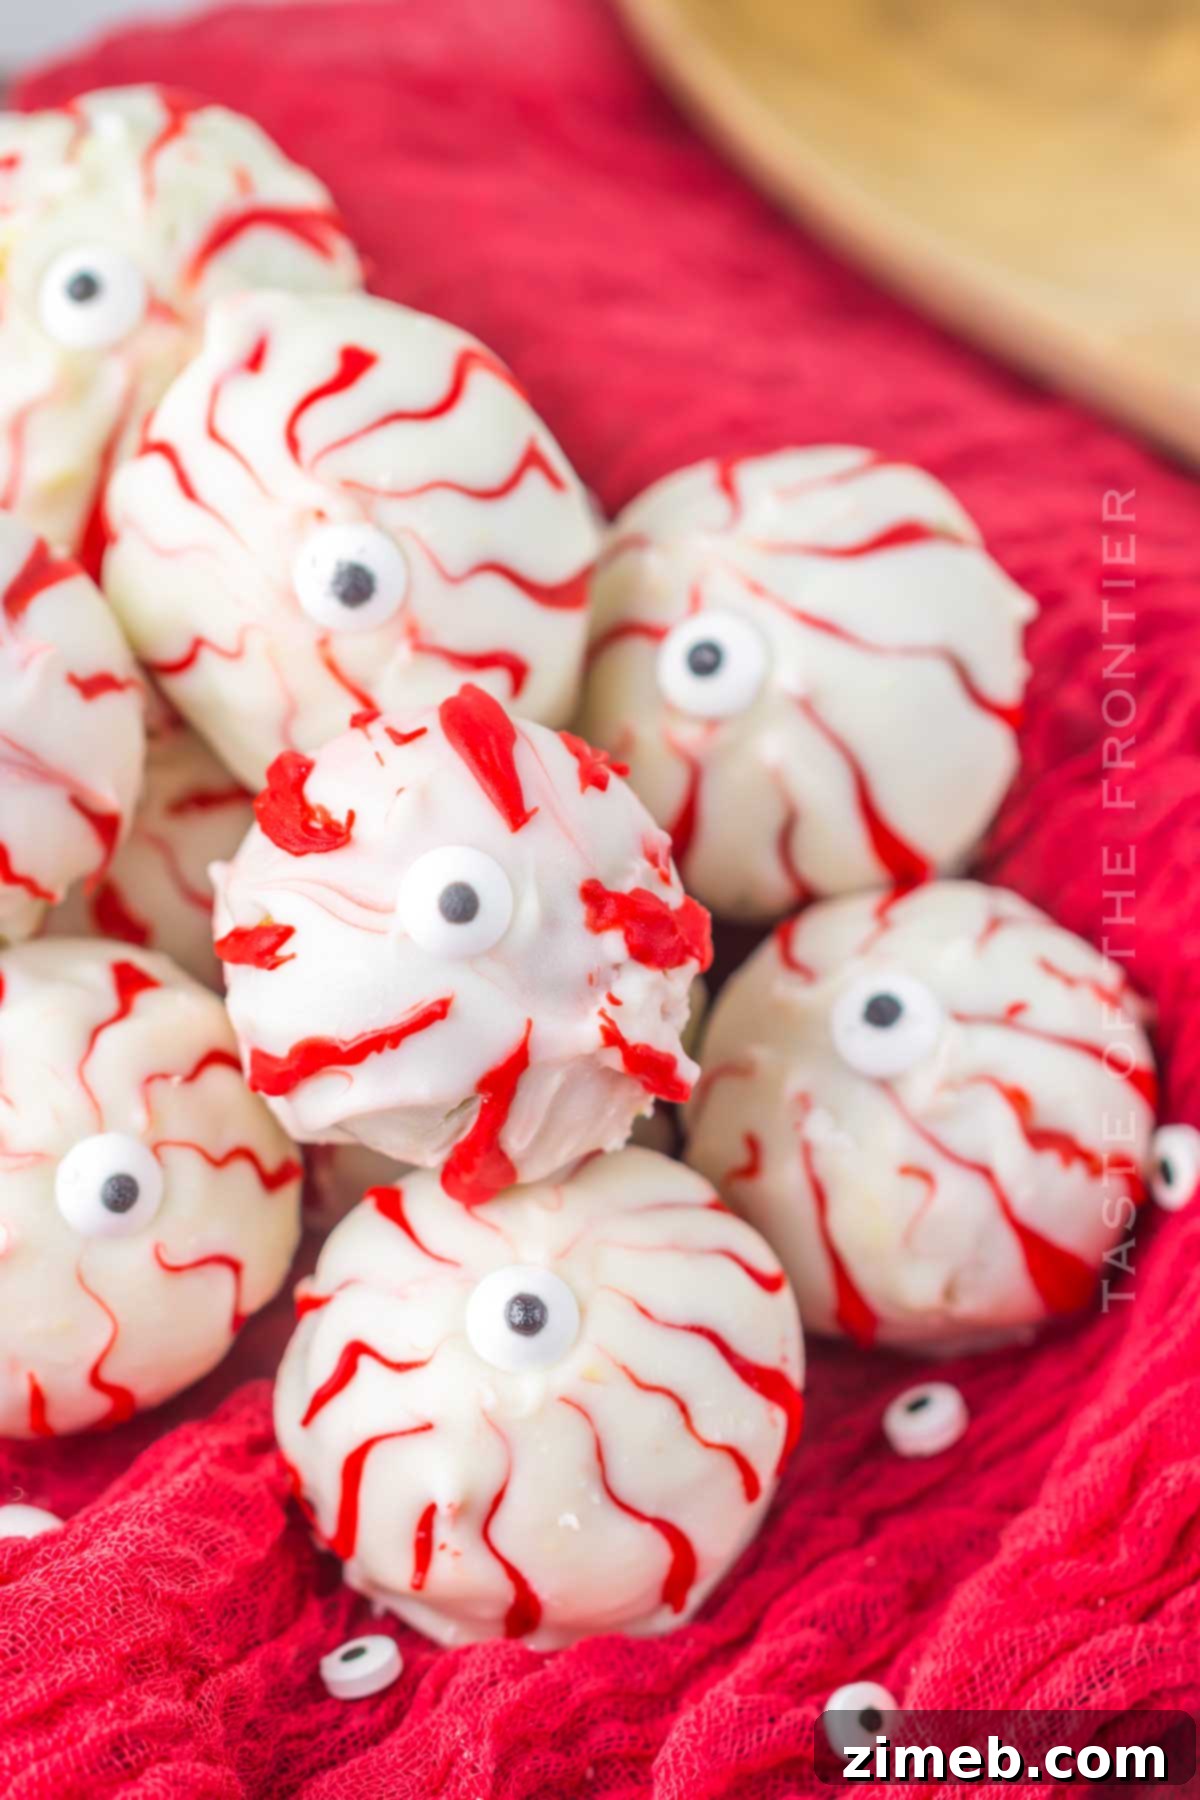
Step into the spooky season with a treat that’s as delicious as it is delightfully eerie: Halloween Eyeball Truffles! These no-bake wonders are incredibly easy to create and guaranteed to be a frightfully tasty highlight at your Halloween gathering. Imagine serving these creepy, delicious bites, each one seemingly staring back at your guests. They’re not just a dessert; they’re an experience!
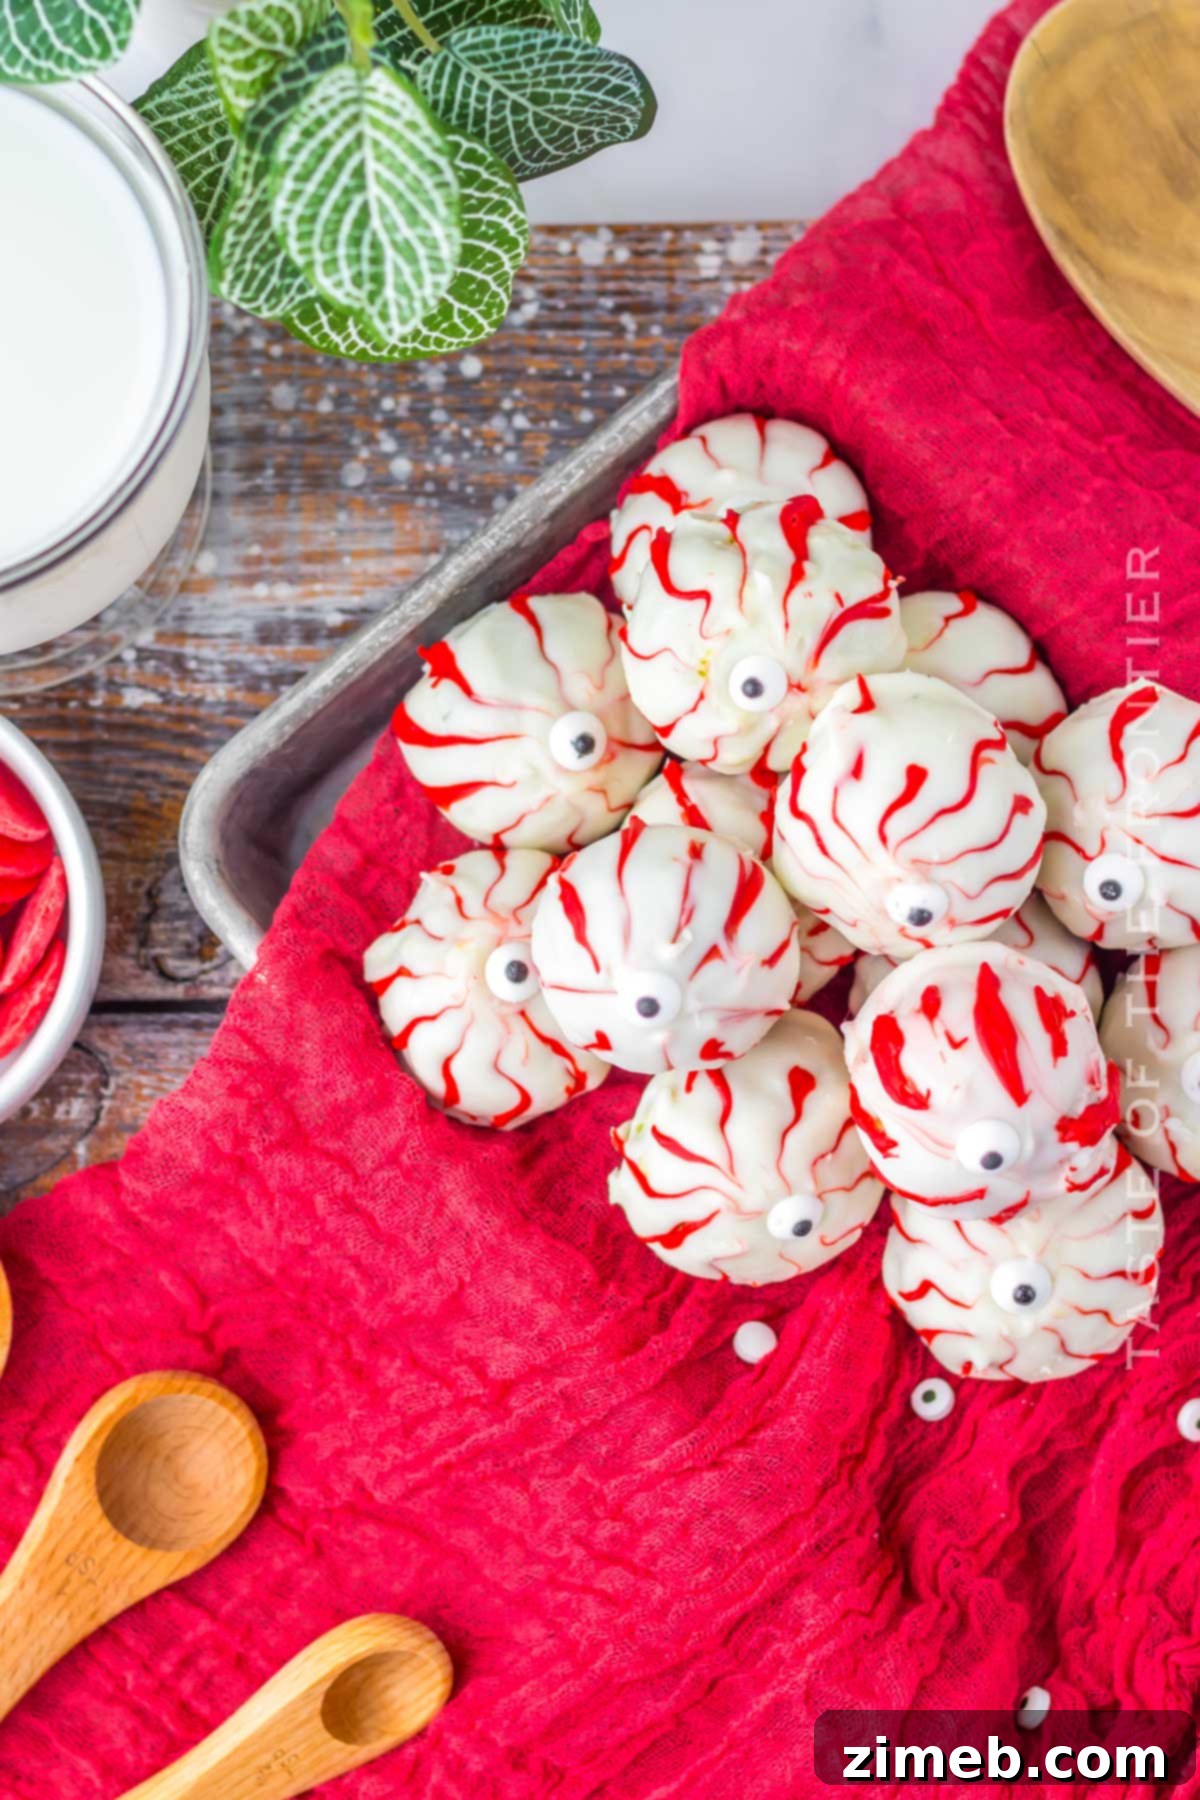
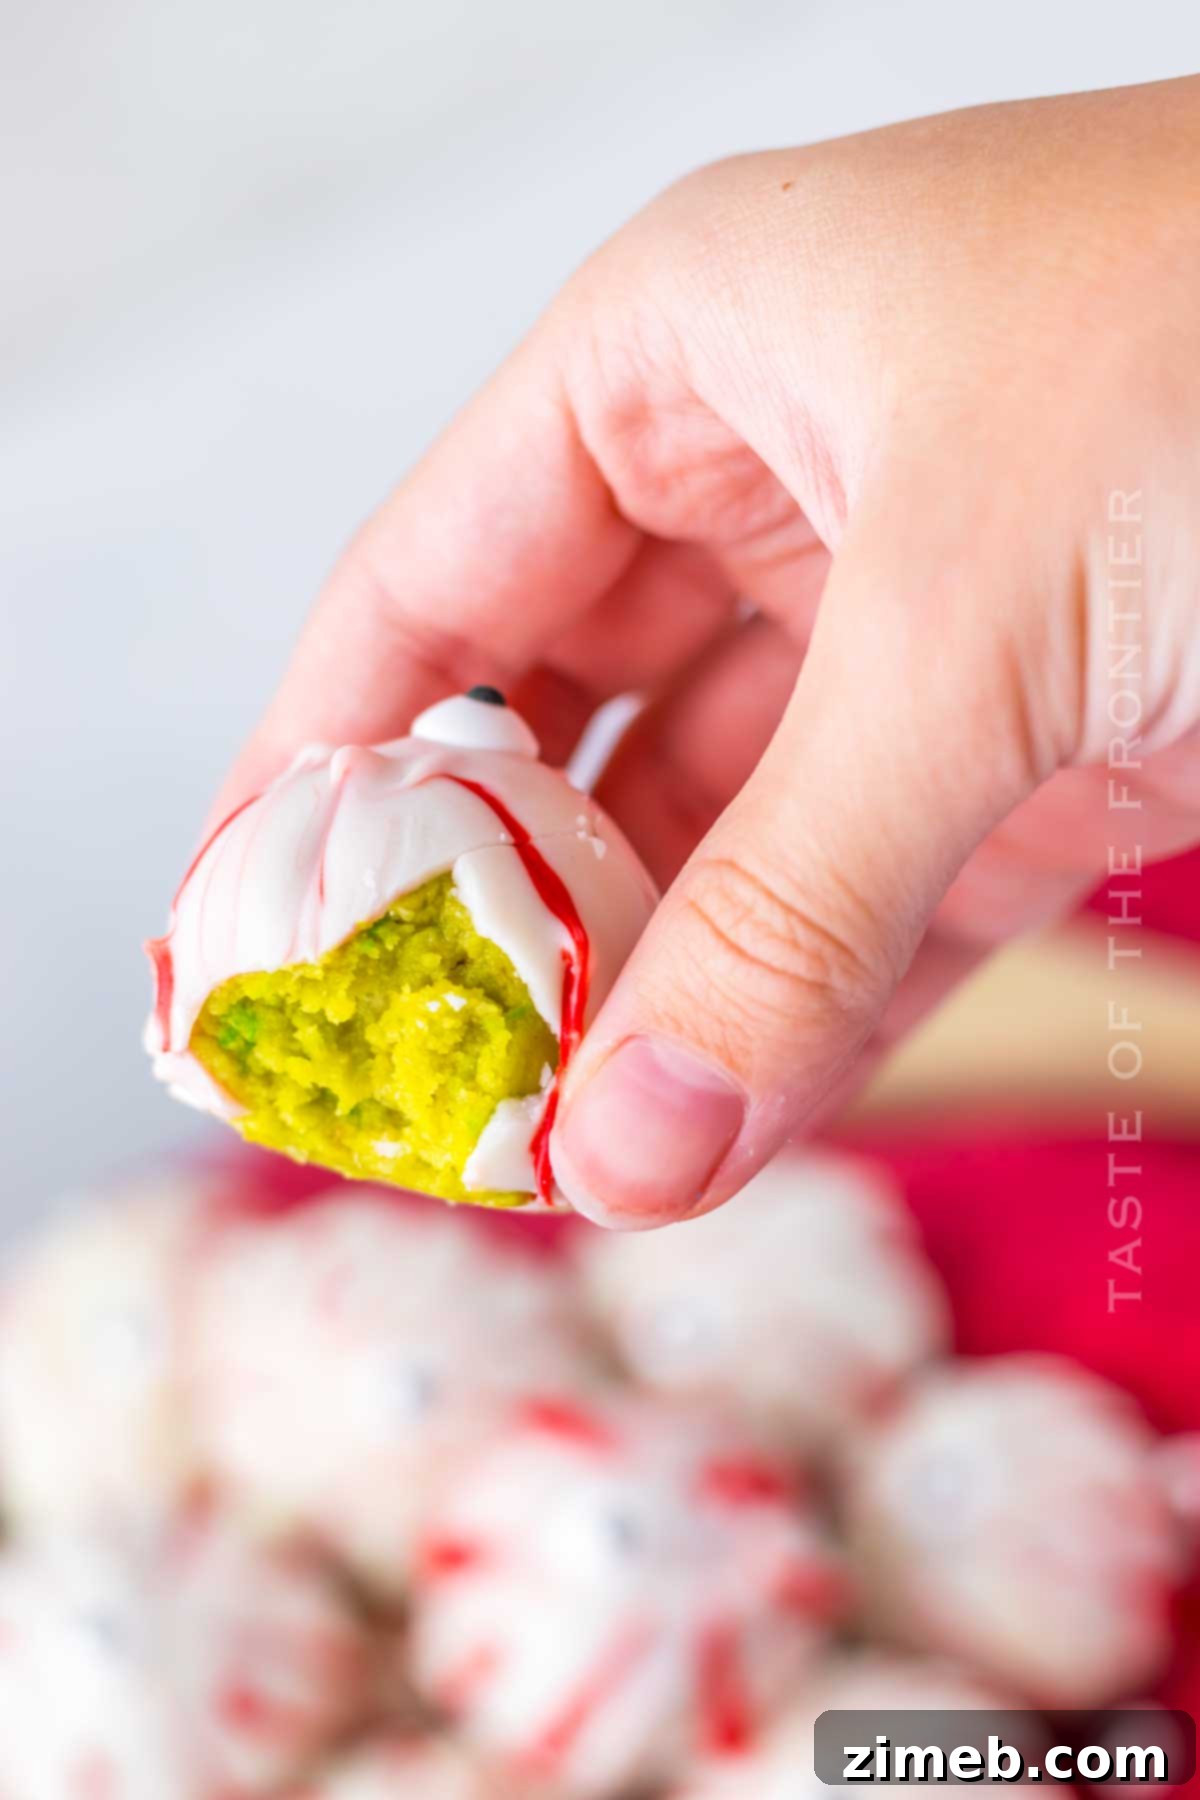
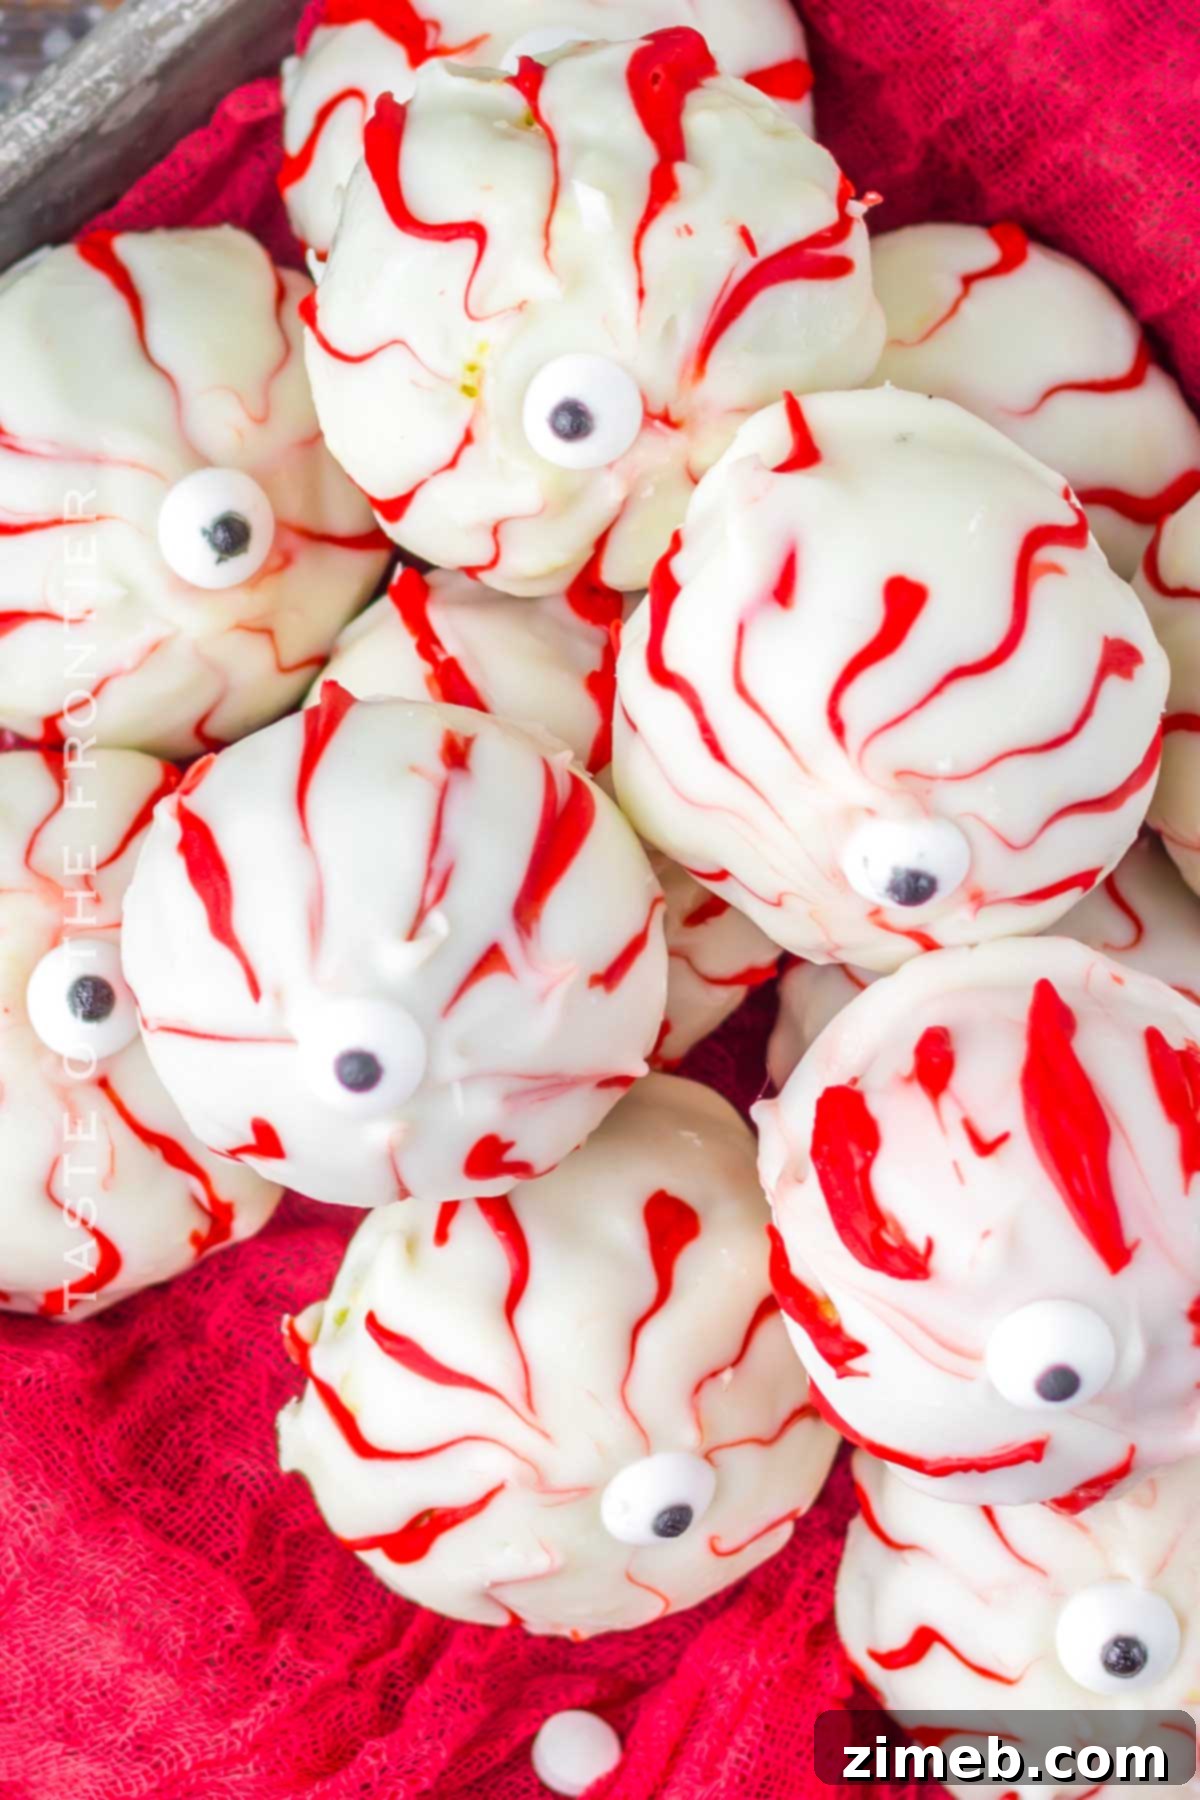
Crafted from a decadent blend of crushed Oreo cookies and rich cream cheese, these truffle eyeballs are then enrobed in a smooth, melted vanilla almond bark. The final touch? Intricate bloodshot lines and a captivating candy eye, making each truffle a miniature work of edible horror art. Despite their intricate appearance, preparing these ghoulish delights is surprisingly straightforward, ensuring you’ll have them ready to thrill your party guests in no time.
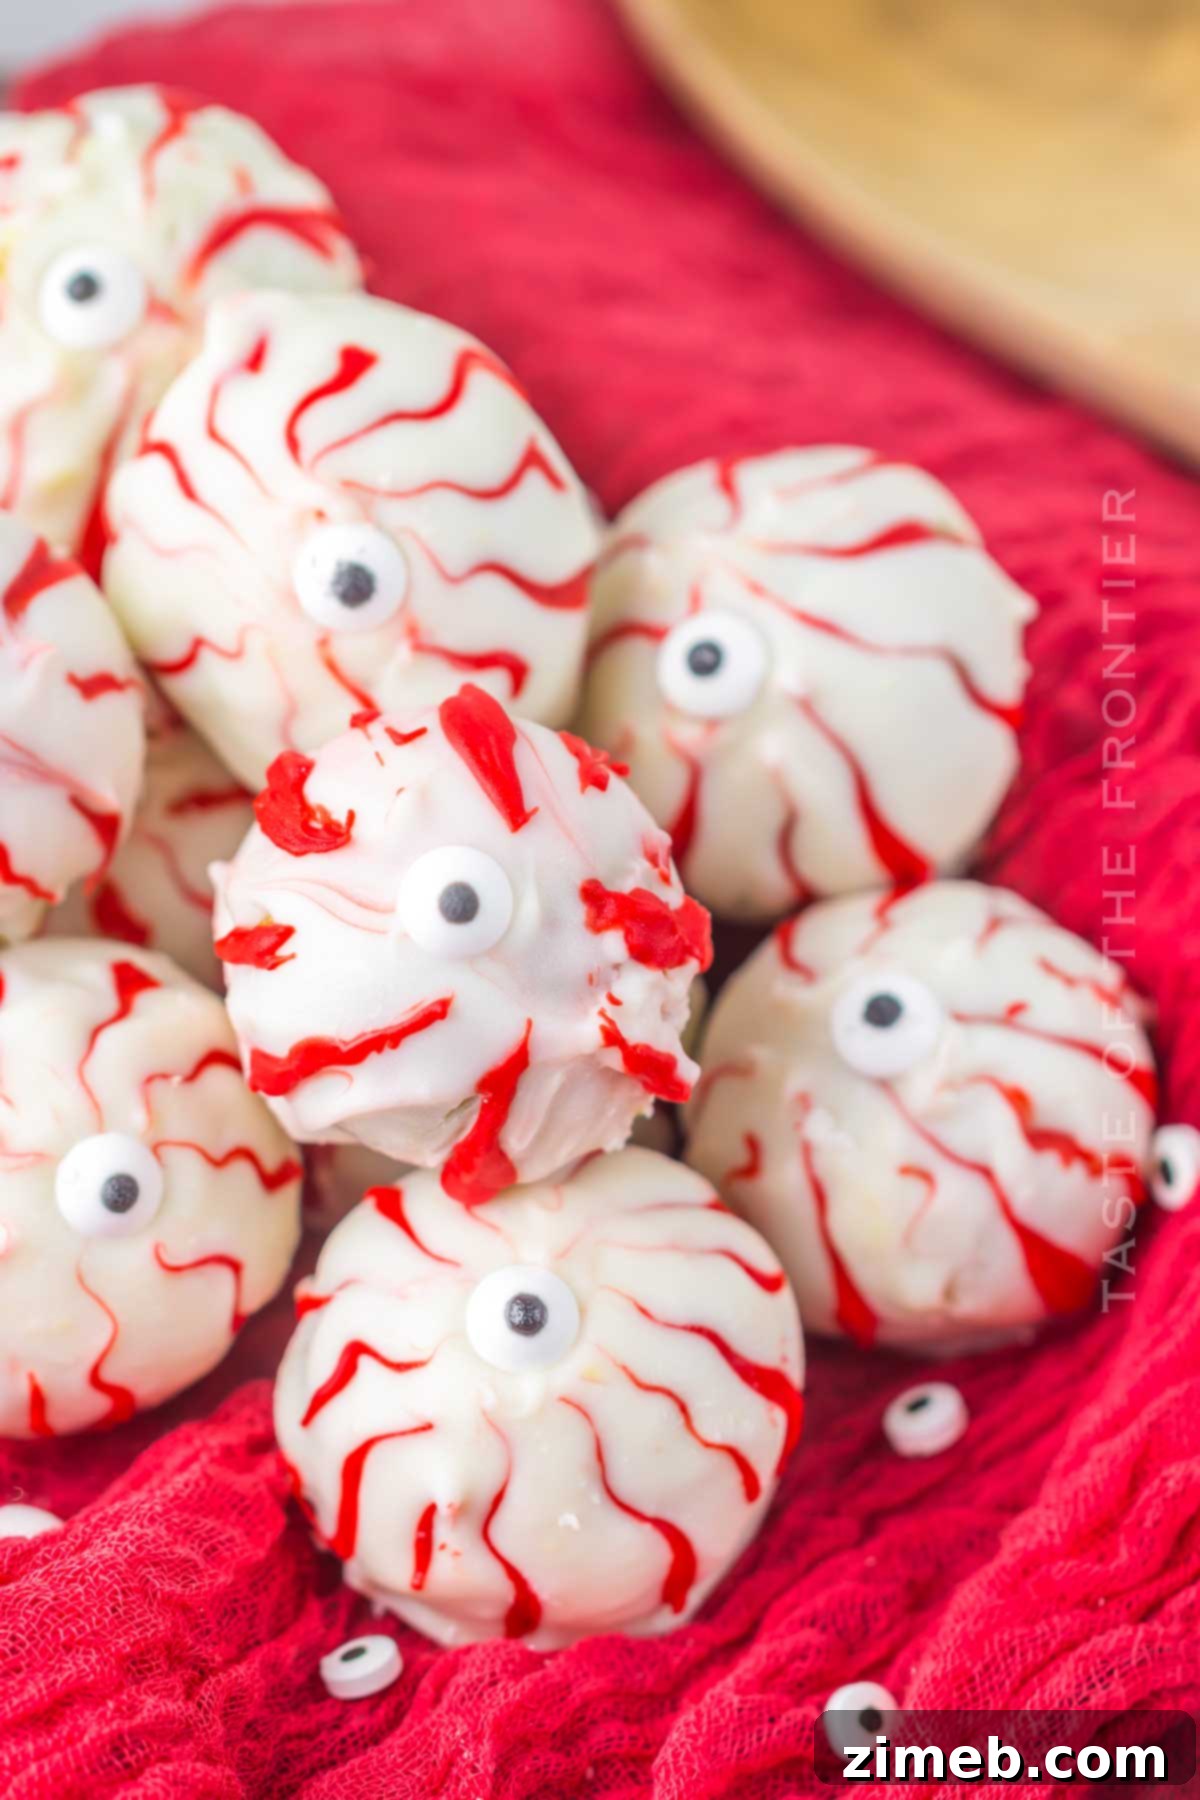
Truffles, with their versatile nature, serve as a perfect blank canvas for creative Halloween treats. This particular recipe takes that versatility to the next level, offering a no-bake solution that busy parents and dessert enthusiasts alike will adore. It’s a wonderfully yummy and slightly gross-looking dessert that promises to both win over and delightfully scare every guest at your Halloween bash.
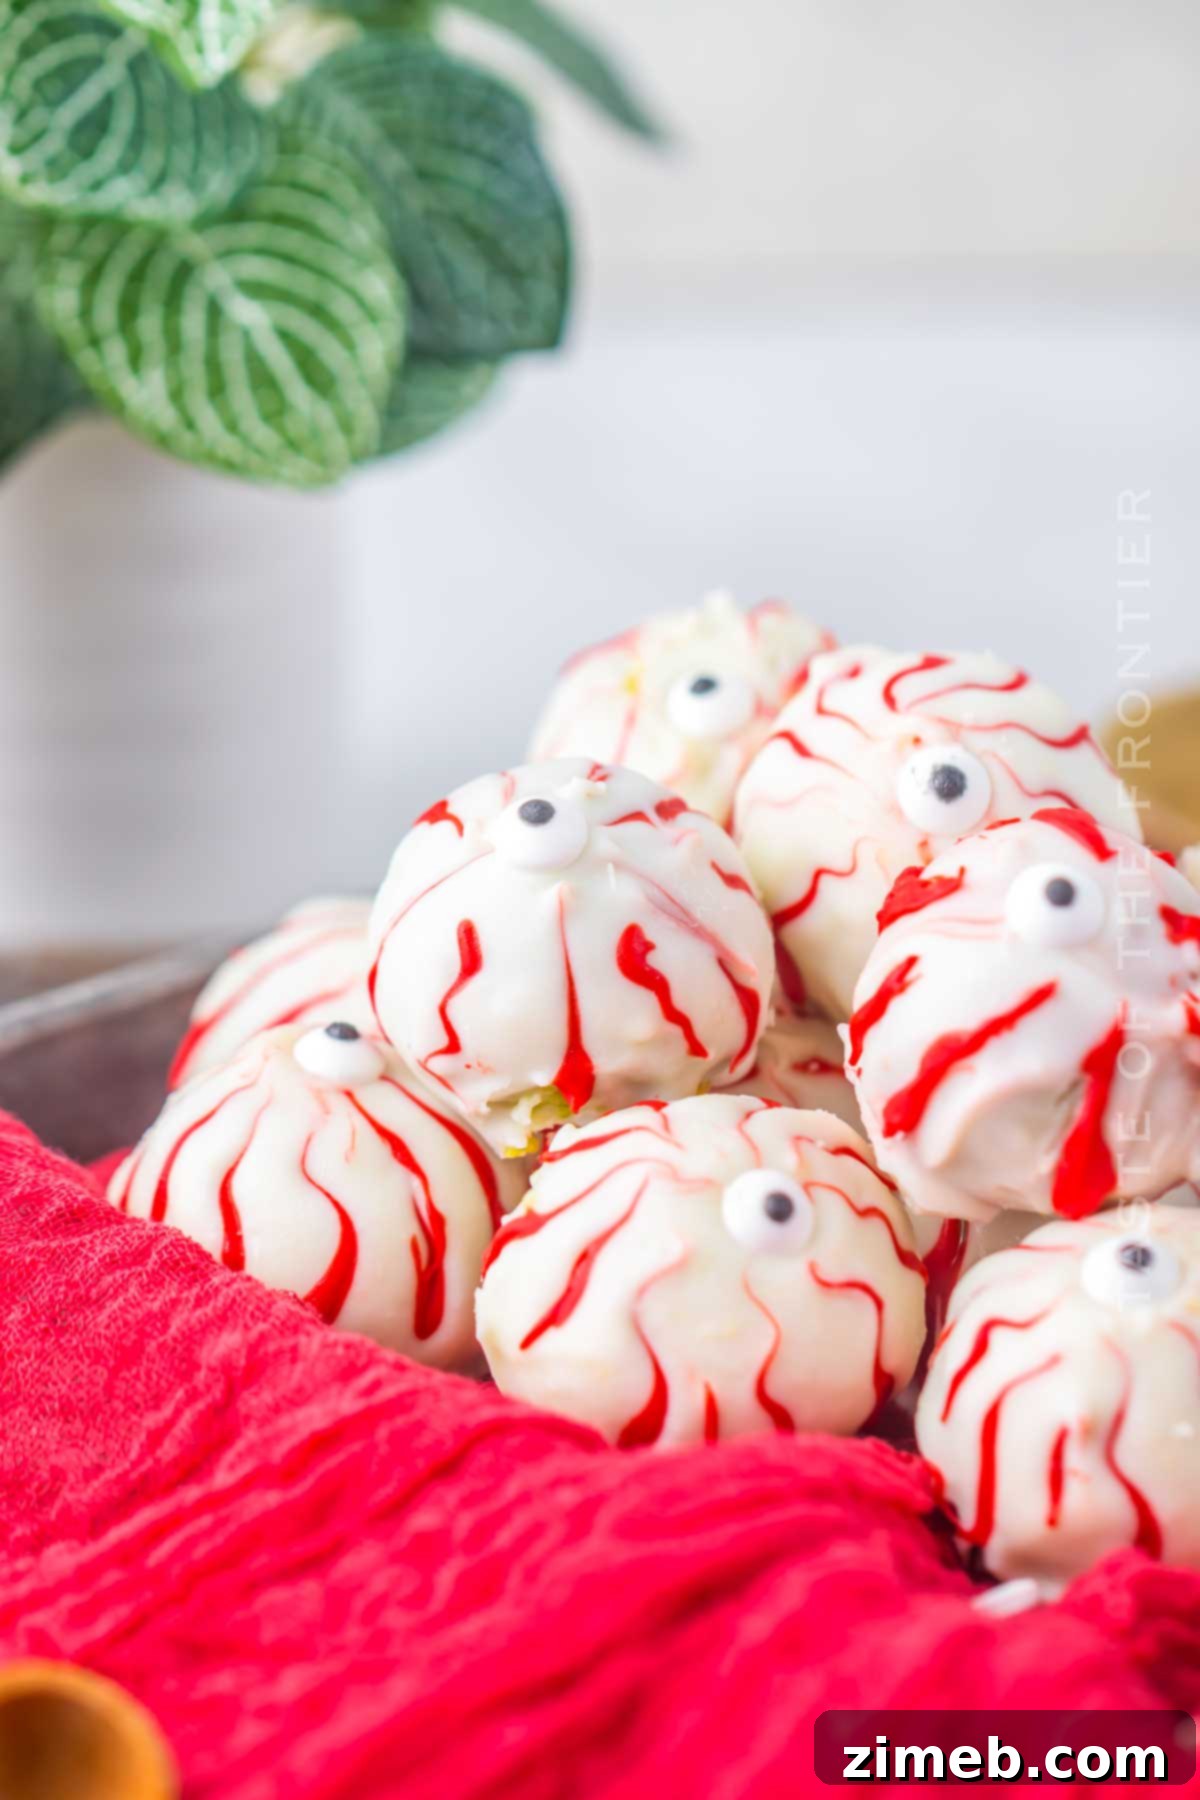
Why You’ll Love This Spooky Halloween Eyeball Truffles Recipe
These Oreo Eyeball Truffles aren’t just a dessert; they’re a highlight of the Halloween season. Here’s why they’ll quickly become your go-to festive treat:
- Effortlessly No-Bake & Simple: Forget about preheating ovens or complex baking techniques. These monster truffles require absolutely no baking or cooking, making them incredibly simple to prepare. Even without extensive culinary experience, you can create these impressive treats with ease. Plus, they don’t demand hours of chilling and waiting, so you can enjoy your Halloween fun sooner!
- Ghoulishly Spooktacular Design: While easy to make, these Oreo balls boast a truly creepy and captivating appearance, ideal for Halloween. They perfectly embody the spirit of the holiday, featuring traditional Halloween colors, a terrifyingly realistic look, and a surprisingly delicious sweet flavor that will delight all who dare to try them.
- Minimal, High-Quality Ingredients: Despite their sophisticated taste and appearance, these Oreo eyeball truffles are crafted from just six core ingredients. We focus on quality components like classic Oreos, creamy full-fat cream cheese, and rich vanilla almond bark, ensuring every bite is absolutely delicious and satisfying.
- Fun for All Ages – Perfect for Kids: The simplicity of this recipe, combined with its exciting decorating phase, makes it a fantastic activity to share with children. Little hands can get creative with food coloring, drawing bloodshot lines, or adding edible glitter and googly eyes. It’s an opportunity for family fun and imaginative culinary expression!
- The Ultimate Halloween Grab-and-Go Treat: These bite-sized Halloween truffles are designed for convenience. They’re not messy to eat, quick to prepare, and incredibly easy to store and transport. Whether you’re hosting a party, attending a potluck, or simply looking for a fun snack, these truffles are a perfect choice that everyone will love.
Their melt-in-your-mouth texture and irresistible blend of vanilla and chocolate flavors make them universally appealing. It’s truly a treat that nobody can resist once they get a taste!
How Many Delicious Truffles Will This Recipe Yield?
Following this recipe with the specified ingredients, you can typically expect to make about 20 medium-sized truffles. These treats are incredibly tempting and tend to disappear quickly, especially when children are around!
If you’re hosting a larger Halloween party or anticipate many eager guests, I highly recommend preparing a few batches. It’s rare for anyone, especially the younger crowd, to stop at just one eyeball. The moment these eerie delights are served, they usually elicit an excited “Wow!” reaction before being gobbled up within minutes. Plan accordingly to ensure everyone gets to enjoy these frightfully good bites.
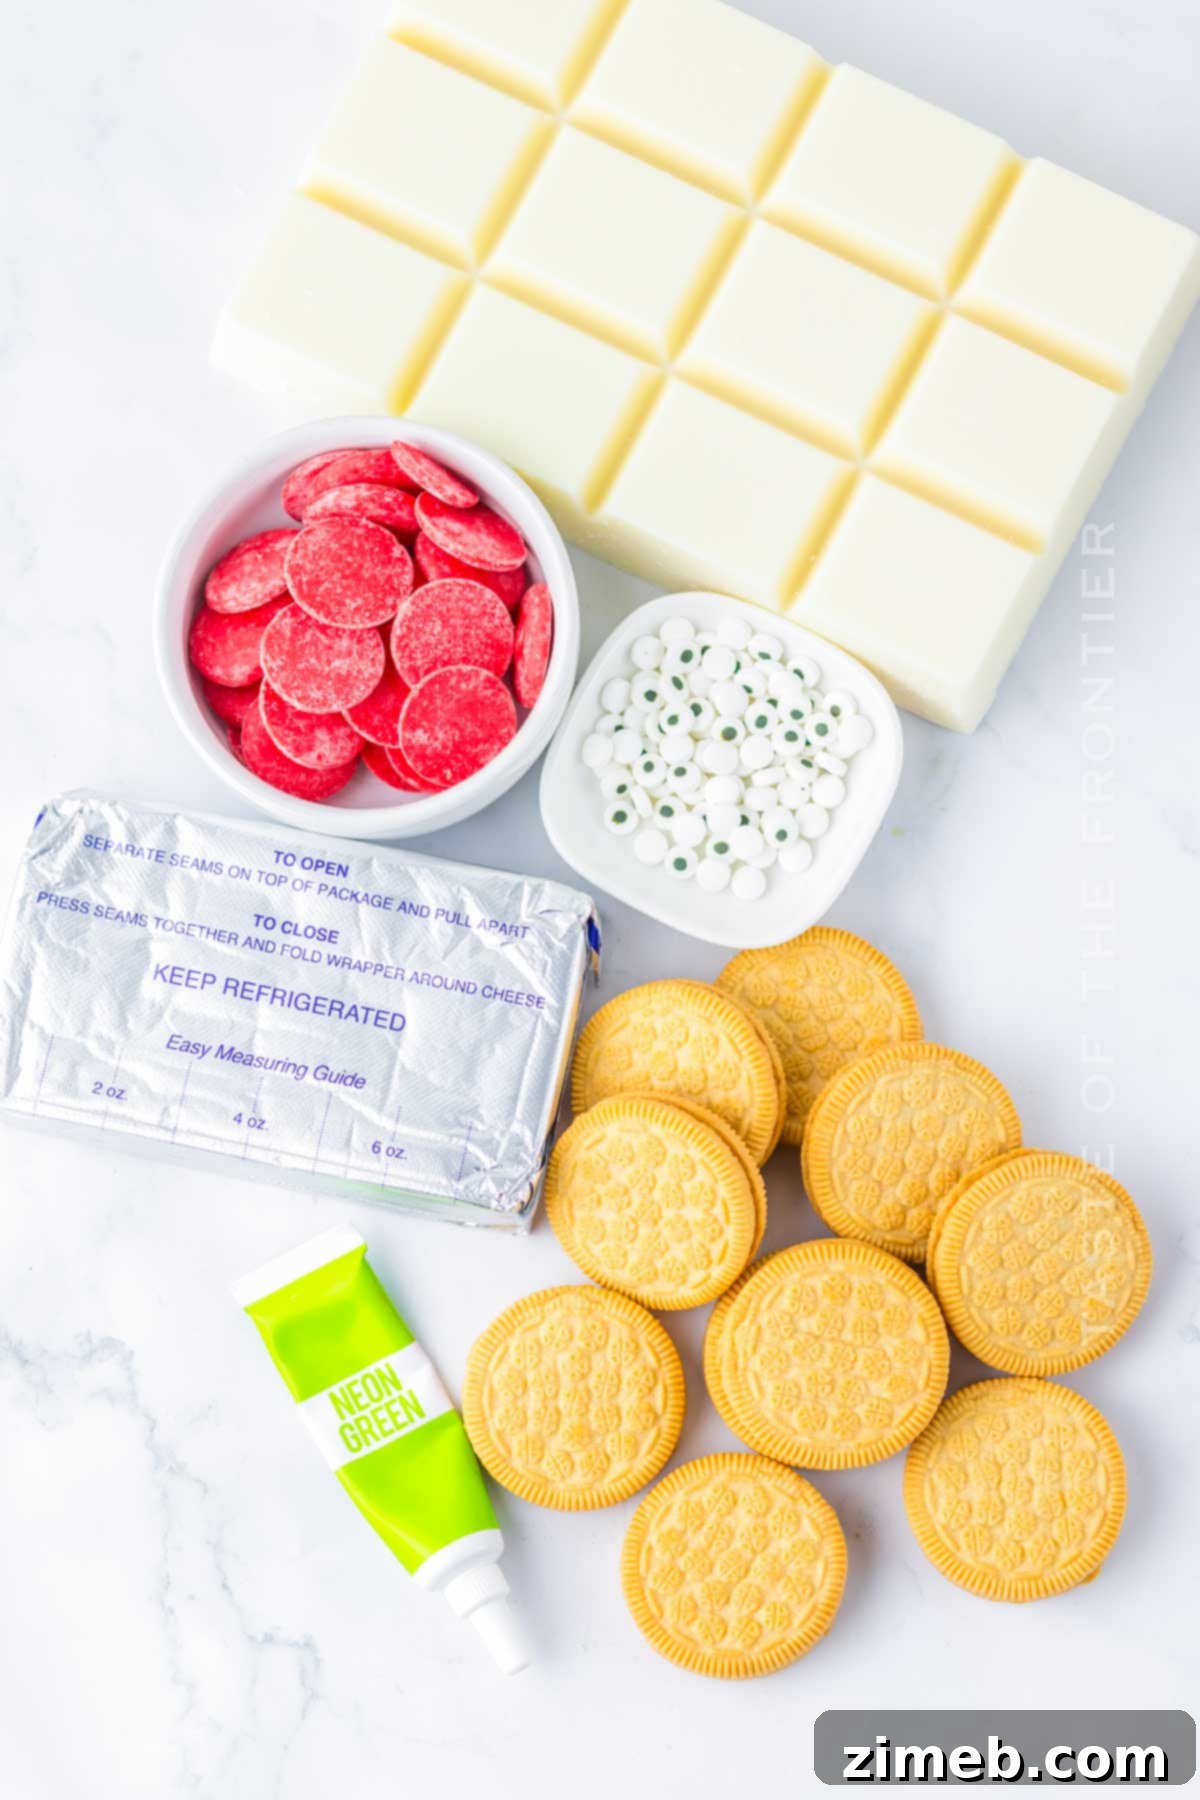
Essential Ingredients for Your Halloween Eyeball Truffles
You’ll be amazed at how easily these captivating Halloween truffles come together with just six fundamental ingredients. The beauty of this recipe lies in its flexibility; these ingredients serve more as guidelines, allowing for easy substitutions based on what you have on hand or the specific flavors you’re craving. Below, I’ll dive into each component and offer plenty of creative ideas for customization.
- Oreos: While classic chocolate Oreos are always an option, I personally love using Golden Oreos as the base for the truffle filling. They create a beautiful creamy white interior when bitten into, offering a lovely contrast to the spooky exterior. One standard pack is usually sufficient for about 20 servings. Feel free to experiment with different Oreo flavors—they all work wonderfully and will influence the final color and taste of your truffle filling. Classic Oreos will result in a dark, rich interior, for instance.
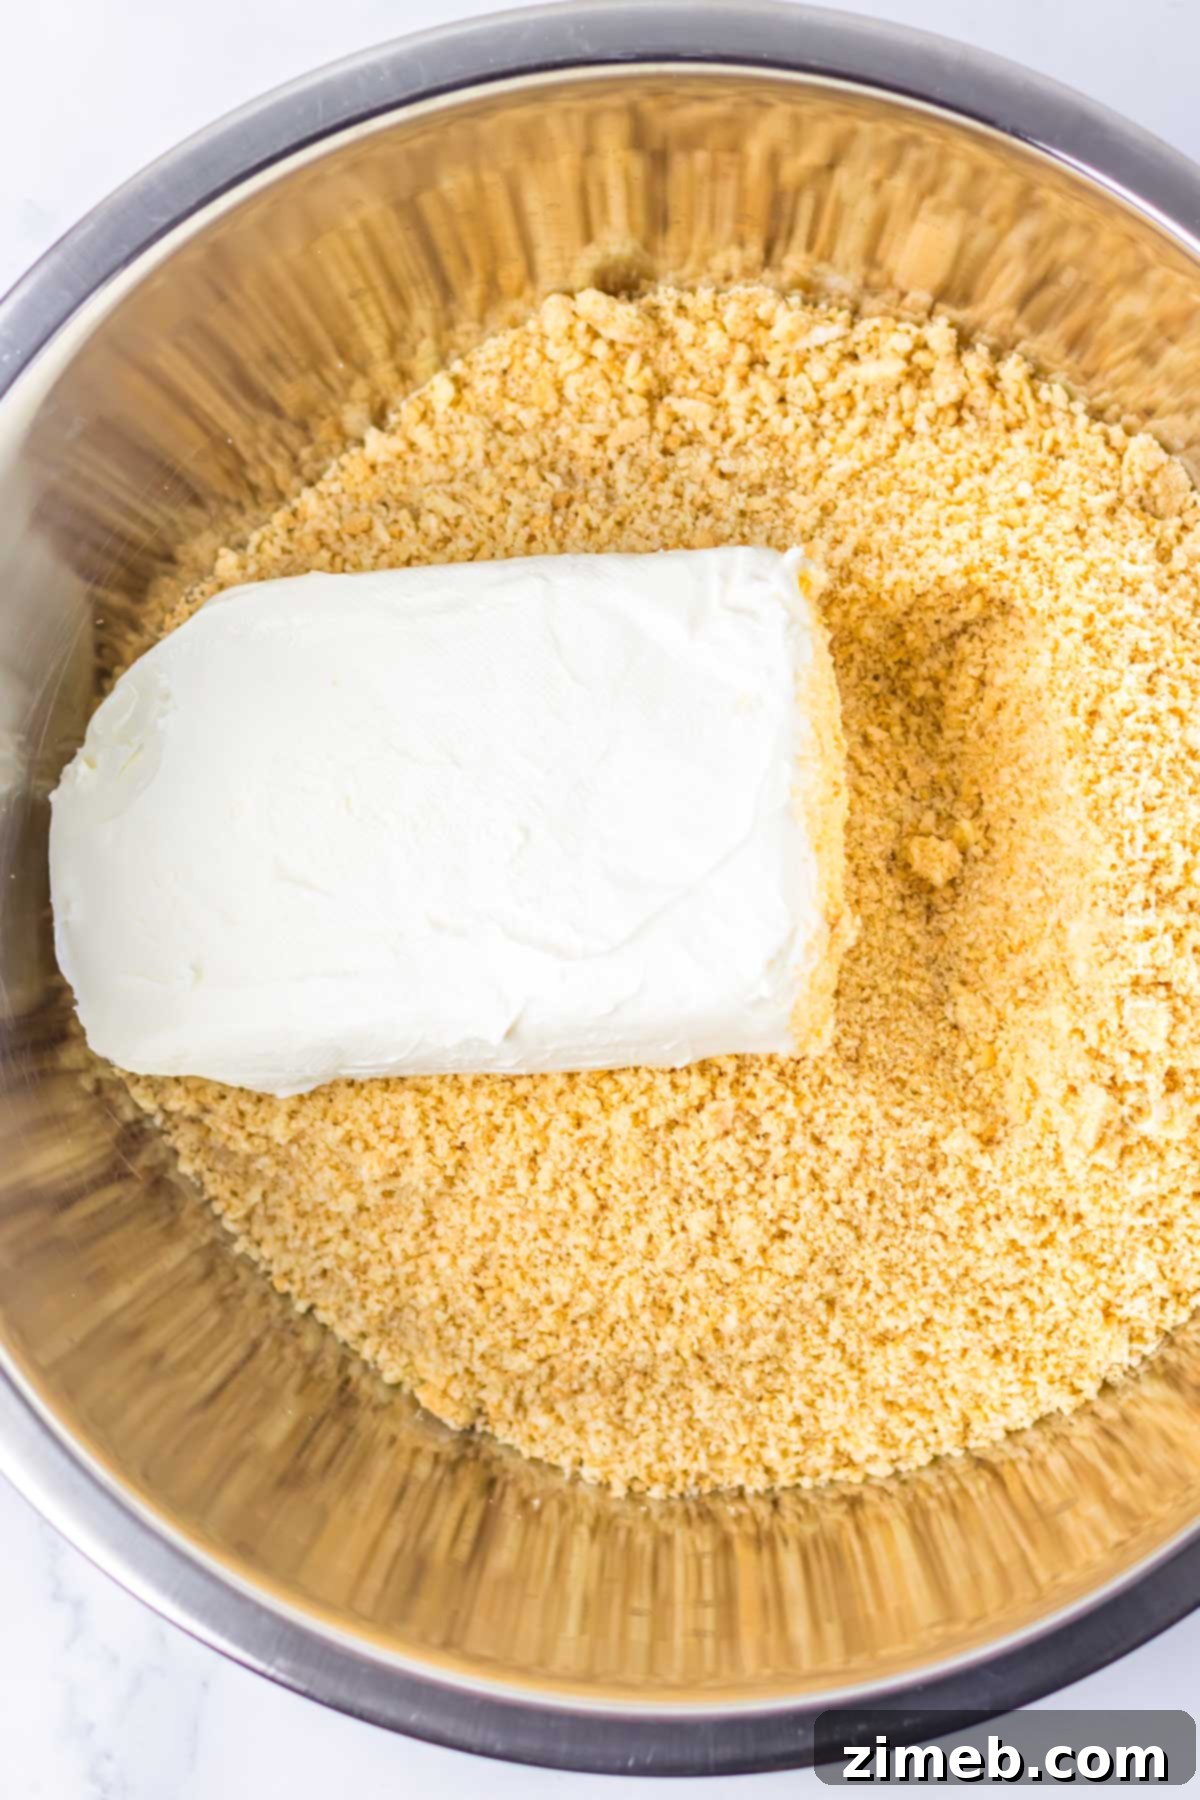
- Softened Cream Cheese: For the best results, ensure your full-fat cream cheese has softened to room temperature before you begin. This is crucial for achieving a smooth, well-combined dough when blended with the crushed Oreos. The cream cheese acts as the perfect binder, creating a rich and creamy texture that melts in your mouth.
- Food Coloring: This is where the magic happens, transforming simple truffle balls into vibrant, spooky eyeballs! I typically use about 10 drops of green food coloring to achieve a striking, intense hue, but you can adjust the amount to your desired vibrancy. Feel free to use any Halloween-themed color—orange, purple, or even a mix—to make your eyeballs uniquely fun and creepy.
- Vanilla Almond Bark: One bar of vanilla almond bark is usually plenty for coating 20 truffles. Once melted, it provides a smooth, realistic white base for our eyeballs and infuses them with a delightful vanilla-almond flavor. If almond bark isn’t readily available or you prefer an alternative, white chocolate chips or white candy melts work just as perfectly, offering similar coating capabilities and a sweet finish.
- Red Candy Melts: These are essential for creating the chilling bloodshot effect. Melted red candy melts can be easily applied with a toothpick, allowing you to draw delicate, eerie blood vessels onto each eyeball, giving them that truly realistic and unsettling gaze.
- Candy Eyeballs: No eyeball truffle is complete without a googly eye! Opt for medium or smaller-sized candy eyeballs to ensure they fit proportionately on top of your truffles, leaving enough space for the detailed red lines. These edible eyes bring a comical yet spooky element that truly brings your Halloween treats to life.
Should You Remove the Cream Filling from Oreos?
This is a common question, and the answer is entirely up to your personal preference and the type of Oreo you’re using. You are not strictly required to remove the cream filling from your Oreo cookies before crushing them for the truffles.
When I use vanilla-flavored Golden Oreos, I always leave the cream filling intact. I find it enhances the flavor of the truffle mixture and significantly helps bind the cream cheese and cookie crumbs together, creating a perfectly smooth and cohesive dough. The added creaminess is a definite plus!
However, if you opt for classic chocolate Oreos, or particularly double-stuffed Oreos, keeping all the cream filling might make the truffles a touch too sweet for some palates. If you have a serious sweet tooth, this won’t be an issue. But if you prefer a slightly less intense sweetness, I recommend scraping out at least some of the cream filling before crushing the cookies and mixing them with cream cheese. This allows you to better control the sweetness level and achieve your desired flavor balance.
Essential Kitchen Equipment for Spooky Success
You don’t need a gourmet kitchen to whip up these fantastic Halloween treats. Here’s a list of the basic equipment that will make the process smooth and enjoyable:
- Food Processor OR Ziplock Bag and Rolling Pin: To transform your Oreos into fine crumbs, a food processor is incredibly efficient, taking less than a minute. If you don’t have one, a sturdy Ziploc bag and a rolling pin work just as well for crushing the cookies into the perfect consistency.
- Hand Mixer: A hand mixer simplifies the process of combining the crushed Oreos and softened cream cheese, ensuring a smooth and evenly mixed dough for your truffle filling. If you don’t have a hand mixer, don’t worry—a sturdy spatula and some elbow grease will also get the job done!
- Baking Sheet or Cookie Sheet with Parchment Paper: You’ll need these to place your rolled truffle balls for freezing before they get their spooky decorations. Parchment paper is crucial to prevent sticking and makes for easy transfer.
- Microwave and Microwave-Safe Bowls: These are essential for safely melting the almond bark and red candy melts. Using microwave-safe bowls ensures even heating and prevents scorching.
- Toothpicks: These tiny tools are surprisingly versatile! They are perfect for dipping into the red candy melts and drawing the delicate, bloodshot lines on your eyeball truffles, giving them that realistic and creepy detail.
- Two Regular Forks: These are your best friends for dipping and coating each truffle eyeball in the melted almond bark. Using two forks allows for easy maneuvering and helps scrape off excess coating for a clean finish.
Crafting Your Spooky Halloween Eyeballs: A Step-by-Step Guide
These Oreo Eyeball Truffles are renowned for being one of the simplest yet most impressively creepy treats you can create for Halloween. With only about 20 minutes of active prep time before they chill, you’ll be amazed at how quickly these come together. They are such a fun project, especially if you have children eager to help with the decorating! Even adults will find joy in adding their creative touch.
The main “challenge” of this recipe is the dipping and decorating stage, which benefits from a bit of speed. However, remember this is Halloween—perfection isn’t the goal! Embrace the slightly messy, handmade charm of these spooky treats. Just follow each step carefully, and your ghastly eyeballs will be a hit.
Step 1: Prepare the Cream Cheese & Oreo Truffle Base
- Crush the Oreos: Place your Golden Oreos (or desired flavor) into a food processor and pulse until they are transformed into fine, uniform crumbs. This typically takes less than a minute. If using a Ziploc bag and rolling pin, crush until no large chunks remain.
- Combine with Cream Cheese: Transfer the Oreo crumbs to a large mixing bowl. Add the softened cream cheese and beat them together using a hand mixer (or a sturdy spatula) until the mixture is thoroughly combined and forms a thick, cohesive dough.
- Add Food Coloring: Incorporate your chosen food coloring into the dough. Start with 10 drops of green (or your preferred color) and beat again until the color is evenly distributed throughout the mixture, achieving a vibrant hue. Adjust drops as needed for intensity.
- Prepare Baking Sheet: Line a baking sheet or cookie sheet with parchment paper. This will prevent your truffles from sticking while they freeze.
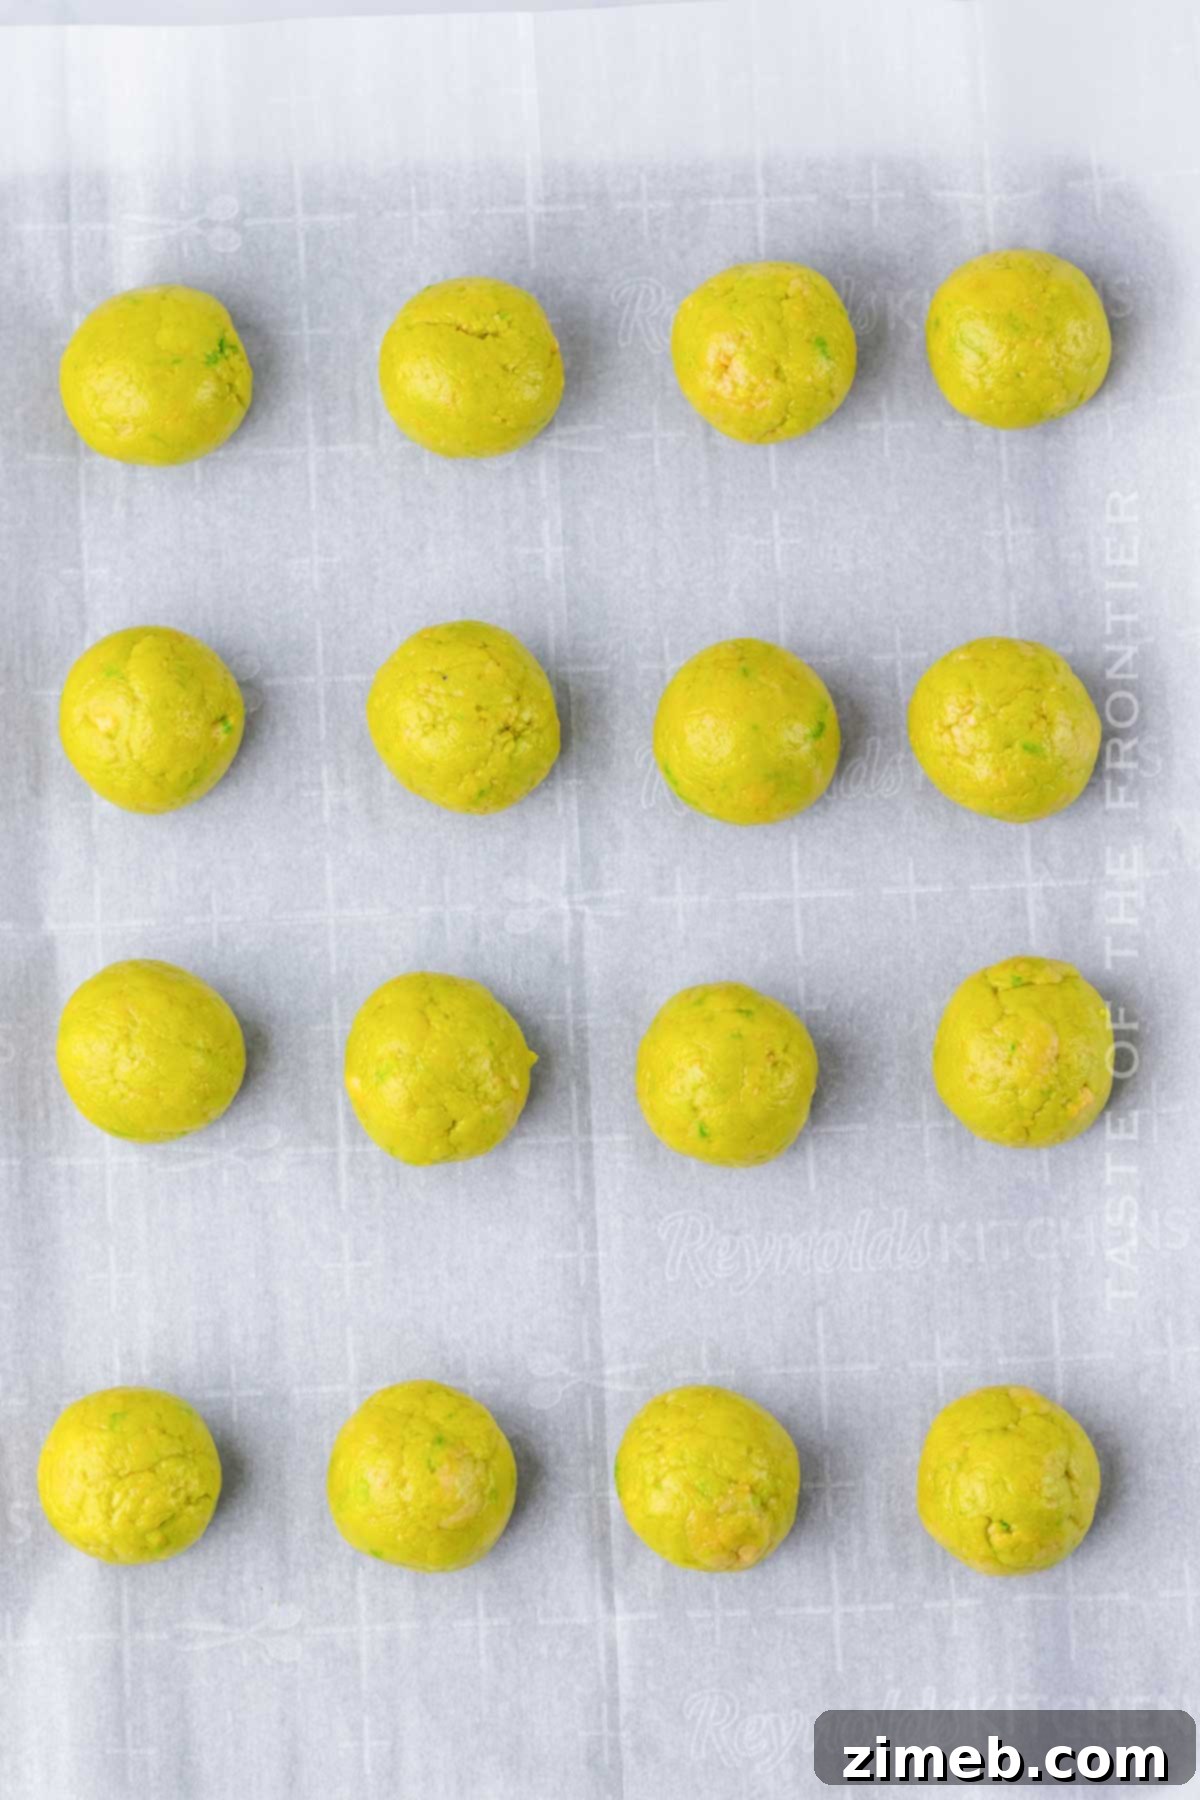
- Roll the Truffles: Scoop out approximately 1 to 1-1/2 tablespoons of the truffle dough and roll it between your palms to form a smooth ball. Place each ball onto the prepared baking sheet, leaving a small space between them. Repeat this process until all the mixture has been used.
- Freeze for Firmness: Place the baking sheet with the truffle balls into the freezer for at least 1 hour. This step is crucial as it helps the truffles firm up, making them much easier to dip and decorate.
Make-Ahead Tip: These truffle balls are incredibly freezer-friendly! If you’re planning ahead, you can safely freeze them for an extended period—even up to two weeks or a month—until you’re ready for the decorating fun.
Step 2: Decorating Your Frightfully Realistic Eyeball Truffles
This is where your truffles truly come to life! Precision helps, but remember, they’re meant to be spooky and a little imperfect adds character.
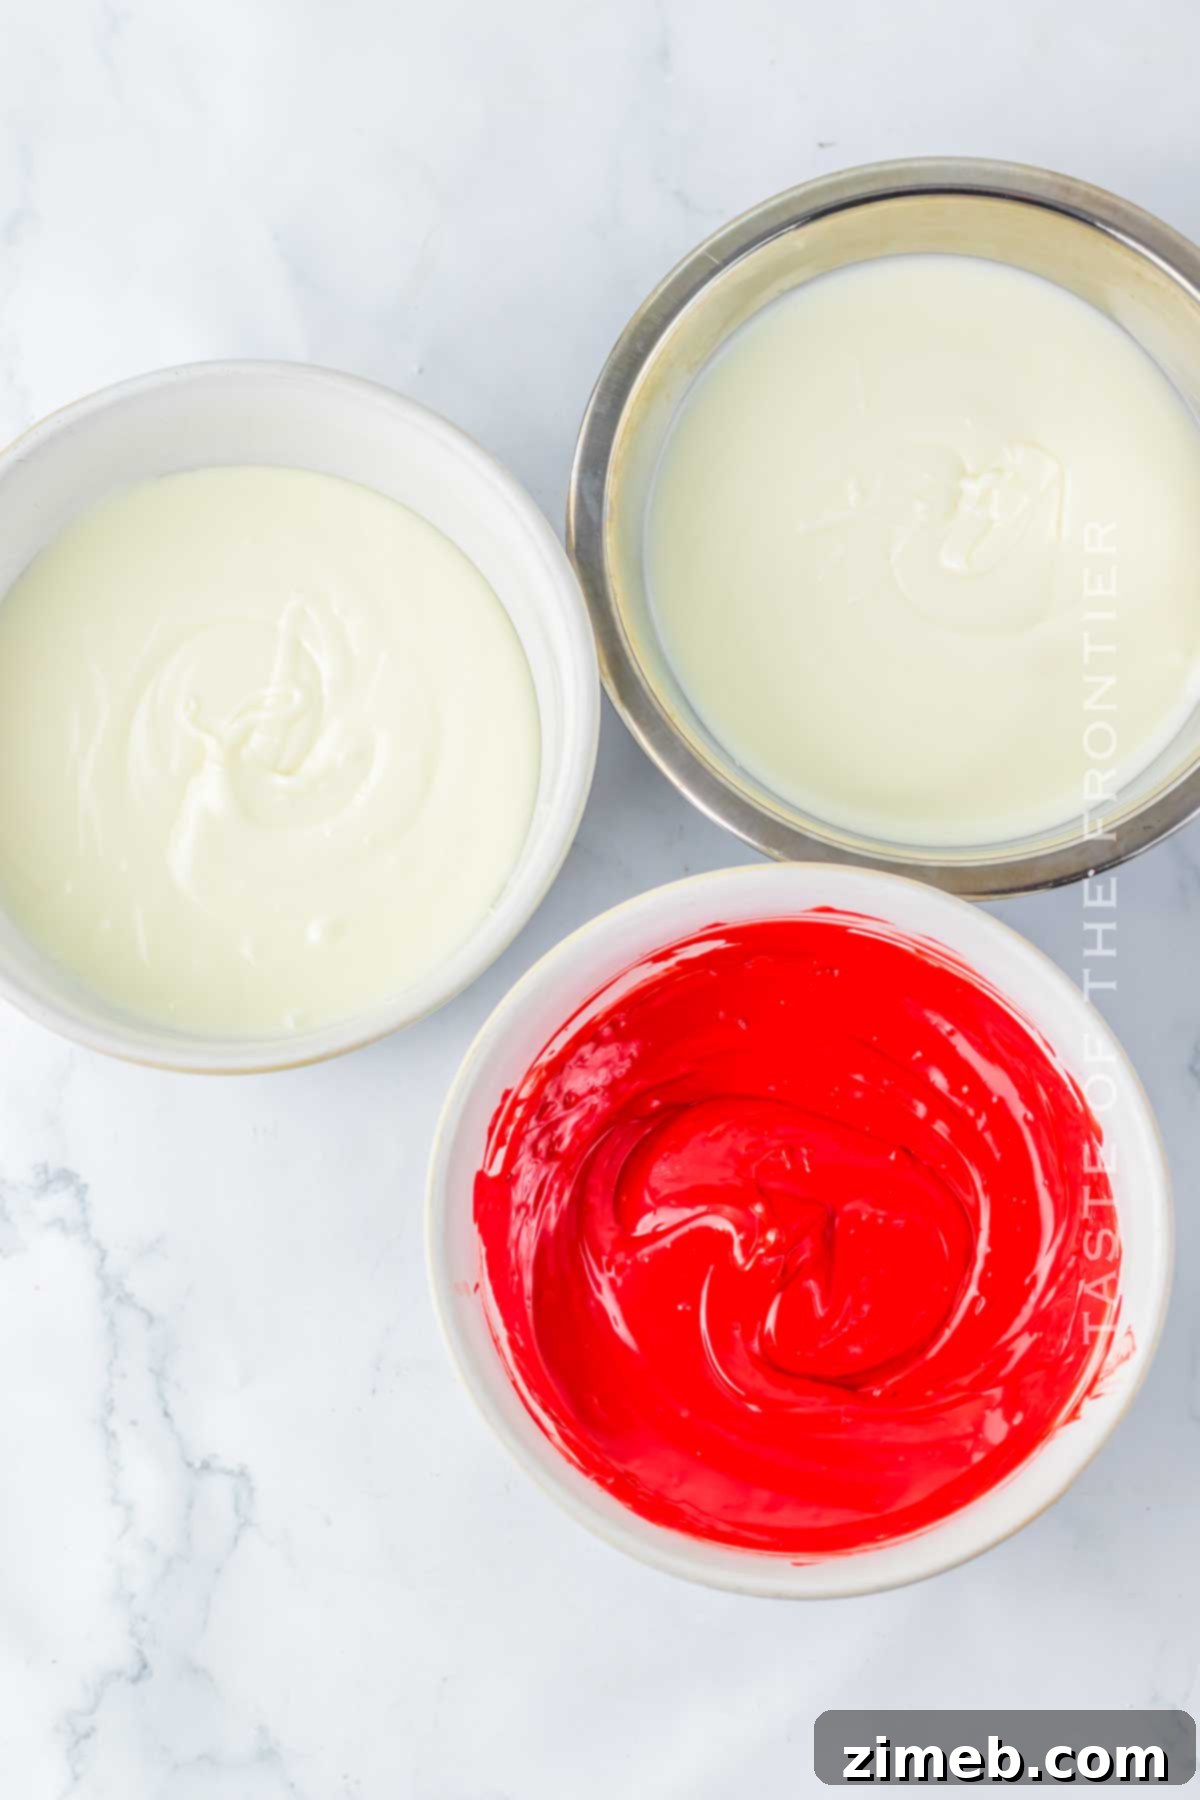
- Melt Coatings: In two separate microwave-safe bowls, melt the vanilla almond bark and the red candy melts. For best results, follow the package directions for melting candy melts. (Don’t worry, I’ll provide common melting techniques below if you need more guidance).
- Retrieve Truffles: Once your coatings are ready, remove the chilled truffle balls from the freezer. Working with cold truffles helps the coating set quickly.
- Dip and Coat: Using two forks, dip one truffle ball into the melted almond bark, turning it gently to ensure it’s fully coated. Lift the truffle out, letting any excess chocolate drip off. Gently scrape the bottom of the truffle against the edge of the bowl or the baking sheet to remove any significant drips, creating a cleaner base.
- Add Bloodshot Lines: Immediately return the coated truffle to your lined tray. While the almond bark is still wet, dip a toothpick into the melted red candy melts. Swiftly drag the coated toothpick up the sides of the truffle, creating thin, squiggly lines that resemble blood vessels. Work from the bottom upwards, stopping just before the center-top where the candy eye will be placed. You’ll need to wipe and re-dip your toothpick for each line to keep them distinct. Speed is key here before the bark hardens!
- Place the Candy Eye: Immediately after drawing the red lines, gently press a candy eye into the clear space at the center-top of the truffle. Ensure the almond bark is still soft enough for the eye to adhere firmly. The red lines should appear to originate from around the eye, making it look truly bloodshot.
- Repeat and Set: Continue this dipping and decorating process with the remaining truffles, working one at a time. This ensures the chocolate doesn’t harden before you can finish all the decorations on each individual truffle.
- Allow to Harden: Let the decorated truffles sit for at least 5 minutes, or until the chocolate coating is fully set and hard to the touch, before serving.
You can serve some immediately for eager guests, and place the rest in the refrigerator to keep them fresh and firm. A word of caution: Since these eyeballs contain cream cheese, they should not be left at room temperature for longer than 2 hours to maintain food safety and prevent stickiness. Serve them as part of your dessert course or as the grand finale of your Halloween feast.
Mastering the Melt: Best Ways to Melt Bark and Chocolate
Achieving a smooth, even coating is essential for perfect truffle eyeballs. There are two primary and effective methods for melting chocolate, almond bark, or white candy wafers: using a double boiler or a microwave. While the microwave method is often quicker and less intimidating for beginners, a double boiler provides more control and often results in a silkier, smoother consistency.
- The Microwave Method: This is the fastest and most convenient option.
- Place your almond bark or chocolate bits in a microwave-safe bowl.
- Set your microwave to 50% power (or use the defrost setting if available).
- Microwave for 30-second intervals, stirring thoroughly after each interval.
- Continue microwaving and stirring until the bark or chocolate is completely melted and smooth. Be careful not to overheat, as this can cause the chocolate to seize or burn.
- The Double-Boiler Method: This technique offers gentler, more controlled heating, reducing the risk of scorching.
- You can either purchase a dedicated double boiler or easily create one yourself using a saucepan and a heat-resistant mixing bowl that fits snugly over the top without touching the water.
- Pour a small amount of water (about 1-2 inches) into the saucepan and bring it to a simmer over medium-low heat.
- Place your chocolate or bark pieces in the dry mixing bowl.
- Rest the bowl on top of the saucepan, ensuring the bottom of the bowl does not touch the simmering water.
- Stir continuously until the chocolate or bark is fully melted and smooth. The steam from the simmering water gently heats the bowl, melting the chocolate evenly.
Pro Tip for Large Batches: If you frequently melt substantial quantities of chocolate or candy melts, consider investing in a special chocolate melting pot, like those offered by Wilton. These inexpensive gadgets maintain a consistent low temperature, making the melting process incredibly easy and stress-free.
Variations and Creative Substitutions for Spooky Oreo Eyeballs
The beauty of these sweet fake eyeballs is their adaptability. You can truly customize them with any filling, coloring, or decoration you desire. Let your imagination run wild this Halloween!
Here are some monstrously fun ideas to inspire your Halloween Eyeball Truffles:
- Eye-Catching Decorations: Beyond the standard candy eyeballs, you have endless options!
- Use different colored candy melts (blue, yellow, orange) squeezed onto the truffle tops before attaching the googly eye to create vibrant irises.
- Colored or black M&Ms make fantastic, crunchy edible eyes or pupils.
- For a simpler approach, use an edible marker to draw a pupil dot directly onto the truffle.
- Black candy melts can also be used to DIY pupils, offering a rich, dark contrast.
- Flavorful Oreo Choices: Your choice of Oreo greatly impacts the truffle’s internal flavor and color.
- Golden Oreos: As mentioned, these provide a light, vanilla flavor and a creamy white interior.
- Classic Chocolate Oreos: These will yield a rich chocolate flavor and a dark brown, almost black, filling.
- Red Velvet Oreos: Ideal for a deep, rich cherry-red interior and a distinctive flavor profile.
- Themed Oreos: Keep an eye out for seasonal varieties like chocolate Halloween Oreos with orange filling for an extra festive touch.
- Avoid Thin Oreos: They typically don’t have enough filling to create the correct binding consistency for the truffle dough.
- Almond Bark Alternatives: If vanilla almond bark isn’t your preference or readily available:
- Melted white chocolate or white chocolate wafers are excellent substitutes, providing a rich cocoa butter flavor.
- It’s best to stick with white options (bark, chocolate, or candy melts) if you plan to add food coloring to the coating. Milk or dark chocolate will not allow for bright, vibrant colors.
- Avoid White Chocolate Chips: They tend to be too thin when melted and may not provide adequate coverage for the truffle balls.
- For the Ultimate Sweet Tooth: If you desire an even sweeter truffle filling, you can substitute condensed milk for some or all of the cream cheese. This will create a denser, sweeter truffle with a different texture.
- Enhanced Bloodshot Effects: Get creative with the “bloodshot” details!
- Instead of red candy melts, you can use red writing icing, edible markers, or decorator gel in squeeze tubes.
- For a truly realistic and unsettling effect, try using both red and a touch of blue decorator gel to mimic veins and capillaries.
More Great Halloween Decoration Ideas
These truffles offer endless possibilities for creativity! If a “bloodshot” look isn’t quite your style, you can always make them cuter and less creepy by adding some festive sprinkles on top.
- Vibrant Coatings: Elevate your eyeballs by creating coatings in different colors. Simply melt white chocolate or almond bark and add various food colorings. Imagine little green Frankenstein monster eyes, bright orange pumpkin eyes, or even black, white, red, blue, or yellow variations. The possibilities are truly boundless!
- Charming Bat Truffles: Halved dark Oreos can be ingeniously attached to the sides of your truffles, transforming them into adorable, chubby bats.
- Textural Delights: Consider adding shredded coconut, edible glitter, or glow-in-the-dark decorations for extra visual and textural interest. You can even give your creations one eye or two—whatever sparks your Halloween spirit!
- Gluten-Free Variation: Making these inclusive is simple. Many brands now offer gluten-free Oreo-style cookies that work perfectly as a substitute. Cream cheese is naturally gluten-free, and you can find gluten-free decorating gels and candy melts to complete your safe and delicious treats.
- For Extra Chewiness: If you enjoy a bit of crunch, fold in some Rice Krispie cereal to the truffle mixture before rolling. This adds a delightful chewy texture that contrasts beautifully with the smooth filling.
In fact, without the terrifying decorations, these chocolate or bark-coated Oreo balls can simply be delightful, pop-in-your-mouth sweet treats that you can enjoy any day of the week, opening up a world of year-round dessert possibilities!
Preparing Your Oreo Eyeballs in Advance
These Oreo truffle balls are fantastic Halloween treats that lend themselves perfectly to make-ahead preparation. They hold up exceptionally well in the freezer for weeks and don’t demand much storage space, making them ideal for busy schedules.
My top recommendation, especially if you have children, is to complete the initial truffle preparation and pop them into the freezer well in advance—at least one day, or even a couple of weeks, before Halloween. Then, when the spooky day arrives, transform the decorating stage into a fun family activity. This approach ensures you not only have a yummy sweet treat ready for your festivities but also create wonderful memories and bonding moments with your loved ones. It’s a win-win for deliciousness and family fun!
How Long Do Oreo Truffles Stay Fresh in the Refrigerator?
These eyeball Oreo truffles store beautifully, ensuring your spooky treats remain delicious for days.
When stored in an airtight container, your Halloween Eyeball Truffles will remain fresh and delightful in the refrigerator for 3 to 4 days. If you need to keep them longer, freezing is an excellent option, preserving them for up to 3 months!
When freezing truffles, arrange them in an airtight container in a single layer. It’s crucial to leave a small amount of space between each Oreo ball. This simple step helps prevent their coating from sticking together and potentially cracking when you later separate them or thaw them out. Properly stored, your frightful treats will be ready whenever the craving strikes!
Can You Ship These Oreo Truffles?
While incredibly delicious, these Oreo truffle eyeballs are not ideal for long-distance shipping. Due to the nature of their melted chocolate or almond bark coatings and candy decorations, they are quite sensitive to temperature changes.
Shipping, particularly during warm weather, can cause the coatings to melt, become sticky, and ultimately compromise their intricate, spooky appearance. If you absolutely need to transport these sweet treats to Halloween parties or gatherings, it’s best to use a cooler. Line the cooler generously with ice packs and place the truffles in an airtight container before transport. This will help maintain their cool temperature and preserve their creepy charm for arrival.
Expert Tips for the Spookiest Halloween Eyeball Truffles
To ensure your Halloween Eyeball Truffles are not only delicious but also perfectly eerie, keep these expert tips in mind:
- Mind the Sweetness: If you’re using double-stuffed Oreos or find your mixture too sweet, scrape out some of the cream filling. An overly sweet filling combined with the coating can overwhelm the palate.
- Choose the Right Coating: For a smooth, even coating, opt for almond bark, melting chocolate, or confectionery wafers. Avoid regular white chocolate chips, as they often melt too thinly and may not provide adequate coverage.
- Freeze for Firmness: Don’t rush the freezing step. Allowing the truffle balls to chill in the freezer for at least an hour (or even overnight) ensures they are firm enough to handle and dip without falling apart.
- Proportionate Candy Eyes: Select medium-sized candy eyes. This ensures they fit nicely on top of the truffles, leaving ample space around them to draw your bloodshot lines for maximum creepy effect.
- Act Fast with Red Lines: If your almond bark coating begins to harden before you can add the red bloodshot lines, don’t fret. You can heavily dip your toothpick in the melted red candy melts and gently drag it onto the slightly hardened bark; the warmth of the candy melts will help it adhere.
- Avoid Overheating: When melting your bark or chocolate, whether in the microwave or a double boiler, always use low heat and go slowly. Overheating can cause the chocolate to seize, become grainy, or burn, making it unusable for coating.
- Maintain Optimal Dipping Temperature: Chocolate is easiest to work with when it’s still warm and fluid. As it cools, it will thicken and become harder to achieve a smooth, even coating, often forming chunks. If your chocolate starts to harden mid-decoration, add a tiny bit of coconut oil or any neutral vegetable oil (a quarter teaspoon at a time) and microwave it for just a few seconds until it softens again. This will restore its smooth consistency, allowing you to continue decorating your treats.
Popular Questions About Halloween Eyeball Truffles
What Can I Use Instead Of a Food Processor To Crush Oreos?
You absolutely do not need a blender or food processor to crush your Oreo cookies. An easy and effective alternative is to place the cookies in a large, heavy-duty Ziploc bag, seal it tightly, and then use a rolling pin to crush them until they become fine crumbs. This method works perfectly and is a great option if you don’t have specialized equipment or prefer a more hands-on approach.
How to Achieve a Smooth Coating on My Truffles?
Achieving a perfectly smooth coating is key to realistic-looking eyeball truffles. Forks are your best tools here, especially two regular forks:
To coat each truffle ball: Dip it into the melted almond bark, flipping it around with two forks to ensure full coverage. Then, using one fork, scoop it up from the bottom. Gently tap the fork against the side of the bowl or scrape the bottom of the truffle against the rim to allow any excess chocolate to drip off. This helps create a smooth, clean finish. Carefully transfer the coated truffle to your prepared baking sheet.
Here’s another very popular alternative method you can try:
Place a truffle ball onto a single fork and slowly lower it into the bowl of melted chocolate or bark. Lift the fork and hold it for a few seconds, allowing any excess coating to drip back into the bowl. Then, gently slide the coated ball off the fork onto the parchment or wax paper-lined pan that you prepared beforehand. You can use a knife to carefully push the ball off the fork if needed, ensuring it lands smoothly on the paper without disturbing the coating.
Why Are My Halloween Oreo Balls Sticky?
If your Halloween Oreo balls are feeling sticky, there are a couple of common reasons:
- Temperature: The most frequent culprit is leaving them out at room temperature for too long. Since the chocolate coating starts to warm up, it can become tacky. Truffles containing cream cheese should not sit out for more than 2 hours to maintain their texture and food safety.
- Ingredient Ratio: Incorrect measurements of the filling ingredients can also lead to stickiness. Too much Oreo cream filling, an excessive amount of cream cheese, or simply an improper ratio of the ingredients can make the truffle dough softer and the final product stickier. As a preventative measure, avoid using double-stuffed Oreos or consider scraping out some of the cream filling, especially if you find the mixture too soft.
Why Are My Oreo Balls Cracking and Oozing Oil?
If your Oreo truffles are cracking or showing oily marks, it’s almost always a temperature-related issue, specifically an imbalance between the cold truffle filling and the warm coating.
- Temperature Shock: The filling of the truffle is very cold after being in the freezer, while the melted candy or chocolate coating is quite warm. This sudden temperature difference can cause the coating to contract unevenly as it sets, leading to cracks.
- Added Oils: Another potential cause is adding vegetable oil to your melted chocolate. While a tiny bit can help thin seized chocolate, too much can contribute to an oily appearance and cracking. This is why I generally avoid adding oil unless absolutely necessary.
How to Fix It: If you notice a crack, you can often cover it by pouring a small amount of additional melted chocolate over the affected area, allowing it to set smoothly.
Prevention is Key: If your truffles have been frozen for longer than one hour (e.g., overnight), let them thaw at room temperature for just a few minutes (5-10 minutes) before you begin dipping. This slight temperature adjustment helps reduce the thermal shock, leading to a much smoother and crack-free coating.
If you adore this Halloween recipe, you’re sure to be thrilled by these other festive and fun treats too. Click each link below to discover easy and printable recipes for your next spooky celebration!
Halloween Pretzels
These spooky Halloween Pretzels are a fun treat to make with the kids and they’re the perfect addition to your Halloween party.
Check out this recipe

Halloween Ghost Cupcakes
These ghost cupcakes are sure to frighten and delight your guests this Halloween! Easy to make and super cute for the kiddos!
Check out this recipe

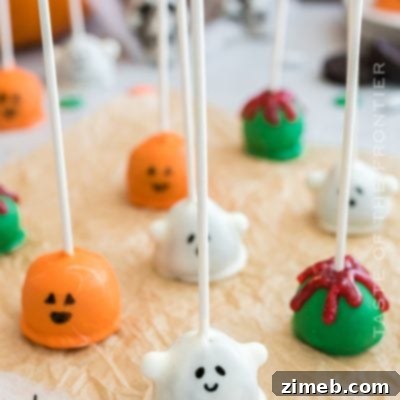
Halloween Oreo Balls / Halloween Cake Pops
Looking for fun and easy Halloween treats to make with your kids? These Halloween Oreo Balls are perfect! They’re simple to make and delicious too. Plus, they’re perfect for any Halloween party. Give them a try this year!
Check out this recipe
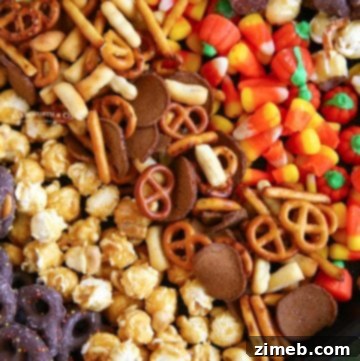
Halloween Snack Mix
Our Halloween Snack Mix includes a combination of sweet and salty, crunchy and chocolaty treats that will have your guests feeling delighted. Positively delicious with all the favorites for fall!
Check out this recipe
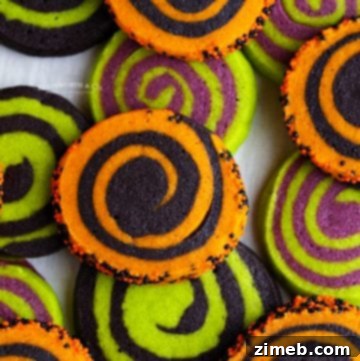
Halloween Sugar Cookies
Easy Halloween Sugar Cookies are a soft, pinwheel sugar cookie recipe, made with fun holiday colors like green, orange, purple and black! Perfect for your Halloween celebrations.
Check out this recipe
More Great Halloween Treats for Your Spooky Celebrations
- Monster Eyeball Cookies
- Black Candy Apples
- Mummy Brownies
- Halloween Cookie Dough
DON’T MISS THESE HOLIDAY E-BOOKS!


CONNECT WITH YUMMI HAUS!
Be sure to follow me on my social media, so you never miss a post!
Substack, FB, Pinterest, IG, Email Subscription
Halloween Eyeball Truffles
Spook up your Halloween with delicious and eerie Eyeball Truffles! They are easy to make and a frightfully tasty way to thrill your guests!
Course: Dessert
Servings: 20 servings
Prep Time: 20 mins
Chill Time: 1 hr
Total Time: 1 hr 20 mins
Ingredients
- 13 oz Golden Oreos
- 8 oz cream cheese, softened at room temperature
- 10 drops green food coloring
- 24 oz vanilla almond bark
- ½ cup red candy melts
- 20 candy eyeballs
Instructions
- Crush Oreos in the food processor until they become fine crumbs.
- Transfer the crumbs to a large bowl, and beat in the cream cheese until mixed very well.
- Add the food coloring (as many drops as you desire) and beat again until the color is evenly mixed throughout.
- Line a baking sheet with parchment paper.
- Roll 1-1/2 tbsp of dough into a ball, place on the prepared tray, and repeat until you have no more mixture left.
- Freeze for 1 hour.
- Melt the almond bark and red candy melts in two separate microwave-safe bowls.
- Remove the truffles from the freezer.
- Dip each truffle in the melted almond bark, flip around using two forks, scoop it up with the fork with the bottom part of the truffle facing the bottom, and scrape any excess chocolate from the bottom.
- Return the coated truffle to the lined tray and immediately dip a toothpick in the red candy melts. Drag the coated toothpick up the sides of the truffles and make lines all around the truffle from the bottom up to the top middle of the eye, leaving space clear on the top for the candy eye. (You’ll have to wipe and re-dip the toothpick every time you make a line, so work fast!)
- Place the candy eye in the center top while the almond bark is still wet. The red lines should stop right at the eye or a little before. Repeat with the remaining truffles, working one at a time so the chocolate doesn’t harden before you can finish decorating.
- Let the chocolate set for 5 minutes to harden before serving.
Notes
- Store in an airtight container in the fridge for 3-4 days.
- You can leave the balls in the freezer overnight if needed.
- Use medium-sized candy eyes for the best appearance.
- If the almond bark hardens before you can add the red lines, you can heavily dip the toothpick in the red candy melts and gently drag it onto the bark.
Nutrition
Serving: 1 serving | Calories: 241kcal | Carbohydrates: 27g | Protein: 2g | Fat: 14g | Saturated Fat: 3g | Cholesterol: 11mg | Sodium: 115mg | Potassium: 32mg | Fiber: 0.5g | Sugar: 20g | Calcium: 16mg | Iron: 0.4mg | Net Carbohydrates: 14g
Nutritional information for the recipe is provided as a courtesy and is approximate. Please double-check with your own dietary calculator for the best accuracy. We at Yummi Haus cannot guarantee the accuracy of the nutritional information given for any recipe on this site.
Love this recipe?
Follow @KleinworthCo for even more tasty recipes!