
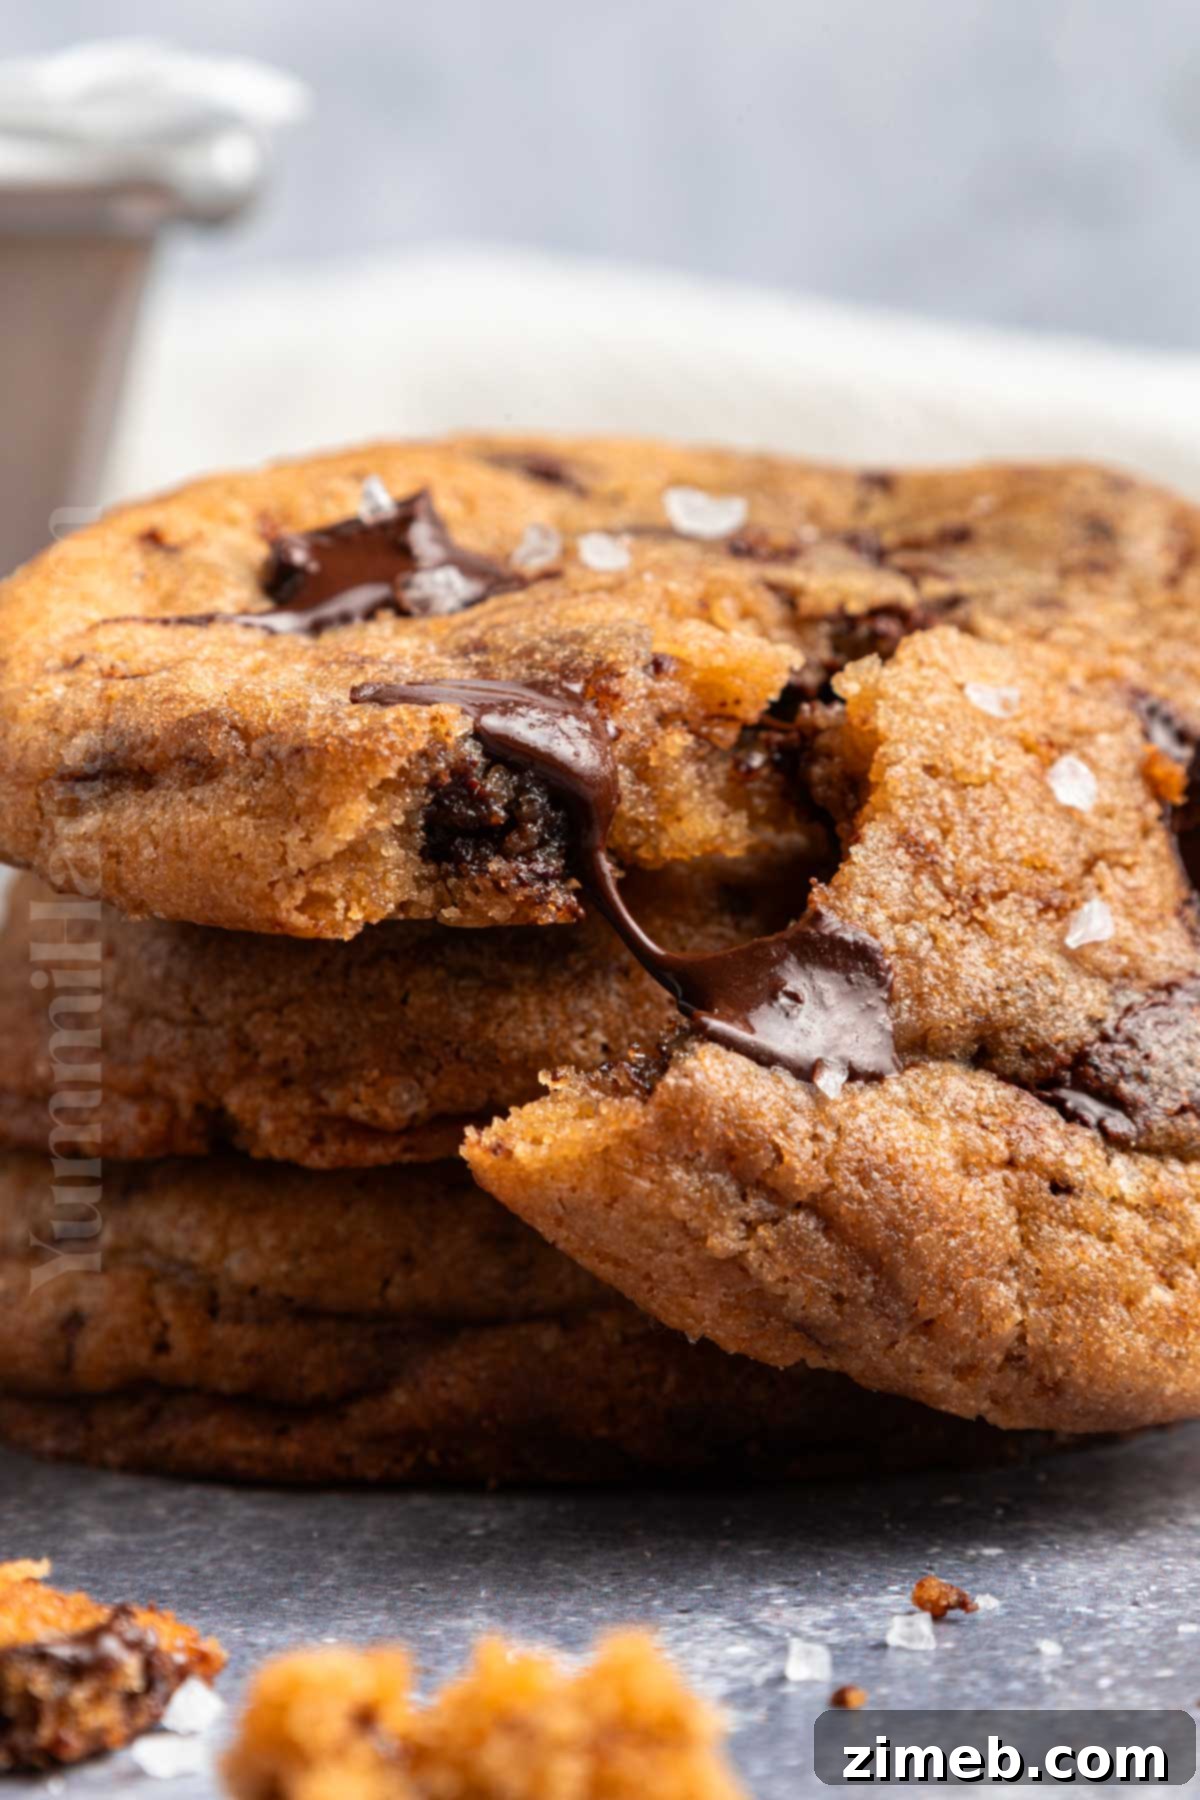
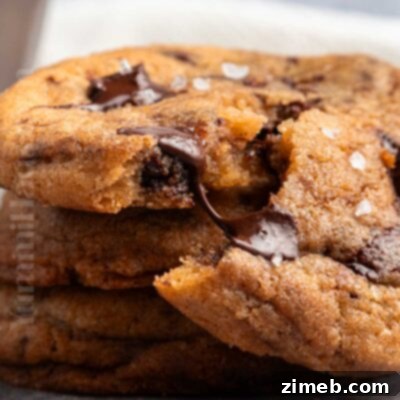
Prepare to elevate your baking game with a simple yet transformative technique: browning butter. These Brown Butter Chocolate Chip Cookies are not just an ordinary treat; they are a revelation, taking the classic chocolate chip cookie to an unparalleled level of flavor and texture. Imagine perfectly chewy cookies, each bite bursting with a rich, nutty depth from the browned butter, complemented by pools of melted chocolate and a hint of sea salt. This isn’t just a cookie; it’s an experience.
The magic happens when butter undergoes a gentle browning process, which coaxes out its inherent nutty essence. This golden elixir infuses the entire cookie dough, transforming familiar flavors into something truly extraordinary. It’s this distinct nutty aroma and taste that makes these brown butter chocolate chip cookies stand head and shoulders above the rest.
Gina’s Recipe Rundown:
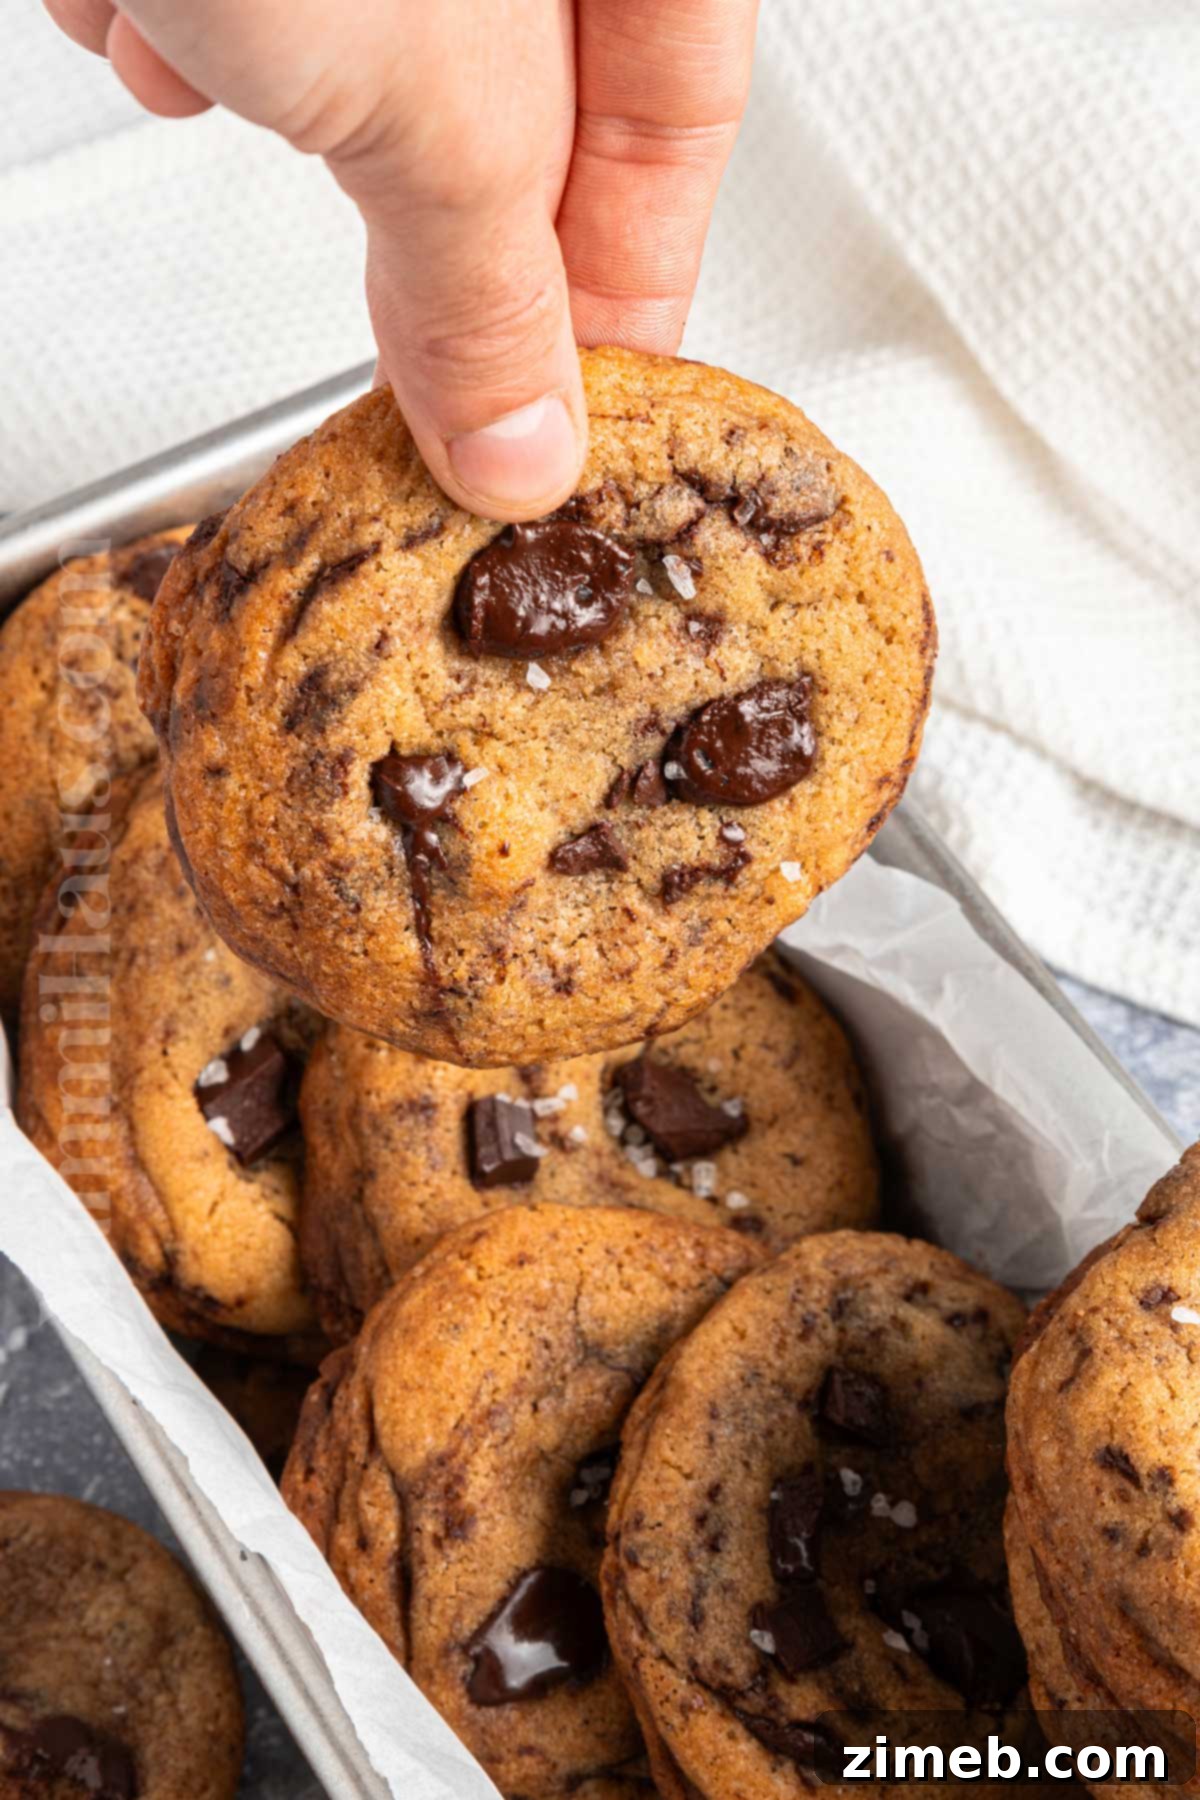
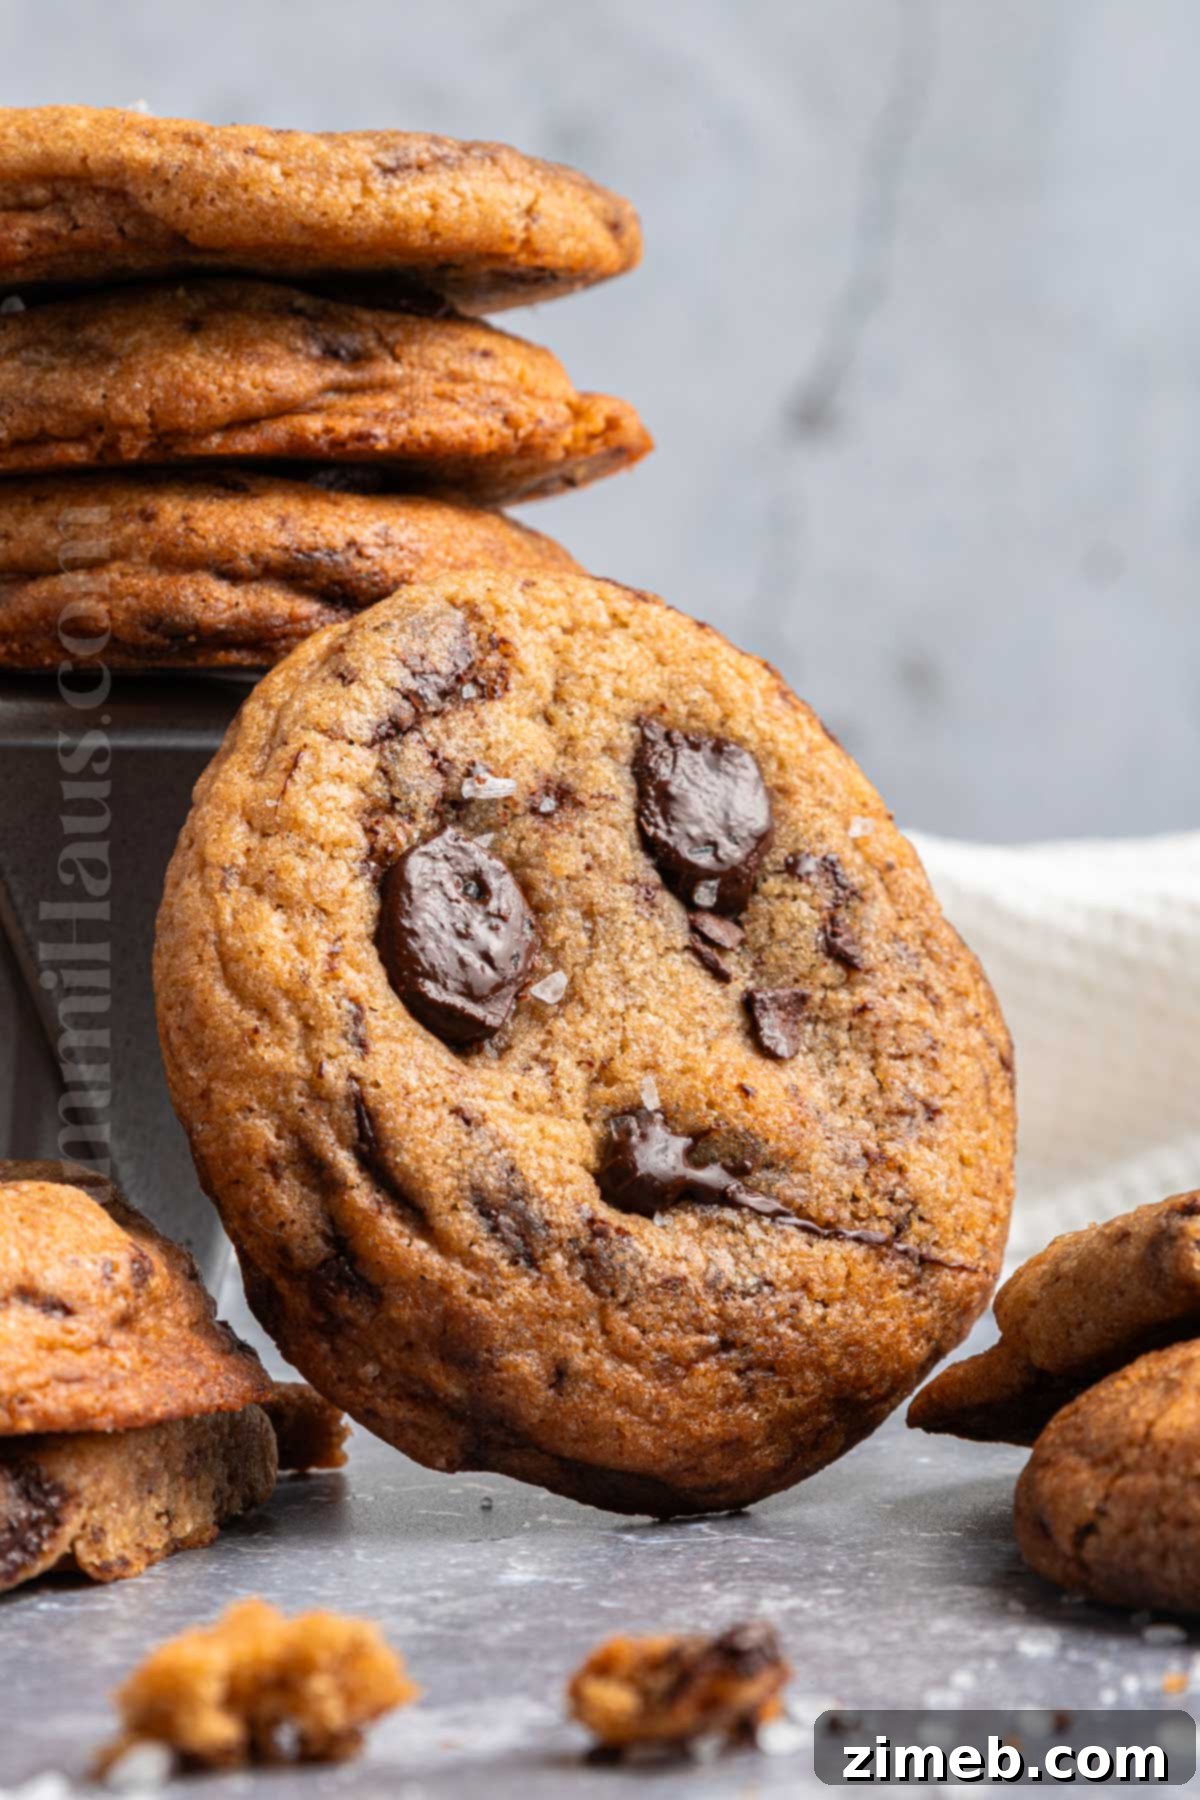
Texture: Expect a symphony of textures – crispy, golden edges that give way to an irresistibly chewy center, complete with ooey-gooey pockets of melted chocolate. Each cookie holds its shape beautifully while maintaining a delicate softness.
Taste: A complex flavor profile awaits you. The star, nutty brown butter, provides a rich, caramel-like base that perfectly balances the sweet intensity of the chocolate. A subtle whisper of sea salt cuts through the sweetness, enhancing every note and creating a truly memorable taste.
Ease: Don’t let the sophisticated flavor fool you; this recipe is surprisingly straightforward. Minimal prep time and a quick baking session mean you’ll be enjoying these cookies sooner than you think. There’s no lengthy creaming of butter required, just a bit of patience for the crucial chill time. This is an incredibly easy cookie recipe that yields gourmet results!
Why I love it: This recipe is a fantastic way to bake something truly special for your family and friends without requiring exotic ingredients or a hefty price tag. It transforms a beloved classic into an elevated treat, proving that a simple upgrade can make all the difference.
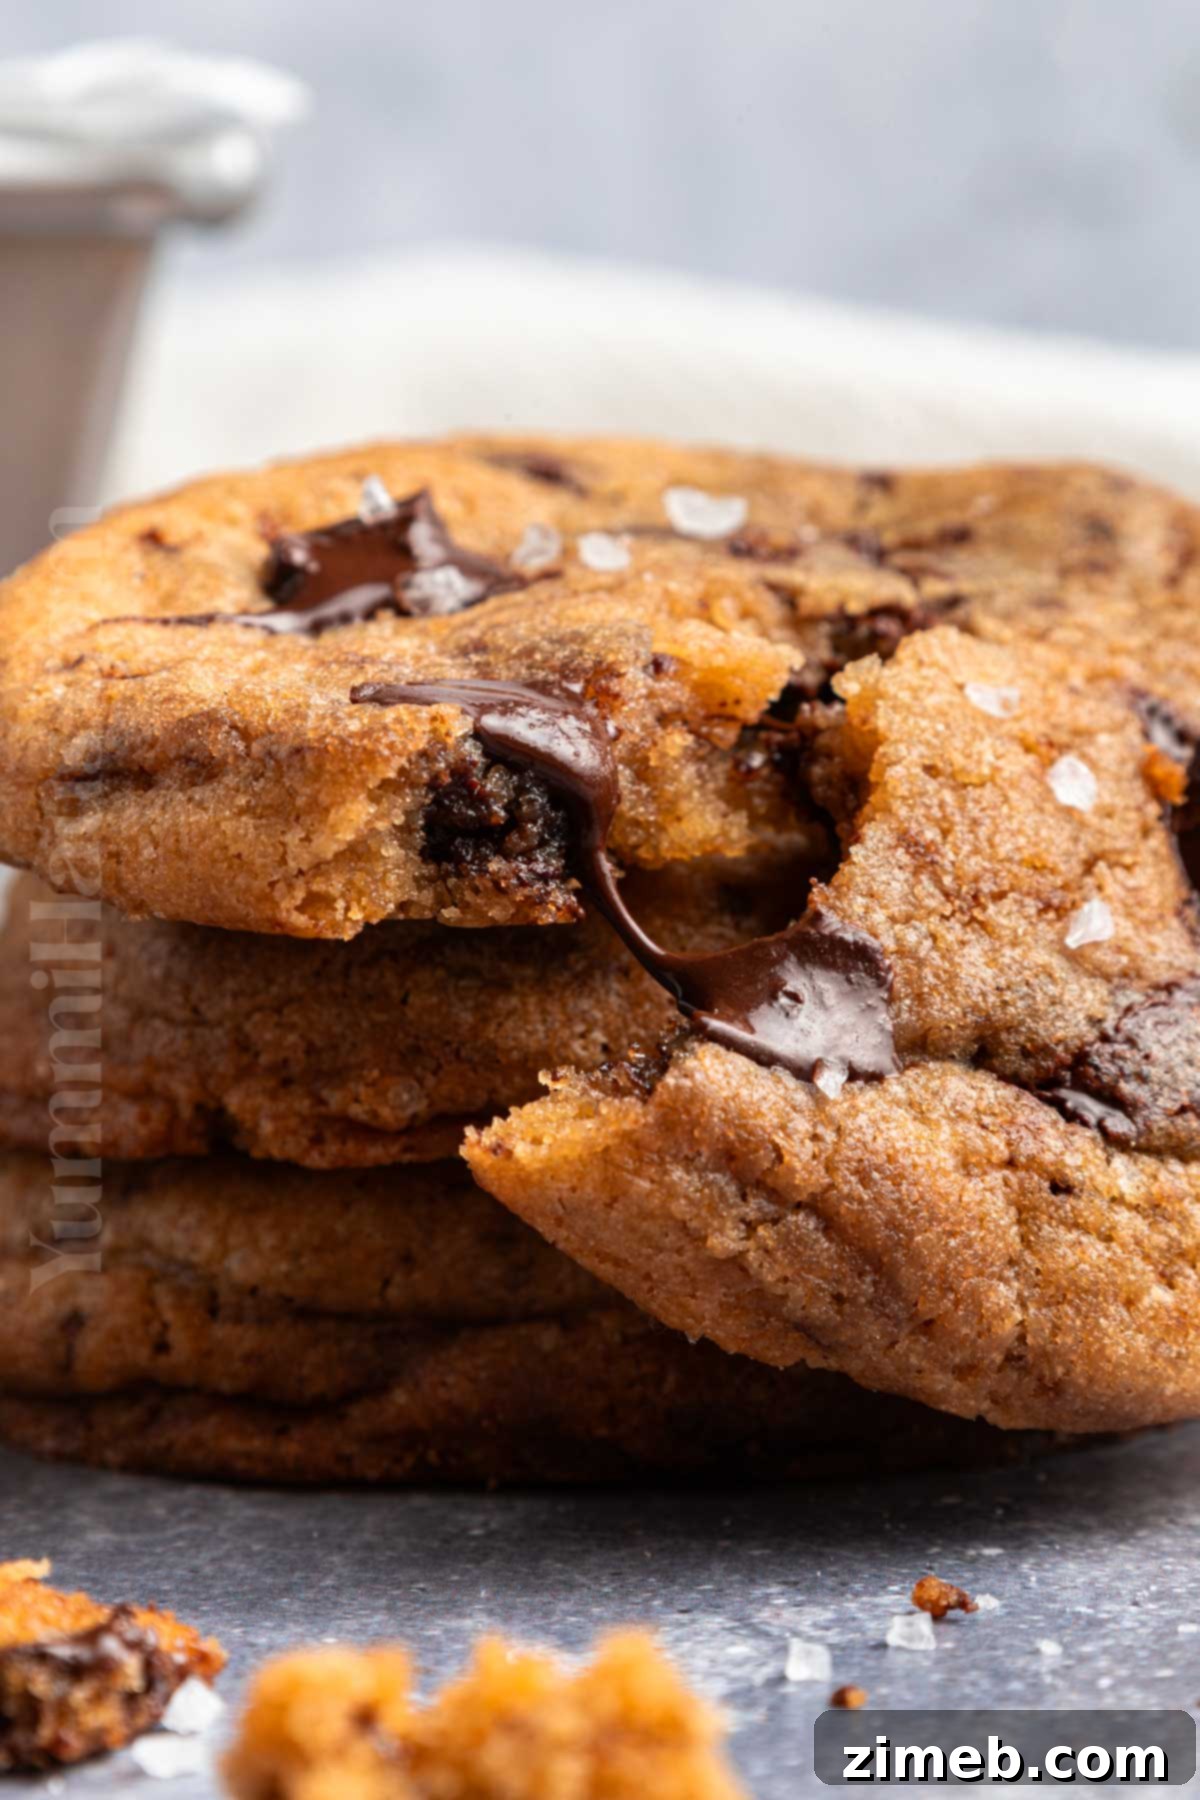
The beauty of brown butter lies in its simplicity. It’s a cheap and easy upgrade that dramatically impacts the final flavor. The process involves gently melting unsalted butter in a saucepan, then continuously stirring it until it transitions from a pale yellow to a beautiful golden brown, releasing a fragrant, nutty aroma. This transformation, known as the Maillard reaction, toasts the milk solids in the butter, creating those incredible, complex flavors. Once browned, you simply cool the melted butter slightly and incorporate it into your cookie dough. The result? Cookies that are perfectly thick, delightfully soft, perfectly sweet, and satisfyingly warm, with an unmatched depth of flavor.
While the brown butter adds an immediate layer of sophistication, the most crucial element for baking the perfect chocolate chip cookies lies in one often-overlooked step: letting the dough rest. This isn’t a secret or a complex technique, but it is absolutely vital. Chilling the dough allows the flavors to meld and deepen, and it prevents the cookies from spreading too much in the oven, ensuring those desirable chewy centers and slightly crispy edges. Patience is key to achieving that ideal texture and flavor profile.
If you cherish a truly chewy cookie experience, you’re in for a treat. Beyond this incredible brown butter recipe, don’t miss out on exploring my other beloved chocolate chip cookie variations. Perfect your technique with my Mrs. Fields copycat recipe, discover my twist on the classic Nestle Toll House recipe, try the satisfyingly chewy chocolate chip cookie recipe without brown sugar (using just granulated sugar), or indulge in the ultimate Double Chocolate Chip Cookies. With so many tempting cookie ideas, you will be spoiled for choice!
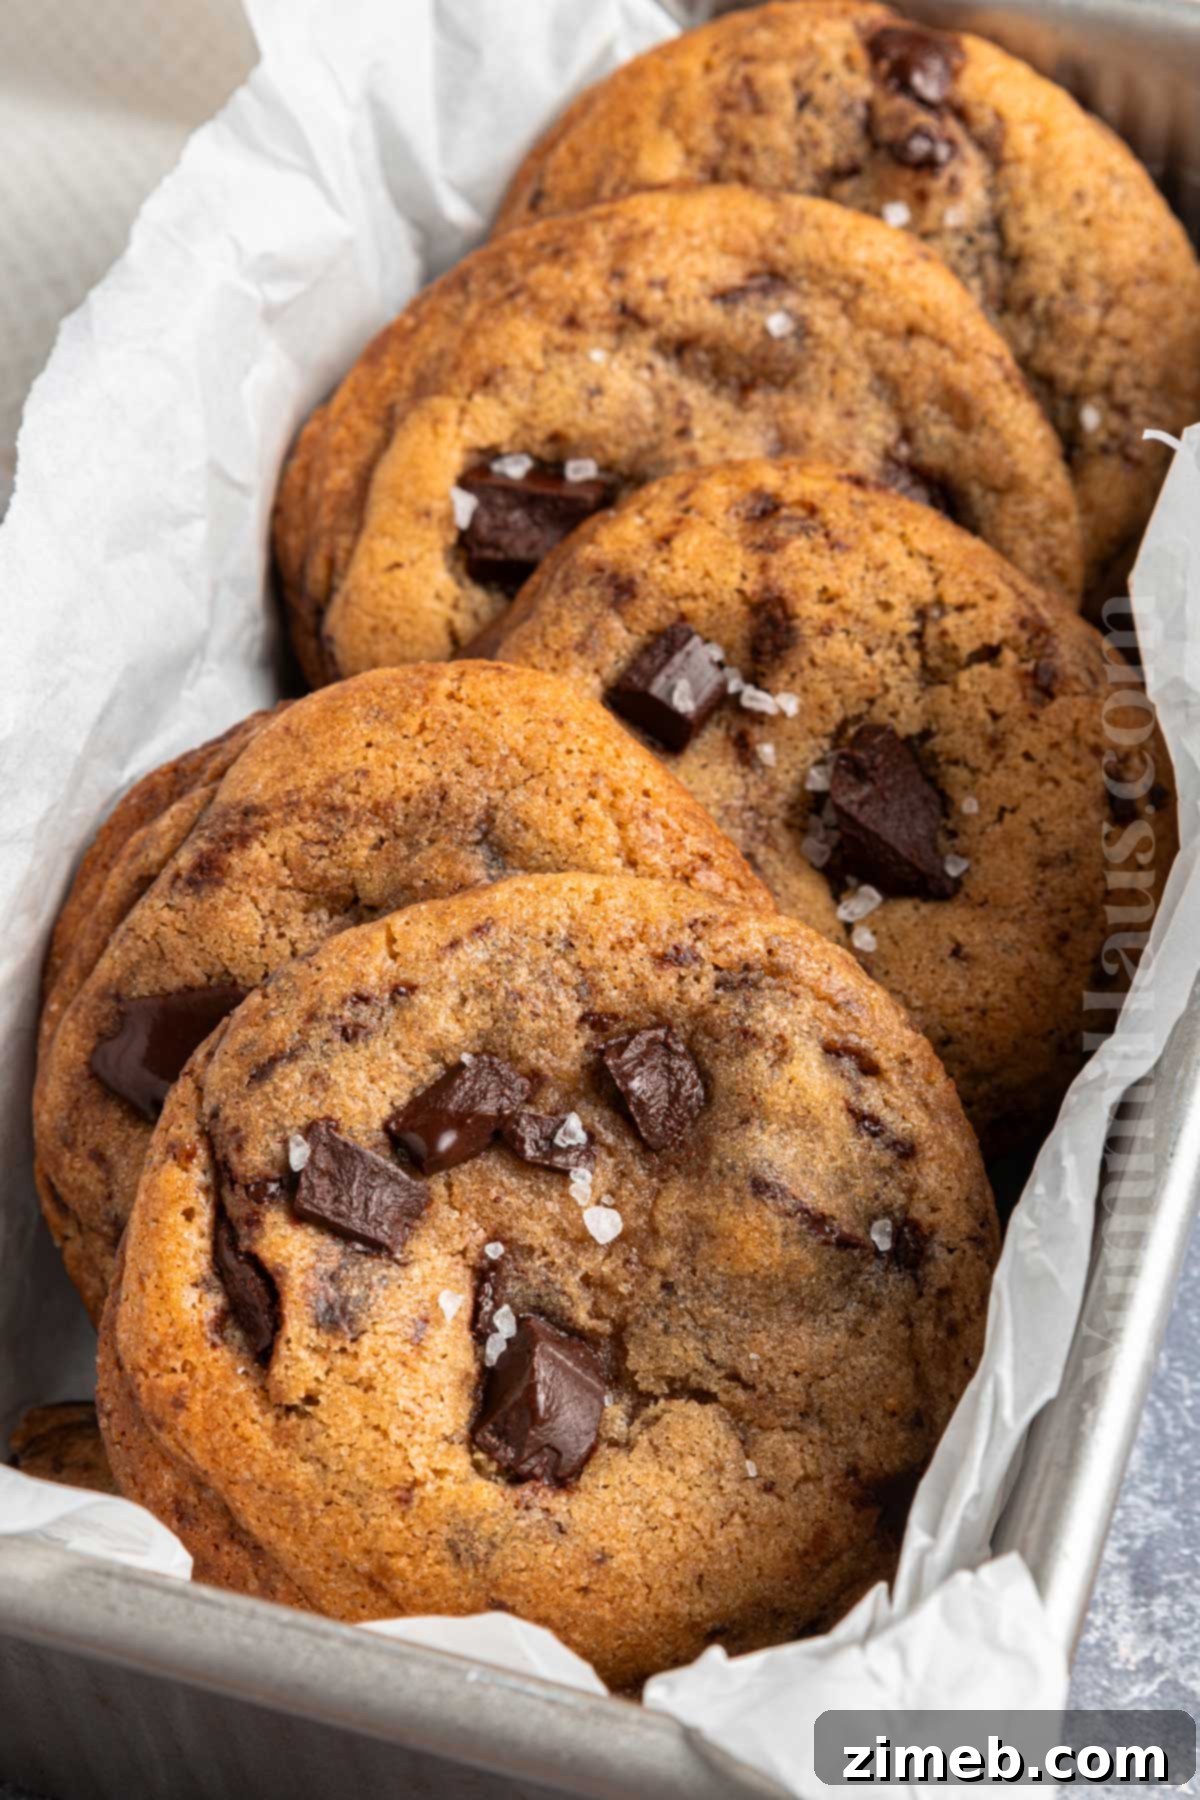
Why You’ll Love This Recipe
- **Effortless & Delicious:** This recipe makes it incredibly easy to whip up a generous batch of perfectly thick, chewy cookies with a melt-in-your-mouth soft center. It’s ideal for making ahead, allowing you to enjoy freshly baked cookies whenever a craving strikes.
- **Unbeatable Flavor Combination:** The rich, nutty notes of brown butter combined with generous chunks of high-quality chocolate bars create a flavor symphony that’s simply divine. Enjoy these extraordinary cookies with a cold glass of milk for an unforgettable treat that feels both comforting and gourmet.
- **Perfect for Every Occasion:** Whether you’re hosting a casual get-together, need a standout dish for a potluck, or are looking for the ideal homemade gift, these cookies are a crowd-pleaser that fits any occasion. Their impressive flavor makes them suitable for celebrations big and small.
- **Dangerously Addictive (in the best way!):** Be warned – these homemade chocolate chip cookies are so good, you might find yourself reaching for a second, third, or even fourth in one sitting! Consider making a double batch from the start, because they disappear quickly.
- **Perfectly Balanced Sweetness:** Unlike many overly sweet cookie recipes, this one uses only brown sugar and real chocolate. This thoughtful combination results in a deeper, more nuanced flavor profile that satisfies your sweet tooth without being cloying, offering a delightful complexity.
- **A Favorite Among Many:** Having baked and tasted chocolate chip cookies countless times throughout my life, I can confidently say that this brown butter rendition ranks among my absolute favorites. It’s a recipe I return to again and again.
Ingredients Notes
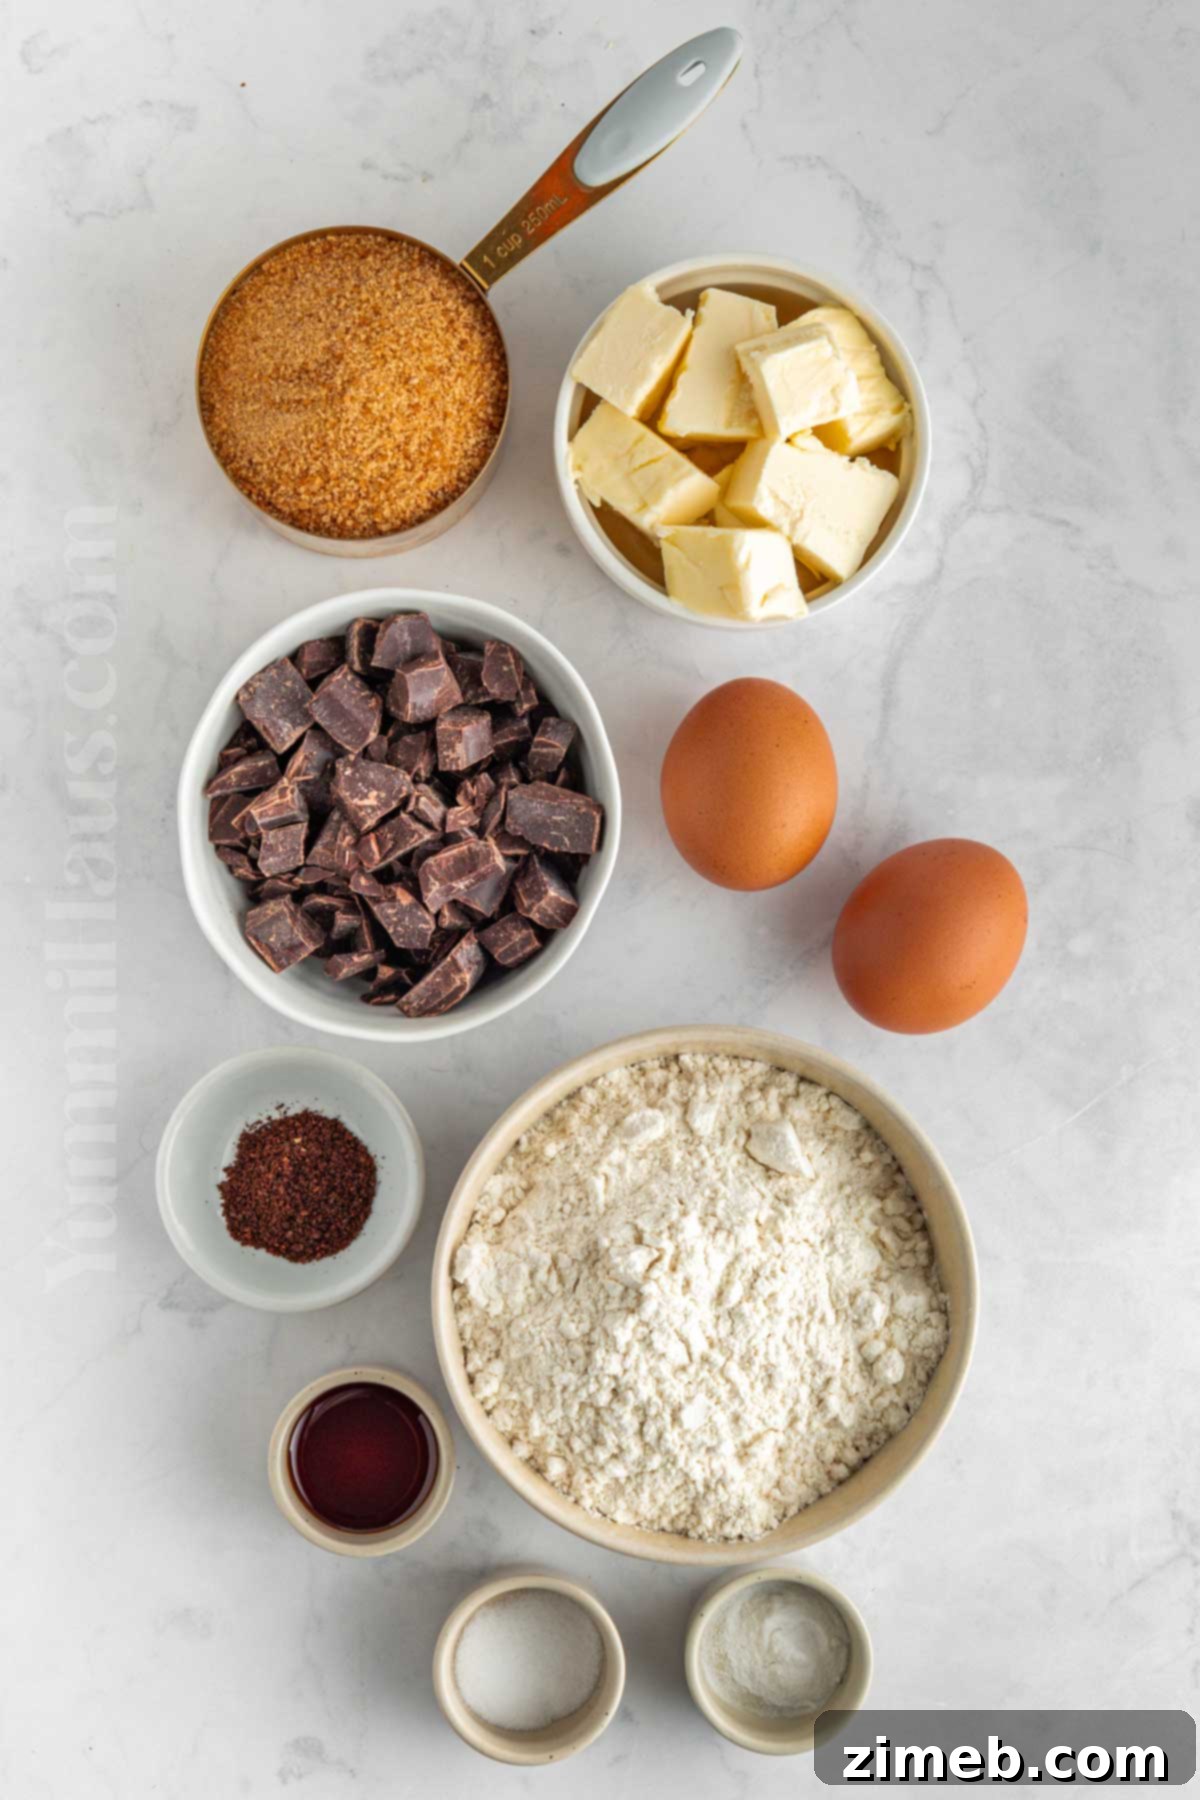
Crafting the perfect brown butter chocolate chip cookies begins with understanding each ingredient’s role. This recipe calls for just a few simple pantry staples, most of which you likely already have. For exact quantities, always refer to the detailed recipe card at the end of this post.
- **Unsalted Butter:** Opting for unsalted butter is crucial as it gives you complete control over the overall saltiness and flavor profile of your cookies. If salted butter is all you have on hand, ensure you omit any additional salt from the recipe and taste the dough before baking to adjust if necessary. For the absolute best results and to truly enhance that nutty brown butter flavor, I highly recommend investing in a good quality, premium butter.
- **Light Brown Sugar:** This recipe exclusively uses brown sugar, specifically light brown sugar, which is key for both moisture and that distinct caramel-like flavor. While dark brown sugar can also be used for an even deeper molasses note, light brown sugar helps to retain moisture effectively, preventing dry, crumbly cookies. We skip white sugar entirely to focus on the rich, complex sweetness brown sugar provides.
- **Eggs:** For optimal binding and moisture, whole large eggs are used. It’s essential that your eggs are at room temperature. Room temperature eggs emulsify better with the butter and sugar, creating a smoother, more uniform dough that bakes more evenly.
- **Vanilla Extract:** Don’t skimp on quality here. Pure vanilla extract will impart a superior, more authentic vanilla flavor that truly complements the brown butter and chocolate, elevating the overall taste of your cookies.
- **Flour Mixture (All-Purpose Flour, Baking Soda, Kosher Salt):** This combination is meticulously balanced to achieve that coveted cookie texture. All-purpose flour provides the structural base. Baking soda is your secret weapon for those wonderfully crispy edges, guaranteeing a delightful chewiness, and often creating those appealing little crackles on top of the cookies. It’s pure perfection! We don’t use baking powder in this particular recipe, as it would lead to a more crumbly, cake-like cookie, which isn’t the desired outcome for these chewy delights.
- **Instant Coffee or Espresso Powder:** This is a surprising but impactful ingredient. A small amount of instant coffee or espresso powder doesn’t make the cookies taste like coffee; instead, it magically deepens and intensifies the chocolate flavor, making it even richer and more profound.
- **Chopped Chocolate or Semisweet Chocolate Chips:** While chocolate chips are convenient, I strongly advocate for using high-quality chocolate bars, especially those with 70%+ cocoa solids, roughly chopped. This yields irregular chunks that melt into incredible, gooey pools of chocolate throughout your cookies, providing a far more luxurious experience than standard chocolate chips, which often contain stabilizers to maintain their shape.
Kitchen Equipment
Having the right tools can make your baking experience smoother and more enjoyable. Here’s what you’ll need to create these fantastic brown butter chocolate chip cookies:
- Baking sheetlined with parchment paper (for even baking and easy cleanup)
- Saucepan (for browning the butter)
- Electric mixer or stand mixer (for combining wet ingredients efficiently)
- Heat-safe bowl (to cool the brown butter and mix the dough)
- Rubber spatula (perfect for mixing dough and gently folding in ingredients without overworking it)
- Ice cream scoop (specifically a cookie scoop for uniform cookie size)
How To Make Brown Butter Chocolate Chip Cookies
Get ready to create some of the best chocolate chip cookies you’ve ever tasted! Follow these simple steps for a truly rewarding baking experience.
1: Brown Butter – The Flavor Foundation
The journey to an extraordinary cookie begins with the brown butter. This step is crucial for developing the rich, nutty flavor that sets these cookies apart.
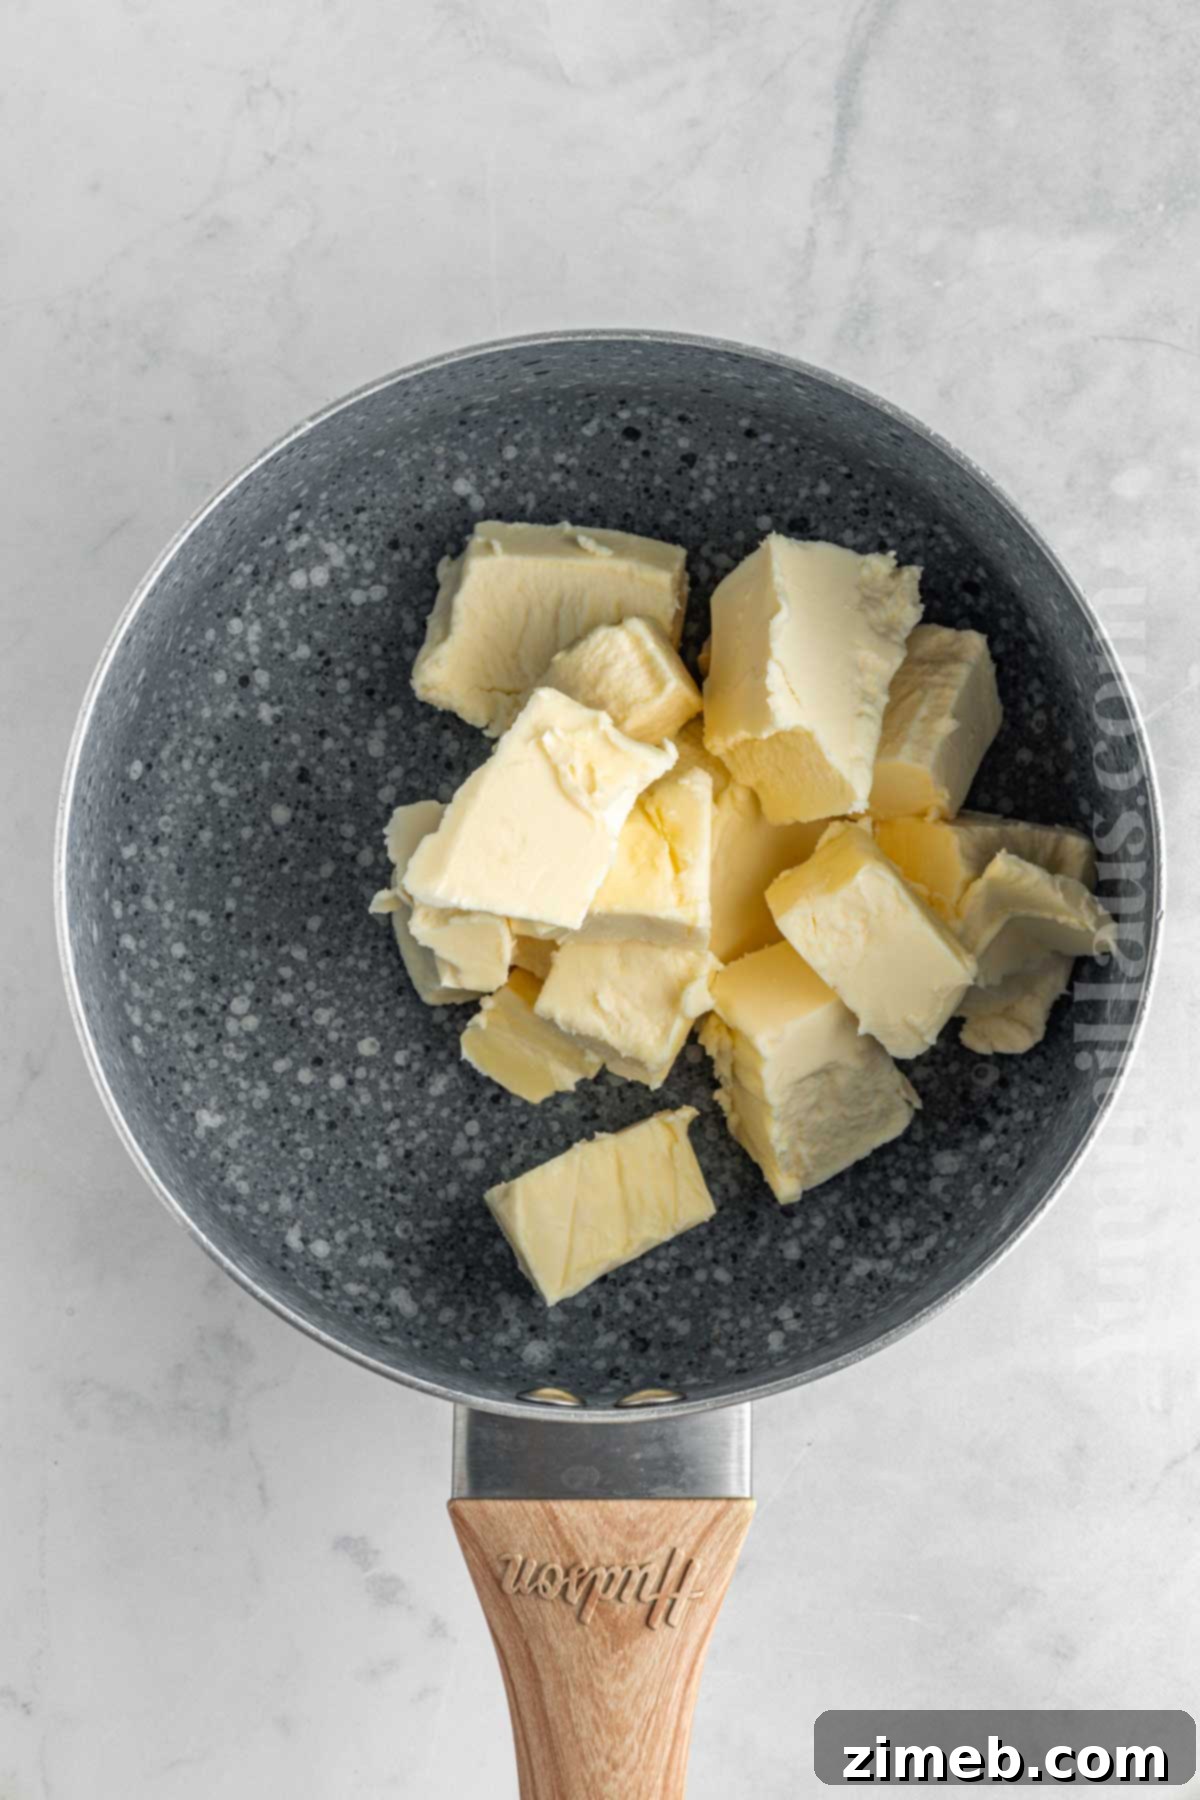
- Melt the butter over medium heat in a medium saucepan. Stir continuously with a rubber spatula or whisk. Initially, the butter will melt, then foam, and finally, you’ll see small amber-colored flecks forming at the bottom of the pan. Continue stirring until the butter turns a beautiful golden brown color and emits a deeply fragrant, nutty aroma, similar to toasted hazelnuts (this typically takes about 4-5 minutes, as the water content from the butter evaporates).
- **Important:** Do not leave the butter unattended on the stove. Butter can go from perfectly browned to burnt in a matter of seconds, becoming bitter and unusable. Stay vigilant and keep stirring.
- Don’t be alarmed if you see some brown bits; these are desirable! They are the natural milk solids that have toasted, creating the fantastic nutty flavor we’re aiming for. Warm butter naturally releases more of these flavorful milk sugars.
- Immediately remove the saucepan from the heat once the butter is golden brown and aromatic. Transfer the browned butter to a large, heat-safe mixing bowl. This stops the cooking process. Set it aside to cool for approximately 10 minutes. It’s important for it to cool slightly so it doesn’t scramble the eggs in the next step.
2: Mix Wet Ingredients – Building the Dough
Once your brown butter has cooled slightly, it’s time to combine it with the other wet ingredients, forming the luxurious base of your cookie dough.
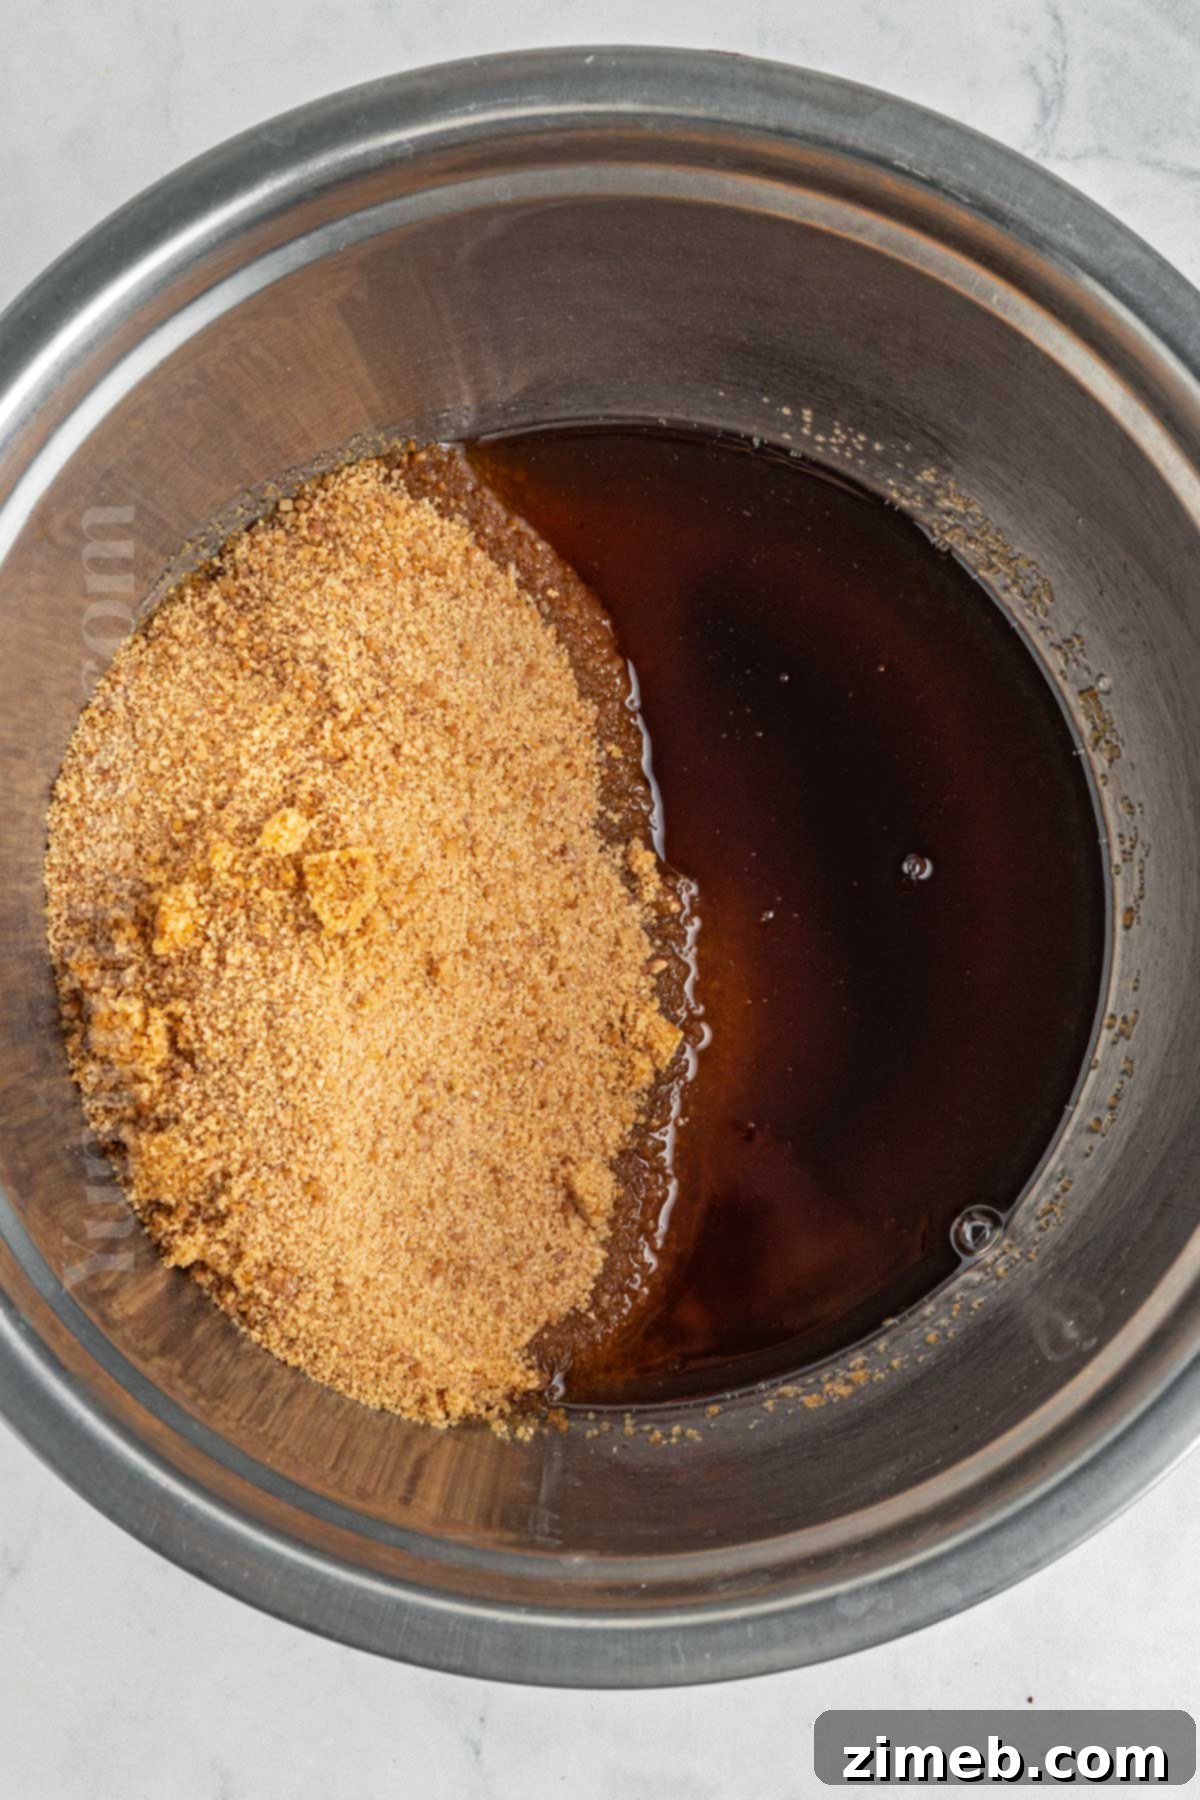
- To the cooled brown butter, add the light brown sugar. Using an electric mixer (handheld or stand mixer), beat the mixture on medium speed until it is smooth, creamy, and well combined. This step incorporates air and helps to dissolve the sugar, contributing to a tender cookie.
- Add the eggs, one at a time, beating well after each addition until fully incorporated. Adding them individually helps create a more stable emulsion, ensuring a cohesive and well-structured dough.
- Finally, mix in the pure vanilla extract and the instant coffee or espresso powder. The coffee will enhance the chocolate flavor without making the cookies taste like coffee.
3: Mix Dry Ingredients – Bringing it All Together
Now, carefully combine your dry ingredients with the wet mixture, then fold in the star of the show – the chocolate.
- In a separate, medium-sized bowl, whisk together the all-purpose flour, baking soda, and kosher salt. This ensures all the dry ingredients are evenly distributed before being added to the wet mixture.
- Gradually add the dry ingredients into the wet mixture, mixing on low speed until *just* combined. It’s crucial not to overmix the dough at this stage, as overmixing can develop the gluten in the flour, leading to tough, less chewy cookies.
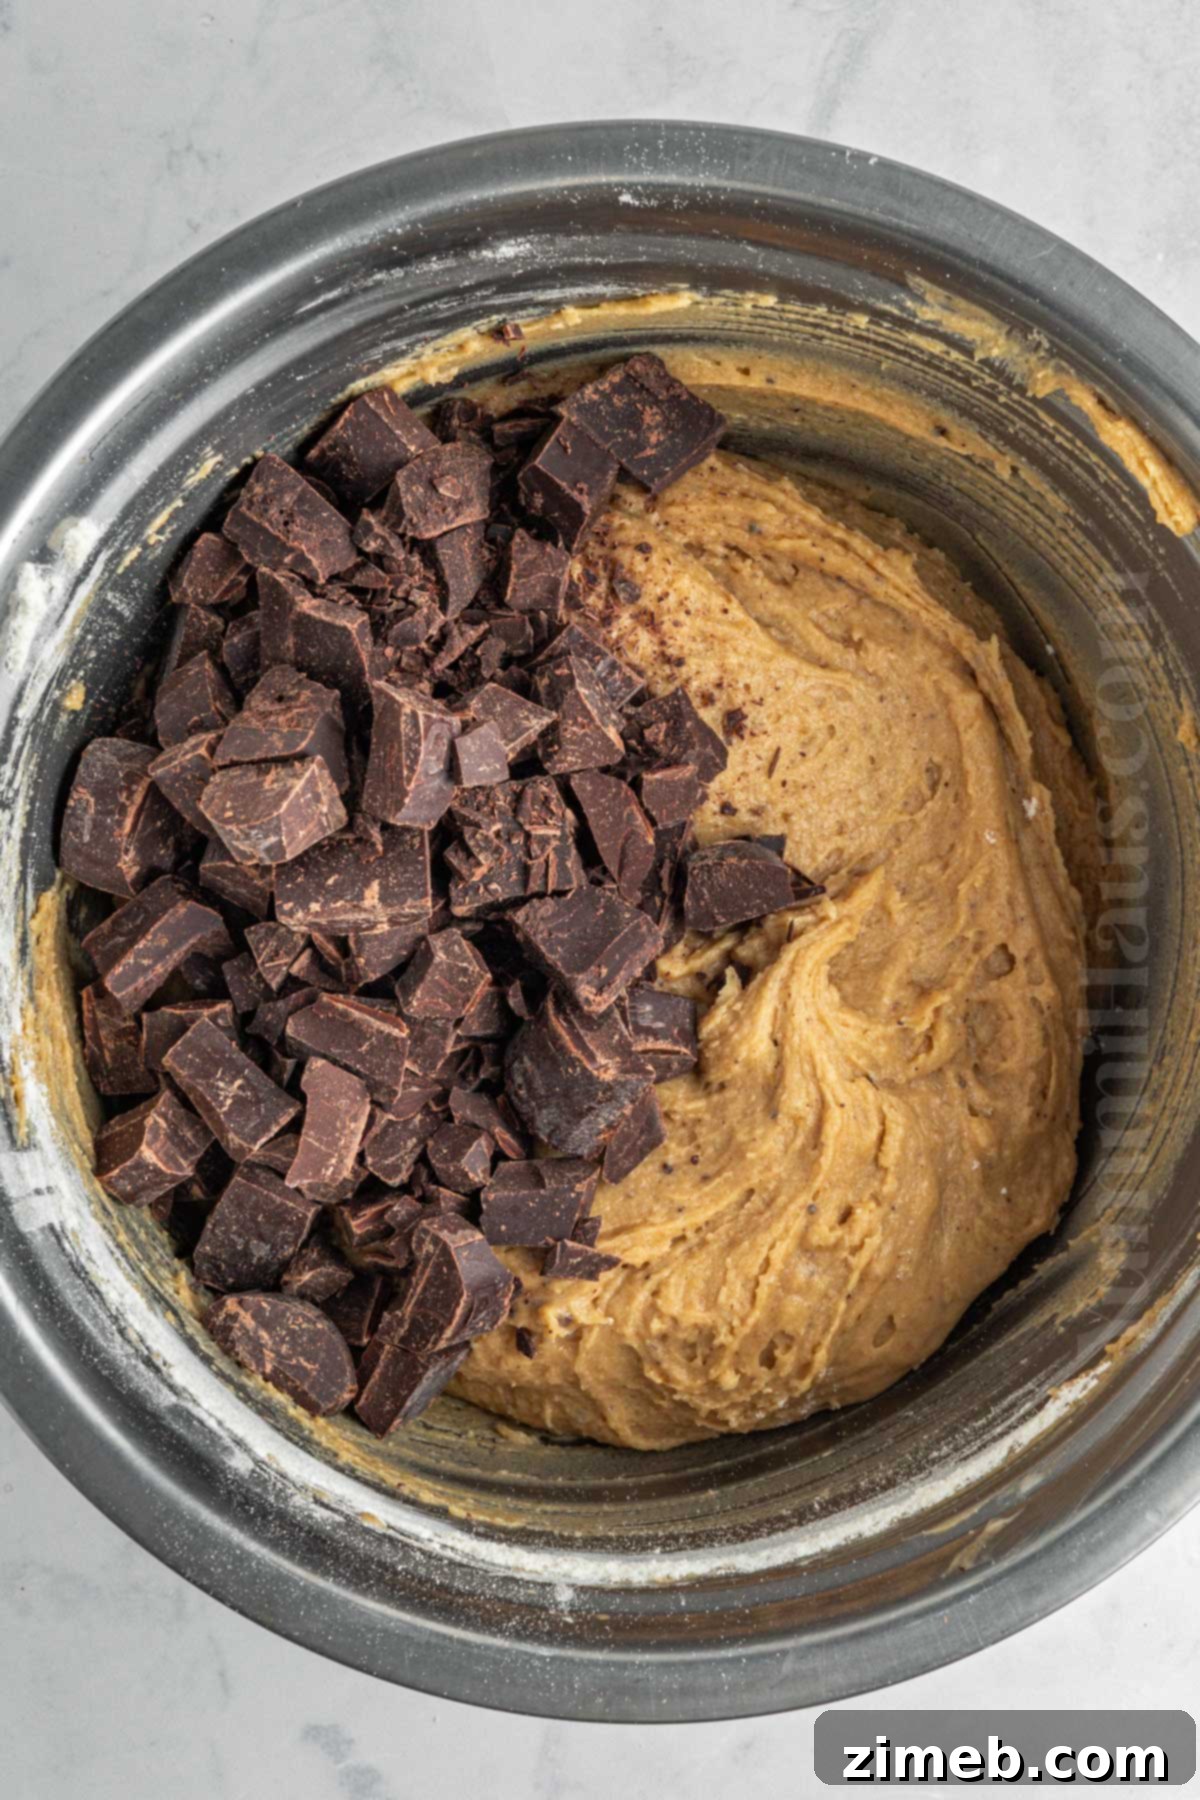
- Once the dry ingredients are mostly incorporated, remove the bowl from the mixer and use your rubber spatula to gently fold in the chopped dark chocolate. Distribute the chocolate evenly throughout the dough.
4: Chill The Dough – The Secret to Perfection
This step is non-negotiable for superior flavor and texture. Don’t rush it!
- Cover the cookie dough tightly with plastic wrap or transfer it to an airtight container. Refrigerate for a minimum of 30 minutes. For an even richer, more complex flavor and better texture, chill the dough for at least 2 hours, or ideally, up to 24 hours. This chilling period allows the flavors to deepen, the flour to fully hydrate, and the butter to firm up, which prevents excessive spreading during baking.
- **Important Note:** Freezing the dough is not the same as chilling it for this purpose. While you can freeze dough for later baking, the initial chilling step should always be done in the refrigerator to achieve the desired effect on flavor and texture.
5: Bake – Golden Goodness
The moment of truth! Baking these cookies to perfection means achieving that ideal balance of crispy and chewy.
- Before you begin portioning your dough, preheat your oven to 350°F (175°C). Ensure it’s fully preheated for consistent baking.
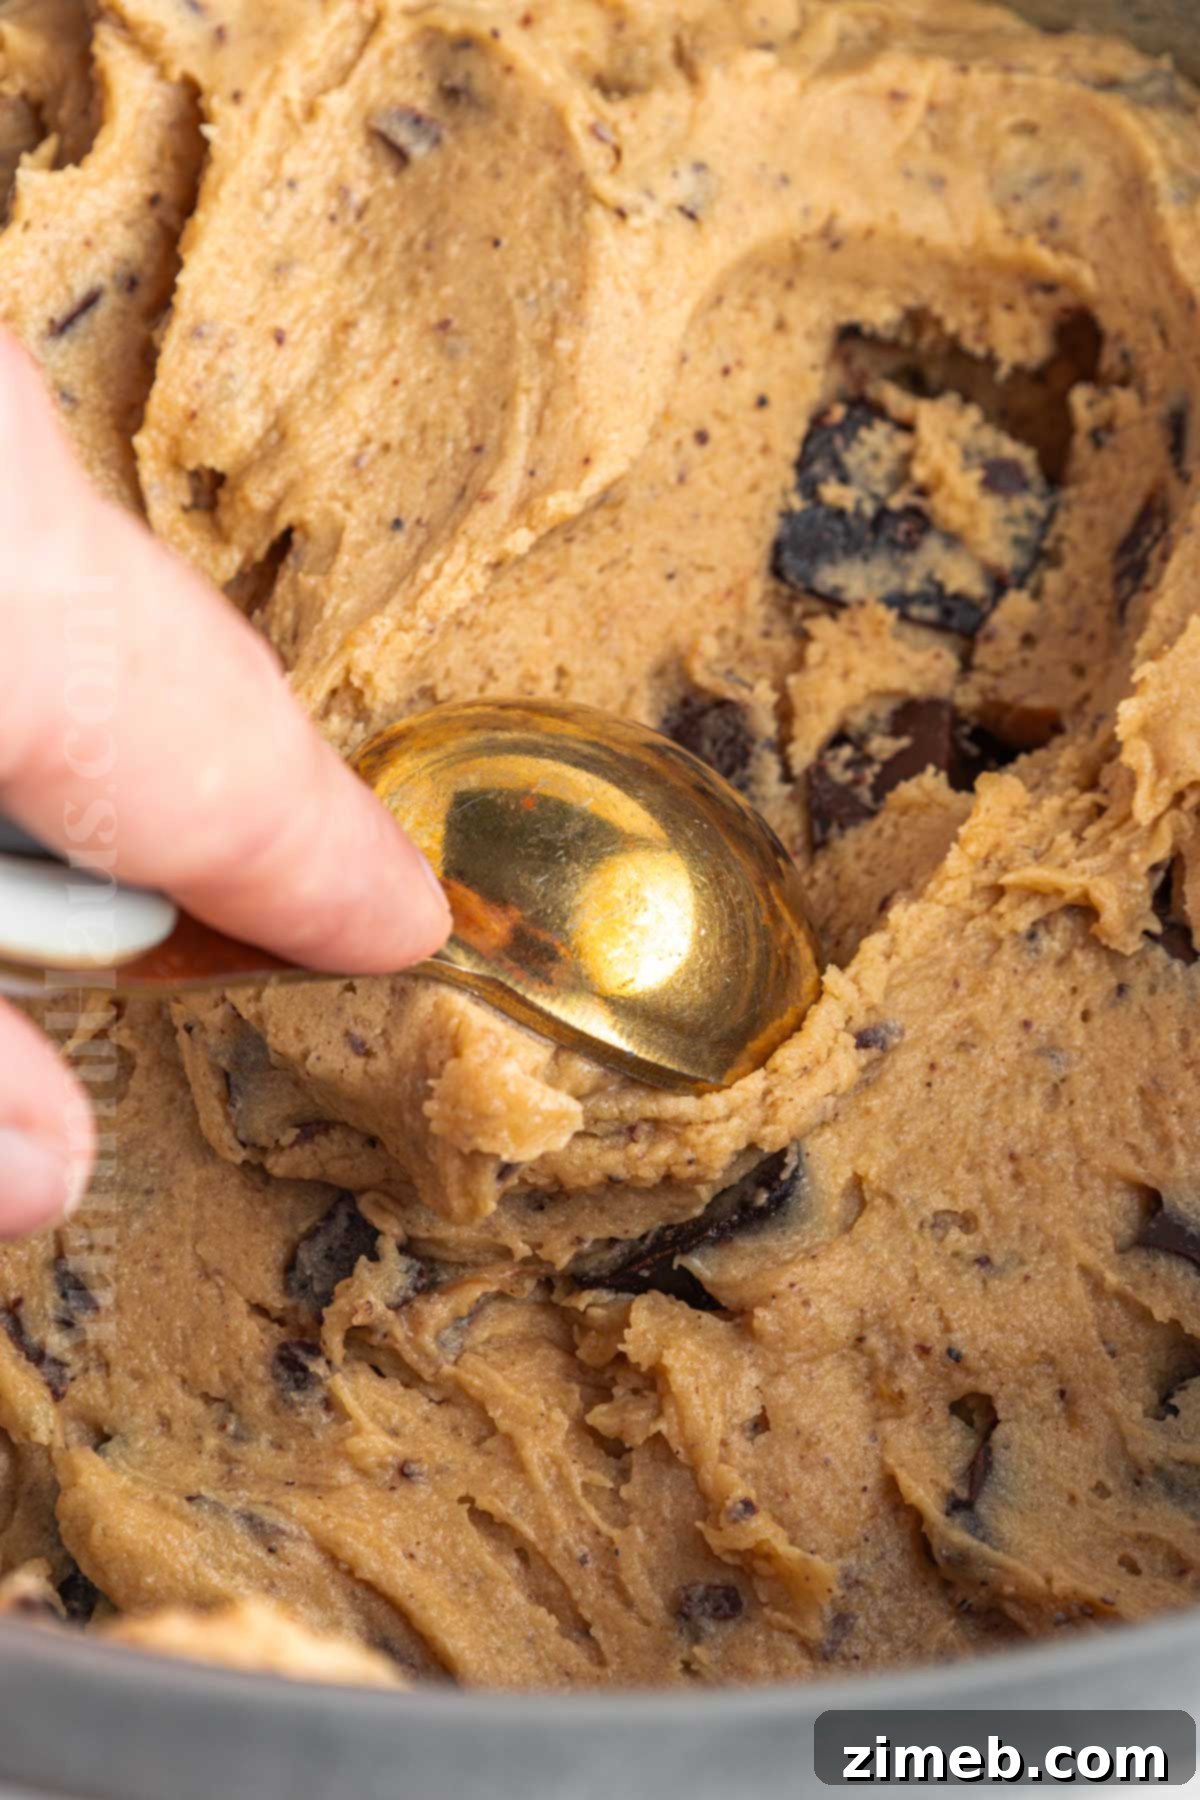
- Using a 2-tablespoon-sized cookie scoop, portion out balls of the chilled dough onto baking sheets that have been lined with parchment paper. Leave approximately 2 inches of space between each cookie to allow for spreading during baking.
- Bake for 10-12 minutes, or until the edges of the cookies are beautifully golden brown and the centers appear slightly underbaked and soft. This slight underbaking is key to achieving that wonderfully chewy, gooey center as the cookies will continue to cook slightly from residual heat after being removed from the oven.
- Once baked, remove the cookies from the oven and let them cool on the baking sheet for 5 minutes. This allows them to set up enough so they don’t fall apart. After 5 minutes, carefully transfer them to a wire rack to cool completely.
- For an extra touch of gourmet flavor and a beautiful finish, I highly recommend sprinkling each warm cookie with a pinch of flaky sea salt immediately after they come out of the oven. This enhances the chocolate and butter flavors beautifully.
- Don’t be concerned if the freshly baked cookies feel a little greasy; this is perfectly normal and a sign of rich, flavorful brown butter goodness!
Storage
Proper storage ensures your brown butter chocolate chip cookies remain fresh and delicious for as long as possible. Here’s how to keep them at their best:
- **Room Temperature:** Once completely cooled, store your baked chocolate chip cookies in an airtight container or a heavy-duty ziploc bag at room temperature for up to one week. This prevents them from drying out and maintains their chewy texture.
- **Reheating:** To enjoy that irresistible, just-baked warmth and gooey chocolate, simply reheat cooled cookies for 1-2 minutes in a preheated oven (around 300°F/150°C) or microwave them for 10-15 seconds.
- **Freezing Dough:** You can easily freeze the cookie dough for future baking. Follow all the steps through forming the dough balls, including the initial chilling period. Once portioned, arrange the dough balls on a baking sheet and freeze until solid (about 1-2 hours). Then, transfer them to a freezer-safe bag or airtight container, separated by parchment paper, and store for up to 3 months. When you’re ready to bake, simply place the frozen dough balls on a prepared baking sheet, let them sit at room temperature for 10-15 minutes, and bake as instructed, adding a minute or two to the baking time if needed.
- **Freezing Baked Cookies:** To freeze baked chocolate chip cookies, first allow them to cool completely on a wire rack. Once cooled, arrange them in a single layer on a baking sheet and freeze until firm. Then, transfer the frozen cookies to a freezer-safe airtight container or bag, placing parchment paper between layers to prevent sticking. They will keep well for up to 3 months. Thaw them at room temperature or warm them gently in the oven for a quick treat.
Substitutions & Variations
While this recipe is perfect as is, feel free to get creative and customize your brown butter chocolate chip cookies to suit your taste or dietary needs:
- **Chocolate Choice:** I love the rustic look and superior melt of chocolate chunks from a good quality bar, but you have many options. Experiment with milk chocolate chips for a sweeter cookie, dark chocolate chips for a more intense cocoa flavor, or even white chocolate chips for a different aesthetic and flavor profile. For an extra visual appeal and to ensure beautiful melty pools on top, press a few extra chocolate chips or chunks onto the surface of each cookie dough ball before baking.
- **Add Chopped Nuts:** For an additional layer of crunch and an even deeper nutty flavor that harmonizes beautifully with the brown butter, fold in about ½ to 1 cup of chopped walnuts, pecans, or even macadamia nuts with the chocolate.
- **Gluten-Free Option:** To make these cookies safe for everyone to enjoy, you can substitute the all-purpose flour with a 1:1 gluten-free baking flour blend. Ensure the blend contains xanthan gum for best results, and be sure to measure by weight rather than volume for accuracy, as GF flours can behave differently.
- **Bread Flour for Extra Chewiness:** If you desire an even chewier chocolate chip cookie, consider swapping a portion (or all) of the all-purpose flour for bread flour. Bread flour has a higher protein content, which contributes to a more developed gluten structure, resulting in a delightfully chewy texture.
- **For Softer, More Moist Cookies:** If you prefer your cookies on the softer side, you can add 1-2 tablespoons of milk or Greek yogurt to the wet ingredients. This extra liquid will increase moisture content, yielding a softer crumb.
- **Boost Chewiness and Richness with Extra Egg Yolks:** For an incredibly rich and chewy texture, consider adding an extra egg yolk or two to the wet ingredients. Egg yolks are full of fat and emulsifiers, which contribute significantly to tenderness, chewiness, and a richer flavor.
- **No-Chill Cookies (with a caveat):** If you’re truly short on time and can’t wait for the chilling period, you can make these cookies “no-chill.” To do this, reduce the baking soda by half (use ½ tsp instead of 1 tsp). Be aware that skipping the chill time will likely result in cookies that spread more and may have a slightly less developed flavor and chewiness, but they will still be delicious!
Expert Tips To Make The Best Chocolate Chip Cookies with Brown Butter
- **Handle with Care When Hot:** When freshly baked, these cookies will be very soft and delicate to the touch. Resist the urge to move them immediately. Allow them to cool on the baking sheet for at least 10 minutes. This crucial resting period allows them to firm up and set, ensuring they hold their shape perfectly when you transfer them to a wire rack.
- **Precise Flour Measurement is Key:** Adding too much flour is a common pitfall that can drastically alter your cookie’s texture. Excess flour will result in tough, cakey, and dry cookies, far from the chewy perfection we’re aiming for. Always measure your flour accurately using a kitchen scale for the most precise results. If a scale isn’t available, use the “spoon and level” method: spoon flour into your measuring cup, then level it off with a straight edge, rather than scooping directly from the bag.
- **Never Skip Chilling the Dough:** This is perhaps the most important tip for exceptional chocolate chip cookies. Chilling the dough does much more than just prevent the cookies from spreading excessively in the oven; it’s vital for developing complex flavors and achieving a moist, wonderfully chewy texture. The time in the fridge allows the flour to fully hydrate and the flavors to meld beautifully.
- **Ensure Even Baking:** To prevent uneven browning and ensure all your cookies cook uniformly, rotate your baking sheet halfway through the baking time. This is especially helpful if your oven has hot spots.
- **When in Doubt, Underbake:** It’s always better to slightly underbake your cookies than to overbake them. The residual heat from the baking sheet will continue to cook the cookies for a few minutes after they come out of the oven. An underbaked cookie will yield a delightfully gooey, chewy center, whereas an overbaked cookie will be dry and hard. Look for golden edges and a slightly soft center.
Popular Questions
Does Brown Butter Change Cookie Texture?
Yes, brown butter significantly impacts cookie texture! It tends to make cookies chewier and gives them a much richer, more complex taste due to the nutty, caramel-like flavor it imparts. However, the browning process also removes water content from the butter, which can potentially make the dough a bit drier. This is precisely why chilling the cookie dough is an absolutely crucial step when using brown butter – it helps the flour absorb moisture, prevents excessive spreading, and locks in that desirable moist, chewy texture.
What Does Browned Butter Do To Cookies?
Browned butter is a game-changer for cookies! It infuses them with a deep, toasted, nutty, and slightly caramel-like flavor that elevates the cookie from a simple sweet treat to a gourmet indulgence. This added depth of flavor makes the cookies taste more special and incredibly delicious, giving them a sophisticated edge that will impress anyone who tries them.
Why Did My Brown Butter Cookies Get Hard?
Several factors can lead to hard brown butter cookies. The most common reasons include using too much flour, which creates a dense, tough texture, or baking them for too long, which dries them out. If you used bread flour, its higher protein content can also result in a firmer, chewier cookie. To avoid hard cookies, always measure your flour precisely (preferably by weight) and err on the side of slightly underbaking. Remember that cookies continue to firm up as they cool on the baking sheet, so pulling them from the oven when the centers still look a little soft is often the secret to a perfectly chewy result.
How To Prevent Brown Butter Cookies From Spreading?
Preventing your brown butter cookies from spreading too much is key to achieving that ideal thick, chewy texture. The best defense is to thoroughly chill your cookie dough in the refrigerator before baking. This solidifies the butter, helping the dough hold its shape in the hot oven for longer. Additionally, ensure you’re using the correct ratios of butter and sugar, as an excess of either can cause cookies to spread more than desired. Proper flour measurement and a well-preheated oven also play significant roles in maintaining cookie structure.
If you love this brown butter chocolate chip cookie recipe, you’re going to adore these other cookie varieties, too. Explore these delightful options for more sweet baking inspiration! Please click each link below to find the easy, printable recipe!
Check out this recipe
Check out this recipe
Check out this recipe

Check out this recipe

Check out this recipe

More Great Chocolate Chip Recipes
If you’re a true chocolate chip enthusiast, you’ll love these additional recipes that celebrate this classic flavor in various forms:
Chocolate Chip Cookies without Brown Sugar
Bakery-Style Chocolate Chip Muffins
Chocolate Chip Cookie Truffles
Chocolate Chip Cupcakes
CONNECT WITH YUMMI HAUS!
Be sure to follow me on my social media, so you never miss a post!
Substack, FB, Pinterest, IG, Email Subscription
Rate this Recipe
Brown Butter Chocolate Chip Cookies
Ingredients
- 1 cup unsalted butter
- 1 ½ cups light brown sugar
- 2 large eggs – room temperature
- 2 tsp pure vanilla extract
- 2 ½ cups all-purpose flour – spooned and leveled
- 1 tsp baking soda
- ½ tsp kosher salt
- 1 tsp instant coffee or espresso powder
- 1 ½ cups chopped dark chocolate – (70%+ cocoa recommended)
Instructions
-
Melt the unsalted butter over medium heat in a medium saucepan. Stir continuously until it turns a rich golden brown color and releases a fragrant, nutty aroma (this usually takes about 4-5 minutes as the milk solids toast).
-
Immediately remove the saucepan from the heat and transfer the browned butter to a large, heat-safe mixing bowl to stop the cooking. Set it aside to cool for approximately 10 minutes.
-
Once the brown butter has cooled slightly, add the light brown sugar and beat with an electric mixer until the mixture is smooth and creamy.
-
Add the room temperature eggs, one at a time, mixing well after each addition until fully incorporated.
-
Stir in the pure vanilla extract and the instant coffee or espresso powder, mixing until just combined.
-
In a separate small bowl, whisk together the all-purpose flour, baking soda, and kosher salt. Gradually add these dry ingredients into the wet mixture, mixing on low speed until *just* combined. Avoid overmixing to keep cookies tender.
-
Gently fold in the chopped dark chocolate using a rubber spatula until evenly distributed throughout the dough.
-
Cover the cookie dough with plastic wrap and refrigerate for at least 30 minutes. For optimal flavor and texture, chilling for 2 hours or up to 24 hours is highly recommended.
-
Preheat your oven to 350°F (175°C) while the dough is chilling.
-
Portion 2-tablespoon-sized balls of the chilled dough onto parchment-lined baking sheets, ensuring you leave about 2 inches of space between each cookie to allow for spreading.
-
Bake for 10-12 minutes, or until the edges are golden brown and the centers appear slightly underbaked (this ensures a chewy, gooey center).
-
Remove the baking sheets from the oven and let the cookies cool on the baking sheet for 5 minutes before carefully transferring them to a wire rack to cool completely.
-
For an irresistible finishing touch, sprinkle each warm cookie with a pinch of flaky sea salt. Enjoy!
Notes
Store cooled cookies in an airtight container or a heavy-duty ziploc bag at room temperature for up to one week to maintain freshness.
To enjoy that warm, freshly baked taste, reheat cookies for 1-2 minutes in a preheated oven or for about 10-15 seconds in the microwave.
Nutrition
Nutritional information for the recipe is provided as a courtesy and is approximate. Please double-check with your own dietary calculator for the best accuracy. We at Yummi Haus cannot guarantee the accuracy of the nutritional information given for any recipe on this site.