
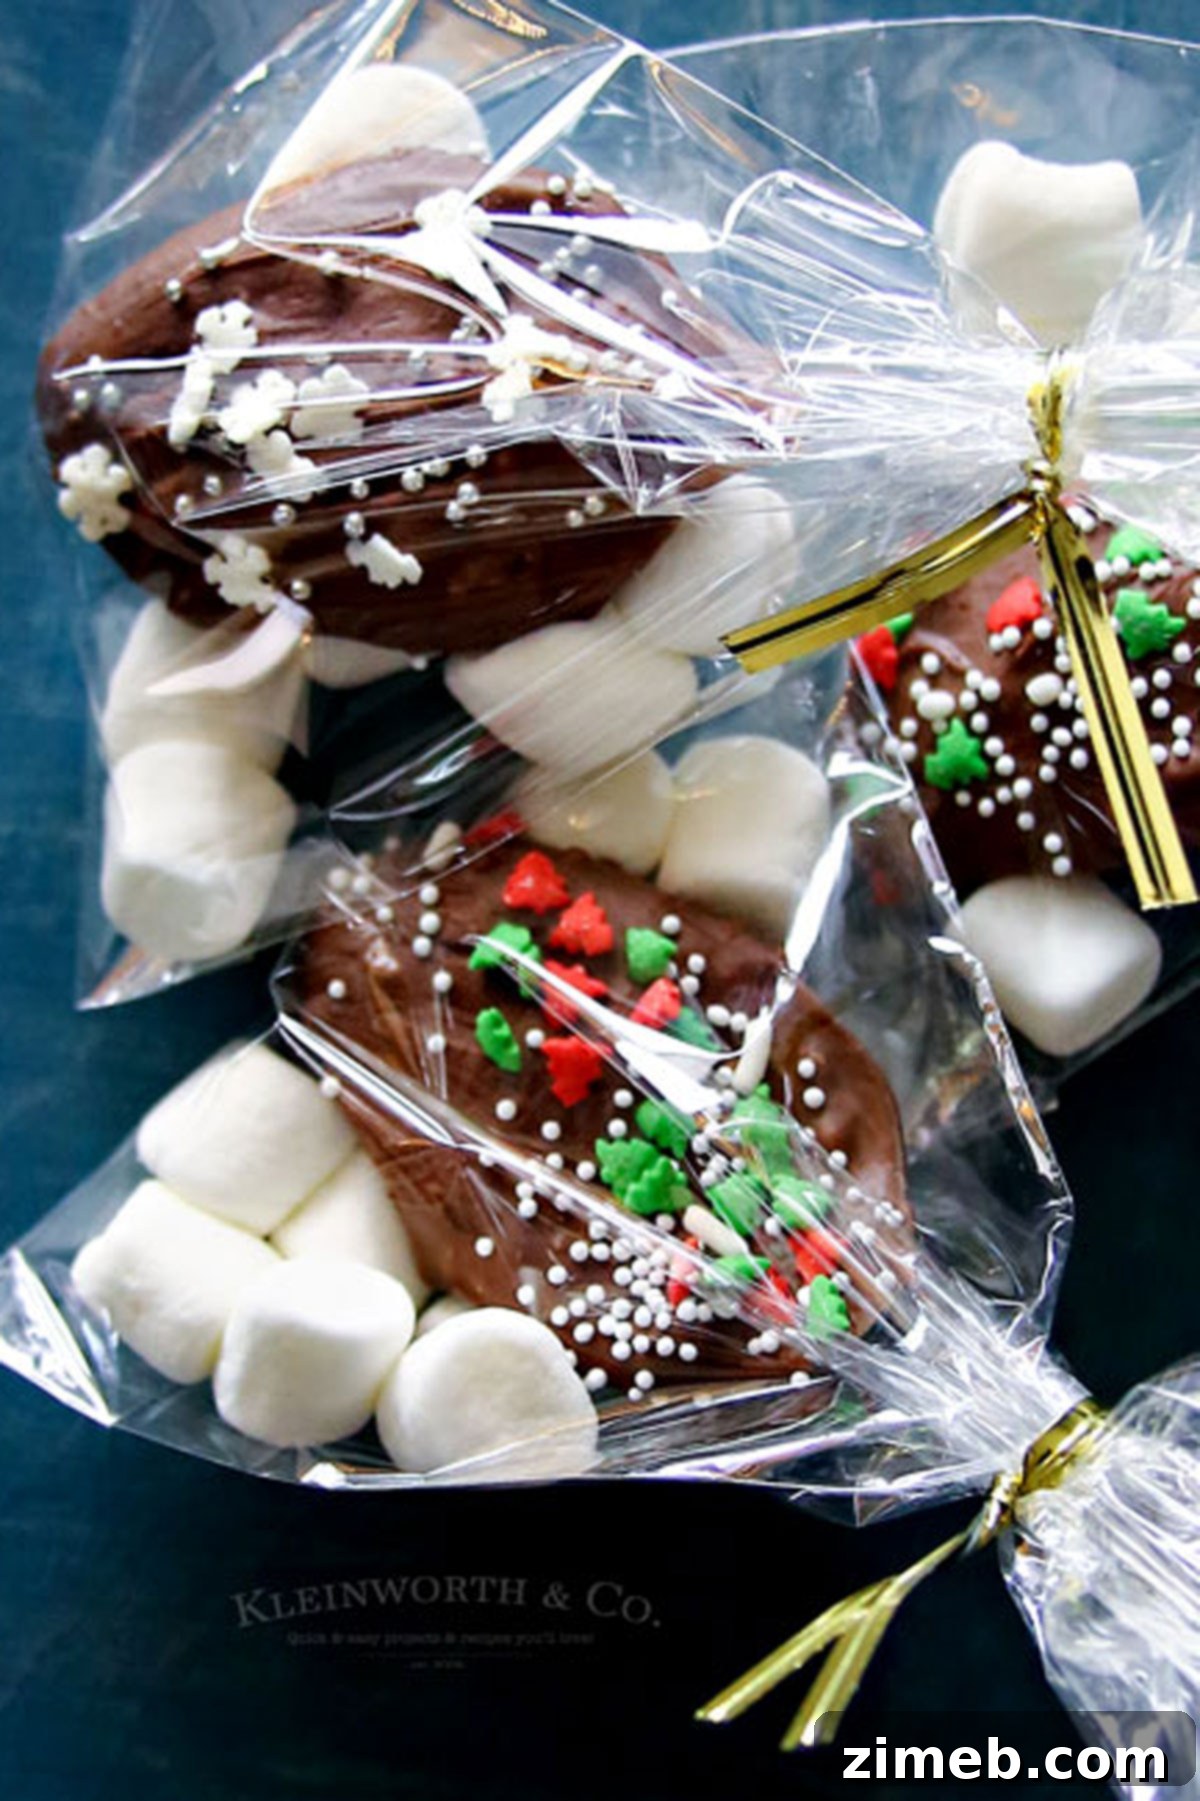
Easy Hot Chocolate Spoons are delightful, homemade treats that make perfect holiday gifts for friends, co-workers, and neighbors. Simply stir one into a mug of warm milk for an instant, luxurious cup of cocoa on any cold day. These charming chocolate-dipped spoons transform an ordinary hot drink into a truly special experience, bringing warmth and joy to everyone who enjoys them.
Imagine the cozy comfort of a steaming mug of hot milk, but instead of just a regular spoon, you’re stirring in a decadent chocolate-covered one! Hot Chocolate Spoons are a truly magical and delicious way to elevate your favorite winter beverage. Each spoon is meticulously dipped in rich, melted chocolate and then adorned with an array of fun and festive toppings, from fluffy mini marshmallows and colorful sprinkles to crushed peppermint or a drizzle of caramel. As the chocolate slowly melts into the hot milk, it transforms into a creamy, dreamy, and irresistibly flavorful cup of hot cocoa that’s perfect for chilly evenings, festive gatherings, or just a simple moment of self-indulgence.
These homemade hot chocolate spoons are more than just a treat; they are a delightful activity perfect for families, a thoughtful homemade gift idea, and a simple way to add extra cheer to the holiday season. They offer a unique blend of creativity and culinary pleasure, making them a wonderful project to undertake with children, creating lasting memories along with delicious edible gifts.
Why Make Homemade Hot Chocolate Spoons?
Beyond their delicious taste, hot chocolate spoons offer numerous benefits that make them a must-try project this holiday season. They are incredibly versatile, serving as wonderful gifts, a fun family activity, or a delightful addition to your own winter routine. Making them yourself allows for endless customization, ensuring each spoon is a unique creation tailored to your preferences or those of your gift recipients.
The Perfect Personalized Gift
In a world of mass-produced items, a homemade gift truly stands out. Hot chocolate spoons are a heartfelt gesture that shows you’ve put time and effort into creating something special. They are ideal for friends, co-workers, teachers, neighbors, and anyone you want to spread a little extra cheer to. Package them beautifully with a festive ribbon and a small tag, and you have a charming, edible present that will surely bring smiles. They’re also a fantastic last-minute gift option that looks incredibly impressive!
A Fun and Engaging Activity for All Ages
Crafting hot chocolate spoons is a wonderfully engaging activity that can be enjoyed by both children and adults. Kids love dipping the spoons, choosing their toppings, and watching the chocolate harden. It’s a great way to foster creativity in the kitchen and spend quality time together during the colder months. Plus, the reward is a tasty treat everyone can enjoy!
Customizable to Every Taste
One of the greatest joys of making hot chocolate spoons at home is the complete freedom to customize them. Whether you prefer dark, milk, or white chocolate, or an assortment of different toppings, the possibilities are endless. This allows you to cater to various dietary preferences or simply experiment with new flavor combinations, ensuring everyone gets a spoon they’ll adore.
Common Questions About Hot Chocolate Spoons
What Type of Chocolate Should I Use?
The beauty of hot chocolate spoons lies in their flexibility! You can use any type of high-quality chocolate chips or melting wafers – dark, milk, or white chocolate all work wonderfully. For the best rich flavor, especially during the festive season, ensure you’re using real chocolate. Experiment with semi-sweet for a classic cocoa taste, or try a gourmet dark chocolate for an intensely rich experience. High-quality melting chocolate or baking chocolate bars (chopped) will typically yield the smoothest results.
Can I Use Wooden Spoons Instead of Plastic?
Absolutely! Wooden spoons are an excellent choice and can add a rustic, charming touch, especially if you’re packaging them as holiday gifts. They are also a more eco-friendly option. Just make sure they are clean and dry before dipping. Beyond wooden or plastic, you could even use sturdy, decorative metal spoons for an extra elegant touch, especially if you plan to reuse them after the chocolate has dissolved.
How Long Does It Take for the Chocolate to Set?
Typically, chocolate spoons will set at room temperature within 10-15 minutes, depending on the warmth of your kitchen and the type of chocolate used. If you’re in a hurry or working in a warmer environment, placing them in the refrigerator for 5-10 minutes can significantly speed up the hardening process. Ensure they are fully set before handling or packaging to avoid smudges and damage.
Storage Guidelines
Storing your hot chocolate spoons correctly ensures they remain fresh and delicious for weeks, making them ideal for preparing ahead of time.
Room Temperature: There’s no need to refrigerate these delightful treats. Chocolate stores perfectly well at cool room temperature (around 68-72°F or 20-22°C) in an airtight container, away from direct sunlight or heat. This helps prevent condensation which can affect the chocolate’s texture and appearance. Display them in a decorative cup on your counter for easy access and a festive touch!
Refrigerator: While not strictly necessary, you can refrigerate them in an airtight container if your home is particularly warm or humid. Just be aware that refrigeration can sometimes cause a slight “bloom” (a grayish film) on the chocolate due to sugar or fat crystallization, though this doesn’t affect taste or safety.
Freezer: Freezing is generally not recommended as it can significantly affect the texture and quality of the chocolate, potentially making it crumbly or dull in appearance once thawed. It’s best to enjoy them fresh or within a few weeks of preparation.
Essential Tips for Perfect Hot Chocolate Spoons
Achieving perfectly smooth, delicious, and beautifully adorned hot chocolate spoons is simple with these key tips:
- Proper Chocolate Melting: Whether you use a microwave or a double boiler, melt chocolate slowly and carefully. In a microwave, heat in 30-second intervals, stirring thoroughly after each to prevent burning. For a double boiler, ensure the bowl doesn’t touch the simmering water, and stir continuously until smooth.
- Ensure Spoons and Bowls are Dry: Any contact with water can cause chocolate to “seize,” turning it thick and unworkable. Make sure all your utensils, bowls, and spoons are completely dry before you begin.
- Decorate Promptly: Chocolate sets quickly! Have all your desired toppings ready and add them immediately after dipping each spoon, before the chocolate hardens. This ensures they adhere well.
- Get Creative with Toppings: Don’t limit yourself to just marshmallows and sprinkles! Consider crushed peppermint candies, toffee bits, mini chocolate chips, edible glitter, finely chopped nuts, or even a tiny drizzle of contrasting chocolate.
- Allow Ample Setting Time: Patience is key. Let the chocolate harden completely before you attempt to move or package the spoons. This prevents messy smudges and ensures a professional finish. If refrigerated, let them come to room temperature for a few minutes before serving to avoid thermal shock which can impact flavor.
- Choose Your Spoons Wisely: Sturdy plastic, wooden, or even small metal spoons work best. Consider the size of the spoon bowl – a larger bowl will hold more chocolate and toppings, making for a richer cocoa.
Simple Ingredients You’ll Need
Making these delightful hot chocolate spoons requires just a few simple ingredients, most of which you probably already have in your pantry. They’re always a huge hit with family and friends!
- Chocolate chips (your choice of dark, milk, or white chocolate)
- Mini marshmallows
- Festive sprinkles
- Plastic or wooden spoons
- Parchment paper (for easy cleanup and setting)
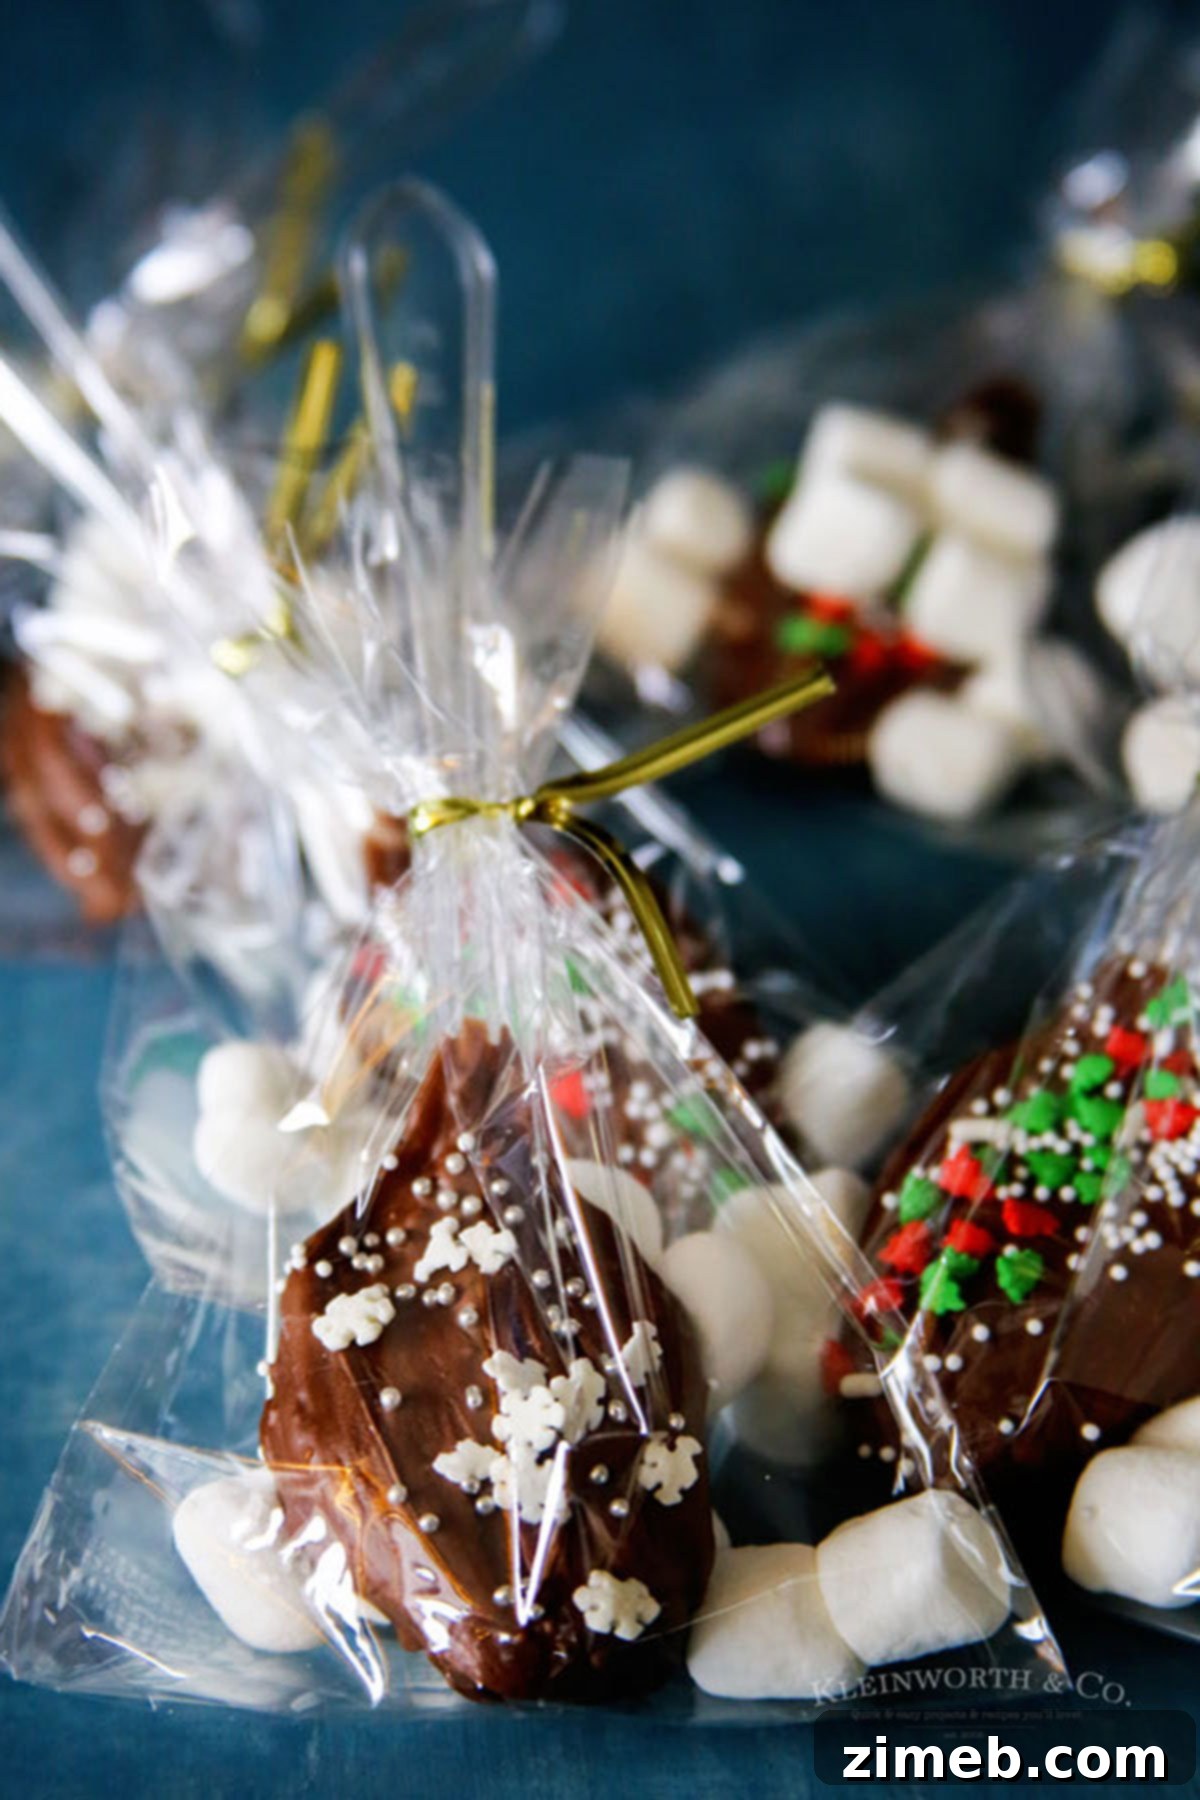
How to Craft Your Own Hot Chocolate Spoons: A Step-by-Step Guide
Every time I bring these to a gathering, I hear rave reviews about what a creative and thoughtful idea they are. They’ve become a cherished holiday tradition I simply can’t let go of!
- Melt the Chocolate: Place your chosen chocolate chips in a microwave-safe bowl. Microwave on high for 1 minute, then stir thoroughly. Continue heating in 30-second intervals, stirring well after each, until the chocolate is completely melted and smooth. Alternatively, use a double boiler for a gentler melting process.
- Dip the Spoons: Hold a spoon by its handle and dip the bowl of the spoon deep into the melted chocolate. Swirl it around gently to ensure it’s generously coated. Allow any excess chocolate to drip off back into the bowl.
- Decorate and Set: Carefully place the chocolate-dipped spoon onto a baking sheet lined with parchment paper. Immediately, before the chocolate begins to harden, add your desired sprinkles, mini marshmallows, or other decorations. Repeat with the remaining spoons. Let all the chocolate-covered spoons sit undisturbed at room temperature until the chocolate is firm and fully set. If you’re in a hurry, you can place the tray in the refrigerator for a few minutes.
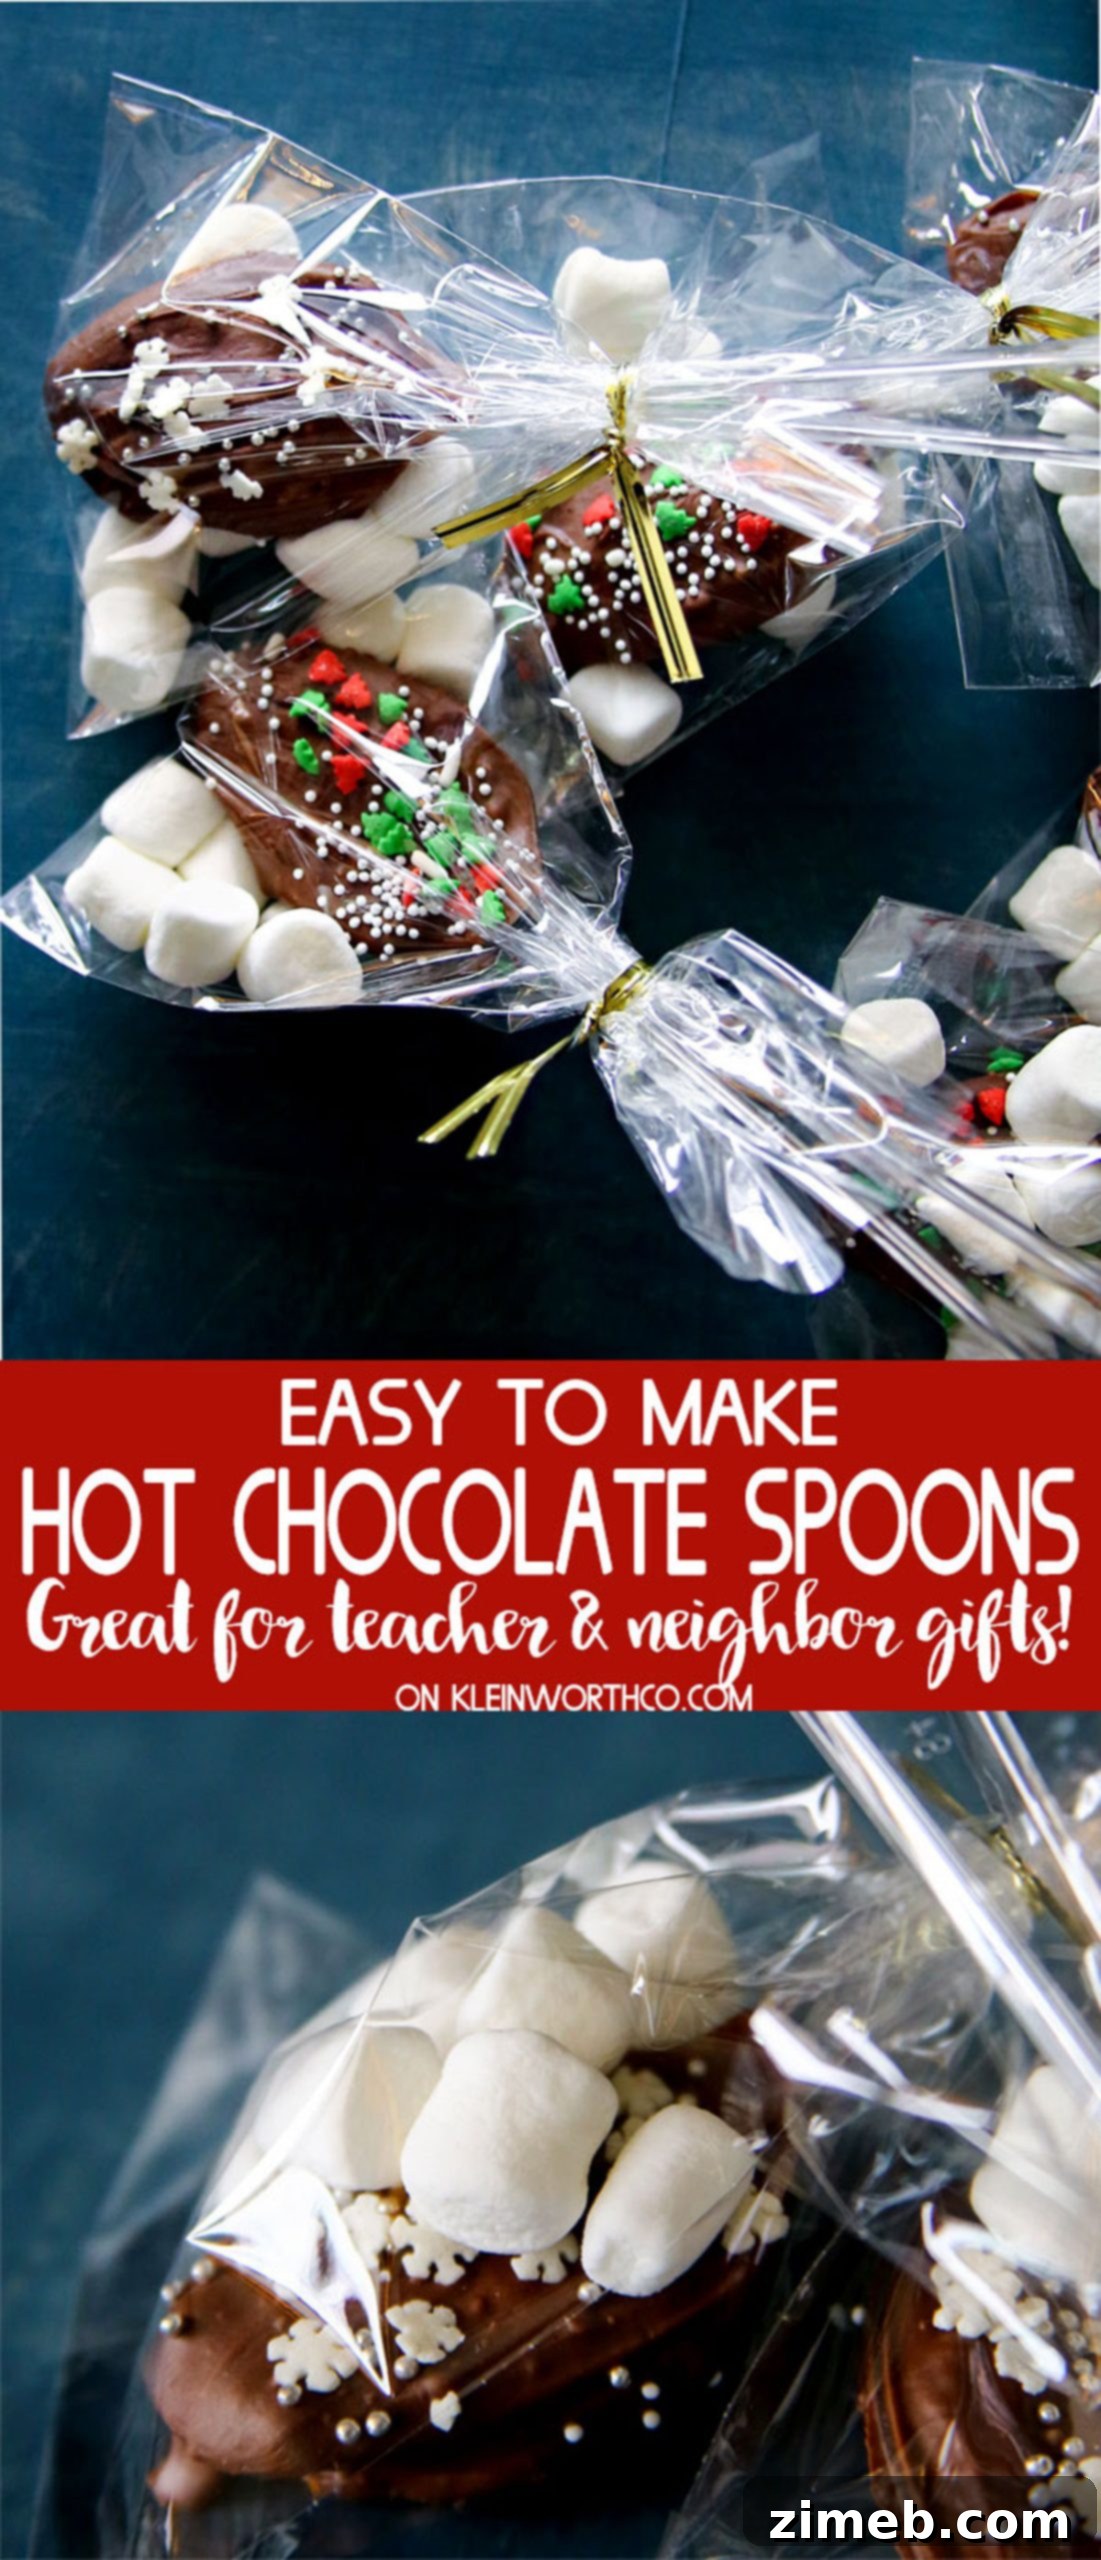
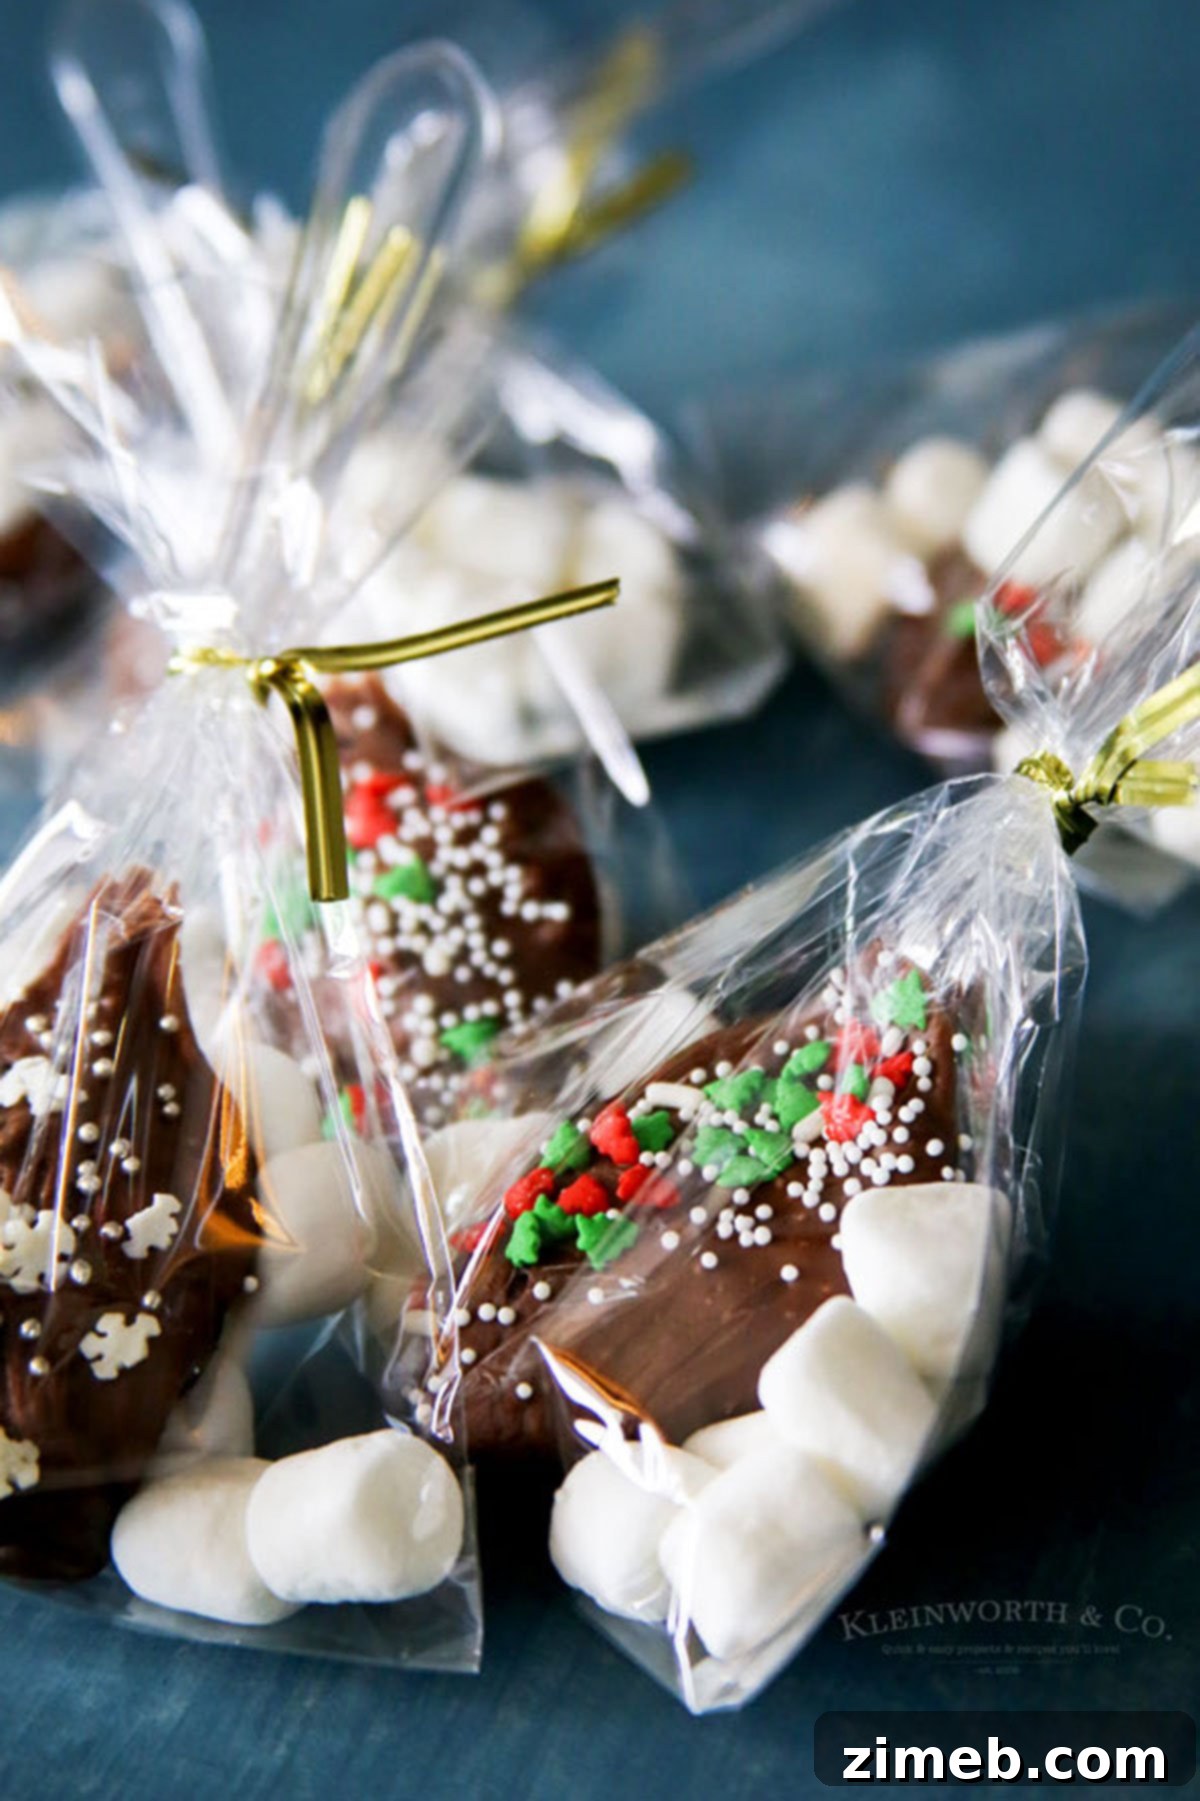
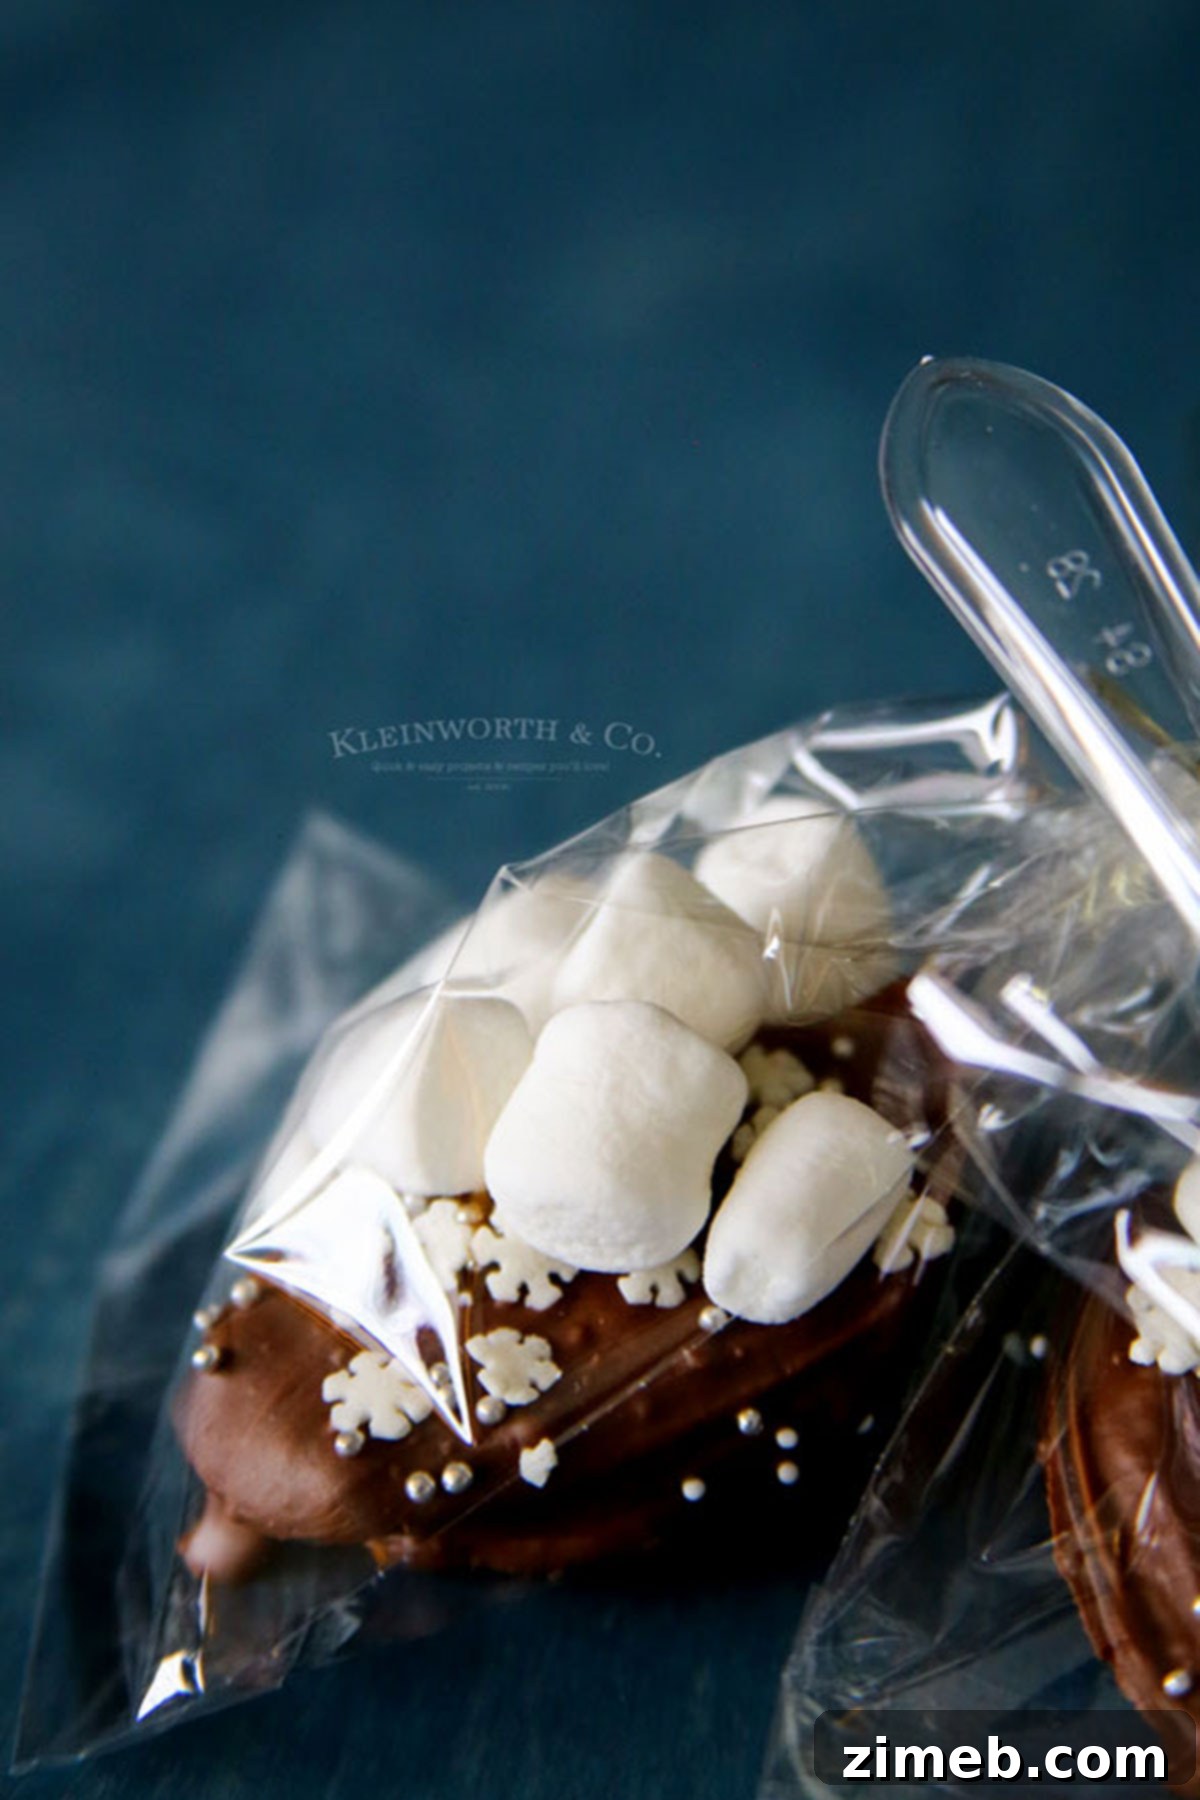
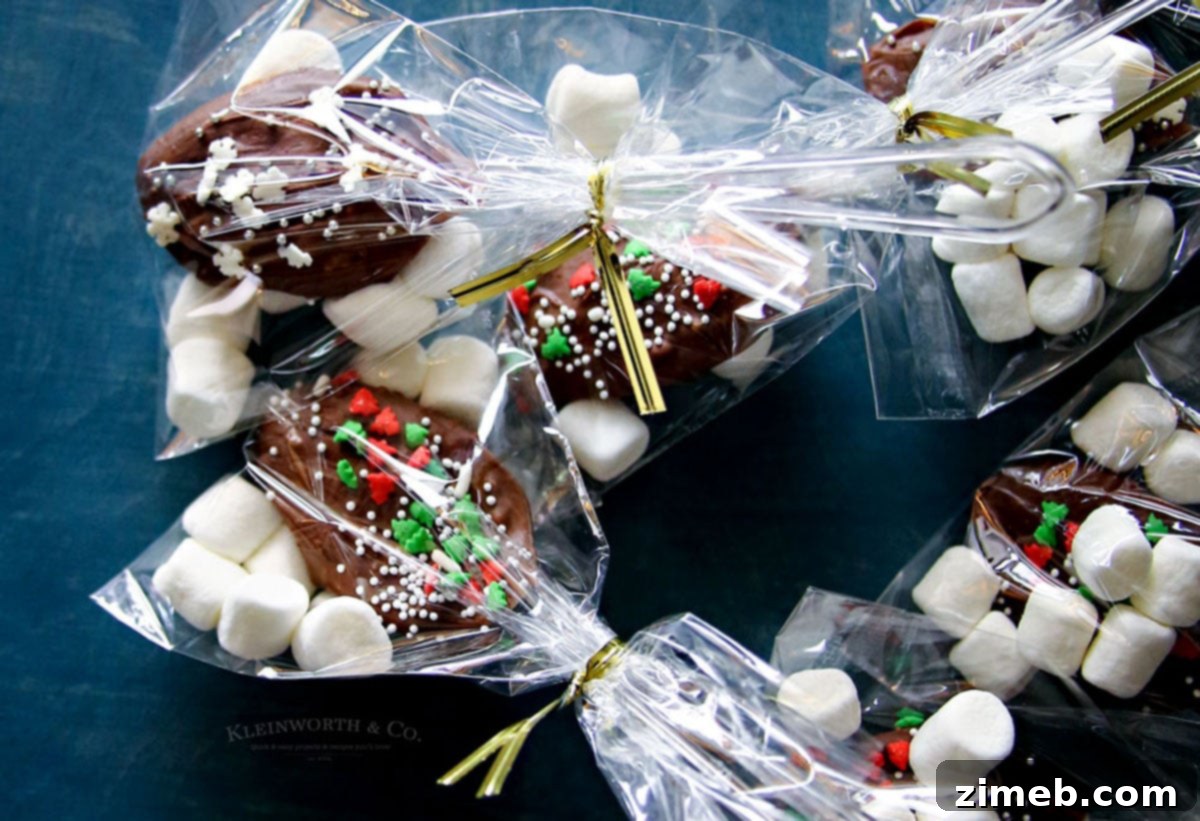
- Package for Gifting (Optional): Once the chocolate has completely hardened, carefully place each spoon into a clear cellophane bag. Add a few extra mini marshmallows into the bag alongside the spoon. Tie the bag with a decorative ribbon or twist tie, perhaps adding a small handmade tag with instructions and a festive message.
To enjoy: Simply stir one hot chocolate spoon into 8-10 ounces of hot milk (dairy or non-dairy) until the chocolate is fully melted and integrated, creating a rich and creamy cup of hot cocoa.
Kitchen Supplies You’ll Need
Think of these as charming, individual hot chocolate bombs! Preparing them is straightforward with these basic kitchen items:
- Microwave-safe bowl or a double boiler setup
- Baking sheet lined with parchment paper (essential for easy removal)
- Cellophane bags for packaging (if gifting)
- Ribbons or decorative ties for a festive touch
- Silicone ice cube tray or a specific spoon mold (optional, for perfectly shaped chocolate blocks on spoons)
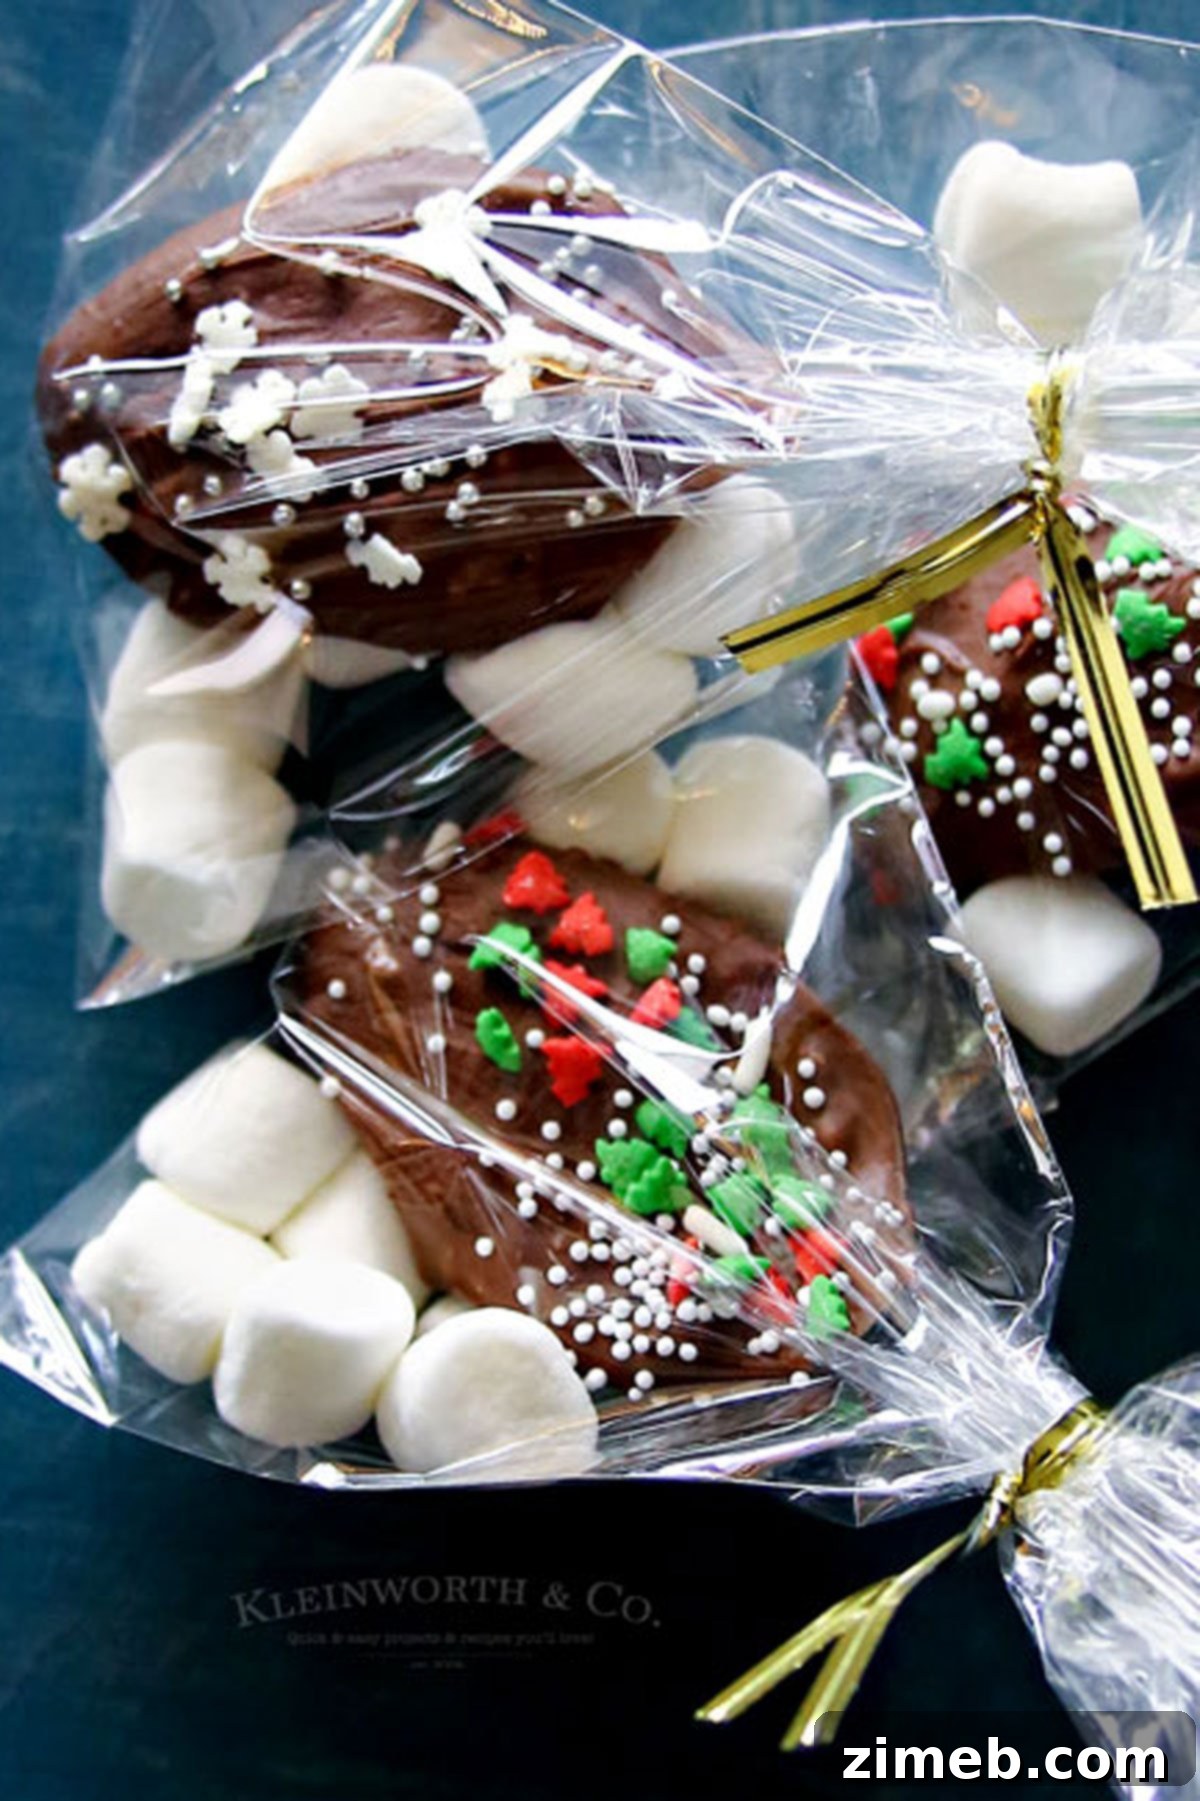
Serving Suggestions & Pairing Ideas
My absolute favorite way to enjoy these is by giving them out as thoughtful, homemade gifts to my family and friends. Pair them with some cute wrapping and a heartfelt holiday note, and you’re ready to spread joy!
- A warm mug of freshly steamed **hot milk** (dairy or plant-based) or even a rich **morning coffee** for an instant mocha.
- Serve alongside a festive plate of homemade **holiday cookies** or gingerbread.
- Create an impressive **hot chocolate bar** and offer these spoons with a variety of extra toppings like whipped cream, chocolate shavings, or flavored syrups.
- Combine them with a **cute new mug** as part of a lovely, curated **homemade gift set** for a complete cozy experience.
- Offer them as a charming addition to a **dessert platter** during holiday parties.
Variations and Delicious Add-Ins for Hot Chocolate Spoons
Don’t hesitate to get creative with your hot chocolate spoons! The possibilities for customization are truly endless. Let your imagination run wild and perhaps share your brilliant ideas in the comments below – you all always come up with the greatest things!
- Flavor Twists: Infuse your chocolate with extracts like peppermint, almond, or orange before dipping. Mix in peanut butter chips, crushed Andes mints, or a dash of cinnamon or chili powder for a Mexican hot chocolate flair.
- Festive Toppings: Beyond traditional sprinkles and marshmallows, consider crushed candy canes, toffee bits, mini M&M’s, finely chopped nuts (pecans, almonds), white chocolate shavings, or even a light dusting of cocoa powder.
- Extra Indulgence: After the chocolate sets, drizzle a contrasting chocolate (white on dark, or vice versa), caramel sauce, or a dollop of Nutella on top for an extra layer of flavor and visual appeal.
- Adult Version: For a grown-up treat, dip the spoon in a chocolate liqueur or a hint of rum or Kahlúa before adding the chocolate coating, or include a small bottle of liqueur with the gift package.
- Dietary Needs: Easily adapt these spoons for various dietary restrictions by using vegan chocolate, sugar-free chocolate, or gluten-free toppings. Always check labels if making for specific allergies.
- Themed Spoons: Create spoons for different occasions beyond Christmas – use pastel sprinkles for Easter, red and pink for Valentine’s Day, or orange and black for Halloween.
Homemade Holiday Gifts
There’s something incredibly special about receiving a gift made with love and care. Hot chocolate spoons perfectly embody the spirit of thoughtful giving, offering a personal touch that store-bought items simply can’t match. They are not just a treat, but an experience – a moment of warmth and comfort to be savored.
Looking for More Great Holiday Ideas?
If you loved making these hot chocolate spoons, you’ll surely enjoy these other festive and delicious recipes that are perfect for gifting or sharing during the holidays.
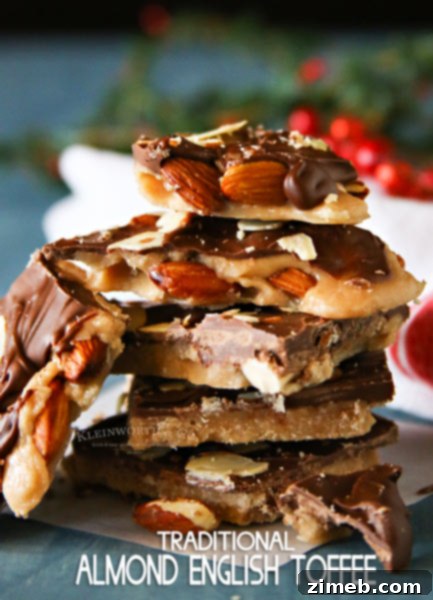
Traditional Almond English Toffee
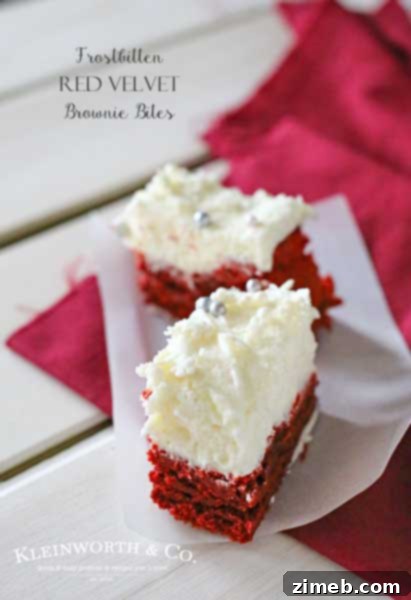
Frostbitten Red Velvet Brownie Bites
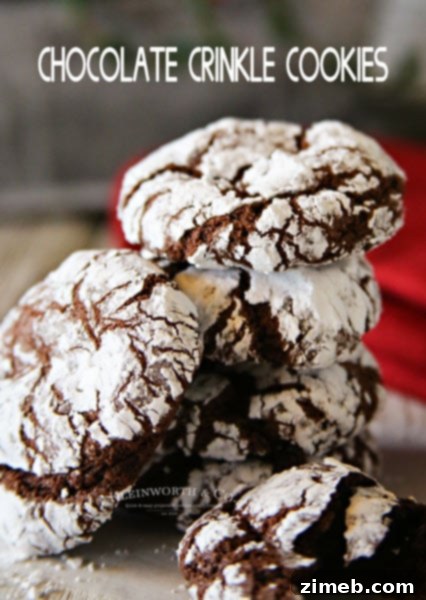
Easy Chocolate Crinkle Cookies
More Great Christmas Goodies
Explore more festive recipes to add to your holiday baking repertoire:
- Church Window Cookies
- 4-Ingredient Sugar Cookies
- Chocolate Marshmallow Cookies
- 3-Ingredient Peanut Butter Cookies
- No-Bake Chocolate Haystacks
- No-Bake Peppermint Cheesecake
- Stained Glass Cookies
CONNECT WITH YUMMI HAUS!
Be sure to follow me on my social media, so you never miss a post!
Substack, FB, Pinterest, IG, Email Subscription
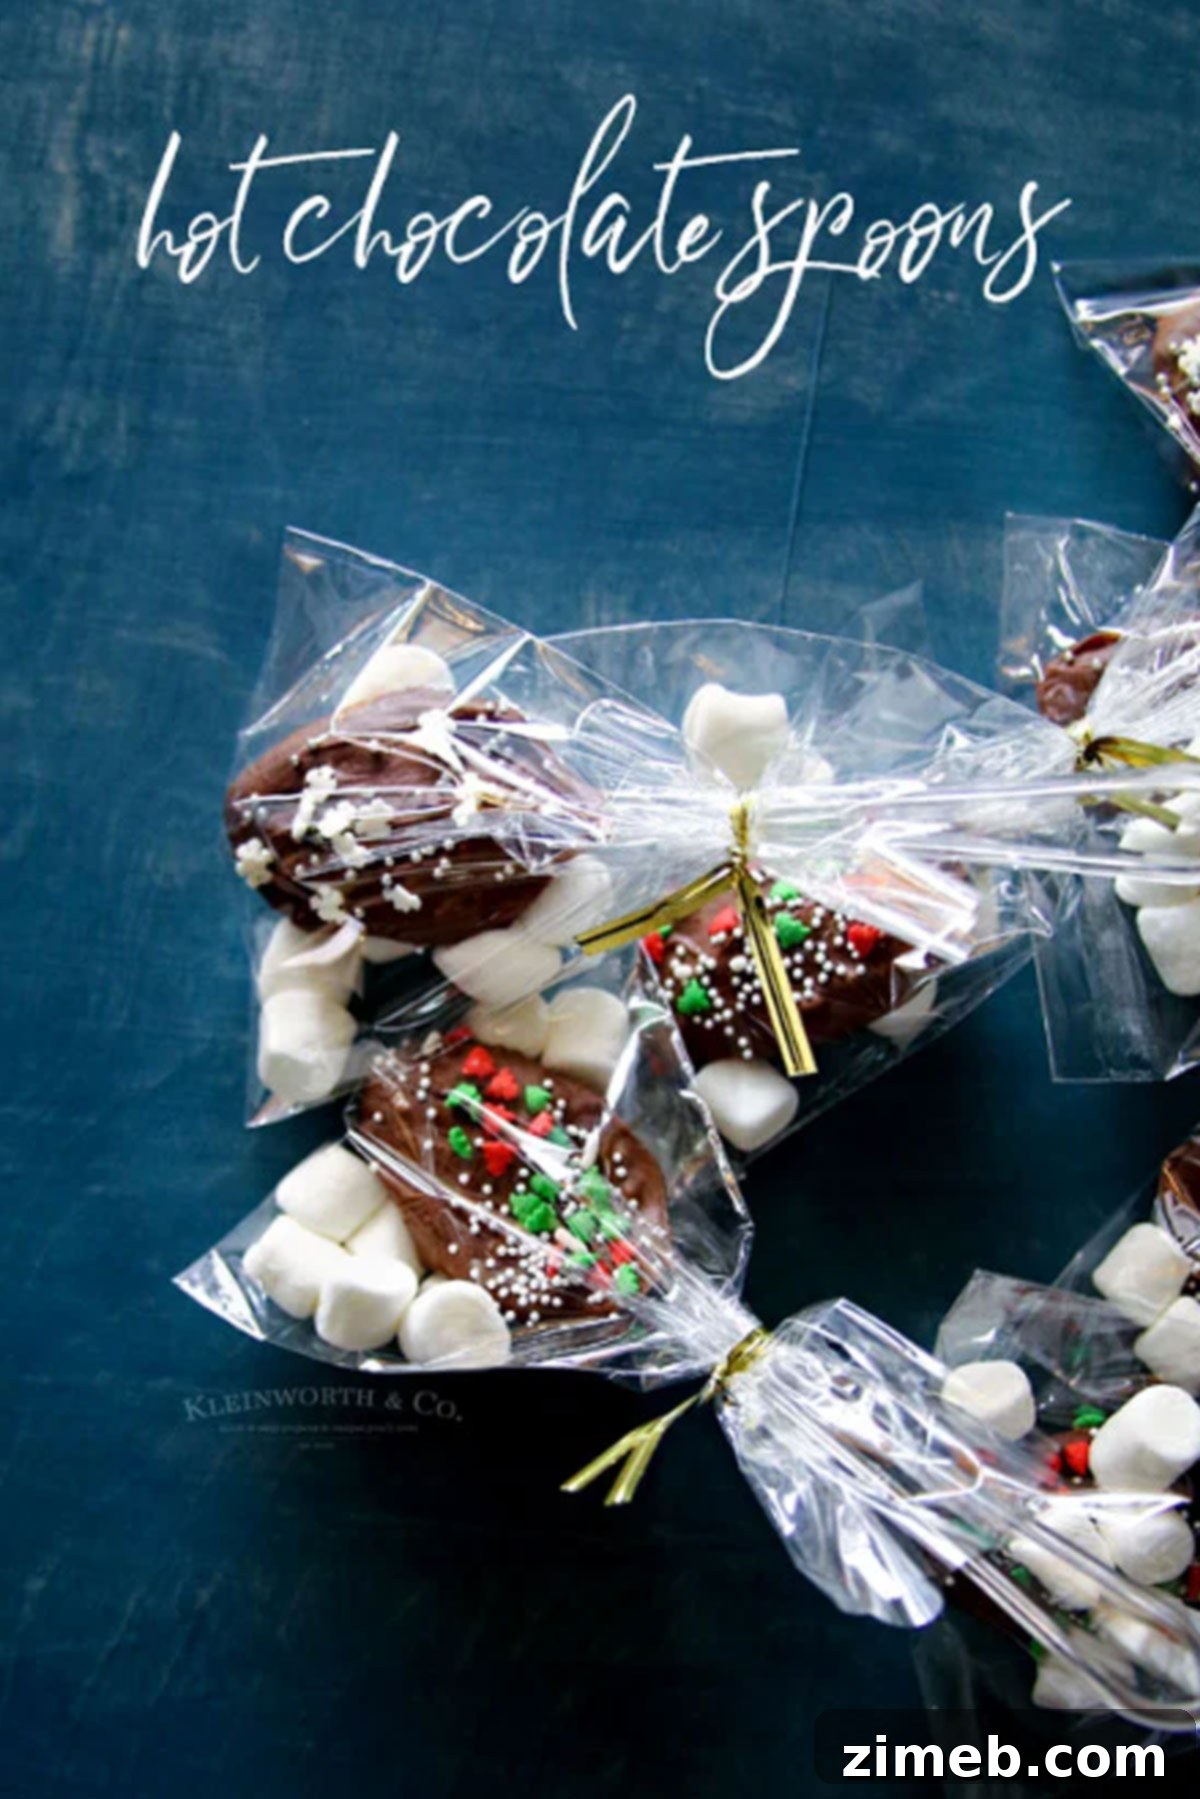
Easy Hot Chocolate Spoons Recipe
These delightful hot chocolate spoons are incredibly easy to make and serve as perfect personalized gifts or a cozy treat for yourself. Just stir into warm milk for an instant, delicious cup of cocoa.
Prep Time: 20 minutes
Ingredients
- 6-8 plastic or wooden spoons
- 1 cup chocolate chips (dark, milk, or white chocolate)
- 1/2 cup mini marshmallows
- 2 tablespoons sprinkles (or other desired toppings)
- Parchment paper
Instructions
- Place chocolate chips in a microwave-safe bowl. Microwave for 1 minute, then stir thoroughly. Continue to heat in 30-second intervals, stirring after each, until the chocolate is fully melted and smooth.
- Once melted, dip each spoon into the bowl, ensuring the spoon’s bowl is generously covered in chocolate. Allow any excess chocolate to drip back into the bowl.
- Carefully place each dipped spoon on a tray lined with parchment paper. Immediately add sprinkles or other decorations before the chocolate sets.
- Allow the chocolate to harden completely at room temperature, or in the refrigerator for a quicker set.
- Once hardened, place each spoon into a cellophane bag along with a few extra marshmallows. Tie with a decorative ribbon for gifting.
- To enjoy, simply stir one chocolate spoon into 8-10 ounces of hot milk until the chocolate is fully dissolved.
Nutritional information for this recipe is provided as a courtesy and is approximate. Please double-check with your own dietary calculator for the best accuracy. We at Yummi Haus cannot guarantee the accuracy of the nutritional information given for any recipe on this site.
Love this recipe?
Follow @KleinworthCo for even more tasty recipes!