Gluten-Free Graham Cracker Crust
Gluten-free graham cracker crust made with just four ingredients. Crush gluten-free graham crackers into fine crumbs, mix with melted butter, brown sugar, and salt, then press into a 9-inch pie dish and bake at 350°F until golden. Ready in 20 minutes. Works for baked and no-bake fillings.
- Prep10 min
- Cook10 min
- Total20 min
- Yield1 9-inch pie crust
6 Nov 2023
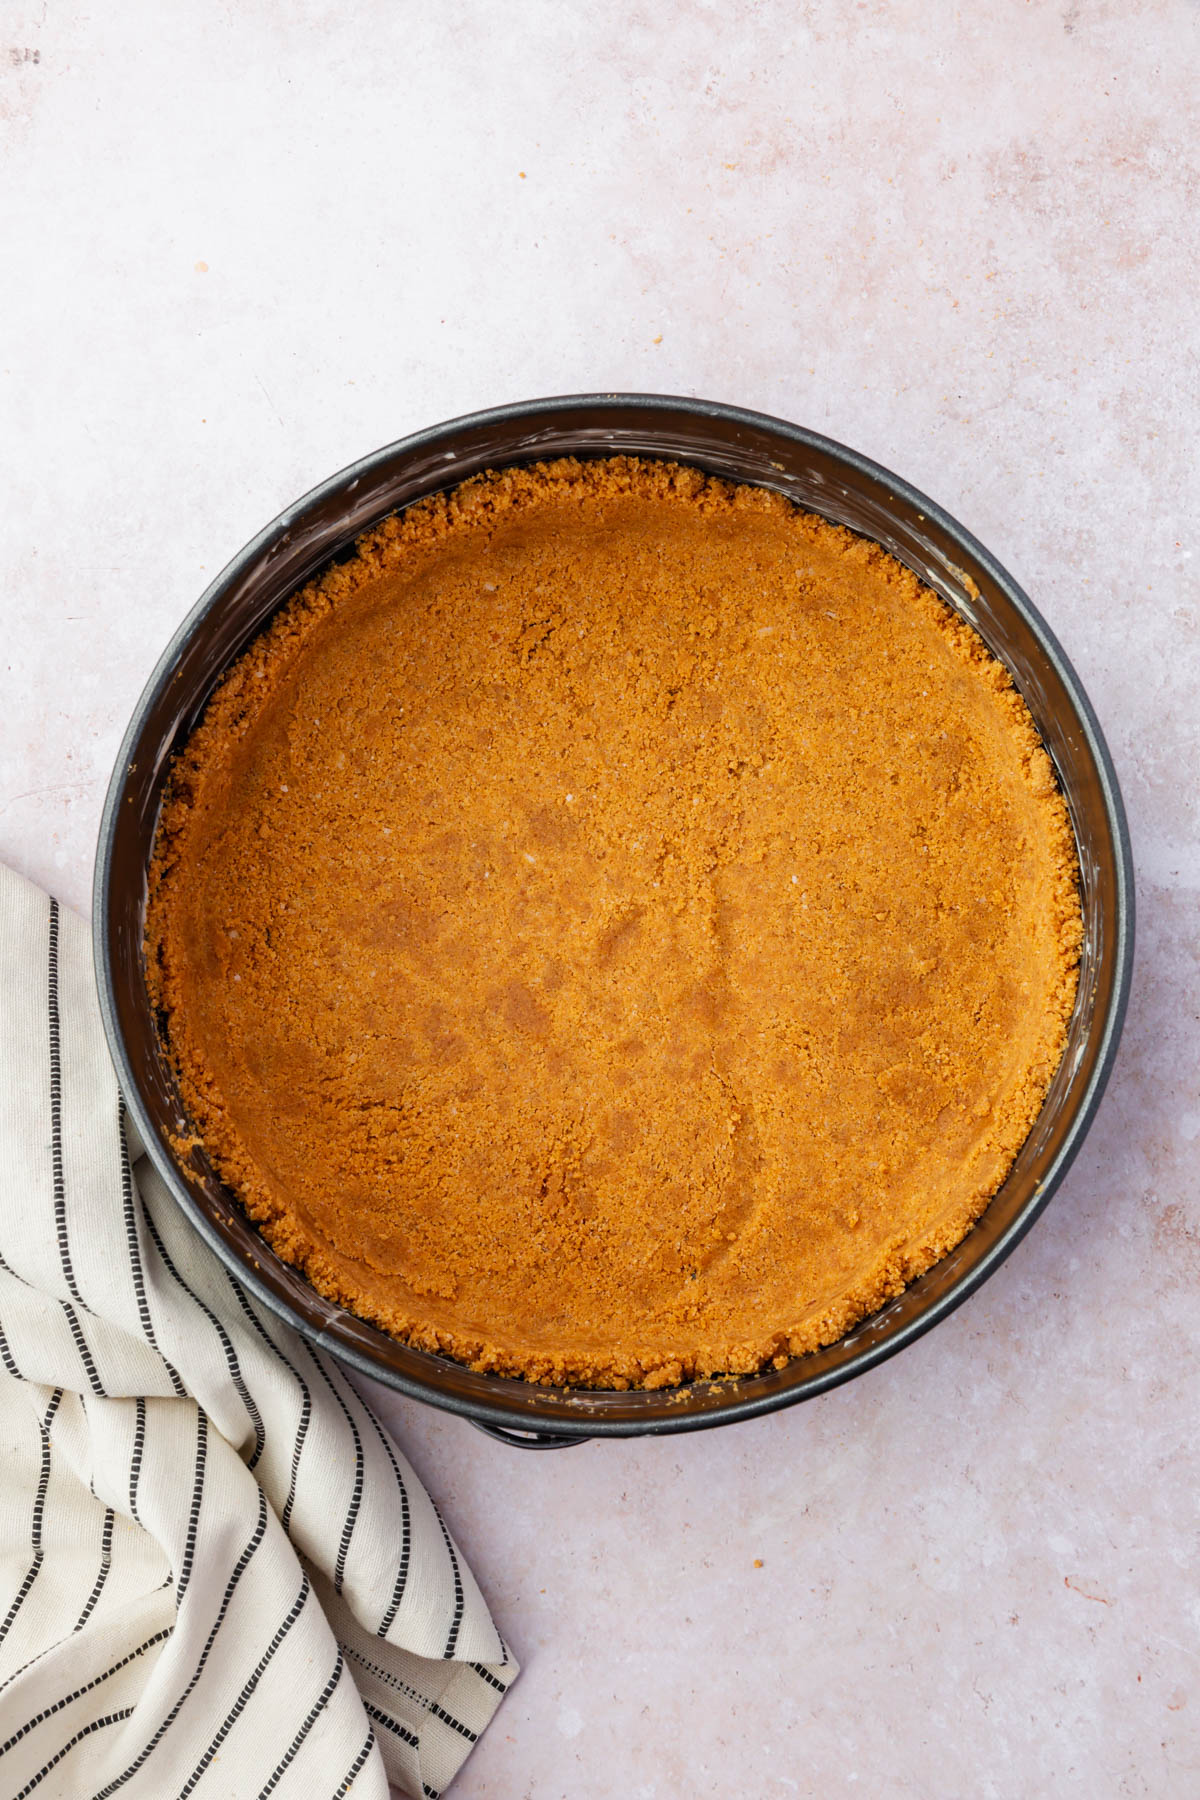
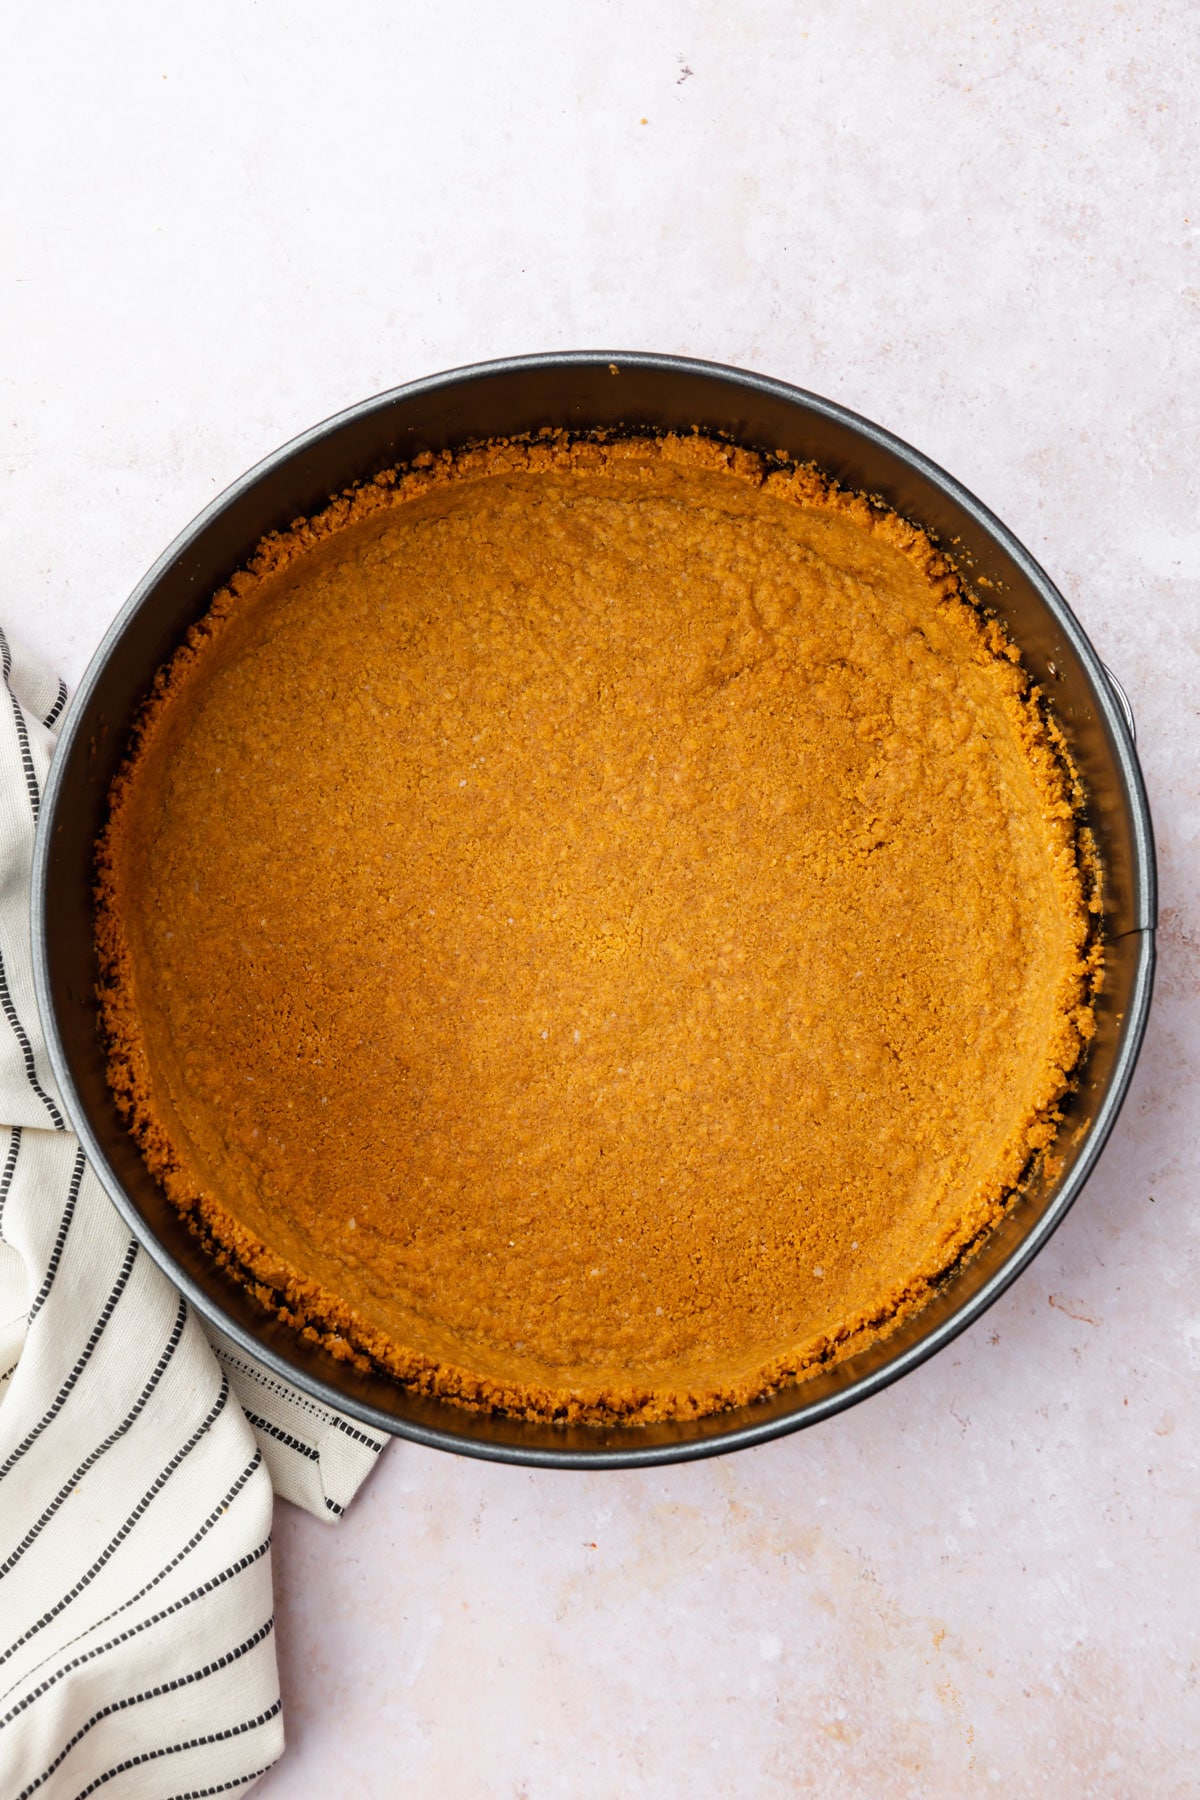
This gluten-free graham cracker crust is made with just four ingredients and ready in about 20 minutes. Crush gluten-free graham crackers into fine crumbs, mix with melted butter, brown sugar, and a pinch of salt, press into your pan, and bake until golden. It holds together when sliced and works in both baked and no-bake desserts.
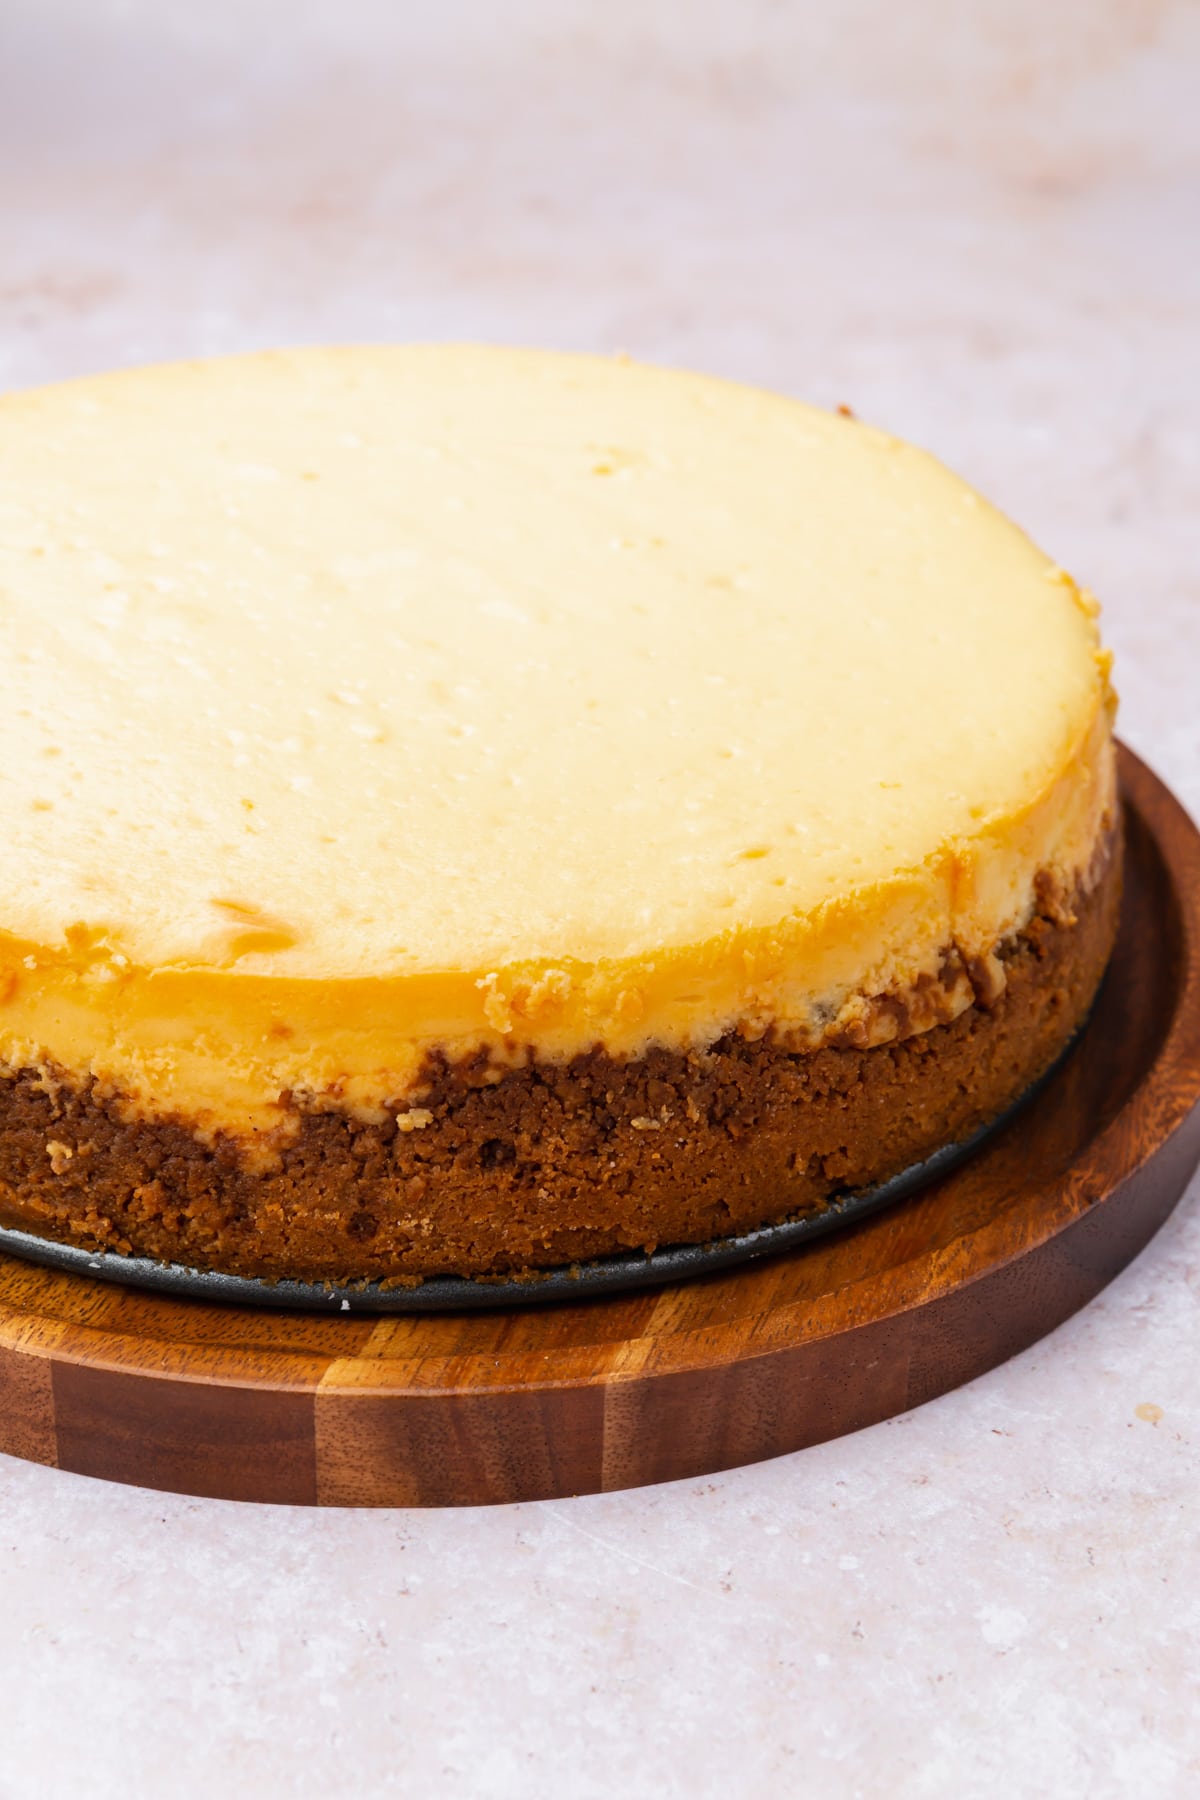
Use it anywhere you’d use a regular graham cracker crust. It fits a standard 9-inch pie dish, a 9-inch tart pan, or a 9-inch springform pan for cheesecake. I use this crust in my gluten-free key lime pie , gluten-free cheesecake , and gluten-free pumpkin pie .
Why You’ll Love This Recipe
- Only 4 ingredients. Graham cracker crumbs, melted butter, brown sugar, and salt. No rolling, no chilling, no fuss. Much easier than making a pie crust from scratch.
- Works for baked and no-bake fillings. Bake it at 350°F for 8 to 10 minutes for a firmer crust, or refrigerate it as-is for no-bake desserts. Either way, it holds together when you cut a slice.
- Fits multiple pan sizes. One batch fits a 9-inch pie dish, 9-inch tart pan, or 8-inch square baking dish. Double it for a 9-inch springform pan if you want the crust to go up the sides.
Ingredient Notes
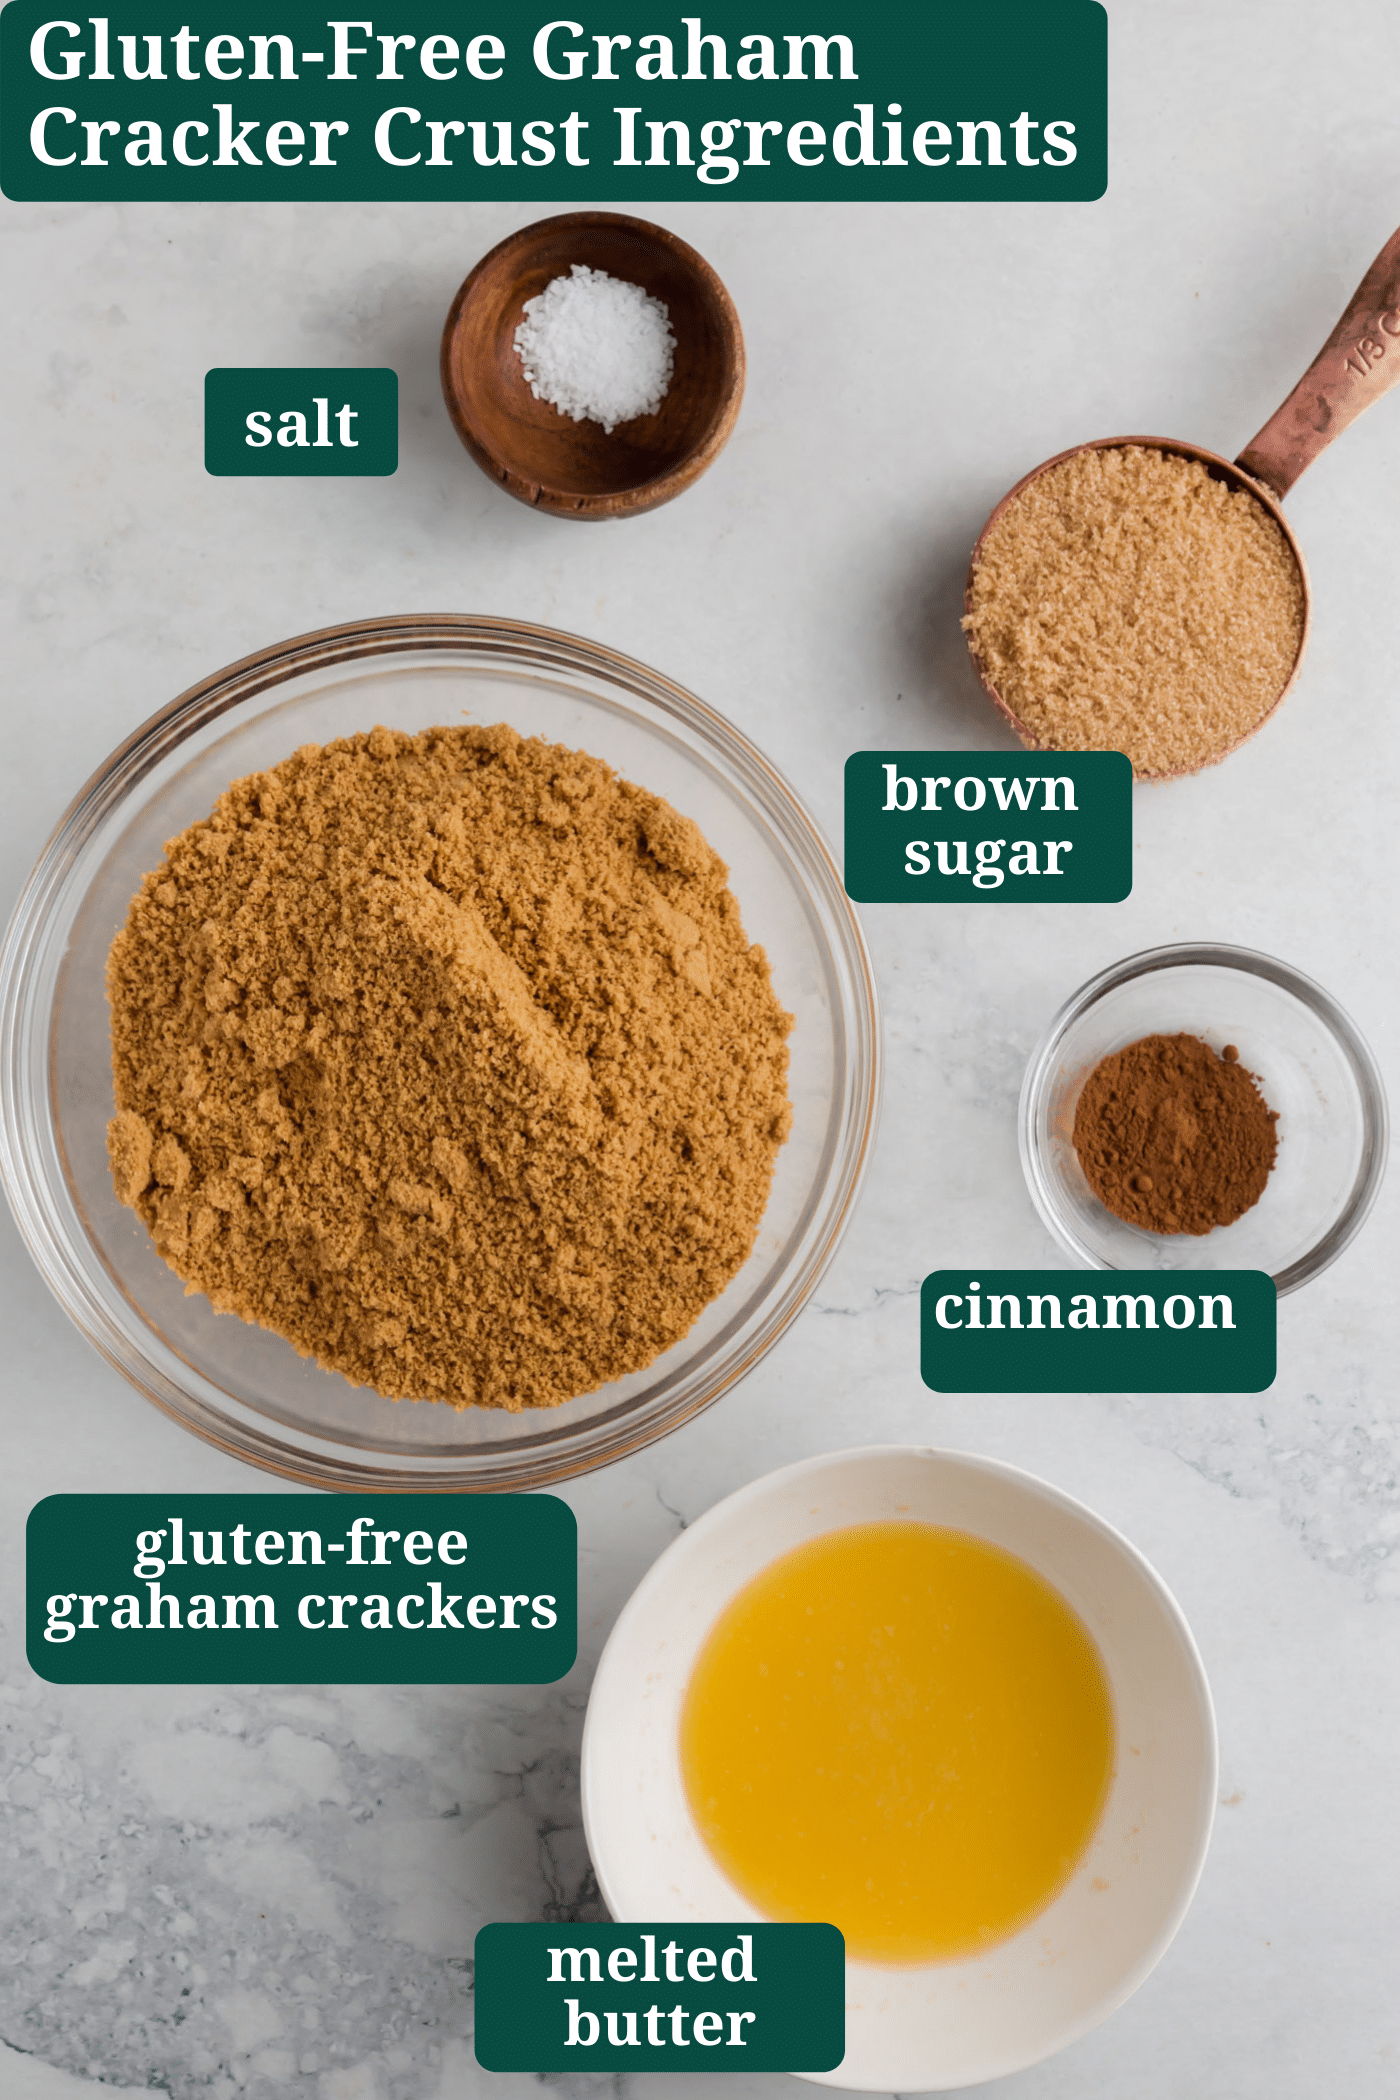
- Gluten-Free Graham Crackers – You need 8 ounces, which gives you about 1¾ cups of crumbs. I use Kinnikinnick S’moreables Graham Style Crackers, which come in an 8-ounce box. You can also use my homemade gluten-free graham crackers . Process them in a food processor until finely ground. If you don’t have a food processor, put them in a zip-top bag and crush with a rolling pin.
- Brown Sugar – Adds a warm, slightly caramelized sweetness to the crust. Light or dark brown sugar both work.
- Unsalted Butter – Melt it slowly over low heat on the stove. Microwaving tends to overheat and splatter. You want every crumb evenly coated so the crust holds together when sliced.
- Ground Cinnamon – This is an optional ingredient, but it adds a touch of warmth to the crust. Depending on what the filling is, you may want to omit the cinnamon.
How to Get a Graham Cracker Crust That Holds Together
The crumbs need to be fine and evenly coated in butter. If you can squeeze a handful of the mixture and it holds its shape, it’s ready. Press firmly and evenly into the pan using the flat bottom of a measuring cup. Bake for 8 to 10 minutes even if your filling is no-bake — a quick bake helps the crust set and hold its shape when you cut slices.
Recipe FAQs
What size pan does this crust fit?One batch fits a standard 9-inch pie dish, 9-inch tart pan, or 8-inch square baking dish. For a 9-inch springform pan where you want the crust to go up the sides, double the recipe. Any leftover mixture can be pressed into muffin tins for individual dessert cups or frozen for later.
Should I bake the crust even if my filling is no-bake?I recommend it. Baking for 8 to 10 minutes at 350°F helps the crust firm up and hold together better when slicing. If you skip the bake, keep the crust refrigerated until just before serving so it stays firm.
What if I don’t have a food processor?If you don’t have a food processor, you can place the graham crackers in a zip-top bag and crush them using a rolling pin until they reach a fine crumb consistency.
Expert Tips
- Get the crumbs as fine as possible. Larger pieces won’t bind together and you’ll end up with a crumbly crust that falls apart when you try to slice. A food processor gives the most even, fine crumb.
- Press firmly with a flat-bottomed measuring cup. Your hands alone won’t get even pressure. A measuring cup or the bottom of a glass creates a uniform layer across the bottom and up the sides. Even thickness means even baking.
- Let the crust cool before filling. If you add a filling to a hot crust, butter can seep out and the crust can crumble. Give it 5 to 10 minutes on a cooling rack after baking before adding your filling.
Storage Instructions
- Room Temperature : Wrap the baked and cooled crust tightly in plastic wrap or aluminum foil. It will keep at room temperature for up to 2 days.
- Freezer : The crust freezes well for up to 3 months. Wrap tightly in plastic wrap, then aluminum foil. Thaw at room temperature for 1 to 2 hours before filling. A filled pie can be frozen the same way.
Serving Suggestions
This crust also works as a swap for shortbread crust in gluten-free lemon bars or in place of an Oreo crust in my Oreo pudding pie . For something lighter, try filling it with a strawberry cream cheese pie filling. No baking required once the crust is set.
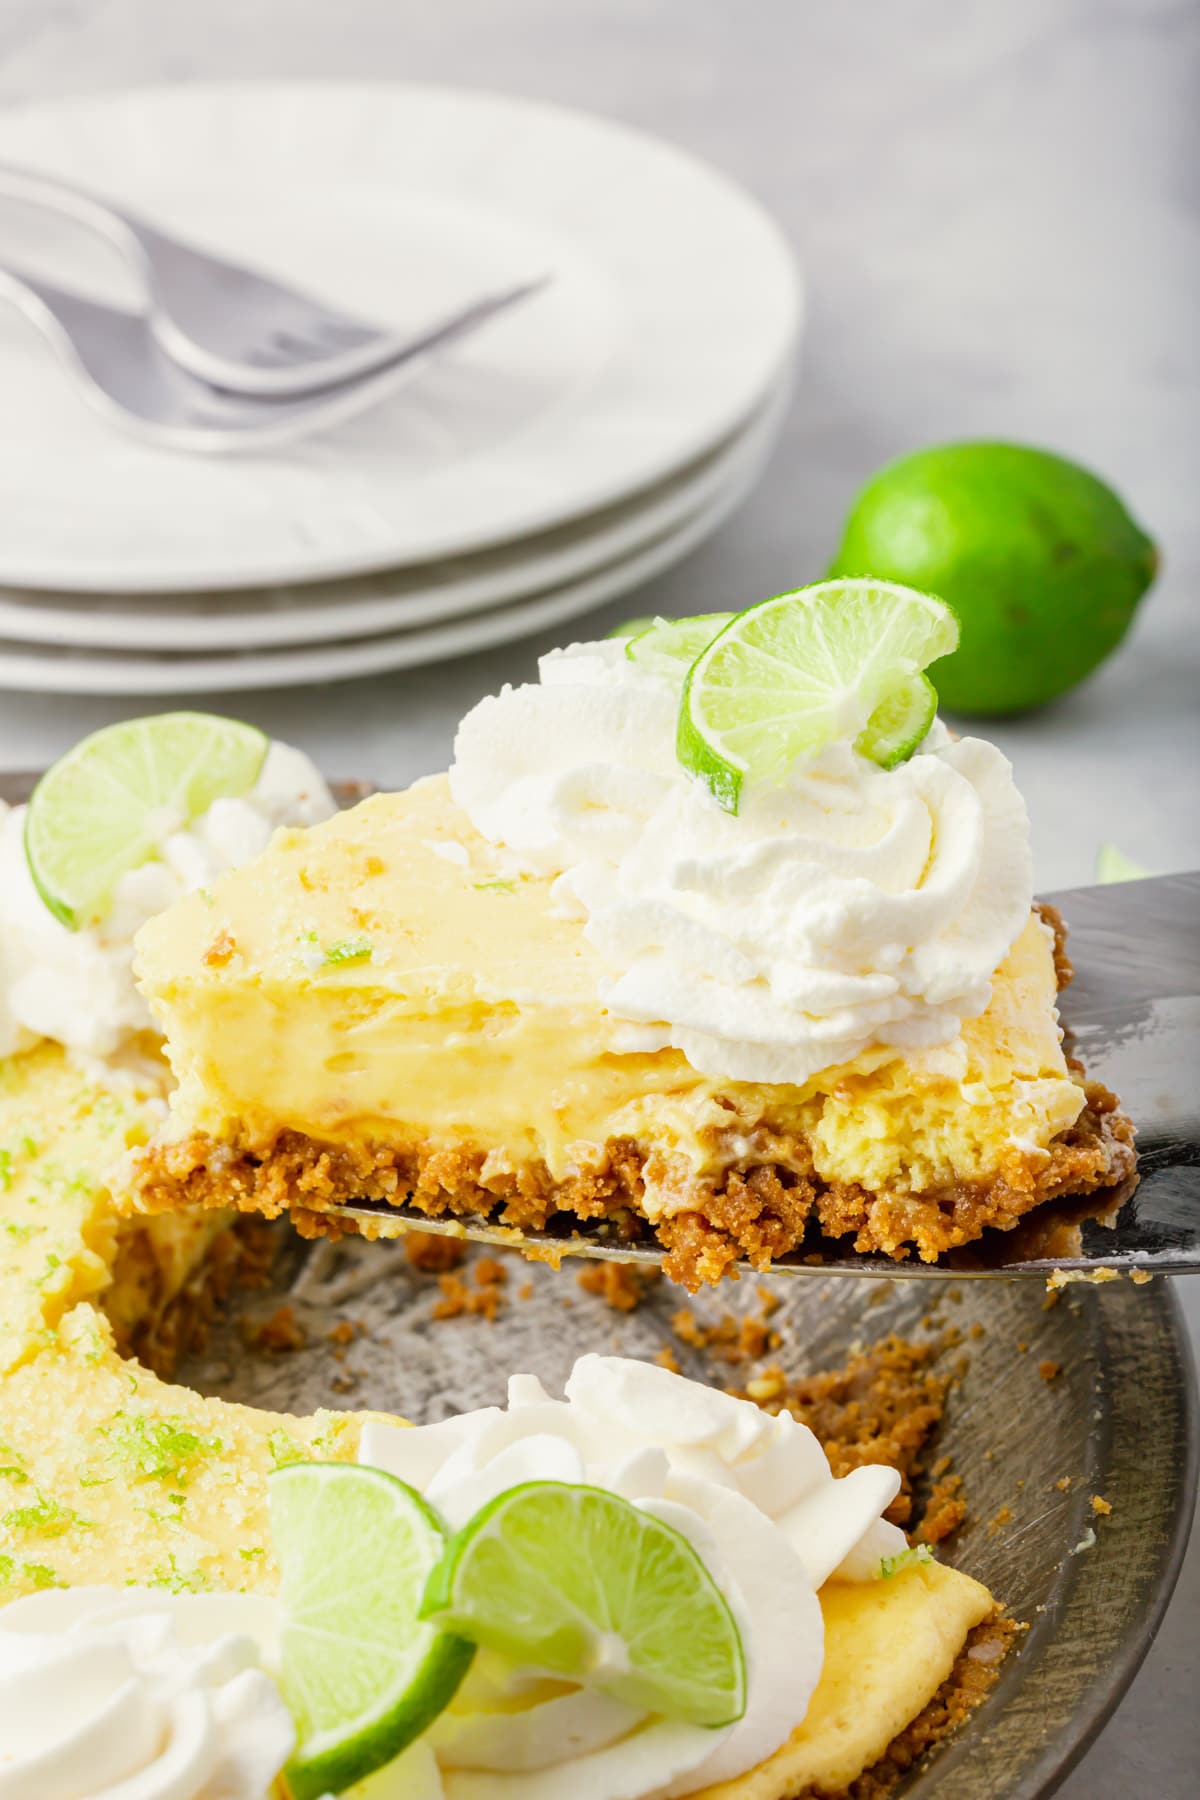
Method
-
1
Preheat oven to 350°F.
-
2
Add 8 oz gluten-free graham crackers to a food processor. Process until finely ground. You should have about 1¾ cups of crumbs.
-
3
Place the graham cracker crumbs in a large mixing bowl. Add ⅓ cup brown sugar,½ teaspoon salt, and ½ teaspoon ground cinnamon (if using). Stir to combine.
-
4
Pour in 6 tablespoons unsalted butter that has been melted and cooled. Stir until all the crumbs are evenly coated and the mixture resembles wet sand.
-
5
Pour the mixture into a greased 9-inch pie dish, tart pan, or springform pan. Press firmly and evenly into the bottom and up the sides using the flat bottom of a measuring cup.
-
6
Bake at 350°F for 8 to 10 minutes, until fragrant and lightly golden. Let cool for 5 to 10 minutes before filling as instructed in your specific recipe.
-
7
For a no-bake crust, skip the oven and refrigerate until firm before filling. A no-bake pie crust is more delicate than a baked one, so you'll want to keep it chilled until just before serving so it doesn't fall apart.
Cook next
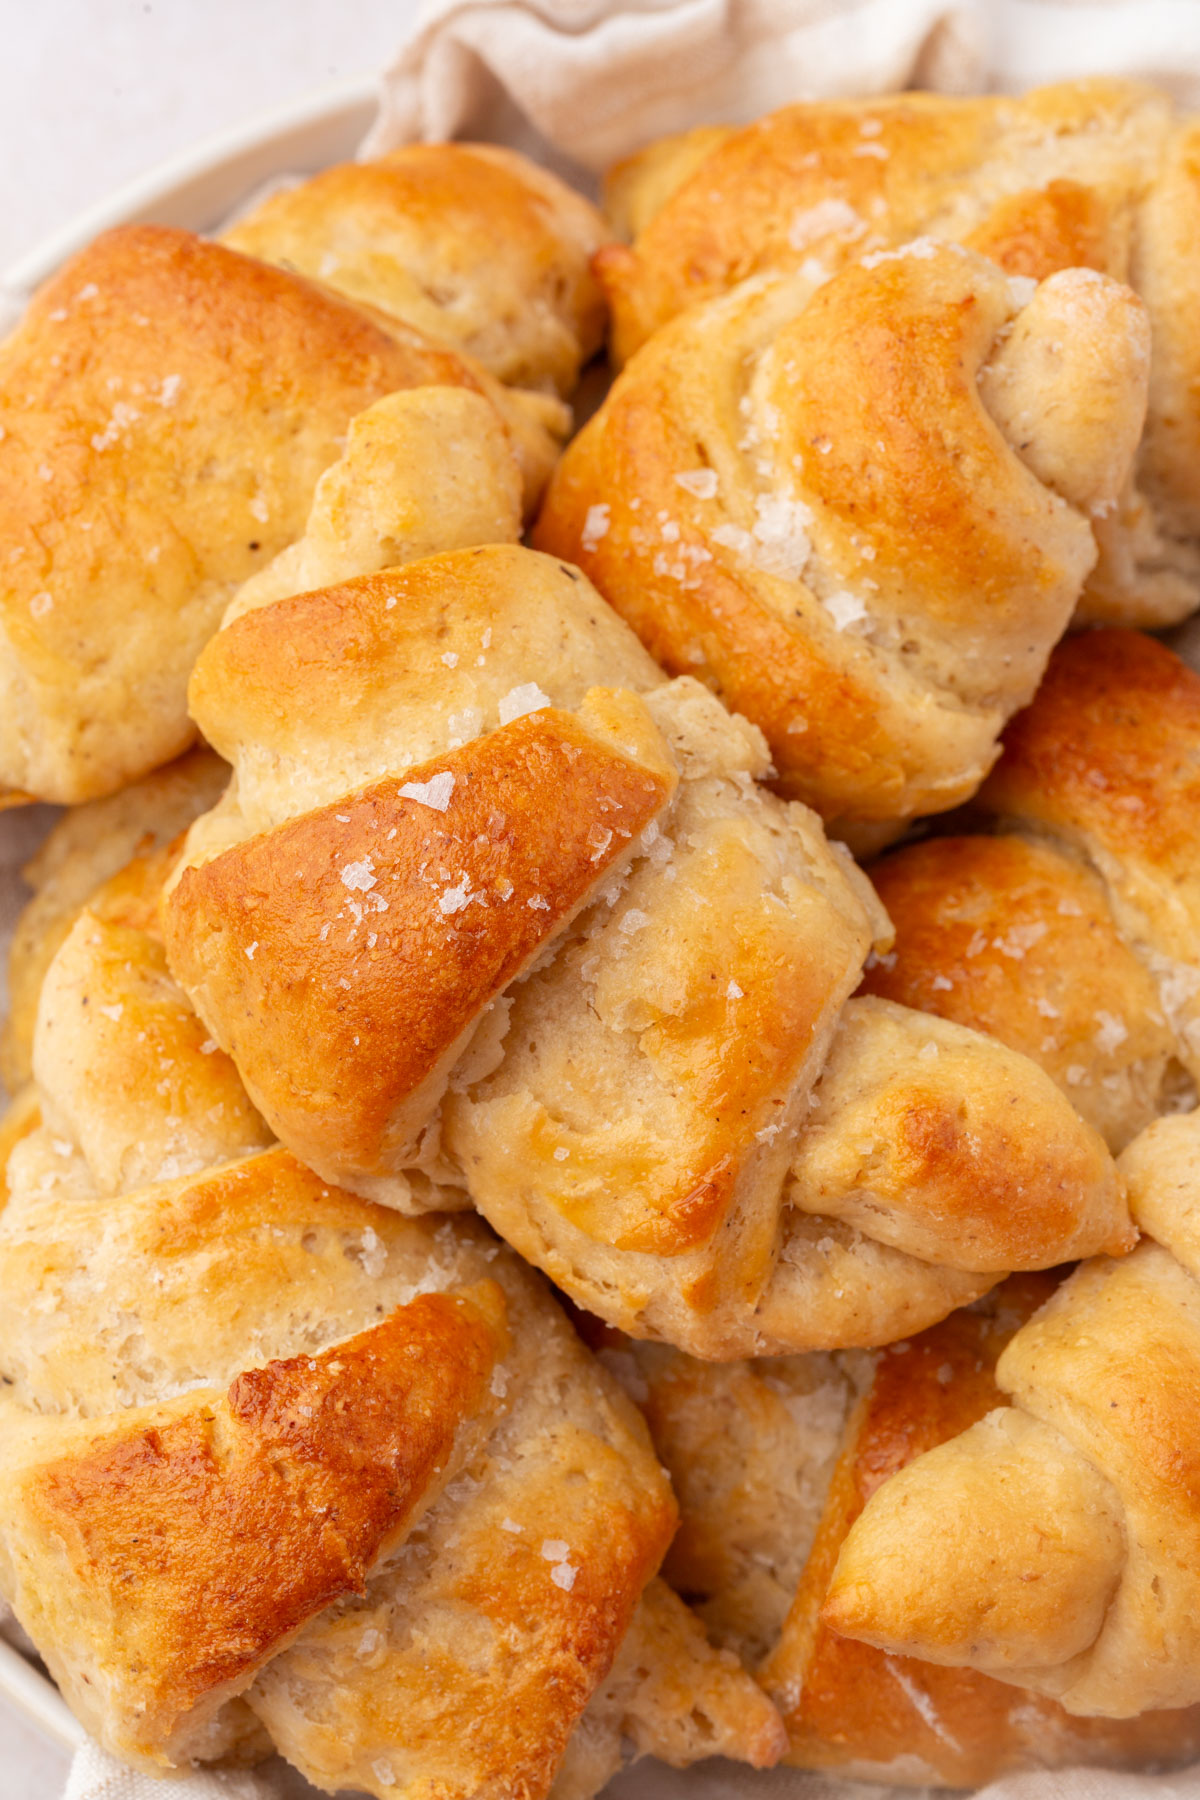 Gluten-FreeRecipeGluten-Free Crescent RollsThese gluten-free crescent rolls are soft, flaky, and buttery with beautiful pull-apart layers. Made with my…
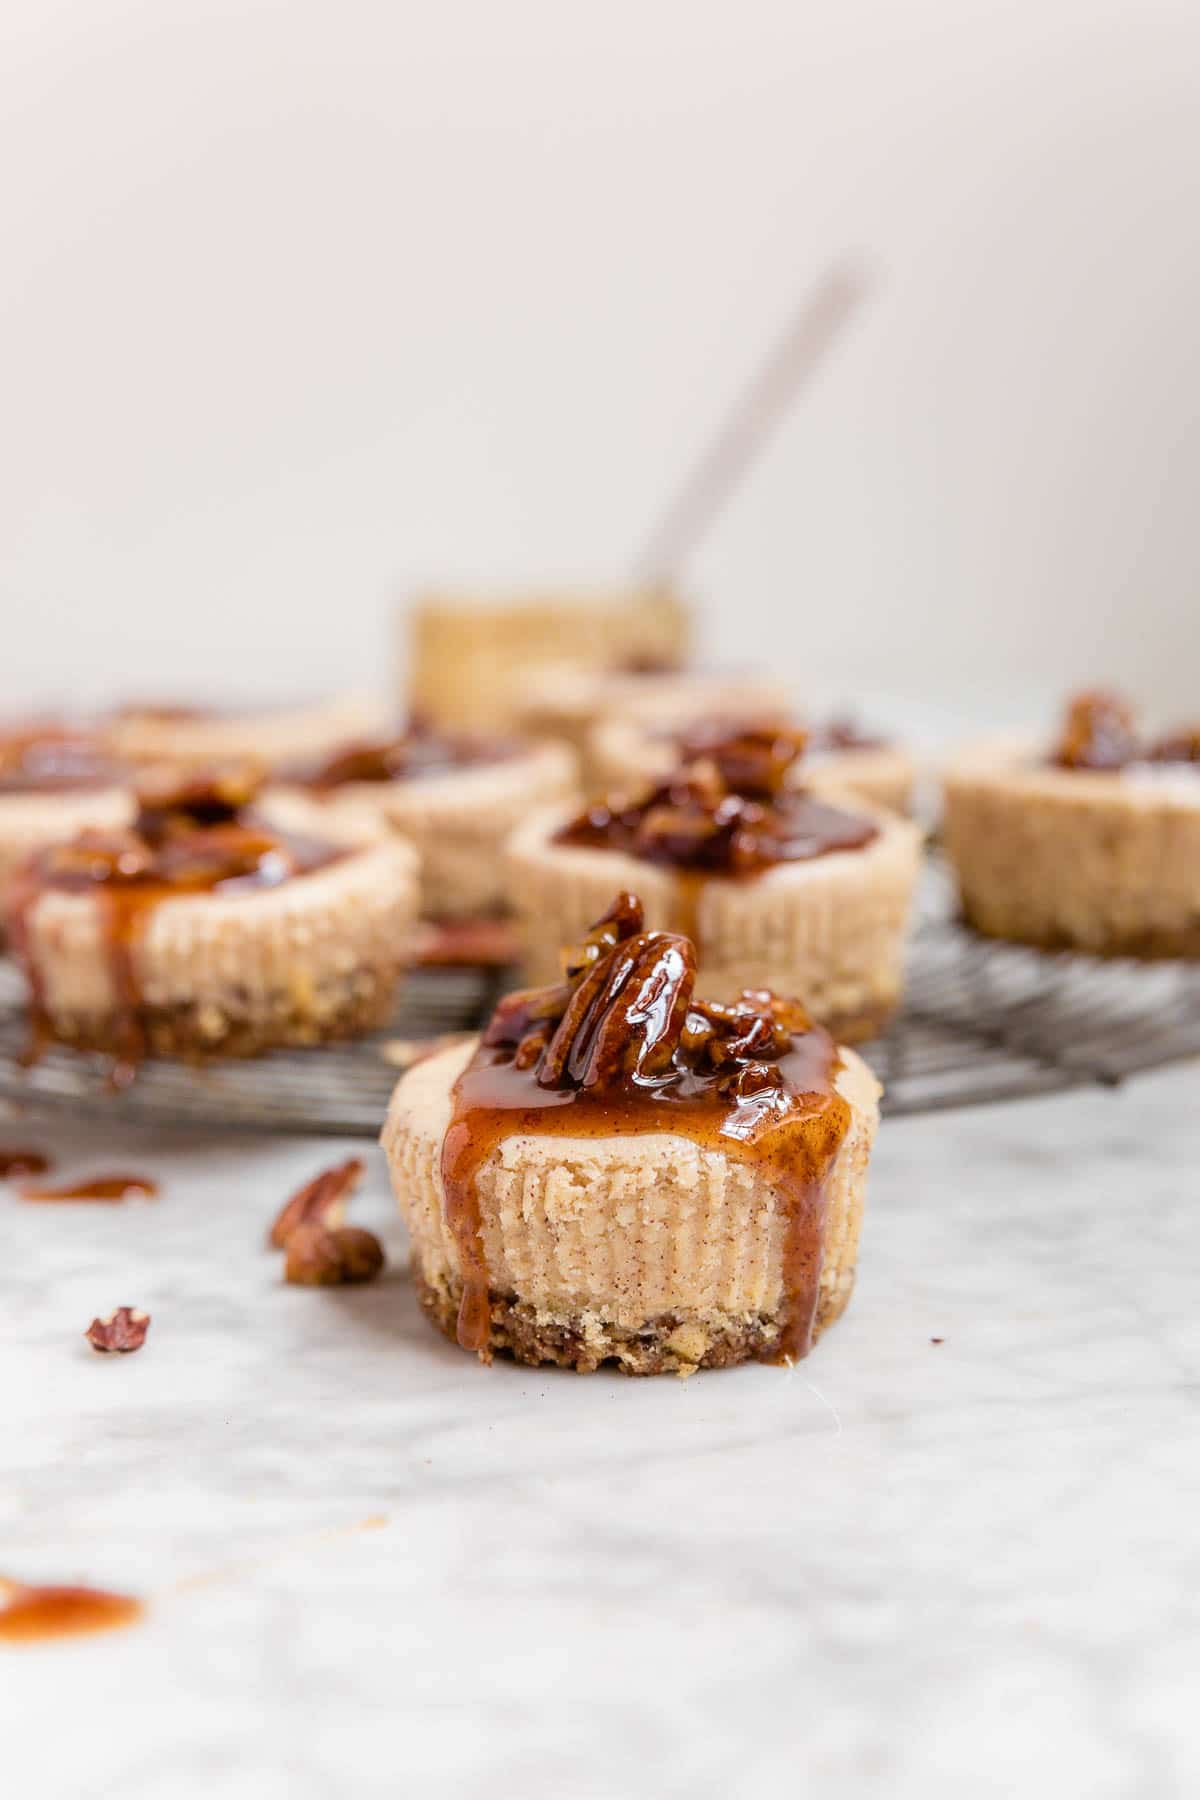 Gluten-FreeRecipeMini Pecan Pie Cheesecakes – Grain-Free and Gluten-FreeThese mini pecan pie cheesecakes are gluten-free and grain-free with a spiced pecan crust and topped with a d…
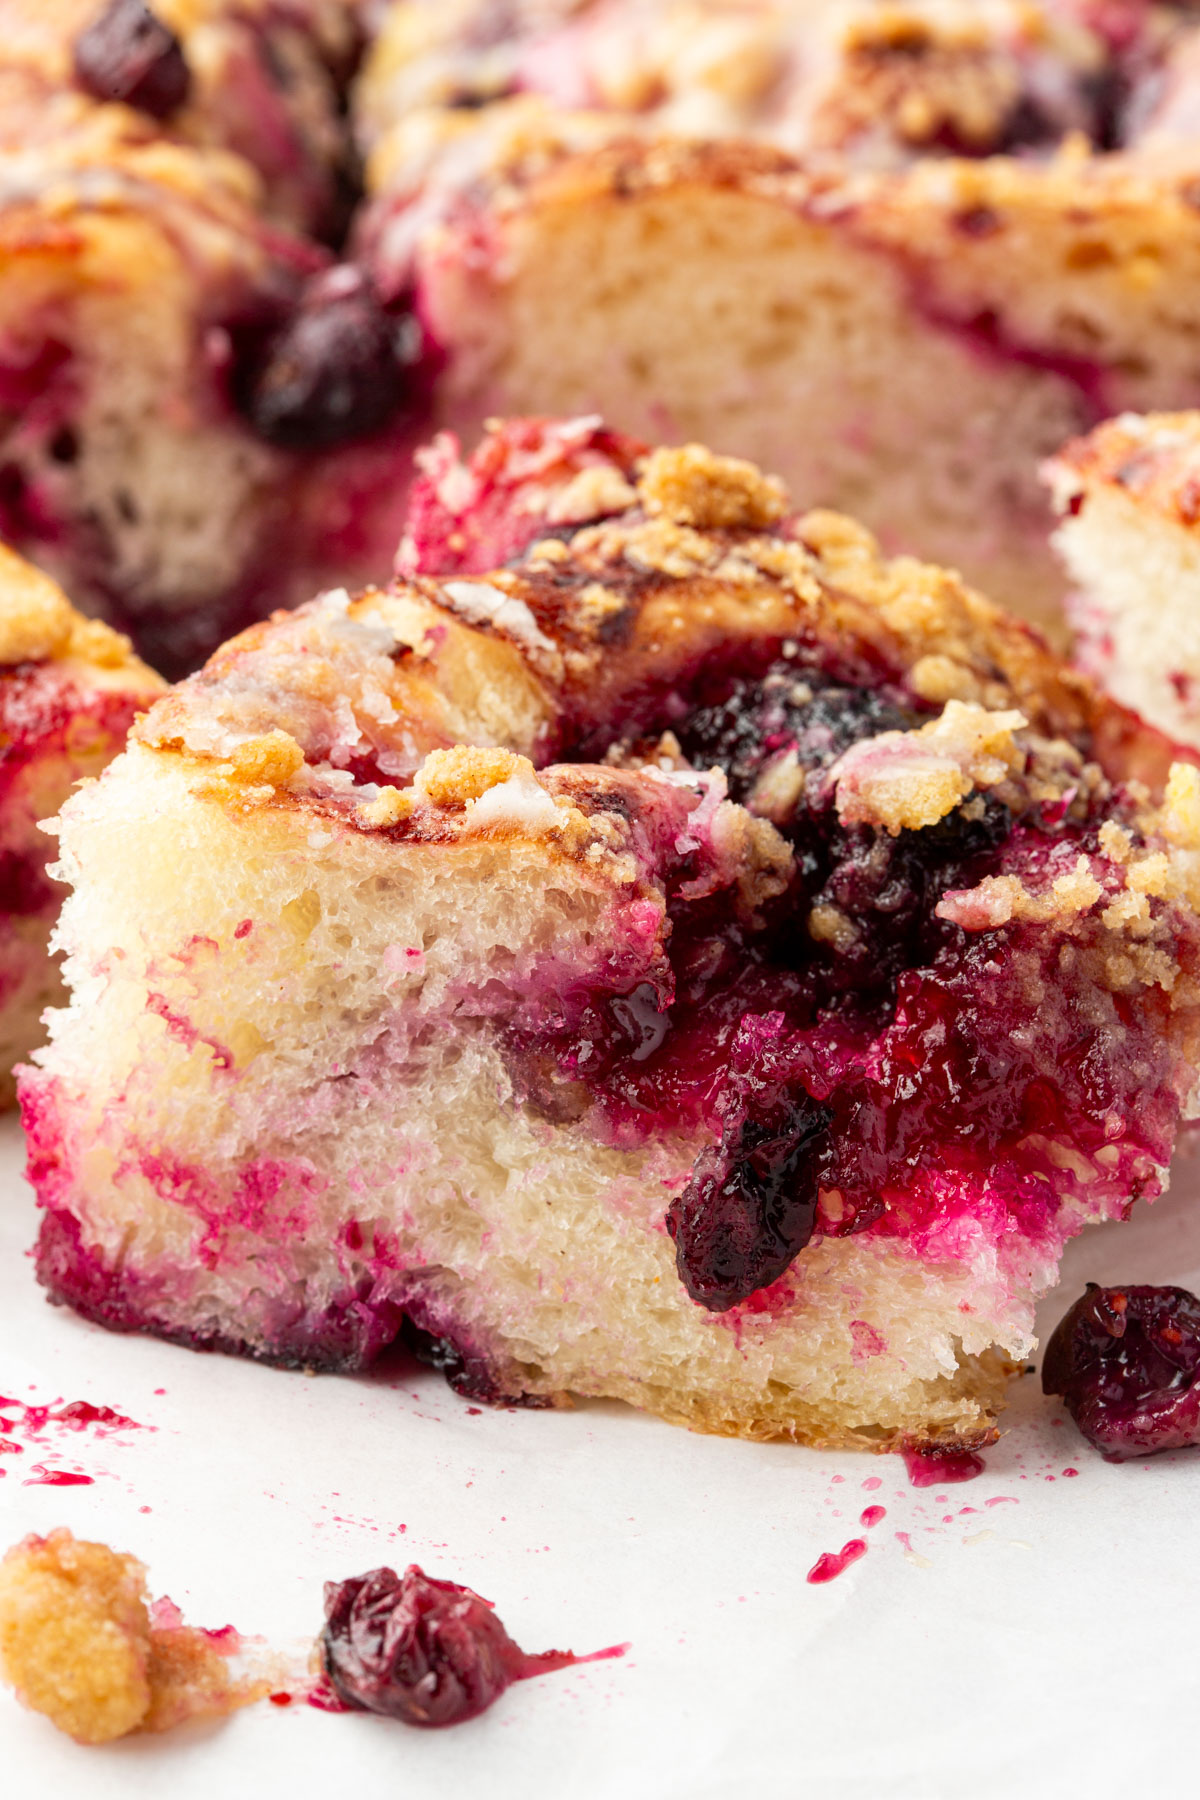 Gluten-FreeRecipeGluten-Free Blueberry Crumble FocacciaThis gluten-free blueberry crumble focaccia is soft, chewy, and just sweet enough, layered with homemade blue…
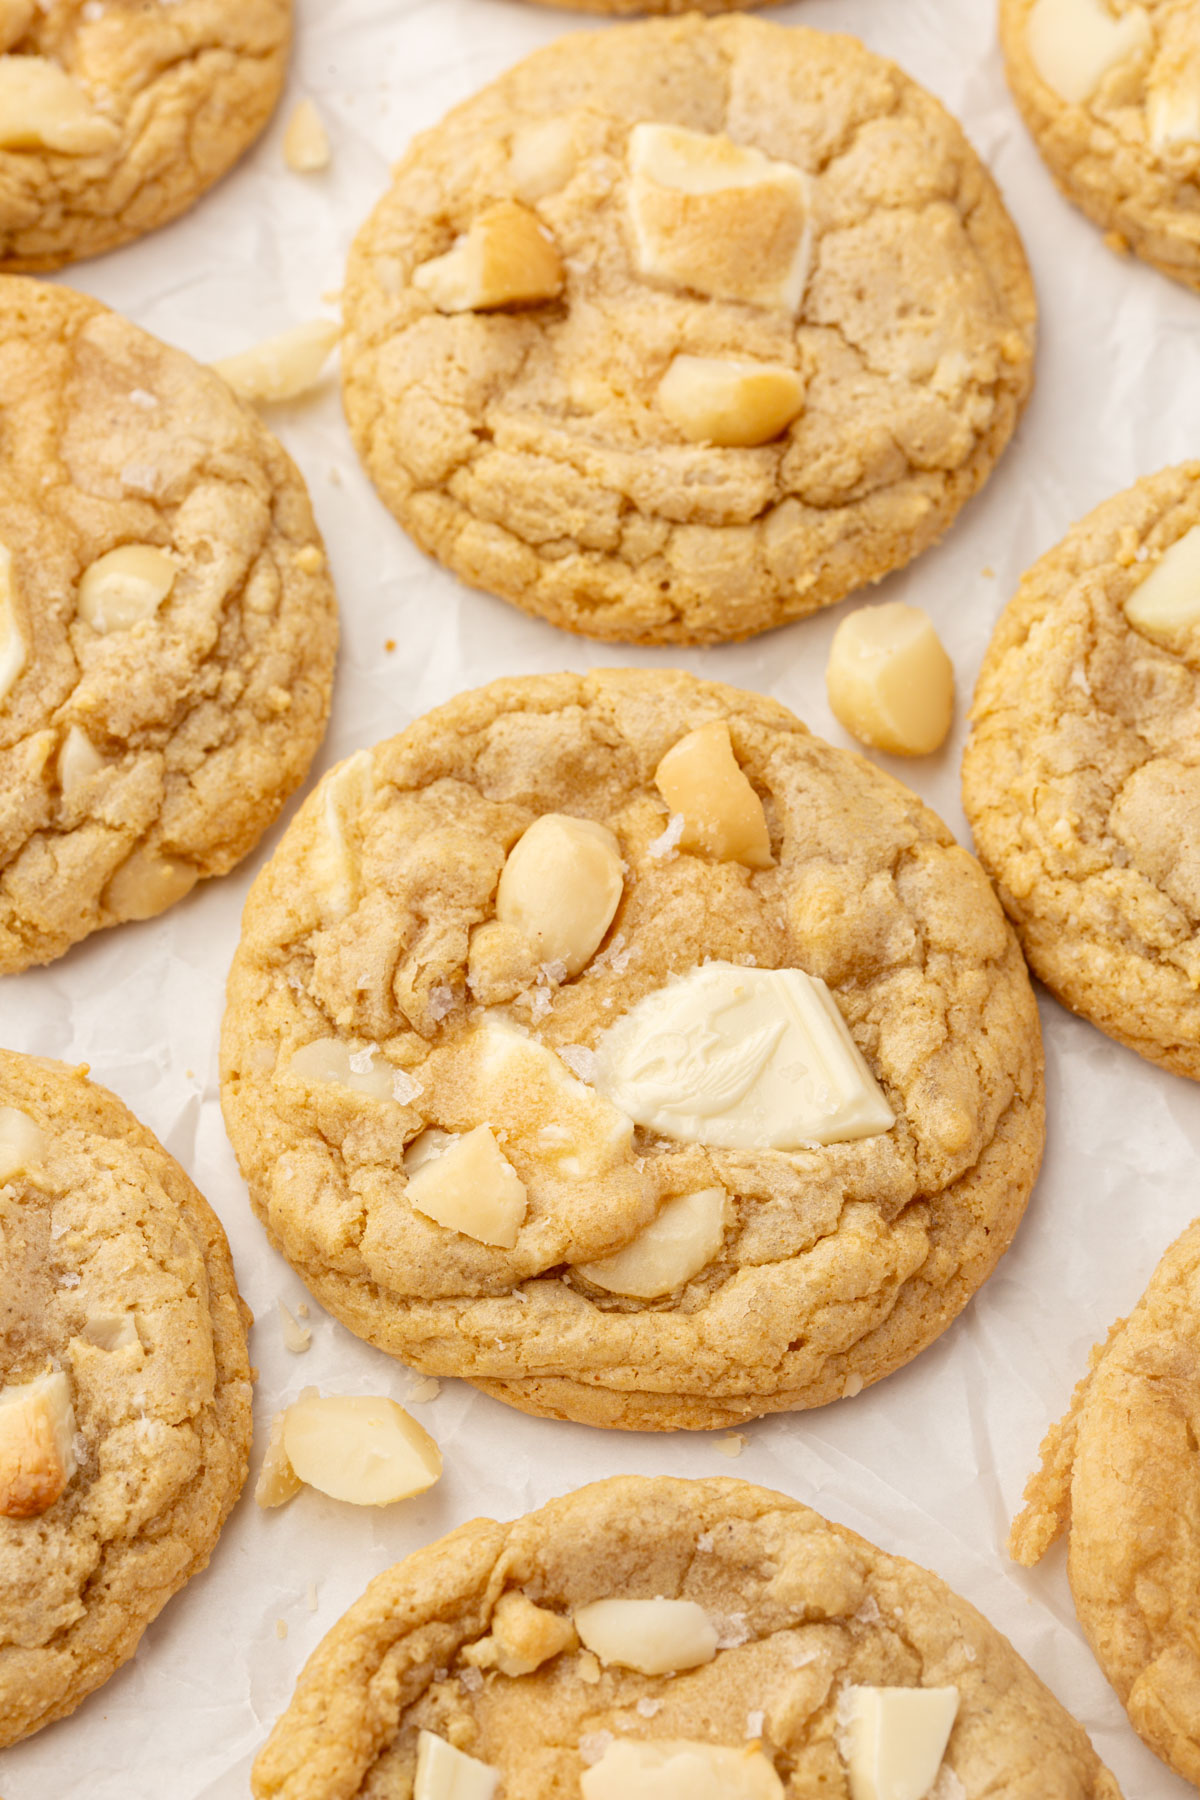 Gluten-FreeRecipeGluten-Free White Chocolate Macadamia Nut CookiesThese gluten-free white chocolate macadamia nut cookies have crisp edges, chewy centers, and big puddles of m…
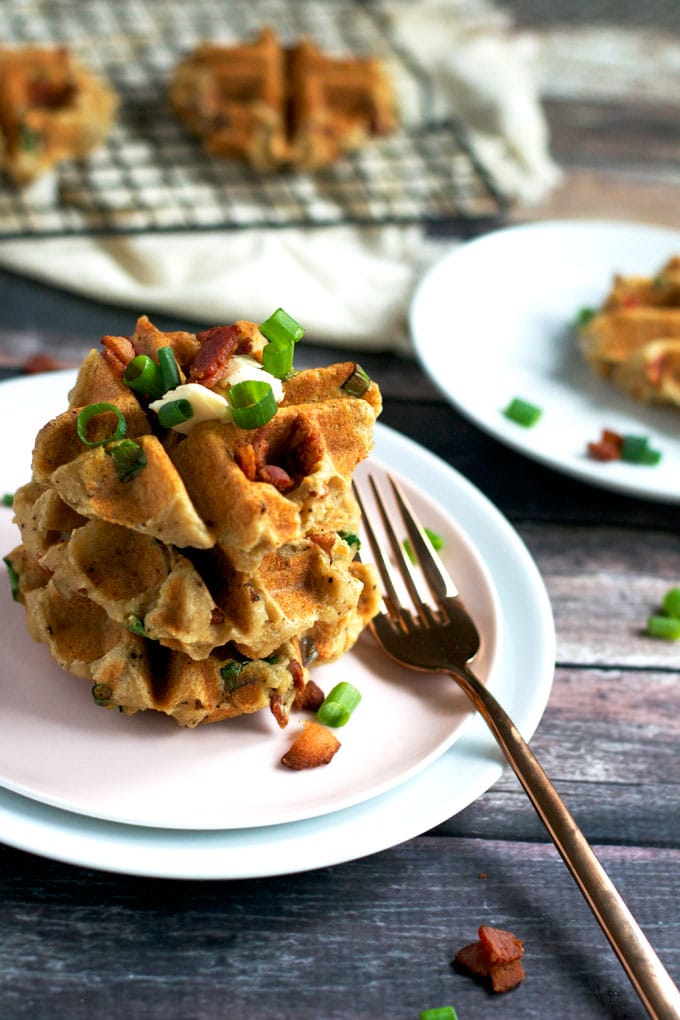 Gluten-FreeRecipeSavory Bacon Mashed Potato WafflesLeftover mashed potatoes are the star of these savory bacon mashed potato waffles. Filled with bacon bits and…
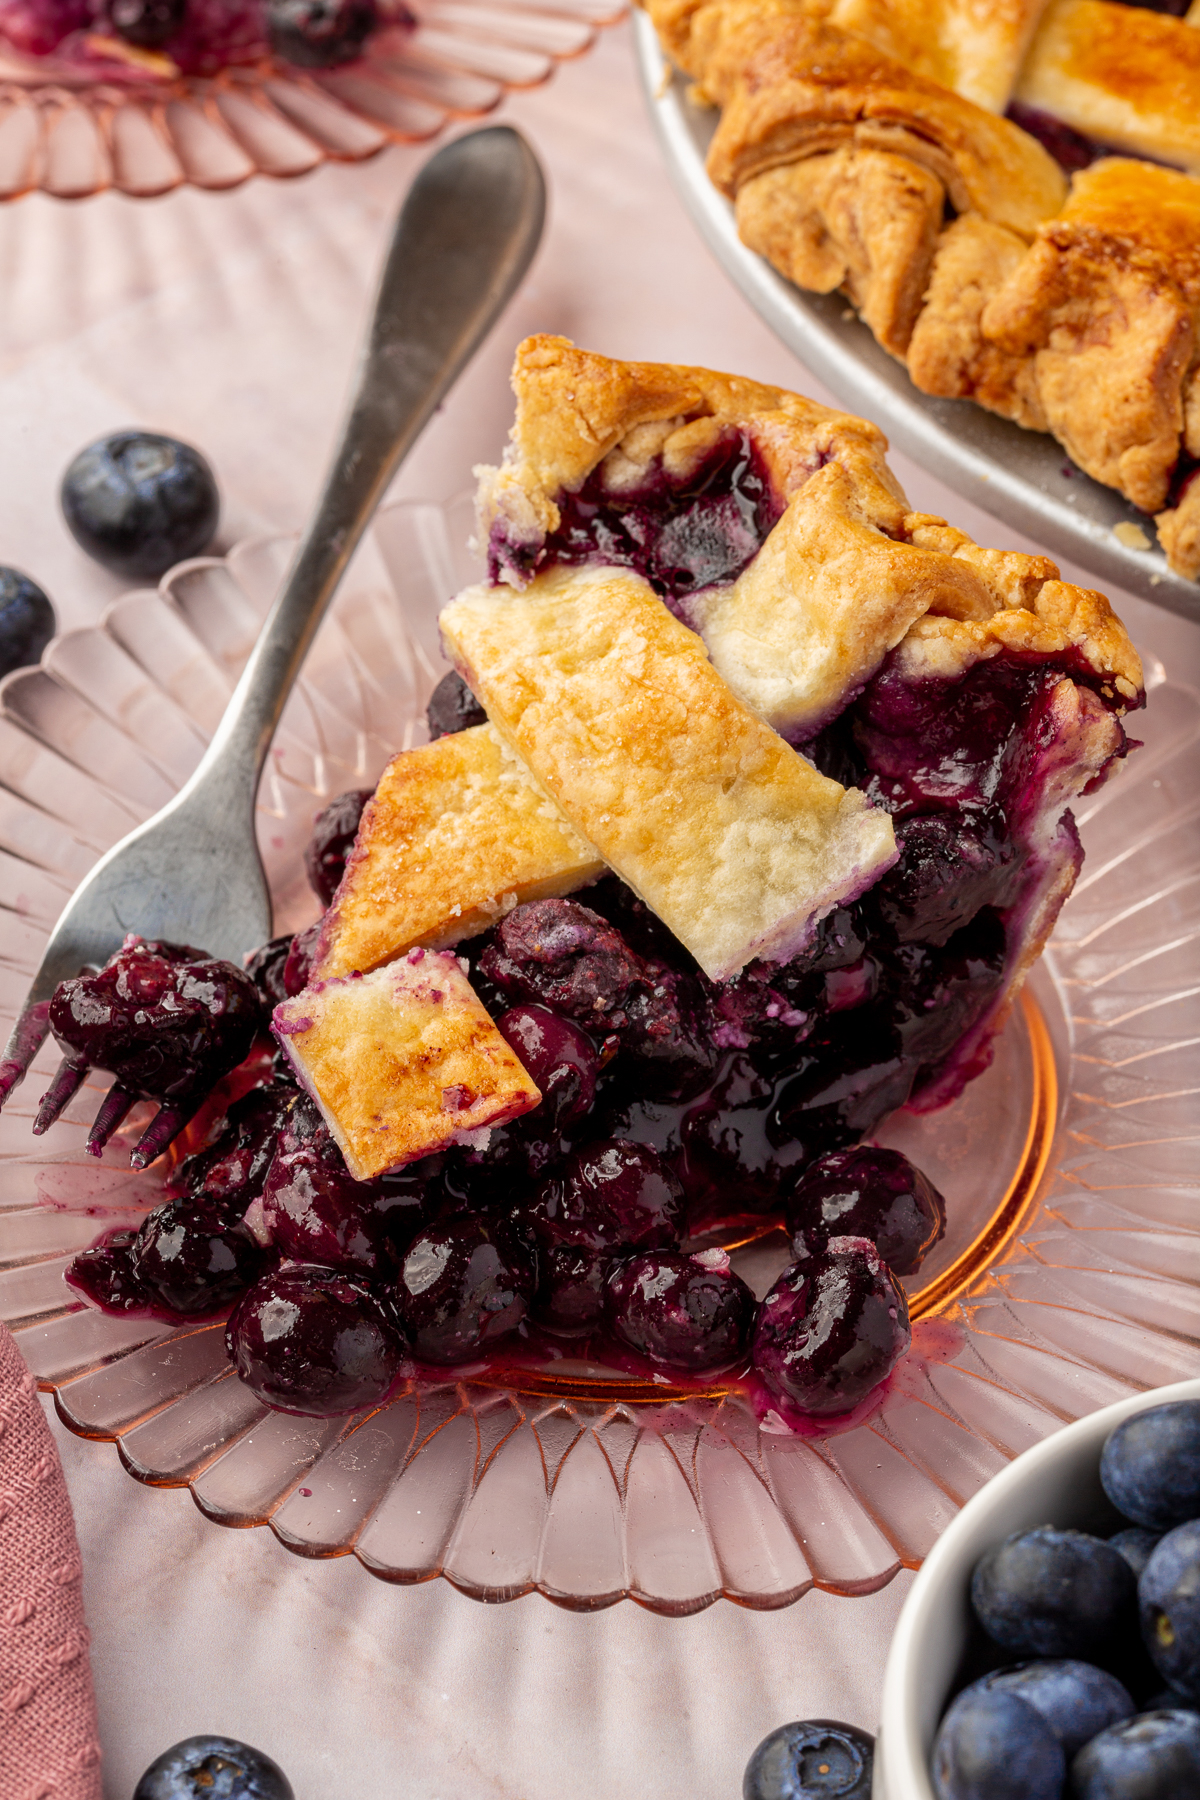 Gluten-FreeRecipeGluten-Free Blueberry PieThis gluten-free blueberry pie has a flaky, buttery lattice crust and a sweet, juicy blueberry filling that h…
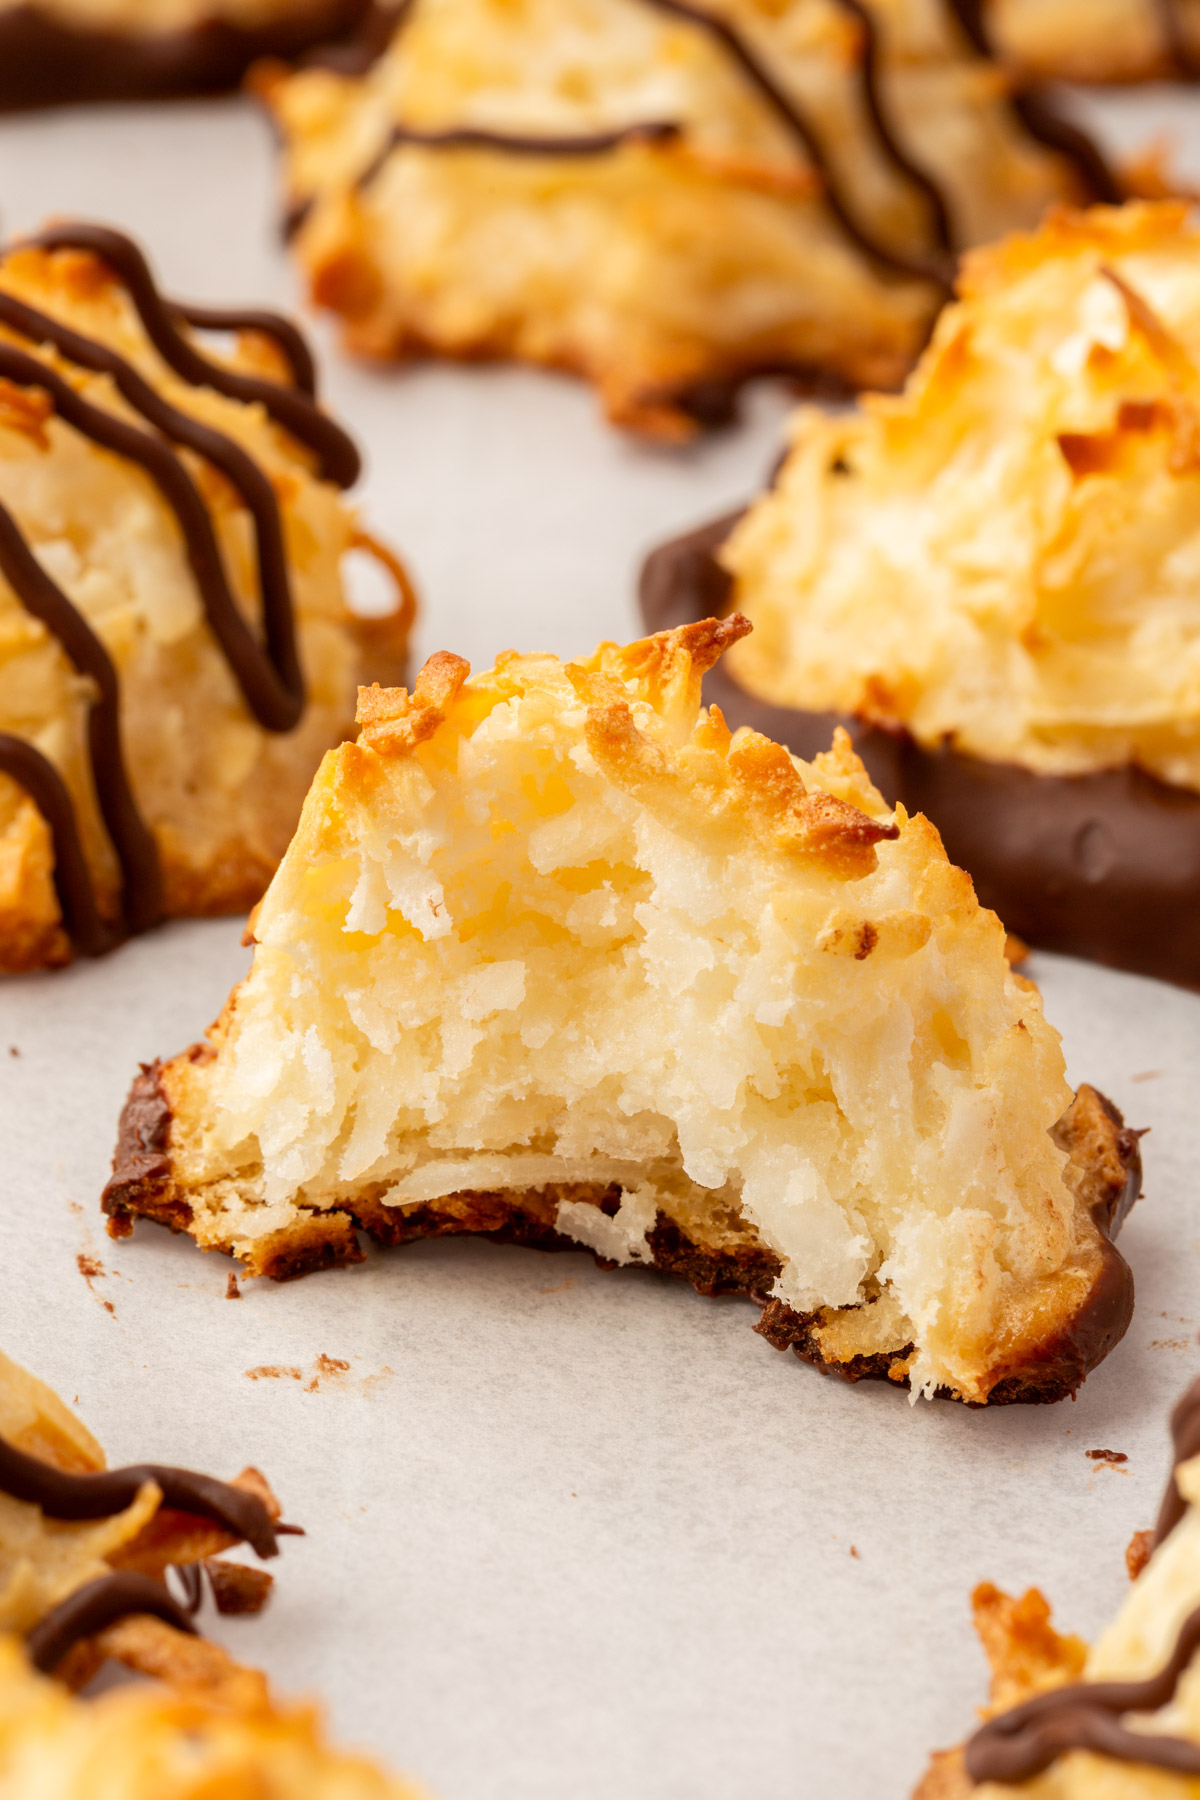 Gluten-FreeRecipeGluten-Free Coconut MacaroonsThese gluten-free coconut macaroons are crispy on the edges, chewy in the center, and dipped in rich dark cho…
 Gluten-FreeRecipeGluten-Free Masa Harina CornbreadThis gluten free masa harina cornbread makes a great side for soups and chili. Top with some butter and honey…