
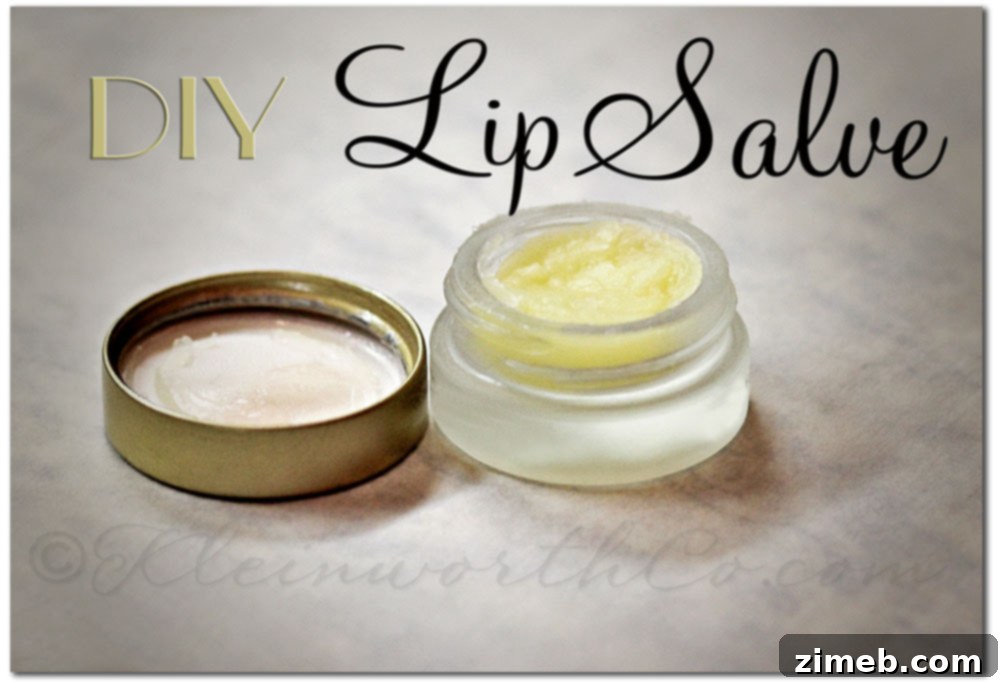
Unlock Supple Lips: Your Ultimate DIY Overnight Lip Salve – A Sustainable Beauty Hack
The quest for perfectly moisturized lips is a journey many of us embark on daily. For some, it’s a lifelong dedication. I’ve always been particular about my lips, a constant companion to lip balm in every imaginable form – tubes, pots, or spheres – strategically placed within arm’s reach throughout my home. I acquire them in bulk, always feeling like I can’t have enough. However, my nighttime routine posed a unique challenge. I needed something considerably thicker and more deeply hydrating than a standard daytime balm, yet I wanted to avoid the heavy feel and potential for breakouts that come with applying pure petroleum jelly directly to my lips overnight. This specific need led me to experiment, and what I discovered was a brilliant, effective, and incredibly simple DIY solution: a homemade lip salve that has truly transformed my nightly lip care routine.
This isn’t just about making another lip product; it’s about optimizing your existing beauty staples and embracing a touch of sustainability. We all know the frustration – you’ve used your favorite lip balm down to its last visible swipe, but you can feel there’s still so much product stubbornly clinging to the bottom of the tube, just out of reach. It’s a waste of product, a minor but persistent annoyance, and a tiny contribution to the heap of discarded beauty packaging. My DIY lip salve recipe cleverly addresses this very issue, turning those ‘unreachable’ remnants into a luxurious and effective overnight treatment.
The Genius of Repurposing: Rescuing Every Last Bit
That universal annoyance of a lip balm tube that feels empty but isn’t quite? It’s a common dilemma. Most tube-style lip balms are designed with a mechanism that pushes the product up, but they inevitably leave a frustrating amount of balm trapped at the very base. This DIY method not only saves you money by ensuring you get full value from every product you purchase, but it also reduces waste, contributing to a more mindful beauty regimen. Instead of tossing out those seemingly empty tubes, you’ll be giving their hidden treasures a second life, transforming them into a richer, more potent lip treatment.
Why an Overnight Lip Salve is Essential for Ultimate Lip Health
Our lips are constantly exposed to environmental stressors – wind, sun, dry air, and even our own habits like lip licking. While a daily lip balm provides immediate comfort and protection, an overnight lip salve takes treatment to the next level. During sleep, our bodies go into repair mode, and our lips can benefit immensely from a concentrated, long-lasting moisturizing barrier. This DIY salve is specifically formulated to be thick enough to remain on your lips for several hours, allowing its nourishing ingredients to deeply penetrate and restore softness. Unlike some heavy ointments that might feel greasy or contribute to clogged pores around the lip line, this blended salve strikes the perfect balance. It provides intense hydration and a protective seal without feeling excessively heavy or risking unwelcome skin issues.
The Power Duo: Leftover Balm & Petroleum Jelly
The magic of this recipe lies in its simplicity and the synergy of its components. You’re combining the familiar, comforting properties of your existing lip balm with the powerful occlusive qualities of petroleum jelly. Petroleum jelly is renowned for its ability to create an effective barrier on the skin, preventing moisture loss and aiding in healing. When blended with your favorite lip balm, it enhances the balm’s staying power and moisturizing benefits, creating a super-charged treatment perfect for nighttime. This combination ensures your lips receive continuous hydration, waking up feeling incredibly soft, smooth, and revitalized.
Gather Your Supplies: What You’ll Need
Before you begin this rewarding DIY project, make sure you have all your tools and ingredients ready. The beauty of this recipe is that it utilizes items you likely already have around your house.
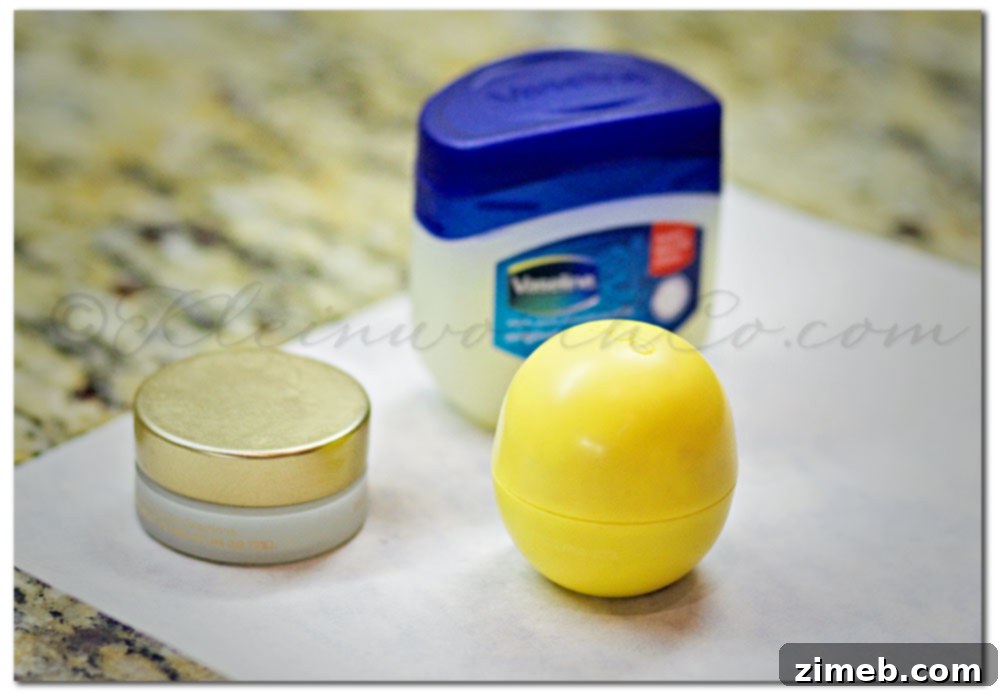
- **Leftover Lip Balm Tubes:** Any brand or type will work, especially those annoying ones with product stuck at the bottom.
- **Petroleum Jelly:** A standard tub of pure petroleum jelly.
- **An Empty, Clean Pot:** A small, clean container with a lid. This could be an old lip balm pot, a travel-sized face cream jar, or even a thoroughly washed contact lens case.
- **Tools for Extraction:** A chopstick, a thin coffee stir stick, or any similar slender, rigid item. For tougher tubes (like some EOS balms with internal crossbars), you might need small wire cutters or strong, sharp scissors.
- **Melting Container:** A microwave-safe dish or cup for melting the mixture.
- **Stirring Utensil:** The chopstick or stir stick can double as your stirring tool.
Step-by-Step Guide: Crafting Your Luxurious Lip Salve
Step 1: Rescue the Remains from Your Lip Balm Tubes
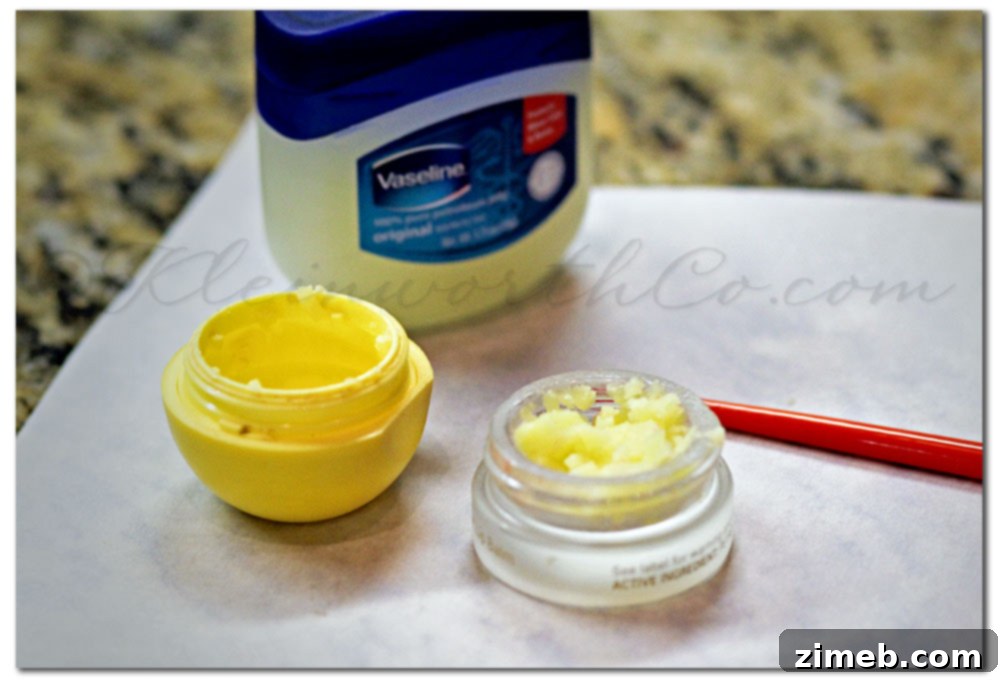
This is where the transformation begins. Take your almost-empty lip balm tube. Use a chopstick or a similar thin, sturdy device to scrape out every last bit of balm. Angle the stick to reach around the inner walls of the tube, pushing the product upwards and out. For certain brands, like EOS, which often feature internal plastic crossbars, a regular stick might not suffice. In these cases, carefully use wire cutters or strong scissors to snip away the plastic structure at the bottom of the tube. Exercise caution to avoid cutting yourself or damaging the underlying product. Once the barrier is removed, it becomes much easier to scoop out the remaining balm. Collect all the scraped-out balm into your chosen empty pot.
Step 2: Prepare Your Salve Container
If you’re reusing an old pot, ensure it’s meticulously clean and dry. Wash it thoroughly with soap and hot water, then allow it to air dry completely or wipe it dry with a clean paper towel. Sterilizing it with rubbing alcohol is an extra step that can ensure hygiene, especially for a product you’ll be applying to your lips. Having a clean container prevents any unwanted contaminants from mixing with your fresh salve.
Step 3: Combine the Ingredients
Once you have the rescued lip balm in your pot, it’s time to add the petroleum jelly. Fill the rest of the pot with petroleum jelly, ensuring it’s packed in neatly to the very top. The ratio here is flexible – more leftover balm will result in a slightly firmer salve with a hint of your original balm’s scent or tint, while more petroleum jelly will yield a softer, more universally effective treatment. The goal is to create a full container for your new salve.
Step 4: The Melting Process
Carefully transfer the contents of your pot into a microwave-safe container (if your pot isn’t microwave-safe). Microwave the mixture on a medium setting for about 1 to 2 minutes. The exact time will depend on the power of your microwave and the amount of product. Keep a close eye on it; you want the mixture to turn into a clear, uniform liquid. Be extremely careful when removing the container from the microwave, as it will be hot. Alternatively, you can use a double boiler method for a more gentle melt: place your pot in a heat-safe bowl, and set that bowl over a saucepan of simmering water until the contents are fully liquid.
Step 5: Stir Until Perfectly Combined
Once the mixture is completely liquid, use your chopstick or stir stick to thoroughly combine the melted lip balm and petroleum jelly. Stir gently but consistently for at least 30 seconds to a minute, ensuring there are no streaks or separated layers. The goal is a homogeneous blend, where the two ingredients are fully integrated, creating a smooth and even consistency. This step is crucial for achieving the desired texture and effectiveness of your final salve.
Step 6: Setting for Success
Once well-stirred, carefully pour the liquid mixture back into your clean, empty pot (if you transferred it for melting). Secure the lid tightly and immediately place the pot in the freezer. Allow it to chill for approximately 30 to 60 minutes. The rapid cooling in the freezer helps the salve solidify quickly and evenly, preventing crystallization and ensuring a smooth, consistent texture. You’ll know it’s ready when the mixture is completely firm and opaque.
Step 7: Ready to Enjoy
After the chilling period, remove your newly crafted lip salve from the freezer. It is now perfectly firm and ready for immediate use! You’ll find it has a wonderfully smooth, creamy texture that glides effortlessly onto your lips. Store it at room temperature, ideally in a cool, dry place, and use it as part of your nightly routine for optimal results.
The Perfect Consistency: Your Lips Will Thank You
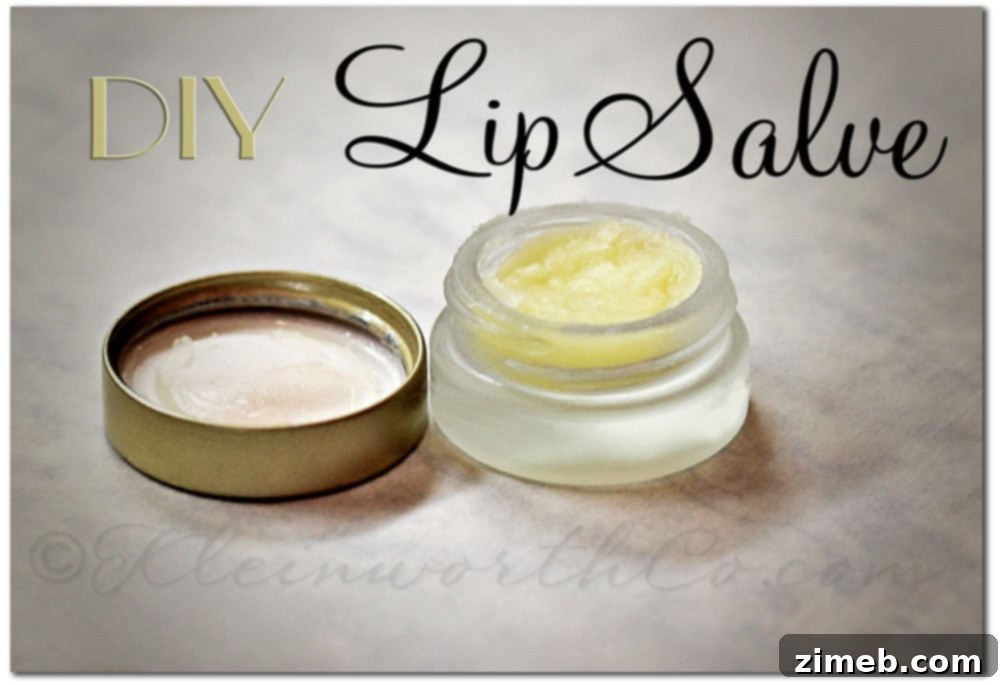
The resulting consistency of this DIY lip salve is nothing short of perfect. It’s thick enough to provide a substantial, lasting barrier on your lips throughout an entire night’s sleep, ensuring maximum hydration and repair. Yet, it’s not so heavy or greasy that it feels uncomfortable or, more importantly, causes any complexion woes or breakouts around the delicate lip area. You’ll wake up to lips that feel incredibly soft, plump, and deeply nourished, ready to face the day with renewed suppleness. This salve truly bridges the gap between light daily balms and overly heavy night treatments, providing just the right amount of intensive care.
Customizing Your DIY Lip Salve: Personal Touches
While the basic recipe is wonderfully effective, you can easily customize your lip salve to suit your preferences. For a refreshing tingle, add one or two drops of high-quality, lip-safe peppermint essential oil to the melted mixture before stirring. For a soothing effect, a drop of lavender essential oil can be lovely. Always ensure essential oils are suitable for topical use and used sparingly. If you desire a subtle tint, a tiny pinch of natural colorant like beetroot powder (for a pink hue) or cocoa powder (for a warm brown) can be mixed into the liquid base. For a slightly different texture, you can adjust the ratio of petroleum jelly to leftover balm; more balm will result in a firmer salve, while more petroleum jelly will make it softer. Experiment to find your ideal blend!
Beyond the Salve: Holistic Lip Care Tips
While your new DIY lip salve will be a powerhouse in your routine, remember that comprehensive lip care extends beyond a single product. Stay well-hydrated by drinking plenty of water throughout the day, as internal hydration significantly impacts lip moisture. Protect your lips from the sun’s harmful UV rays by using a lip balm with SPF during the day. Gently exfoliate your lips once or twice a week to remove dead skin cells, using a soft toothbrush or a gentle sugar scrub, which allows your lip salve to penetrate more effectively. Lastly, try to avoid habitually licking your lips, as this often provides only temporary relief and can lead to even greater dryness due to the evaporative effect of saliva.
Embrace Your New Lip Care Staple
This simple, effective, and sustainable DIY lip salve is more than just a beauty hack; it’s a testament to getting the most out of your products and treating your lips with the care they deserve. By repurposing the ‘unreachable’ remnants of your favorite lip balms and enhancing them with petroleum jelly, you create a luxurious, personalized, and budget-friendly overnight treatment. Say goodbye to dry, chapped lips and hello to an easy, satisfying way to ensure your pout is always perfectly soft and moisturized. Give this DIY a try – your lips will undoubtedly thank you for it!