
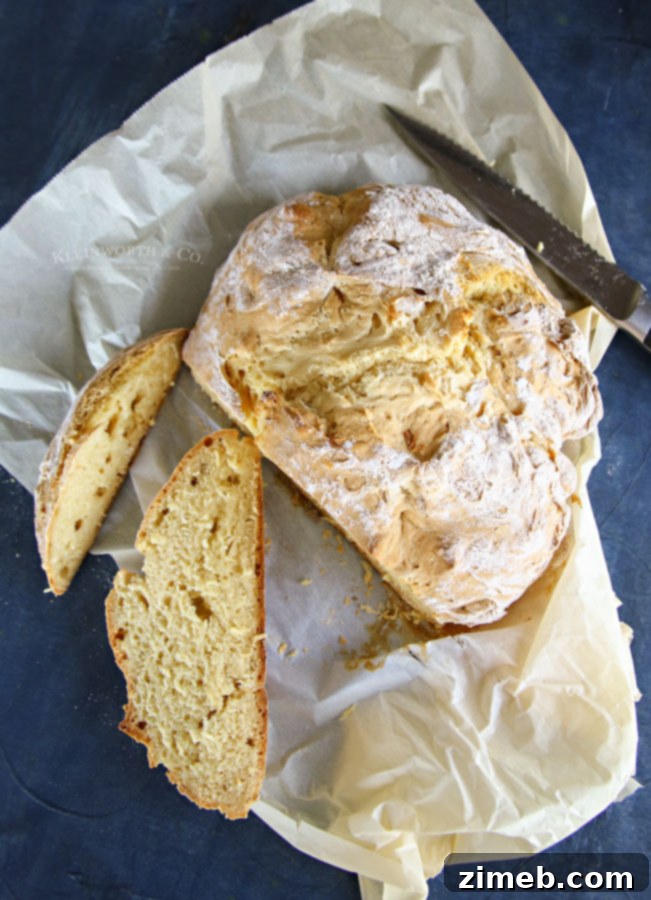
Discover the timeless charm of homemade St. Patrick’s Day Irish Soda Bread – an incredibly simple, 4-ingredient recipe that promises a delightful, crusty exterior and a tender, soft interior. Forget the fuss of yeast; this quick bread comes together in minutes, making it an absolute staple for St. Patrick’s Day celebrations or any day you crave a comforting, hearty loaf. Its irresistible flavor and effortless preparation will quickly make it a family favorite.
Initially, I had a different culinary journey planned for today. However, a spark of inspiration over the weekend, fueled by a desire to connect with my Irish roots, led me down a more traditional path. My heritage whispered of classic recipes, and what better way to honor it than by creating a truly authentic and deeply satisfying Irish Soda Bread?
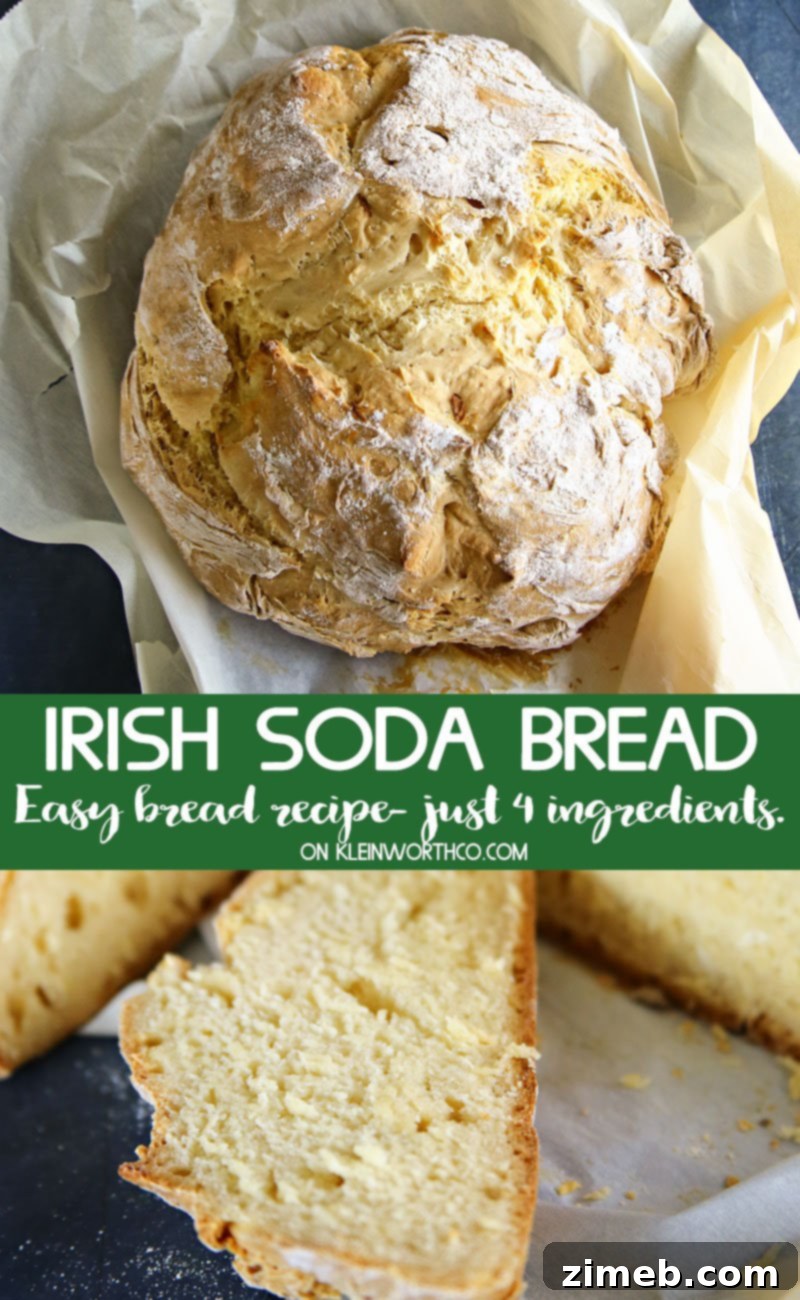
Having never tackled Irish Soda Bread before, I embraced the challenge with enthusiasm. I researched several traditional recipes, combining the best techniques and ingredients to craft a method that suited my baking style and the staples I had on hand. The outcome was nothing short of spectacular—exceeding all my expectations. This simple yet profound recipe has since earned its place as one of the easiest and most cherished bread recipes we regularly bake in our home.
Authentic Irish Soda Bread: A Simple 4-Ingredient Marvel
This post may contain affiliate links, which means I earn a small commission if you make a purchase through them, at no extra cost to you. Please read my full disclosure policy here for more details.
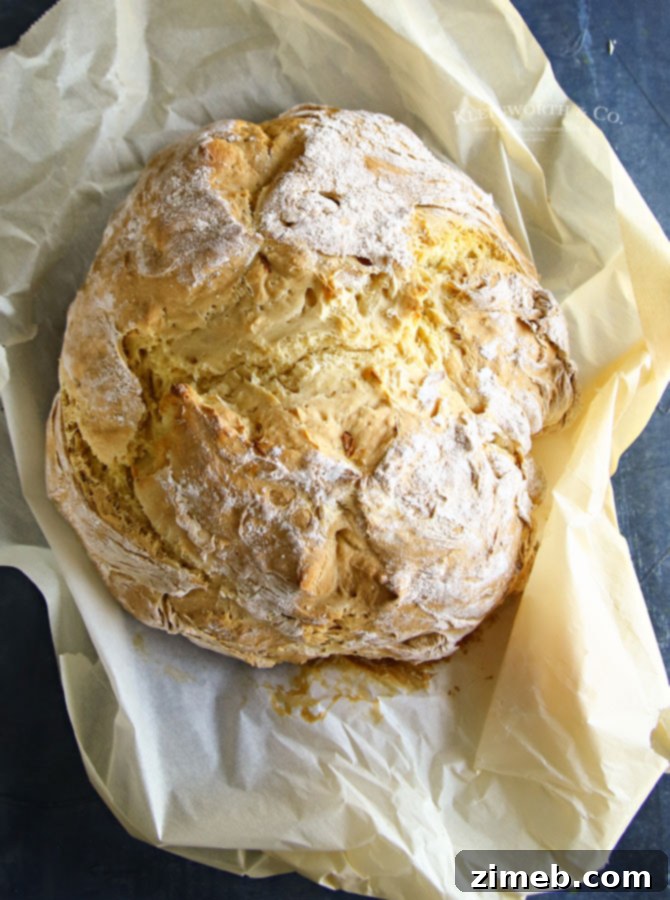
The beauty of this Irish Soda Bread lies in its incredible simplicity and versatility. We find ourselves making it far beyond the festive occasion of St. Patrick’s Day. It’s a fantastic accompaniment to any meal, transforming ordinary breakfasts and dinners into something special. My children, for instance, are currently obsessed with it as a morning toast, generously slathered with homemade raspberry marmalade – a sweet and tangy combination that truly elevates the bread’s mild flavor. Its robust texture also makes it an ideal pairing for savory dishes, complementing the rich flavors of classic meatloaf and creamy mashed potatoes, or serving as a hearty side to a steaming hot bowl of soup on a chilly evening. With just four core ingredients, no demanding yeast, and absolutely no rising time required, this recipe is virtually foolproof and guaranteed to impress.
The History and Charm of Irish Soda Bread
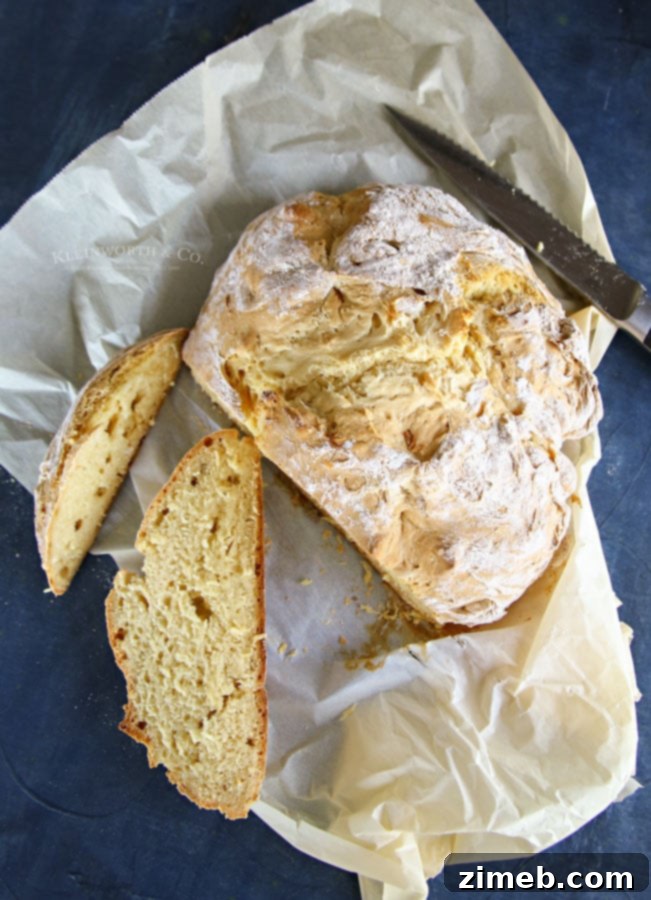
Irish Soda Bread, a cornerstone of Irish culinary tradition, is more than just a simple loaf; it’s a testament to ingenuity and resourcefulness. Developed in the mid-19th century when bicarbonate of soda (baking soda) became widely available, it offered a quick and efficient way to bake bread, particularly in rural areas where ovens were often simple and slow-rising yeast breads were impractical. The acidic nature of buttermilk reacts with the baking soda, creating carbon dioxide bubbles that cause the bread to rise without the need for yeast. This chemical leavening process results in a dense, moist crumb and a wonderfully crusty exterior, a characteristic texture that has made it beloved for generations. The traditional cross cut into the top of the loaf isn’t just for aesthetics; it’s believed to help the bread bake more evenly by allowing heat to penetrate the thick dough, and some folklore suggests it’s also to ward off evil spirits or to bless the bread before baking.
Understanding Your Ingredients: The Power of Simplicity
This recipe’s brilliance lies in its minimal ingredient list, each playing a vital role in creating the perfect loaf:
- **All-Purpose Flour:** The foundation of our bread. While some traditional recipes call for coarser flours, all-purpose flour provides a consistent texture that’s easy to work with.
- **Kosher or Sea Salt:** Essential for flavor, balancing the richness of the buttermilk and preventing the bread from tasting bland.
- **Baking Soda:** The star leavening agent. When combined with the buttermilk, it creates the necessary lift for our yeast-free bread.
- **Buttermilk:** This is the magic ingredient! Its acidity reacts with the baking soda to produce carbon dioxide, giving the bread its rise and characteristic tangy flavor. Buttermilk also contributes to the bread’s moistness and tender crumb.
No Buttermilk? No Problem!
If you find yourself without buttermilk (a common occurrence!), you can easily make a substitute. For every 1 cup of buttermilk needed, simply pour 1 tablespoon of white vinegar or lemon juice into a measuring cup, then fill the rest of the way with regular milk (any fat percentage works). Stir gently and let it sit for 5-10 minutes. The milk will curdle slightly, becoming a perfect stand-in for buttermilk. This handy trick ensures you can whip up a batch of Irish Soda Bread whenever the craving strikes!
How to Make Traditional Irish Soda Bread: A Step-by-Step Guide
Making this bread is remarkably straightforward, requiring minimal effort for maximum reward. Here’s a detailed breakdown:
- **Preheat Your Oven:** Begin by preheating your oven to a robust 425 degrees Fahrenheit (220 degrees Celsius). This high initial heat helps the bread achieve a beautiful, crusty exterior.
- **Prepare Your Baking Sheet:** Line a baking sheet with parchment paper. This prevents sticking and makes cleanup a breeze. Set it aside, ready for your dough.
- **Combine Dry Ingredients:** In a large mixing bowl, thoroughly whisk together the all-purpose flour, kosher or sea salt, and baking soda. Ensure they are evenly distributed, as this is crucial for the leavening process.
- **Create a Well for Buttermilk:** Form a well (a small crater) in the center of your dry ingredients. This helps in gradually incorporating the liquid without creating lumps. Pour in the buttermilk.
- **Mix the Dough:** Using the paddle attachment of your stand mixer, or by hand with a sturdy spoon and then kneading lightly, mix until the dough just comes together. The dough should be soft, fairly wet, but not overtly sticky. Avoid overmixing, as this can lead to a tough bread. If the dough seems excessively wet, add a tablespoon of flour at a time until it’s workable.
- **Light Kneading:** Turn the dough out onto a lightly floured surface. Knead it gently just 3-4 times. This brief kneading helps to smooth out the dough and bring it together without developing too much gluten, which would make the bread tough.
- **Shape the Loaf:** Gently shape the dough into a flat, round disc. My loaves typically measure about 1-2 inches thick, maintaining a rustic, flattened circular shape.
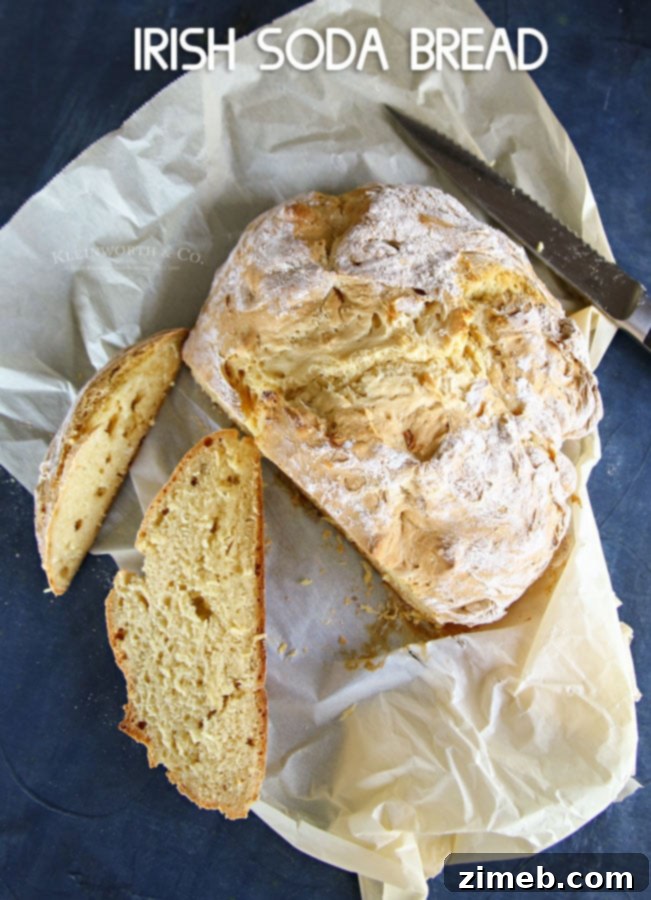
- **Score the Cross:** Carefully transfer the shaped dough to your prepared parchment-lined baking sheet. Using a sharp knife, cut a deep cross from edge to edge across the top of the loaf. This isn’t just for tradition; it aids in even baking and allows the bread to expand beautifully.
- **Bake to Perfection:** Bake for 25-30 minutes, or until the loaf is golden brown and sounds hollow when tapped on the bottom. This hollow sound is your indicator that it’s fully cooked through.
The Rustic Appeal of Irish Soda Bread
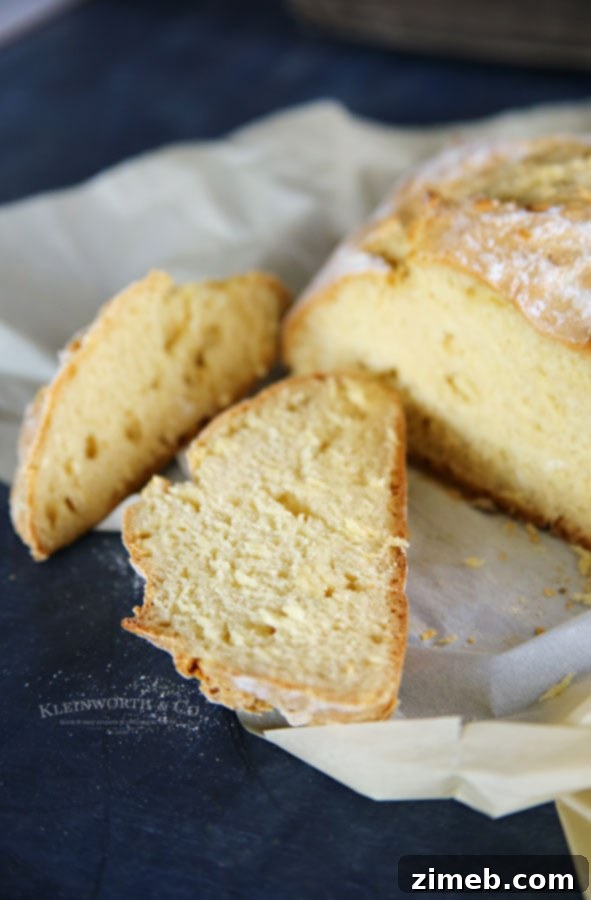
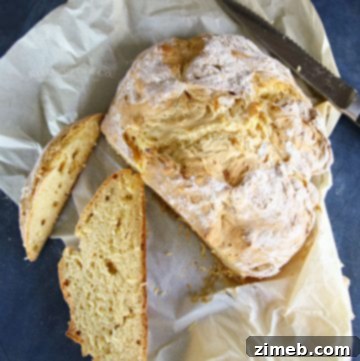
There’s something inherently appealing about the artisan-style round loaf of Irish Soda Bread. Its rustic appearance and hearty texture evoke images of traditional kitchens and wholesome goodness. The golden-brown crust, often dusted with flour, and the distinctive deep cross on top make it not just a delicious food but also a visually charming centerpiece for any table.
Tips for Making Your Best Irish Soda Bread
- **Measure Flour Correctly:** Use the “spoon and level” method. Spoon flour into your measuring cup, then level off the top with a straight edge. Don’t scoop directly from the bag, as this compacts the flour and can result in a dry, dense bread.
- **Don’t Overmix:** Overworking the dough will develop too much gluten, making the bread tough and chewy instead of tender. Mix just until the ingredients are combined.
- **Adjust Flour as Needed:** The dough should be soft and slightly wet. If it’s too sticky to handle, add a tiny bit more flour (1-2 tablespoons at a time), but be careful not to make it too dry. The goal is a shaggy but cohesive dough.
- **The Cross Cut:** Ensure your cross cut is deep, almost to the bottom of the loaf. This helps the bread cook evenly and prevents it from cracking haphazardly.
- **Serve Warm:** While delicious at any temperature, Irish Soda Bread is particularly delightful served warm, especially with a generous slather of butter.
- **Consider Add-ins:** For a slightly sweeter, richer version, you can add a handful of raisins or currants to the dry ingredients before adding the buttermilk. Caraway seeds are another traditional addition that lends a subtle anise flavor.
Serving Suggestions for Irish Soda Bread
This versatile bread pairs wonderfully with a myriad of dishes, making it suitable for any time of day:
- **Breakfast & Brunch:** Slice it thick and toast it, serving with butter, jam, marmalade, or honey. It’s also fantastic alongside eggs and Irish sausage.
- **Soups & Stews:** Its dense crumb makes it perfect for soaking up the rich broth of hearty soups like potato leek soup or traditional Irish stew.
- **Dinner Sides:** Serve it with roasted meats, corned beef and cabbage, or as a delightful side to a comforting cottage pie.
- **Cheese Platter:** A slice of Irish Soda Bread provides a wonderful counterpoint to strong cheeses, chutneys, and savory spreads.
- **With Tea or Coffee:** Enjoy a slice with your afternoon tea or coffee for a simple, satisfying snack.
Storing Your Irish Soda Bread
Irish Soda Bread is best enjoyed fresh, ideally on the day it’s baked. However, you can store leftovers for a few days. Wrap the cooled loaf tightly in plastic wrap or aluminum foil, or place it in an airtight container at room temperature. For longer storage, you can slice the bread and freeze individual slices, wrapping them well, for up to 2-3 months. Thaw and lightly toast before serving to revive its texture.
Scroll to the bottom for the complete Printable Recipe Card
Essential Ingredients for Your Simple Soda Bread
To embark on this delightful baking journey, you will need just a few fundamental items:
- High-quality all-purpose flour
- A good pinch of kosher or sea salt
- Fresh baking soda
- Creamy buttermilk
Looking for more delightful St. Patrick’s Day Recipes and Irish-inspired treats?

Vibrant Rainbow Pinwheel Cookies
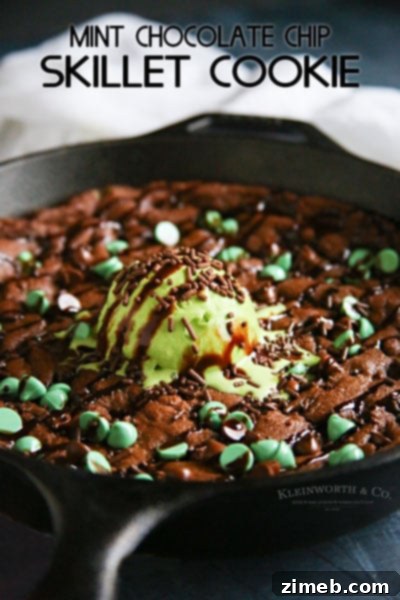
Indulgent Mint Chocolate Chip Skillet Cookie

Refreshing Blushing Whiskey Sour
Explore these other fantastic culinary creations from fellow food bloggers to complete your Irish-themed feast:
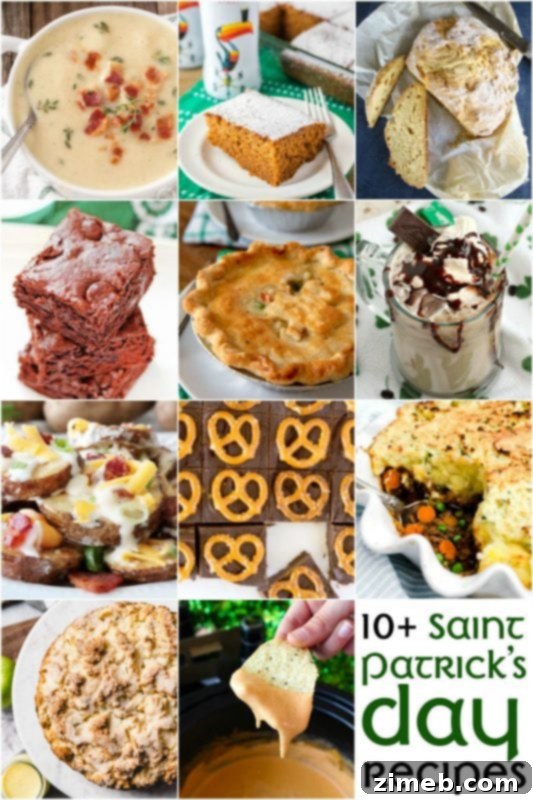
Hearty Shepherd’s Pie Recipe
Slow Cooker Guinness Beer Cheese Dip
Irish Cream & Mint Iced Mocha
Classic Irish Potato Leek Soup
Decadent Mint Chocolate Chip Brownies
Traditional Irish Soda Bread
Spicy Guinness Gingerbread
Creative Irish Nachos
Rich Dark Chocolate Guinness Fudge
Moist Irish Apple Cake with Custard Sauce
Comforting Chicken Pot Pie
Rate this Recipe
St. Patrick’s Day Irish Soda Bread Recipe
Ingredients
- 3⅔ cups all-purpose flour plus a little more for dusting (if the dough appears too wet after initial mixing, you may gradually add up to 1 additional cup of flour, adding in 1/4 cup increments and mixing thoroughly after each addition until desired consistency is reached). It is crucial to measure flour using the spoon & level method to avoid over-measurement, which can result in dry bread.
- 1 teaspoon kosher or sea salt
- 1 teaspoon baking soda
- 1¾ cups buttermilk
Instructions
-
Preheat your oven to 425 degrees Fahrenheit (220°C). Prepare a baking sheet by lining it with parchment paper for easy non-stick baking.
-
In a large mixing bowl, combine the all-purpose flour, kosher or sea salt, and baking soda. Whisk these dry ingredients thoroughly to ensure even distribution.
-
Create a well in the center of the dry ingredients. Pour the buttermilk into this well.
-
Using the paddle attachment of your stand mixer, or by hand, mix the ingredients until a soft dough forms. The dough should be relatively wet but not overly sticky. Avoid overmixing to keep the bread tender.
-
Transfer the dough onto a lightly floured surface. Knead it gently only 3-4 times, just enough to bring it together and smooth its surface.
-
Shape the dough into a flat, round circle. Aim for a thickness of approximately 1 to 2 inches while maintaining a distinct flat shape.
-
Place the shaped dough onto the prepared parchment-lined baking sheet. With a sharp knife, cut a deep cross from one edge to the other across the top of the loaf.
-
Bake in the preheated oven for 25-30 minutes, or until the bread achieves a beautiful golden-brown color and sounds hollow when lightly tapped on the bottom. This indicates it is fully cooked.
Notes
Nutritional information for this recipe is provided as a courtesy and is an approximate estimate. For precise dietary calculations, please consult your preferred nutritional calculator. We at Yummi Haus cannot guarantee the absolute accuracy of the nutritional information presented for any recipe on this site.