
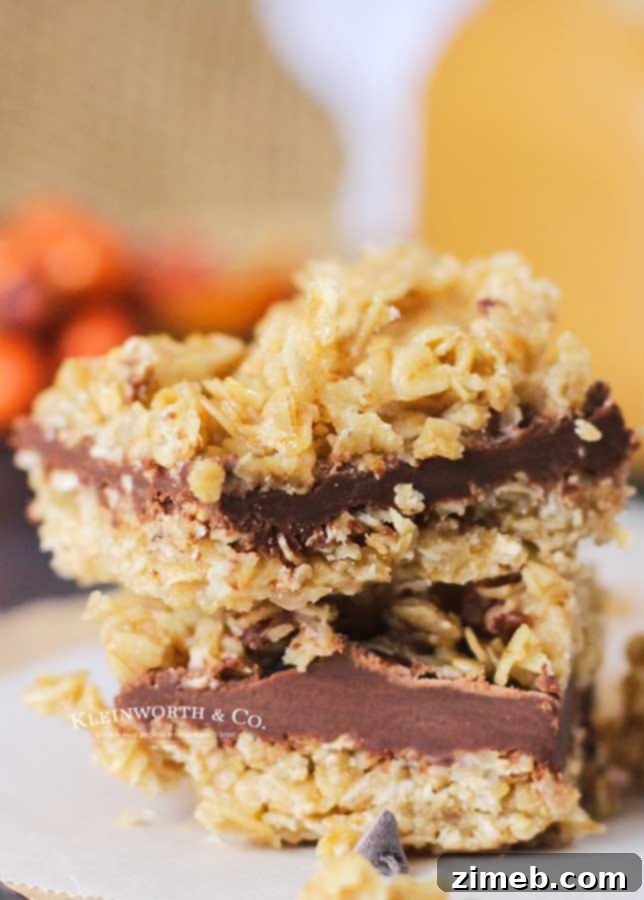
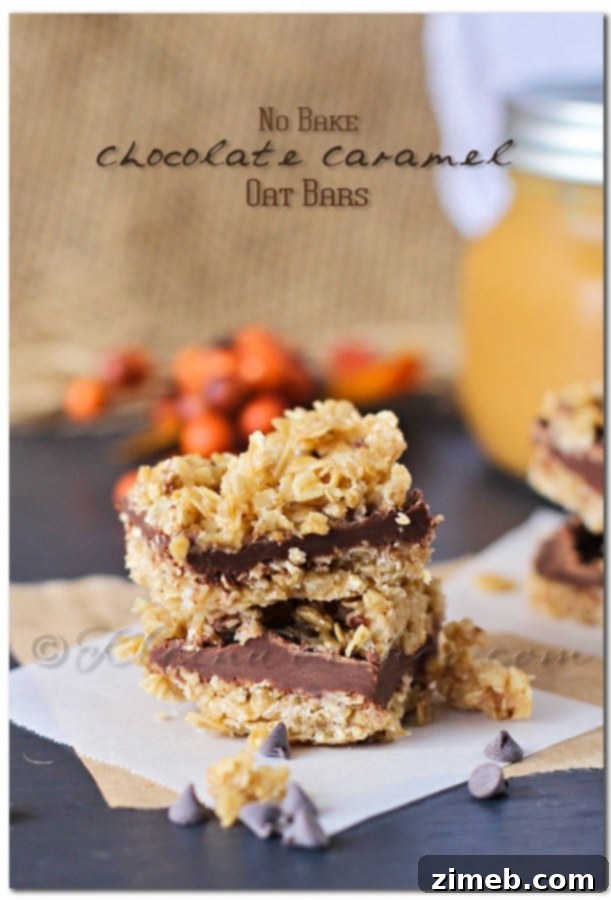
As the crisp air of autumn descends and the leaves begin to turn, our cravings often shift towards comforting, indulgent treats. However, the thought of firing up the oven after a long day or on a warm fall afternoon can sometimes be less than appealing. This is precisely why the magic of no-bake desserts shines brightest during this transitional season. Forget the heat, the waiting, and the complicated steps; prepare to embrace pure, effortless delight with these incredibly easy-to-make No-Bake Chocolate Caramel Oat Bars. These bars are a true celebration of fall flavors, combining rich chocolate, gooey caramel, and wholesome oats bathed in a buttery brown sugar glaze. Simple, quick, and guaranteed to be a family favorite, they offer all the satisfaction of a homemade dessert without ever needing to touch your oven.
For anyone who cherishes quick and easy dessert recipes, this one is about to become your new go-to. We’re currently in that delightful sweet spot of the year where the calendar says fall, but the temperatures might still have you reaching for lighter, fuss-free options. It’s the perfect time to whip up delectable goodies that require minimal effort and no oven heat, just like these magnificent chocolate caramel oat bars. With just a few minutes of stovetop preparation and a short chilling period, you’ll be enjoying these insanely good treats after dinner, as a delightful snack, or even packed in lunchboxes.
It’s no secret that I have a profound love for sweets and treats. My impatience often dictates that the quicker I can enjoy a delicious homemade goodie, the better! That’s why this recipe truly resonates. It skips complicated steps and doesn’t demand a pantry full of obscure ingredients. What you get instead is pure, unadulterated deliciousness right at your fingertips. These oat bars are a testament to how simple ingredients can come together to create something truly extraordinary.
Irresistible No-Bake Chocolate Caramel Oat Bars Recipe
This post contains some affiliate links. Click here to read my full disclosure policy.
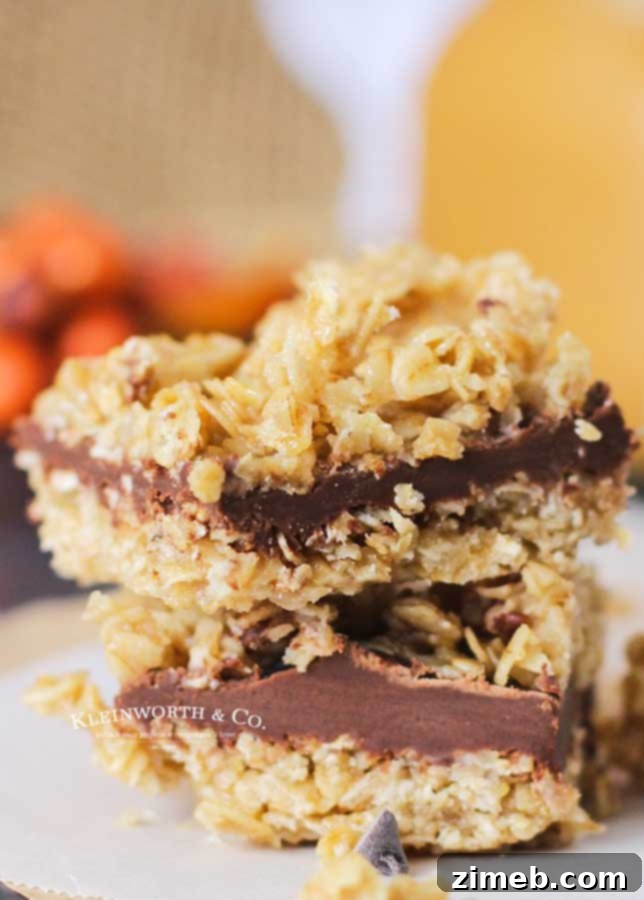
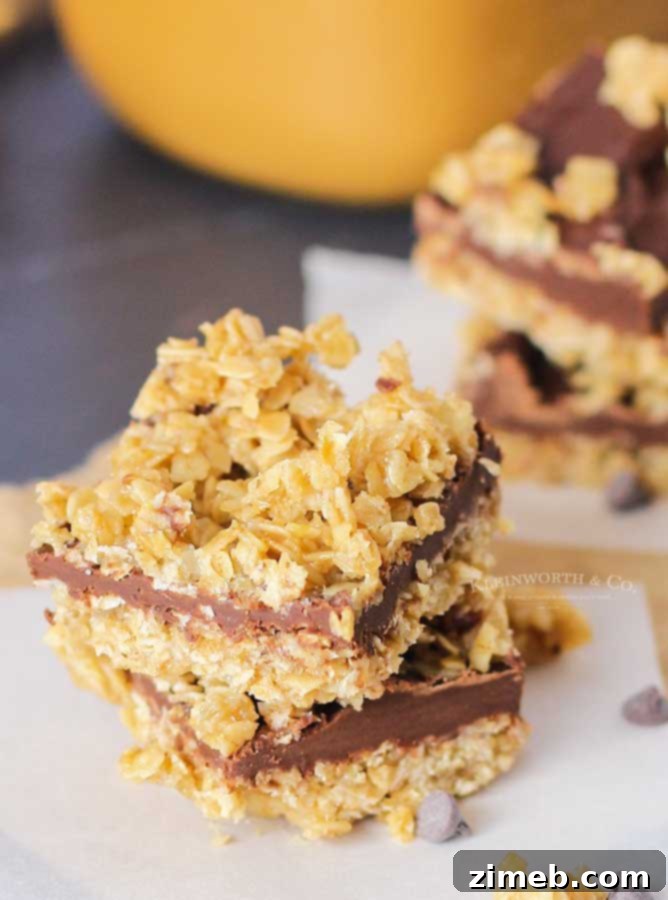
The foundation of these bars is a layer of buttery, sweet oats that are simply divine on their own. But when you introduce the luxurious pairing of smooth chocolate and rich caramel, it elevates the experience to another level entirely. The combination creates a symphony of textures and flavors – a chewy, comforting oat base topped with a decadent, melt-in-your-mouth chocolate and caramel fusion. Trust me when I say, you’ll be tempted to make a double batch of these chocolate caramel treats every single time.
Why Choose No-Bake? The Ultimate Convenience
In a world where time is a precious commodity, no-bake recipes offer an incredible advantage. They eliminate the need for preheating ovens, constant monitoring, and the fear of overbaking. This means less stress in the kitchen and more time enjoying your delicious creations. These No-Bake Chocolate Caramel Oat Bars are particularly perfect for warmer weather, or for when you simply don’t want to heat up your home. They are also fantastic for involving younger helpers in the kitchen, as many steps are straightforward and safe for little hands. Plus, the chilling time, while necessary for setting, is entirely hands-off, allowing you to focus on other tasks while your dessert comes to life.
The Perfect Blend of Flavors and Textures
What makes these oat bars so exceptionally good? It’s the harmonious interplay of simple yet powerful ingredients. The quick-cook oats provide a delightful chewiness and a wholesome base. They’re toasted in a mixture of melted butter and brown sugar, which infuses them with a rich, caramelized flavor that’s utterly addictive. This sweet oat mixture forms both the bottom crust and a crunchy topping, ensuring every bite is packed with texture. Nestled between these oat layers is the star combination: melted chocolate chips and a luscious caramel or dulce de leche. This thick, sweet layer binds everything together, delivering a rich, decadent contrast to the earthy oats. It’s a comforting blend that evokes the cozy feelings of autumn, making it an ideal treat for any occasion.
Commonly Asked Questions About No-Bake Oat Bars
Can I use rolled oats instead of quick-cook oats?
While you technically *can* substitute rolled oats for quick-cook oats, it will significantly alter the texture and chewiness of your bars. Quick-cook oats are processed to be thinner and cook faster, resulting in a softer, more cohesive bar that is easier to eat when prepared without baking. Rolled oats, being thicker and less processed, will remain firmer and less soft when not combined with adequate moisture or heat over a longer period. For the best, most tender results in this no-bake recipe, we highly recommend sticking with quick-cook oats to achieve that perfect, melt-in-your-mouth consistency.
Can this recipe be doubled?
Absolutely! If you’re planning to bring these delicious No-Bake Chocolate Caramel Oat Bars to a potluck, a party, or simply wish to have more on hand for your family, doubling the recipe is a fantastic idea. When doubling, you can comfortably use a standard 9×13 inch baking dish. The increased volume will fit perfectly, eliminating the need for an additional pan and making it even more convenient to prepare a larger batch.
Can I make this with canned dulce de leche?
Yes, absolutely! If you don’t have homemade caramel sauce on hand, canned dulce de leche is an excellent and incredibly convenient substitute. It offers a rich, thick, and wonderfully sweet caramel flavor that works perfectly in these bars. In fact, I also have a recipe for homemade dulce de leche that is REALLY EASY and requires only 1 ingredient if you’re feeling adventurous and want to try making it from scratch!
How many people will this recipe serve?
The serving size truly depends on how you choose to cut the bars. For a generous treat, I typically cut them into 3×3 squares, yielding 9 substantial bars. However, you have complete flexibility! You could cut them into 4×4 rows to create 16 smaller squares, perfect for a party or lighter serving. Alternatively, if you want truly indulgent portions, cut them 2×2 for 4 super-sized bars. It’s entirely up to your preference and the occasion. Please note, when I mention 3×3, I mean 3 rows by 3 columns of bars, not a specific measurement of 3 inches by 3 inches.
Can this recipe be made with thinner caramel sauce instead of thicker dulce de leche?
I do not recommend using a thin caramel sauce for this recipe. The consistency of the caramel/chocolate layer is crucial for the bars to set properly. A thinner sauce might not firm up adequately, which would result in a gooey, runny mess rather than a neatly sliceable bar. For best results and to ensure the bars hold their shape, it’s essential to use a thicker caramel, like a homemade caramel sauce that has been allowed to cool and thicken, or a store-bought dulce de leche.
Can I freeze No-Bake Chocolate Caramel Oat Bars?
Yes, these bars freeze beautifully! Once fully set and chilled, cut them into individual squares. Place them on a baking sheet lined with parchment paper and freeze for about an hour, or until firm. Then, transfer the frozen bars to an airtight container or freezer-safe bag, separating layers with parchment paper to prevent sticking. They can be stored in the freezer for up to 2-3 months. To enjoy, simply thaw them at room temperature for about 30 minutes, or enjoy them slightly chilled for a firmer texture.
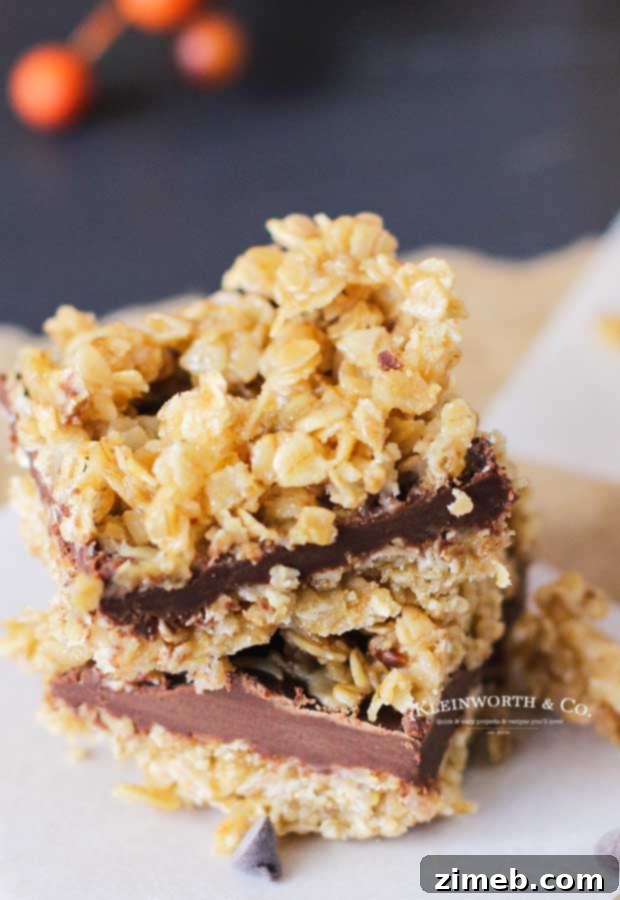
How to Make No-Bake Chocolate Caramel Oat Bars: Step-by-Step
- **Prepare Your Pan:** Lightly grease a square baking pan (a 9×9 inch pan works perfectly for this recipe) or line it with parchment paper, allowing some overhang on the sides for easy removal. Set it aside.
- **Melt the Butter:** In a 2-quart saucepan, melt the butter over medium heat until fully liquid.
- **Infuse with Flavor:** Add the brown sugar and vanilla extract to the melted butter. Stir continuously until the brown sugar has completely dissolved and the mixture is well combined and smooth.
- **Coat the Oats:** Stir in the quick-cook oats, tossing them thoroughly until every oat flake is coated with the buttery brown sugar mixture. Continue cooking on low heat for 2-4 minutes, stirring occasionally, allowing the oats to absorb the flavors and soften slightly.
- **Form the Base Layer:** Remove the oat mixture from the heat. Press about three-quarters (3/4) of the coated oats firmly into the bottom of your prepared pan, ensuring an even, compact layer. Set this aside.
- **Prepare Chocolate & Caramel Layer:** In a double boiler (or a heatproof bowl set over a pot of simmering water), combine the chocolate chips and caramel (or dulce de leche). Melt them together, stirring frequently, until the mixture is smooth, creamy, and well combined with a liquid consistency.
- **Layer the Decadence:** Carefully remove the melted chocolate and caramel mixture from the heat. Pour it evenly over the pressed oat base in the pan, spreading it gently with a spatula to cover the entire surface.
- **Add the Topping:** Take the remaining one-quarter (1/4) of the coated oats and sprinkle them generously over the top of the chocolate and caramel layer. Don’t worry if they don’t cover completely; a rustic, textured topping is part of their charm.
- **Chill to Perfection:** Place the pan in the refrigerator and allow it to cool for several hours (at least 2-3 hours) until the bars are completely firm. This is a crucial step for achieving the perfect sliceable texture.
- **Serve and Enjoy:** Before cutting and serving, bring the bars to room temperature for about 10-15 minutes. This makes them easier to slice and enhances their flavor and texture.
- **Storage:** Store any leftover No-Bake Chocolate Caramel Oat Bars in an airtight container at room temperature for up to 4 days, or in the refrigerator for longer freshness.
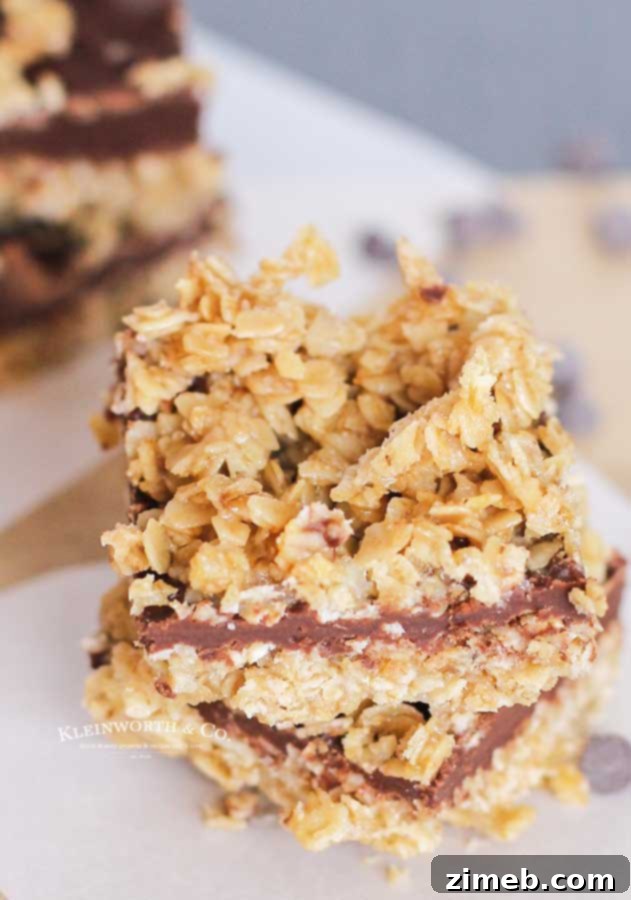
Essential Ingredients for Your No-Bake Chocolate Caramel Oat Bars
Making these incredible oat bars is surprisingly straightforward, and you likely already have many of the necessary ingredients in your pantry. Even if you’re new to the world of no-bake treats, there’s no need to be intimidated! These bars are so forgiving and incredibly delicious. Here’s a concise list of the key ingredients you’ll need to create this delightful dessert:
- Butter (unsalted is generally preferred for baking, but salted works too)
- Packed brown sugar (light or dark, depending on desired molasses flavor)
- Quick-cook oats (essential for the right texture in a no-bake recipe)
- Vanilla extract (enhances overall flavor)
- Semi-sweet or milk chocolate chips (choose your favorite type!)
- Homemade caramel or dulce de leche (thick, rich consistency is key)
Recommended Tools for Crafting Your No-Bake Chocolate Caramel Oat Bars
To ensure a smooth and enjoyable process, having the right tools on hand can make all the difference. While this recipe is incredibly simple, a few basic kitchen essentials will help you achieve perfect results every time. These are some of my favorite items that I find indispensable when making these delicious dessert bars:
- Light Brown Sugar
- Quick Oats
- Vanilla Extract
- Semi-Sweet Chocolate Chips
- Dulce de Leche
- Metal Baking Pan (a sturdy 9×9 inch pan is ideal)
- Measuring Cups
- Wet Ingredient Measuring Cup
- Measuring Spoons
- A sturdy spatula or spoon for mixing and pressing.
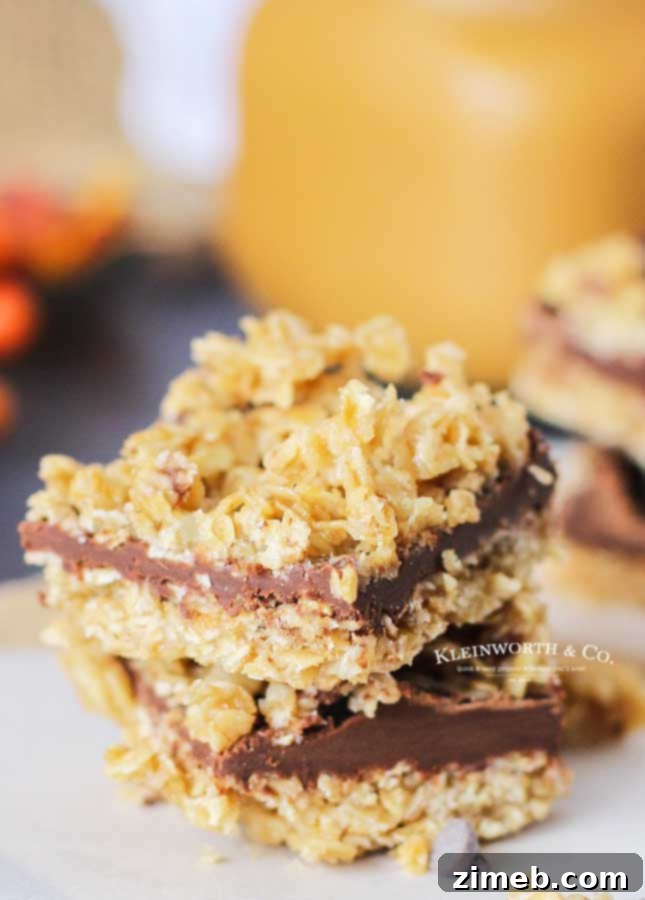
All this yumminess makes for such a perfect dessert, snack, or delightful addition to any gathering!
If you love this no-bake oat bar recipe, you’re going to adore these other quick and easy dessert recipes too. Each link below leads to a simple, printable recipe for even more sweet inspiration!
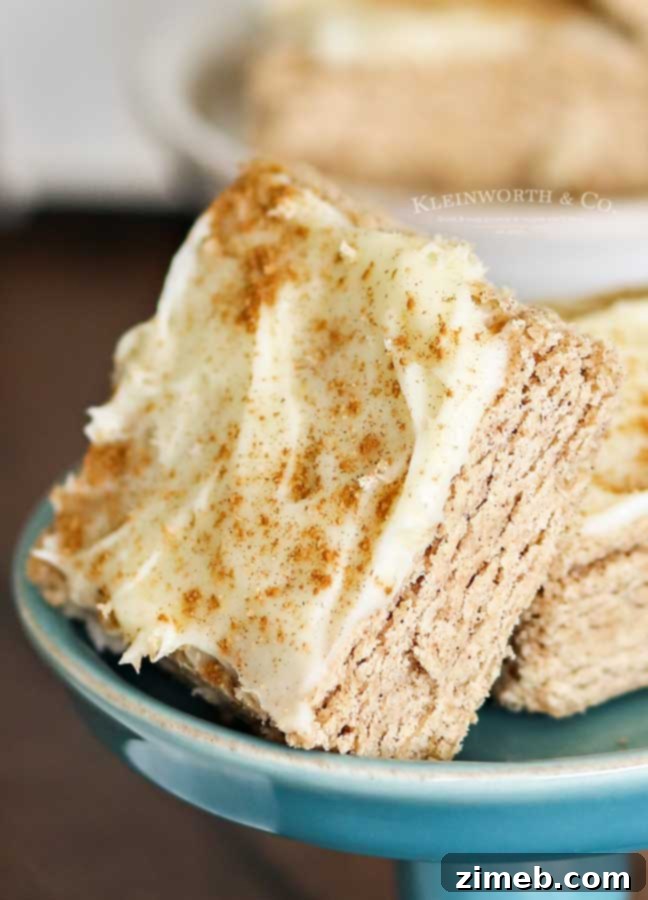
Cinnamon Roll Sugar Cookie Bars
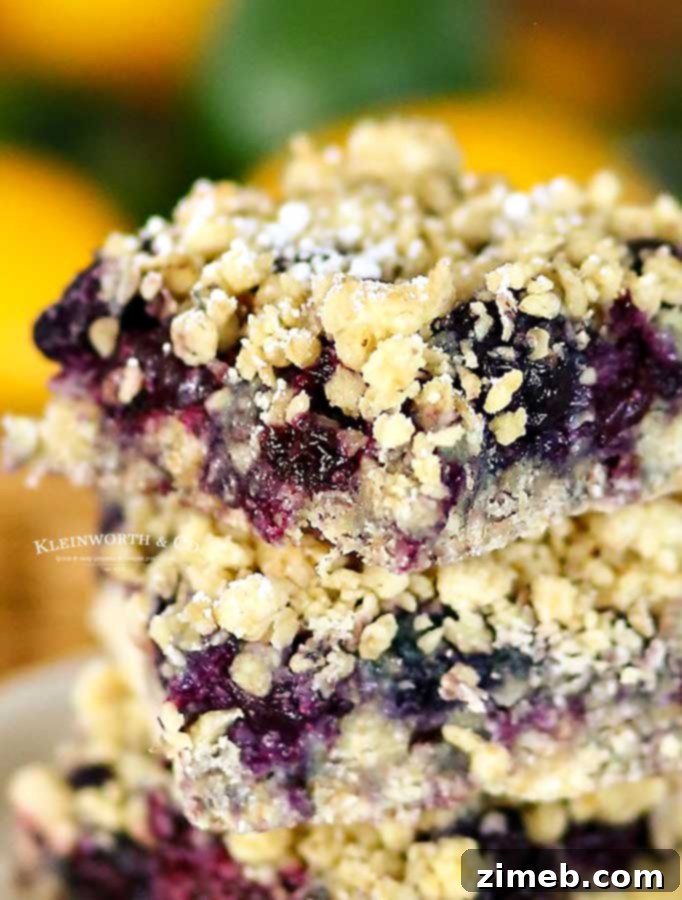
Blueberry Crumble Bars
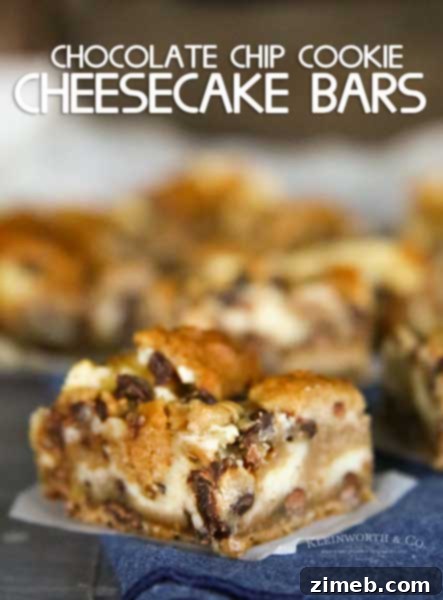
Chocolate Chip Cookie Cheesecake Bars
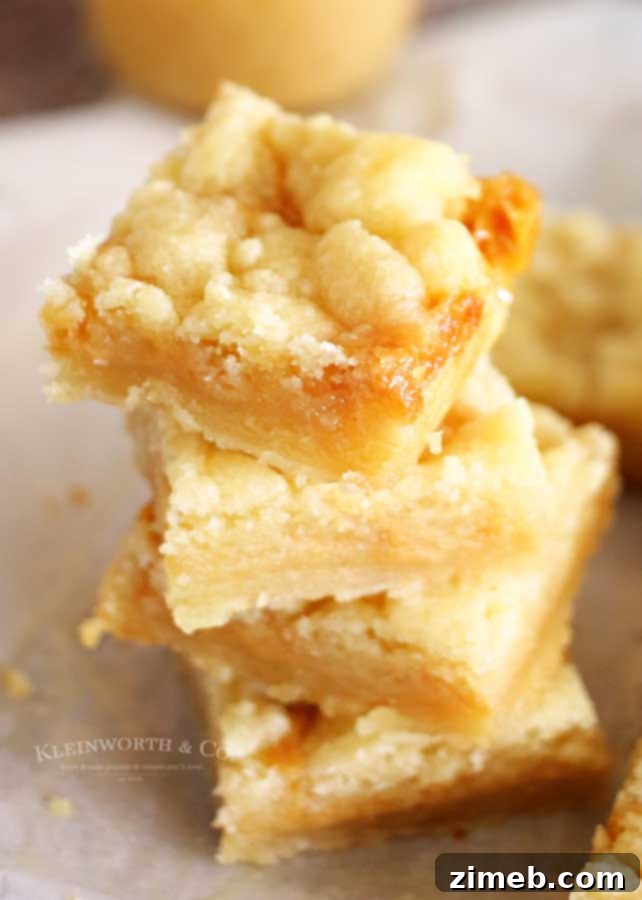
Salted Caramel Butter Bars
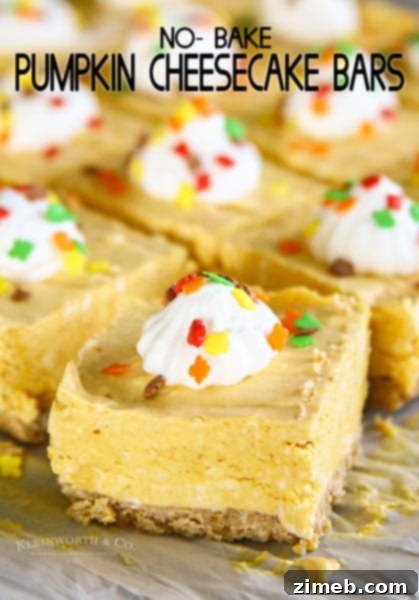
No-Bake Pumpkin Cheesecake Bars
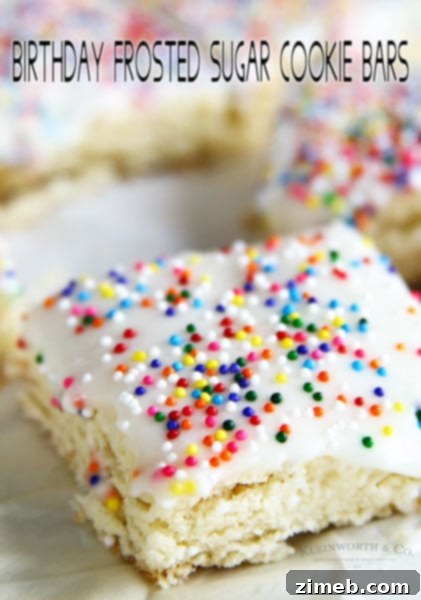
Birthday Frosted Sugar Cookie Bars
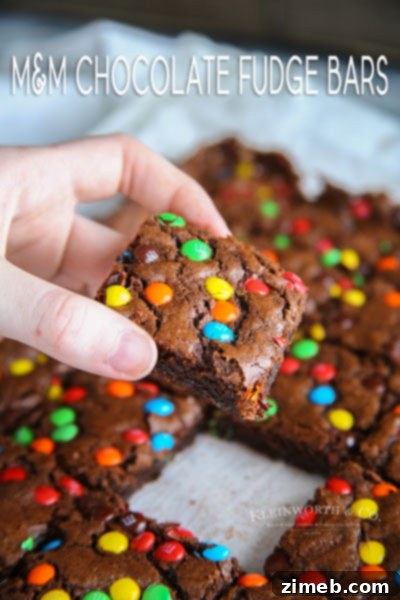
M&M Chocolate Fudge Bars
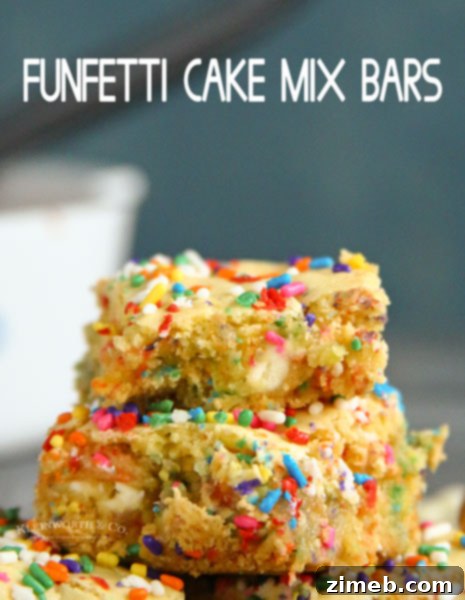
Funfetti Cake Mix Bars
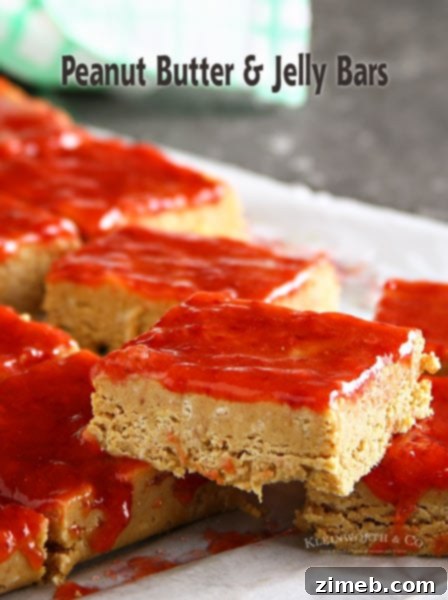
Peanut Butter and Jelly Bars
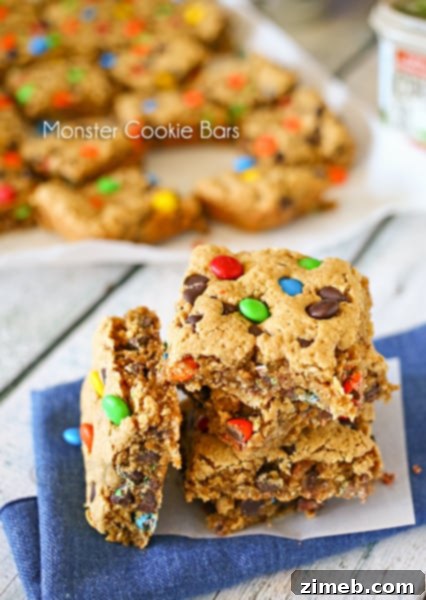
Monster Cookie Bars
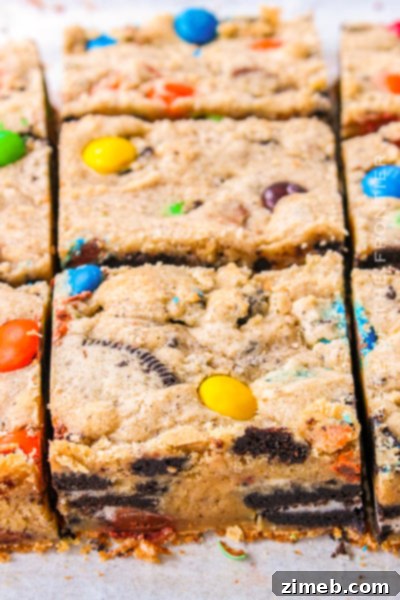
M&M Cookie Bars
Your New Favorite Recipe for No-Bake Chocolate Oat Bars
I genuinely hope you love this recipe for no-bake chocolate oat bars as much as I do. It’s a delightful indulgence that brings joy with minimal effort. If you try it and fall in love, please consider leaving a five-star review – your feedback is incredibly helpful! And don’t forget to help me share this delicious creation with others by sharing it on Facebook and Pinterest!
CONNECT WITH KLEINWORTH & CO!
Be sure to follow me on my social media channels, so you never miss a delicious post or new recipe!
FB, Pinterest, IG, Email Subscription
No Bake Chocolate Caramel Oat Bars Recipe Details
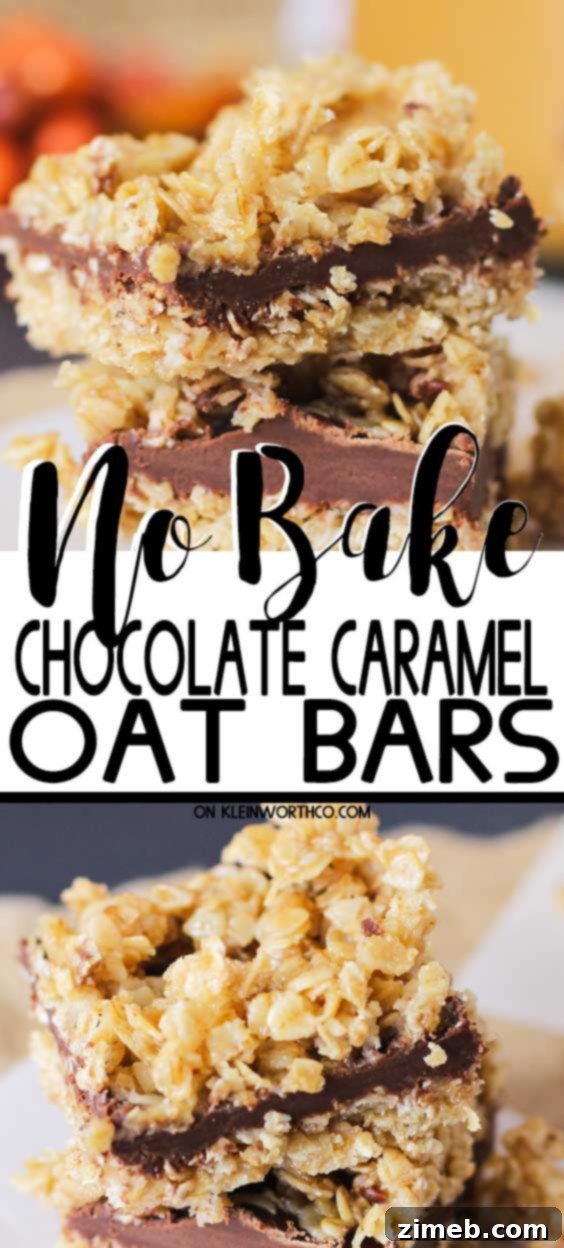
No-Bake Chocolate Caramel Oat Bars are a perfect fall treat recipe made with chocolate, caramel & butter & brown sugar covered oats. Simple & quick to make, it’s a family favorite for sure.
Course: Dessert
Servings: 9 squares (adjustable)
Prep Time: 15 mins
Chill Time: 1 hr (or more for firmest set)
Ingredients
- 1 cup butter (2 sticks)
- 1/2 cup packed brown sugar
- 3 cups quick cook oats
- 1 tsp vanilla extract
- 1 cup semi-sweet or milk chocolate chips
- 1/2 cup homemade caramel or dulce de leche (thick consistency)
Instructions
- Grease a square baking pan (e.g., 9×9 inch) or line with parchment paper, leaving an overhang for easy removal. Set aside.
- Melt butter in a 2-quart saucepan over medium heat.
- Add brown sugar and vanilla extract to the melted butter. Stir continuously until the brown sugar is fully melted and combined.
- Stir in the quick cook oats, tossing them until thoroughly coated. Cook on low heat for 2-4 minutes, stirring occasionally.
- Remove from heat. Press approximately 3/4 of the oat mixture evenly into the bottom of the prepared pan, forming a compact base. Set aside.
- In a double boiler or a heatproof bowl set over simmering water, melt the chocolate chips and caramel (or dulce de leche). Stir frequently until the mixture becomes a creamy, liquid consistency and is well combined.
- Remove the chocolate and caramel mixture from heat. Pour it directly over the oat base in the pan, spreading it out to cover completely.
- Sprinkle the remaining oat mixture evenly on top of the chocolate/caramel layer. The oats will create a rustic, textured topping.
- Place the pan in the refrigerator and allow it to cool for several hours (at least 1-2 hours) to firm up completely.
- Before cutting and serving, bring the bars to room temperature for about 10-15 minutes for optimal texture and ease of slicing.
- Store any remaining bars in an airtight container at room temperature for up to 4 days. For extended freshness, store in the refrigerator.
Nutritional information for the recipe is provided as a courtesy and is approximate. Please double-check with your own dietary calculator for the best accuracy. We at Yummi Haus cannot guarantee the accuracy of the nutritional information given for any recipe on this site.
Love this recipe?
Follow @KleinworthCo for even more tasty recipes!