
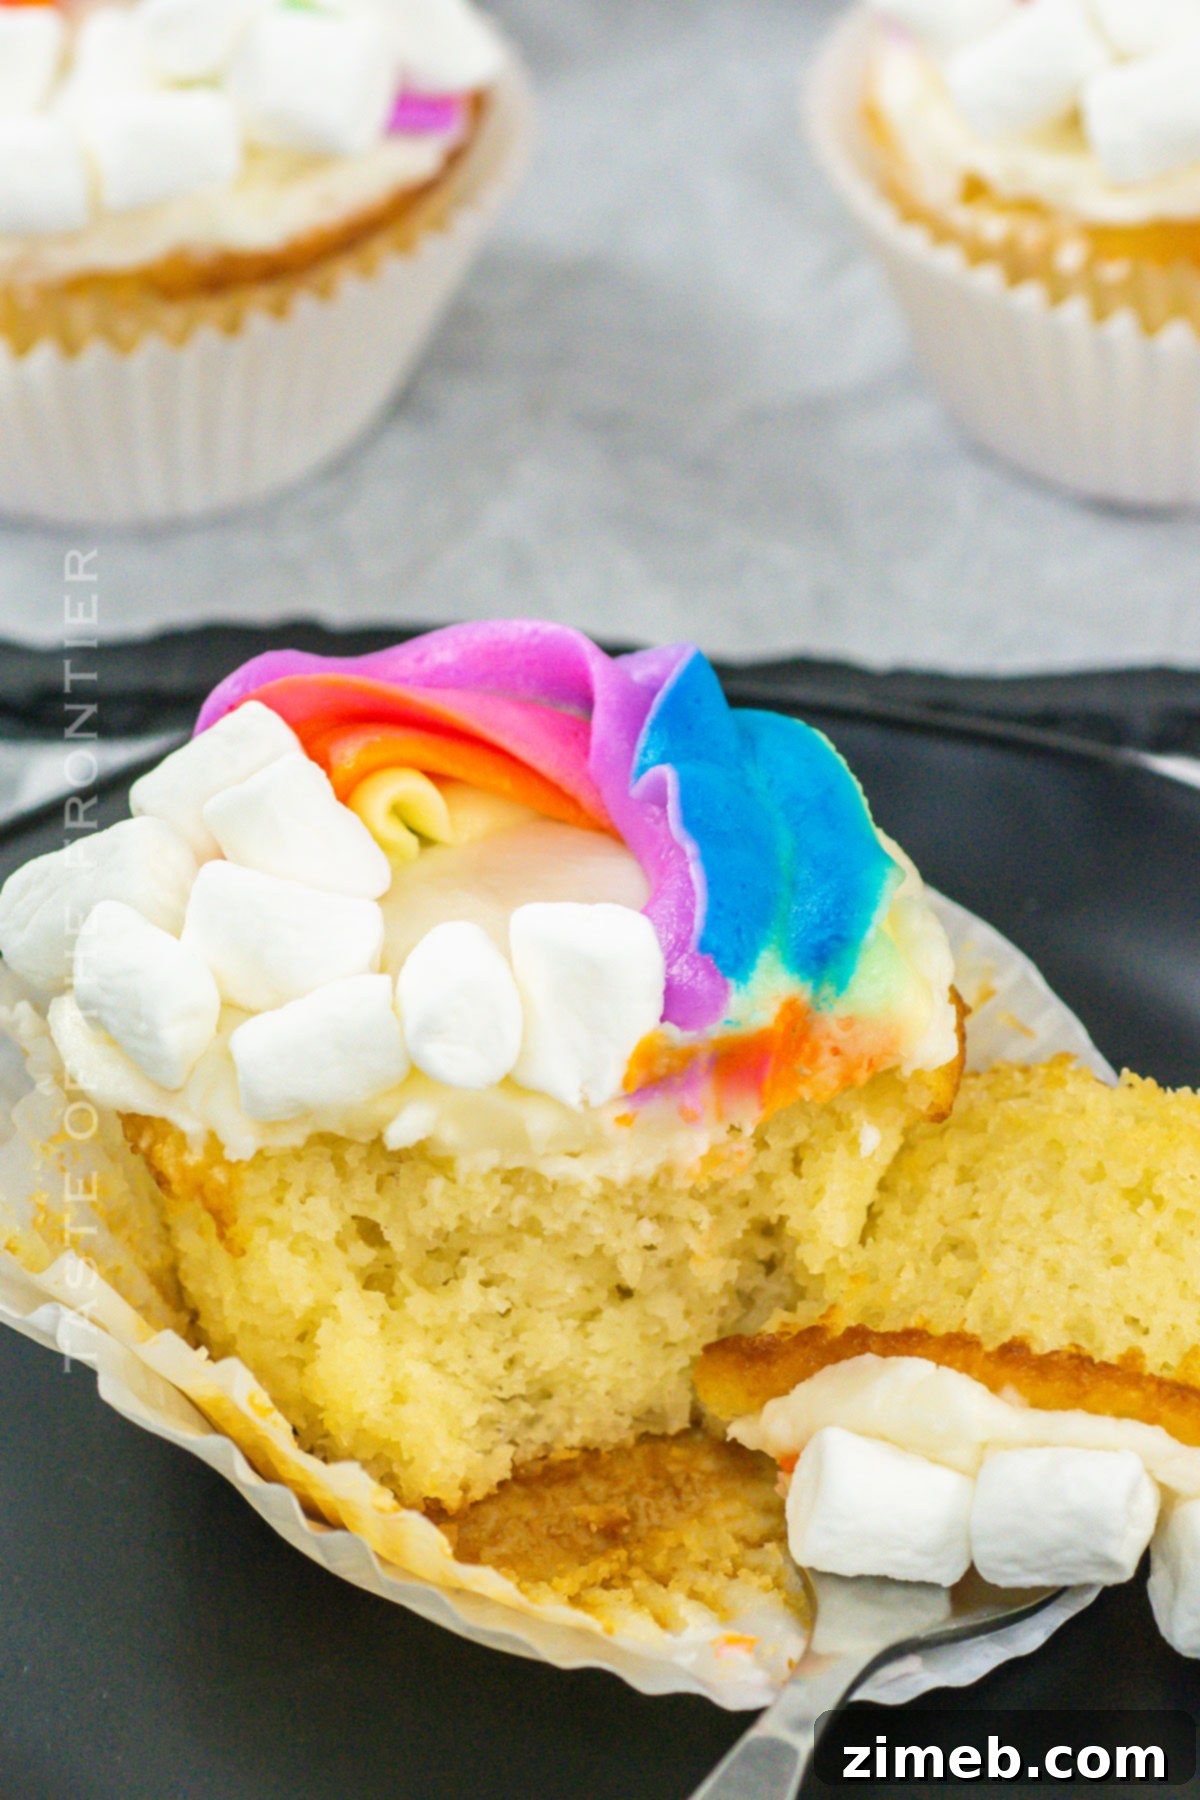
Get ready to infuse your day with a spectrum of happiness! These Rainbow Cupcakes are more than just a dessert; they’re a vibrant celebration, perfect for adding a pop of color and joy to any occasion. Imagine biting into a wonderfully moist and fluffy cupcake, revealing a swirl of sweet, homemade rainbow frosting that promises a delightful surprise with every taste. Whether you’re planning a lively birthday party, celebrating St. Patrick’s Day, or simply looking to brighten an ordinary afternoon, these visually stunning and utterly delicious treats are guaranteed to bring smiles and spark wonder.
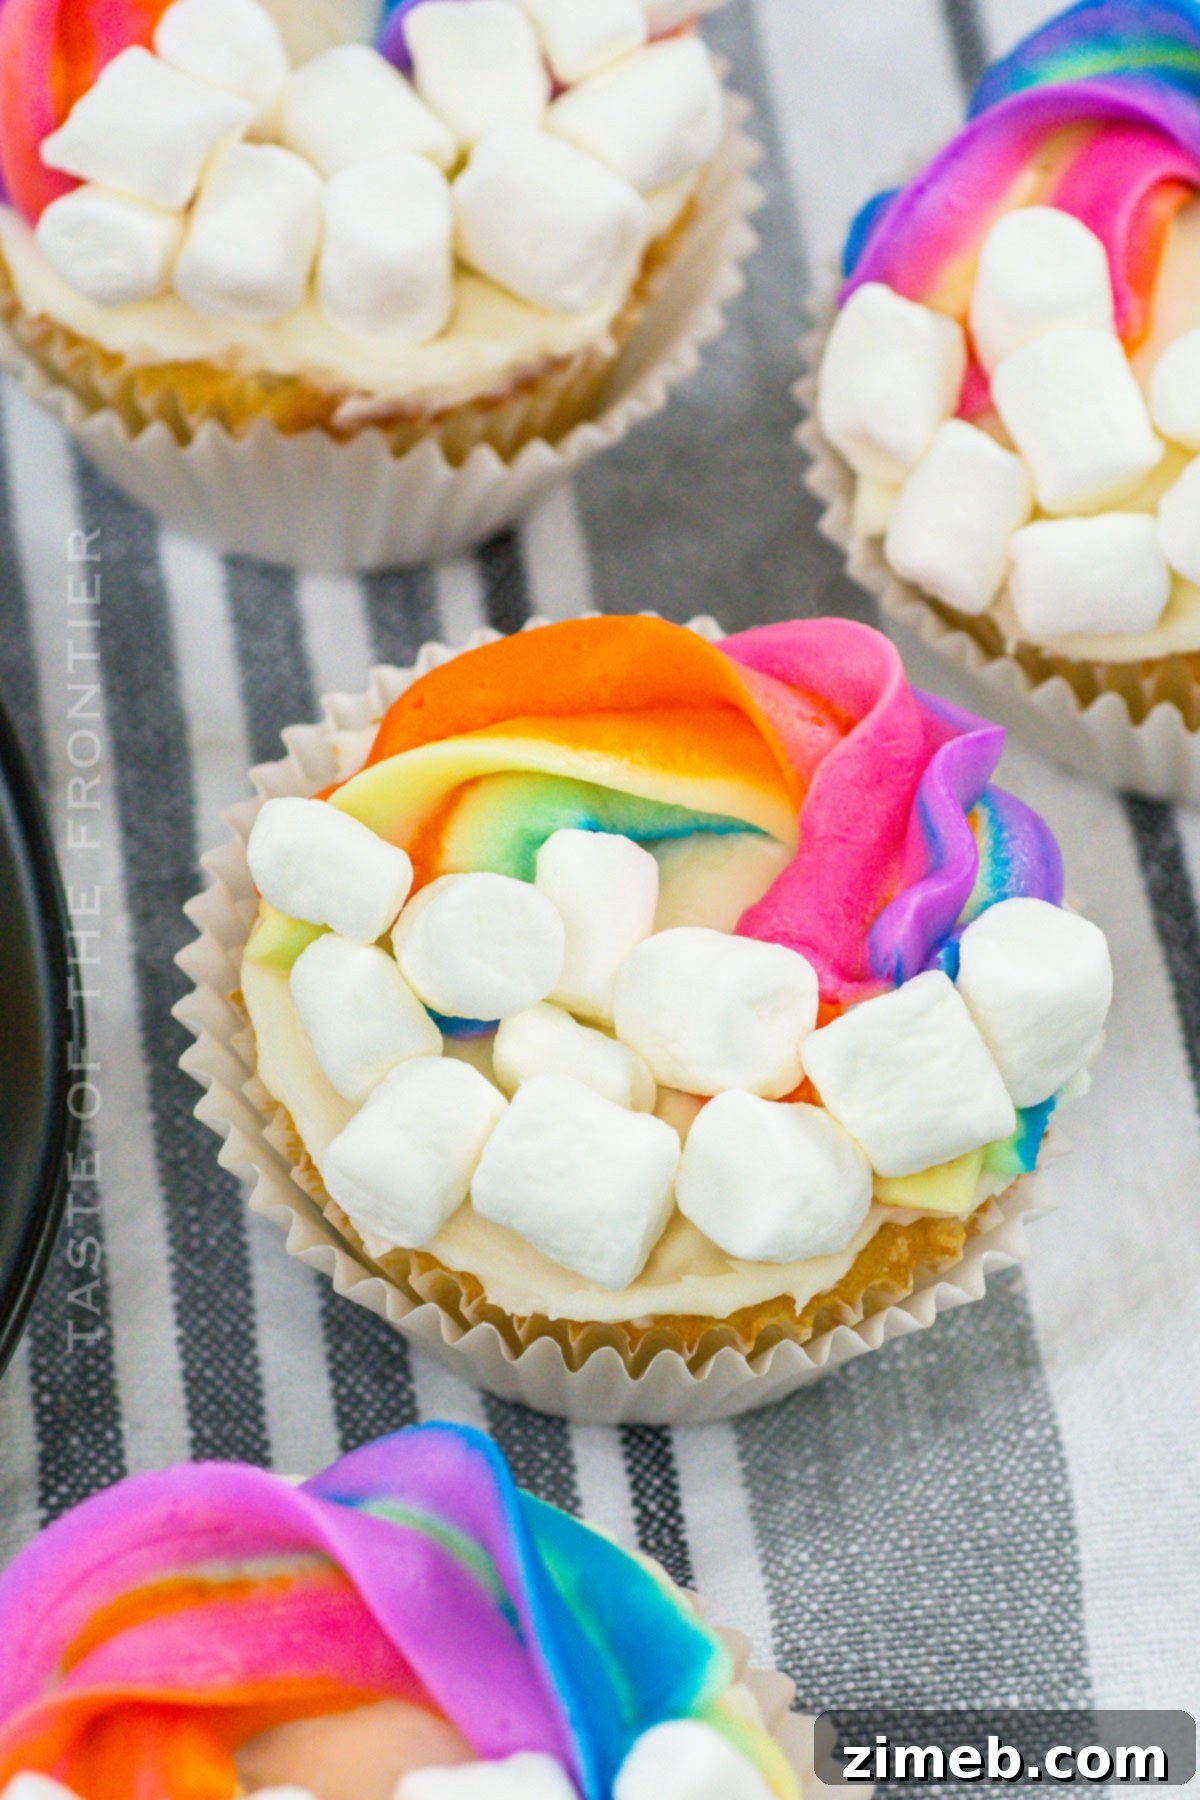
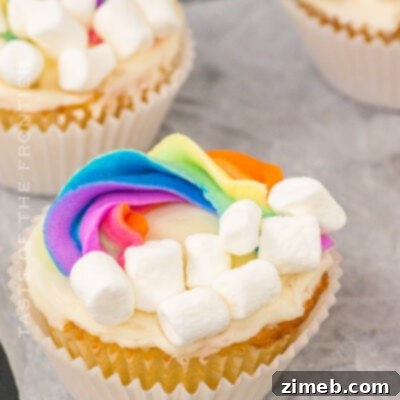
There’s a special kind of magic that comes with serving Rainbow Cupcakes. Each treat is a miniature work of art, featuring a tender, flavorful cupcake base crowned with a fluffy cloud of multi-colored buttercream. Adorable mini marshmallow “clouds” complete the whimsical look, transforming these cupcakes into edible rainbows. The vibrant hues are not just for show; they encapsulate the fun and excitement of special gatherings, making these cupcakes an instant hit with both children and adults. Prepare to create unforgettable memories and spread pure joy with this charming recipe.
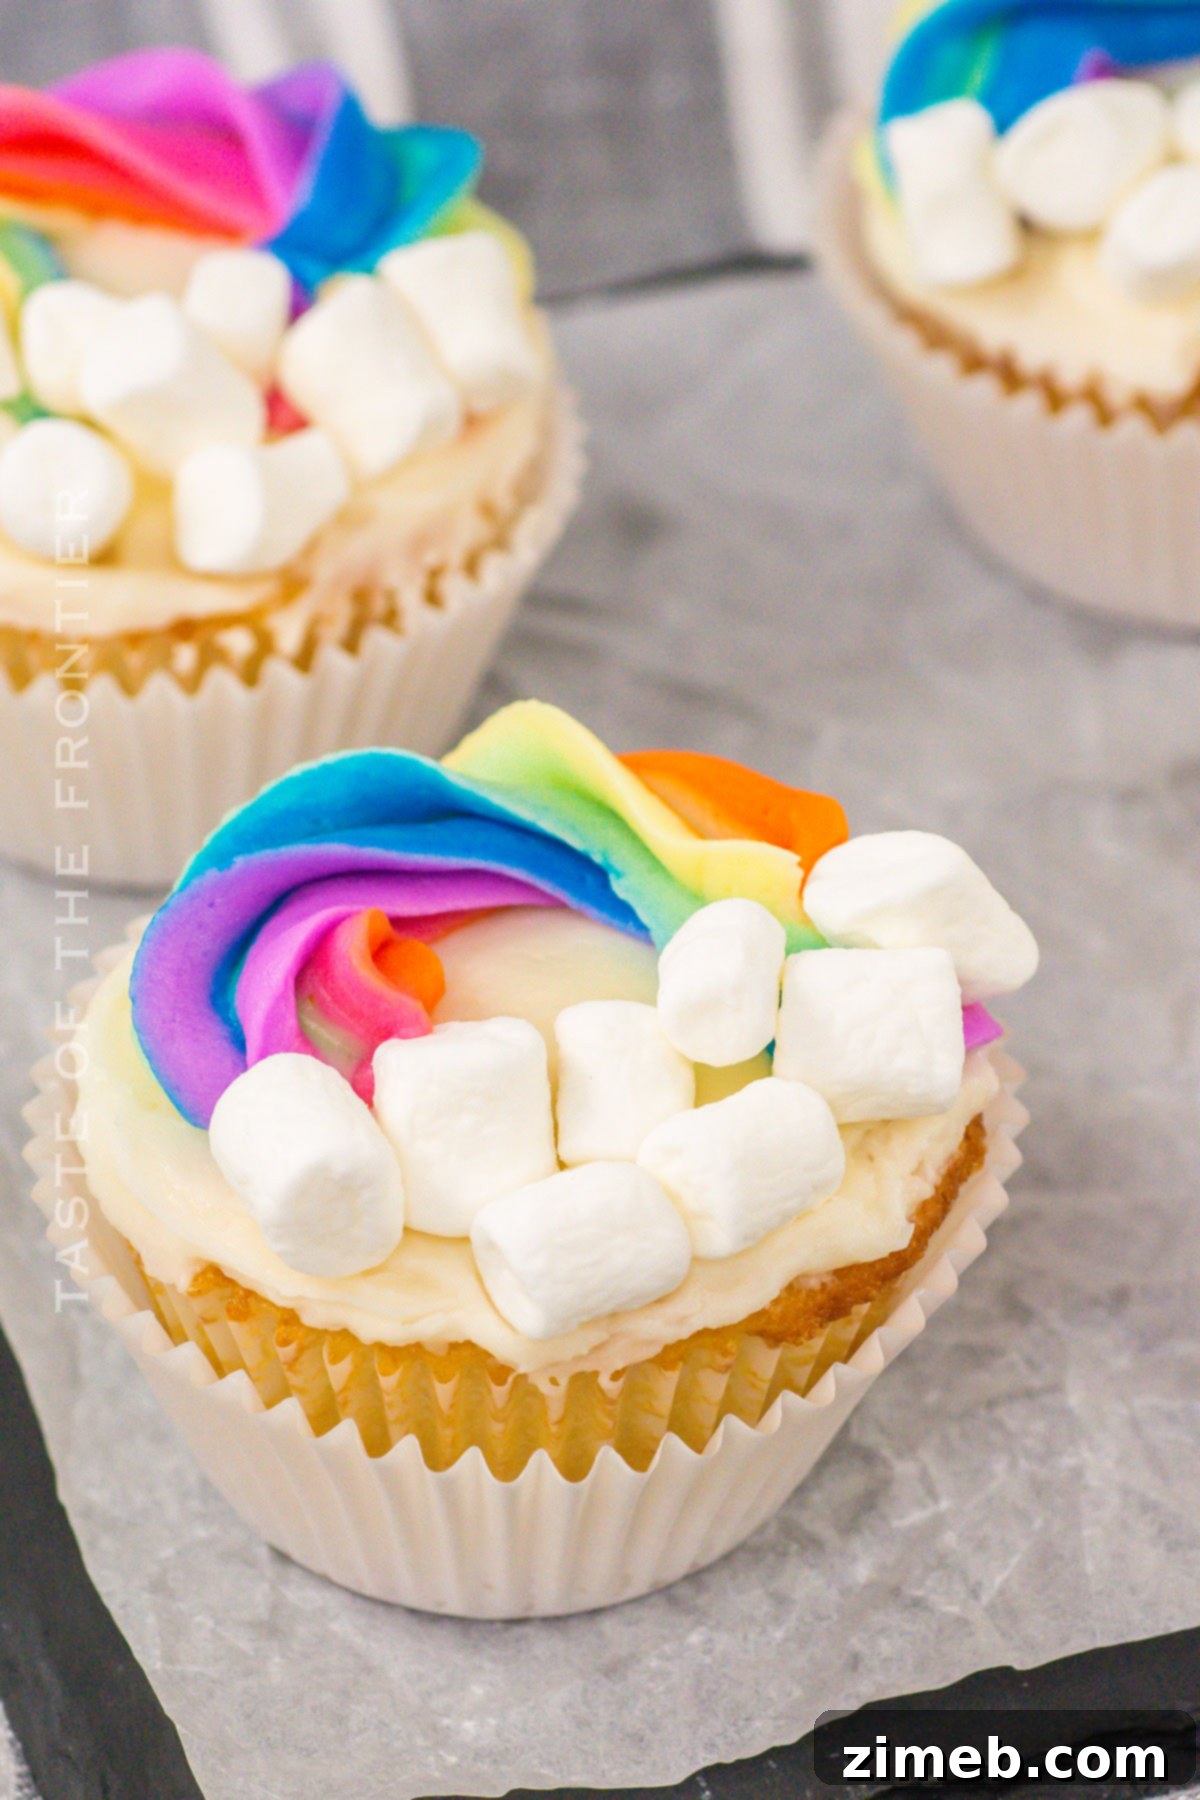
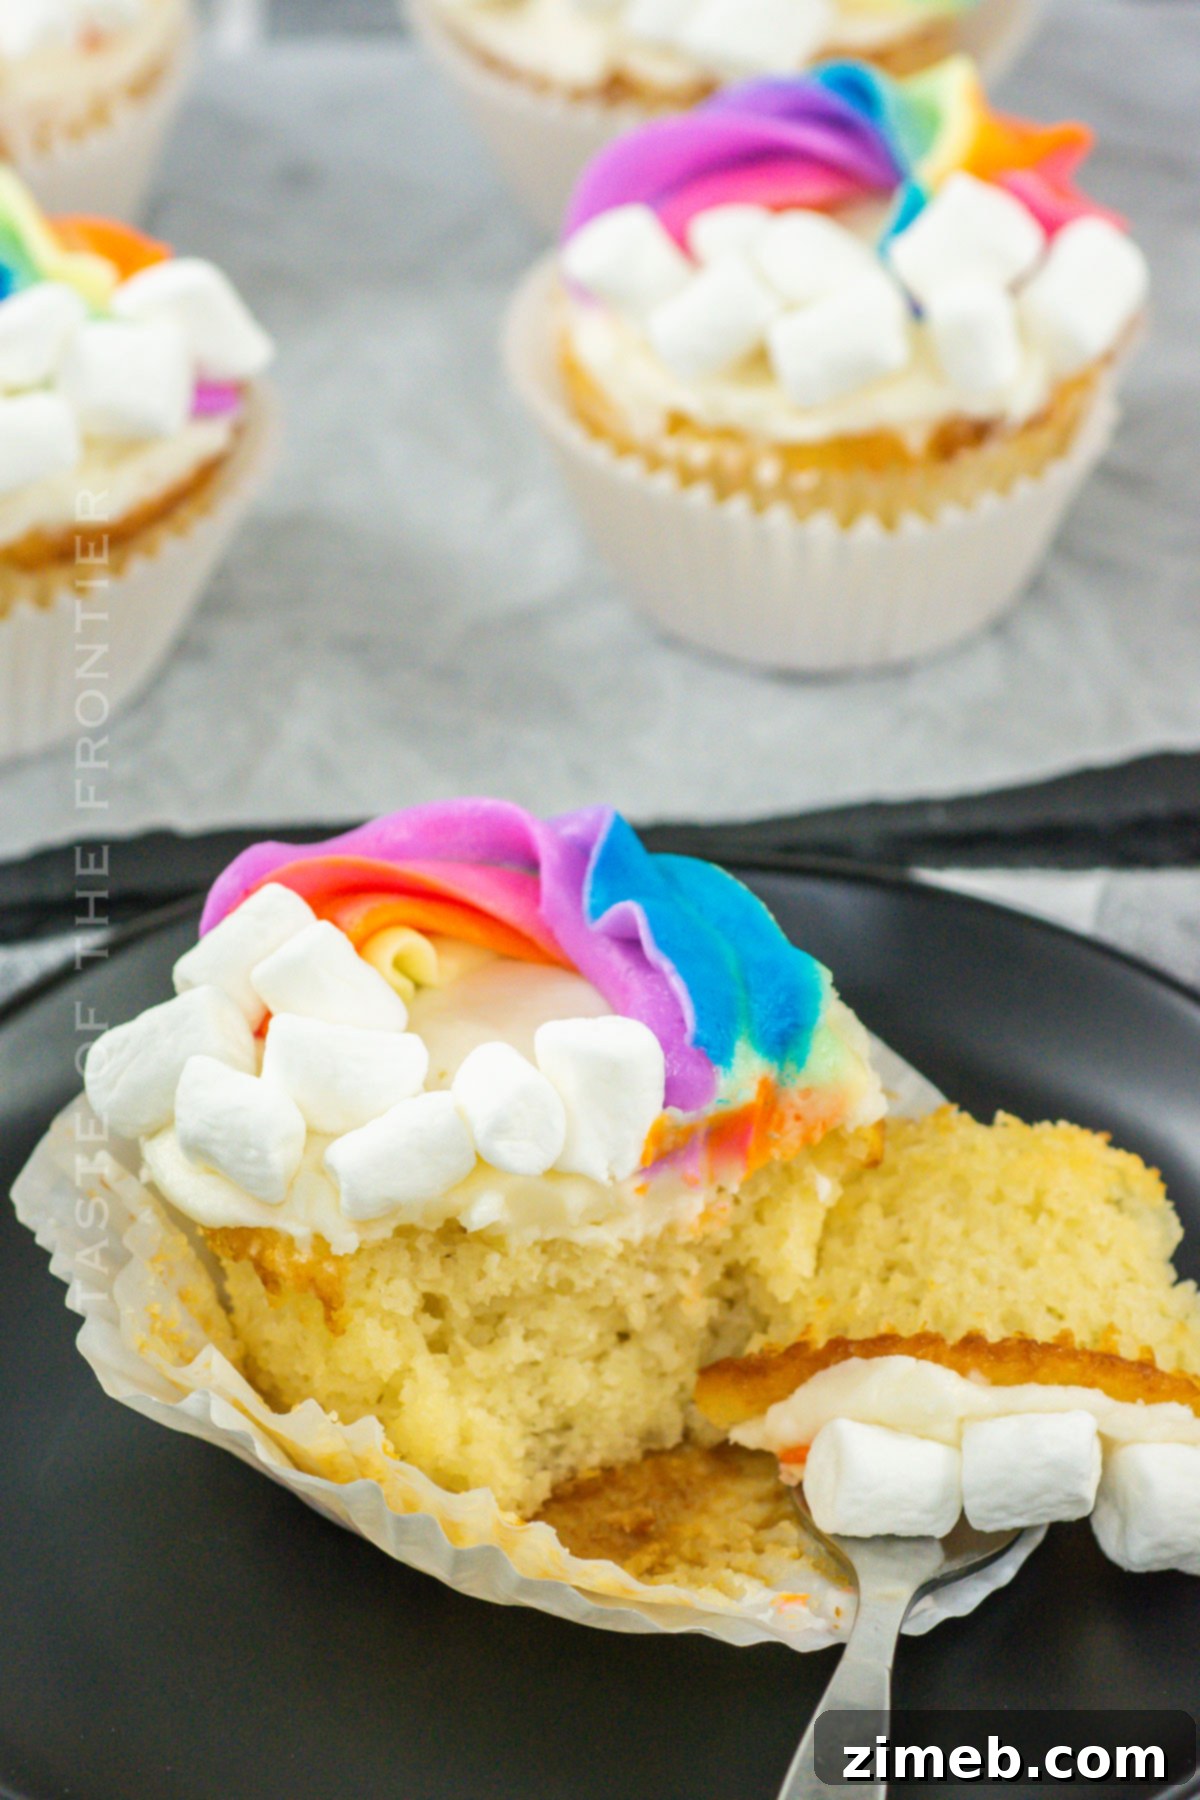
These Rainbow Cupcakes offer a delightful experience from start to finish. From the satisfying process of creating the colorful batter and swirling the vibrant frosting to the delighted faces of those enjoying them, every step is infused with happiness. They embody the essence of celebration, making them ideal for birthdays, baby showers, summer picnics, or any event that calls for a touch of cheer. Don’t wait for a grand occasion; let these enchanting cupcakes turn any moment into a sweet, memorable party. After all, isn’t there always a sweet surprise waiting at the end of every rainbow?
Common Questions About Creating Perfect Rainbow Cupcakes
How do I ensure my cupcakes are wonderfully moist and fluffy?
Achieving that coveted moist and fluffy texture is key to an exceptional cupcake. The secret lies in a few crucial details: always use room temperature ingredients, especially eggs and butter. This allows them to emulsify properly, creating a smoother batter and a finer crumb. Secondly, avoid overmixing the batter once the dry ingredients have been incorporated. Overmixing develops gluten, leading to a tougher, denser cupcake. Mix just until combined for the perfect light and airy result. These small steps make a huge difference in your baking success!
Can I use liquid food coloring instead of gel for the frosting?
While liquid food coloring can be used, we highly recommend gel food coloring for optimal vibrancy without compromising the frosting’s consistency. Gel colors are concentrated, meaning you’ll achieve brilliant, vivid hues with only a small amount, preventing your frosting from becoming too thin or runny. If you opt for liquid food coloring, you might need a significantly larger quantity to reach your desired brightness, which could alter the texture. The choice depends on how intensely colored you want your rainbow cupcakes to be.
What can I use if I don’t have a piping bag for frosting?
No piping bag? No problem! A simple ziplock bag makes an excellent DIY alternative. Just spoon your frosting into one corner, snip off a small piece of the tip, and you’re ready to pipe. For a more rustic look, you can also apply the frosting with a butter knife or an offset spatula. Spread the frosting evenly, then use the tip of the knife or spatula to create charming swirls and peaks. Don’t let a lack of specialized equipment stop your creative baking journey; sometimes, the best solutions are the ones you already have on hand!
Proper Storage for Freshness
Baking delicious cupcake recipes is always rewarding, especially when they stay fresh! Proper storage ensures your beautiful Rainbow Cupcakes maintain their moist texture and vibrant appeal for as long as possible.
Refrigerator: Store frosted Rainbow Cupcakes in an airtight container in the refrigerator for up to 3 days. This helps to preserve the freshness of the frosting and the cake itself. For best flavor, allow them to come to room temperature for about 15-30 minutes before serving.
Freezer: If you’re planning ahead or have leftovers, unfrosted cupcakes can be frozen. Place them in a single layer in a freezer-safe container, ensuring they are completely cooled beforehand to prevent condensation. They will keep well for up to 3 months. When you’re ready to enjoy them, thaw the cupcakes at room temperature, then frost and decorate as desired. Freezing is a fantastic way to enjoy your homemade treats at a later date without sacrificing quality.
Expert Tips for Baking Your Best Rainbow Cupcakes
To ensure your Rainbow Cupcakes turn out picture-perfect and incredibly delicious every time, keep these expert tips in mind:
- Even Batter Distribution: For uniform cupcakes that bake consistently, use a cookie scoop to fill each muffin cup with batter. This prevents some cupcakes from being undercooked or overcooked, ensuring a batch of perfectly baked treats.
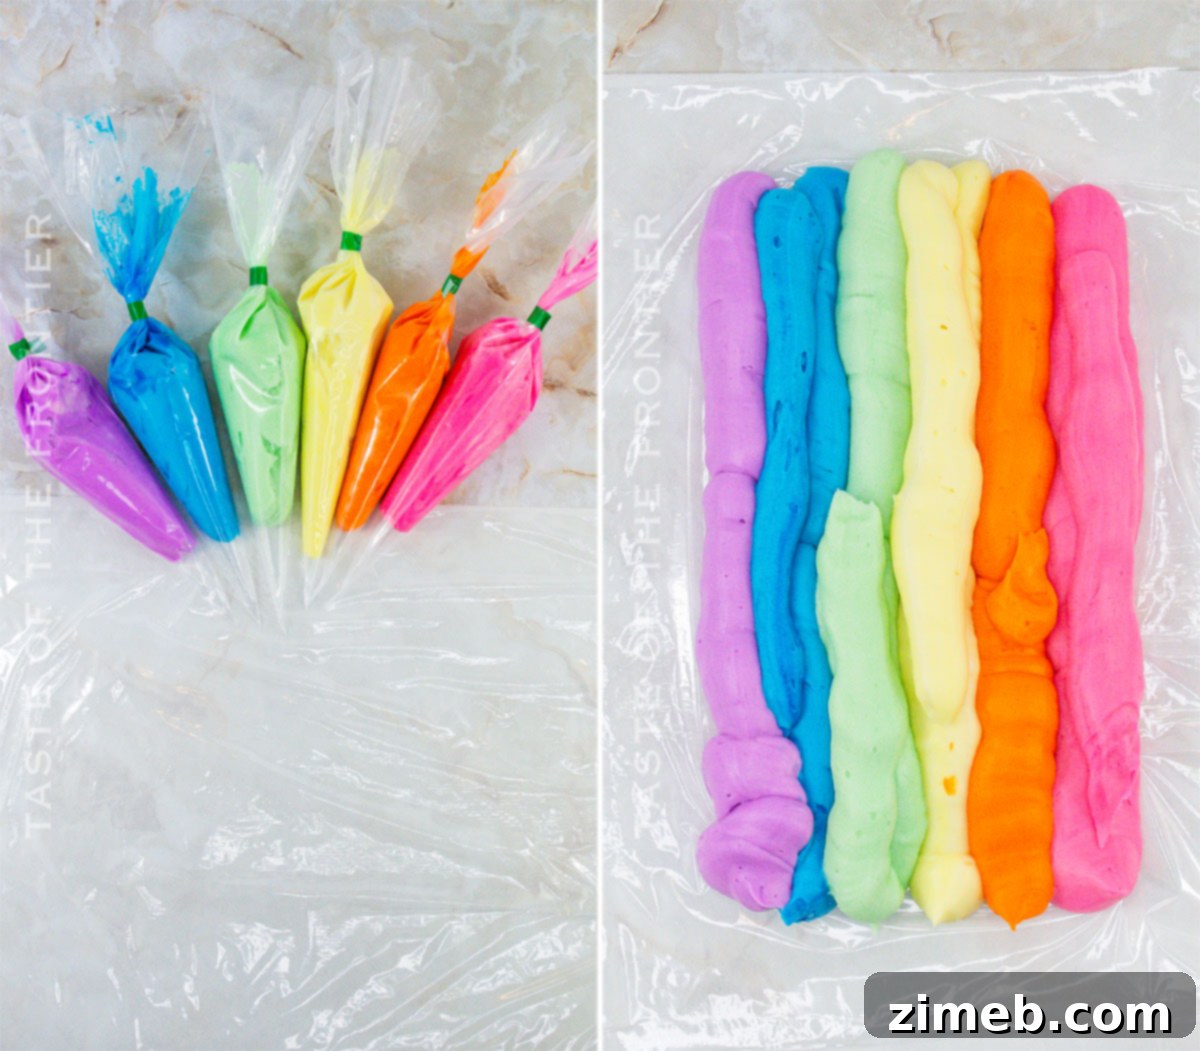
- Frosting Color Integrity: When preparing the rainbow frosting, it’s crucial to roll each colored strip of frosting tightly in plastic wrap. This technique prevents the colors from bleeding or mixing prematurely, allowing for distinct, vibrant stripes when piped.
- Piping Practice: Before piping directly onto your cooled cupcakes, practice your rainbow swirl technique on a baking sheet or a piece of parchment paper. This helps you get a feel for the consistency of the frosting and perfect your swirl, ensuring each cupcake looks professionally decorated.
- Maintain Bright Colors: To keep your rainbow frosting colors bright and distinct as you decorate, make sure to clean your butter knife or offset spatula between frosting each cupcake. This simple step prevents color transfer and keeps your palette crisp.
- Scaling the Recipe: If you’re baking for a larger crowd, remember that you can easily double or triple the recipe using the handy scaling feature in the recipe card below. This ensures you have plenty of vibrant cupcakes for everyone to enjoy!
Gather Your Vibrant Ingredients
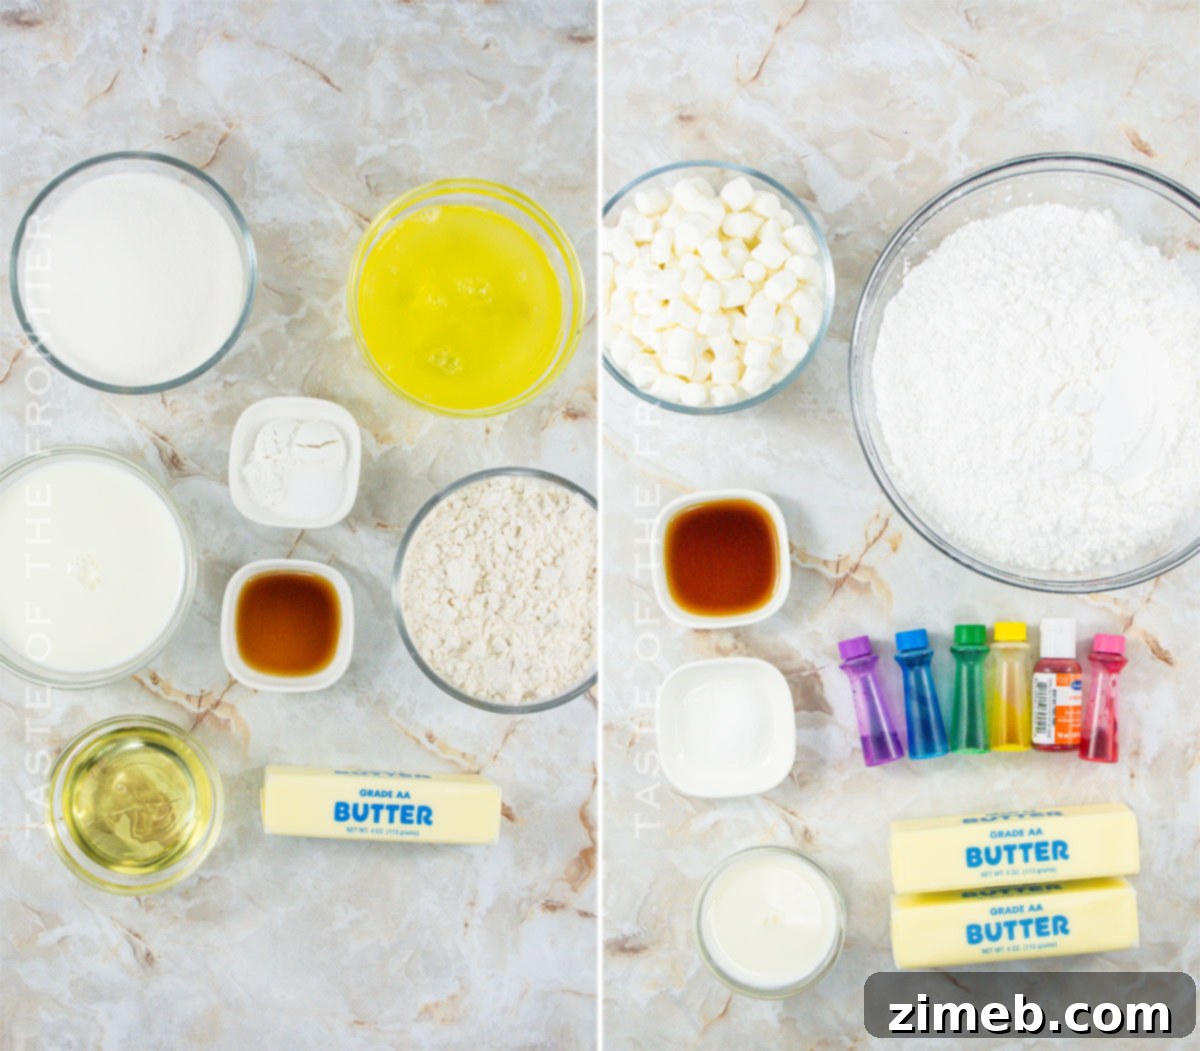
Creating these stunning Rainbow Cupcakes begins with a selection of quality ingredients. Pay special attention to the food coloring – gel colors are truly my favorite because they make it incredibly easy to achieve those vibrant, eye-catching swirls of rainbow frosting you’ll absolutely adore!
- Granulated sugar
- Unsalted butter (softened for both cupcakes and frosting)
- Egg whites (for a light and airy cupcake texture)
- Cooking oil (such as canola or vegetable, adds moisture)
- Vanilla extract (for a classic, sweet flavor profile)
- Milk (adds richness and helps create a tender crumb)
- All-purpose flour
- Baking powder (essential for lift and fluffiness)
- Salt (enhances all other flavors)
- Confectioner’s sugar (the base for our smooth, sweet frosting)
- Food coloring (gel recommended: purple, blue, pink, orange, yellow, green)
- Mini marshmallows (for those adorable cloud toppings)
Simple Steps to Make Your Own Rainbow Cupcakes
Don’t be intimidated by the beautiful outcome – making these Rainbow Cupcakes is a straightforward and enjoyable process. I’ve broken it down into easy, manageable steps, and I’ll walk you through everything to ensure your baking experience is as delightful as the finished product!
Creating the Moist and Fluffy Cupcake Base
- Preheat your oven: Set your oven to 350 degrees Fahrenheit (175°C) to ensure it’s at the correct temperature before baking.
- Prepare muffin tins: Line your muffin tins with festive cupcake liners and set them aside. This makes for easy cleanup and presentation.
- Cream butter and sugar: In the bowl of a stand mixer fitted with the paddle attachment, combine the granulated sugar and softened unsalted butter. Beat on medium speed until the mixture is light, fluffy, and smooth, scraping down the sides of the bowl as needed. This process incorporates air for a tender cupcake.
- Add wet ingredients: Incorporate the egg whites, cooking oil, and vanilla extract. Mix on low speed until well combined. The mixture may look slightly curdled at this stage, which is perfectly normal due to the different fat and liquid components.
- Alternate with milk: Gradually beat in the milk until just combined. Continue mixing on low speed, ensuring everything is well incorporated without overworking the batter.
- Introduce dry ingredients: Sift together the all-purpose flour, baking powder, and salt in a separate bowl. Gradually add the dry ingredients to the wet ingredients in the mixer. Mix on low speed *just* until the flour streaks disappear. Stop the machine, scrape down the sides and bottom of the bowl thoroughly, and then mix briefly again to ensure no dry spots remain. Avoid overmixing to keep your cupcakes tender.
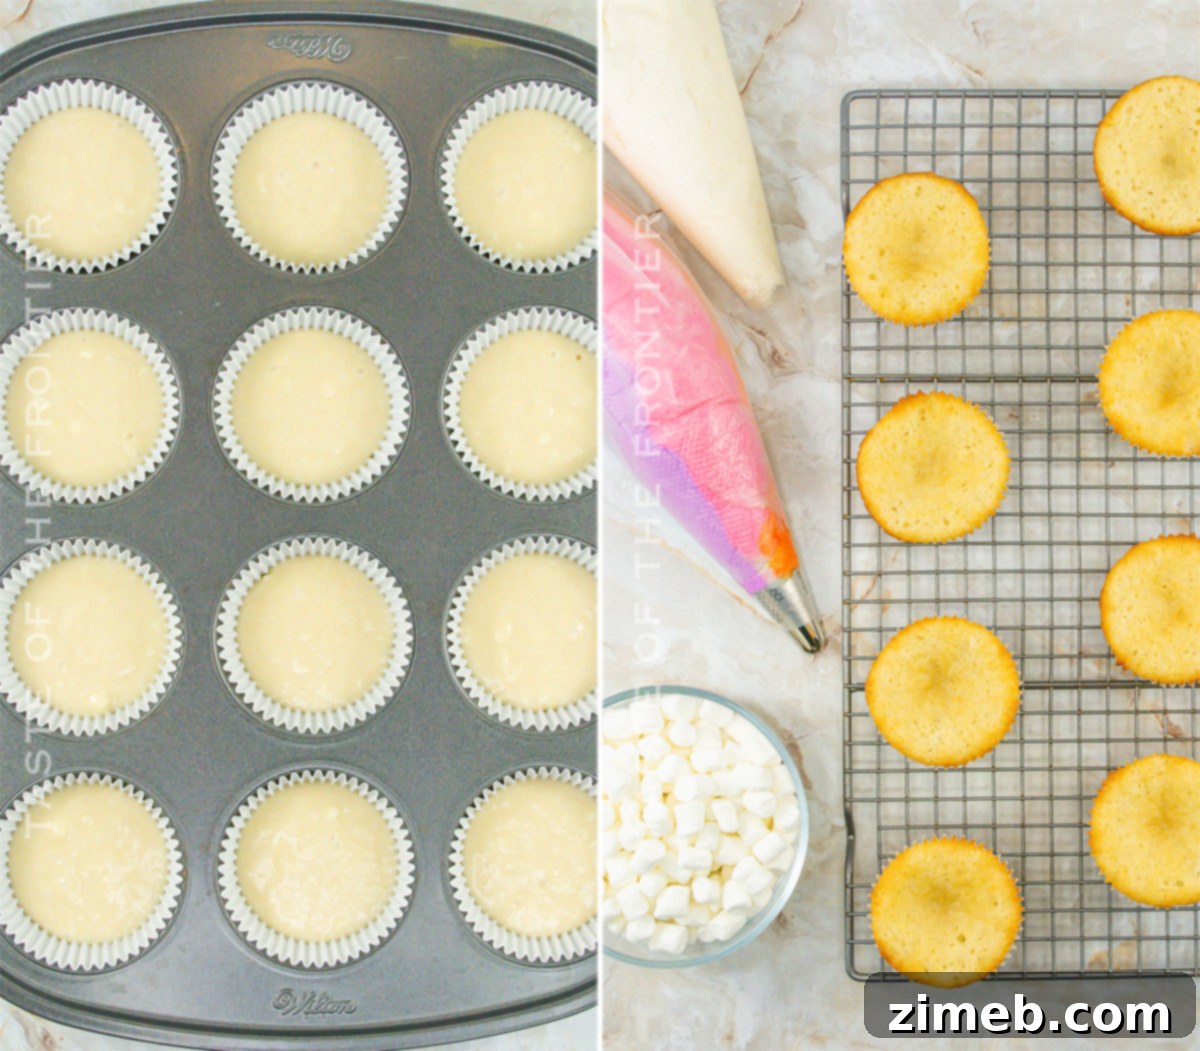
- Fill cupcake liners: Using a cookie scoop or measuring spoon, evenly fill each prepared muffin cavity about ½ to ⅔ full with batter. This ensures uniform size and proper baking.
- Bake to perfection: Bake in your preheated oven for approximately 14 minutes, or until the tops are golden brown and a wooden skewer inserted into the center comes out clean.
- Cool completely: Once baked, transfer the cupcakes from the muffin tin to a wire rack to cool completely. Decorating warm cupcakes will cause your frosting to melt.
Whipping Up the Vibrant Rainbow Frosting
- Initial frosting mix: In the clean bowl of a stand mixer, combine half of the confectioner’s sugar with the softened unsalted butter, vanilla extract, and salt.
- Combine on low speed: Mix on low speed until these ingredients are just combined and appear crumbly.
- Add remaining ingredients: Gradually add the remaining confectioner’s sugar and the milk.
- Mix until combined: Continue mixing on low speed until all ingredients are combined into a rough frosting.
- Whip until fluffy: Increase the mixer speed to medium-high and beat for an additional minute. This step is crucial for achieving a fluffy, smooth, and airy buttercream frosting.
- Divide the frosting: Carefully divide the prepared frosting. Measure out approximately ½ cup of frosting for each of your desired rainbow colors (purple, blue, green, yellow, orange, pink). Keep the largest portion of frosting white for the base of your cupcake swirl, and transfer it to a separate piping bag fitted with a large star tip.
- Tint individual colors: Tint each of the measured ½ cup portions with a different gel food coloring until you achieve your desired vibrant shades. Transfer each colored frosting to its own individual piping bag.
- Prepare plastic wrap: Lay out a strip of plastic wrap on a clean surface, roughly 18-24 inches long.
- Pipe colors onto wrap: Carefully pipe each color of frosting in a log shape onto the plastic wrap, aligning them side-by-side in rainbow order (purple, blue, green, yellow, orange, then pink).
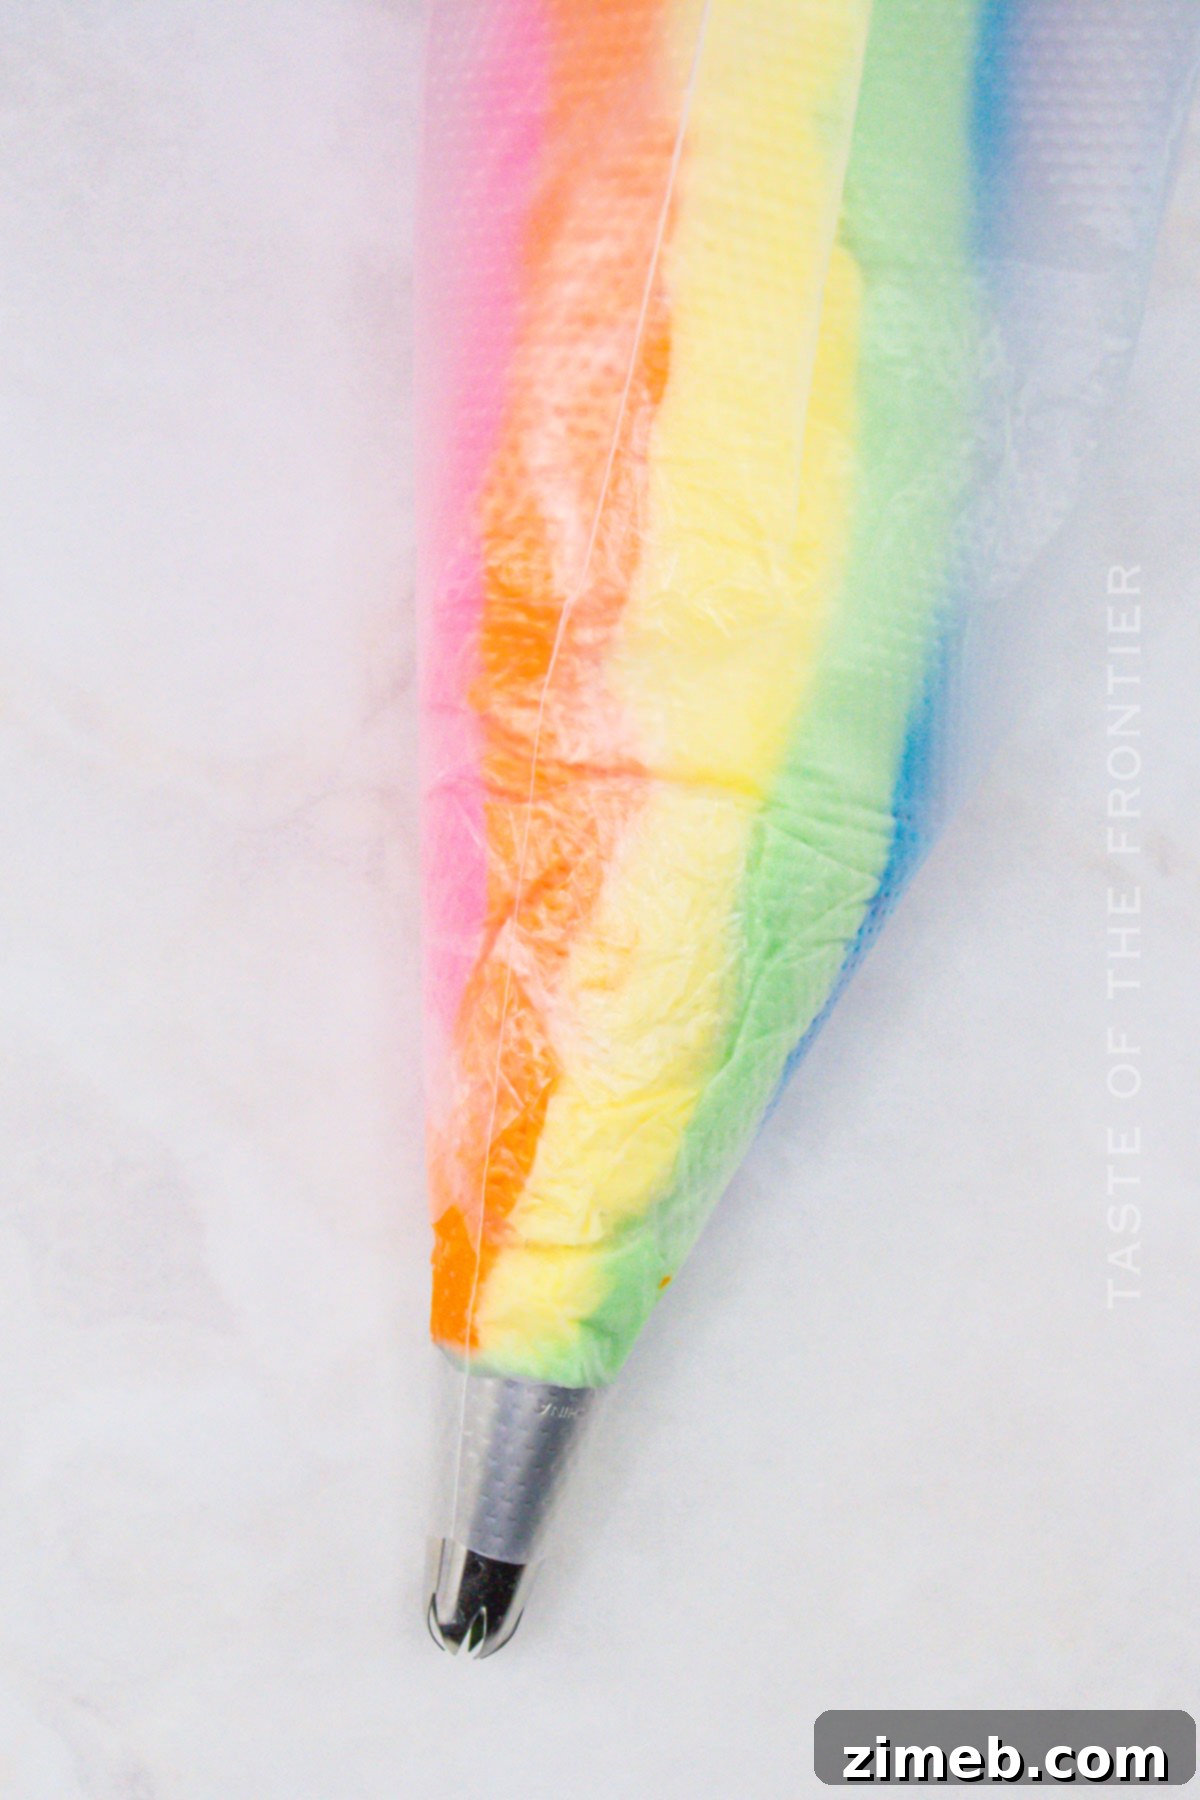
- Roll the frosting log: Gently roll the plastic wrap, bringing the edges together to encase the colored frosting logs, so the colors overlap slightly and form a single, multi-colored log. Twist the ends of the plastic wrap to seal.
- Load piping bag: Snip off one end of the plastic-wrapped frosting log and slide it into the large piping bag that already contains your white frosting and is fitted with a large star tip (like an M1 or 1M tip).
Decorating Your Rainbow Masterpieces
- Apply white base: Once your cupcakes are completely cool, pipe a small, even mound of white frosting onto the center of each cupcake. This acts as a foundation for the rainbow swirl.
- Spread and flatten: Use a butter knife or an offset spatula to gently spread and flatten the white frosting, extending it neatly to the edges of each cupcake.
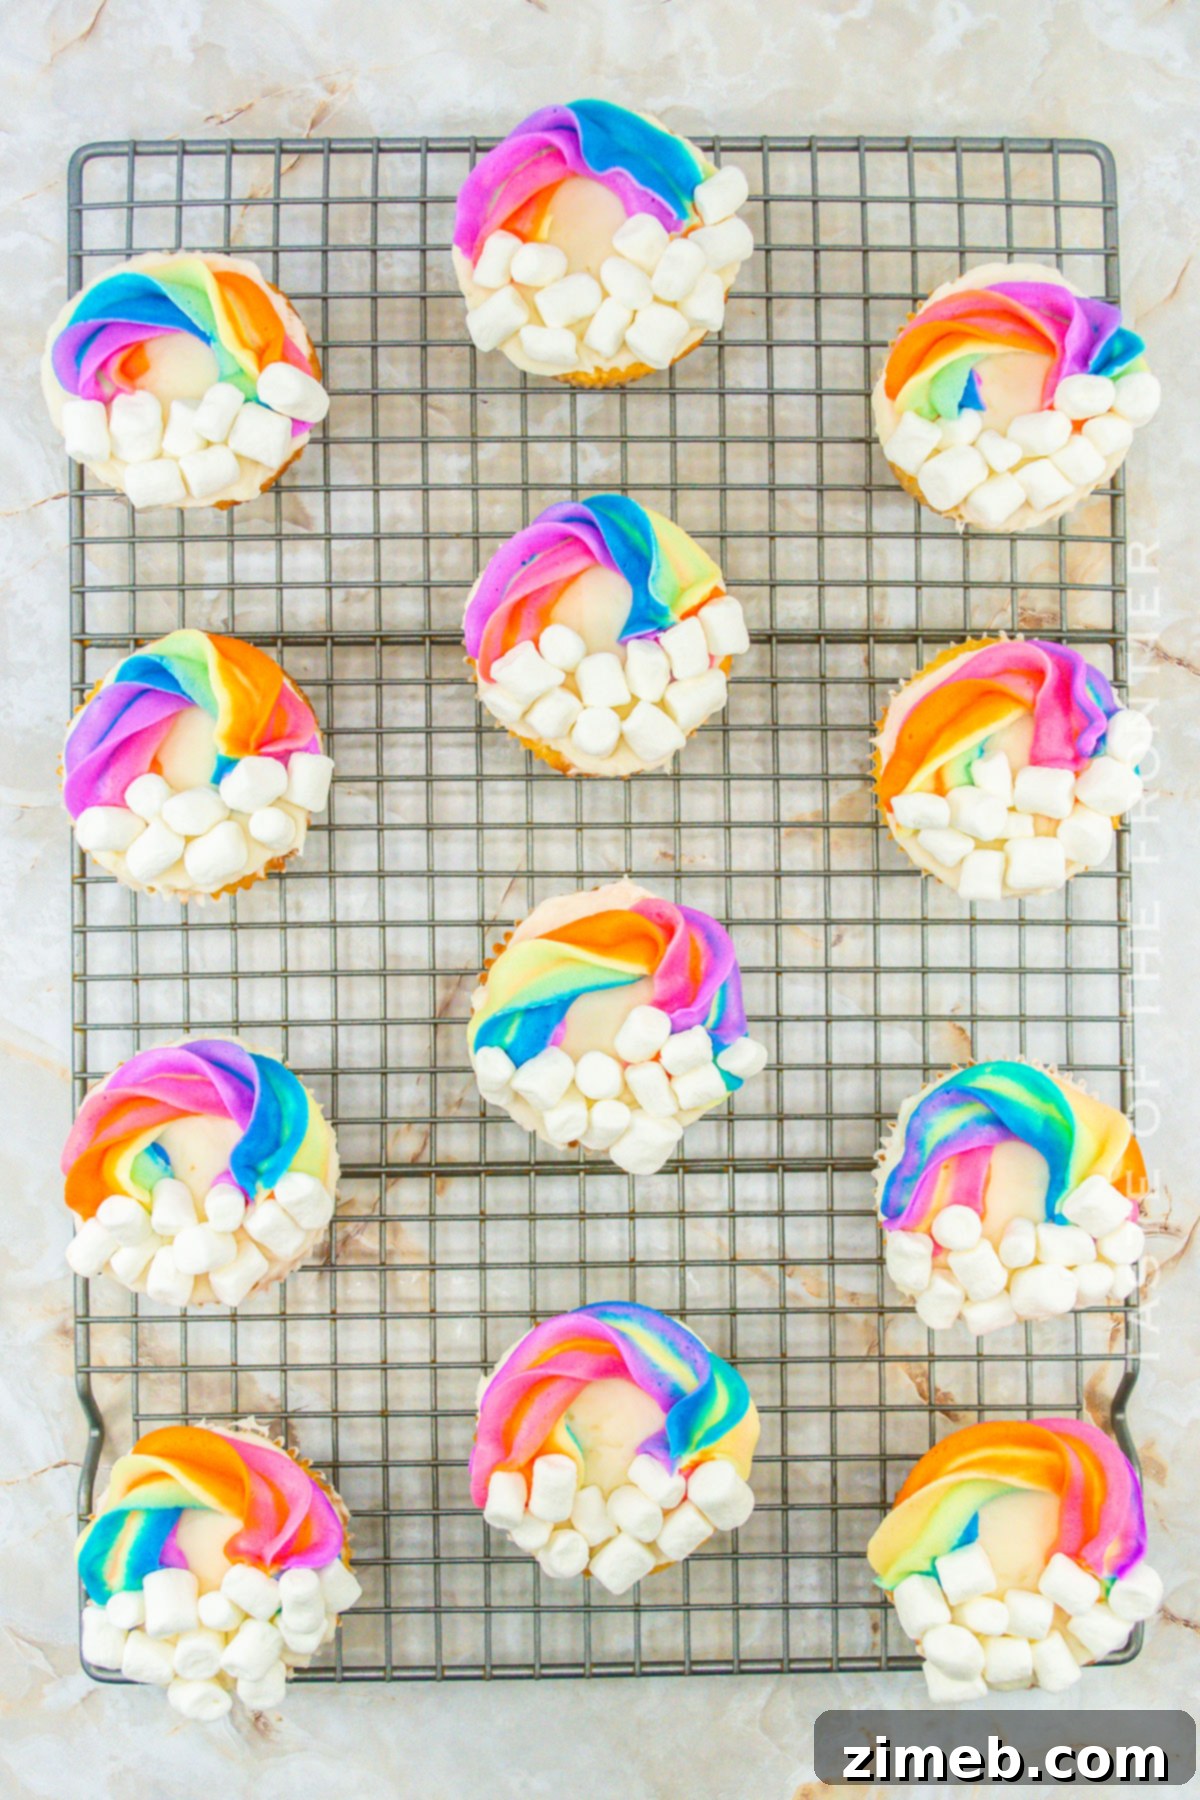
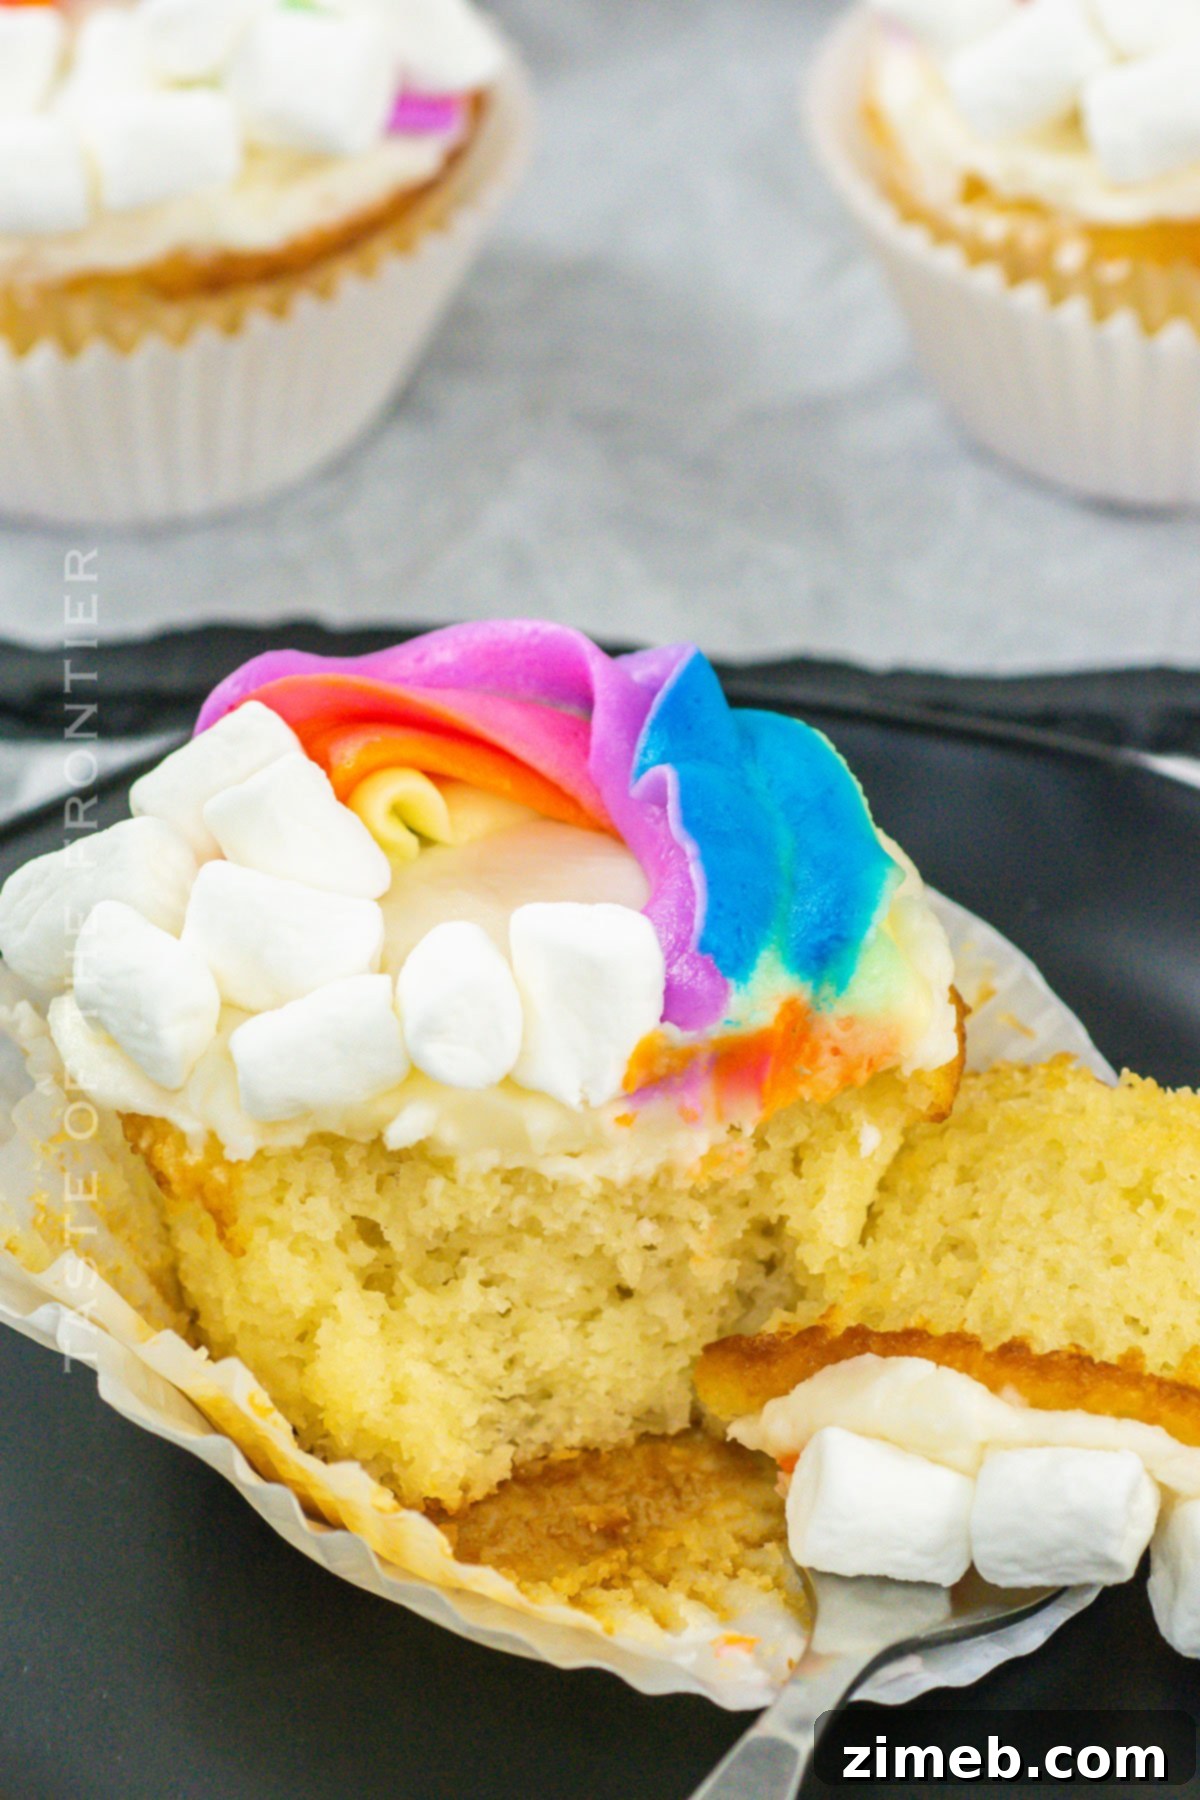
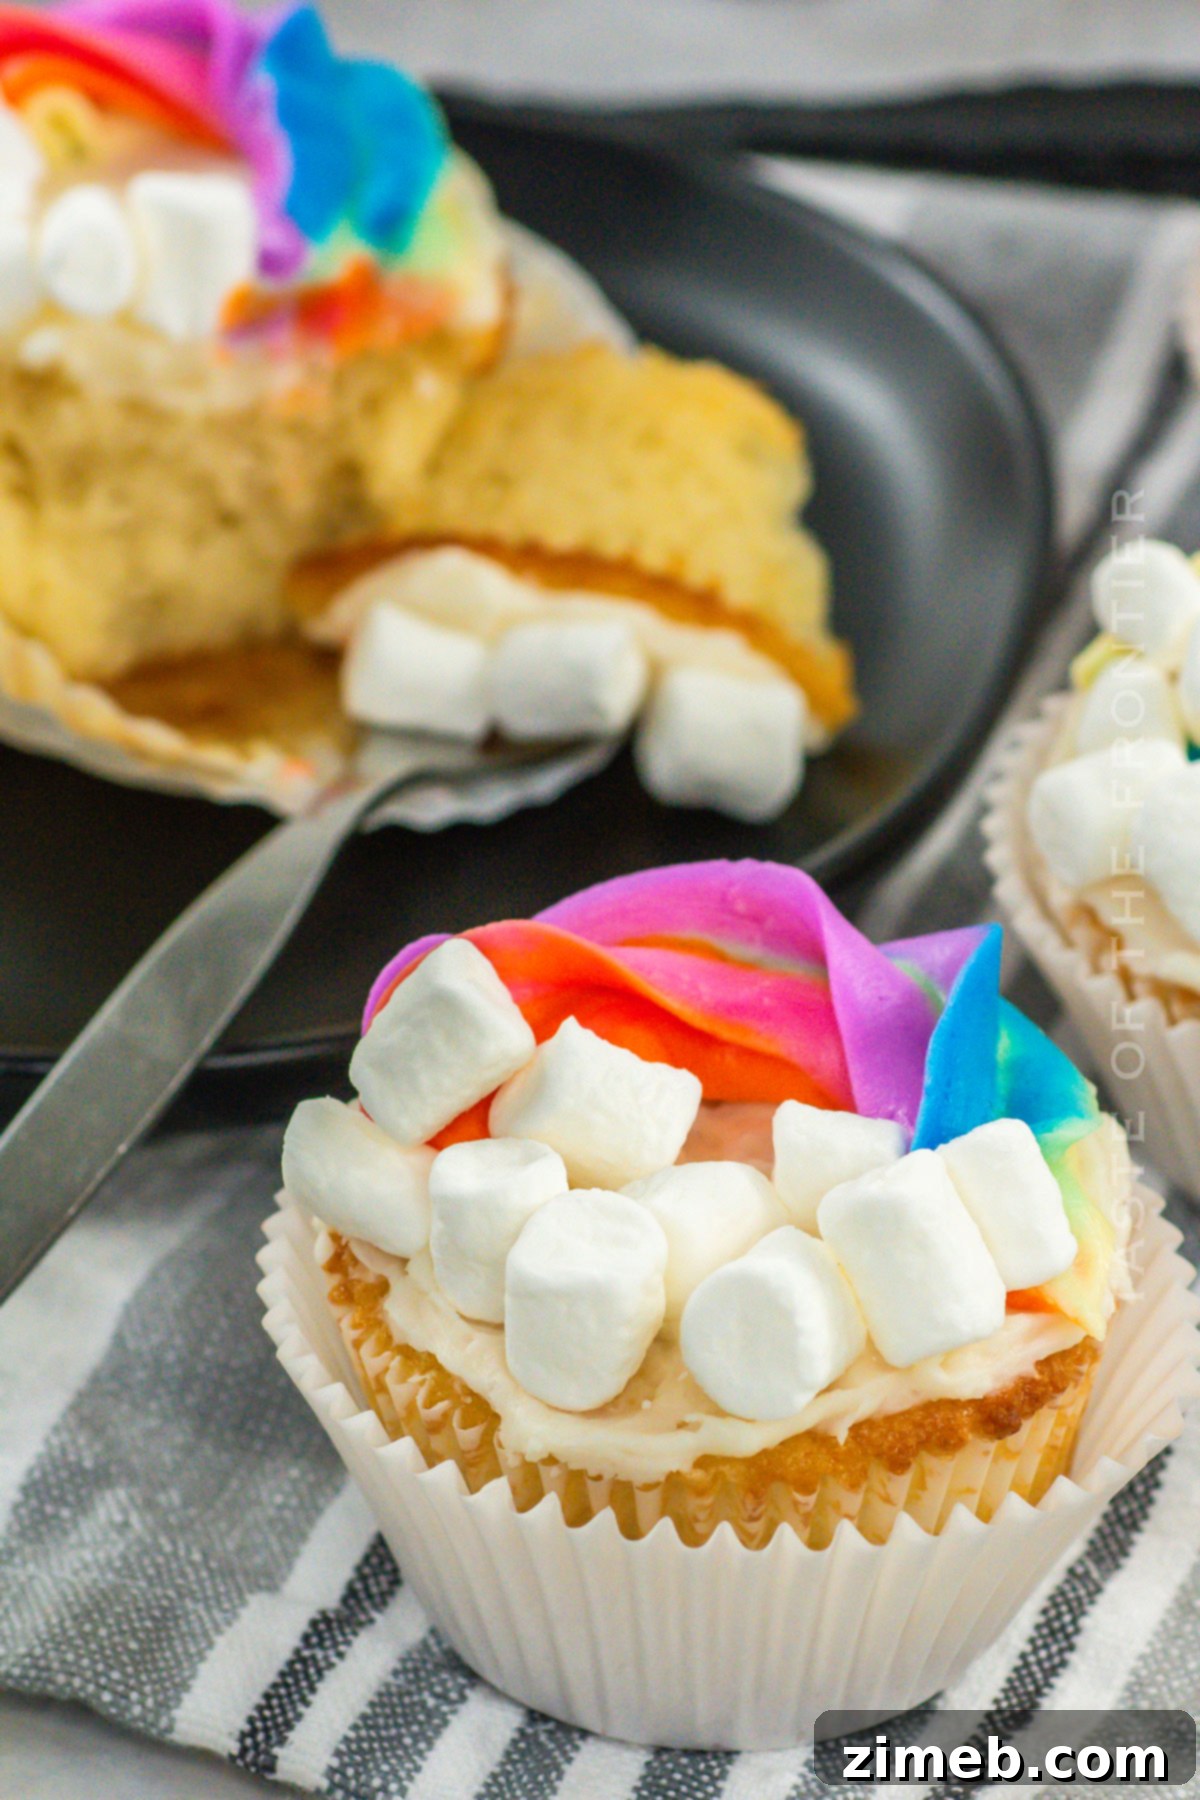
- Create the rainbow swirl: Using the piping bag with the rainbow frosting log, create an inverted “U” or horseshoe shape on top of the white frosting. As you pipe, gently twist the piping bag mid-squeeze. This twisting motion will reveal all the beautiful colors of the rainbow simultaneously, adding incredible dimension and visual appeal to your cupcakes.
- Add marshmallow clouds: Immediately after piping the rainbow frosting onto each cupcake, place a few mini marshmallows at the ends of your rainbow swirl. This creates adorable “clouds” before the frosting has a chance to set and crust over, ensuring they adhere beautifully.
Essential Kitchen Supplies for Your Rainbow Cupcakes
To embark on your rainbow cupcake adventure, having the right tools makes the process smoother and more enjoyable. If your next birthday party or holiday gathering calls for a burst of color, these items will help your treats truly shine and bring countless smiles.
- Muffin tin: Essential for baking perfectly shaped cupcakes.
- Cupcake liners: For easy removal and a touch of decorative flair.
- Stand mixer or electric hand mixer: Crucial for creaming butter and sugar and whipping up fluffy frosting.
- Small bowls: For dividing and coloring your frosting.
- Piping bags or ziplock bags: To create those beautiful rainbow swirls.
- Large star piping tip (M1 tip): For a classic, professional-looking frosting swirl.
- Plastic wrap: Key for preparing the multi-colored frosting log.
Perfect Pairings for Rainbow Cupcakes
While these vibrant cupcakes are often devoured on their own in a joyous flurry, offering a few complementary options can elevate the experience for your guests. These pairings are designed to balance the sweetness and add an extra touch of indulgence.
- A refreshing glass of cold milk or a warm cup of tea provides a comforting counterpoint to the sweet frosting, making each bite even more satisfying.
- For an extra special treat, serve your Rainbow Cupcakes alongside a generous scoop of creamy vanilla bean ice cream. The contrasting temperatures and textures are simply divine.
- Enhance the playful theme with additional rainbow candy or a shower of colorful sprinkles, allowing guests to customize their magical dessert.
Why Rainbow Cupcakes Are Always a Fantastic Idea
Colorful rainbow cupcakes are truly a timeless choice that never fails to impress. Injecting a little rainbow into your life (and your dessert table!) is always a good idea. Bring these show-stopping treats to any party or gathering, and watch as they instantly capture everyone’s eye and become the talk of the event!
- They are a surefire way to brighten any occasion, from festive birthday parties to simply adding a much-needed pop of color and cheer to an ordinary day.
- Making them is an incredibly fun and engaging activity for both children and adults. It adds a wonderful creative twist to the traditional baking process, fostering joy and togetherness in the kitchen.
- Rainbow Cupcakes consistently bring smiles and wonder to all who see and taste them, making them the perfect centerpiece dessert for any celebration or a sweet, delightful end to a meal.
Exciting Variations and Creative Add-Ins for Your Rainbow Cupcakes
This Rainbow Cupcake recipe is wonderfully versatile, inviting you to unleash your creativity and customize it to perfectly suit your taste or the theme of your event. I’m always eager to hear about your unique twists, so please share your ideas in the comments!
- Flavorful Extracts: Experiment with different extracts to complement the vibrant appearance. Swap out the vanilla extract for a burst of zesty lemon, a nutty hint of almond, or even a refreshing peppermint flavor for a festive touch.
- Surprise Center: For an extra element of surprise and delight, add a layer of rainbow candy, sprinkles, or even a dollop of fruit preserves inside each cupcake before baking. Guests will love discovering the hidden treat when they bite in!
- Diverse Frosting Flavors: While the classic buttercream is delightful, feel free to explore other frosting options. Top your colorful creations with a tangy cream cheese frosting for a rich contrast, or a decadent chocolate buttercream for a deeper, more indulgent flavor profile.
If you adore this delightful cupcake recipe, you’re sure to fall in love with these other fantastic rainbow-themed treats as well. Each link below leads to an easy, printable recipe for more colorful baking fun!
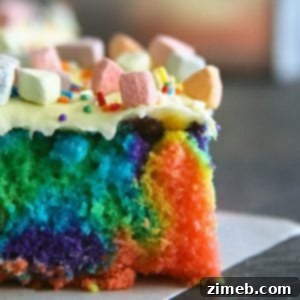
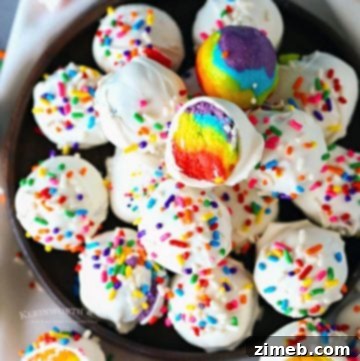
Check out this recipe
Check out this recipe
Check out this recipe
Check out this recipe
Check out this recipe
More Great St. Patrick’s Day Treats
Looking for more festive and fun desserts? These St. Patrick’s Day themed treats are perfect for adding a touch of green and gold to your celebrations, complementing your Rainbow Cupcakes beautifully or standing out on their own!
Grasshopper Ice Cream
Jello Cookies
St. Patrick’s Day Cake
St Patricks Day Cake Mix Cookie Bars
CONNECT WITH YUMMI HAUS!
Be sure to follow me on my social media, so you never miss a post!
Substack, FB, Pinterest, IG, Email Subscription
Rate this Recipe
Rainbow Cupcakes
Ingredients
Cupcakes
- 1 ⅔ cup granulated sugar
- ½ cup unsalted butter softened
- 6 egg whites
- ¼ cup cooking oil – canola or vegetable
- 1 tsp vanilla
- 1 ¼ cup milk
- 2 cup all-purpose flour
- 2 ½ tsp baking powder
- ½ tsp salt
Frosting
- 1 cup butter unsalted, softened
- 1 tsp vanilla
- 1 tsp salt
- 4 cup confectioner’s sugar
- 3 tbsp milk
Food coloring – purple, blue, pink, orange, yellow, green
Mini marshmallows – to decorate
Instructions
Cupcakes
-
Preheat the oven to 350 degrees.
-
Prep the muffin tins with liners and set aside.
-
In the bowl of a stand mixer, combine the sugar and softened butter. Beat until smooth.
-
Add in the egg whites, oil, and vanilla. Mix well.
-
Beat in the milk and mix to combine. The mixture may appear curdled – this is normal.
-
Add in the flour, baking powder, and salt and mix well. Stop the machine, scrape down the sides, and mix again.
-
Measure out the batter and fill each cavity until about ½ – ⅔ full.
-
Bake in the preheated oven for approximately 14 minutes or until the cupcakes are golden brown and the center is set.
-
Allow the cupcakes to cool completely before decorating.
Frosting
-
In the bowl of a stand mixer, combine half of the confectioner’s sugar with the butter, vanilla, and salt.
-
Mix on low speed until combined.
-
Add in the remaining confectioner’s sugar and the milk.
-
Mix on low speed until combined.
-
Once combined, increase the speed to medium and beat for an additional minute until the frosting is fluffy and smooth.
-
Divide the frosting – measuring out a ½ cup for each of the colors. The remaining frosting will stay white and it can be transferred to a piping bag.
-
Tint each of the colors and transfer to individual piping bags.
-
Line out a strip of plastic wrap approximately 18-24 inches long.
-
Pipe each color of frosting onto the plastic wrap in rainbow order – purple, blue, green, yellow, orange, and then pink.
-
Roll the plastic wrap so that the colors overlap.
-
Place the log of frosting into a large piping bag fitted with a large star tip.
Decorate
-
Once the cupcakes are cool, pipe a small mound of white frosting onto each cupcake.
-
Use a butter knife or offset spatula to spread and flatten the frosting to the edges.
-
Use the colored frosting bag to create an inverted “U” or horseshoe shape. Twist the piping bag mid-squeeze to show all the colors and add dimension.
-
Immediately place the mini marshmallow “clouds” before the frosting crusts over.
Notes
Equipment
-
cupcake pans
-
piping bags & tips
Nutrition
Nutritional information for the recipe is provided as a courtesy and is approximate. Please double-check with your own dietary calculator for the best accuracy. We at Yummi Haus cannot guarantee the accuracy of the nutritional information given for any recipe on this site.