
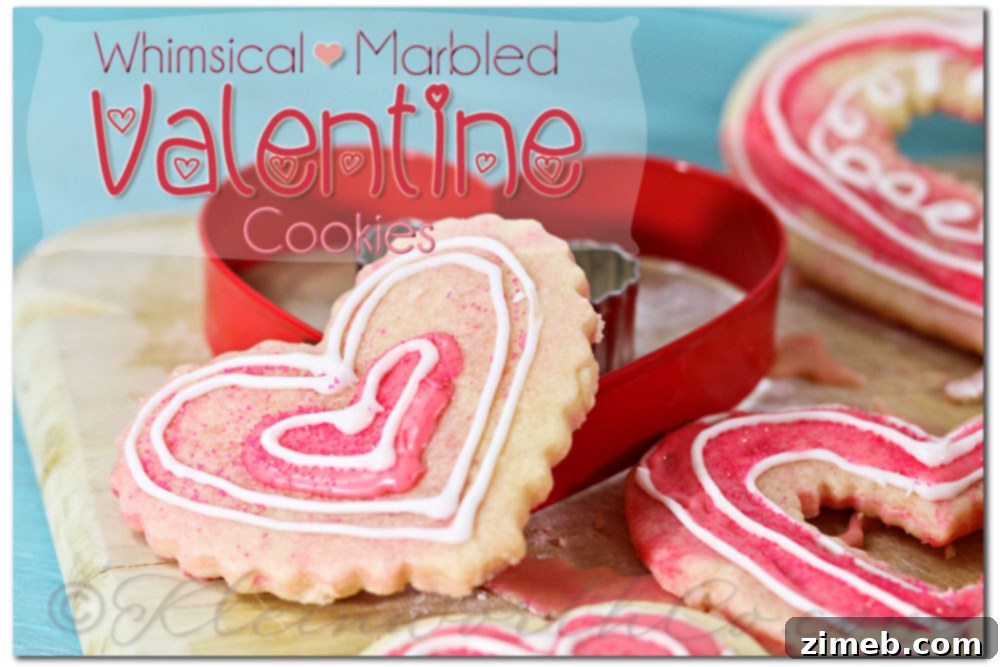
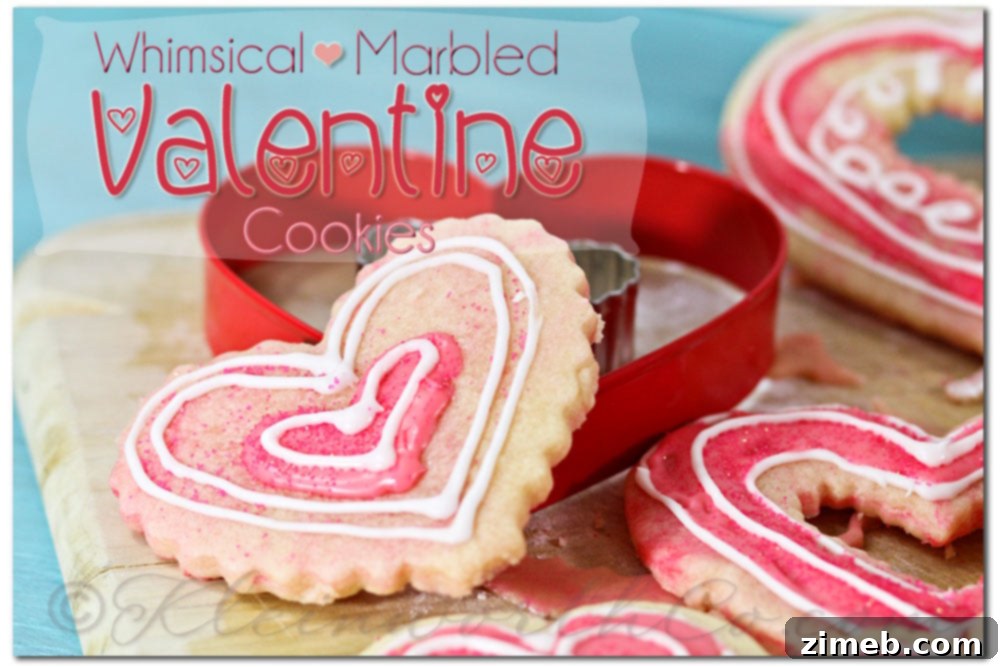
Crafting Whimsical Marbled Valentine Cookies: A Sweet Journey from Impulse to Indulgence
Oh, the irresistible charm of a craft store! There’s a certain magic that pulls you in, promising a quick stop for just one essential item, only to find yourself mesmerized by aisles brimming with creative possibilities. You know that feeling, right? That moment when you walk into a place like Michael’s with a singular mission—say, to grab a pack of hot glue sticks—and suddenly, you’re surrounded by an explosion of color, texture, and inspiration. It’s truly a dangerous, yet delightful, experience for any creative soul.
My recent trip was no exception. What began as a simple quest for hot glue sticks quickly evolved into a full-blown creative detour. Before I knew it, my cart held an unexpected bounty of supplies, totaling a glorious $50 worth of crafty treasures. Among these impulse purchases were these absolutely adorable heart-shaped cookie cutters. Now, I had firmly told myself I wouldn’t be making any more Valentine’s Day treats. Our pantry was already well-stocked with candy, and frankly, I didn’t *need* more baking projects. But once those charming heart cutters found their way into my shopping basket, a new culinary adventure became inevitable. How could I possibly resist the call to create something sweet and festive with them?
Embracing Imperfection: The Art of Whimsical Marbled Cookies
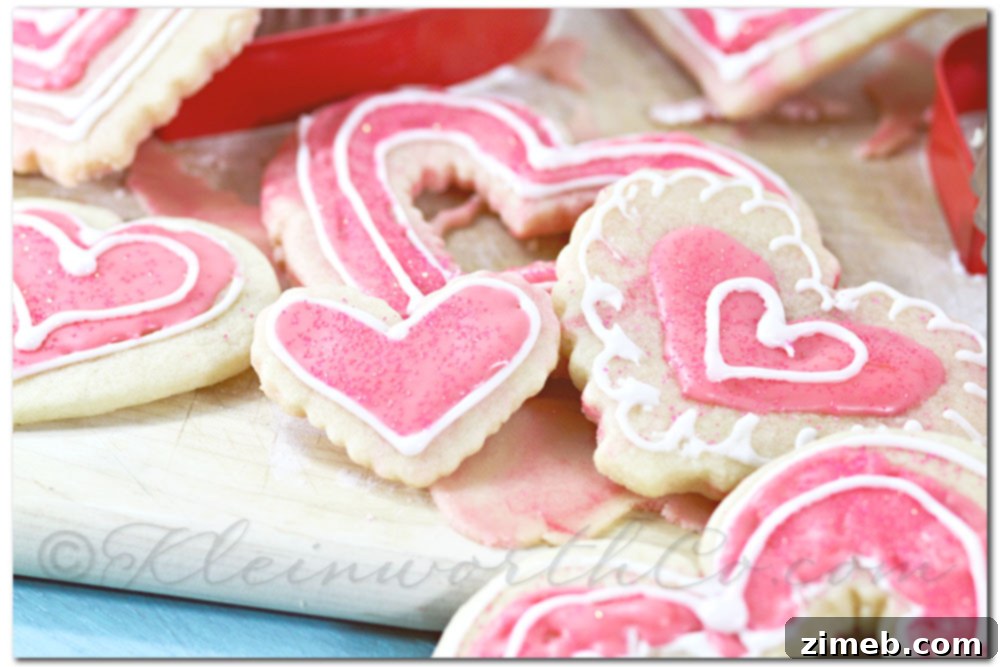
This time, I decided to approach my baking with a different philosophy. Instead of striving for absolute perfection, I deliberately opted for a quick, charmingly imperfect decoration. My goal was to infuse these cookies with a whimsical, free-spirited feel, allowing their marbled dough to truly shine. The result? A batch of delightful treats that were not only fun to make but also disappeared remarkably quickly, a testament to their irresistible appeal.
The beauty of these whimsical marbled cookies lies in their effortless charm. You don’t need to be a professional baker or an expert decorator to achieve stunning results. In fact, the less structured your approach, the more unique and captivating each cookie becomes. This method encourages creativity and takes the pressure off, making the baking process an enjoyable artistic expression rather than a meticulous task. It’s about celebrating the handmade, the slightly uneven, the perfectly imperfect details that give homemade treats their special character.

The Magic Behind the Marbled Effect: Simple Steps for Stunning Results
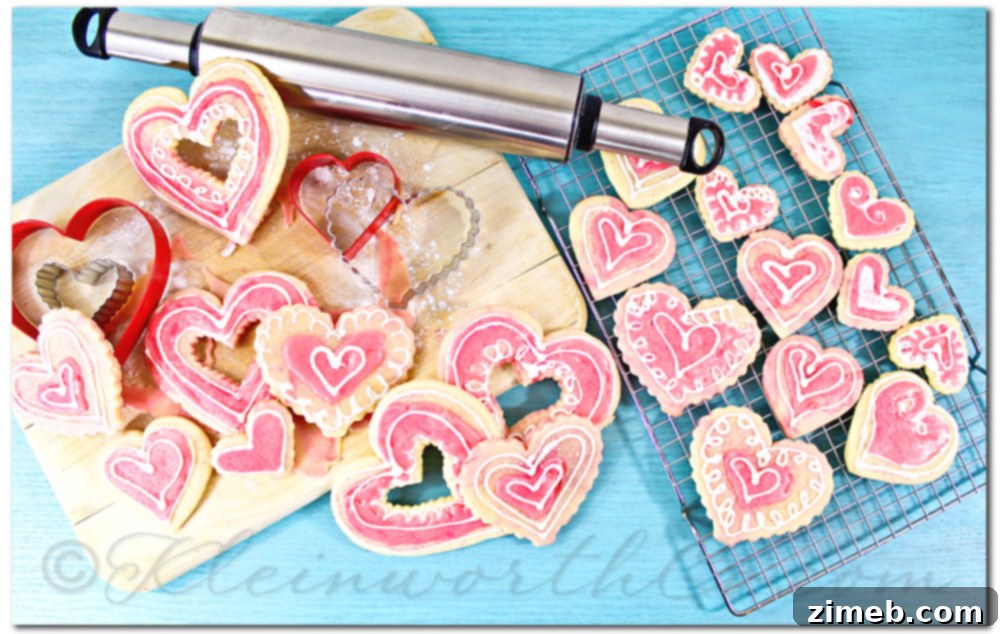
Creating the captivating marbled effect is surprisingly simple, yet it yields a visually impressive result. The secret lies in incorporating gel food coloring into your sugar cookie dough without fully blending it. This technique ensures distinct swirls of color that mimic natural marble patterns, making each cookie a small work of art. For these Valentine’s Day treats, I opted for vibrant pinks, reds, and whites, but you can experiment with any color palette that inspires you.
Here’s how to achieve that beautiful marbling:
- Prepare Your Sugar Cookie Dough: Start with your favorite classic sugar cookie dough recipe. A good sugar cookie base is crucial, as it holds its shape well during baking, which is ideal for cut-out cookies.
- Introduce Gel Food Color: Once your dough is mixed, divide it into a few portions, or keep it as one large batch. Add a few small dabs of gel food color directly onto the dough. Gel colors are preferred over liquid colors because they are more concentrated and won’t significantly alter the consistency of your dough.
- Gentle Kneading for Swirls: This is where the magic happens. Instead of thoroughly kneading the color in, gently fold and knead the dough a few times, just enough to create beautiful streaks and swirls of color. The key is to avoid over-kneading, which would result in a uniform color rather than a marbled effect. You want to see distinct patches of plain dough and colored dough swirling together.
- Roll, Cut, and Bake: Once your dough is artfully marbled, roll it out evenly. Use your chosen cookie cutters – like those adorable heart shapes – to cut out your cookies. Place them on a baking sheet and bake according to your recipe’s instructions. Baking will set the marbled patterns, making them permanent and even more pronounced.
- Cool Completely: Allow the cookies to cool completely on a wire rack before you even think about icing them. This step is crucial; attempting to ice warm cookies will only lead to melted, messy frosting.
The Foundation: A Reliable Sugar Cookie Recipe
The perfect canvas for these marbled masterpieces begins with an excellent sugar cookie recipe. A good sugar cookie is tender, holds its shape, and provides a delightful base for any decoration. You can print the recipe I use HERE. This recipe is a fantastic starting point for any cut-out cookie project, and it’s particularly well-suited for our marbled technique.
The only specific modification for these marbled wonders is incorporating the gel food color:
After preparing your dough, add a couple of dabs of gel food color directly to the dough. Then, hand knead it gently, just enough to create beautiful streaks and swirls without coloring the entire batch uniformly. Instead of rolling the dough into balls, roll it out evenly and use your cookie cutters. Bake according to the recipe’s instructions, and remember to allow them to cool completely before adding any icing.
For the “whimsical” touch in decoration, consider using a simple royal icing or a glaze. You don’t need intricate piping skills. A simple flood coat of white or a contrasting color, or even just a dusting of powdered sugar, can beautifully complement the marbled dough. Sprinkles, while optional, can add another layer of fun and texture, truly embodying that playful, imperfect vibe.
More Valentine’s Day Cookie Inspiration
If you’re looking to expand your repertoire of Valentine’s cookies, there are countless delightful options. While these marbled sugar cookies offer a beautiful and unique presentation, sometimes a classic, comforting flavor is just what the heart desires. Consider these delicious Peanut Butter Cookies, perfect for sharing with loved ones.
This delightful Peanut Butter Cookie Recipe is available HERE!
A charming touch for these peanut butter cookies is to gently press a small chocolate heart into the center of each cookie immediately after pulling them out of the oven, while they are still warm. The residual heat will slightly melt the chocolate, allowing it to adhere perfectly and create a lovely visual and flavorful addition. This simple step elevates a classic cookie into a truly special Valentine’s Day treat, perfect for expressing affection through baking.
Whether you choose the artistic flair of marbled sugar cookies or the comforting embrace of chocolate-kissed peanut butter cookies, homemade treats are a wonderful way to celebrate Valentine’s Day. They are more than just desserts; they are edible expressions of love, care, and creativity. Sharing them with family, friends, or that special someone creates cherished memories and adds a personal touch that store-bought gifts simply can’t match.
Baking offers a unique opportunity to slow down, engage your senses, and create something beautiful from scratch. From the tactile experience of kneading dough to the comforting aroma filling your kitchen, and finally, the joy of sharing your creations, every step is a part of the celebration. So, embrace the joy of baking, let your creativity flow, and don’t be afraid to add a touch of whimsy and imperfection to your culinary adventures this Valentine’s season.
Linking with: Live Laugh {Linky} Thursday | The 36th Avenue | I’m Lovin’ It Party | One Creative Weekend | This or That Thursday | Little Things Thursday | Inspiration Gallery|Show & Share