
The Ultimate No-Bake Chocolate Mint Lush Dessert: A Refreshing Layered Delight
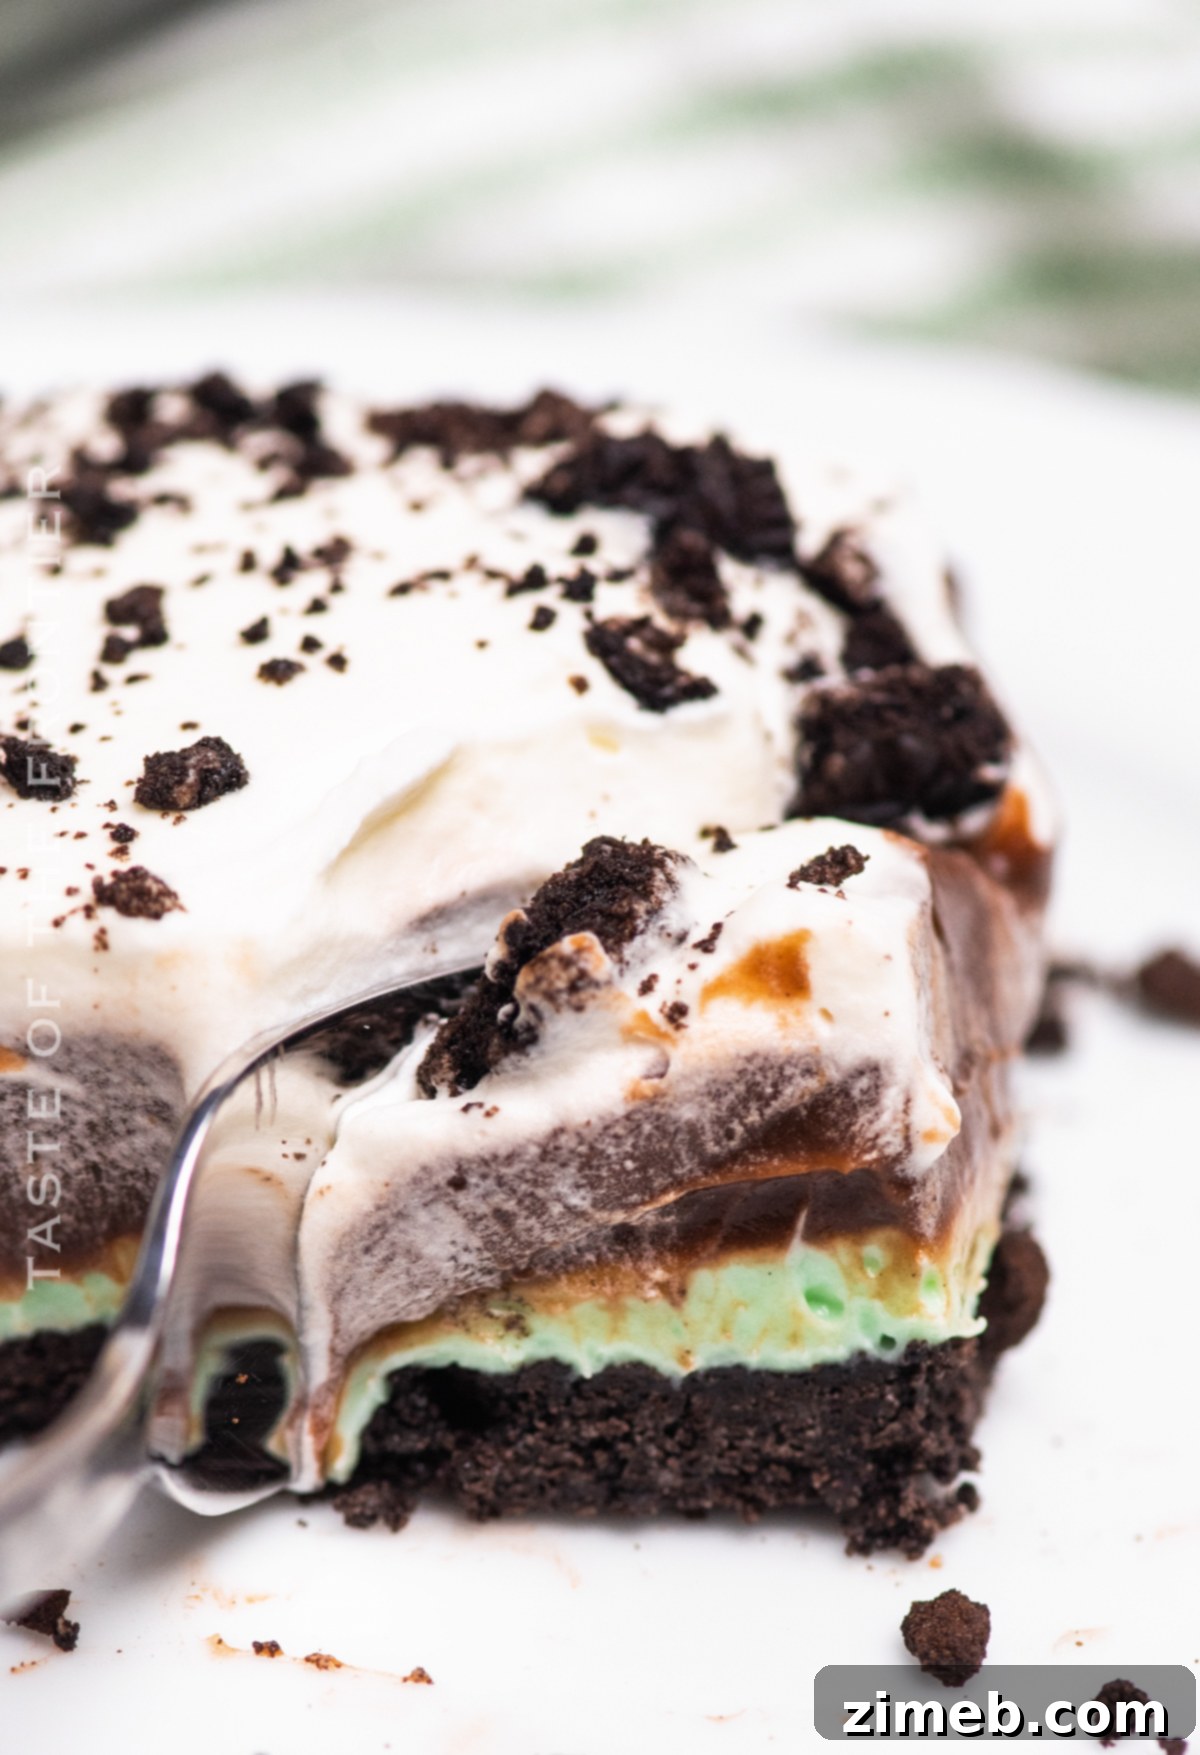
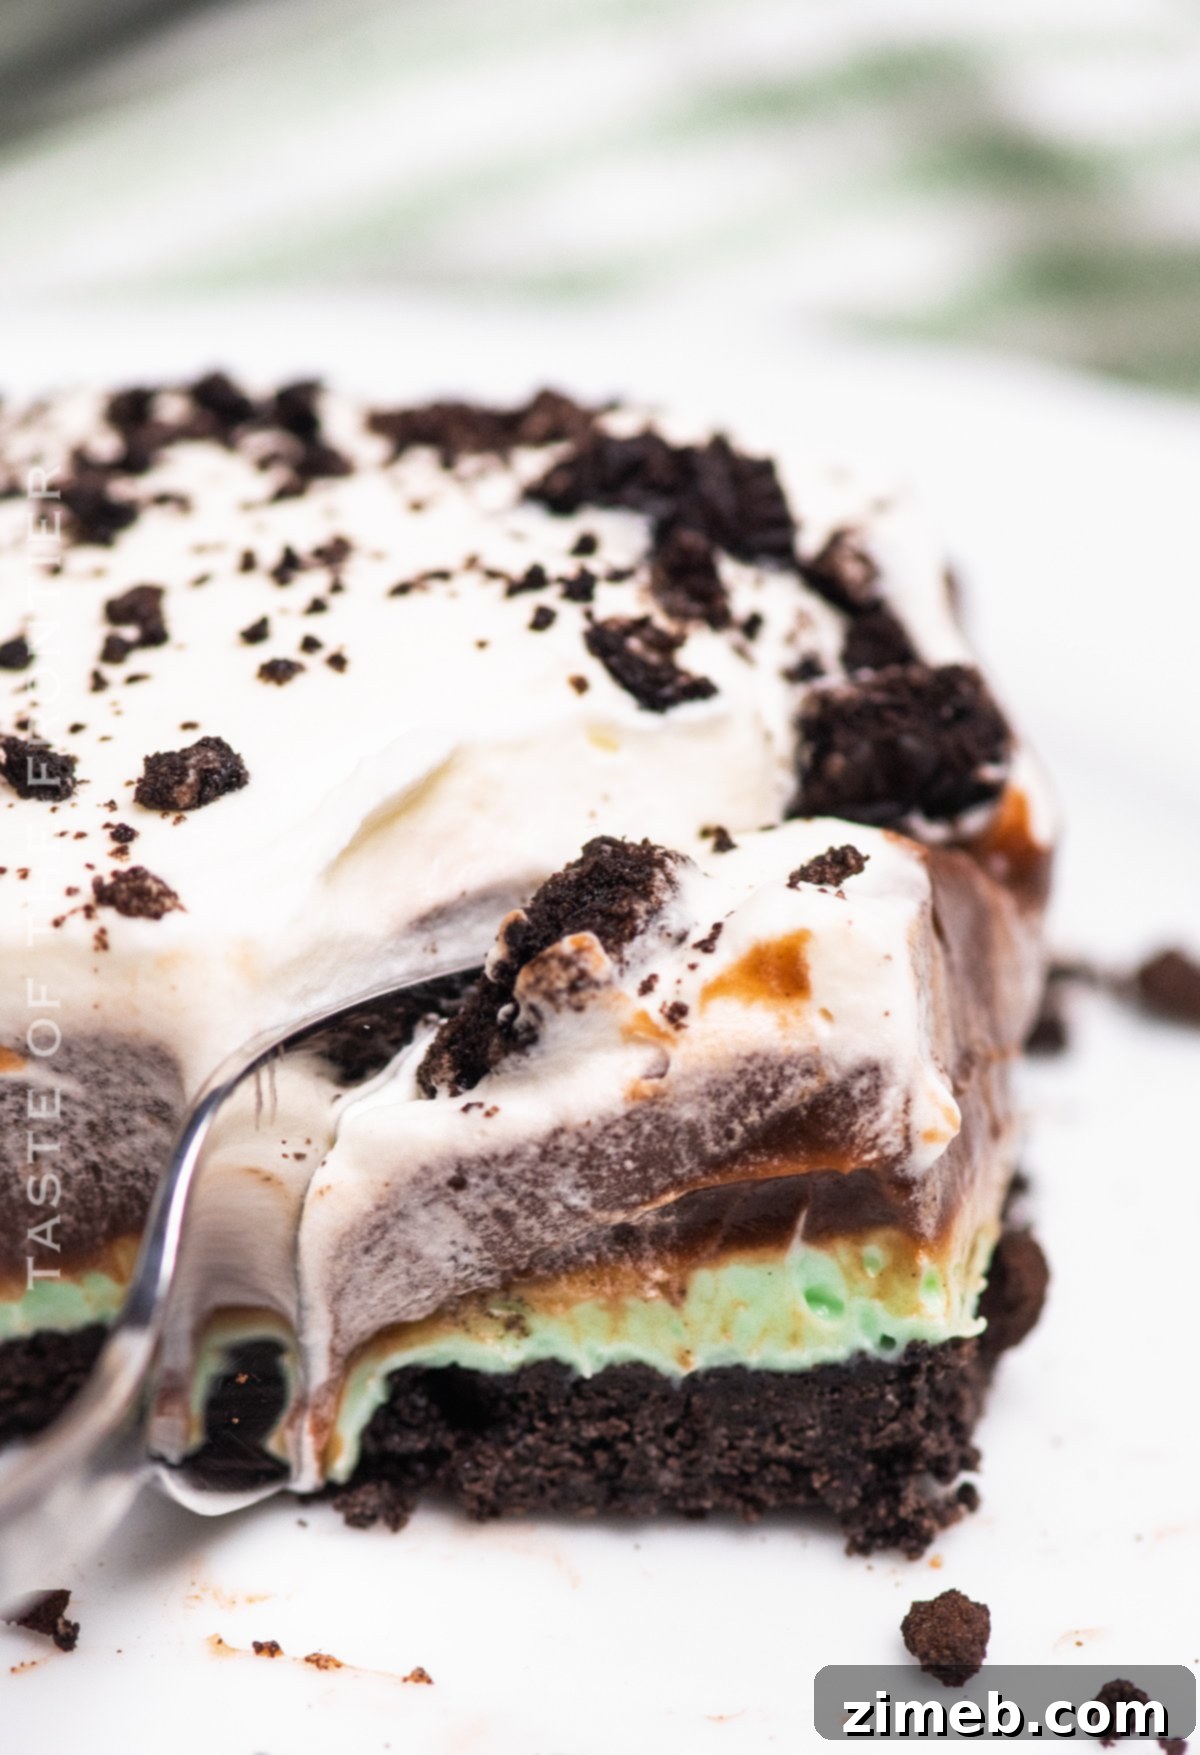
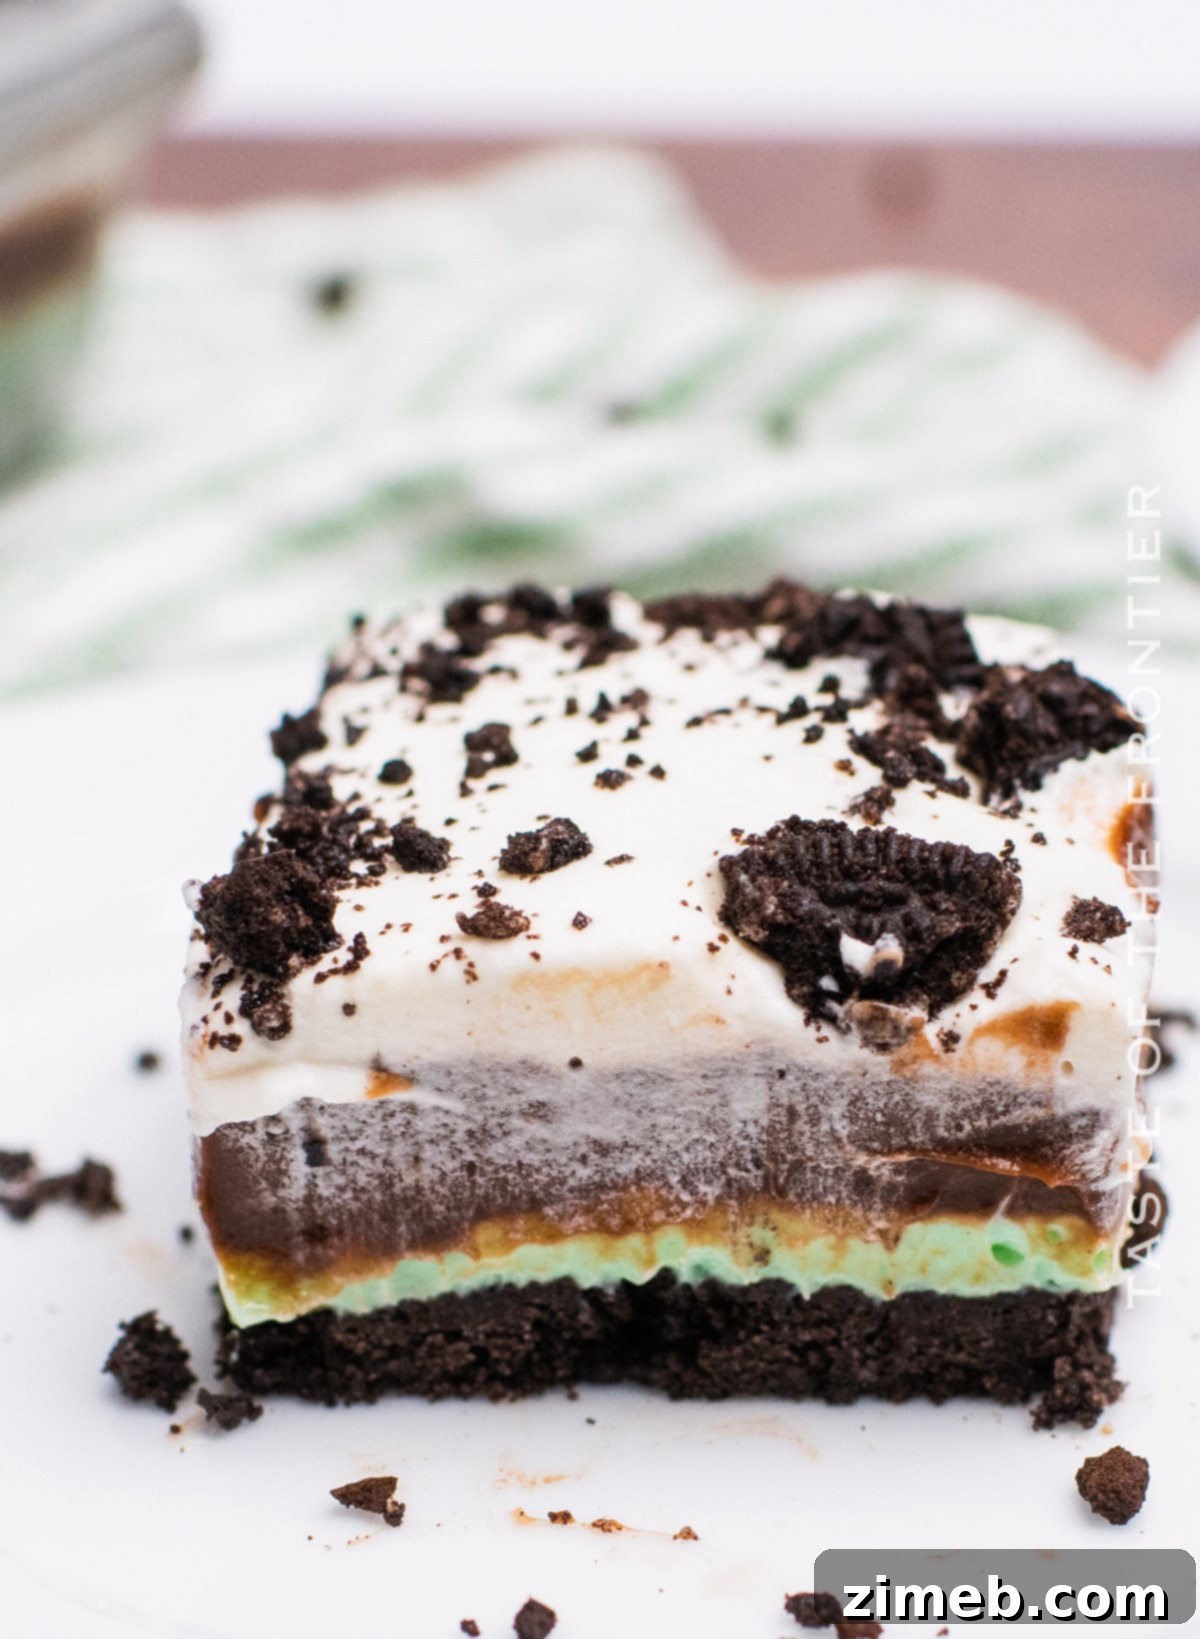
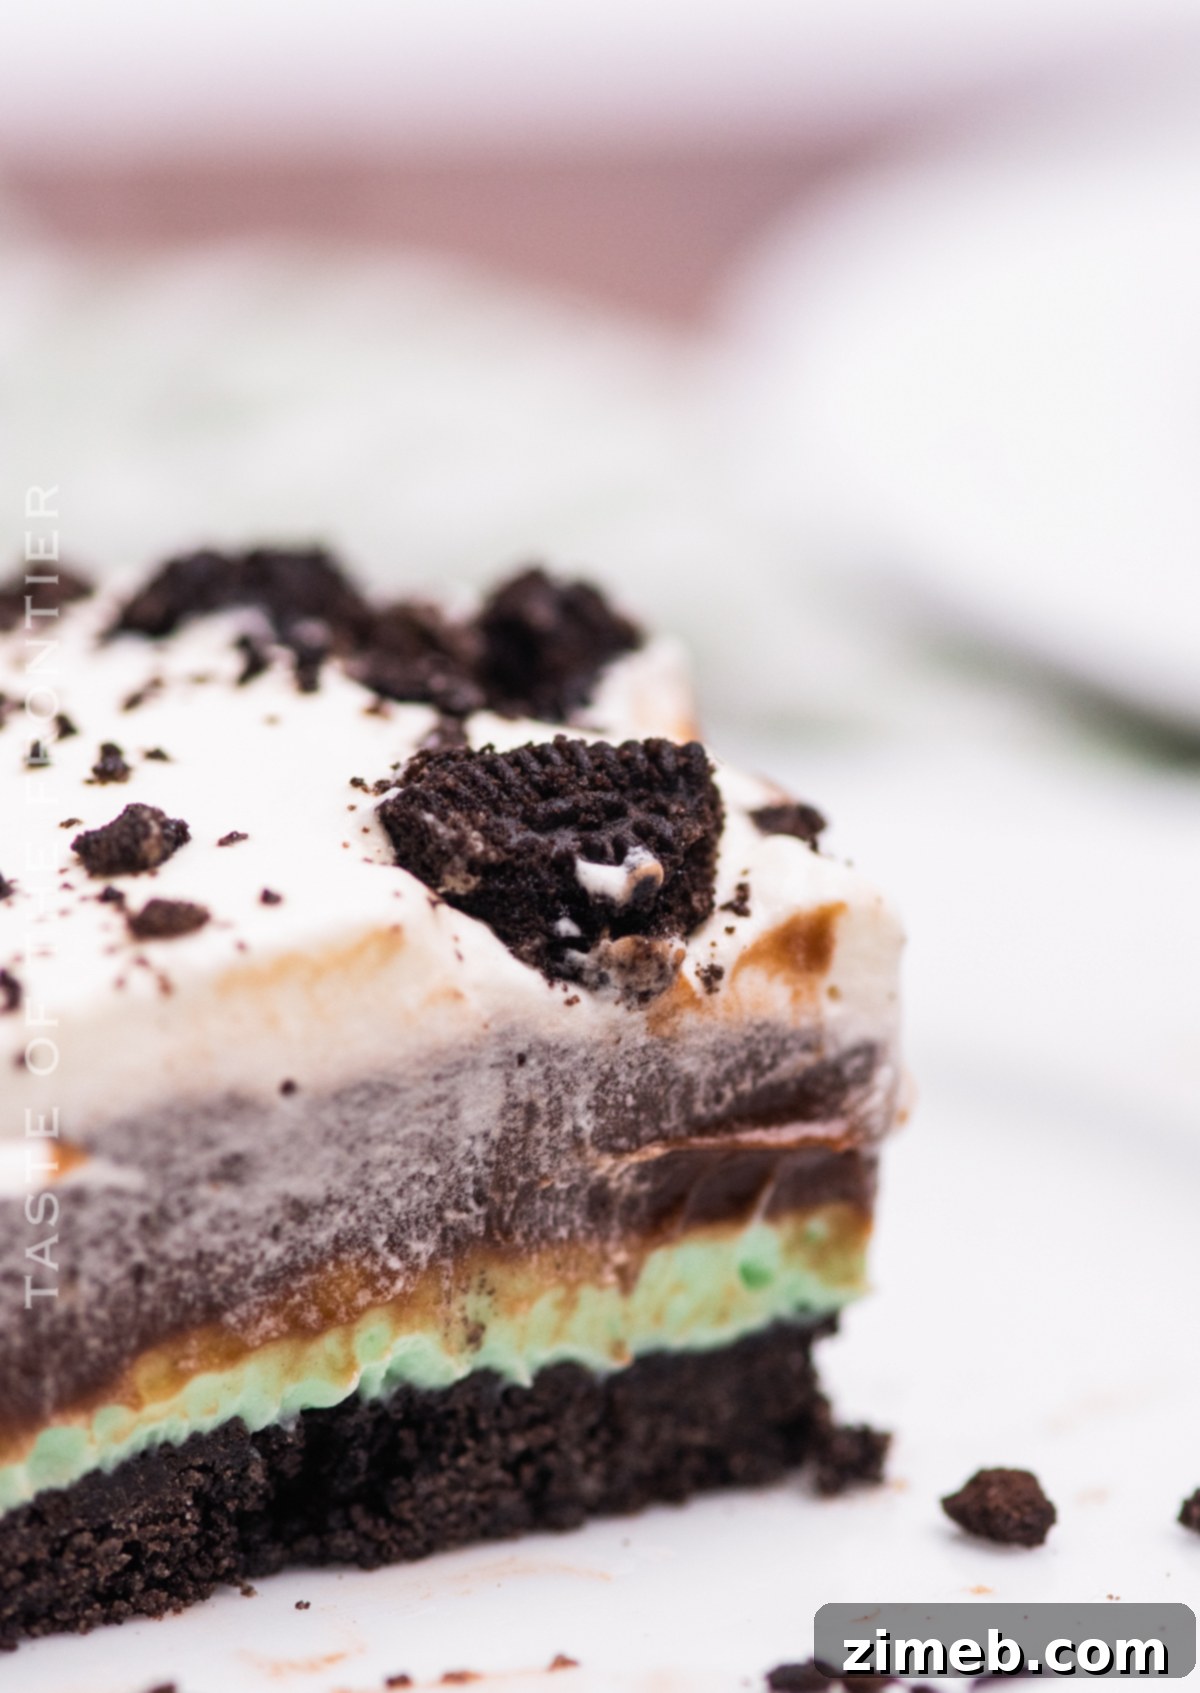
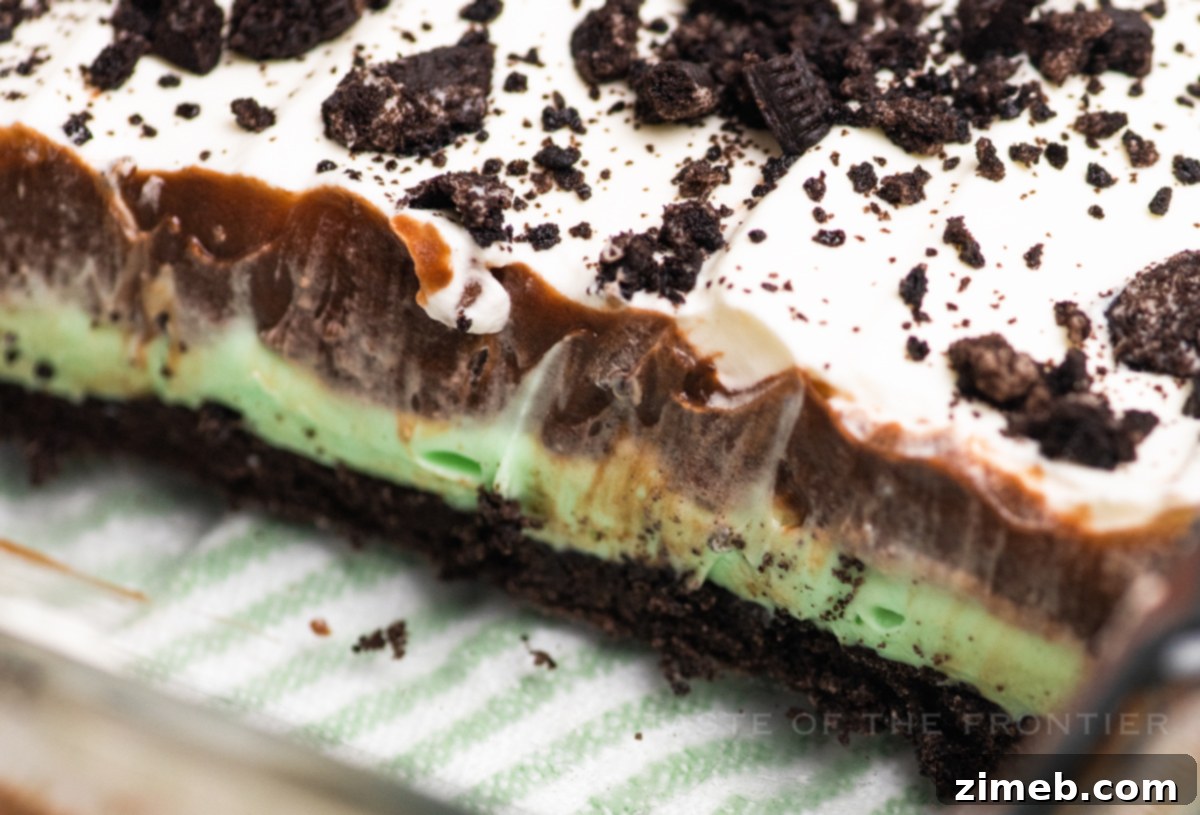
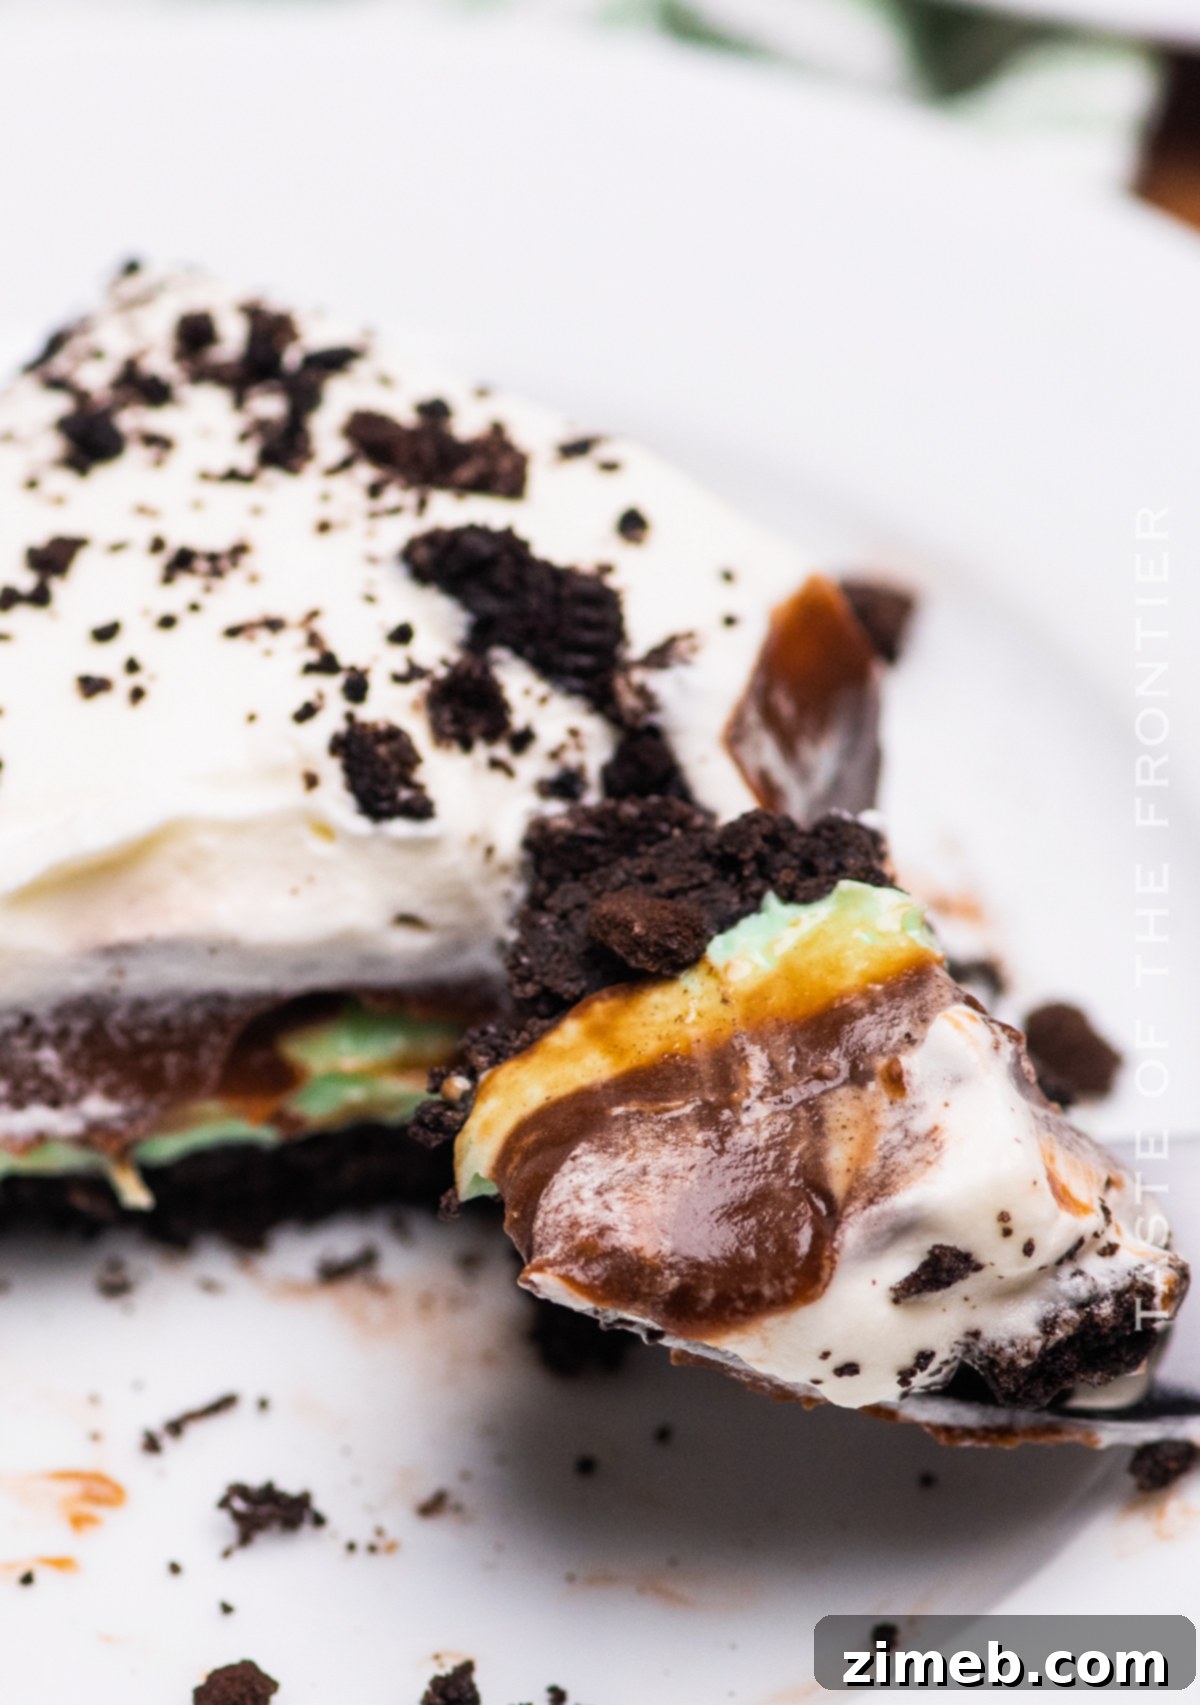
Prepare to be captivated by a dessert that’s as simple to make as it is incredibly delicious: our No-Bake Chocolate Mint Lush. This exquisite treat marries the rich indulgence of chocolate with the cool, refreshing zest of mint, creating a symphony of flavors that will delight your palate. Perfect for any occasion, from festive holiday gatherings to a casual weeknight treat, this layered dessert is a testament to the joy of effortless baking. Imagine sinking your spoon into distinct layers of crunchy Oreo crust, a creamy, vibrant mint cream cheese filling, luscious chocolate pudding, and a cloud of fluffy whipped cream, all culminating in a dessert experience that’s truly unforgettable.
Why Choose a No-Bake Mint Dessert?
In today’s fast-paced world, finding time to create elaborate desserts can be a challenge. That’s where no-bake treats like our Chocolate Mint Lush shine. They offer the ultimate convenience without compromising on taste or presentation. No oven required means less heat in your kitchen, making them an ideal choice for warmer months or when you simply prefer a quicker preparation. This particular recipe stands out not only for its ease but also for its stunning visual appeal and the delightful contrast of textures and temperatures, making it a guaranteed crowd-pleaser every single time.
A Harmonious Blend: The Timeless Appeal of Chocolate and Mint
The combination of chocolate and mint is a classic for a reason. The deep, bittersweet notes of chocolate perfectly complement the bright, invigorating coolness of mint, creating a balanced and utterly addictive flavor profile. This dessert celebrates that timeless pairing, offering a refreshing escape with every bite. Whether you’re a long-time fan of mint chocolate chip ice cream or just discovering this delightful duo, this lush dessert is sure to become a new favorite. It’s particularly fitting for early spring celebrations, such as St. Patrick’s Day with its festive green hue, or as a light and refreshing option for Easter gatherings. Its vibrant layers are not just a feast for the taste buds but also a visual delight, promising an elegant finish to any meal.
Crafting Perfection: A Deep Dive into Each Layer of Your Chocolate Mint Lush
1. The Irresistible Oreo Crust
Every great layered dessert starts with a solid foundation, and our Chocolate Mint Lush is no exception. The base features a buttery, crumbly crust made from crushed Oreo cookies. For an extra punch of mint, consider using mint-flavored Oreos – a simple switch that elevates the flavor profile even further. The key is to process the cookies into a fine, sandy texture and then bind them with melted unsalted butter. Pressing this mixture firmly and evenly into your 8×8 inch baking dish ensures a compact crust that holds up beautifully to the creamy layers above. This creates a satisfying crunch that contrasts wonderfully with the smooth fillings, providing that essential textural dimension.
2. The Refreshing Mint Cream Cheese Layer
Next, we introduce the vibrant heart of our dessert: a rich and tangy cream cheese layer infused with cool mint. Softened cream cheese is whipped together with confectioner’s sugar to achieve a smooth, airy consistency. The magic happens with the addition of crème de menthe, which imparts both its distinctive mint flavor and a beautiful green tint, making it visually striking. For a non-alcoholic version, mint extract works perfectly, allowing you to control the intensity of the mint and the shade of green with a few drops of food coloring. This layer adds a delightful tang and creamy richness that balances the sweetness of the other components, creating a refreshing burst of flavor.
3. The Velvety Chocolate Pudding Layer
Building on the minty foundation, a decadent layer of instant chocolate pudding provides a comforting depth of flavor. Prepared according to package directions using cold milk, this layer is intentionally kept simple to allow the mint to shine while still satisfying any chocolate cravings. The smooth, cool texture of the pudding complements the cream cheese and crust, creating a harmonious transition between each bite. Ensure it’s well-chilled before spreading gently over the cream cheese layer to prevent it from mixing and to maintain those distinct, beautiful layers.
4. The Cloud-like Whipped Cream Topping
Crowning this masterpiece is a generous layer of freshly whipped cream. Light, airy, and delicately sweetened with confectioner’s sugar, this topping adds a luxurious finish and a final touch of creamy indulgence. For a sturdier topping that holds its shape longer, especially if transporting the dessert or preparing it further in advance, you can opt for a stabilized whipped cream recipe or simply use a thawed whipped topping. This final layer not only looks inviting but also provides a cooling contrast to the richer elements below, making each spoonful a pure delight.
Commonly Asked Questions About Your No-Bake Chocolate Mint Lush
Can this dessert be made with store-bought whipped topping?
Absolutely! While homemade whipped cream offers a superior fresh taste and texture, a thawed whipped topping like Cool Whip is a fantastic, convenient alternative. It’s already stabilized, meaning it will hold its shape beautifully and save you a step in preparation, making this already easy no-bake dessert even quicker to assemble. Just be sure to thaw it thoroughly in the refrigerator before using to ensure a smooth, spreadable consistency that integrates well with the other layers.
What if I prefer a brownie crust over an Oreo crust?
While a brownie crust would certainly add another layer of rich chocolate flavor and a different texture, it’s important to note that this would typically mean your dessert is no longer entirely ‘no-bake,’ as brownies usually require baking. However, you have a couple of options: you could bake your favorite brownie recipe, let it cool completely, then press it into the bottom of the dish. Keep in mind that brownies can become quite firm when chilled, altering the overall texture of the crust. Alternatively, for a truly no-bake experience, purchase pre-baked brownies from your local bakery or grocery store, crumble them, and mix with a little melted butter before pressing them down. This retains the no-bake convenience while introducing a different kind of rich base.
Can I freeze this Chocolate Mint Lush?
Yes, you can absolutely freeze lush desserts! This is a great option for meal prepping ahead of a party or saving leftovers for future enjoyment. To freeze, ensure your baking dish is freezer-safe. Cover the dessert tightly with at least two layers of plastic wrap, followed by a layer of aluminum foil, ensuring no air gaps to prevent freezer burn. It can be stored in the freezer for up to 3 months. When you’re ready to enjoy, transfer the dessert to the refrigerator to thaw overnight. Be aware that freezing can sometimes introduce extra moisture, which might slightly affect the firmness of the layers upon thawing, but the taste will remain wonderfully intact.
How can I make this dessert non-alcoholic?
Making this lush dessert non-alcoholic is incredibly simple and doesn’t compromise on flavor. Instead of crème de menthe, use 1 to 2 teaspoons of mint extract. Start with one teaspoon and add more to taste, as extracts can be quite potent. To achieve that signature green color, incorporate a few drops of green food coloring until you reach your desired shade, remembering that the color may deepen slightly over time as it sets. If the mixture seems too thick without the liqueur, you can add a small splash of milk (about 1-2 tablespoons) to reach a smooth, spreadable consistency, ensuring it layers beautifully.
What’s the best way to serve and store this dessert?
For optimal presentation and flavor, always keep your No-Bake Chocolate Mint Lush refrigerated until just before serving. Chilling is crucial as it allows all the layers to firm up properly, ensuring clean, beautiful slices when you cut into it. Serve it cold to enjoy the refreshing contrast of mint and chocolate. To store leftovers, cover the baking dish tightly with plastic wrap or aluminum foil, or transfer individual portions to airtight containers. It will remain fresh and delicious in the refrigerator for up to 3 days. Beyond that, the textures might start to soften, though it will still be perfectly edible.
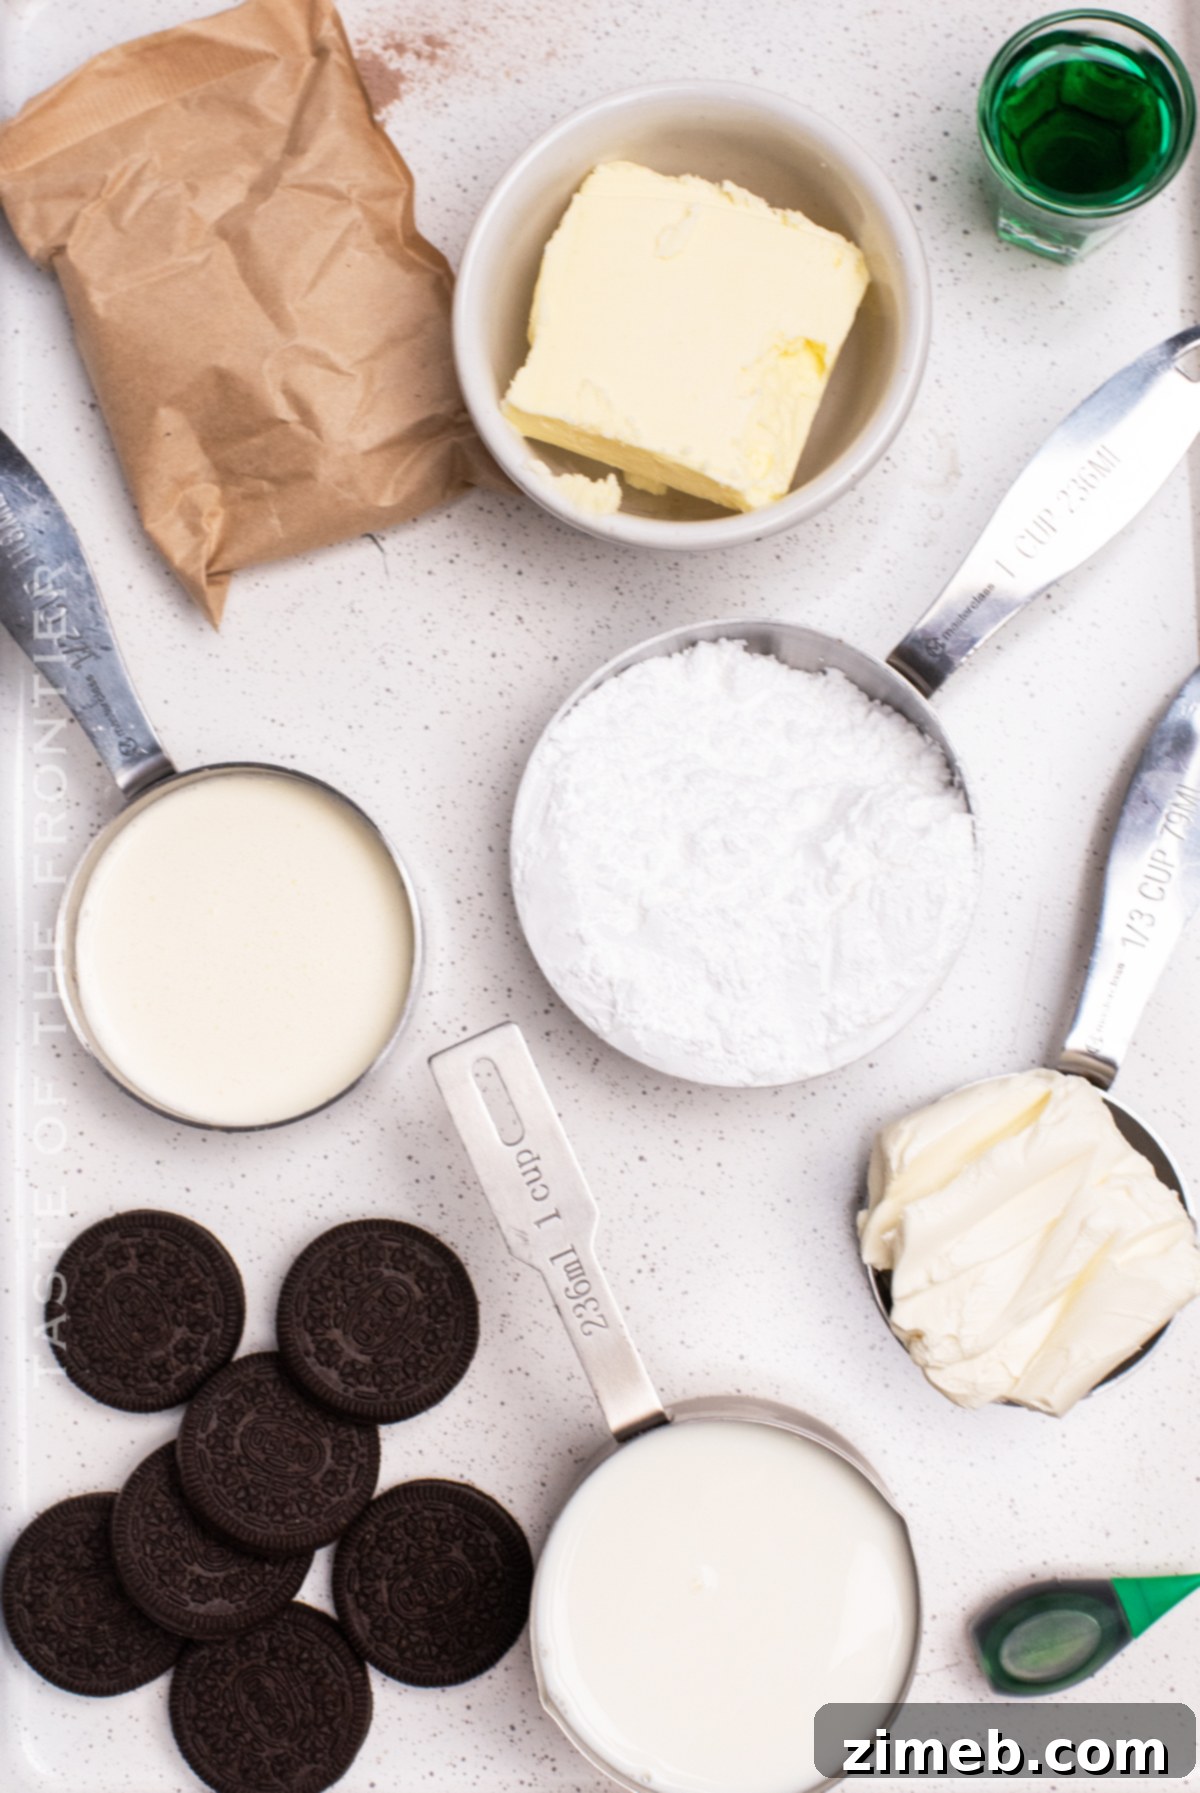
Ingredients for Your Decadent Mint Lush
Chocolate Layer
- 1 package instant chocolate pudding (plus 2 cups of milk for preparation)
Crust
- 20-25 Oreo cookies
- ¼ cup unsalted butter, melted
Cream Cheese Layer
- 8 ounces cream cheese, softened
- 1 cup confectioner’s sugar
- ¼ cup creme de menthe (or mint extract for non-alcoholic)
Whipped Cream Layer
- 1½ cups heavy cream
- ¼ cup confectioner’s sugar
Pro Tip: Use mint Oreos for an even bolder mint flavor!
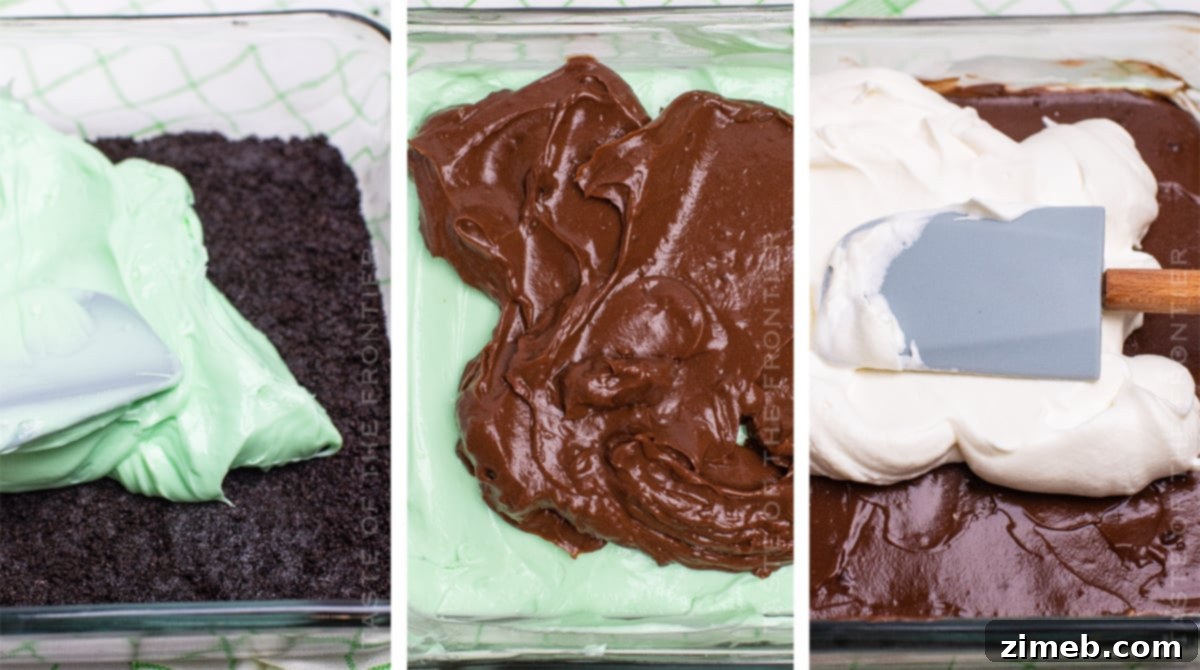
How to Make Your No-Bake Chocolate Mint Lush
- In a medium mixing bowl, prepare the instant chocolate pudding according to the package directions, ensuring it’s smooth and lump-free. Place the prepared pudding in the refrigerator to chill and set while you prepare the other layers.
- Place the Oreo cookies in a food processor and pulse until you have medium-fine crumbs. Alternatively, place them in a Ziploc bag and crush them with a rolling pin.
- Transfer the crumbs into a medium bowl and mix thoroughly with the melted unsalted butter until well combined.
- Press the crumb mixture evenly and firmly into the bottom of an 8×8 inch baking dish. Reserve approximately ¼ cup of the mixture for sprinkling on top as a garnish later, if desired. Place the crust in the refrigerator to set for at least 15-20 minutes.
- While the crust chills, prepare the cream cheese layer. In a separate bowl, beat together the softened cream cheese and confectioner’s sugar until the mixture is light, creamy, and smooth.
- Add the crème de menthe to the cream cheese mixture and continue mixing until it is well blended and achieves a uniform green color. If using mint extract for a non-alcoholic version, add 1-2 teaspoons of mint extract and several drops of green food coloring until your desired shade of green is reached. Remember that the color may intensify slightly over time. If the mixture appears too thick, a splash of milk (1-2 tablespoons) can be added to thin it slightly for easier spreading. Chill this layer in the refrigerator.
- For the final layer, make the whipped cream. In a clean, cold bowl, whip the heavy cream and confectioner’s sugar together using an electric mixer until medium peaks form. Be careful not to over-whip, as it can turn grainy. Set aside in the refrigerator.
- Once all layers are chilled and ready, remove them from the refrigerator and begin assembling the dessert.
- Evenly spread the mint cream cheese layer over the chilled Oreo crust. An offset spatula works wonderfully for smooth application.
- Gently spread the chocolate pudding layer on top of the cream cheese layer, taking care not to mix the layers.
- Finally, top with the whipped cream layer, spreading it smoothly across the pudding.
- Refrigerate the assembled dessert for at least two hours (or preferably longer, up to 4-6 hours) to allow all the layers to set firmly and the flavors to meld beautifully.
- When ready to serve, sprinkle with the remaining Oreo crumbs on top (if desired) for an attractive garnish and added crunch.
Tips for a Picture-Perfect No-Bake Chocolate Mint Lush
- Use High-Quality Ingredients: The better the quality of your chocolate pudding and cream cheese, the richer and more satisfying your dessert will taste. Premium ingredients truly make a difference in no-bake recipes.
- Chill Time is Key: Do not rush the chilling process between layers or the final chill. This is absolutely essential for the dessert to set properly, ensuring that each layer remains distinct and your slices are clean and beautiful.
- Gentle Spreading: When spreading the soft pudding and whipped cream layers, do so gently and carefully to avoid disturbing the layers underneath. An offset spatula can be a fantastic tool for achieving smooth, even layers.
- Garnish for Impact: A simple garnish can elevate your dessert’s presentation. A sprinkle of extra crushed Oreos, elegant chocolate shavings, or a fresh mint sprig can add a beautiful finishing touch and enhance the dessert’s overall appeal.
- Adjust Mint Intensity: Feel free to adjust the amount of crème de menthe or mint extract to your personal preference. Some prefer a subtle hint, while others enjoy a bolder mint flavor.
- Room Temperature Cream Cheese: Ensure your cream cheese is properly softened to room temperature before beating. This will help prevent lumps in your cream cheese layer, resulting in a perfectly smooth consistency.
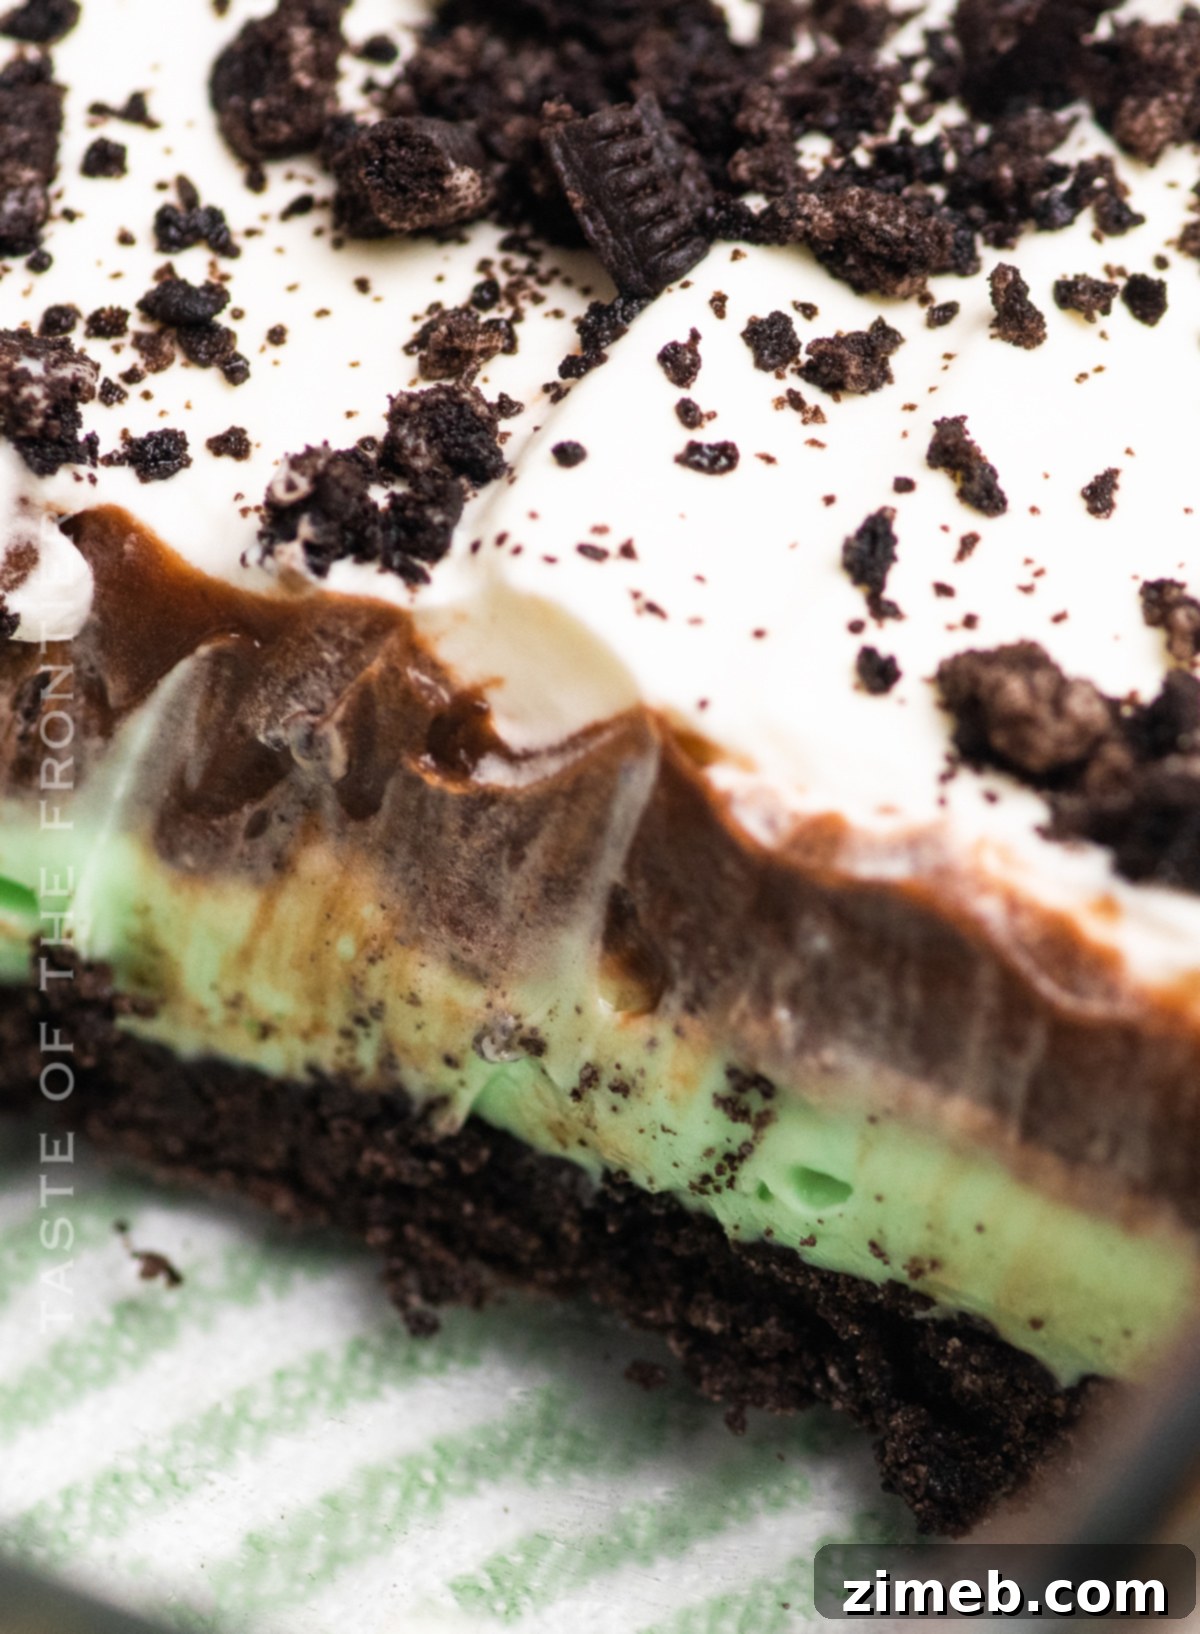
Products I Love When Making This Easy No-Bake Dessert…
This mint lush recipe is SUPER EASY and delicious – and if you’re like me this time of year, then you maybe already have some of these items on hand OR maybe you have never made homemade lush dessert before, & you might be a bit nervous – but you’re going to love it. I have made a list below of the things I absolutely can’t live without when it comes to making this easy treat recipe. (you can also SHOP MY FAVORITES in my store)
- Casserole Dish
- Electric Mixer
- Measuring Cups and Spoons
- Rubber Spatula
- Offset Spatulas
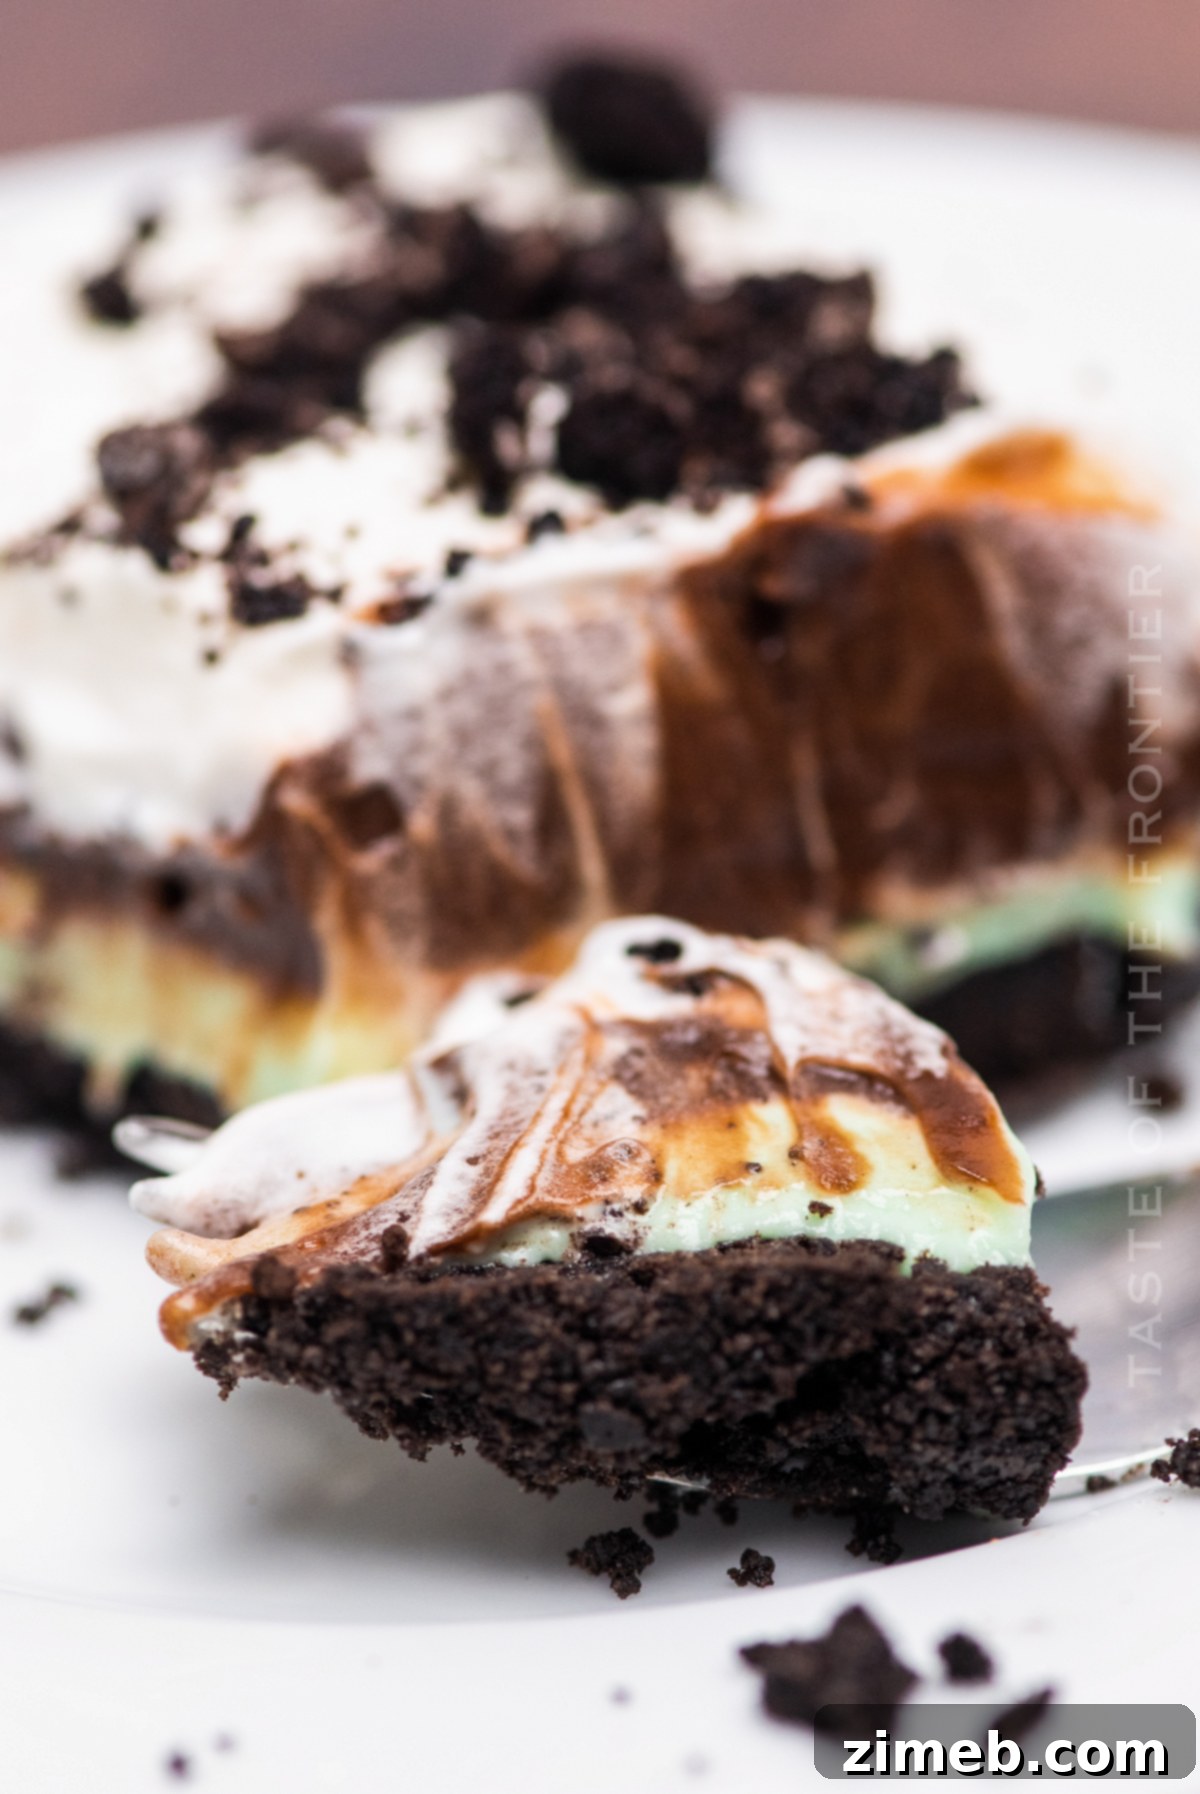
Why This No-Bake Chocolate Mint Lush Will Be Your New Favorite
From its effortless preparation to its stunning visual presentation and absolutely delightful flavor, the No-Bake Chocolate Mint Lush is truly a standout dessert. It’s the perfect solution for anyone craving a decadent treat without the fuss of baking. Whether you’re celebrating a holiday, hosting a gathering, or simply treating yourself, this recipe delivers on all fronts: ease, beauty, and an unforgettable taste. Prepare to impress your family and friends with this refreshing, creamy, and utterly delicious layered dessert that brings joy with every spoonful.
More Easy No-Bake Desserts You’ll Love
If you love this easy Chocolate Mint Lush Dessert recipe, you’re going to love these other no-bake treats too. Please click each link below to find the easy, printable recipe!

No-Bake Cheesecake Cups
No-Bake Cheesecake Cups are a quick dessert recipe perfect for any occasion. These ones are patriotic for the 4th of July! Definitely the BEST cheesecake in a jar – ever!
Check out this recipe
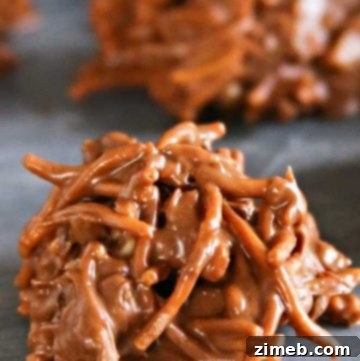
No-Bake Chocolate Haystacks
No-Bake Chocolate Haystacks are a classic holiday treat. They are easy to make with just 4 ingredients, PLUS they keep well when included in care packages.
Check out this recipe
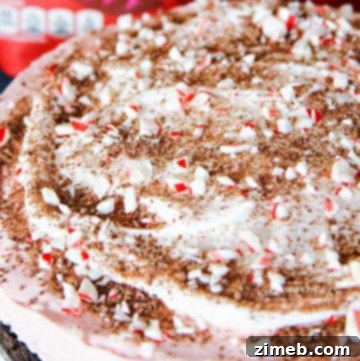
No-Bake Peppermint Cheesecake
No-Bake Peppermint Cheesecake with a chocolate cookie crust, crushed candy canes & finely grated dark chocolate is perfect for the busy holiday season. Such an easy & delicious dessert that everyone loves!
Check out this recipe
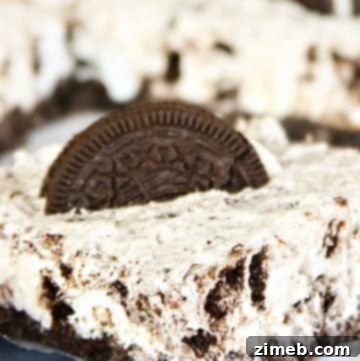
No-Bake Oreo Cheesecake
No-Bake Oreo Cheesecake is a simple & easy dessert recipe for OREO & cheesecake lovers alike. Perfect for parties, holidays & potlucks. It’s delicious!
Check out this recipe

Banana Split Cake
Banana Split Cake is an easy no-bake dessert that’s perfect for any occasion. Quick to make, great for birthdays, BBQs, game day & more!
Check out this recipe
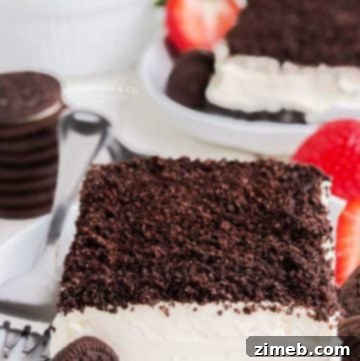
Dirt Cake Recipe
This Dirt Cake Recipe is made with crushed Oreo cookies layered with a luscious pudding mixture. It’s the easiest no-bake dessert around!
Check out this recipe

Peanut Butter Pie
If you love peanut butter then this no-bake peanut butter pie will be your new favorite dessert. Simple & easy no-bake goodness that everyone will love.
Check out this recipe
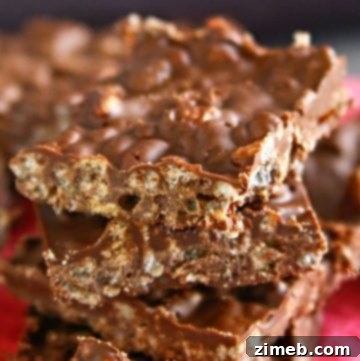
Homemade Crunch Bars
Homemade Crunch Bars are an easy to make 3-ingredient recipe. If you love rich, chocolaty crisp candy bars, you will love this quick no-bake recipe.
Check out this recipe
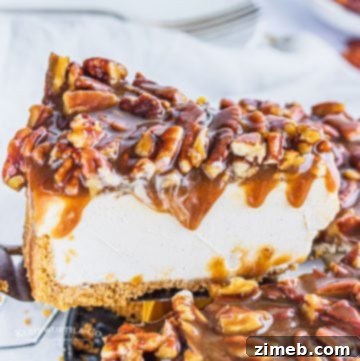
No-Bake Pecan Pie Cheesecake
This easy to make No-Bake Pecan Pie Cheesecake is rich and decadent making it the perfect dessert for any holiday or occasion.
Check out this recipe
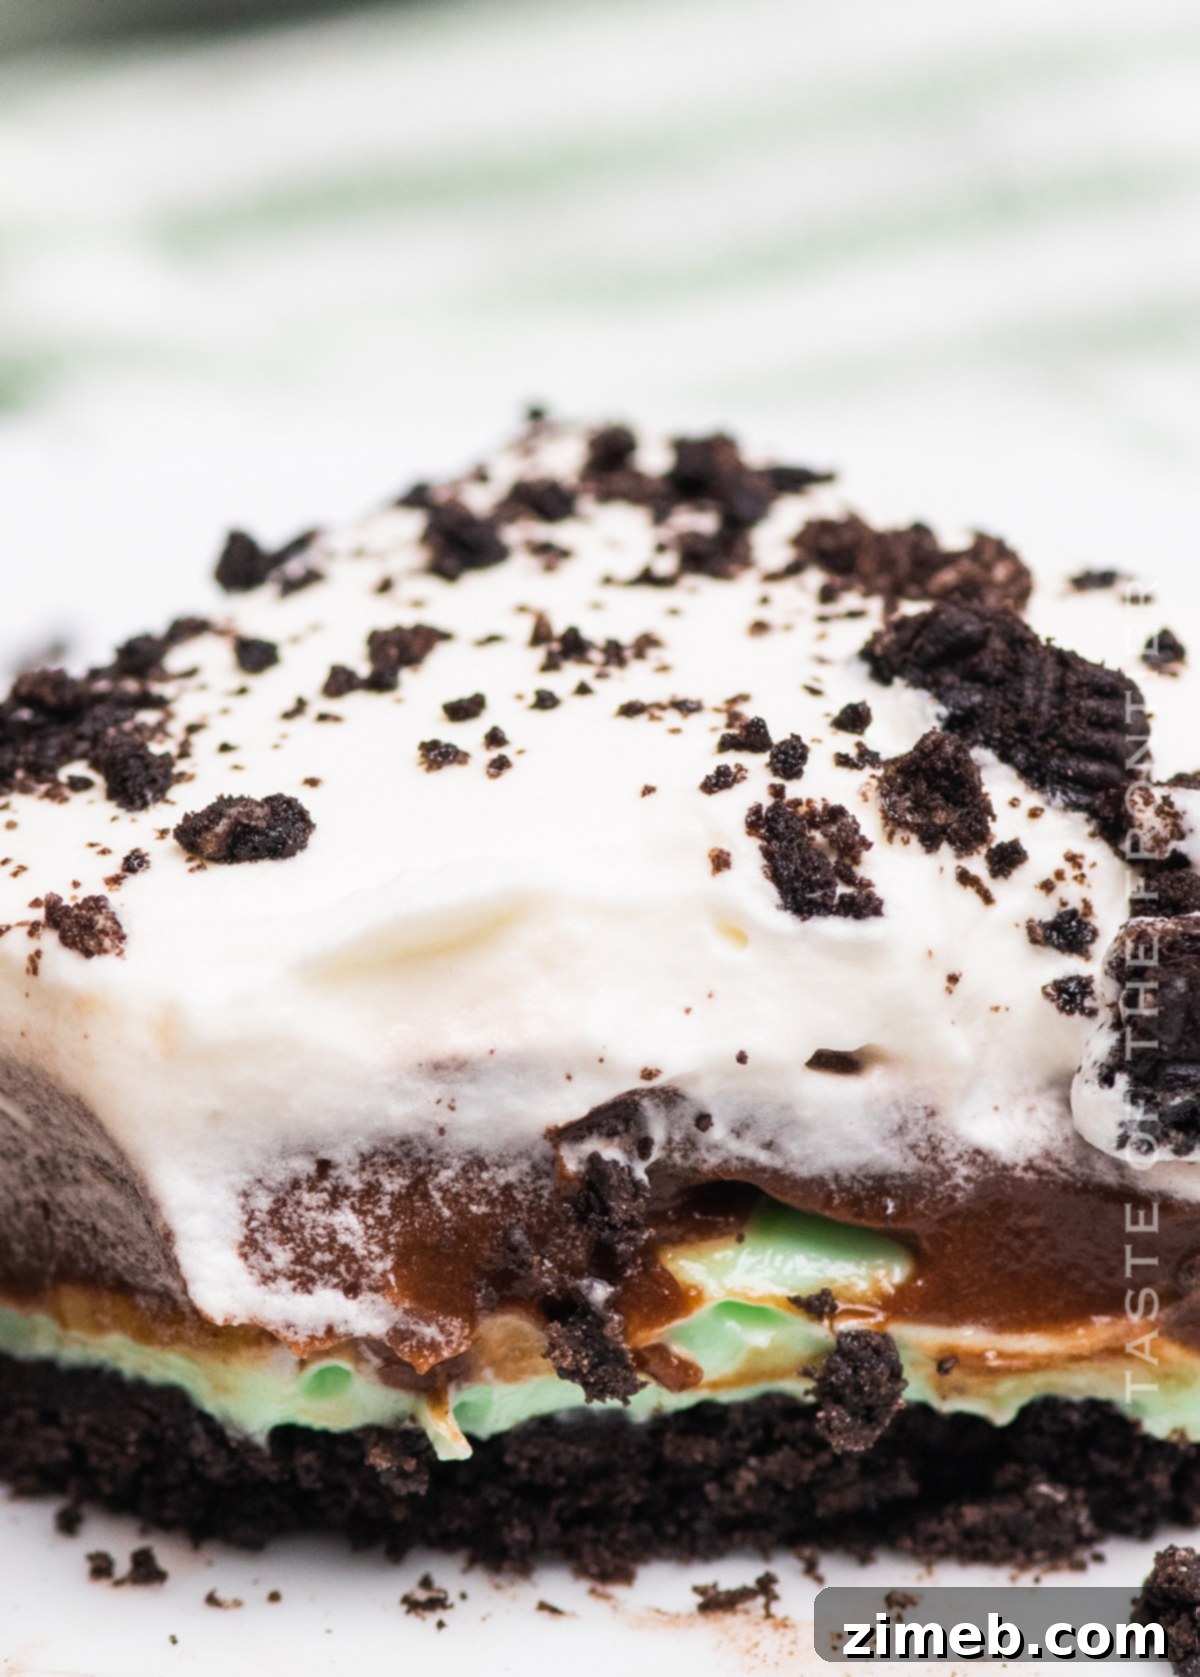
If you love this recipe for No-Bake Chocolate Mint Lush Dessert as much as I do, please write a five-star review, and be sure to help me share on Facebook and Pinterest!
CONNECT WITH YUMMI HAUS!
Be sure to follow me on my social media, so you never miss a post!
Substack, FB, Pinterest, IG, Email Subscription
No-Bake Chocolate Mint Lush Dessert
Course: Dessert, Snack
Servings: 16 squares
You’ll love this No-Bake Chocolate Mint Lush Dessert made with layers of crushed oreo, chocolate and mint pudding, and whipped cream.
Prep Time: 30 mins
Chill Time: 2 hrs
Total Time: 2 hrs 30 mins
Ingredients
Chocolate Layer
- 1 package instant chocolate pudding (+ 2 cups of milk)
Crust
- 20-25 Oreo cookies
- ¼ cup unsalted butter, melted
Cream Cheese Layer
- 8 ounces cream cheese, softened
- 1 cup confectioner’s sugar
- ¼ cup creme de menthe
Whipped Cream Layer
- 1½ cups heavy cream
- ¼ cup confectioner’s sugar
Instructions
- In a medium mixing bowl, prepare the pudding according to directions on the box.
- Place in the refrigerator until ready to use.
- Place Oreos in the food processor and process until you have medium-fine crumbs.
- Transfer the crumbs into a medium bowl and mix with the melted butter.
- Press the crumb mixture evenly into the bottom of an 8×8 baking dish (saving approximately 1/4 cup of the mixture for sprinkling on top once it is assembled of desired).
- Place in refrigerator to set.
- While bottom sets, make cream cheese layer by beating together the cream cheese and confectioner’s sugar until creamy.
- Add creme de menthe and mix until blended together well. If using mint extract – you can add several drops of food coloring until you reach the desired shade of green – keeping in mind that the color will intensify over time. You can also add in a splash of milk to thin the mixture if it is too thick to spread without the creme de menthe.
- Chill in the refrigerator.
- Make the whipped cream by whipping together the heavy cream and confectioner’s sugar until medium peaks form. Set aside.
- Remove all of the ingredients from the refrigerator and begin assembling the dessert.
- Evenly spread the cream cheese layer onto the Oreo crust, then gently spread pudding layer on top of the cream cheese, and then top with whipped cream layer. Refrigerate for at least two hours.
- Sprinkle with remaining Oreo crumbs on top (if Desired) when ready to serve.
Notes
- You can eliminate creme de menthe and use 1-2 tsp of mint extract if you want a non-alcoholic dessert.
- Oreo crumbs can be substituted for the Oreo cookies.
- Serve within 3 days for the best taste.
Nutritional information for the recipe is provided as a courtesy and is approximate. Please double-check with your own dietary calculator for the best accuracy. We at Yummi Haus cannot guarantee the accuracy of the nutritional information given for any recipe on this site.
Love this recipe? Follow @KleinworthCo for even more tasty recipes!