
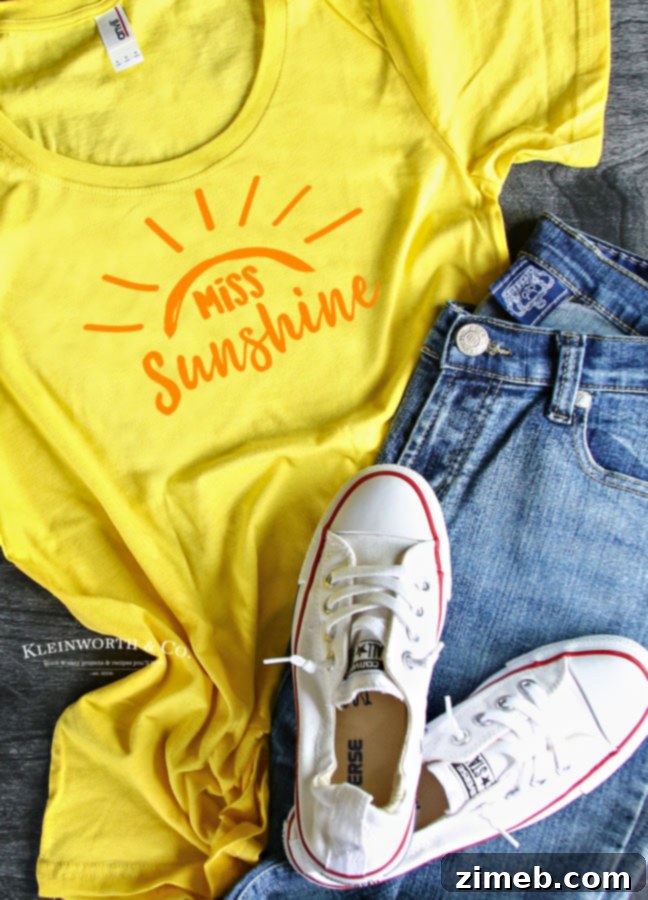
Unleash Your Inner Radiance: Crafting the Perfect ‘Miss Sunshine’ T-Shirt with Cricut and Heat Transfer Vinyl
Are you searching for a delightful and straightforward Cricut project that brings a burst of joy to your wardrobe? Look no further! This enchanting “Miss Sunshine” T-Shirt Iron-On is not just a craft; it’s a statement piece, designed to spread positivity and style all summer long. Imagine wearing your own personalized creation, radiating happiness wherever you go. With the magic of your Cricut machine and the versatility of heat transfer vinyl (HTV), you can bring this adorable design to life quickly and effortlessly. Just download the design, easily cut it in Cricut Design Space, and iron it onto your favorite t-shirt to create a unique garment that truly shines.
There’s an undeniable charm in crafting your own graphic t-shirts, isn’t there? We absolutely adore the process of transforming a plain tee into a personalized masterpiece. In our home, the phrase “that would make a great shirt” is practically a mantra! So, when I constantly referred to my wonderfully cheerful daughter as “Miss Sunshine,” I knew instinctively that I had to create a shirt that celebrated her vibrant spirit. And now, I’m thrilled to share this heartwarming Miss Sunshine T-Shirt Iron-On project with you, so you can craft one for yourself or for that special someone who brightens every room they enter.
My daughter’s infectious smile and friendly disposition are frequently complimented, especially when she’s at work. It’s a quality I deeply admire about her. She possesses an incredible ability to find the silver lining in every situation, a truly positive outlook that inspires everyone around her. This “Miss Sunshine” t-shirt isn’t just a garment; it’s a perfect emblem of her joyful nature. It’s a wearable reminder that even on the cloudiest days, there’s always a ray of sunshine to be found. This project offers a wonderful opportunity to honor that special quality in someone you cherish, or to infuse your own day with a little extra positivity.
The Enduring Appeal of DIY Graphic T-Shirts
In an era of mass-produced fashion, creating your own graphic t-shirts stands out as a unique form of self-expression. It allows you to wear your personality, share your passions, or even convey a meaningful message. Beyond the personal satisfaction of making something with your own hands, DIY t-shirts offer unparalleled customization. You choose the design, the colors, the font, and even the type of t-shirt, ensuring a truly one-of-a-kind result. This level of personalization is simply unmatched by store-bought options, making every craft project a truly special endeavor. Whether you’re making a gift, commemorating an event, or simply updating your wardrobe, DIY graphic tees are a fantastic way to add a personal touch.
Understanding Heat Transfer Vinyl (HTV) for Beginners
For those new to the world of Cricut and custom apparel, Heat Transfer Vinyl, or HTV, is a game-changer. It’s a special type of vinyl that can be cut into designs and then heat-applied to various fabrics, becoming a permanent part of the material. HTV comes in a vast array of colors, textures, and finishes – from glossy and matte to glitter, holographic, metallic, and even puff vinyl. Each type offers a different aesthetic, allowing for endless creative possibilities. For projects like our “Miss Sunshine” shirt, standard or glitter HTV works beautifully, offering vibrant colors and a smooth, durable finish that withstands countless washes when applied correctly. Understanding the basics of HTV, including its different types and how to work with them, is key to achieving professional-looking results every time.
Getting Started: What You Need for Your Cricut T-Shirt Project
Embarking on your “Miss Sunshine” t-shirt journey is exciting, and with the right tools and a clear understanding of the process, it’s incredibly rewarding. Before we dive into the step-by-step instructions, let’s ensure you have everything you need for a smooth crafting experience. Having all your materials organized and ready will make the entire project much more enjoyable and efficient. This project is perfect for crafters of all skill levels, from beginners just getting acquainted with their Cricut to experienced users looking for a fun, quick win.
Summer Cricut Projects: Crafting Fun for Warm Weather
This post contains some affiliate links, which means I may earn a small commission if you make a purchase through them, at no extra cost to you. Click here to read my full disclosure policy. Your support helps keep this blog running and allows me to continue sharing exciting DIY projects!
Step-by-Step Guide: Crafting Your ‘Miss Sunshine’ T-Shirt
The process of creating your custom “Miss Sunshine” t-shirt is surprisingly simple and incredibly rewarding. It breaks down into a few key stages: preparing your design, cutting the vinyl, weeding away excess material, and finally, applying it to your shirt. Each step is crucial for a professional finish, but don’t worry – we’ll guide you through it. This straightforward workflow is what makes Cricut projects so popular and accessible, even for beginners. Let’s get crafting!
1. Preparing Your Design in Cricut Design Space
First, you’ll need to upload the “Miss Sunshine” image file (usually an SVG) to your Cricut Design Space software. Once uploaded, you can resize the design to fit your chosen t-shirt perfectly. Consider the size of the shirt and where you want the design to sit for optimal placement. A common mistake beginners make is forgetting to “mirror” the image. For iron-on (HTV) projects, it’s absolutely essential to select the “Mirror On” option in Design Space before cutting. This ensures that when you iron the design onto your fabric, it reads correctly and isn’t backward. Always double-check this setting!
2. Cutting Your Heat Transfer Vinyl
Once your design is prepped in Design Space and mirrored, place your heat transfer vinyl onto your Cricut cutting mat. Remember, the shiny, carrier sheet side of the HTV should always face down on the mat. This carrier sheet protects your design and helps transfer it to the fabric. Select the appropriate material setting in Design Space – typically “Heat Transfer Vinyl (Iron-On)” – and adjust the pressure if needed for intricate cuts. Load the mat into your Cricut machine and press the “Go” button. Your machine will then precisely cut your design, leaving the intricate details intact.
3. Weeding the Design
After the cutting is complete, unload your mat. This is where the weeding process begins. Weeding involves removing all the excess vinyl that you don’t want on your final design. Using a weeding tool (a sharp, hook-like tool), carefully peel away the vinyl from around your image and from inside any letters or intricate details. The carrier sheet will hold your actual design in place. Take your time with this step, especially for detailed designs, as clean weeding leads to a crisp, professional-looking finished product. It’s often helpful to work under good lighting to see all the cut lines clearly.
4. Ironing On Your Design
With your design perfectly weeded and ready, it’s time to apply it to your t-shirt. Lay your t-shirt flat on a hard, heat-resistant surface. Preheat your iron (on a high, dry setting with no steam) or your Cricut EasyPress to the recommended temperature for your specific type of HTV (check the vinyl manufacturer’s instructions for precise temperatures and times). Position your weeded HTV design, still on its carrier sheet, onto your t-shirt. Place a Teflon sheet or parchment paper over the design for added protection. Apply firm, even pressure with your iron or EasyPress for the recommended time. For best results, avoid moving the iron too much; lift and repress if covering a larger area. Once applied, let the design cool slightly before carefully peeling back the carrier sheet. Some HTV is “cool peel” (peel when cool), while others are “warm peel” (peel when still warm). Follow your vinyl’s instructions for the cleanest peel.
Choosing the Perfect Color for Your ‘Miss Sunshine’ Design
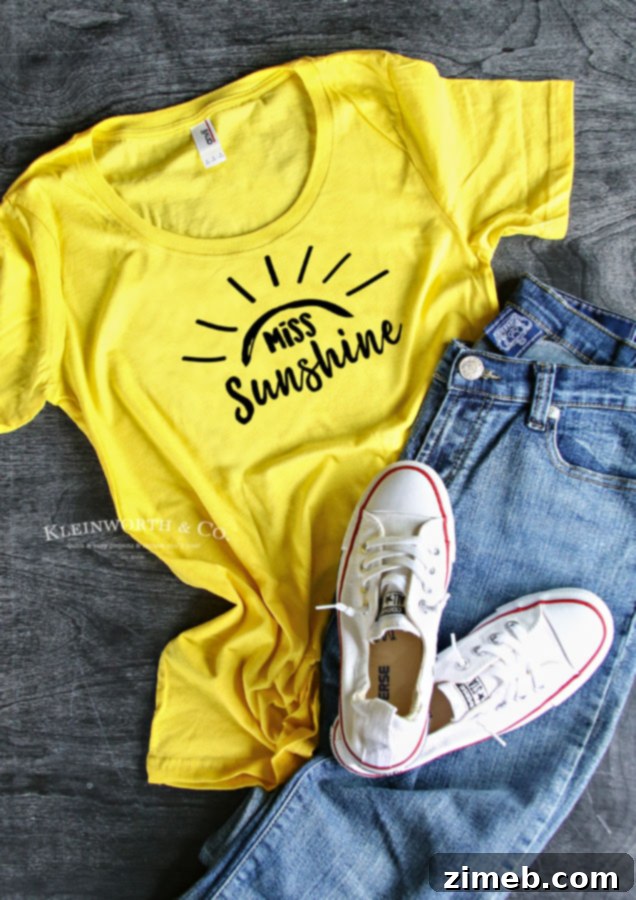
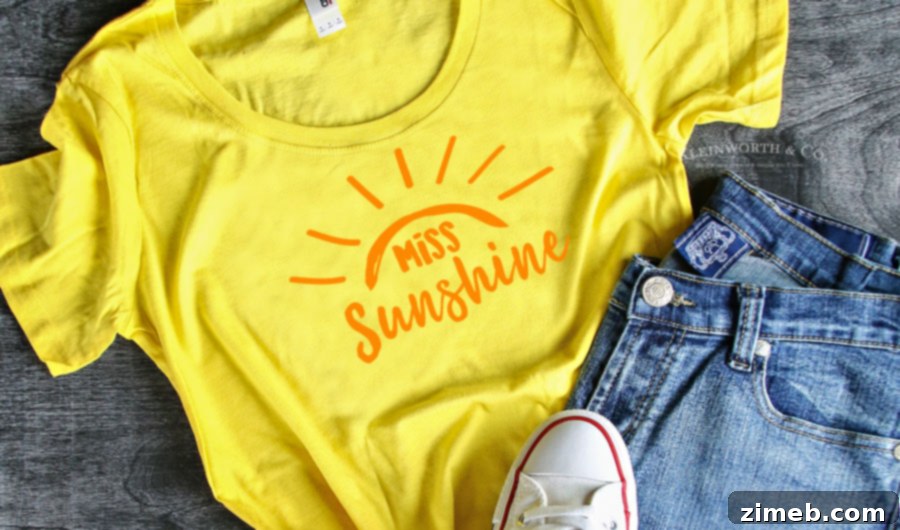
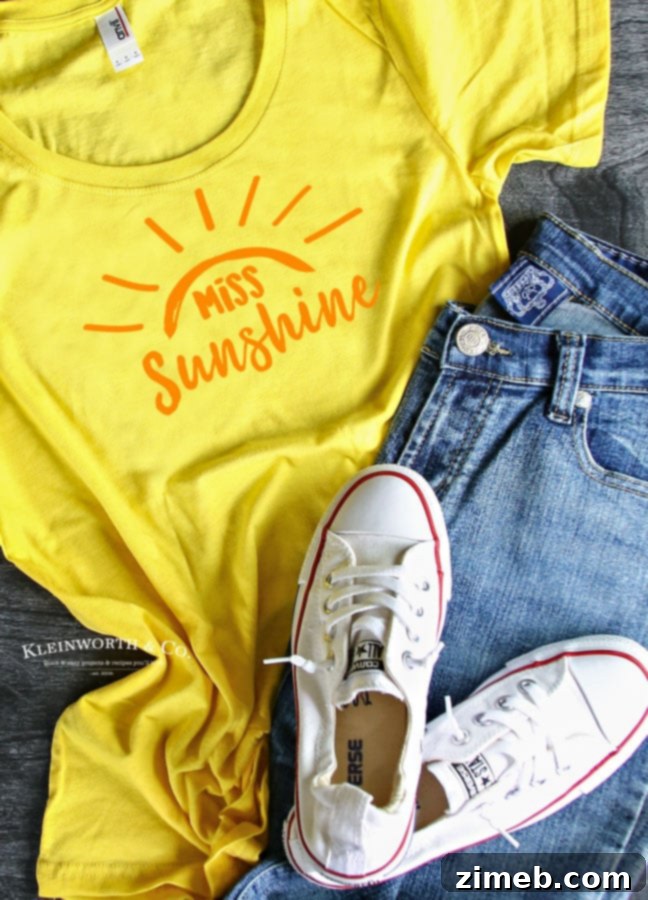
The color choice for your HTV can dramatically impact the final look and feel of your “Miss Sunshine” t-shirt. When I was initially designing this project, my first thought was to use white HTV. However, upon holding it up against the shirt, I realized it wouldn’t quite pop as I envisioned. Next, I experimented with black vinyl. While it offered excellent visibility and a sharp contrast, it didn’t quite capture the “sunny” vibe I was going for. Ultimately, we settled on a bright, cheerful orange, and it was absolutely perfect! The orange truly embodies the warmth and vibrancy of a sunny disposition. But don’t let my choice limit your creativity! A vibrant fuchsia would also look fantastic, offering a playful and energetic feel. Consider other bright, happy colors like yellow, lime green, or even a rainbow glitter HTV to truly make your “Miss Sunshine” design sparkle. The beauty of Cricut projects is the freedom to customize every detail to your personal taste.
Your Essential Toolkit for the ‘Miss Sunshine’ T-Shirt Iron-On
To ensure your “Miss Sunshine” t-shirt project goes smoothly and yields beautiful results, having the right tools and materials is paramount. Here’s a comprehensive list of what you’ll need. These items are generally standard for most HTV projects, making them excellent investments for any Cricut enthusiast:
- Cricut Machine: Whether it’s a Cricut Explore Air 2, Maker, or Joy, your cutting machine is the heart of this project.
- Heat Transfer Vinyl (HTV): Choose your favorite color and finish! Quality vinyl ensures durability and ease of application.
- T-shirt: Select a clean, pre-washed cotton or cotton-blend t-shirt for best adherence.
- Iron or Cricut Heat Press: A standard household iron can work, but a heat press (like the Cricut EasyPress) offers more consistent heat and pressure for professional results.
- StandardGrip Cutting Mat: Essential for holding your vinyl securely during the cutting process.
- Weeding Tool: This small, pointed tool is invaluable for removing excess vinyl with precision.
- Parchment Paper or Teflon Sheet: Used to protect your HTV and iron/heat press during application.
- Scraper Tool (Optional but recommended): Helps smooth vinyl onto the mat and can assist with burnishing.
If you know someone with an exceptionally sunny outlook on life, someone who truly embodies optimism and warmth, you simply *must* make this shirt for them! It’s a thoughtful, personalized gift that speaks volumes about their radiant personality. Or, treat yourself to this uplifting design and wear your own sunshine proudly.
Pro Tips for Flawless HTV Application and Long-Lasting Results
Achieving a durable and professional-looking HTV design requires a few best practices. Firstly, always pre-wash your t-shirt without fabric softener. This removes any sizing or chemicals that might interfere with vinyl adhesion. Secondly, perform a “pre-press” of your shirt for 5-10 seconds before applying the vinyl; this removes wrinkles and any lingering moisture. When ironing, ensure even pressure across the entire design. If you’re using an iron, remember to apply pressure directly down, not in a back-and-forth motion. Finally, allow your finished shirt to “cure” for at least 24 hours before its first wash. When washing, turn the garment inside out, use cold water, and tumble dry on low or hang dry. Avoid harsh detergents and bleach to preserve the vinyl’s integrity. Following these simple steps will ensure your “Miss Sunshine” t-shirt remains vibrant and beautiful for a long time.
Creative Variations and Expanding Your Cricut Skills
While the “Miss Sunshine” design is charming on a t-shirt, don’t limit your creativity! This design can be adapted for a variety of other items. Imagine it on a tote bag for your beach essentials, a personalized mug for morning coffee, or even a cute onesie for a little ray of sunshine in your life. Experiment with different colors of HTV, layering techniques, or even combining it with other Cricut materials like infusible ink for unique effects. Each project you undertake with your Cricut builds your skills and confidence, opening up a world of endless crafting possibilities. Think about other uplifting phrases or designs that resonate with you, and challenge yourself to create personalized gifts or home decor items.
Scroll to the bottom to DOWNLOAD your ‘Miss Sunshine’ T-Shirt Design!
How to Make Shirts with Heat Transfer Vinyl: A Deeper Dive
Making shirts with heat transfer vinyl is a cornerstone skill for any Cricut owner, and mastering it unlocks a world of personalization. The beauty lies in its simplicity and the professional finish it offers. From custom gifts for friends and family to creating branded merchandise or even launching a small apparel business, HTV is incredibly versatile. Understanding the nuances of different fabric types is also beneficial; while cotton and cotton-polyester blends are most common, HTV can also be applied to denim, canvas, and even wood with specific settings. Always check your HTV manufacturer’s recommendations for compatibility and application settings, as these can vary. With practice, you’ll develop an intuitive sense for temperature, pressure, and peeling techniques, allowing you to tackle increasingly complex and intricate designs with ease.
Looking for more fun Cricut ideas? Explore these fantastic projects:
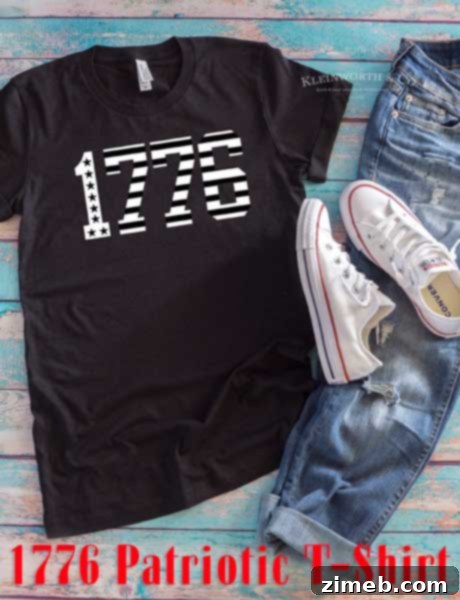
Craft a Patriotic Statement: The 1776 T-Shirt Project
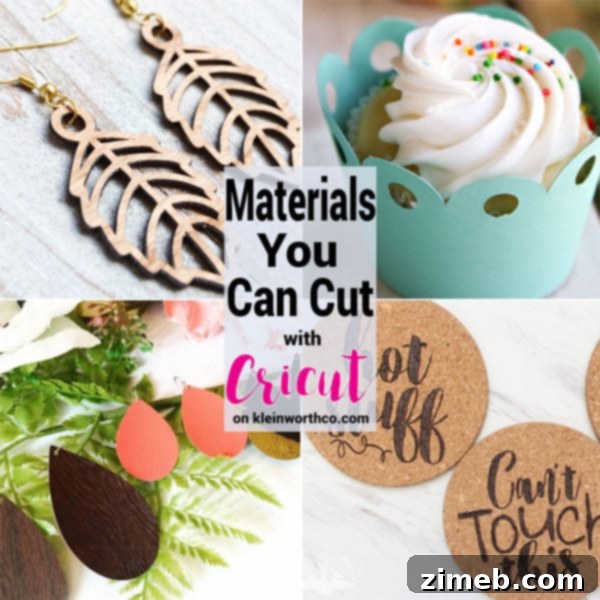
Unlock Your Cricut’s Full Potential: A Guide to Materials You Can Cut
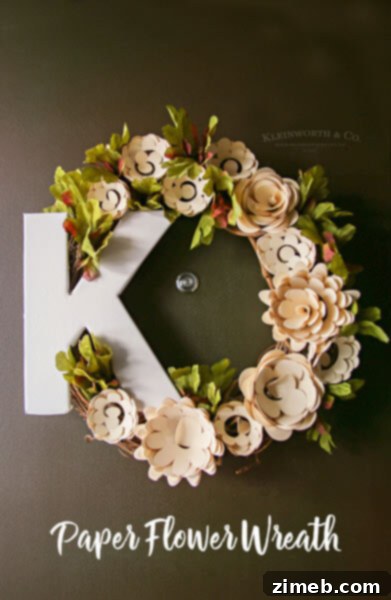
Elegant Home Decor: The Paper Flower Wreath Cricut Tutorial
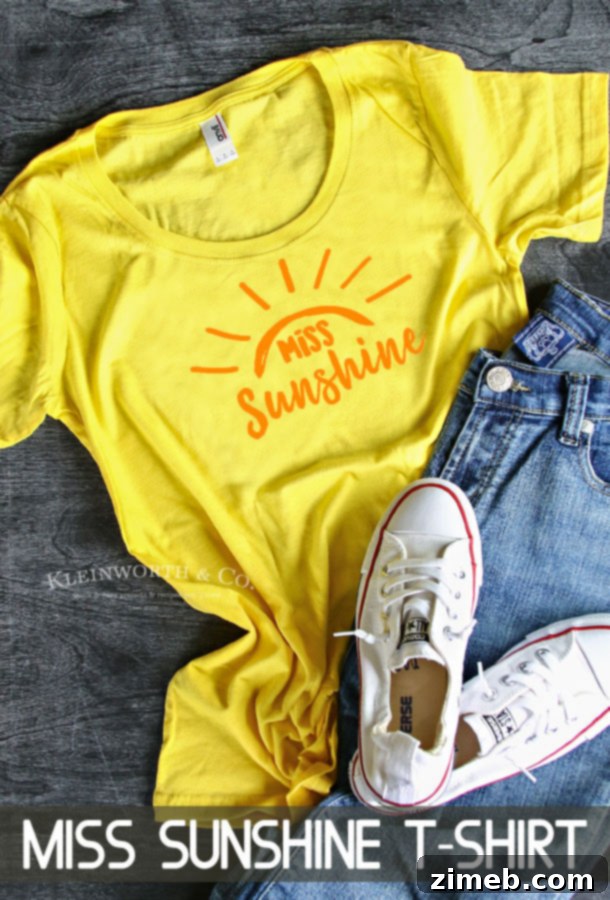
And don’t miss these fantastic ideas and tutorials from other talented bloggers to further ignite your crafting passion:
How to Iron HTV on a Mug: Expand Your Heat Transfer Vinyl Skills | Dream a Little Bigger
Over 50 EASY Cricut Projects for Beginners: Your Ultimate Crafting Starter Guide | Tastefully Frugal