
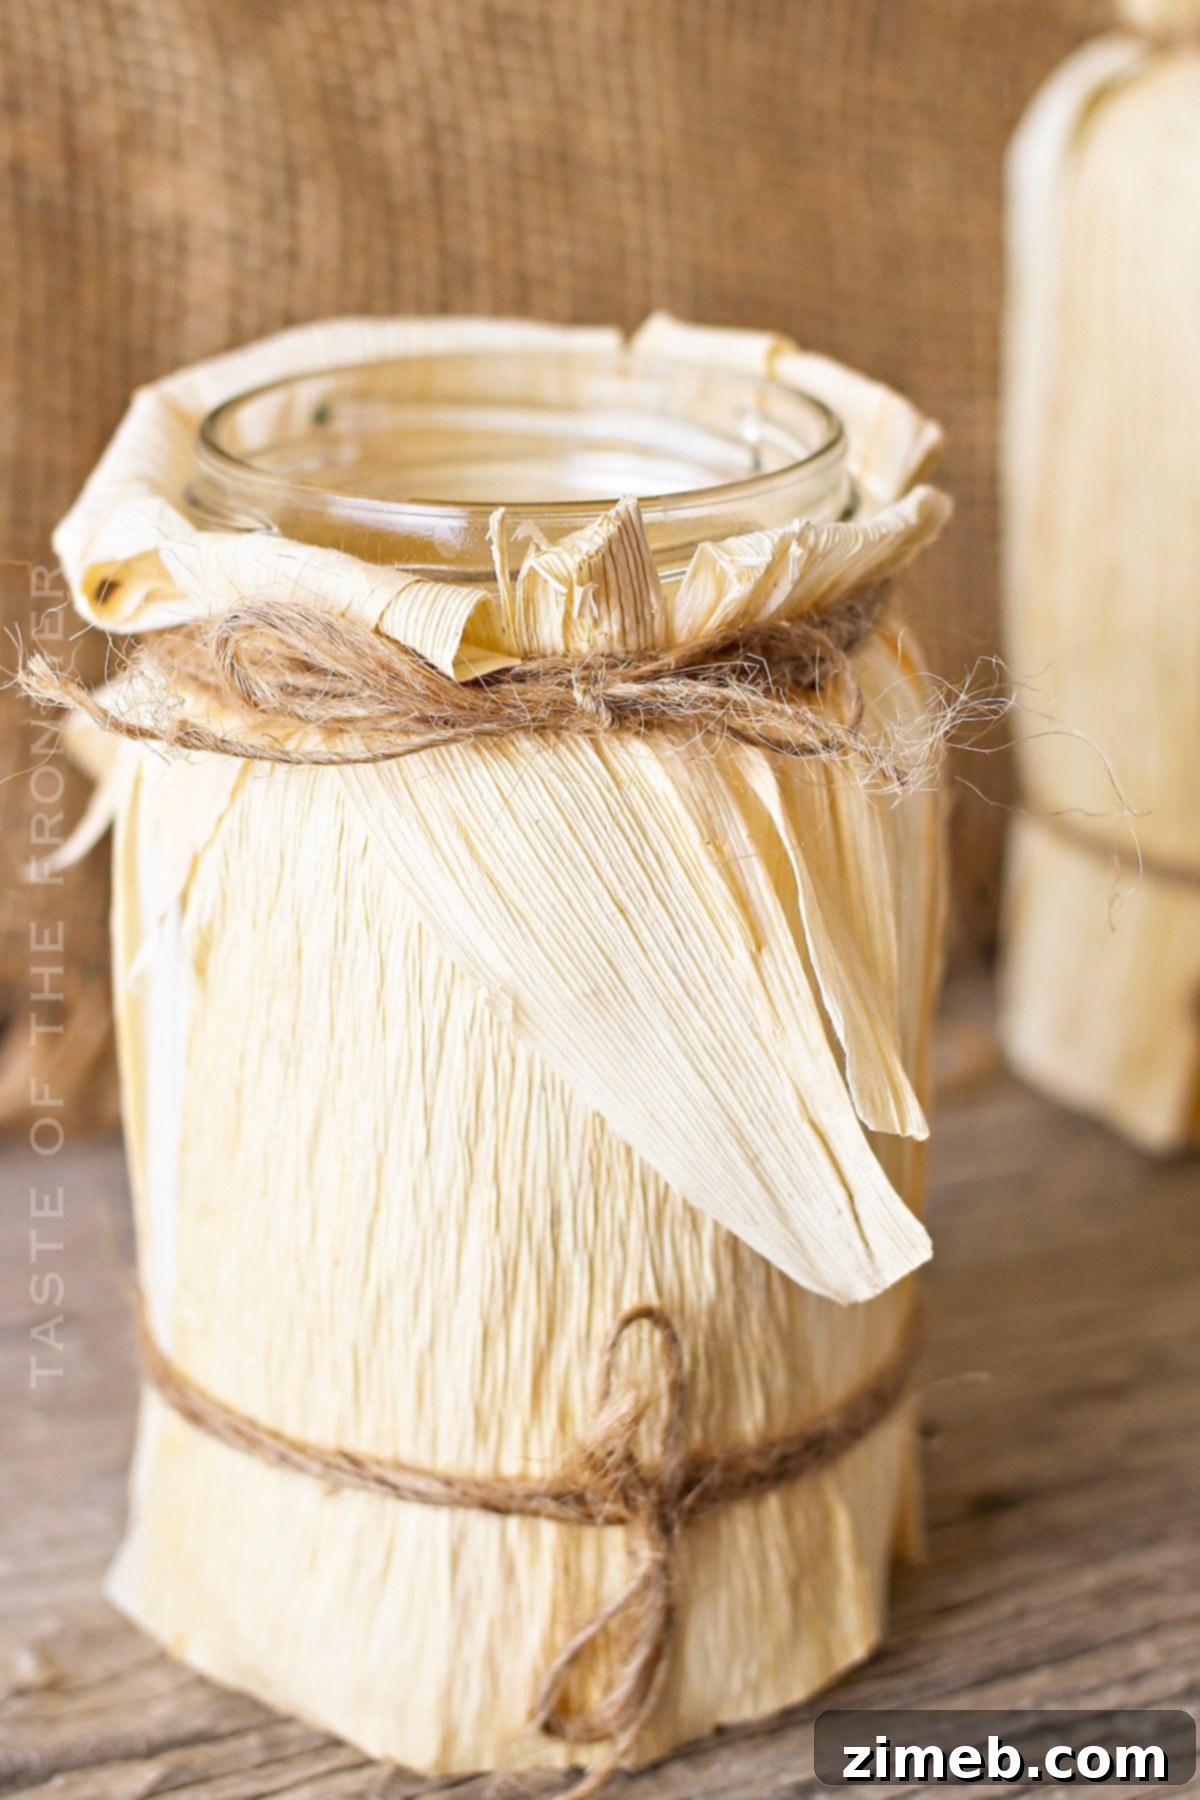
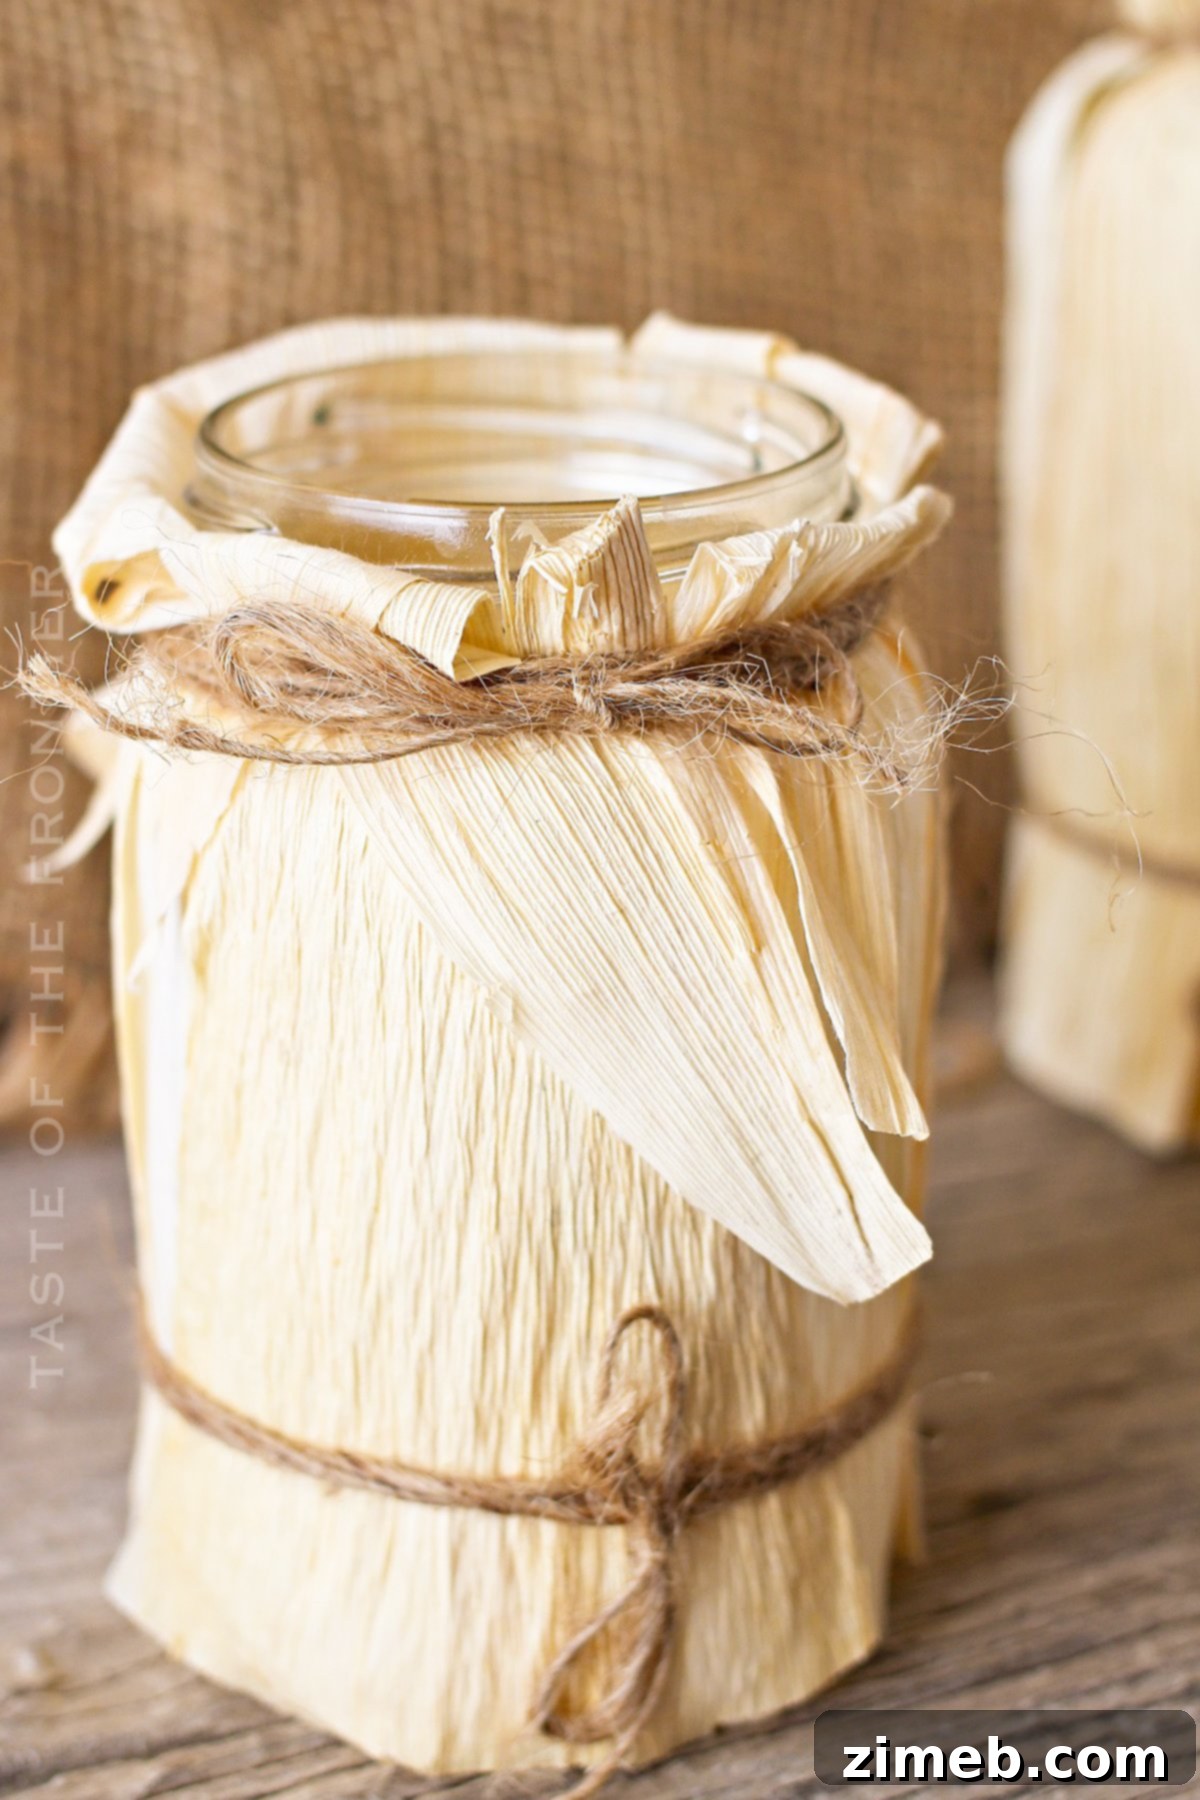
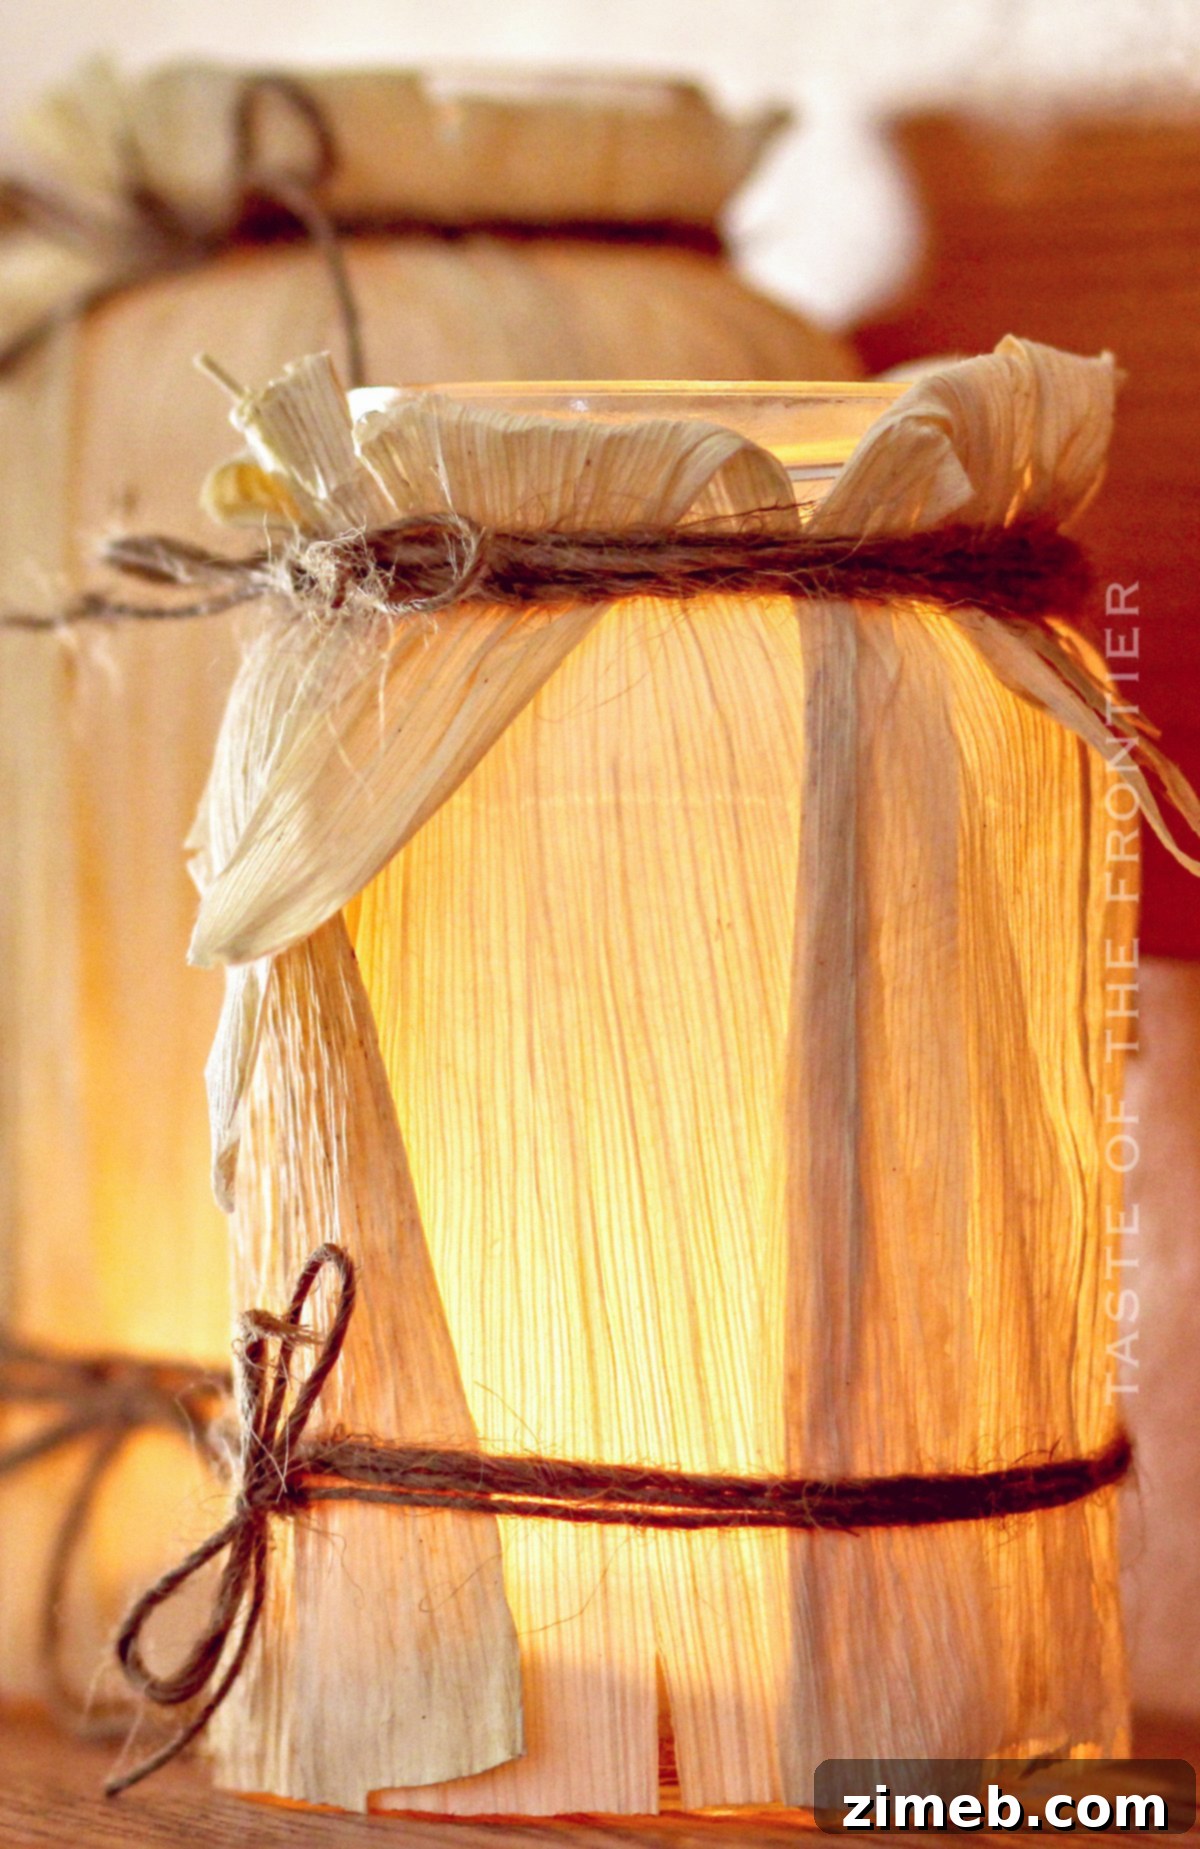
Transform your space with the enchanting glow of handcrafted Corn Husk Luminaries. These eco-friendly, visually stunning decorations offer a unique blend of rustic charm and seasonal warmth, perfect for any event or simply to brighten your home. Made from natural corn husks, these luminaries can be customized in various colors and styles, providing an inviting ambiance that celebrates the beauty of autumn.
As the leaves begin to turn and a crispness fills the air, there’s no better time to infuse your home with the cozy spirit of fall. Corn husk luminaries are an effortless and delightful DIY project that brings exactly this kind of seasonal magic. Requiring just a few simple supplies, these charming lights instantly elevate any setting, whether gracing your porch, adorning a mantelpiece, or serving as captivating centerpieces for your autumn gatherings and Halloween celebrations. Beyond their aesthetic appeal, these luminaries offer a sustainable crafting option, repurposing natural materials into beautiful decor. Dive into this guide to discover how to create your own captivating corn husk luminaries and illuminate your fall season with unique, handmade charm.
PIN THIS TO SAVE YOUR FALL DECOR INSPIRATION
Embracing Texture and Natural Elements in Fall Decor
As a passionate photographer, I’ve always been drawn to the power of texture. It’s an element that adds incredible depth and visual interest, not just to photographs, but to our living spaces as well. Fall, with its rich tapestry of natural materials – dried leaves, rough bark, woven fabrics, and the rustic appeal of corn husks – is the quintessential season to explore and amplify this textural richness in your home decor. Incorporating varied textures creates a multi-sensory experience, making a space feel more inviting, warm, and genuinely cozy.
My journey back to using corn husks in my projects was sparked by a desire to introduce more of this fabulous texture and earthy color into my home. Living in the Southwest, where the traditional vibrant autumn display is often subtle, I’ve learned to actively cultivate that coveted fall feeling indoors. Crafting with natural elements like corn husks allows me to bring the essence of autumn’s bounty inside, filling my home with the warmth and rustic elegance I deeply crave during this special time of year. These luminaries are more than just lights; they are a celebration of natural beauty and a testament to the transformative power of simple, sustainable crafting.
Commonly Asked Questions About Corn Husk Luminaries
Before we delve into the crafting process, let’s address some frequently asked questions that aspiring DIYers often have about corn husk luminaries. Understanding these points will ensure a smoother, more enjoyable crafting experience and help you create durable, beautiful decorations.
How to Prepare Corn Husks for Crafting
Proper preparation is key to working with corn husks. Dry husks are brittle and difficult to manipulate, but a simple soaking process makes them pliable and easy to shape around your jars. Follow these steps for perfectly prepared husks:
- Soak the Husks: Begin by taking your natural dried corn husks from their packaging and placing them in a large bowl filled with clean, fresh water. Ensure they are fully submerged.
- Keep Submerged: Corn husks tend to float. To keep them completely underwater, place a smaller bowl or another heavy object on top of them. This ensures even saturation.
- Soaking Time: Allow the husks to soak for several hours, ideally 2-4 hours, or even overnight if they are particularly dry or thick. The goal is to soften them thoroughly, making them flexible and easy to bend without tearing.
- Remove Excess Moisture: Once softened, remove the husks from the water. Gently pat off any excess moisture with paper towels. They should still be damp and pliable, not dripping wet. Your husks are now ready for crafting!
This soaking process prevents the husks from cracking while you’re wrapping them around the jars and ensures they will conform beautifully to the desired shape.
Cleaning and Maintaining Your Corn Husk Luminaries
While corn husk luminaries are designed to last, especially when cared for properly, they can accumulate dust and dirt over time, particularly if displayed outdoors on a patio or porch. Here’s how to keep them looking fresh and vibrant:
To clean your luminaries, it’s best to use a dry method. You can gently blow off dust and debris using canned air, a small air compressor, or even a leaf blower set to a low, gentle setting. Directing a stream of air will effectively dislodge any accumulated particles without damaging the husks. This method is quick, easy, and ensures the integrity of your crafted items.
Important Caution: Do NOT wash the luminaries with water, such as rinsing them with a hose or under a faucet. Re-wetting the husks after they have dried and set will cause them to soften again, potentially losing their shape and causing the entire luminary to fall apart. Maintain their beauty by keeping them dry once they are complete.
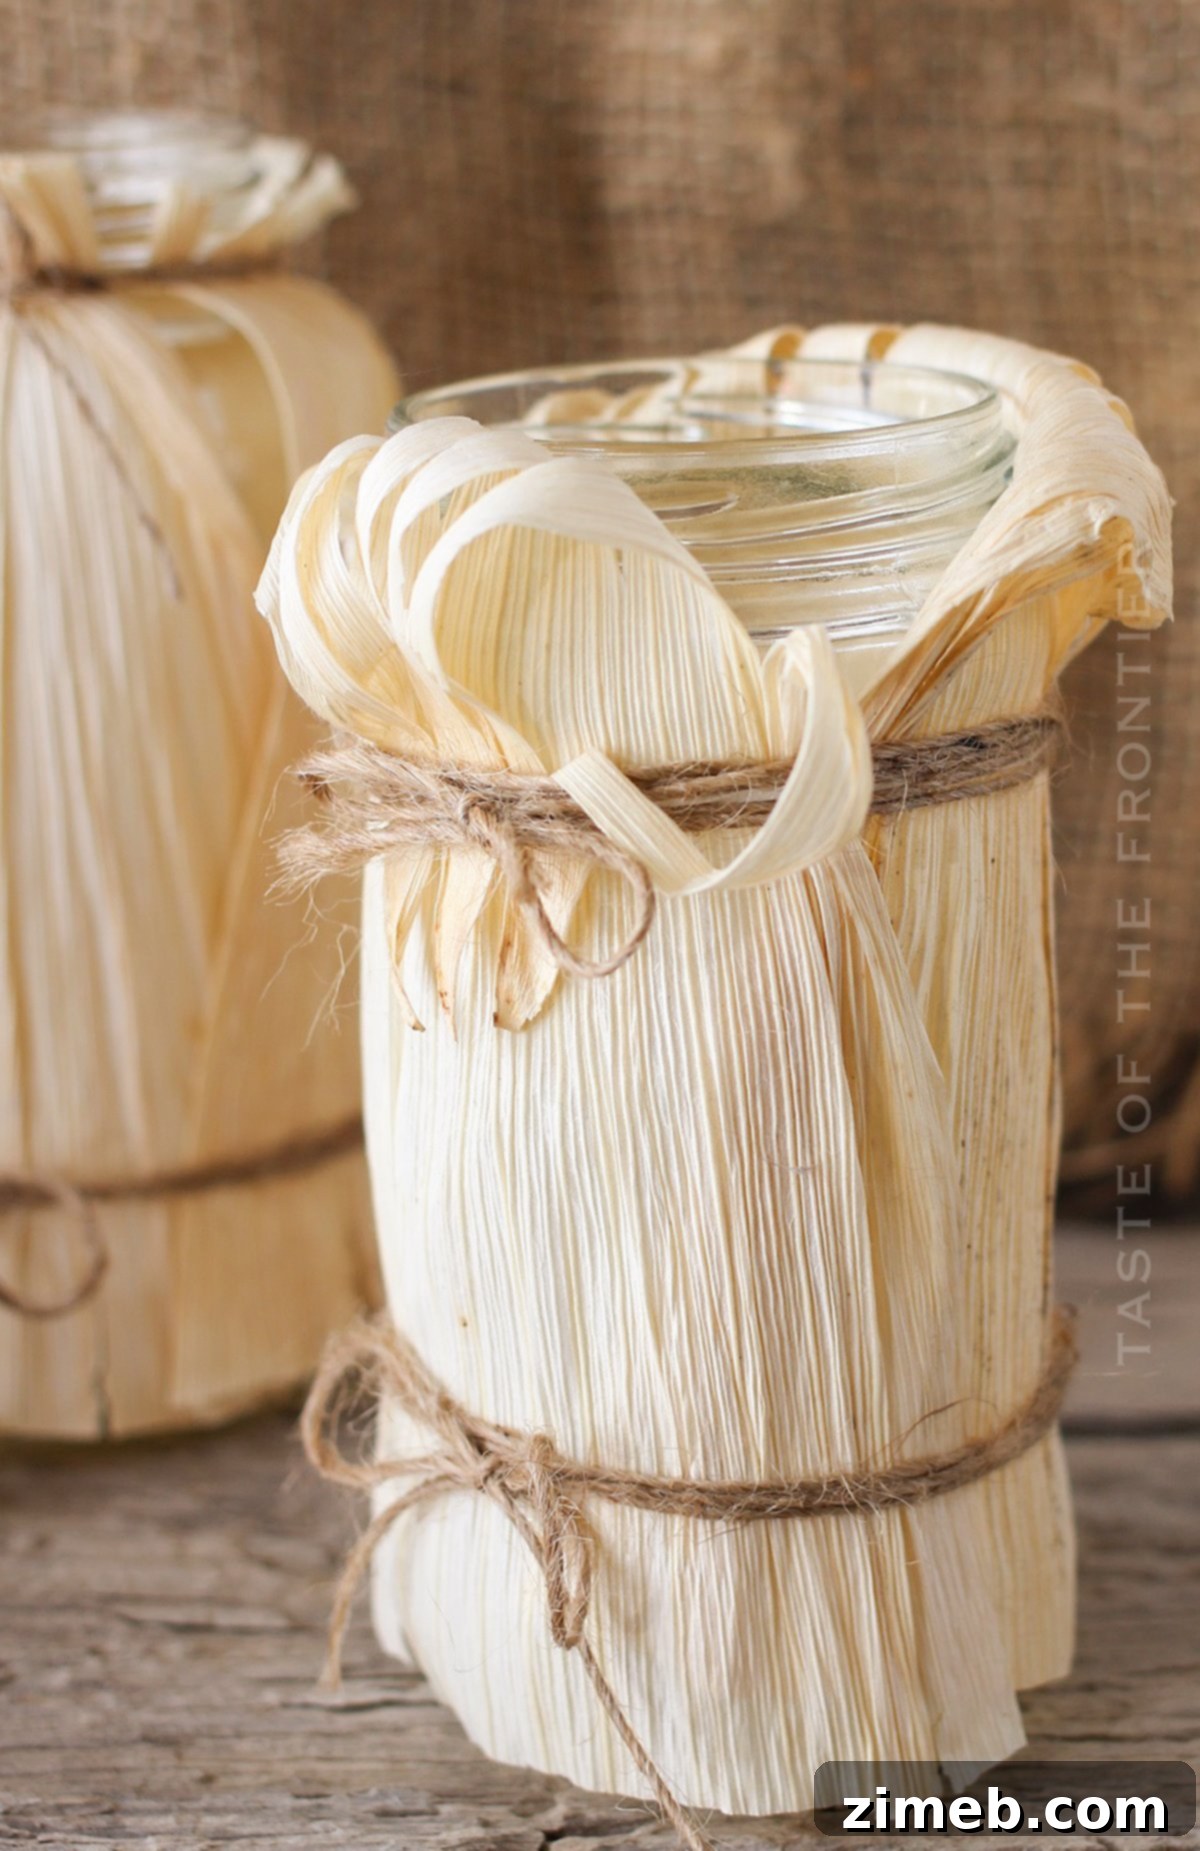
Essential Supply List for Corn Husk Luminaries
Gathering your materials before you begin will make the crafting process smooth and enjoyable. Here’s everything you’ll need to create your beautiful corn husk luminaries:
- Jars: Repurpose glass jars of various sizes – old spaghetti sauce jars, pickle jars, or mason jars work wonderfully. New jars are also an option if you prefer.
- Corn Husks: Dried corn husks are the star of this project. You’ll find them in the international or ethnic food aisle of most grocery stores, craft stores, or online.
- Rubber Bands: These are indispensable for temporarily securing the husks as you wrap them.
- Twine: Natural twine adds to the rustic aesthetic and permanently holds the husks in place. Jute or hemp twine works great.
- Tea Candles: Small tea light candles, either traditional wax or battery-operated LED versions, will provide the gentle glow.
Optional additions include scissors for trimming, a bowl for soaking husks, and paper towels for drying them.
IMPORTANT NOTE FOR CRAFTING: TIE THE HUSKS AS TIGHT AS POSSIBLE AND OVERLAP THEM SIGNIFICANTLY. This is crucial because corn husks will naturally shrink as they dry. If not secured tightly enough or properly overlapped, they will eventually slip out of the twine or create unsightly gaps, diminishing the aesthetic and structural integrity of your luminaries.
Effortlessly Removing Labels from Jars
One common hurdle in upcycling jars for crafts is the stubborn label adhesive. After years of frustrating scraping with razor blades, I discovered a remarkably simple and chemical-free trick that saves a tremendous amount of time and effort:
Simply place your label-covered jar in a large bowl or pot filled with very hot, soapy water. Let the jar soak overnight. In most cases, by the next morning, the label will have effortlessly fallen off, or it will peel away with minimal effort, leaving no sticky residue behind. There’s no need for harsh chemicals, oil soaks, or vigorous scrubbing. This method is incredibly effective and makes jar preparation a breeze, allowing you to focus on the fun part – crafting!
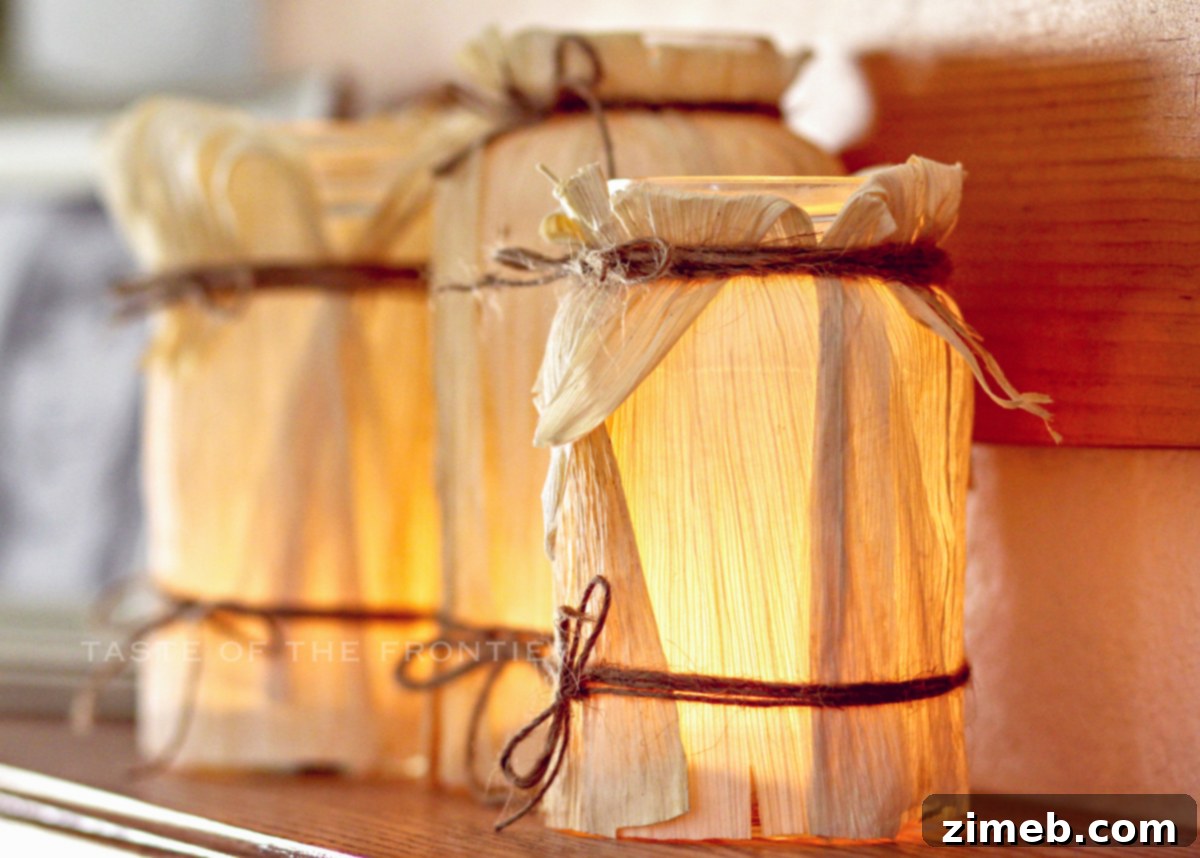
How to Make Your Own Corn Husk Luminaries
Creating these beautiful corn husk luminaries is surprisingly quick and satisfying. The entire process, from preparing the husks to placing the candle, can be completed in under 30 minutes, making it an ideal project for crafters of all skill levels. Here’s your step-by-step guide:
- Prepare the Husks: Begin by separating your dried corn husks and soaking them in a bowl of water until they become soft and pliable. This crucial step ensures they will wrap smoothly without tearing.
- Select Your Jars: Choose various up-cycled glass jars (or new ones) to add visual interest to your collection of luminaries. Spaghetti jars, pickle jars, or mason jars in different heights and widths work wonderfully. Ensure they are clean and label-free (refer to our label removal tip if needed).
- Wrap and Secure with Rubber Bands: Take individual softened corn husks and begin wrapping them around the jar. Overlap them generously, ensuring they cover the entire surface of the jar. Once a section is covered, secure the husks temporarily with a rubber band to hold them firmly in place. Continue adding husks and securing with more rubber bands as needed, creating a dense, layered look.
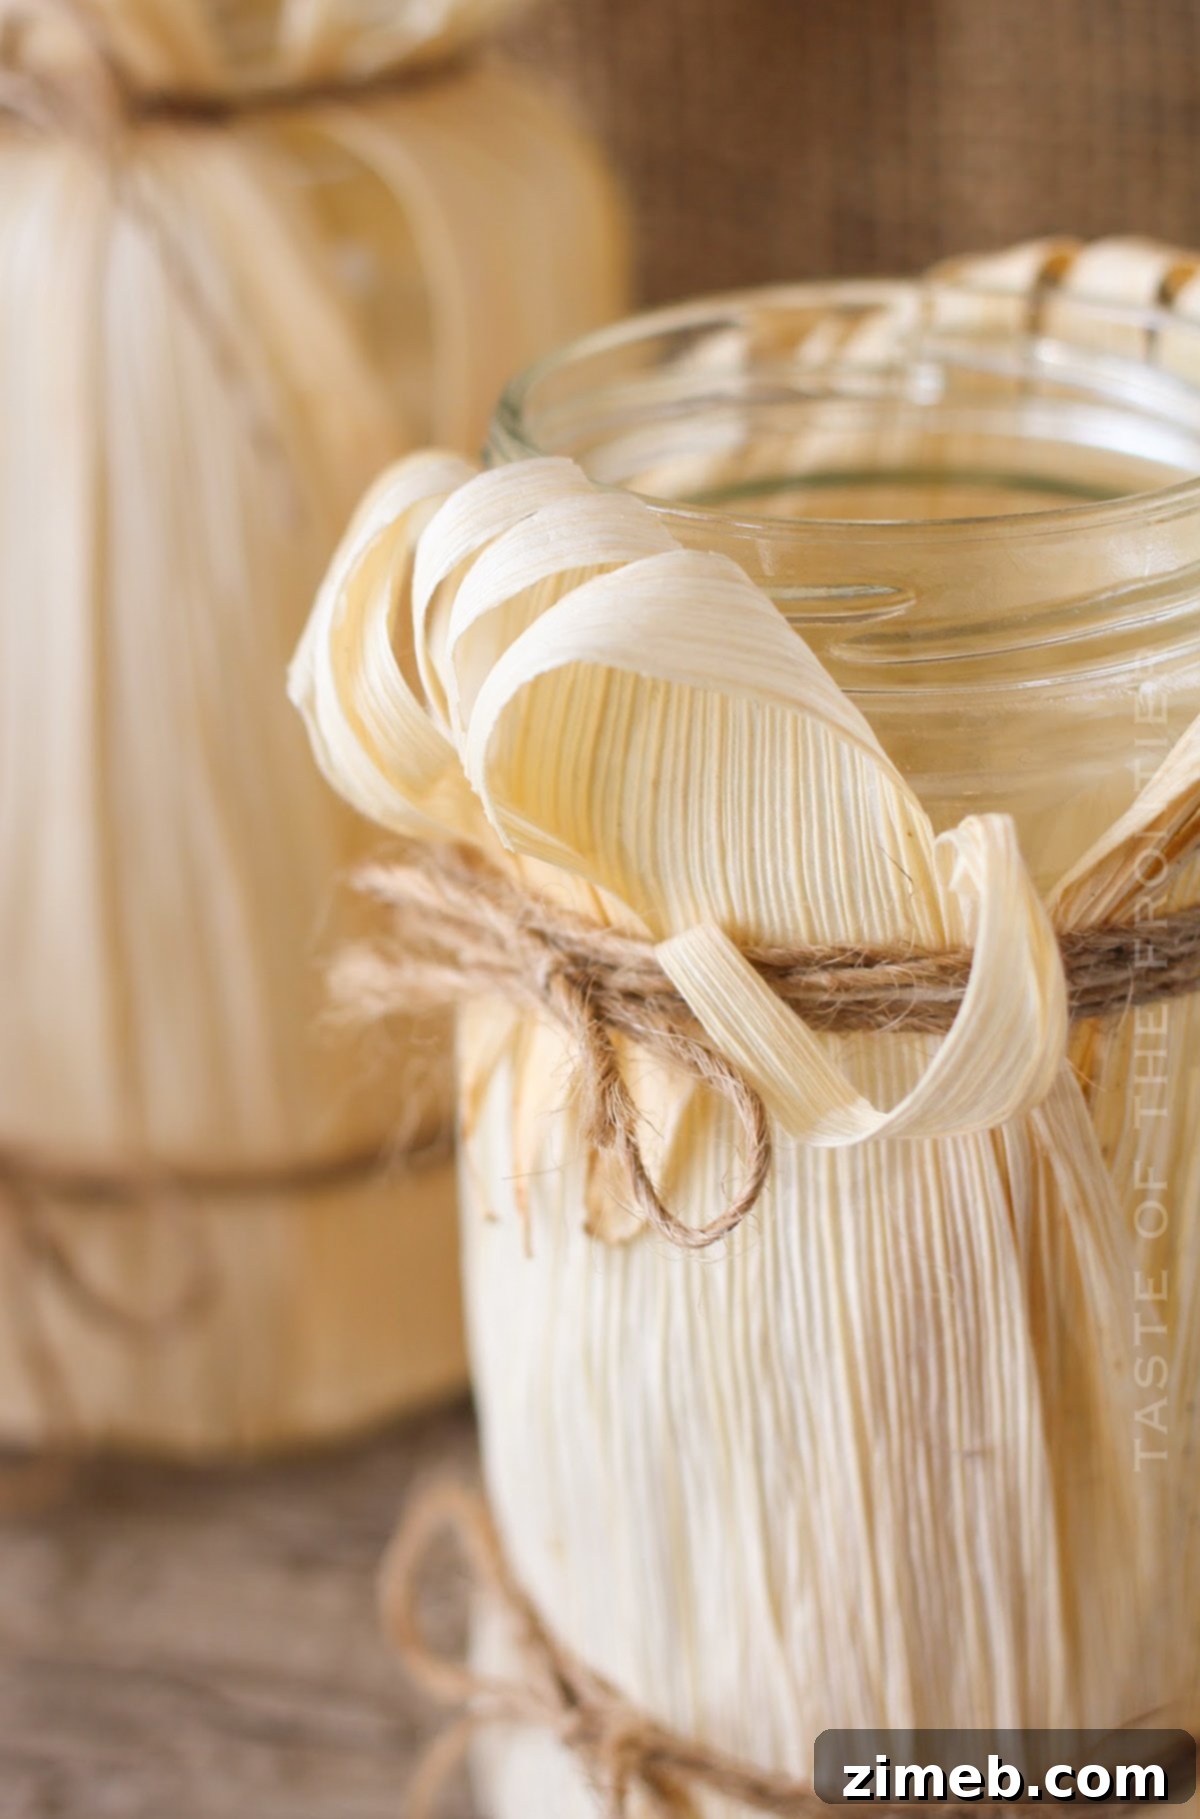
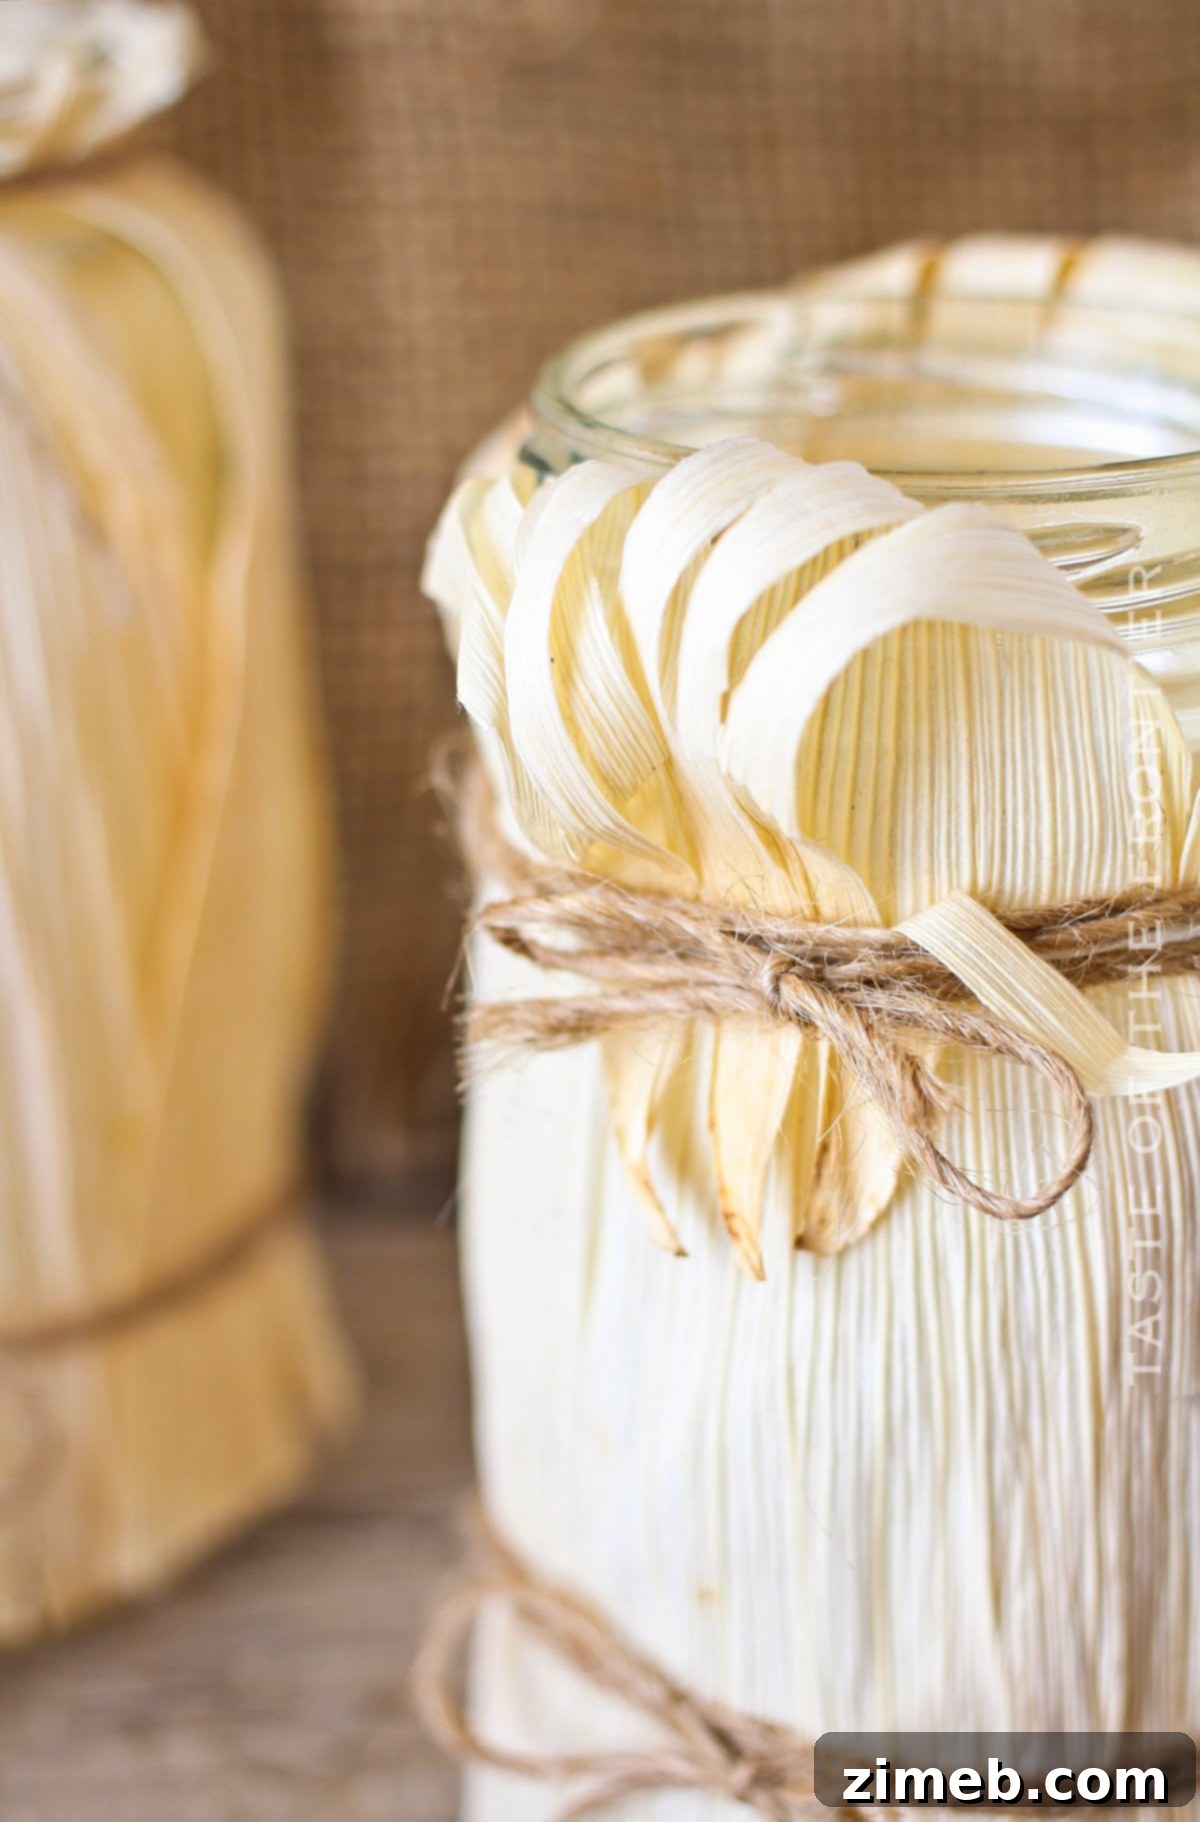
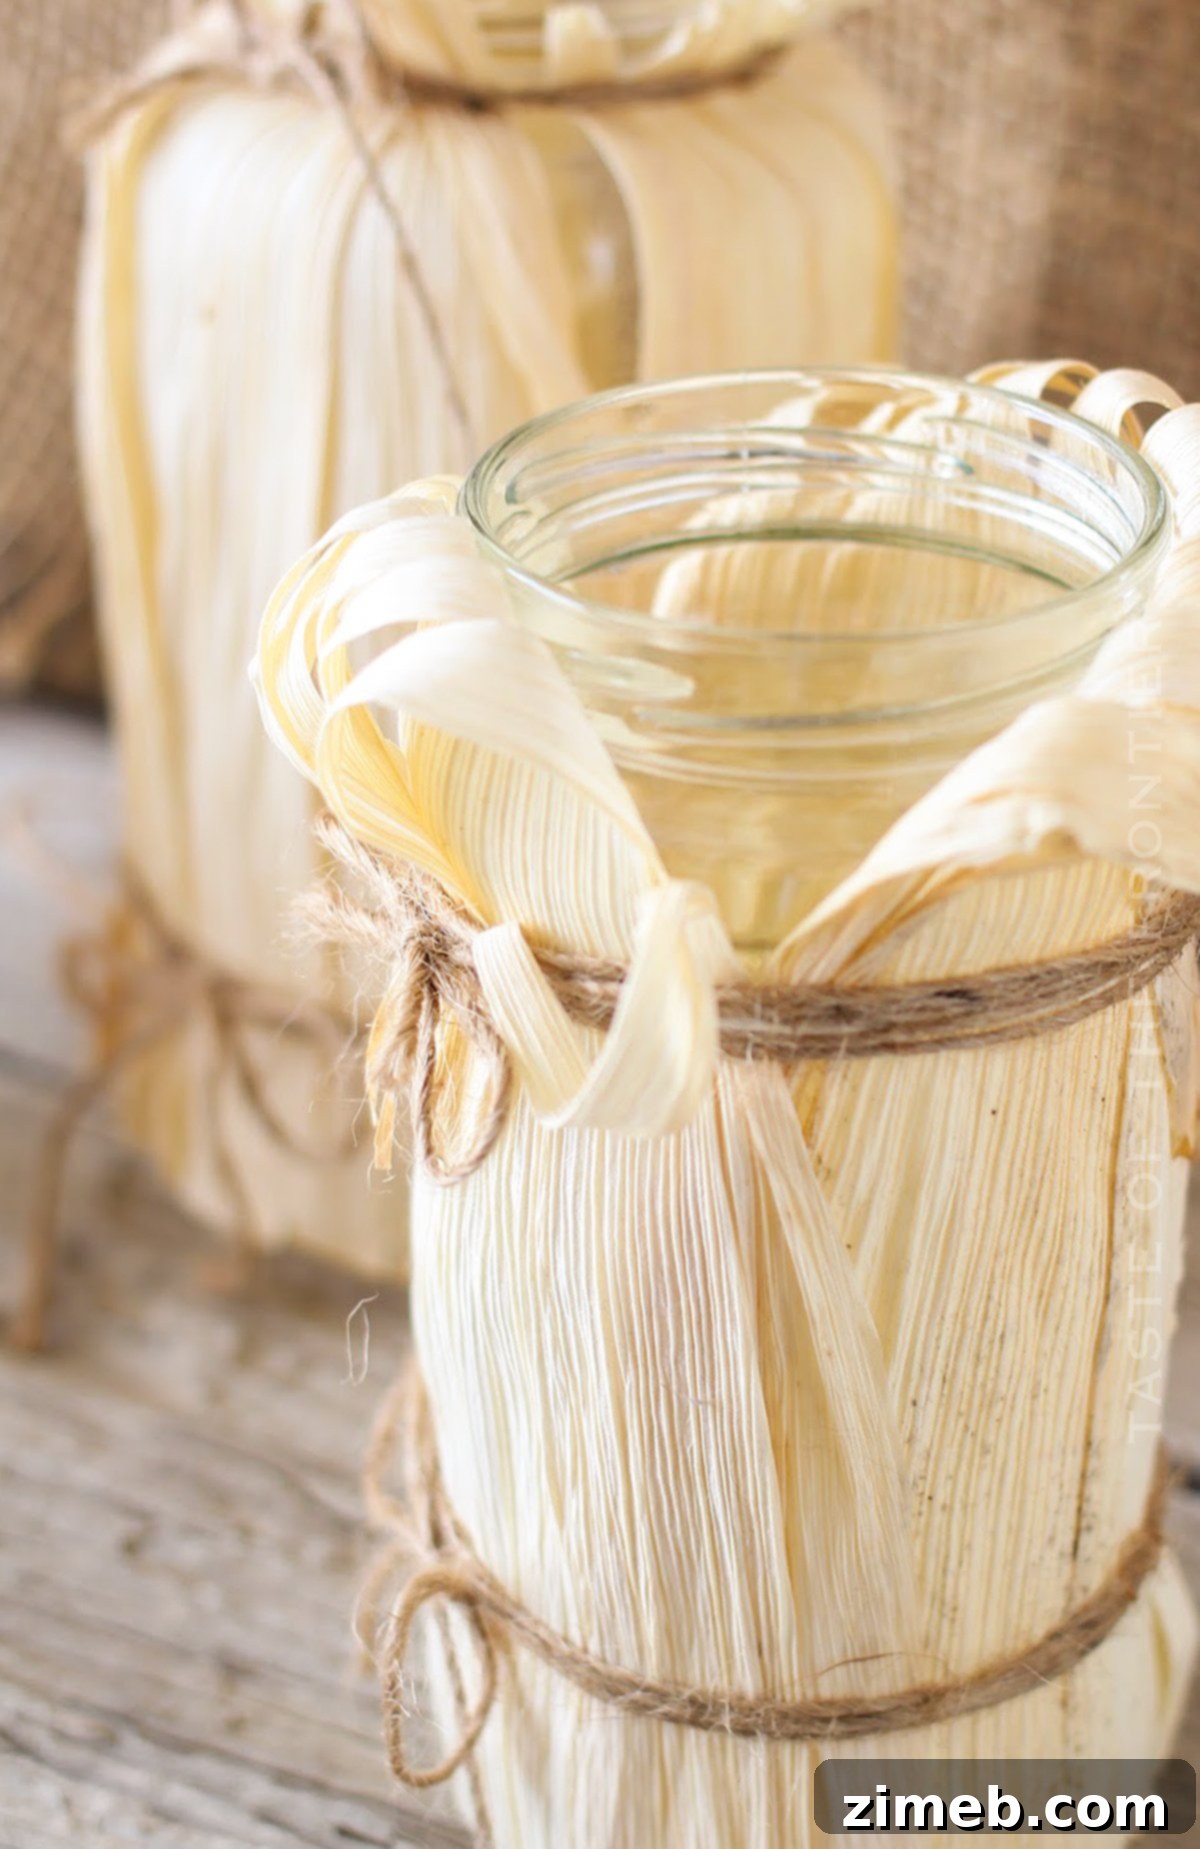
- Tie with Twine: Once the husks are in place and held by rubber bands, it’s time for the permanent fastening. Wrap twine several times around the jar, typically at the top, middle, or bottom portion. I usually start by tying the twine tightly at the base, then remove the rubber band and move it to the top. For a layered effect, you might even cover the rubber band with twine without removing it. For some luminaries, I folded down the top edges of the husks for an organic look; for the largest jar, I trimmed the husks neatly to the top rim. Remember our important note: tie the twine as tightly as possible, as the husks will shrink upon drying.
- Add and Light Your Candle: Once your husks are securely attached and dry, simply drop a tea candle (either traditional wax or a battery-operated LED) inside the jar. Light it up, and your charming, rustic corn husk luminary is ready to cast its warm, inviting glow!
Do I Have to Remove Labels Off the Jar Before Adding the Corn Husks?
Technically, you don’t *have* to remove the labels, as the corn husks will cover them. However, for the best aesthetic result, especially if you’re up-cycling jars, I highly recommend removing them before proceeding with the project. Here’s why:
When the candle is burning inside the luminary, the corn husks become translucent, allowing light to pass through. If the labels are still on the jars, they will become visible through the husks, creating distracting shadows or showing the text. This can detract from the natural, clean look of your handmade luminary. Taking a few extra minutes to remove the labels ensures a pristine and professional finish that truly highlights the beauty of the corn husks and the warm glow of the candle.
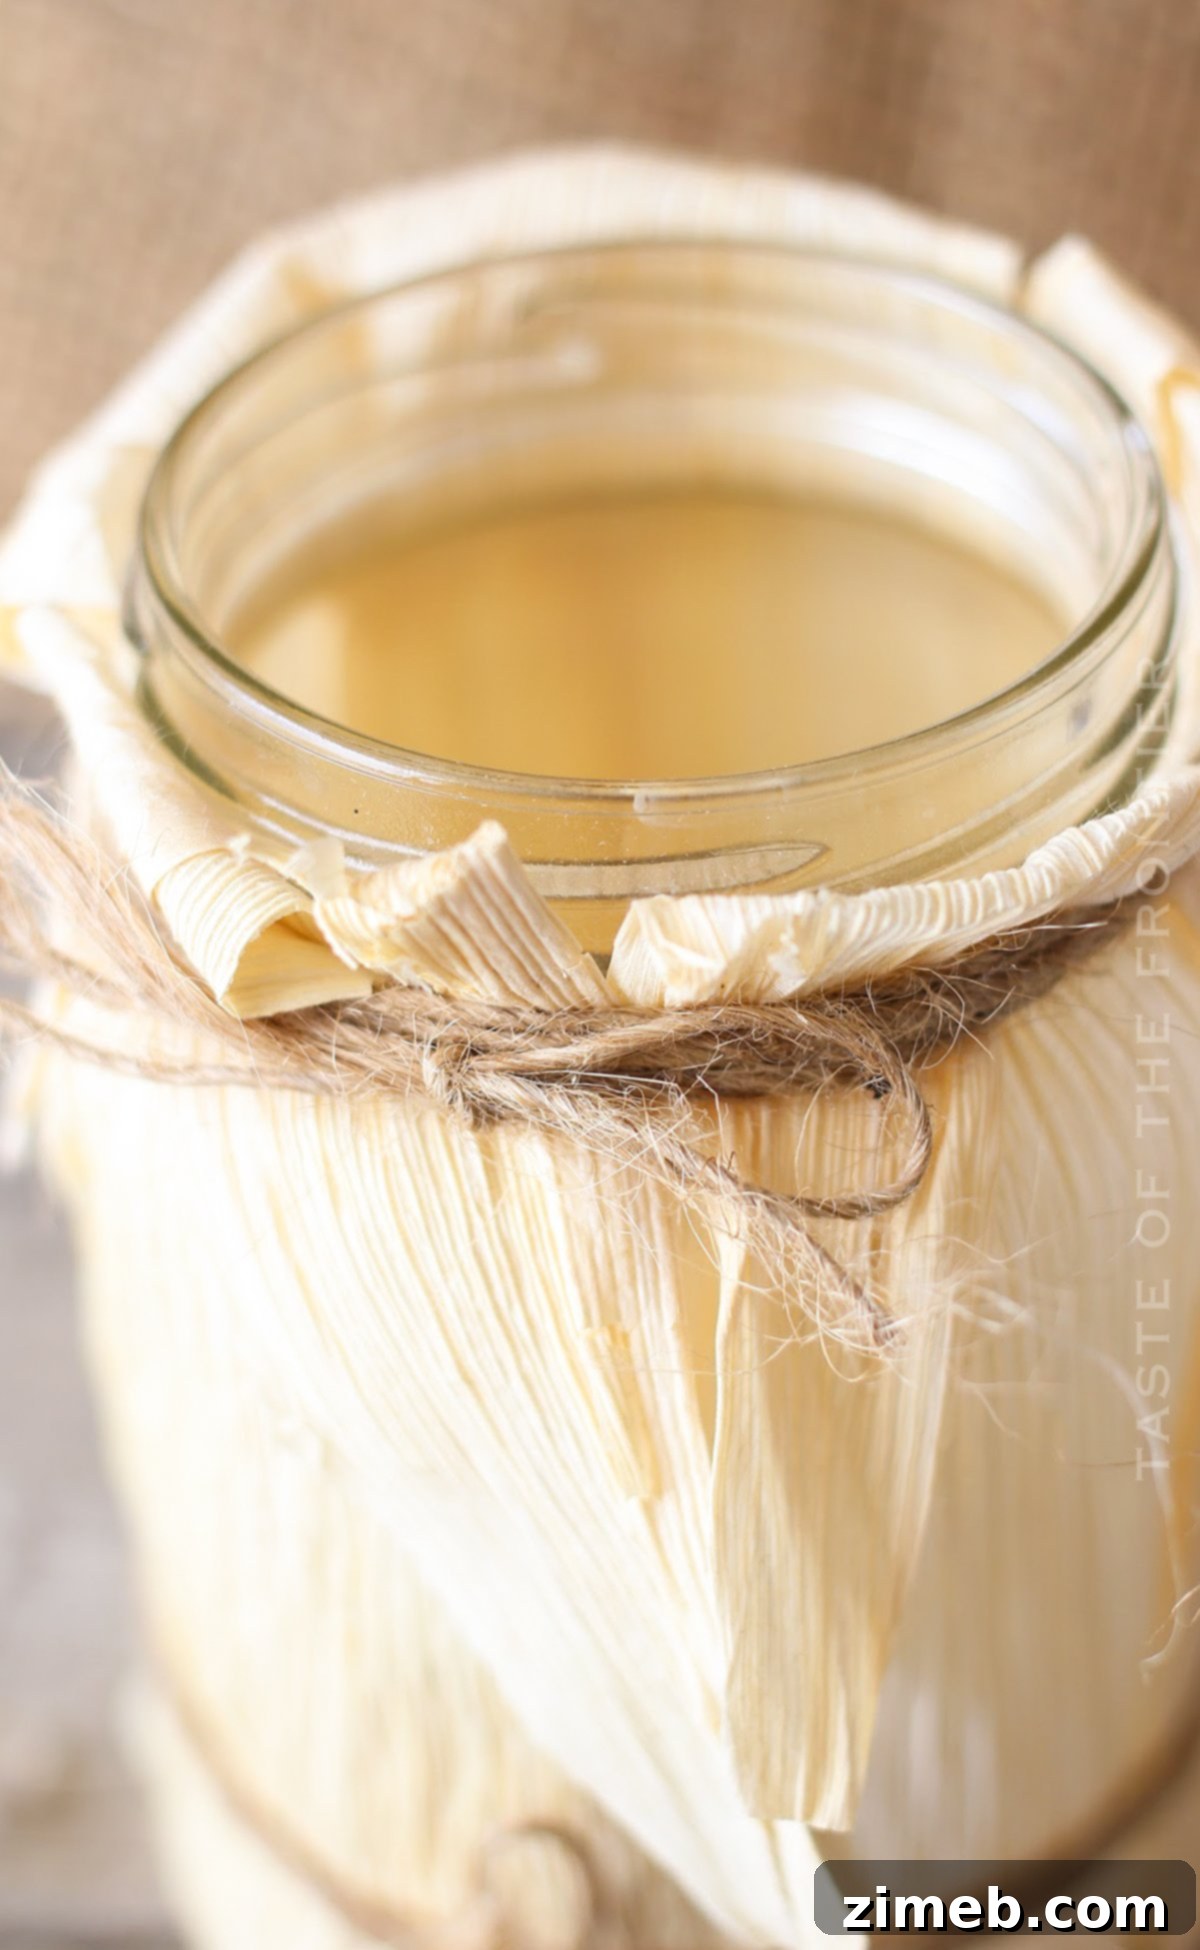
Where Can I Find Corn Husks for Crafting?
Finding corn husks for your crafting projects is usually quite easy, though prices and availability can vary. Here are some common places to look:
- Grocery Stores: Check the international or ethnic food aisle of larger grocery stores. They are commonly sold in bags, often near Mexican or Latin American ingredients, as they are used for making tamales. Prices used to be very affordable, around $2-5 per bag, but have risen in recent years to about $8 per bag.
- Dollar Stores: You might be lucky enough to find corn husks at dollar stores or discount retailers for a significantly lower price. It’s worth checking if you have one nearby.
- Craft Stores: Larger craft stores sometimes carry dried corn husks, especially during the fall season, as they are popular for autumn-themed decor.
- Online Retailers: Websites like Amazon or specialty craft suppliers offer corn husks, often in bulk, which can be convenient if you plan multiple projects.
- Farmer’s Markets (Seasonal): If you live in an agricultural area, you might find fresh corn husks at farmer’s markets after the corn harvest. Remember that fresh husks will need to be dried before use, which is an additional step.
For a project like a set of luminaries, depending on how full and layered you want the husks to be, you will likely need at least 2-3 bags of dried corn husks. It’s always a good idea to buy a little extra just in case.
**FIRE SAFETY IS PARAMOUNT: As someone married to a fire chief, fire safety is always at the absolute top of my priority list when engaging in any craft that involves an open flame. It is critically important to ensure that your corn husks and/or twine do not extend past the very top rim of the jar. Any material that protrudes above the flame could easily catch fire. Please exercise extreme caution, always place these luminaries on stable, non-flammable surfaces, and ensure they are well out of reach of children, pets, or any area where they could be easily bumped or knocked over. Remember, October is Fire Safety Month, a perfect reminder to prioritize safety in all your festive decorations. For maximum safety, especially indoors or in homes with children and pets, consider using battery-operated LED tea lights instead of real flames.
Other Inspiring Corn Husk Craft Ideas
If you’ve enjoyed creating these simple yet elegant corn husk luminaries, you’re sure to love exploring other crafts that utilize this versatile and beautiful natural material. Corn husks offer endless possibilities for adding rustic charm and autumnal flair to your home decor. Check out these other fun and creative ideas to continue your corn husk crafting journey!
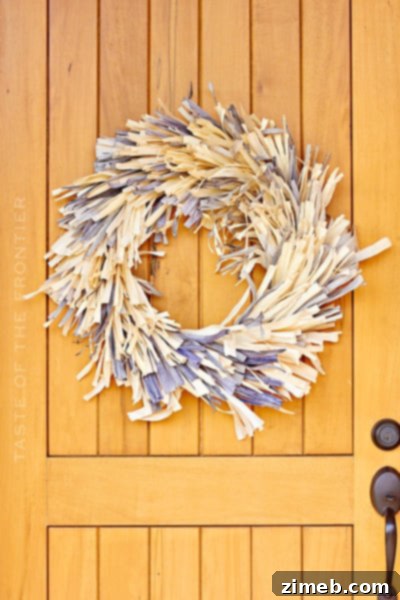
Frayed Corn Husk Wreath
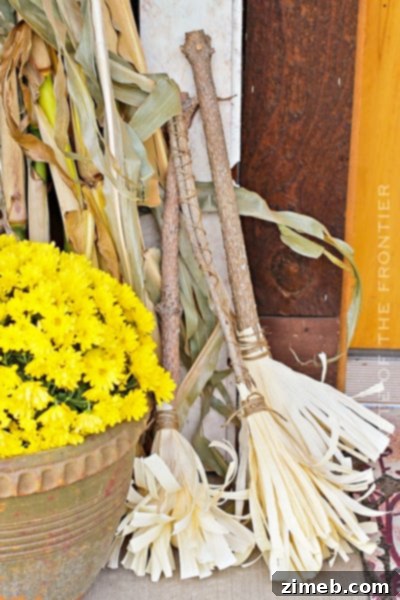
Corn Husk Brooms
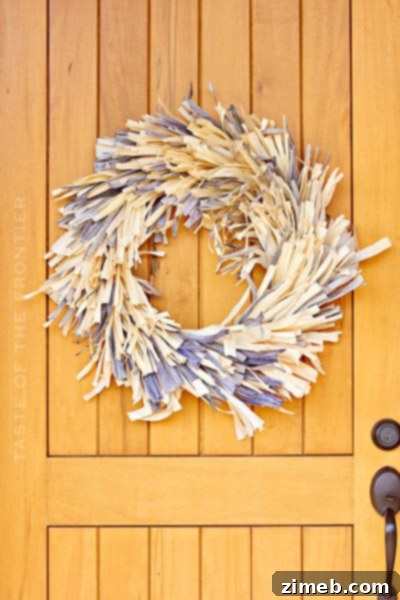
Frayed Corn Husk Wreath
CONNECT WITH YUMMI HAUS!
Be sure to follow me on my social media, so you never miss a post!
Substack, FB, Pinterest, IG, Email Subscription