
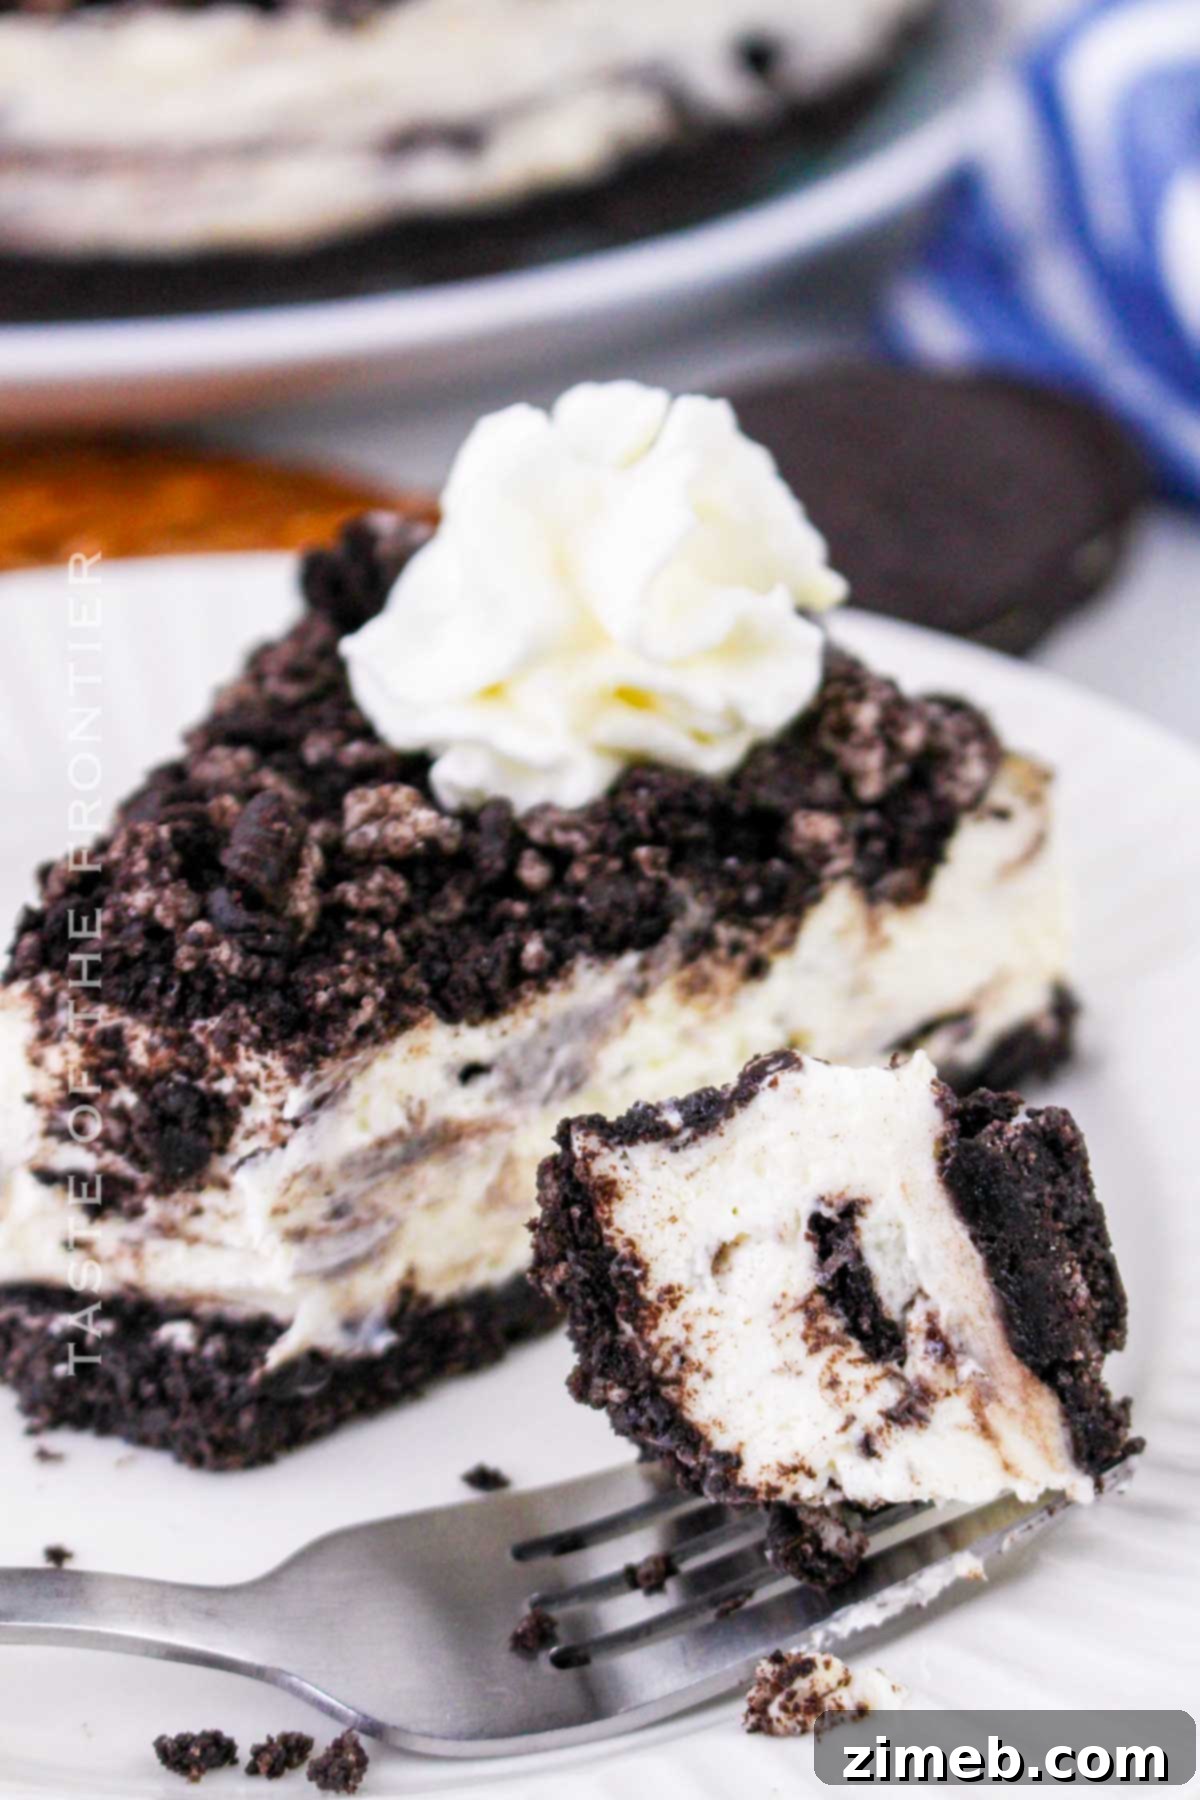
Indulge in the ultimate dessert experience with this unbelievably creamy and decadent No Bake Oreo Cheesecake. Perfectly crafted for those who crave a rich, satisfying treat without the fuss of an oven, this cheesecake boasts a buttery, crushed Oreo cookie crust and a luxurious, smooth cream cheese filling generously studded with even more crushed Oreos. It’s a guaranteed showstopper for any gathering or a delightful indulgence for your sweet cravings.
If your heart beats for the classic combination of Oreos, the beloved McFlurry, and the timeless elegance of cheesecake, then prepare to meet your new favorite recipe. This no-bake masterpiece brings together the iconic duo of cream and cookies in the easiest and most delicious way possible. Forget the complexities of traditional baking; this time, your refrigerator does all the heavy lifting.
Once you experience the delightful texture and incredible flavor of this cheesecake, you’ll be eager to find every opportunity to make it again and again. Its irresistible charm makes it an instant classic in any dessert repertoire.
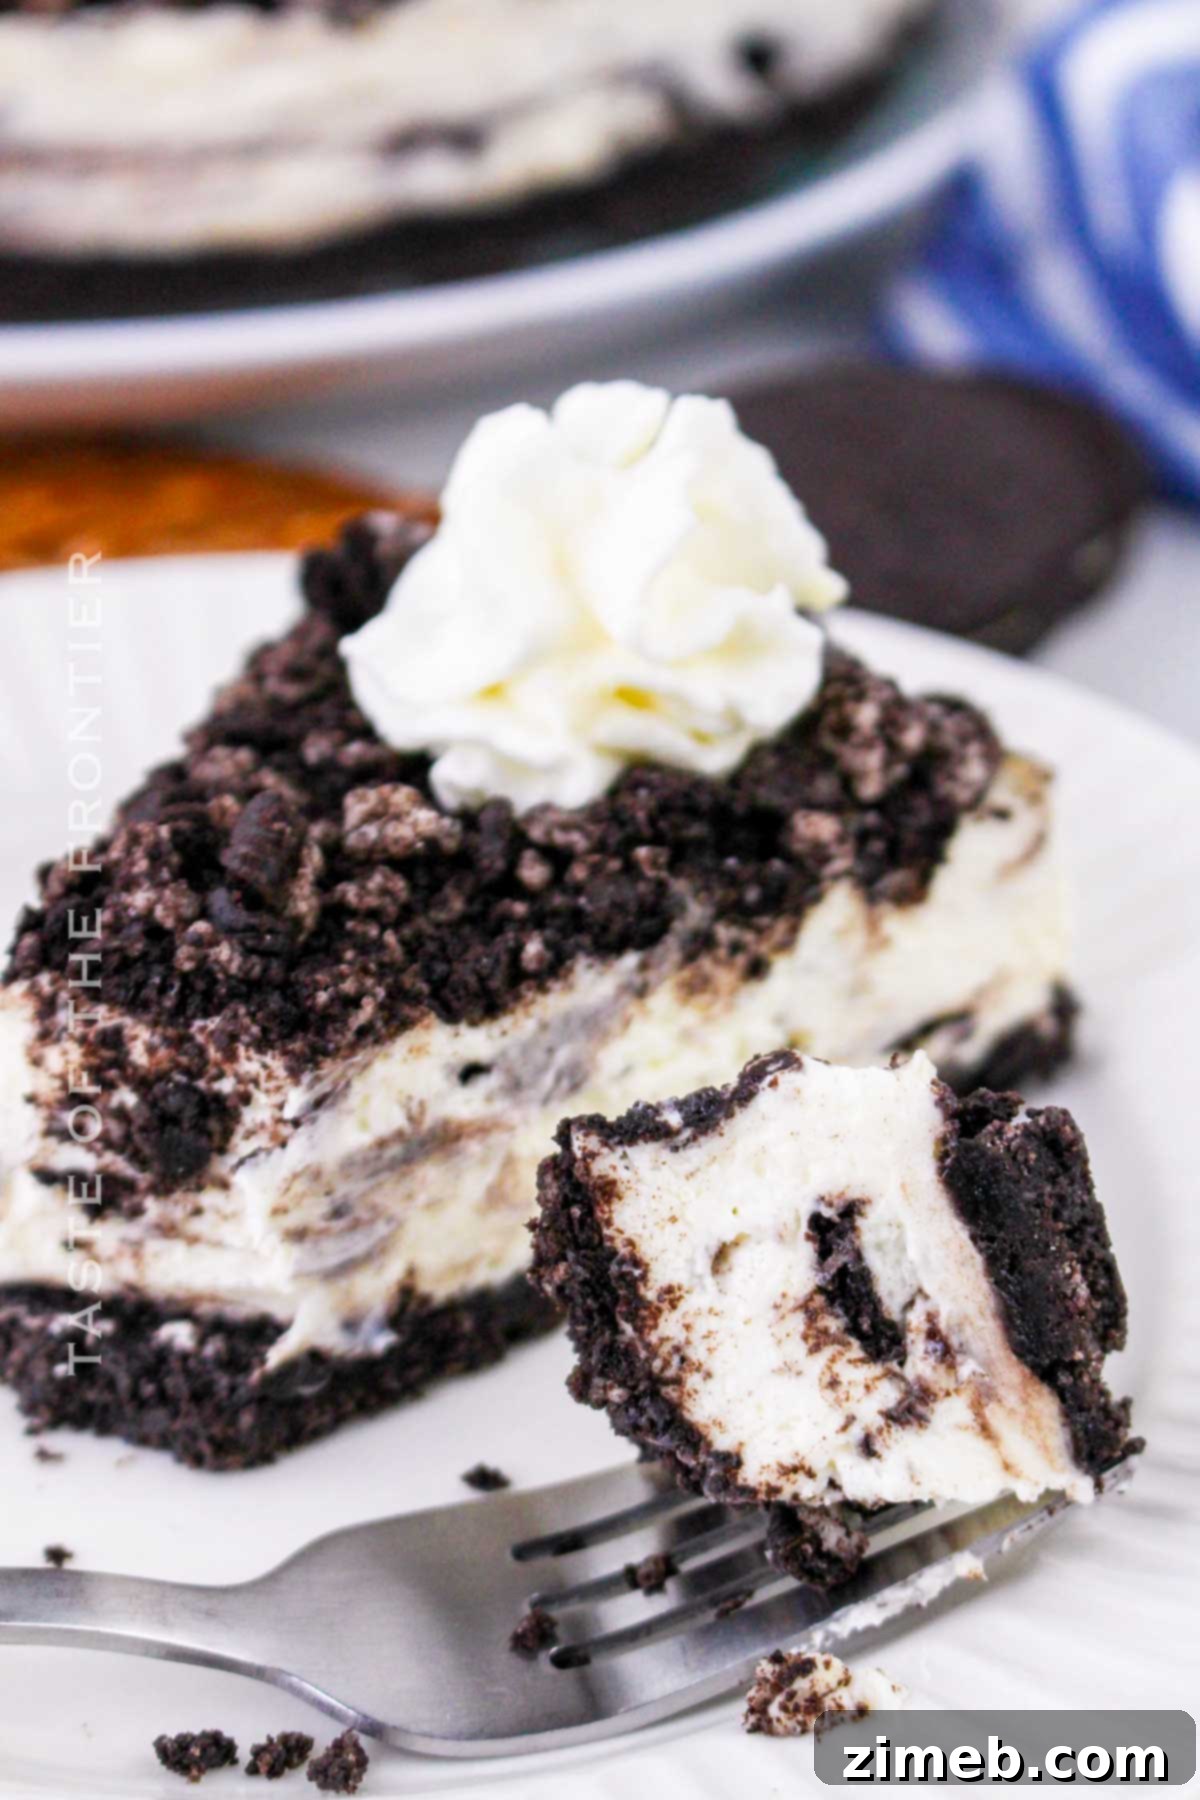
Why This No-Bake Oreo Cheesecake is a Must-Try
There’s an undeniable magic to no-bake cheesecakes and desserts. They offer an astonishing blend of simplicity and sophistication, delivering desserts that are both effortlessly beautiful and incredibly decadent. This No Bake Oreo Cheesecake stands out for several compelling reasons:
- A Perfect Treat for the Whole Family: This recipe yields approximately 8 generous slices of pure, creamy goodness, making it ideal for family gatherings or simply sharing a delightful moment. Its universally loved flavors ensure everyone will find something to adore.
- Effortless Elegance for Any Celebration: Whether you’re planning a summer dinner party, celebrating Mother’s Day, a birthday, or looking for a versatile base for holiday-themed treats like Valentine’s, Halloween, or Christmas cheesecakes, this recipe is incredibly adaptable. The possibilities for toppings and fillings are truly limitless, allowing you to customize it for any occasion.
- The Ultimate Easy No-Bake Cheesecake Recipe: With just a handful of primary ingredients, this recipe eliminates the need for any baking time. Say goodbye to anxiously monitoring a hot oven or worrying about cracks and sinking. This stress-free approach means more enjoyment and less kitchen anxiety.
- Irresistibly Sweet and Crumbly Crust: The foundation of this cheesecake is a perfectly sweet and crumbly Oreo crust that is delicious enough to enjoy on its own. It provides a delightful textural contrast and complements the smooth cheesecake filling beautifully. Best of all, it requires absolutely no baking, simplifying the process even further.
- Perfectly Balanced Sweetness: Unlike many recipes that rely on overly sweetened condensed milk, our version achieves a harmonious balance of sweetness and tartness. This approach results in a dessert that feels light and refreshing, hitting just the right spot without being overpoweringly sugary.
- Gelatin-Free Goodness: This recipe is naturally vegetarian-friendly as it contains no gelatin or eggs. It relies solely on a few dairy products for its structure and creamy texture. For those seeking a fully plant-based option, we’ll also share tips on making this recipe completely vegan. Keep in mind that gelatin-free recipes generally require a longer chilling time to set properly.
- An Oreo Lover’s Dream: Every component of this cheesecake celebrates the iconic Oreo flavor. From the crunchy crust to the creamy filling embedded with crushed cookies, and finally, the delightful topping, Oreo notes are present in every single bite.
- Convenient Make-Ahead Option: This cheesecake is perfect for preparing in advance. Once the cheesecake filling has set, you can store it in the refrigerator for up to 3 days, or even freeze it for up to a month. This makes it an excellent choice for entertaining or meal prep, allowing you to enjoy a delicious dessert without last-minute rush.
Essential Ingredients for Your Oreo Cheesecake
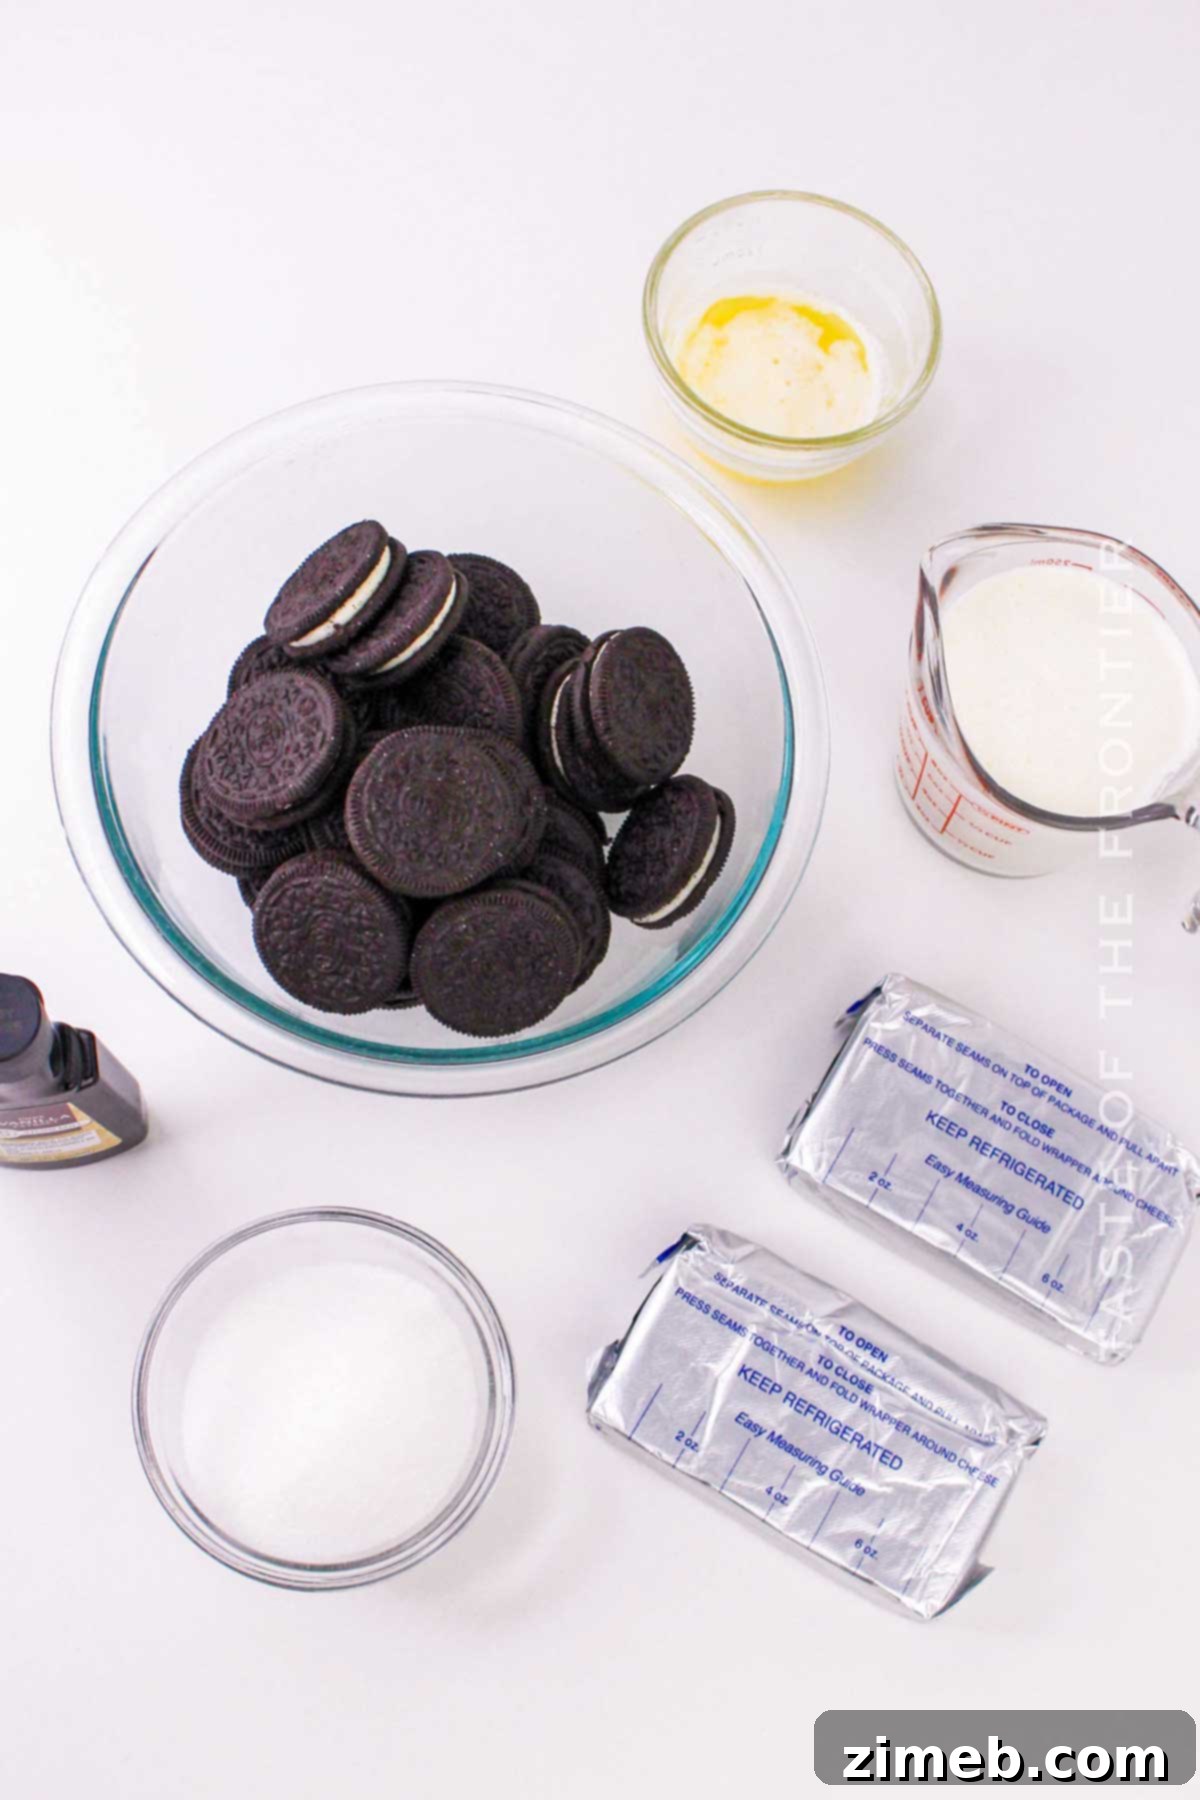
Crafting this incredibly creamy and delicious dessert doesn’t require a trip to a specialty store. Many of the ingredients are kitchen staples, ensuring a hassle-free preparation. Beyond the butter and sugar you likely already have on hand, you’ll only need four additional core ingredients.
For the Rich Oreo Cookie Crust:
- Crushed Oreo Cookies: You’ll need about 34 Oreo cookies (approximately one 13.9-ounce package). More than half of these will form the luscious crust, with the remainder reserved for the filling and topping. If you’re an extreme Oreo enthusiast, feel free to use a whole family pack (around 40-50 cookies) for an extra-thick crust or more generous mix-ins. Mini Oreos also make a fantastic topping.
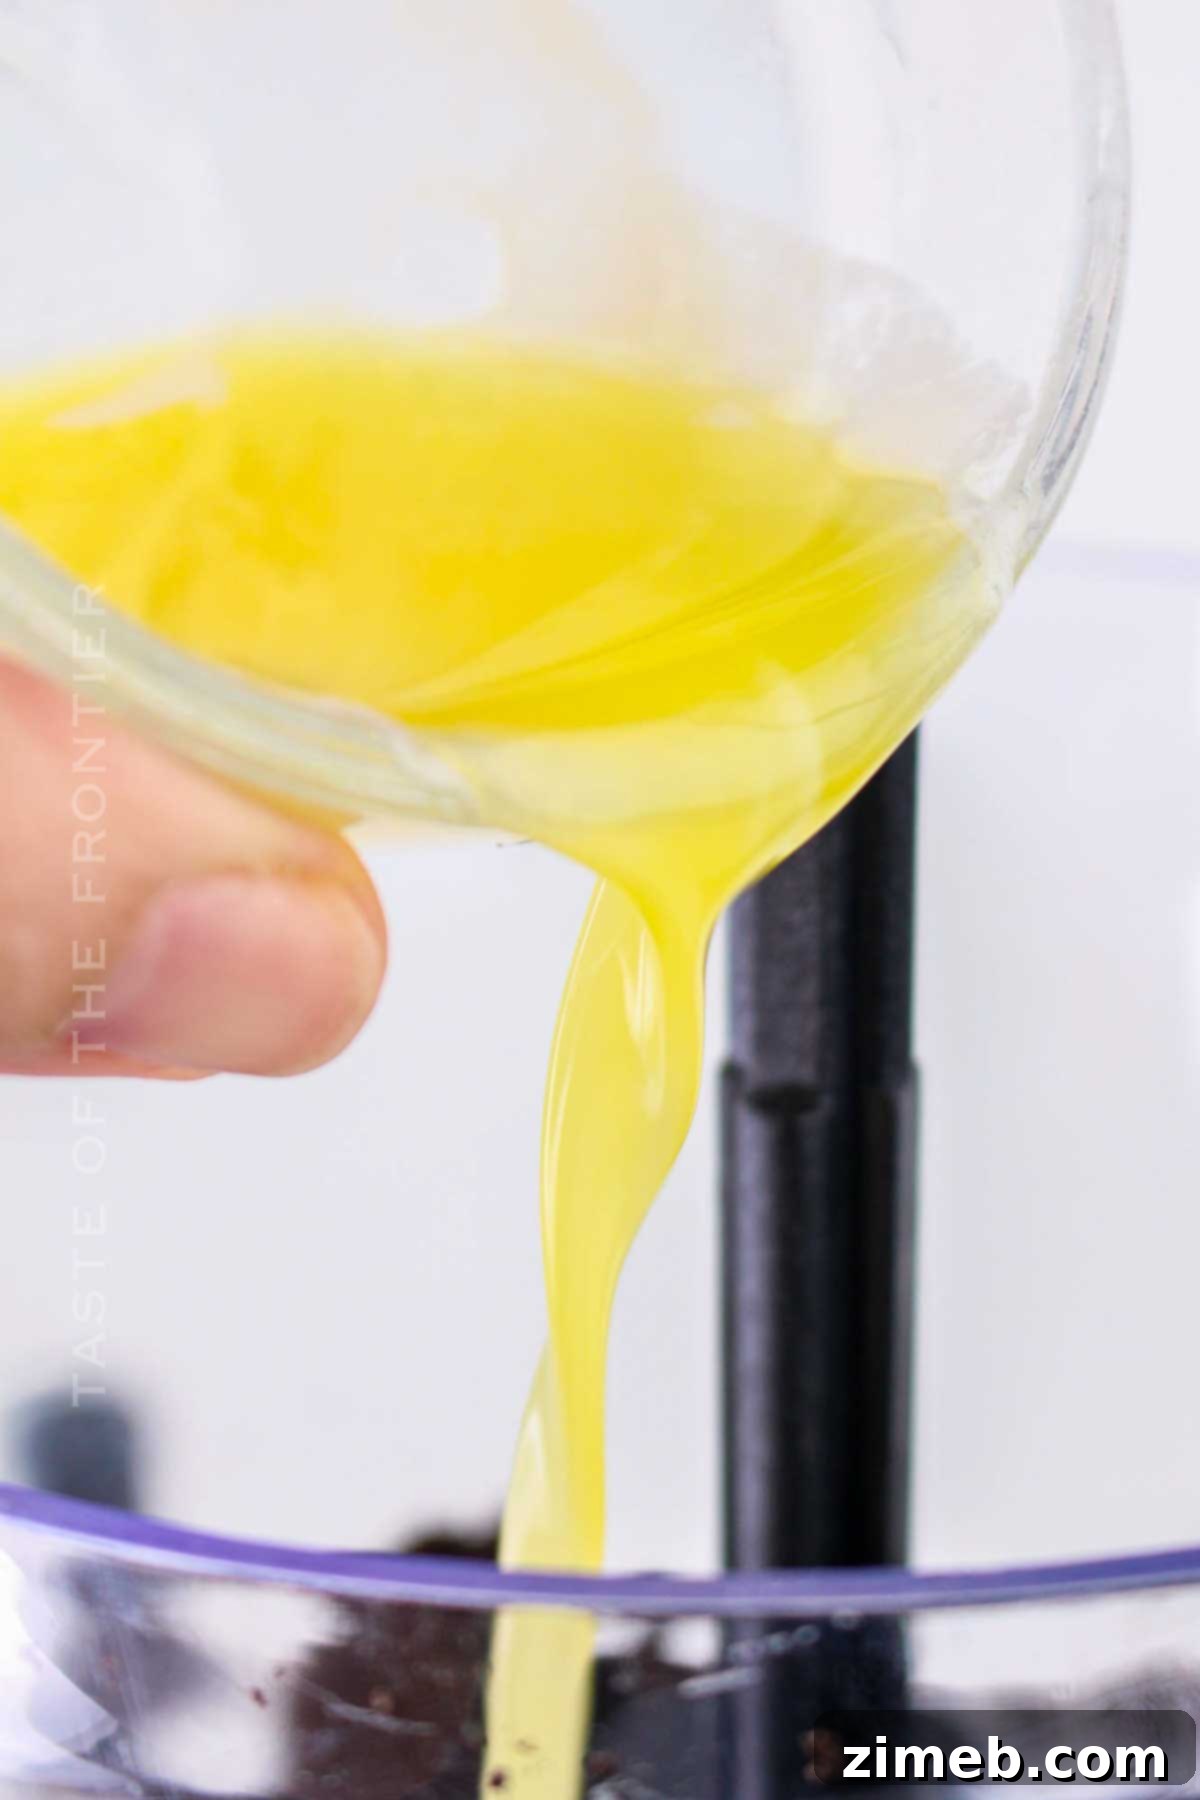
- Melted Unsalted Butter: This binds the cookie crumbs together to create a firm, flavorful crust. While unsalted butter is preferred for precise control over sweetness, using salted butter is perfectly acceptable if that’s what you have.
For the Creamy and Fluffy Cheesecake Filling:
- Softened Cream Cheese (Full-Fat): For the best results, opt for a high-quality, full-fat cream cheese like Philadelphia. Ensure it’s softened to room temperature, which is crucial for achieving a smooth, lump-free filling.
- Granulated Sugar (or Powdered Sugar): This provides the perfect level of sweetness. You can use granulated sugar, but for an even silkier texture, powdered (confectioners’) sugar is an excellent alternative as it dissolves more readily.
- Vanilla Extract or Paste: A touch of vanilla is essential for enhancing the overall flavor profile and adding a warm, aromatic note to the cheesecake filling. Vanilla paste offers a more intense flavor and visible specks.
- Chilled Heavy Cream (Full-Fat): This is key to achieving that light, airy, and incredibly fluffy texture that makes this no-bake cheesecake so delightful. Ensure your heavy cream is very well chilled before whipping for optimal results.
Essential Kitchen Equipment for Your No-Bake Delight
Preparing this exquisite No Bake Oreo Cheesecake requires only a few standard kitchen tools, making it accessible for home cooks of all skill levels:
- 9-inch (23cm) Springform Pan: This specialized pan is invaluable for cheesecakes. Its removable sides allow for easy release of the finished cake, ensuring a perfectly intact and beautifully presented dessert without any sticking.
- Food Processor (Optional): A food processor (fitted with an S-shaped blade) is the quickest and most efficient way to transform Oreo cookies into fine, uniform crumbs for the crust and filling. If you don’t own one, don’t worry – a simple alternative method using a plastic bag and rolling pin works just as well.
- Large Mixing Bowls: You’ll need at least two large mixing bowls. One will be for preparing the rich cream cheese filling, and another for whipping the heavy cream to stiff peaks.
Crafting Your No-Bake Oreo Cheesecake: A Step-by-Step Guide
The beauty of this recipe lies in its simplicity and minimal active preparation time. The entire hands-on process takes no more than 15-20 minutes, leaving the refrigerator to do all the hard work of chilling and setting your delightful cheesecake.
Step 1: Preparing the Irresistible Oreo Cookie Crust
- Crush the Oreos: Begin by crushing 18 Oreo cookies into fine crumbs. For best results, use a food processor with an S-shaped blade. Alternatively, place the cookies in a sturdy plastic bag and crush them thoroughly with a rolling pin until uniformly fine.
- Combine with Butter: In a medium-sized bowl, add the melted butter to the Oreo crumbs. Mix well until the crumbs are evenly coated and resemble wet sand.
- Reserve Remaining Oreos: Set aside the remaining uncrushed Oreo cookies; these will be used for mixing into the filling and for decorating the top of your cheesecake.
- Prepare the Springform Pan: Line the bottom of your 9-inch (23cm) springform pan with parchment paper and lightly grease the sides. This ensures easy removal once the cheesecake is set.
- Form the Crust: Transfer the buttered Oreo crumb mixture to the prepared springform pan. Press the mixture down firmly and evenly across the bottom of the pan to form a compact crust. You can use the back of a spoon, the bottom of a glass, or your hands for this step.
- Chill the Crust: Place the pan with the crust into the refrigerator to chill for at least 30 minutes while you prepare the filling. This firming process helps create a stable base for your cheesecake.
Step 2: Creating the Dreamy Cheesecake and Oreo Filling
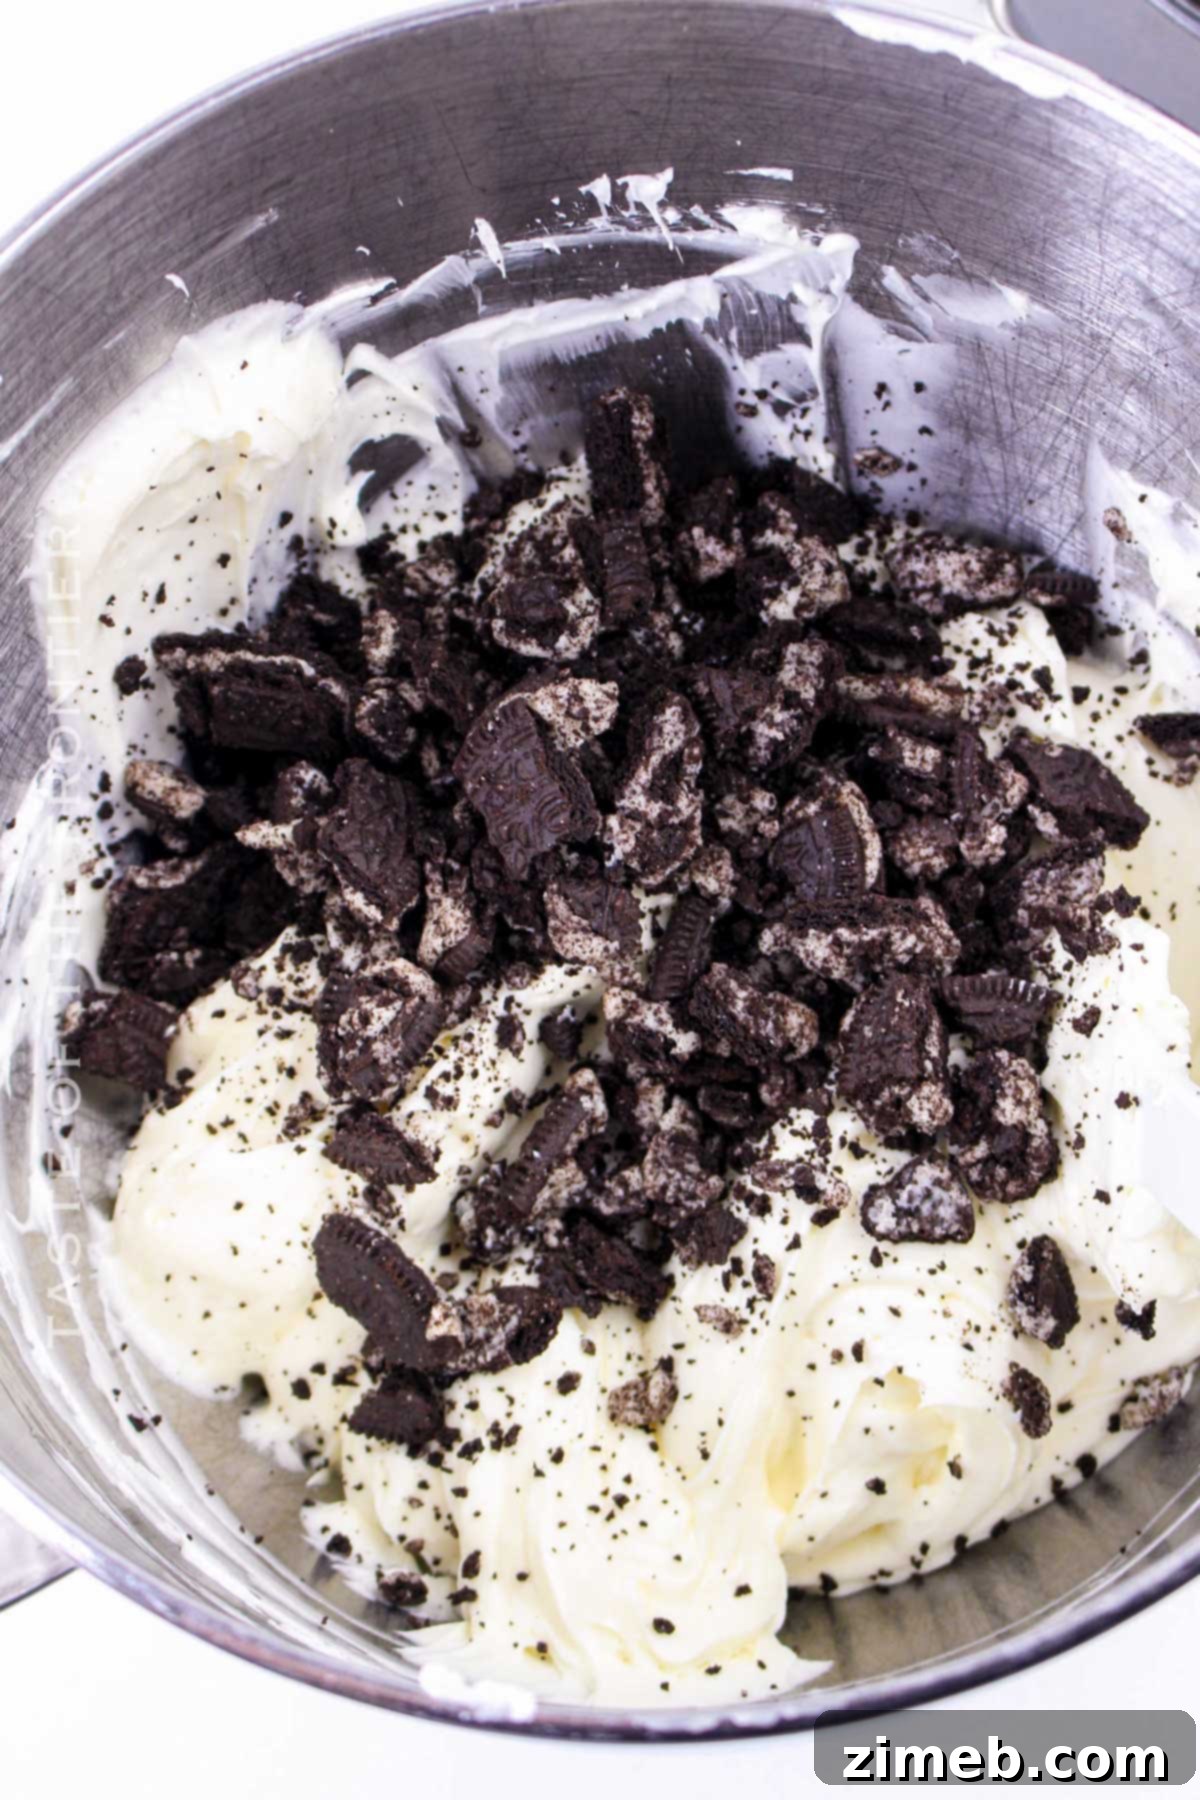
- Cream the Cheese Mixture: While the crust is chilling, in a large mixing bowl, beat the softened cream cheese, granulated sugar, and vanilla extract together. Continue beating for 3 to 5 minutes until the mixture is completely smooth, creamy, and free of any lumps. Set this luscious cream cheese mixture aside.
- Whip the Heavy Cream: In a separate, clean bowl, whip the chilled heavy cream until stiff peaks form. Be careful not to overbeat, as this can turn the cream grainy.
- Gently Fold: Delicately fold the whipped cream into the cream cheese mixture using a spatula. Continue folding until the two components are just combined, maintaining the airy texture of the whipped cream.
- Add Crushed Oreos to Filling: Crush 6 of the reserved Oreo cookies into small, coarse pieces. Gently fold these crushed cookie bits into the cheesecake filling. This adds delightful pockets of Oreo crunch throughout the creamy interior.
Step 3: Assembling and Decorating Your Masterpiece (Chilling Required!)
This crucial step involves a significant chilling period, a minimum of 4 hours, to allow the cheesecake to properly set.
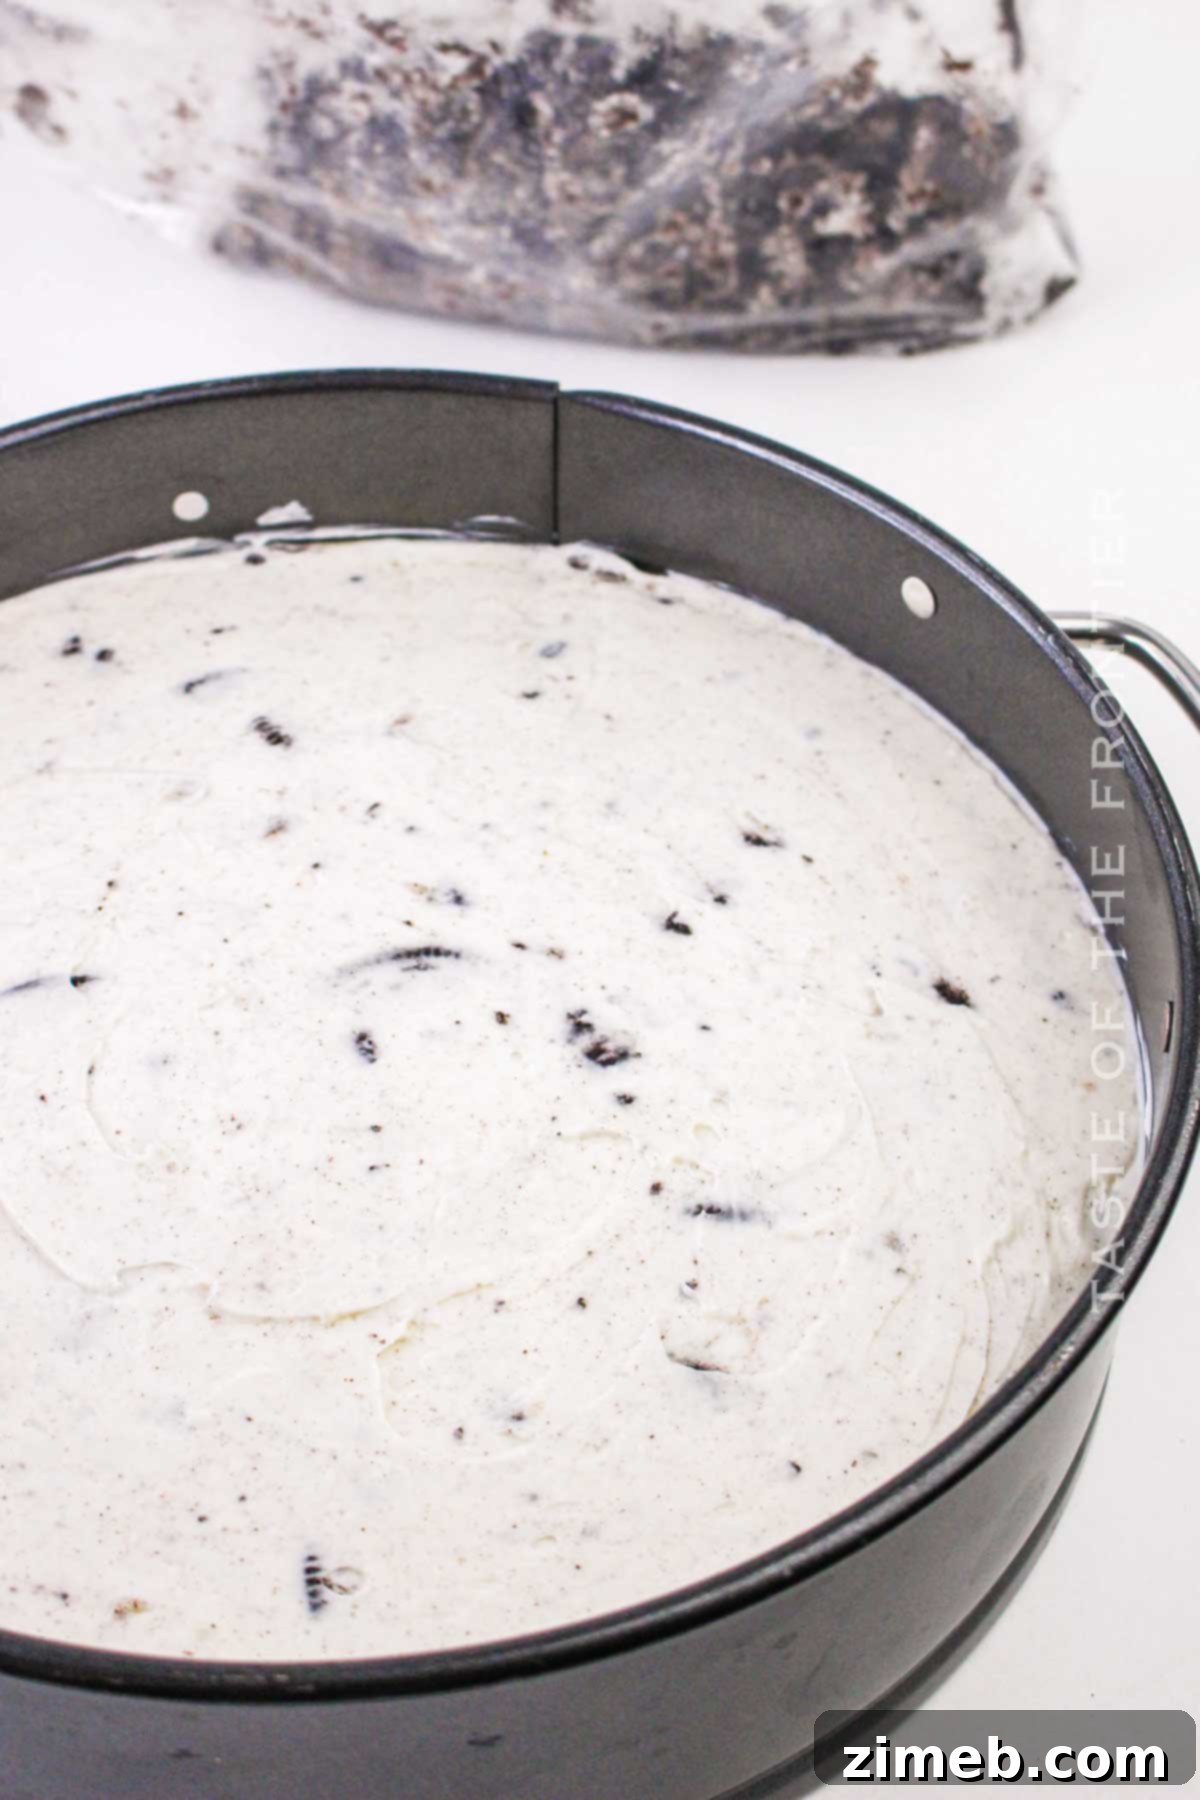
- Assemble the Cheesecake: Retrieve the chilled crust from the refrigerator. Carefully pour the prepared Oreo cheesecake filling over the crust, spreading it out evenly with a rubber or silicone spatula to create a smooth top surface.
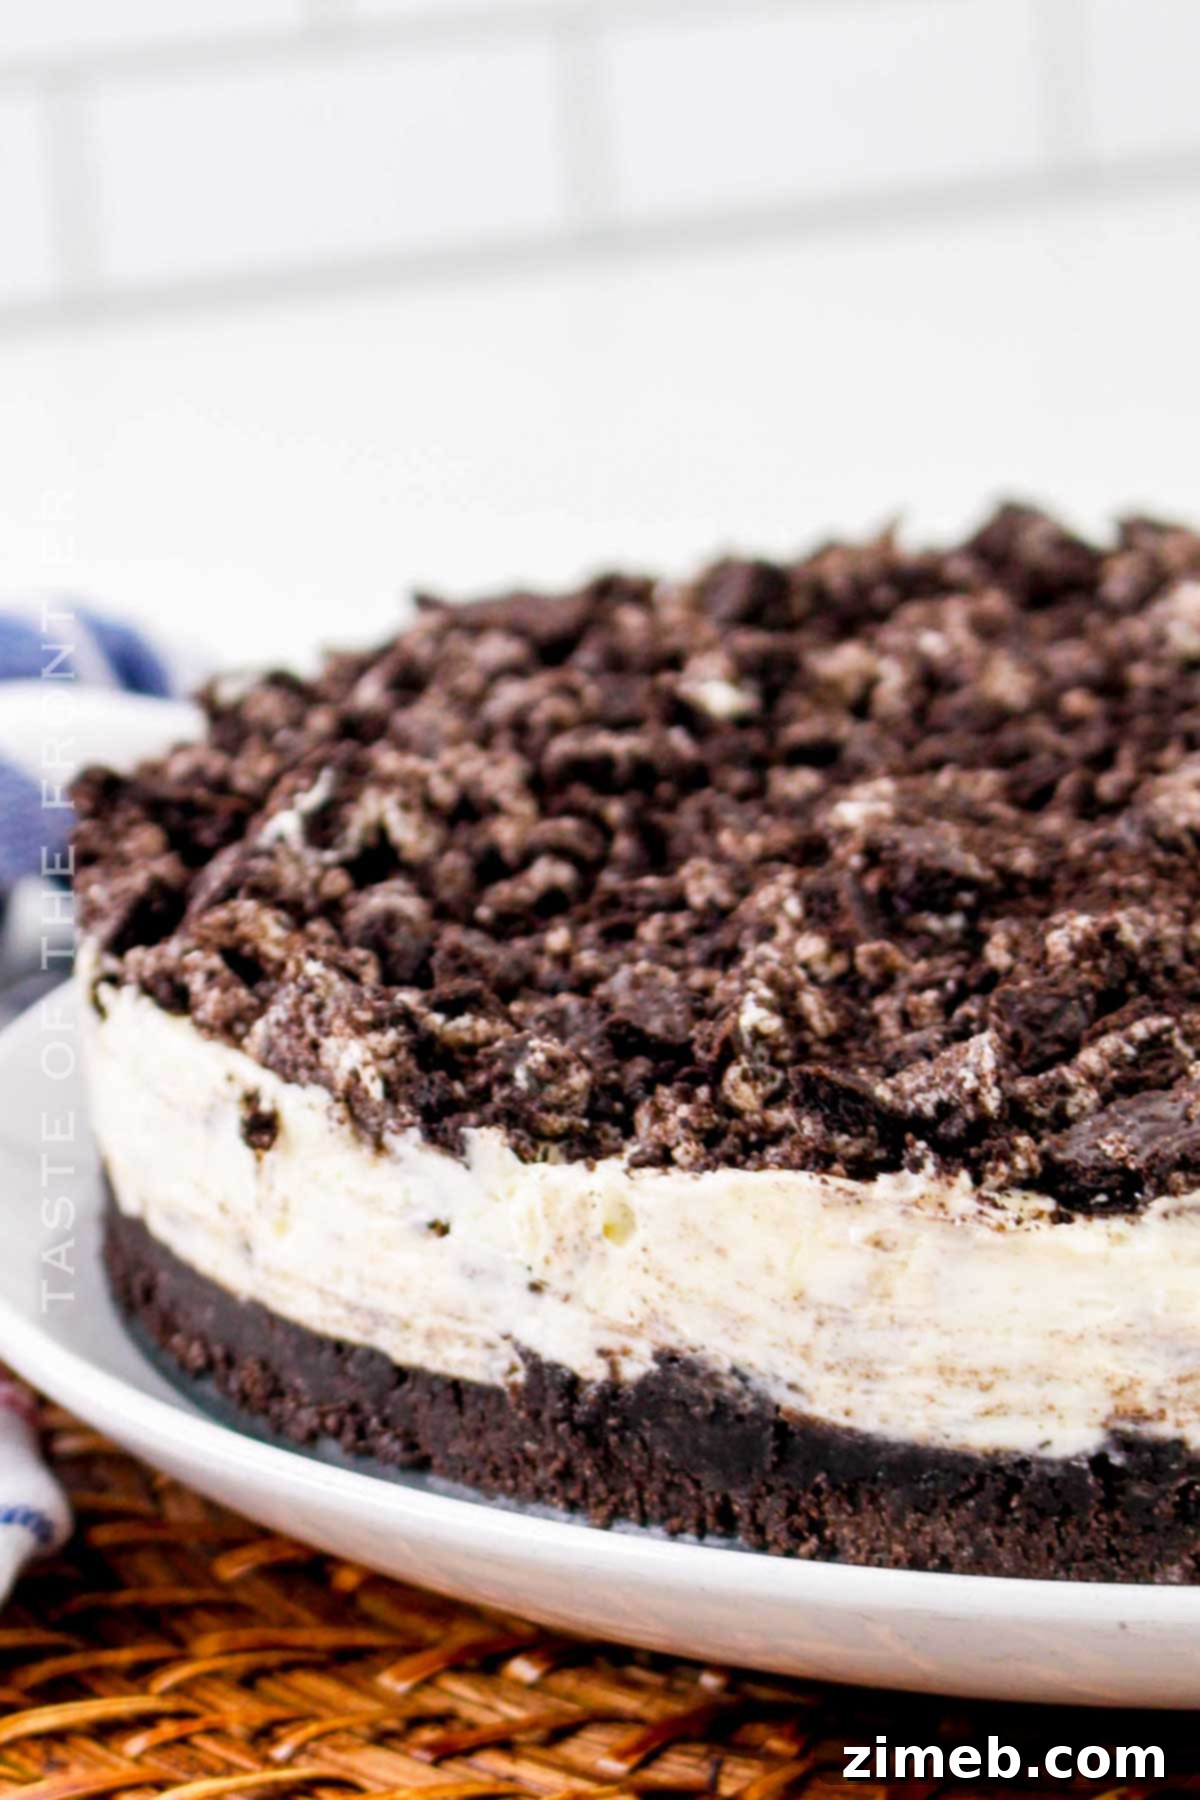
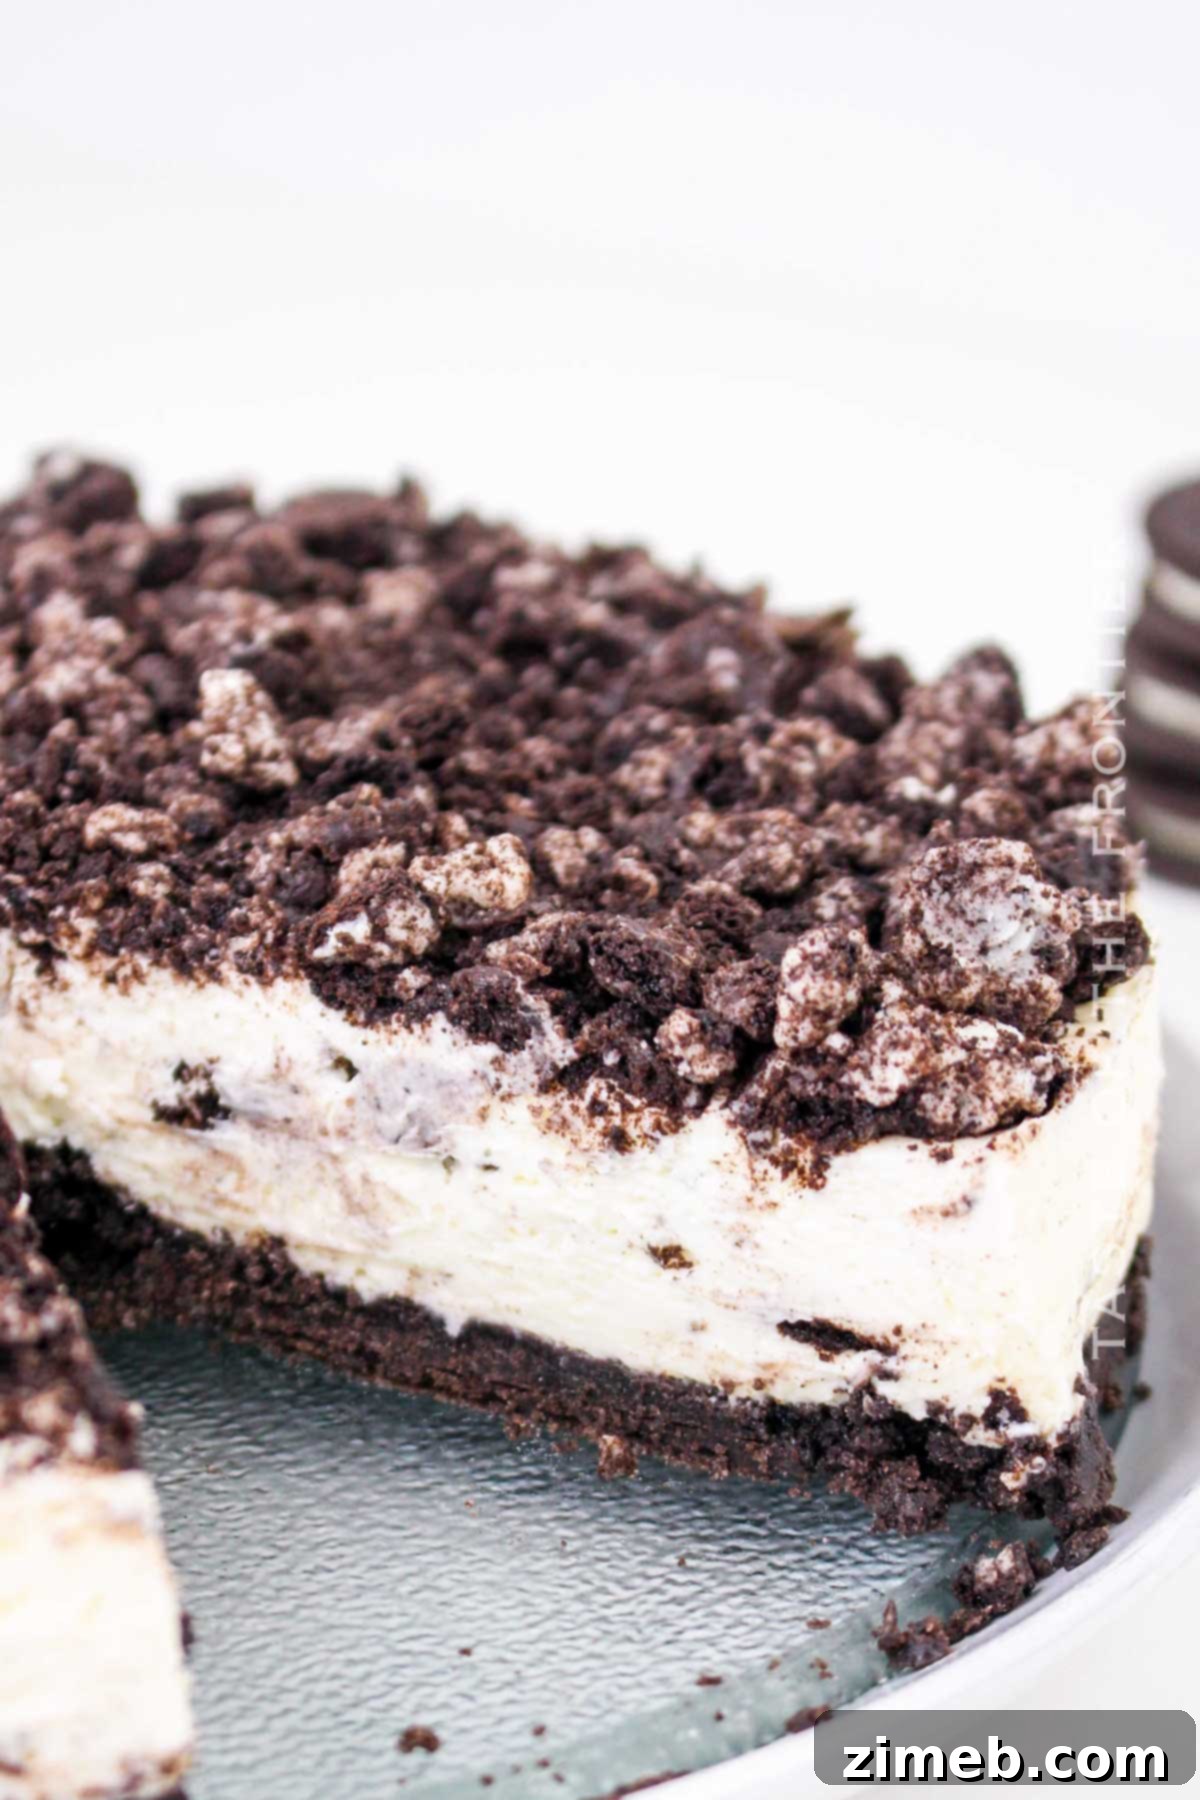
- Top with More Oreos: Crush the remaining 10 to 15 Oreo cookies and sprinkle the crumbs generously over the top of the cheesecake. Gently smooth them into an even layer for a visually appealing and texturally rich finish.
- Long Chill Time: Cover the pan tightly with plastic wrap to prevent any odors from the refrigerator from affecting the cheesecake’s flavor. Refrigerate for a minimum of 4 hours, or ideally, overnight. The longer it chills, the firmer and more stable your cheesecake will be.
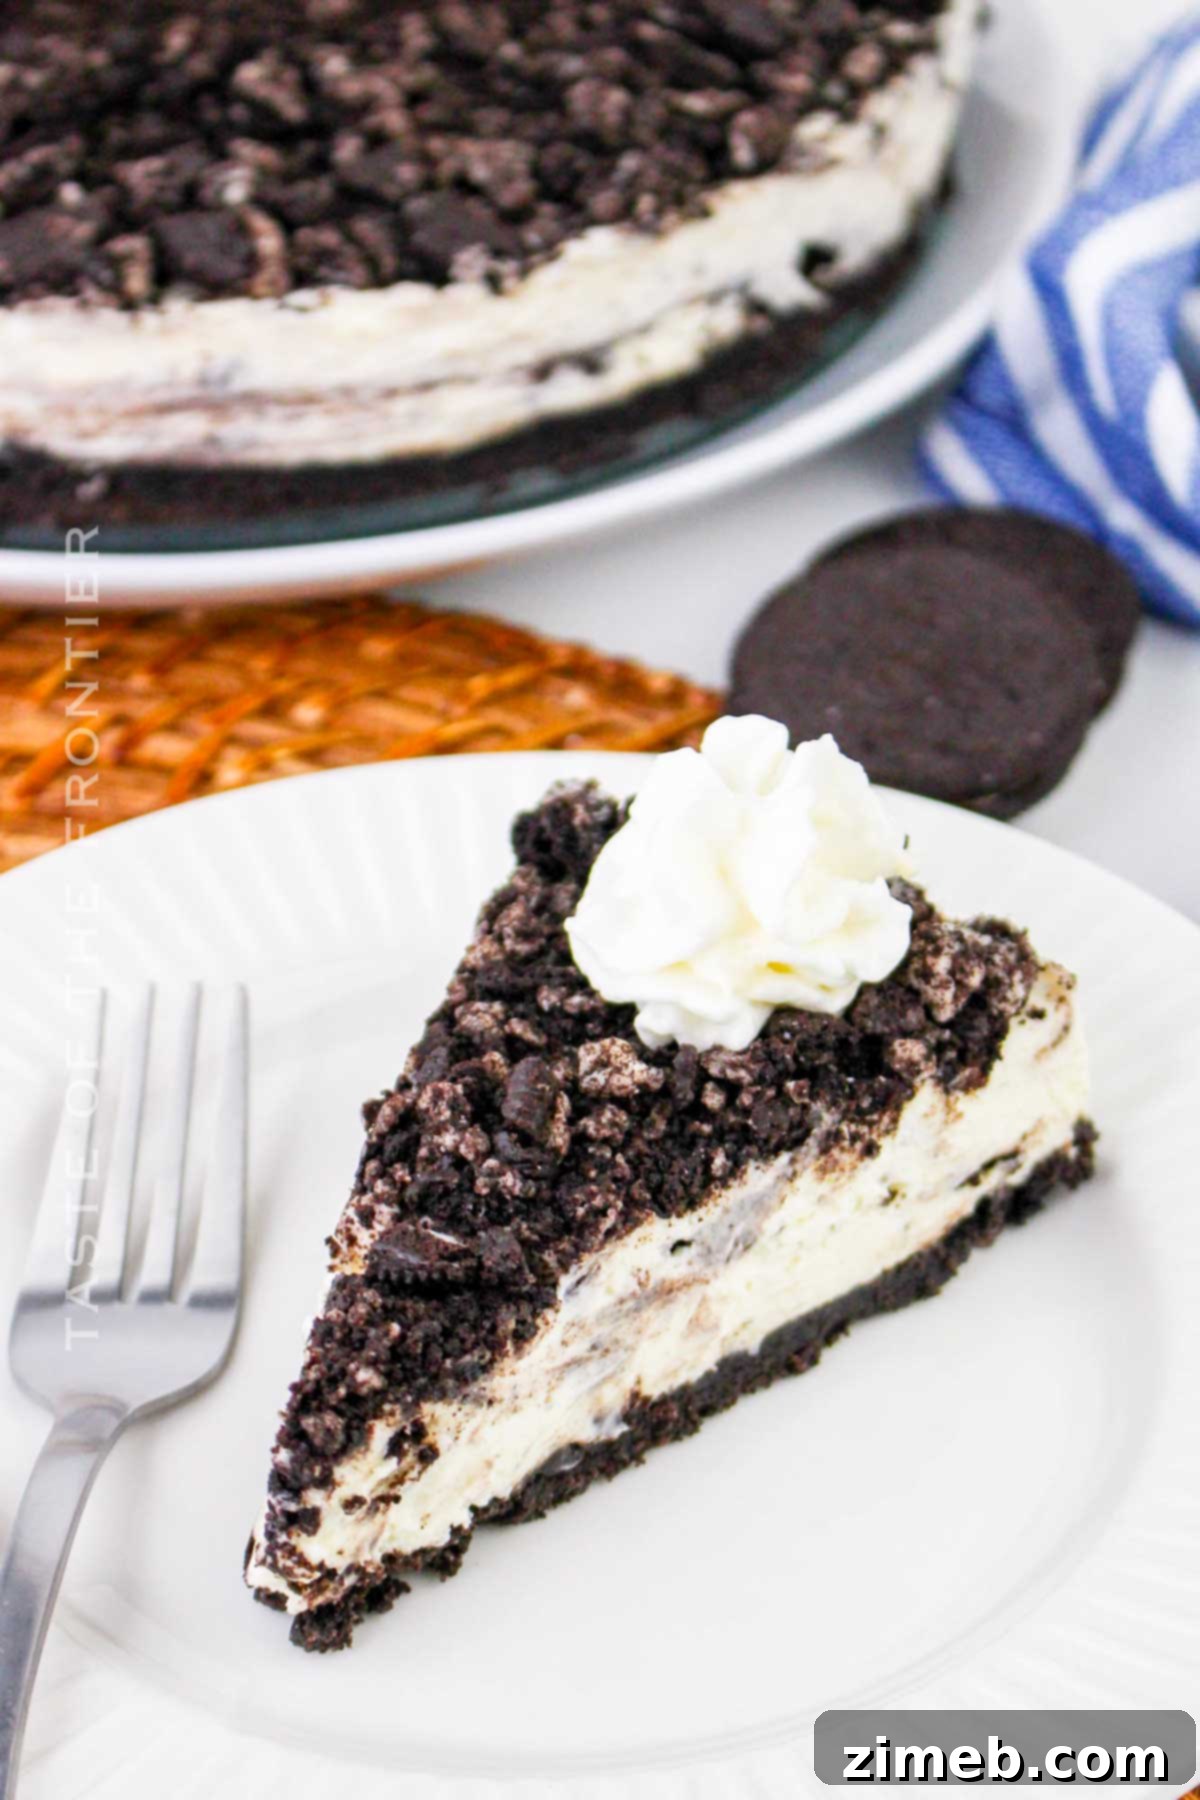
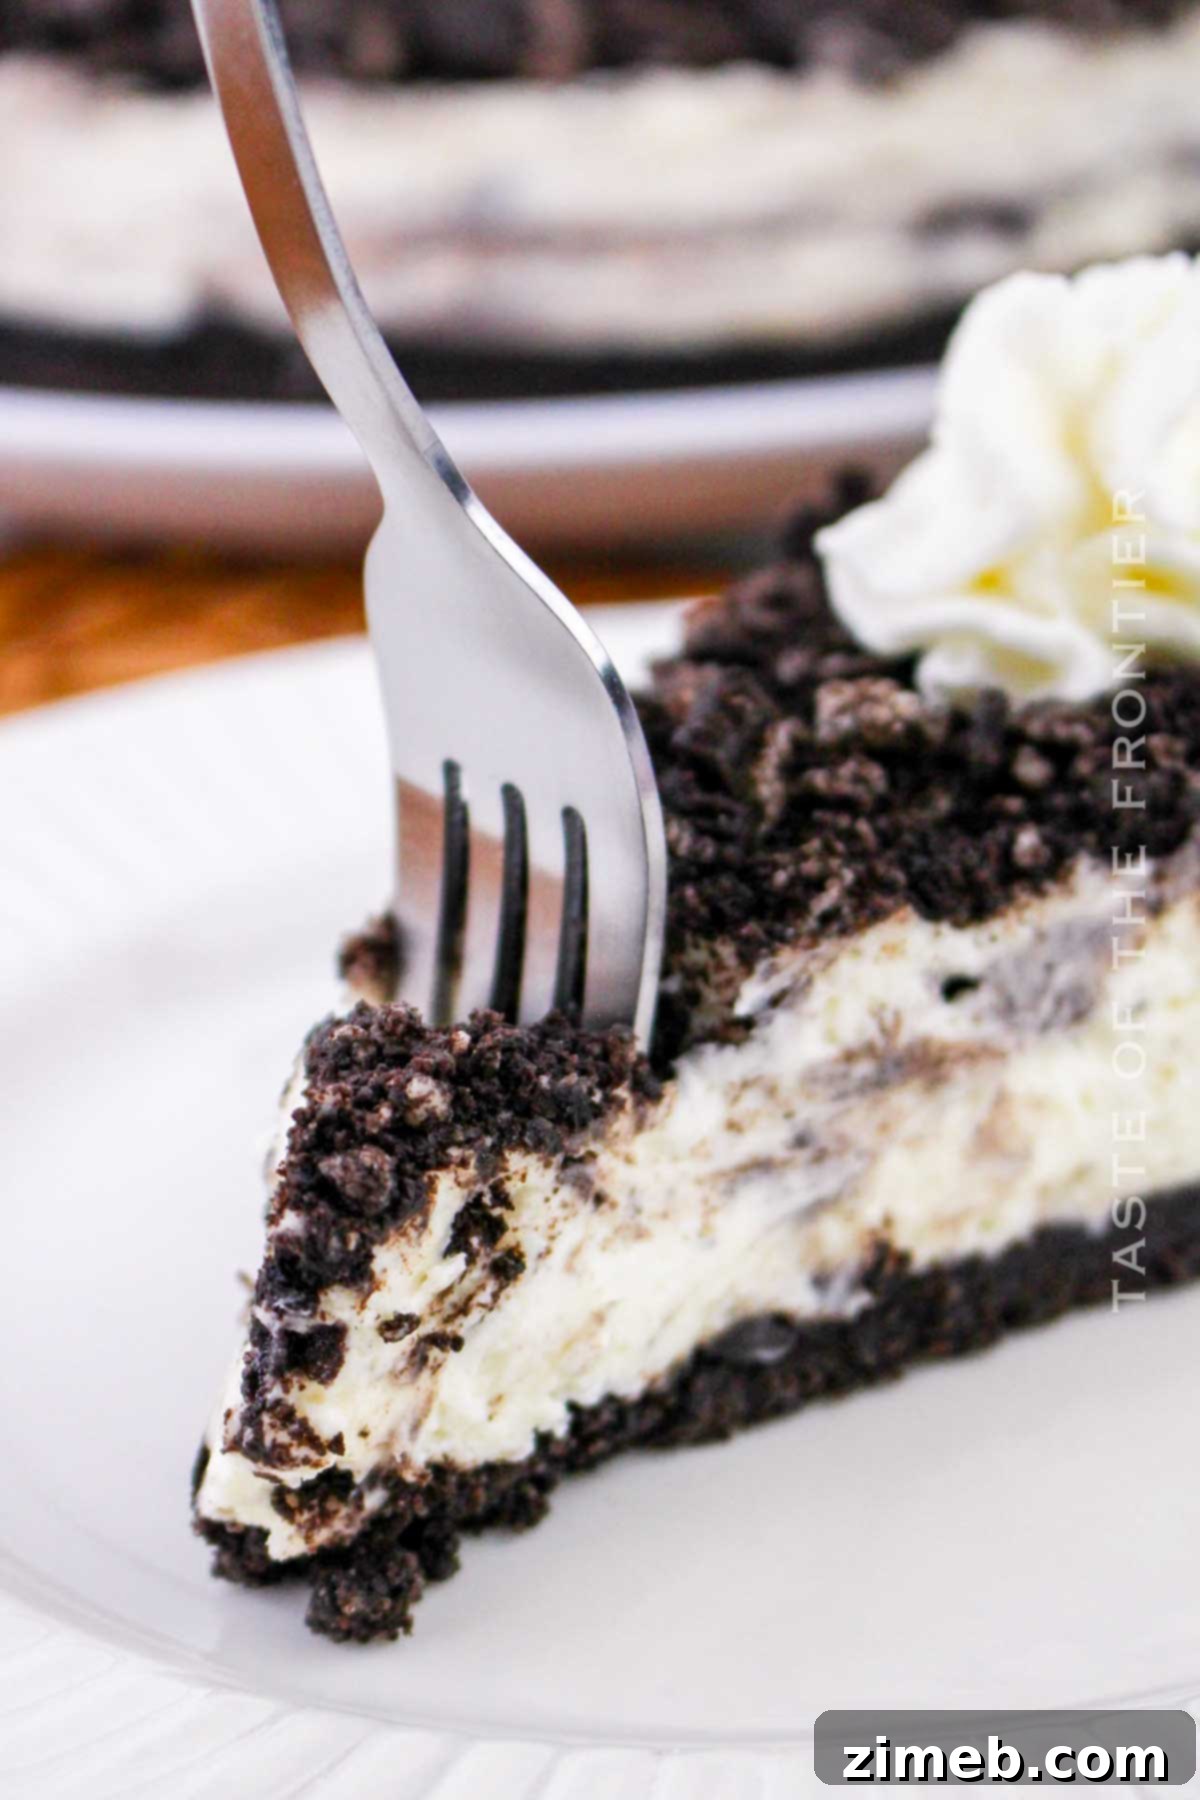
- Serve Chilled: Once fully set, carefully unlatch the springform pan and remove the cheesecake. Slice it with a sharp, warm knife (wiping it clean between slices for neat cuts), and serve chilled.
- Optional Garnish: For an extra touch of elegance and flavor, garnish individual slices or the entire cake with additional whole or mini Oreo cookies, leftover cookie crumbs, or a dollop of fresh whipped cream just before serving.
Exciting Variations for Your Oreo Cheesecake
While the classic No Bake Oreo Cheesecake is perfect on its own, its versatility allows for endless creative adaptations to suit any taste or occasion. Here are some easy and delicious variations to try:
- Flavorful Oreo Swaps: Don’t limit yourself to classic Oreos! Experiment with different Oreo flavors like Golden Oreos, Mint Oreos, Peanut Butter Oreos, or even seasonal varieties. You can also substitute Oreos with other sandwich cookies you adore, such as Nutter Butters or Biscoff cookies.
- Delightful Mini Cheesecakes: Transform this recipe into charming, portion-sized desserts by making mini cheesecakes. Use individual dessert cups, shot glasses, or a muffin tin lined with cupcake liners. These are perfect for parties, ensuring everyone gets their own adorable, share-free treat!
- Creative Topping Ideas: Instead of regular cookie crumbs, top your cheesecake with mini Oreo cookies for a cute and appealing look.
- Whipped Topping Choices: While a homemade whipped cream is always a fantastic option, many find Cool Whip to be a convenient and reliable choice for whipped topping. Cool Whip is often recommended in recipes for its stability and consistent texture, which can be harder to achieve with homemade versions, especially when considering varying ingredient qualities. However, feel free to use your preferred whipped cream, homemade or store-bought.
- Elegant Piping Decoration: For a truly stunning presentation, prepare a batch of extra whipped cream (or use Cool Whip) and pipe soft peaks around the edge of the cheesecake using a piping bag fitted with a star tip. Place a whole Oreo cookie in between each peak for an impressive, professional finish.
- Decadent Chocolate Curls: Chocolate shavings or curls add a sophisticated touch and beautifully complement the rich chocolate and cream flavors of the cheesecake. Simply use a vegetable peeler or a sharp knife to create curls from a chocolate bar.
More Fun Ideas to Elevate Your Cheesecake
- Gluten-Free Indulgence: Easily adapt this recipe to be gluten-free by using gluten-free Oreo cookies or similar gluten-free chocolate sandwich cookies.
- Vegan-Friendly Version: Creating a vegan variation of this no-bake dessert is simpler than ever. Substitute dairy cream cheese with your favorite vegan cream cheese (brands like Daiya or Violife work wonderfully). Replace heavy cream with heavy coconut cream (chilled overnight and scooped from the top) or cashew cream. Vegan butter or vegetable oil can be used for the crust. With the increasing availability of plant-based alternatives, going vegan doesn’t mean sacrificing flavor or texture.
- Luscious Chocolate Drizzles: For an extra layer of decadence, add a delicate chocolate drizzle. Simply melt your favorite chocolate (dark, milk, or white), let it cool slightly, then use a spoon or a piping bag with a tiny hole to create elegant lines across the top of the cake.
- Rich Chocolate Ganache Topping: If you’re craving an even thicker and more intense chocolate experience, whip up a chocolate ganache. It’s incredibly easy to make with just dark or milk chocolate, heavy cream, and a knob of butter. The result is a glossy, finger-licking good topping. Alternatively, you can find boxed ganache mixes for convenience.
- Velvety and Silky Filling: To achieve an ultra-smooth and luxurious filling, consider adding melted white chocolate to your cream cheese mixture. It adds richness and helps with stability. Incorporating full-fat sour cream or a thick, plain yogurt (like Greek yogurt) can also enhance the softness and ensure the cheesecake holds its shape beautifully.
- Transform into a Baked Cheesecake: If you enjoy baking desserts, this recipe can be adapted. Add eggs to the cream cheese filling, and instead of chilling, bake it in a water bath until set for a traditional baked cheesecake experience.
- Flavorful Extracts and Zests: While vanilla extract provides a classic flavor, don’t hesitate to experiment with other extracts or fresh zests. Lemon zest can add a bright, refreshing note, and a hint of mint extract can create a delightful “mint Oreo” cheesecake.
Proper Storage for Your No-Bake Oreo Cheesecake
To maintain the perfect texture and freshness of your No Bake Oreo Cheesecake, proper storage is key. Avoid leaving the cheesecake out at room temperature for extended periods, as it will begin to soften and lose its optimal consistency.
Always store the cheesecake tightly wrapped in plastic wrap or placed within an airtight container. This protects it from absorbing odors from the refrigerator and keeps it fresh.
When refrigerated, your delicious No Bake Oreo Cheesecake will last for 3 days, retaining its creamy texture and delightful flavor.
Can No-Bake Oreo Cheesecake be Frozen?
Yes, you can absolutely freeze your No Bake Oreo Cheesecake, allowing you to enjoy this treat even weeks later! However, there are a few important considerations to ensure the best results:
You can freeze a chilled and fully set cheesecake (both the filling and crust) by wrapping it securely in several layers of plastic wrap, followed by aluminum foil. It can be stored in the freezer for 1 to 3 months. **Important:** Do not freeze the cheesecake with any delicate toppings, especially whipped cream, as these do not freeze and thaw well.
It’s crucial not to freeze the fresh filling mixture before it has had a chance to set in the refrigerator. If you freeze an unset filling, it will likely lose its intended texture and may not properly set after defrosting, resulting in a runny or grainy consistency.
When you’re ready to serve your frozen cheesecake, transfer it from the freezer to the refrigerator and allow it to thaw slowly. This process will take at least 24 hours. Once completely thawed, you can then proceed with decorating and serving, just as you would with a freshly made cheesecake.
As mentioned, if your cheesecake has already been decorated with a whipped topping or other delicate garnishes, it is not recommended for freezing, as the texture of these elements will be compromised upon thawing.
Expert Tips for the Perfect No-Bake Oreo Cheesecake
- Effortless Butter Melting: For quick and easy melted butter, place it in a microwave-safe mug or bowl and heat it in 30-second intervals, stirring in between, until fully melted.
- Achieve a Flawless Crust: To create a perfectly even and firmly pressed crust base, use the bottom of a flat-bottomed glass or a measuring cup. While hands work, these tools help achieve a much more uniform and compact surface, which is essential for a stable cheesecake.
- Fine Crumbs are Key: For the best crust and filling texture, aim for finely crushed Oreo cookies. This is why a food processor or blender is often recommended. If using the rolling pin method, take your time to ensure the cookies are broken down into consistent, fine crumbs.
- Whip Cream Separately: Whipping the heavy cream in a separate bowl before gently folding it into the cream cheese mixture is a critical step. This prevents overbeating the heavy cream once it’s combined with the denser cream cheese, which could negatively impact the light and airy density of the finished cheesecake.
- Room Temperature Cream Cheese: Always ensure your cream cheese is softened to room temperature. This makes it significantly easier to beat into a smooth, homogenous mixture, preventing lumps and ensuring a silky-smooth filling. Always use brick-style cream cheese, as it is firmer and provides better structure for cheesecake recipes compared to whipped or spreadable varieties.
Crucial Reminders for No-Bake Cheesecake Success
- Spatula for Even Spreading: Rubber or silicone spatulas are your best friends when it comes to evenly spreading the creamy filling over the crust, ensuring a smooth and consistent layer.
- Avoid Overbeating Cream Cheese: When beating the cream cheese mixture, aim for a smooth and creamy consistency, but be careful not to overbeat. You want soft peaks that hold their shape, not hard, stiff peaks, as this can lead to a dense filling.
- The Art of Folding: Many cheesecake recipes, especially no-bake ones, specifically instruct you to “fold” ingredients. This is a gentle technique designed to incorporate ingredients without deflating the air you’ve whipped into them. Resist the urge to aggressively mix; over-mixing and over-beating can easily ruin the delicate textures of a no-bake cheesecake.
- Choose Wisely – No Double-Stuf: For this recipe, it’s best to stick to regular Oreo cookies. Double-Stuf Oreos can make the cheesecake overly sweet and alter the balance of flavors.
- Springform Pan is Best: I highly recommend using a springform pan for all cheesecake recipes. It significantly simplifies the process of removing the cheesecake from the tin and transferring it to a serving plate without damage. Standard pie plates, being quite shallow, make it much harder to extract the finished cake cleanly. If a springform pan isn’t available, a 13×9-inch baking pan can be used, though the presentation will differ.
- Smooth Top with an Offset Spatula: Before decorating, use an offset spatula or a palette knife to smooth out the top surface of the cheesecake filling. This creates a perfectly even and neat canvas for your toppings.
Frequently Asked Questions About No-Bake Oreo Cheesecake
Can I use a pre-made crust for no-bake Oreo cheesecake?
While most No-Bake Oreo Cheesecake recipes, including this one, are designed and calculated for a homemade Oreo cookie crumb crust, you can certainly use a pre-made or store-bought cheesecake pie crust as a shortcut. However, be aware that a pre-made crust will introduce a different flavor and texture profile compared to the fresh Oreo crust. Additionally, you may need to adjust the volume of the cheesecake filling slightly to fit the dimensions of your chosen pre-made crust, as they can vary in size. Personally, I find the flavor and crisp texture of a homemade Oreo crust to be superior and better suited for cheesecakes.
Why is my no-bake cheesecake not firm?
If your no-bake cheesecake (especially one made without gelatin) isn’t firm and doesn’t hold its shape, the most common reason is insufficient chilling time. The refrigeration period is absolutely crucial for the ingredients to set and firm up properly. For optimal results, allow your cheesecake to chill for a minimum of 4 hours, though 8 hours or even overnight in the refrigerator is highly recommended. Patience during this chilling phase is rewarded with a beautifully firm and sliceable cheesecake.
How to Make Oreo Cheesecake Without Cream Cheese?
While cream cheese is the cornerstone of traditional cheesecake, it’s quite simple to make an Oreo cheesecake without it by using suitable substitutes. For those looking for alternatives, mascarpone cheese can be used to create a richer, slightly less tangy cheesecake. Alternatively, for a plant-based version, you can readily substitute dairy cream cheese with vegan cream cheese brands. Excellent options for vegan cream cheese include Daiya and Violife, which offer similar textures and flavors to their dairy counterparts, ensuring a delicious plant-based Oreo cheesecake.
Why does no-bake cheesecake feel grainy?
A grainy texture in your no-bake cheesecake filling can typically be attributed to one of two main reasons. Firstly, it often occurs if the sugar hasn’t been thoroughly mixed in and fully dissolved into the cream cheese mixture. Granulated sugar, if not properly incorporated, can leave a discernible texture. To prevent this, ensure your cream cheese is softened, and beat the mixture long enough until completely smooth. A helpful tip is to swap granulated sugar for powdered sugar (also known as confectioners’ sugar or icing sugar), which has a much finer consistency and dissolves more easily, leading to a silkier filling. Secondly, a grainy texture can sometimes happen if the cheesecake was frozen and hasn’t completely thawed yet. Ensure ample thawing time in the refrigerator before serving. Additionally, lumps in the cream cheese mixture can occur if your ingredients, particularly the cream cheese, are not at room temperature before mixing. Room temperature ingredients blend much more smoothly.
If you adore this no-bake recipe, you’ll be thrilled to discover these other delectable treats. Click each link below to find the easy, printable recipes!
Check out this recipe
Check out this recipe
Check out this recipe
Check out this recipe
Check out this recipe
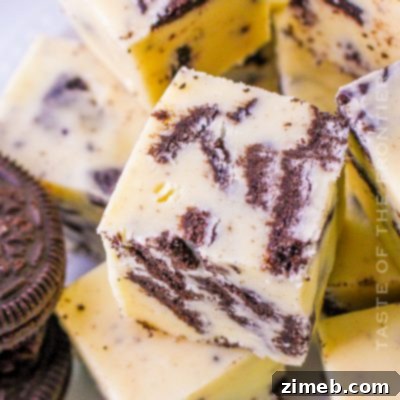
Discover More Irresistible No-Bake Treats
No-Bake Pecan Pie Cheesecake
No-Bake Cheesecake Cups
Church Window Cookies
Banana Split Cake
CONNECT WITH YUMMI HAUS!
Be sure to follow me on my social media channels, so you never miss a delicious post!
Substack, FB, Pinterest, IG, Email Subscription
Rate this Recipe
No Bake Oreo Cheesecake
Ingredients
- 34 Oreo cookies divided – 1 (13.9 ounce) package
- ¼ cup butter melted – (56g) unsalted
- 16 oz cream cheese softened – (450g)
- ½ cup granulated sugar 100g
- 1 teaspoon vanilla extract
- 1 cup heavy cream chilled – (240ml)
Instructions
-
Crush 18 Oreo cookies into fine crumbs using a food processor or by placing them in a plastic bag and crushing them with a rolling pin.
-
Add the melted butter to the Oreo crumbs and pulse until blended.
-
Reserve the remaining Oreos for later.
-
Press the Oreo crumb mixture firmly into the bottom of a 9-inch (23cm) springform pan, forming an even crust. Place the pan in the refrigerator while preparing the filling.
Filling
-
Beat the softened cream cheese, sugar, and vanilla extract in a large mixing bowl, until smooth and creamy.
-
In a separate bowl, whip the heavy cream until stiff peaks form.
-
Gently fold the whipped cream into the cream cheese mixture until well combined.
-
Crush 6 Oreo cookies into small pieces and fold them into the cheesecake filling.
-
Remove the prepared crust from the refrigerator and pour the cheesecake filling over the crust, spreading it out evenly with a spatula.
-
Crush the remaining 10 to 15 cookies and sprinkle the crumbs over the top of the cheesecake, smoothing into an even layer.
-
Cover the pan with plastic wrap and refrigerate for at least 4 hours, or until the cheesecake is set.
-
Once set, carefully remove the cheesecake from the springform pan, slice, and serve chilled.
-
Optionally, garnish with additional Oreo cookies or whipped cream before serving.
Equipment
-
9″ springform pan
Nutrition
Nutritional information for the recipe is provided as a courtesy and is approximate. Please double-check with your own dietary calculator for the best accuracy. We at Yummi Haus cannot guarantee the accuracy of the nutritional information given for any recipe on this site.