
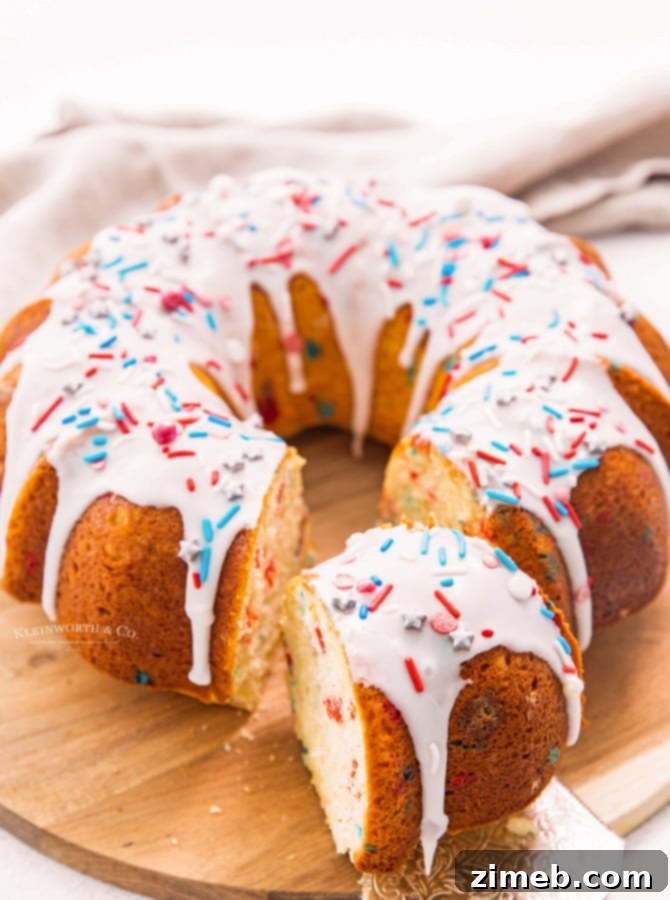
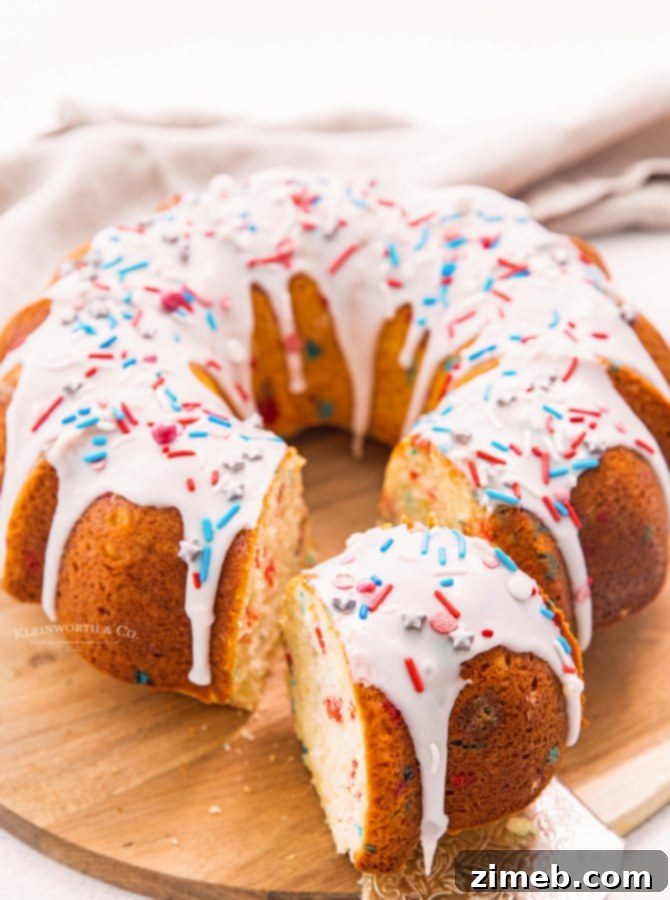
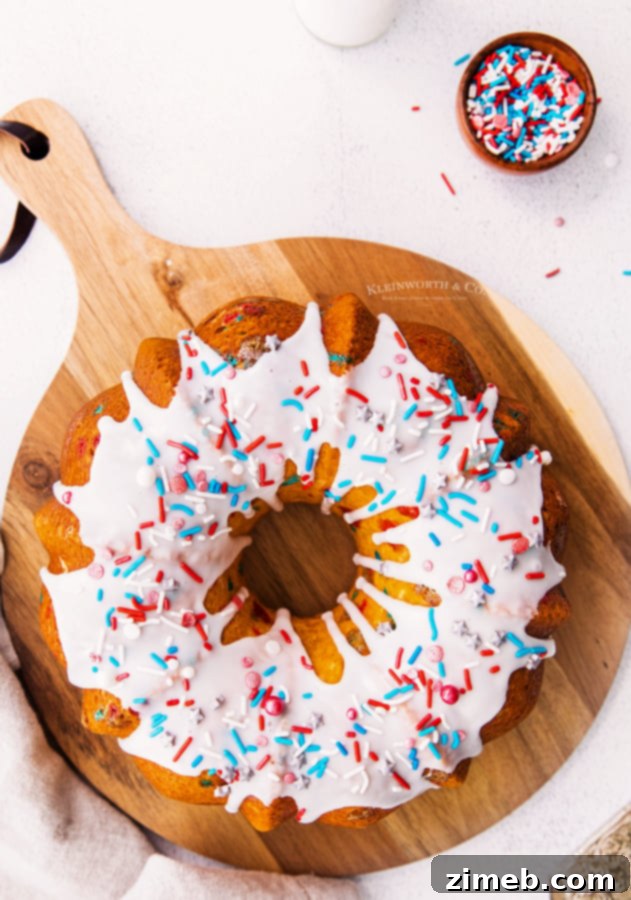
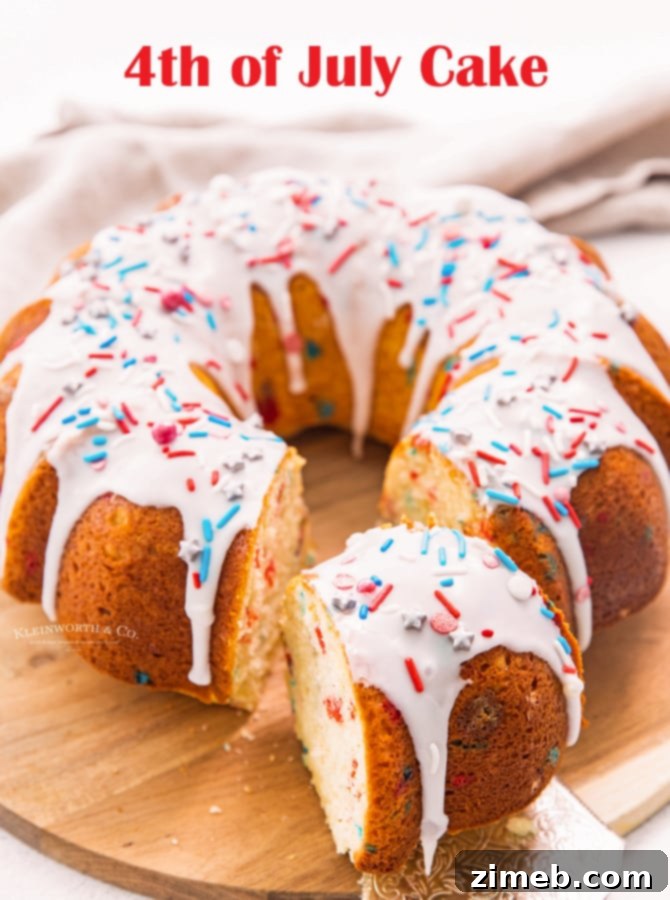
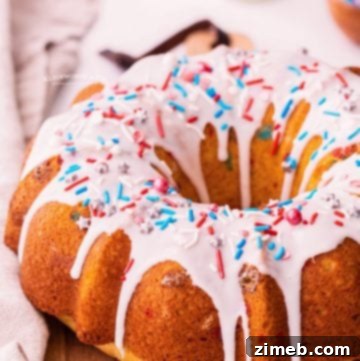
The 4th of July Bundt Cake is the quintessential dessert for celebrating Independence Day. This vibrant, funfetti-style bundt cake offers a delightful blend of ease and deliciousness, making it a perfect centerpiece for your patriotic festivities.
Celebrate Independence Day with a Stunning 4th of July Bundt Cake
Summer in North Idaho is truly magnificent, making this time of year one of my absolute favorites. The long, sunny days and beautiful scenery always fill me with anticipation, especially as the 4th of July approaches. There’s something incredibly special about this patriotic holiday – the joyous gatherings, the vibrant decorations, and, of course, all the wonderful red, white, and blue treats we create for our celebrations.
Among my cherished holiday recipes, this 4th of July Bundt Cake stands out. It’s not just a cake; it’s a festive statement, brimming with patriotic spirit and an undeniable charm. Inspired by my popular homemade funfetti cake, this recipe transforms classic flavors into an easy-to-make, visually stunning dessert. If you adore sprinkles as much as I do, you’ll find every reason to incorporate these colorful bursts into your dessert recipes, and this cake is no exception!
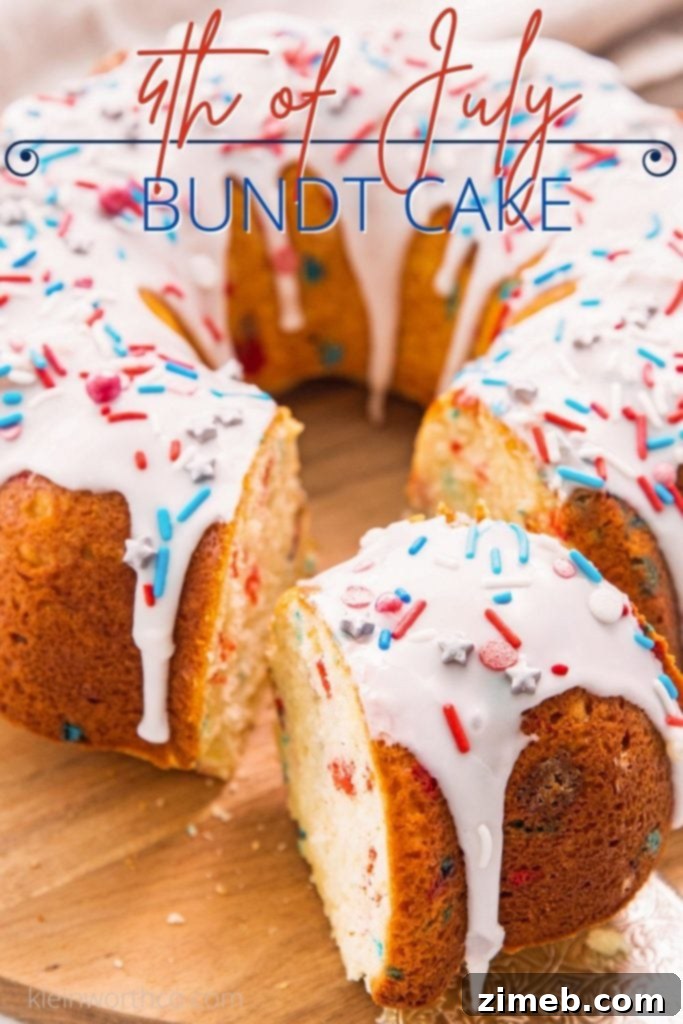
Why This Patriotic Bundt Cake is Your Go-To Independence Day Dessert
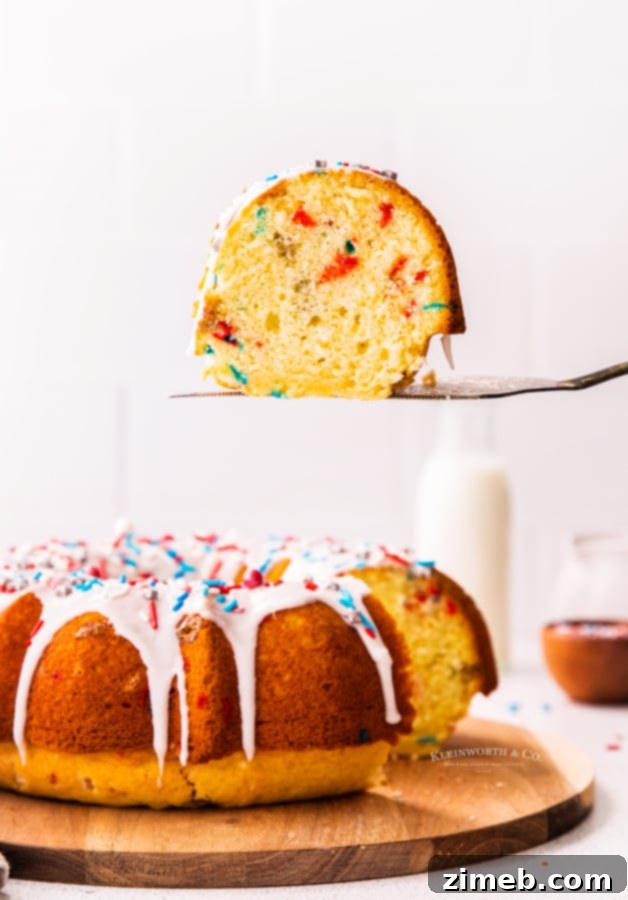
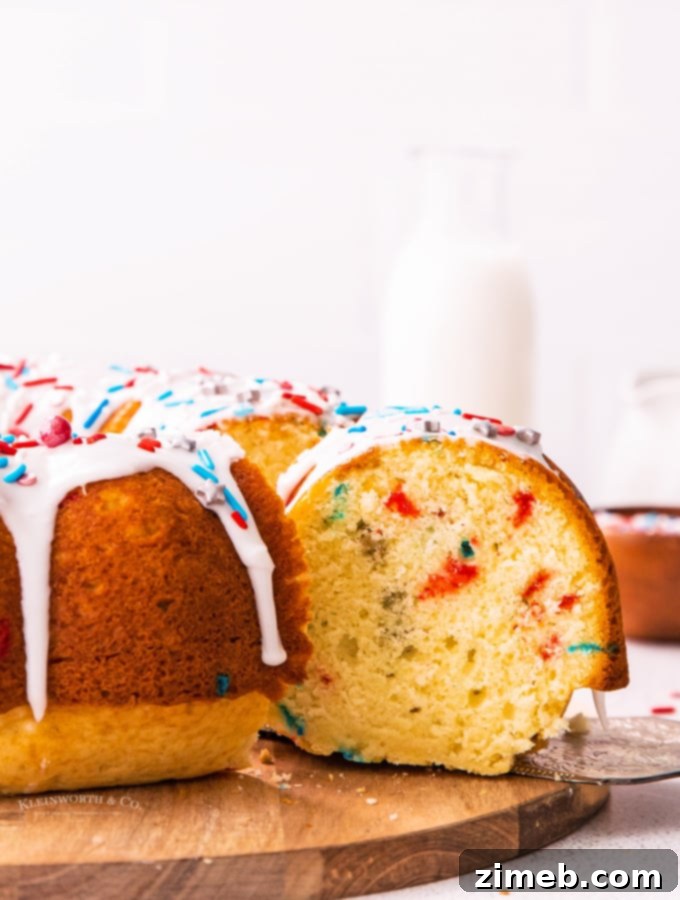
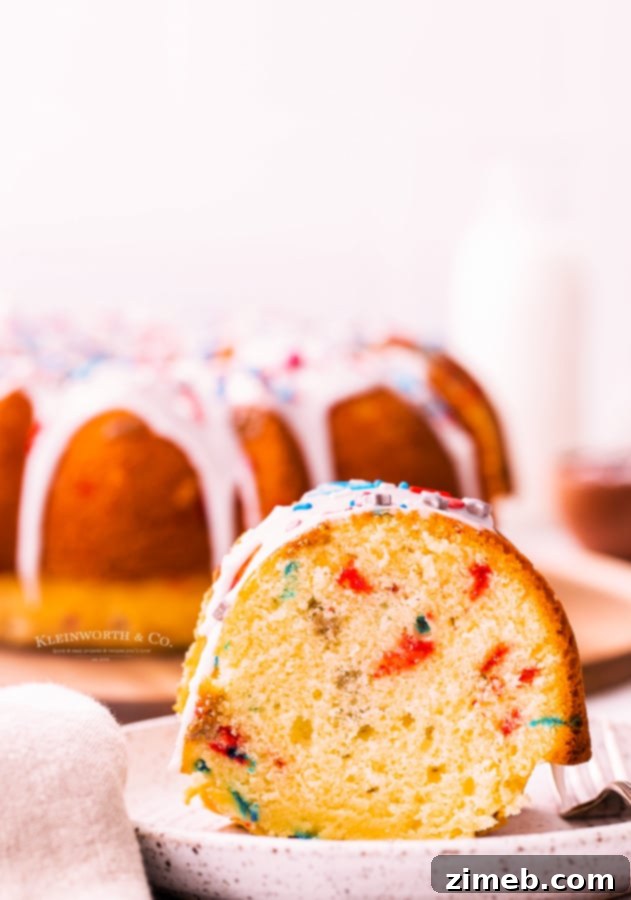
While I often enjoy making elaborate two or three-tiered cakes, summer calls for something a little more relaxed and effortlessly elegant. That’s where the bundt cake shines! Its unique shape and simpler presentation make it ideal for casual summer barbecues and holiday parties. There’s a certain magic to a bundt cake – it feels special without being overly complicated. The result is always a beautifully presented cake that’s both soft and wonderfully moist, promising a perfect crumb in every bite. I’m confident that once you try this recipe, it will become a staple in your holiday baking repertoire.

Frequently Asked Questions & Expert Tips for Baking a 4th of July Bundt Cake
Let’s address some common questions that arise when baking bundt cakes, especially when preparing for a special occasion like the 4th of July. These insights and expert tips will help ensure your cake turns out perfectly every time, from its vibrant appearance to its moist, tender crumb.
Can This Festive Bundt Cake Be Frozen?
Absolutely! Freezing this cake is a fantastic way to prepare ahead, a trick I often employ to save time during busy holiday preparations. You can freeze the cake at various stages of its creation. For best results, once the cake is freshly baked and completely cooled, remove it from the pan, wrap it tightly in several layers of plastic wrap, and then an additional layer of aluminum foil. This method protects against freezer burn and preserves its moisture and fresh flavor. Freezing unfrosted cake layers is also a great tip for keeping them firm, which can be particularly helpful when you plan to frost them later, preventing the frosting from becoming too soft or runny.
If you need to freeze a completely decorated cake, you can do so by gently wrapping it in plastic wrap and then foil. However, be mindful that the frosting or icing won’t be entirely firm and could still be dented if something presses against it in the freezer. To thaw, simply transfer the cake to the refrigerator the night before you plan to serve it. For optimal flavor and a creamy frosting texture, I recommend letting it sit at room temperature for 1-2 hours before serving.
Mastering the Bundt Pan Release: How to Prevent Sticking
Preventing your bundt cake from sticking is crucial for achieving that picture-perfect presentation and avoiding any baking day disappointments. While using a non-stick or silicone bundt pan is highly recommended, it’s not a magic bullet. You still need to adequately prepare the pan!
The key to a clean release lies in thoroughly coating and then flouring the pan. This traditional method involves brushing every nook and cranny with softened butter or shortening, then dusting it generously with flour, tapping out any excess. For a convenient alternative, consider using a baking spray specifically designed with flour. These sprays combine oil and flour, offering a quick and effective non-stick solution that’s often a great time-saver.
My personal favorite, and nearly foolproof, method is using Baker’s Release. It ensures my cakes consistently come out cleanly and effortlessly, even from the most intricate bundt designs. We’ll delve into how to make and use this fantastic concoction below.
What Exactly is Baker’s Release, and How Do You Make It?
Baker’s Release is a homemade, highly effective non-stick mixture consisting of equal parts oil, all-purpose flour, and shortening. This magical blend creates a robust, slick barrier between your delicate cake batter and the intricate surfaces of your bundt pan, making cake release almost effortless. It’s particularly useful for pans with elaborate designs where traditional greasing and flouring might miss a spot, and sticking is a common concern.
To make your own Baker’s Release, simply combine:
- 1 cup all-purpose flour
- 1 cup shortening (like Crisco)
- 1 cup cooking oil (such as vegetable or canola oil)
Whisk these three ingredients together thoroughly until you have a smooth, homogeneous, and consistent mixture. Store it in an airtight container at room temperature in your pantry, or for longer freshness, in the refrigerator. When you’re ready to bake, use a pastry brush to apply a generous, even layer of this mixture over the entire interior surface of your cake pan, ensuring every crevice and detail is coated. This ensures maximum coverage and a pristine cake every time.
How Do I Properly Measure Flour for Baking Accuracy?
Accurate flour measurement is fundamental to successful baking, as too much or too little flour can significantly impact the cake’s texture, leading to either a dry, dense result or a fragile, crumbly one. The universally accepted “official” method for dry ingredients like flour, especially when using standard measuring cups, is called the “spoon and level” method. This technique involves spooning the flour into your measuring cup until it’s overflowing, then leveling off the top with a straight edge (like the back of a knife or a ruler). This prevents the flour from becoming compacted, which can easily lead to adding more flour than the recipe calls for, resulting in a cake that is too dry.
Alternatively, if you don’t have a kitchen scale for precise weight measurement, you can gently fluff the flour in its container with a spoon before lightly scooping it into the measuring cup. Take extreme care not to pack the flour down as you scoop. Then, level off the top. This method usually works well for most home baking recipes, including this 4th of July Bundt Cake, giving you consistent results.
What Exactly is a Bundt Cake? A Brief Explanation
A bundt cake is fundamentally defined by the distinctive pan it’s baked in: a bundt pan. This unique baking vessel is a round, donut-shaped pan characterized by its fluted or decorative interior designs and a central tube. The design was inspired by the traditional European cake known as Gugelhupf. The central tube of a bundt pan isn’t just for aesthetics; it plays a crucial role in ensuring even heat distribution, allowing the center of the cake to bake thoroughly without the edges becoming overcooked. This results in a cake with an elegant, sculpted appearance that often requires minimal decoration, making bundt cakes a popular choice for home bakers looking for impressive results with minimal fuss.
Should I Use Salted or Unsalted Butter for This Recipe?
The choice between salted and unsalted butter often comes down to personal preference, the specific recipe, and what you have readily available in your kitchen. If you enjoy a slight hint of salt to balance the sweetness in your desserts, then salted butter is a good choice. I typically keep salted butter on hand and find that the subtle saltiness perfectly complements the sweet flavors of this funfetti bundt cake, adding a layer of complexity that enhances the overall taste experience.
In today’s dynamic world, with occasional grocery store fluctuations, I often use whatever type of butter I can find at the moment. Fortunately, in many recipes, particularly those with a significant amount of sugar, the difference between salted and unsalted is minimal enough that either works well without drastically altering the outcome. However, if you are using unsalted butter and prefer that touch of salt, you can always add a tiny pinch (about ¼ teaspoon per cup of butter) of fine sea salt to your dry ingredients to achieve a similar savory balance.
Can I Use a Vanilla Substitute Instead of Pure Vanilla Extract?
Yes, you can certainly use vanilla essence or another vanilla substitute if pure vanilla extract is unavailable or if you prefer an alternative. While vanilla essence may not provide the exact same depth, complexity, and rich flavor profile as high-quality pure vanilla extract, it is a perfectly acceptable alternative that will still contribute a pleasant vanilla note to your cake. For the best flavor profile, however, pure vanilla extract, derived from real vanilla beans, is always recommended as it offers a more robust and authentic taste.
Essential Tips for Crafting the Perfect Patriotic Bundt Cake
Follow these expert tips to ensure your 4th of July Bundt Cake is nothing short of spectacular, from its vibrant appearance to its moist, tender crumb. These small details can make a significant difference in your baking success:
- Prepare Your Pan Meticulously: Even with a non-stick or silicone pan, proper greasing is non-negotiable. Use Baker’s Release or a baking spray with flour, ensuring every crevice and intricate design is thoroughly coated to prevent any sticking. A well-prepped pan is the first step to a perfect release.
- Opt for Flavorless Gel Food Coloring: If you choose to add additional food coloring to intensify the patriotic hues beyond the sprinkles, always use a high-quality, flavorless gel food coloring. Liquid food coloring can thin your batter and may sometimes impart an unwanted taste, while gel colors provide vibrant results without affecting consistency or flavor.
- Embrace Silicone Pans (Optional): While not strictly necessary, silicone bundt pans can make the process of flipping out your cooled cake much easier due to their flexible, non-stick nature. If you struggle with traditional metal pans, a silicone pan might be a game-changer.
- Understand Your Oven’s Quirks: Baking times provided in recipes are estimates. Ovens vary significantly in temperature accuracy and heat distribution. Use the recommended time as a guide, and always perform the toothpick test for definitive doneness. Consider investing in an oven thermometer if you suspect your oven runs hot or cold.
- Account for Climate and Elevation: Humidity and altitude can significantly affect baking results. High altitude, for instance, often requires adjustments to leavening agents and liquids. Be prepared to make slight tweaks to baking time and ingredient ratios if you live in an extreme climate.
- Use Room Temperature Ingredients: This is a critical step often overlooked! Butter, eggs, and milk should all be at room temperature. This ensures they emulsify properly, creating a smooth, homogenous batter that traps air efficiently. This trapped air contributes significantly to the cake’s rise, light texture, and overall moistness.
- Follow Mixing Order and Avoid Over-mixing: Adhere to the recipe’s mixing instructions precisely. Over-mixing develops gluten in the flour, which can result in a tough, chewy, and dry cake. Mix just until ingredients are combined and no large lumps of flour remain; a few small lumps are better than an overmixed batter.
- Customize with Food Coloring (Optional): Beyond incorporating sprinkles, you can divide the plain batter into three portions and tint them with red and blue food coloring for a marbled, layered, or swirled patriotic effect before adding the sprinkles.
- Minimize Oven Opening: Resist the urge to open the oven door frequently, especially during the first two-thirds of baking. This can cause the cake to deflate due to sudden temperature drops, resulting in a dense cake with a fallen center.
- Cool in Pan, Then Rack: Allow the cake to cool in the bundt pan on a wire rack for the specified time (usually 5-15 minutes). This crucial resting period allows the cake to firm up and pull away from the sides of the pan slightly before being inverted.
- The Toothpick Test is Your Best Friend: For the most accurate determination of doneness, insert a wooden skewer or toothpick into the thickest part of the cake (avoiding the center tube). If it comes out clean or with a few moist crumbs attached, your cake is done.
- Prevent Over-Browning: If your cake is browning too quickly on the outside before it’s fully baked internally, gently tent the top with aluminum foil for the remaining baking time. This reflects heat and protects the crust from burning.
- Glaze Only When Fully Cooled: This is paramount for a professional-looking finish. Pouring glaze over a warm cake will cause it to melt, absorb into the cake, and create a soggy texture, rather than forming a beautiful, opaque coating. Ensure your cake is completely cool to the touch before applying any glaze.
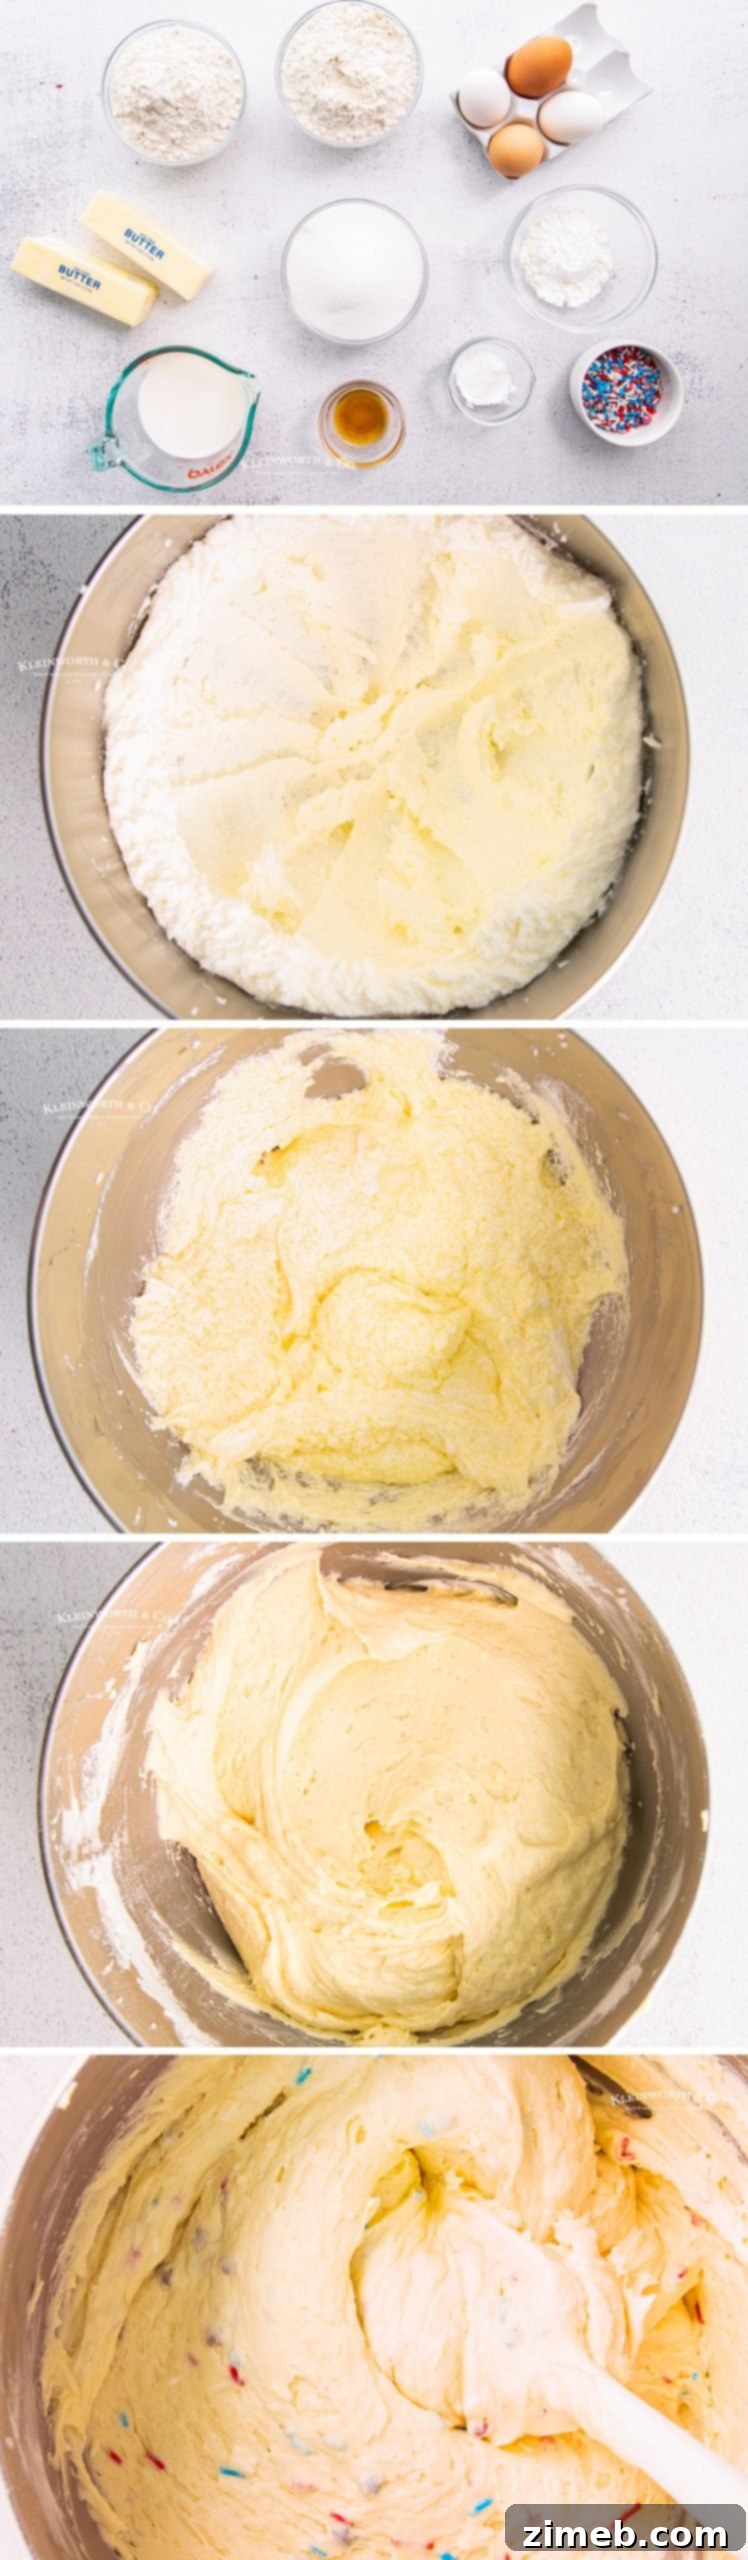
How to Make This Festive 4th of July Bundt Cake: A Step-by-Step Guide
Creating this delicious patriotic bundt cake is simpler than you might think. Follow these straightforward steps to bake a show-stopping dessert for your Independence Day celebration.
For the Bundt Cake:
- Preheat your oven to 350°F (175°C). Prepare a standard 9-inch bundt pan by generously greasing it with non-stick cooking spray or Baker’s Release. Ensure every crevice is coated.
- In the bowl of a stand mixer fitted with the paddle attachment, cream together the softened butter, pure vanilla extract, and granulated sugar on medium speed. Beat for approximately 2 minutes, or until the mixture is light and fluffy. Remember to scrape down the sides of the bowl periodically to ensure even mixing and prevent unmixed ingredients at the bottom.
- Add the large eggs one at a time, beating well after each addition until fully incorporated. This ensures the eggs are completely mixed in and helps build structure.
- In a separate, small bowl, whisk together the all-purpose flour, cornstarch, and baking powder until thoroughly combined. This step evenly distributes the leavening agent.
- With the mixer set to low speed, gradually alternate adding the dry ingredients and milk to the wet mixture. Begin by adding about one-third of the flour mixture, followed by half of the milk. Continue with another one-third of the dry ingredients, then the remaining milk, and finally the rest of the dry ingredients. This alternating method helps prevent a lumpy batter.
- Mix only until no large lumps of flour remain. Be careful not to overmix the batter, as this can lead to a tough, dry cake.
- Gently fold in the red, white, and blue sprinkles by hand using a spatula. Overmixing here can cause the colors to bleed.
- Pour the prepared batter evenly into your greased bundt pan, ensuring it’s distributed level. Bake for about 55-60 minutes, or until a wooden skewer or toothpick inserted into the center of the cake comes out clean or with a few moist crumbs.
- Allow the bundt cake to cool in the pan on a wire rack for 5-10 minutes. This crucial resting period helps the cake firm up. Then, carefully run a thin knife around the edges of the pan and invert the cake onto the wire rack to cool completely.
- Once completely cooled, store any leftover cake in an airtight container in the refrigerator for up to 3 days to maintain freshness.
For the Glaze:
- In a medium mixing bowl, whisk together the confectioner’s sugar, heavy cream, and pure vanilla extract until smooth, creamy, and free of lumps. Adjust cream quantity slightly if you prefer a thinner or thicker glaze.
- Once the cake is completely cooled (this is important!), pour the glaze evenly over the top, allowing it to drip attractively down the fluted sides of the bundt cake.
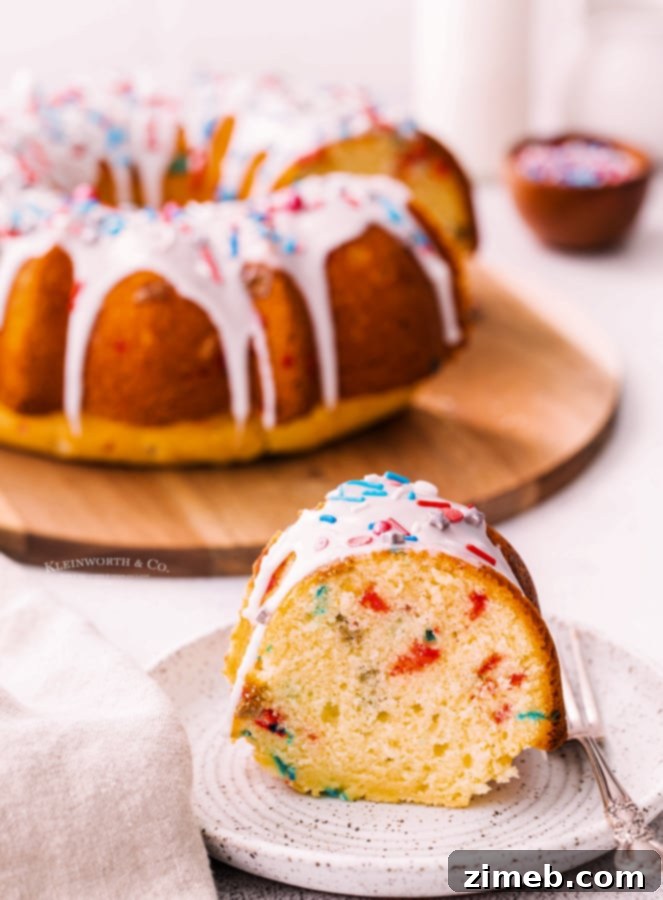
Key Ingredients for Your Festive 4th of July Bundt Cake
Gathering your ingredients ahead of time is key to a smooth and enjoyable baking process. Here’s what you’ll need for this delightful patriotic dessert, ensuring you have everything ready before you begin:
For the Bundt Cake:
- 1 cup (2 sticks) unsalted or salted butter, softened to room temperature
- 1 ½ cups granulated sugar
- 1 tablespoon pure vanilla extract
- 4 large eggs, at room temperature
- 2 ¾ cups all-purpose flour
- ¼ cup cornstarch
- 2 teaspoons baking powder
- 1 cup whole milk, at room temperature
- ⅓ cup red, white, and blue sprinkles (ensure they are actual sprinkles, not sanding sugar)
To Make the Glaze:
- 2 cups confectioner’s sugar (also known as powdered sugar)
- ¼ cup heavy cream (or milk for a slightly thinner glaze)
- 1 teaspoon pure vanilla extract
What are the Best Sprinkles for This Cake? (A Crucial Tip!)
Choosing the right type of sprinkles is far more important than you might think, especially for a funfetti-style cake where the vibrant colors are key to its appeal! Many packages labeled simply “sprinkles” actually contain colored sanding sugar. While sanding sugar is visually appealing and great for decorating the outside of certain desserts, it is not suitable for mixing into wet batters or for refrigeration.
When sanding sugar gets wet – either from being mixed into a moist dough or batter, or from moisture absorption when stored in the refrigerator – the color tends to bleed out. This can leave your beautiful cake looking smudged, dull, and far less vibrant than intended, turning your festive red, white, and blue into a murky, indistinct hue. For this recipe, look specifically for actual sprinkles (often referred to as “jimmies” or nonpareils) which are designed to hold their color and shape when incorporated into baked goods and endure refrigeration, ensuring your patriotic hues stay crisp, distinct, and festive.
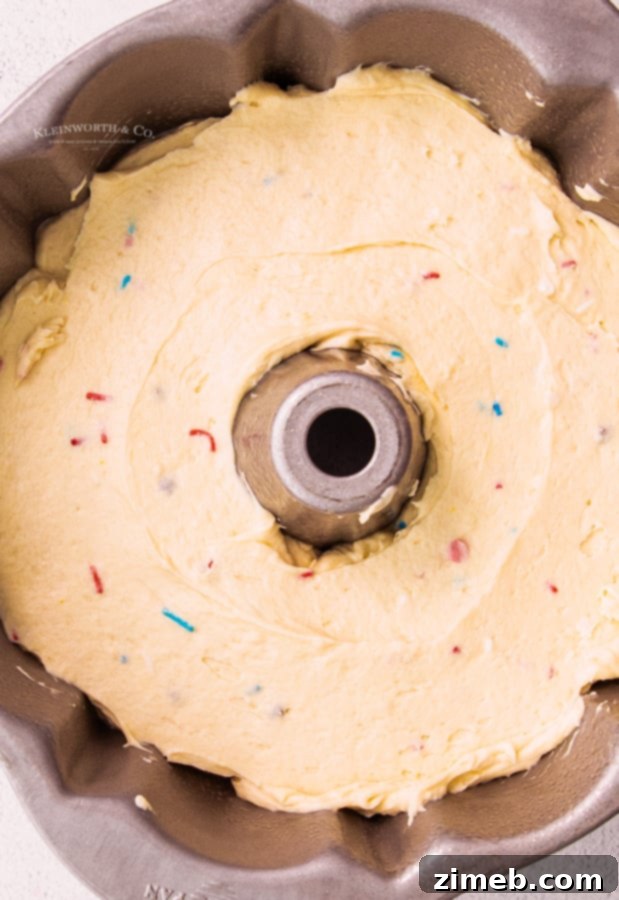
Mastering Room Temperature Butter for Superior Cake Texture
Achieving perfectly softened butter is a foundational step for a light and fluffy cake. Butter that is too cold won’t cream properly, and butter that is too warm (melted) will lead to a dense, greasy cake. Properly softened butter creams more effectively with sugar, incorporating vital air that contributes to the cake’s rise and tender, airy texture. Here are a few reliable methods to achieve ideal room temperature butter:
Method One: The Patient Approach (My Preferred Method)
The simplest and most recommended way is to plan ahead. Take your butter (and any other chilled ingredients that need to be at room temperature, such as eggs and milk) out of the refrigerator about 30 minutes to an hour before you begin baking. Place them on the kitchen counter and allow them to come to room temperature naturally. I usually pull all my chilled ingredients out first, setting them on the counter as I gather other tools, ensuring I have everything I need before I even start mixing. This also prevents the frustrating realization that you’re missing something mid-recipe.
Method Two: The Microwave Trick (Handle with Extreme Care!)
If you’re pressed for time, the microwave can be a quick solution, but it requires extreme caution to avoid melting the butter. Place the butter, still wrapped in its paper (unless it’s foil-wrapped, in which case remove the foil), into the microwave. Microwave it for just 2 seconds, then flip it over and microwave for another 2 seconds. Repeat this process, flipping every 2 seconds, until the butter feels soft enough when gently pressed with your finger, but is not melted or oily in any way. It is crucial not to overdo it, as overly softened or partially melted butter from the microwave will significantly alter the final texture of your cake, making it dense, greasy, and compromising its structure. Stop immediately if it feels soft enough to indent easily.
Method Three: The Warm Water Bath (Effective for Multiple Ingredients)
My third preferred method, which I often use for both butter and eggs simultaneously, involves a warm water bath. Place the wrapped butter sticks in a zip-top bag (to prevent water from seeping in) and submerge the bag in a bowl of warm (not hot!) water. You can do the same with eggs still in their shells, placing them directly into the warm water alongside the bagged butter. This gentle warming technique can achieve ideal “room-temperature” ingredients without the risk of accidental melting or cooking, making it a reliable choice for consistent results.
Why Cooling the Cake Before Flipping is Non-Negotiable
Patience is truly a virtue in baking, and nowhere is this more critical than when it comes to cooling your bundt cake before attempting to remove it from the pan. If you attempt to flip the cake out of the pan while it’s still hot or even warm, it simply hasn’t had adequate time to firm up and set its delicate structure. A warm cake is significantly more fragile, tender, and prone to not releasing cleanly from the pan, often falling apart, breaking into pieces, or leaving stubborn sections stuck during inversion.
Trust me, there’s nothing more disheartening than working hard on a beautiful, intricately shaped cake only for half of it to remain stubbornly stuck in the pan! This unfortunate event can turn your potential showstopper into a collection of crumbs that you might have to salvage into something like truffles or cake pops instead – still delicious, but certainly not the grand presentation you intended. Always allow the recommended cooling time in the pan (typically 5-15 minutes, depending on the recipe) before attempting to invert it; it’s a small wait that guarantees a huge reward in terms of structural integrity and a perfect, intact cake.
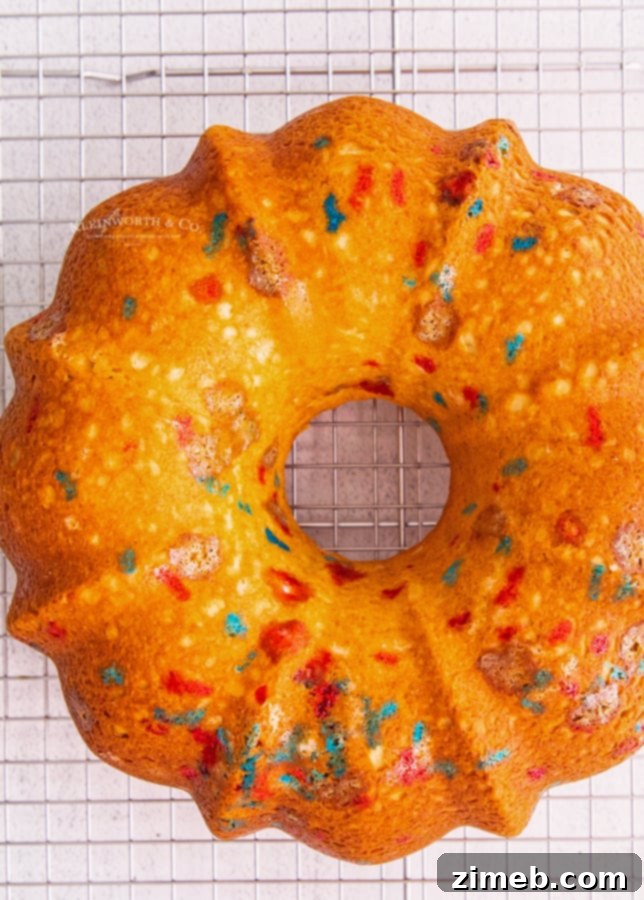
Tools and Ingredients I Love for This Bundt Cake
This patriotic bundt cake recipe is incredibly easy and yields a truly delicious result that’s sure to impress your guests. Whether you’re a seasoned baker or new to making homemade bundt cakes, having the right tools and quality ingredients can make all the difference, ensuring your baking experience is smooth and successful. Here’s a list of my go-to items that I simply can’t bake without when preparing this particular recipe, offering both efficiency and excellent results:
- Bundt Pan: A good quality, heavy-duty bundt pan is essential for achieving that iconic shape and even bake.
- Mixing Bowl: A large, sturdy mixing bowl, ideally for a stand mixer, is perfect for combining all your ingredients effortlessly.
- Whisk: A good wire whisk is invaluable for aerating dry ingredients and achieving a smooth, lump-free glaze.
- Butter: Using high-quality butter, whether salted or unsalted, makes a noticeable difference in the cake’s flavor and tender texture.
- Granulated Sugar: This fine, white sugar is the foundation of sweetness for your cake, providing both flavor and moisture.
- Pure Vanilla Extract: Essential for that classic, comforting flavor that elevates any sweet baked good.
- Large Eggs: Vital for binding ingredients and providing structure to your cake, always ensure they are at room temperature.
- All-Purpose Flour: The backbone of the cake’s structure; proper measurement is key for the right consistency.
- Cornstarch: A secret ingredient that contributes to a wonderfully tender and delicate crumb in your cake.
- Baking Powder: The primary leavening agent responsible for giving your bundt cake a beautiful, even rise.
- Milk: Adds essential moisture and richness, and like the other wet ingredients, it should be at room temperature.
- Red, White, and Blue Sprinkles: The star of the funfetti show, adding vibrant color and a celebratory touch.
- Confectioner’s Sugar: This finely powdered sugar is indispensable for creating that smooth, decadent glaze.
- Heavy Cream: Used to create a rich and creamy glaze consistency that beautifully complements the cake.
More Patriotic Treats for Your Independence Day Celebration!
If you adore this easy patriotic bundt cake, you’ll love exploring these other festive red, white, and blue dessert ideas. Perfect for Memorial Day, 4th of July, or any summer gathering that calls for a touch of national pride!
-
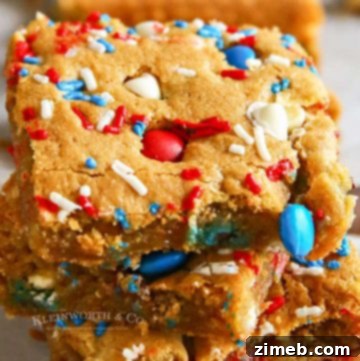
Patriotic M&M’s Cookie Bars
These cookie bars are a quick and easy treat, ideal for any patriotic holiday. Loaded with festive M&M’s, they’re always a crowd-pleaser.

-
Chewy Patriotic Brownie Cookies
Soft and fudgy, these brownie cookies are a dream for any chocolate lover. Packed with chocolate chips and patriotic M&M’s, they’ll be a hit at your summer parties.
-
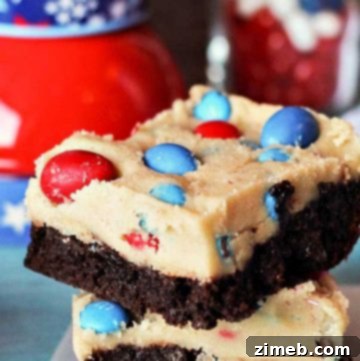
Patriotic Cookie Dough Brownie Bars
Indulge in thick, fudgy brownies topped with edible cookie dough and festive M&M’s for an irresistible holiday dessert.
-
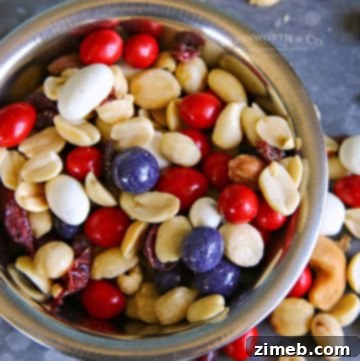
Patriotic Trail Mix Recipe
This sweet and salty trail mix is perfect for snacking during parades, fireworks, or any festive gathering. It’s a favorite for all patriotic family events.
-
Patriotic Cake Mix Cookies
With just four ingredients and about 10 minutes of prep, these cake mix cookies are an effortlessly delightful treat for Memorial Day and 4th of July.
-
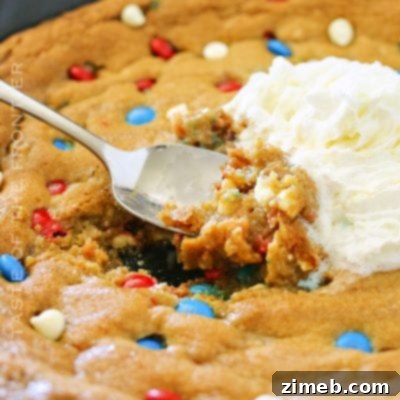
Patriotic Chocolate Chip Skillet Cookie
Much like a “Pizookie,” this giant, thick, and chewy chocolate chip cookie is baked in an iron skillet and adorned with patriotic M&M’s – a truly satisfying dessert.


I genuinely hope you love this recipe for this 4th of July Bundt Cake as much as my family and I do. It’s a simple yet spectacular way to bring patriotic cheer and deliciousness to your Independence Day table. Please consider leaving a five-star review if you make it, and don’t forget to share your beautiful creations on Facebook and Pinterest! Your support helps me continue bringing you more delightful recipes and baking inspiration.
CONNECT WITH YUMMI HAUS!
Be sure to follow me on my social media, so you never miss a post!
Substack, FB, Pinterest, IG, Email Subscription
4th of July Bundt Cake Recipe Card
Rate this Recipe
4th of July Cake
This 4th of July Bundt Cake is the perfect dessert to enjoy while celebrating Independence Day. This funfetti-style bundt cake is so easy and delicious!
Servings: 10
Pin Recipe
Cook Time: 1 hr
Ingredients
For the Bundt Cake
- 1 cup butter, softened
- 1 ½ cups granulated sugar
- 1 tbsp pure vanilla extract
- 4 large eggs
- 2 ¾ cups all-purpose flour
- ¼ cup cornstarch
- 2 tsp baking powder
- 1 cup milk
- ⅓ cup red, white, and blue sprinkles
To make the Glaze
- 2 cups confectioner’s sugar
- ¼ cup heavy cream
- 1 tsp pure vanilla extract
Instructions
For the Bundt Cake
- Preheat the oven to 350F and grease a standard 9” bundt pan with non-stick cooking spray.
- Using a stand mixer fitted with the paddle attachment, beat the butter, vanilla, and sugar together on medium speed until light and fluffy– about 2 minutes. Make sure to scrape down the sides of the bowl as needed.
- Add the eggs one at a time and fully incorporate each one before adding the next.
- In a small bowl, whisk together the flour, cornstarch, and baking powder.
- At a low speed, gradually alternate adding the dry ingredients and milk. First add in ⅓ of the flour mixture. Then add in half of the milk, followed by another ⅓ of the dry ingredients. Then add in the rest of the milk followed by the rest of the dry ingredients.
- Mix just until no large lumps of flour remain. You don’t want to overmix!
- Add in the sprinkles and fold them in gently.
- Transfer the batter to the prepared bundt pan and bake until a toothpick inserted into the center comes out clean– about 55-60 minutes.
- Allow the bundt cake to cool for 5 minutes. Then run a knife around the edge and turn it out onto a wire rack to cool completely.
- Store in an airtight container in the fridge for up to 3 days.
For the Glaze
- Whisk the confectioner’s sugar, heavy cream, and vanilla in a large mixing bowl fitted with the whip attachment.
- Pour over the top of the cooled cake.
Nutritional information for the recipe is provided as a courtesy and is approximate. Please double-check with your own dietary calculator for the best accuracy. We at Yummi Haus cannot guarantee the accuracy of the nutritional information given for any recipe on this site.
Love this recipe?
Follow @KleinworthCo for even more tasty recipes!