Gluten-Free Peach Crumble Pie
This gluten-free peach crumble pie has a flaky homemade crust, a juicy peach filling seasoned with cinnamon, nutmeg, and vanilla, and a buttery streusel topping baked until golden. Made with fresh peach chunks that hold their shape during baking for a clean slice every time.
- Prep45 min
- Cook1 hr 10 min
- Total4 hr 55 min
- Yield8 slices
20 Sep 2024
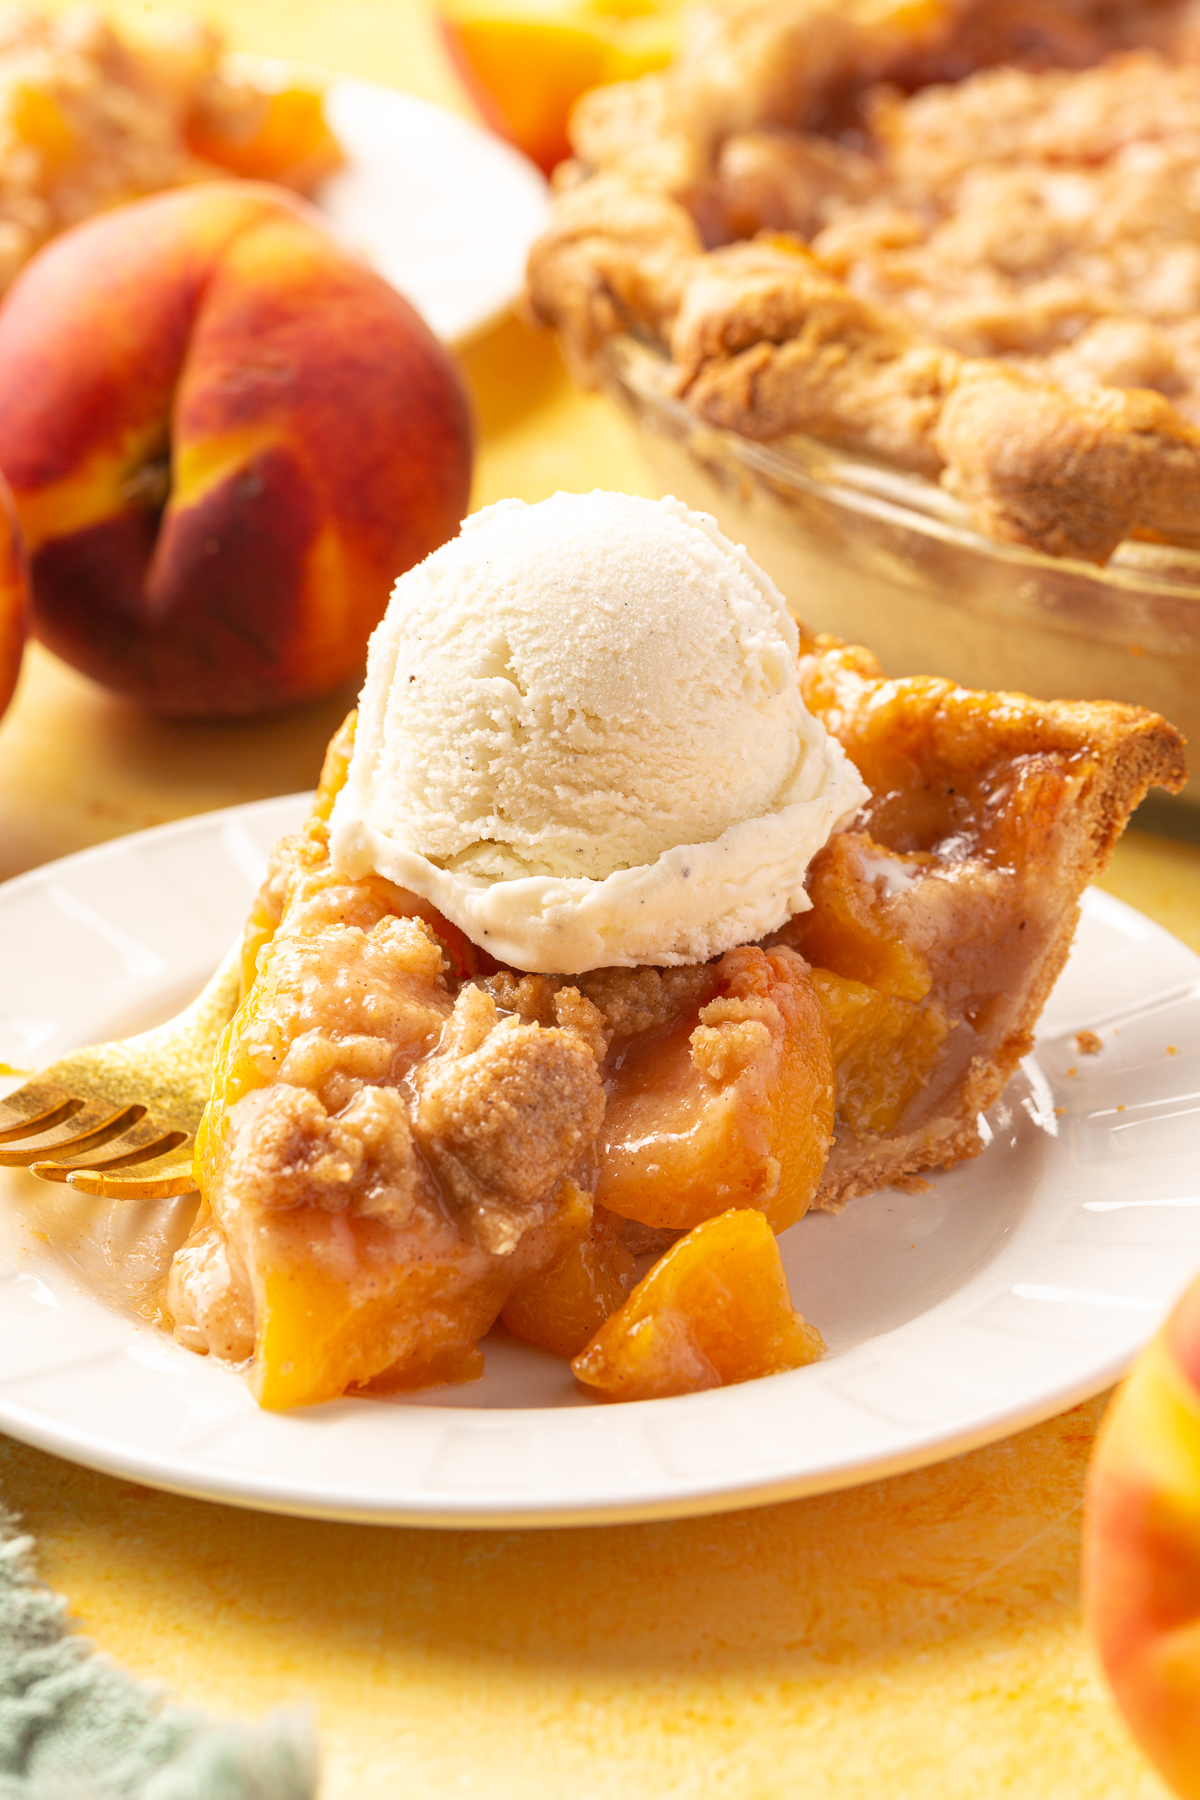
This gluten-free peach crumble pie has a flaky homemade gluten-free pie crust, a juicy peach filling seasoned with cinnamon, nutmeg, and a touch of vanilla, and a buttery streusel topping baked until golden. The filling uses fresh peach chunks rather than slices, which hold their shape better during baking and give you a cleaner slice.
The crust is my homemade gluten-free pie crust , which uses a laminating technique to create layers of butter in the dough for a flaky, sturdy result. If you are short on time, a store-bought gluten-free pie crust works too. Fresh peaches are best in summer, but frozen peaches work year-round with a quick thaw and drain.
Why You’ll Love This Recipe
- Peach chunks instead of slices. They hold their shape during baking so the filling stays juicy without turning mushy.
- A streusel topping instead of a top crust. No second crust to roll out, and the crumble adds a buttery crunch that contrasts well with the soft peach filling.
- Works with fresh or frozen peaches. You can make this outside of peak peach season without sacrificing flavor.
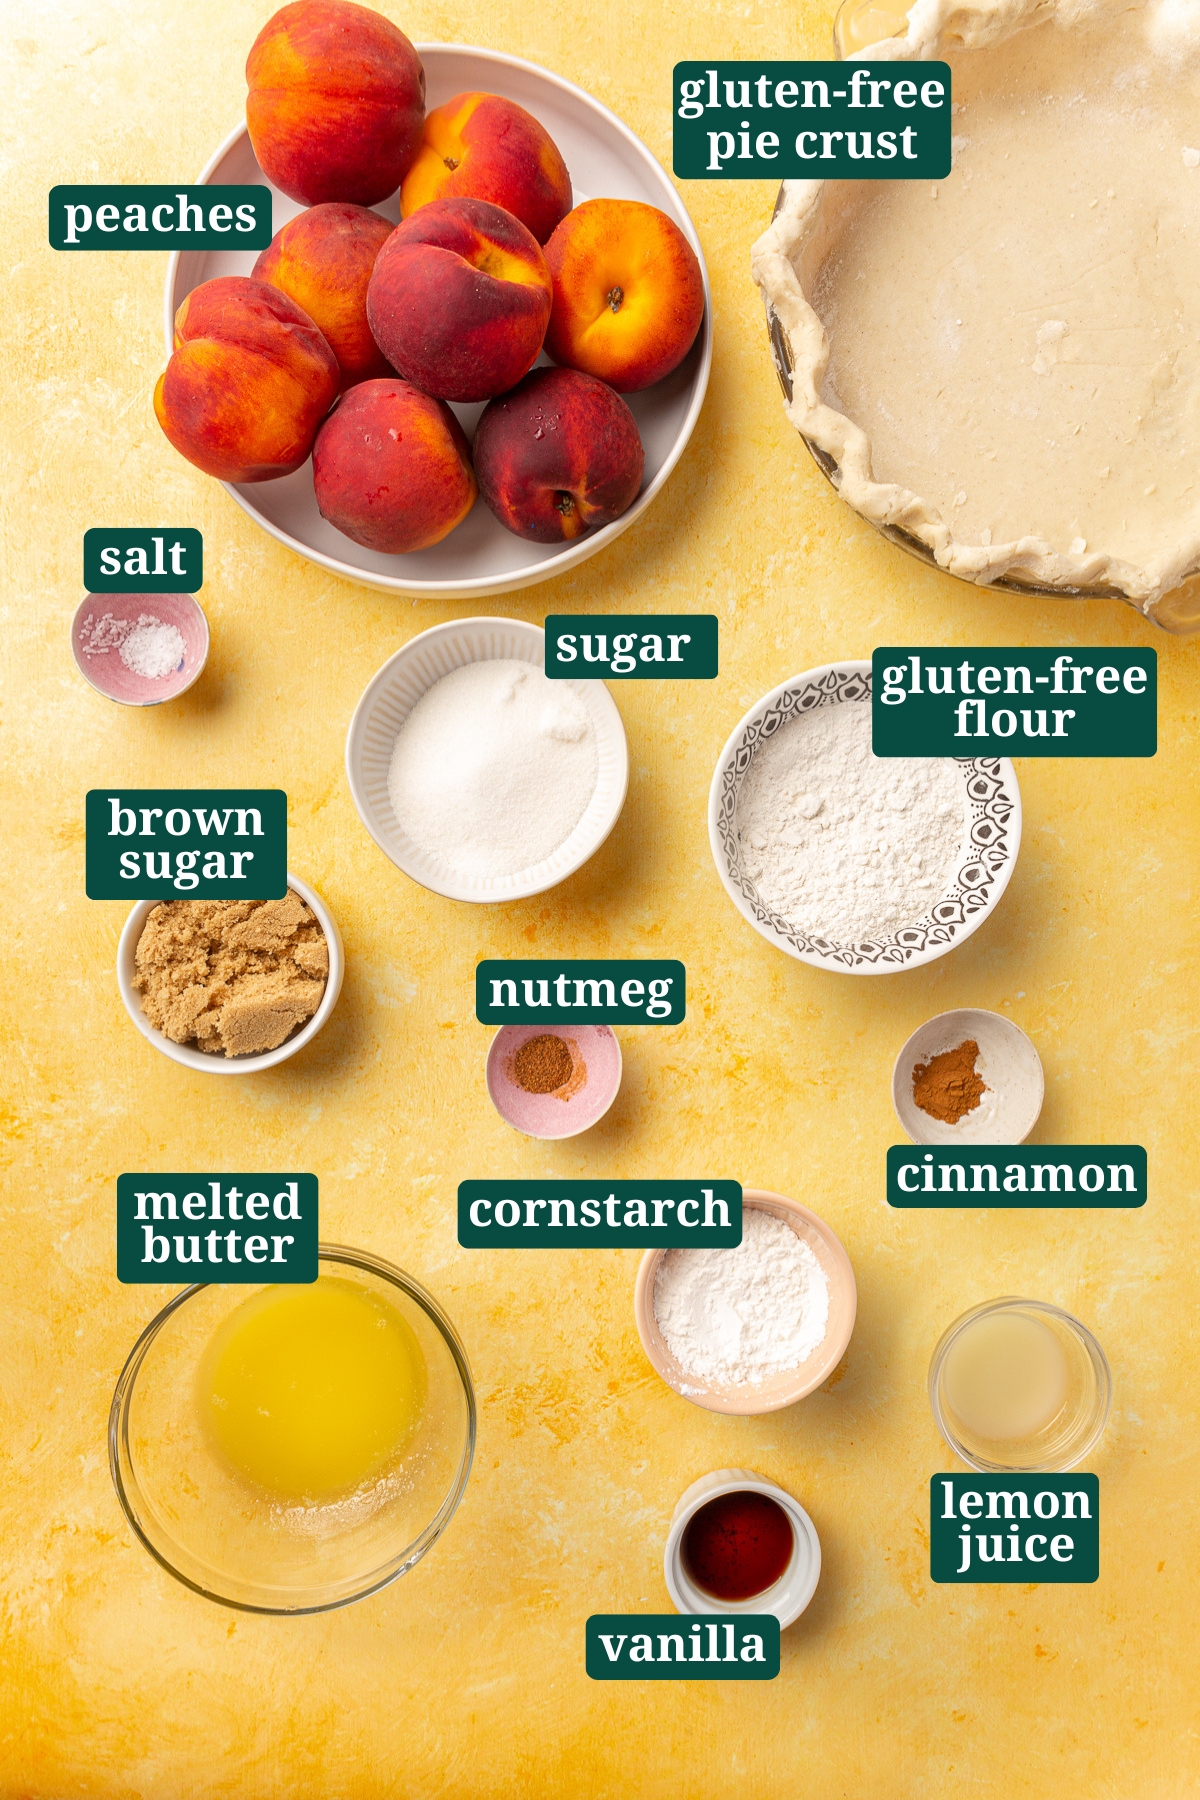
Ingredient Notes
- Gluten-Free Pie Crust – I use my homemade gluten-free pie crust for the flakiest results. You’ll only need half the recipe, but I recommend making the full batch and freezing the second half for later. A store-bought gluten-free pie crust works if you are short on time.
- Peaches – Choose ripe but firm peaches for the best texture. You’ll need about 8-10 medium peaches to get 6 cups of chunks. Frozen peaches work too. Thaw and drain them thoroughly before using.
- Gluten-Free Flour – While I recommend using Cup4Cup in my gluten-free pie crust, you can use any gluten-free flour blend for the gluten-free streusel topping. I typically use Bob’s Red Mill 1-to-1 Gluten-Free Baking Flour for my streusel, which is a bit more cost effective than Cup4Cup.
- Melted Butter – For the crumble topping, you want to make sure that the butter is melted but NOT hot. I let it cool for 5-10 minutes before stirring it with the gluten-free flour, sugars and spices. If the butter is too hot it will melt the sugars and create a greasy topping rather than a crumbly one.
- Cornstarch – Thickens the peach filling as it bakes so the pie holds together when sliced.
Cut Peaches into Chunks, Not Slices
Cut your peaches into 1 to 2 inch chunks rather than thin slices. Chunks hold their shape during baking so the filling stays textured and scoopable instead of breaking down into mush. It also makes for a cleaner slice when you cut into the pie.
Recipe FAQs
Can I use frozen peaches instead of fresh?Yes. Thaw them completely and drain off any excess liquid before adding them to the filling. Skipping the draining step is the main reason pies turn out soupy when made with frozen peaches.
What is the easiest way to peel peaches? Score a small X on the bottom of each peach with a knife, then drop them in boiling water for 30-60 seconds. Transfer immediately to an ice bath and the skins will slip right off.
Yes. A store-bought gluten-free pie crust works fine here if you are short on time. Just follow the package instructions for blind baking if required before adding the filling.
Do I need to blind bake the crust?No. The crust goes into the oven raw with the filling. Starting at a high temperature of 425°F for the first 15 minutes helps the bottom crust set before you lower the heat to finish baking.
Expert Tips
- Chill the crust before adding the filling. Pop it in the freezer for 10-15 minutes after pressing it into the pie dish. A cold crust holds its shape better in the oven and helps prevent shrinkage.
- Cover the crust edges if they are browning too fast. Tent them loosely with foil or use a pie shield for the last 20-30 minutes of baking.
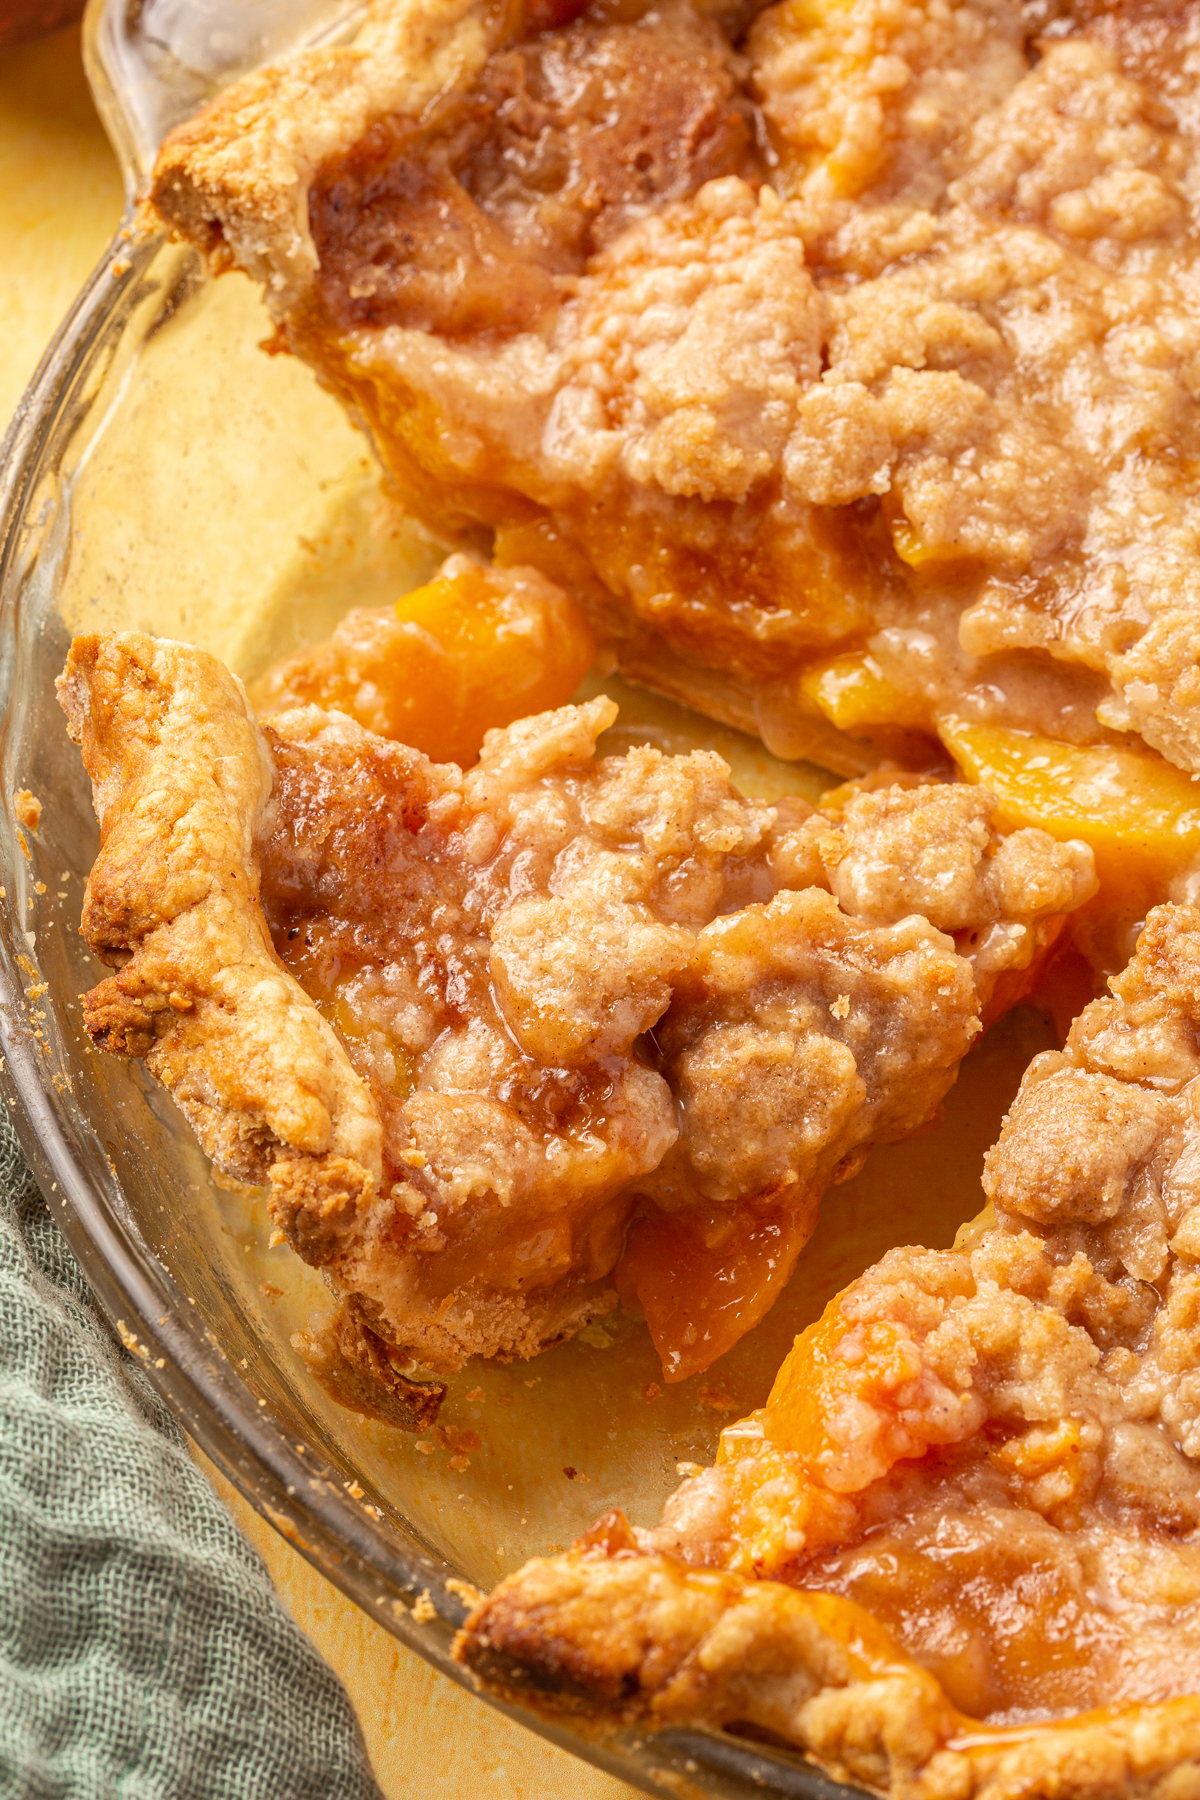
- Let the pie cool for at least 2 hours before slicing. The filling needs time to set. If you cut in too early the filling will be runny.
Storage Instructions
Refrigerator Storage
Store the cooled pie in the refrigerator for up to 4 days. Let individual slices come to room temperature before serving, or warm them in the microwave for 20-30 seconds.
Freezing Tips
This pie freezes well whether you want to freeze the whole thing, individual slices, or just the dough.
Freezing a Fully Baked Pie
Let the pie cool completely, then place it on a baking sheet and freeze for 30 minutes to firm up. Wrap tightly in plastic wrap and store in a freezer-safe bag for up to 2 months. Thaw overnight in the refrigerator and reheat in a 350°F oven until warmed through.
Freezing Individual Pie Slices
Place individual slices on a baking sheet and freeze until solid, then wrap each one tightly in plastic wrap and store in a freezer-safe bag for up to 2 months. This lets you thaw only what you need.
Freezing Pie Dough
Shape the dough into a disk, wrap tightly in plastic wrap, and freeze for up to 3 months. Thaw overnight in the refrigerator before rolling out.
Serving Suggestions
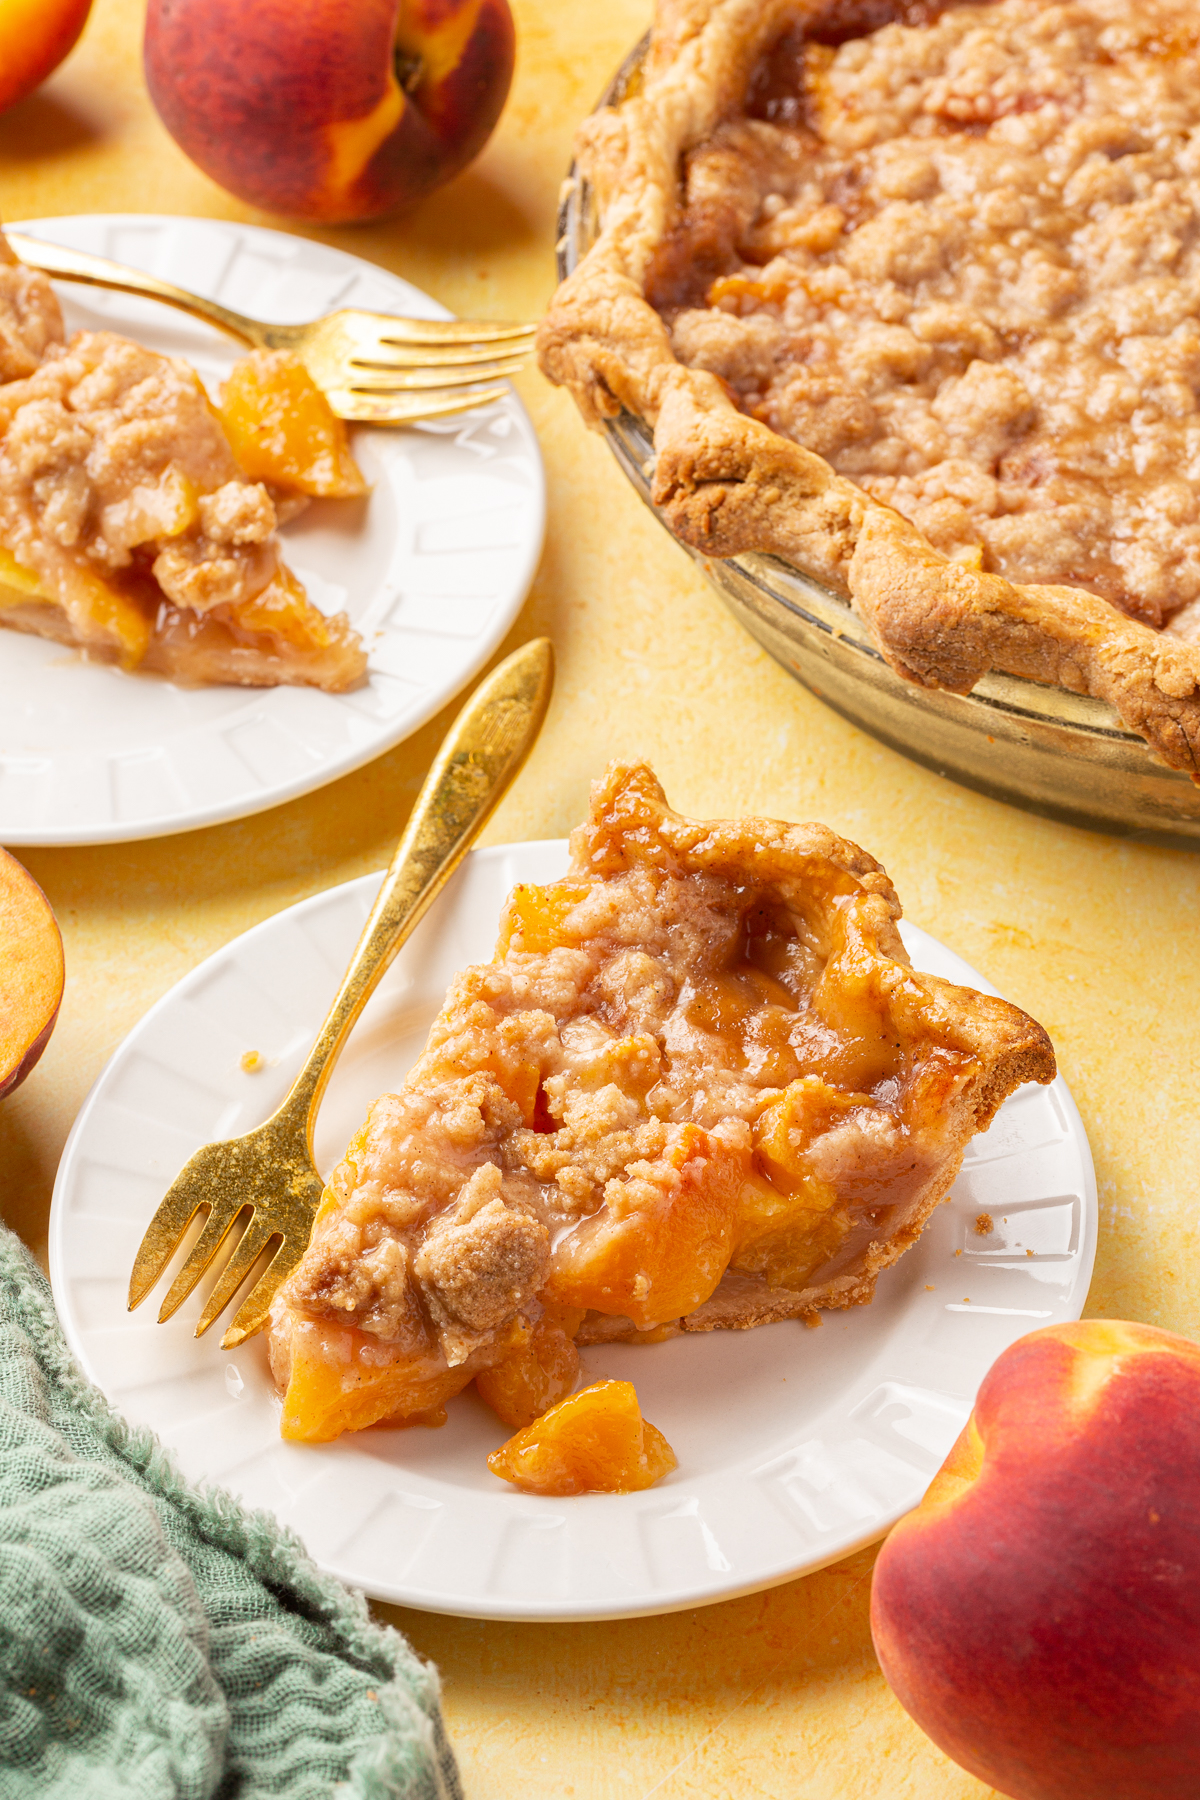
Slice this pie after it has cooled and serve it with a scoop of vanilla ice cream or a dollop of whipped cream. It holds up well at room temperature for a few hours, making it a natural choice for summer cookouts and gatherings. If you have extra peaches on hand, the gluten-free peach crumb bars and gluten-free peach cobbler are both great ways to use them up before the season ends. Round out the meal with gluten-free fried chicken and a side of dill cabbage coleslaw for a complete summer spread.
Method
Make the Crust:
-
1
Preheat the oven to 425°F. Prepare a half batch of my Homemade Gluten-Free Pie Crust recipe.
-
2
Use a rolling pin to press down on the pie crust disk a few times to soften it. Dust your rolling pin and a piece of parchment paper with gluten-free flour. Roll out the bottom crust into a large circle onto the piece of parchment paper, until it is about ¼ inch thick and 12 inches in diameter for a 9-inch pie dish.
-
3
Place the pie dish upside down on the center of the rolled-out dough. Using the parchment paper for support, carefully flip the dough and pie dish over so the dough lines the inside of the dish. You want to have about 1.5 inches of overhang on all sides. Take the overhang and roll it under itself to create a thick edge.
-
4
Using your fingers, crimp or flute the edges of the dough. Place the crust in the freezer to chill while you prepare the filling and topping.
Make the Filling:
-
5
Peel the peaches and cut them into 1-2 inch chunks. You should get 6 cups peaches. Place them in a large bowl.
-
6
Add ⅓ cup granulated sugar, ⅓ cup brown sugar, ¼ cup cornstarch, ½ teaspoon ground cinnamon, ¼ teaspoon ground nutmeg, 1 tablespoon lemon juice, and 1 teaspoon vanilla extract. Toss until the peaches are evenly coated. Set aside.
Make the Streusel:
-
7
In a separate bowl, mix together ½ cup gluten-free flour blend, ¼ cup granulated sugar, ¼ cup brown sugar, ½ teaspoon ground cinnamon, and ¼ teaspoon salt.
-
8
Add 4 tablespoons unsalted butter that has been melted and slightly cooled and stir with a fork until the mixture forms a crumbly texture with some larger chunks. Set aside.
Assemble and Bake:
-
9
Remove the crust from the freezer. Pour the peach filling into the crust and spread into an even layer.
-
10
Sprinkle the streusel topping evenly over the peaches.
-
11
In a small bowl, whisk together 1 large egg and 1 tablespoon water. Brush the edges of the pie crust with the egg wash.
-
12
Place the pie on a baking sheet to catch any drips and bake at 425°F for 15 minutes.
-
13
After 15 minutes, lower the oven temperature to 375°F (190°C) and continue baking for an additional 35 to 55 minutes, or until the crust is golden and the filling is bubbling. If the edges of the crust begin to brown too quickly, cover them with foil or a pie shield.
-
14
Remove from the oven and let cool on a wire rack for at least 2 hours before slicing.
Filed under
Cook next
 Gluten-FreeRecipeBasil LemonadeThis basil lemonade is made with fresh basil leaves, lemon juice, homemade basil simple syrup, and water. Onl…
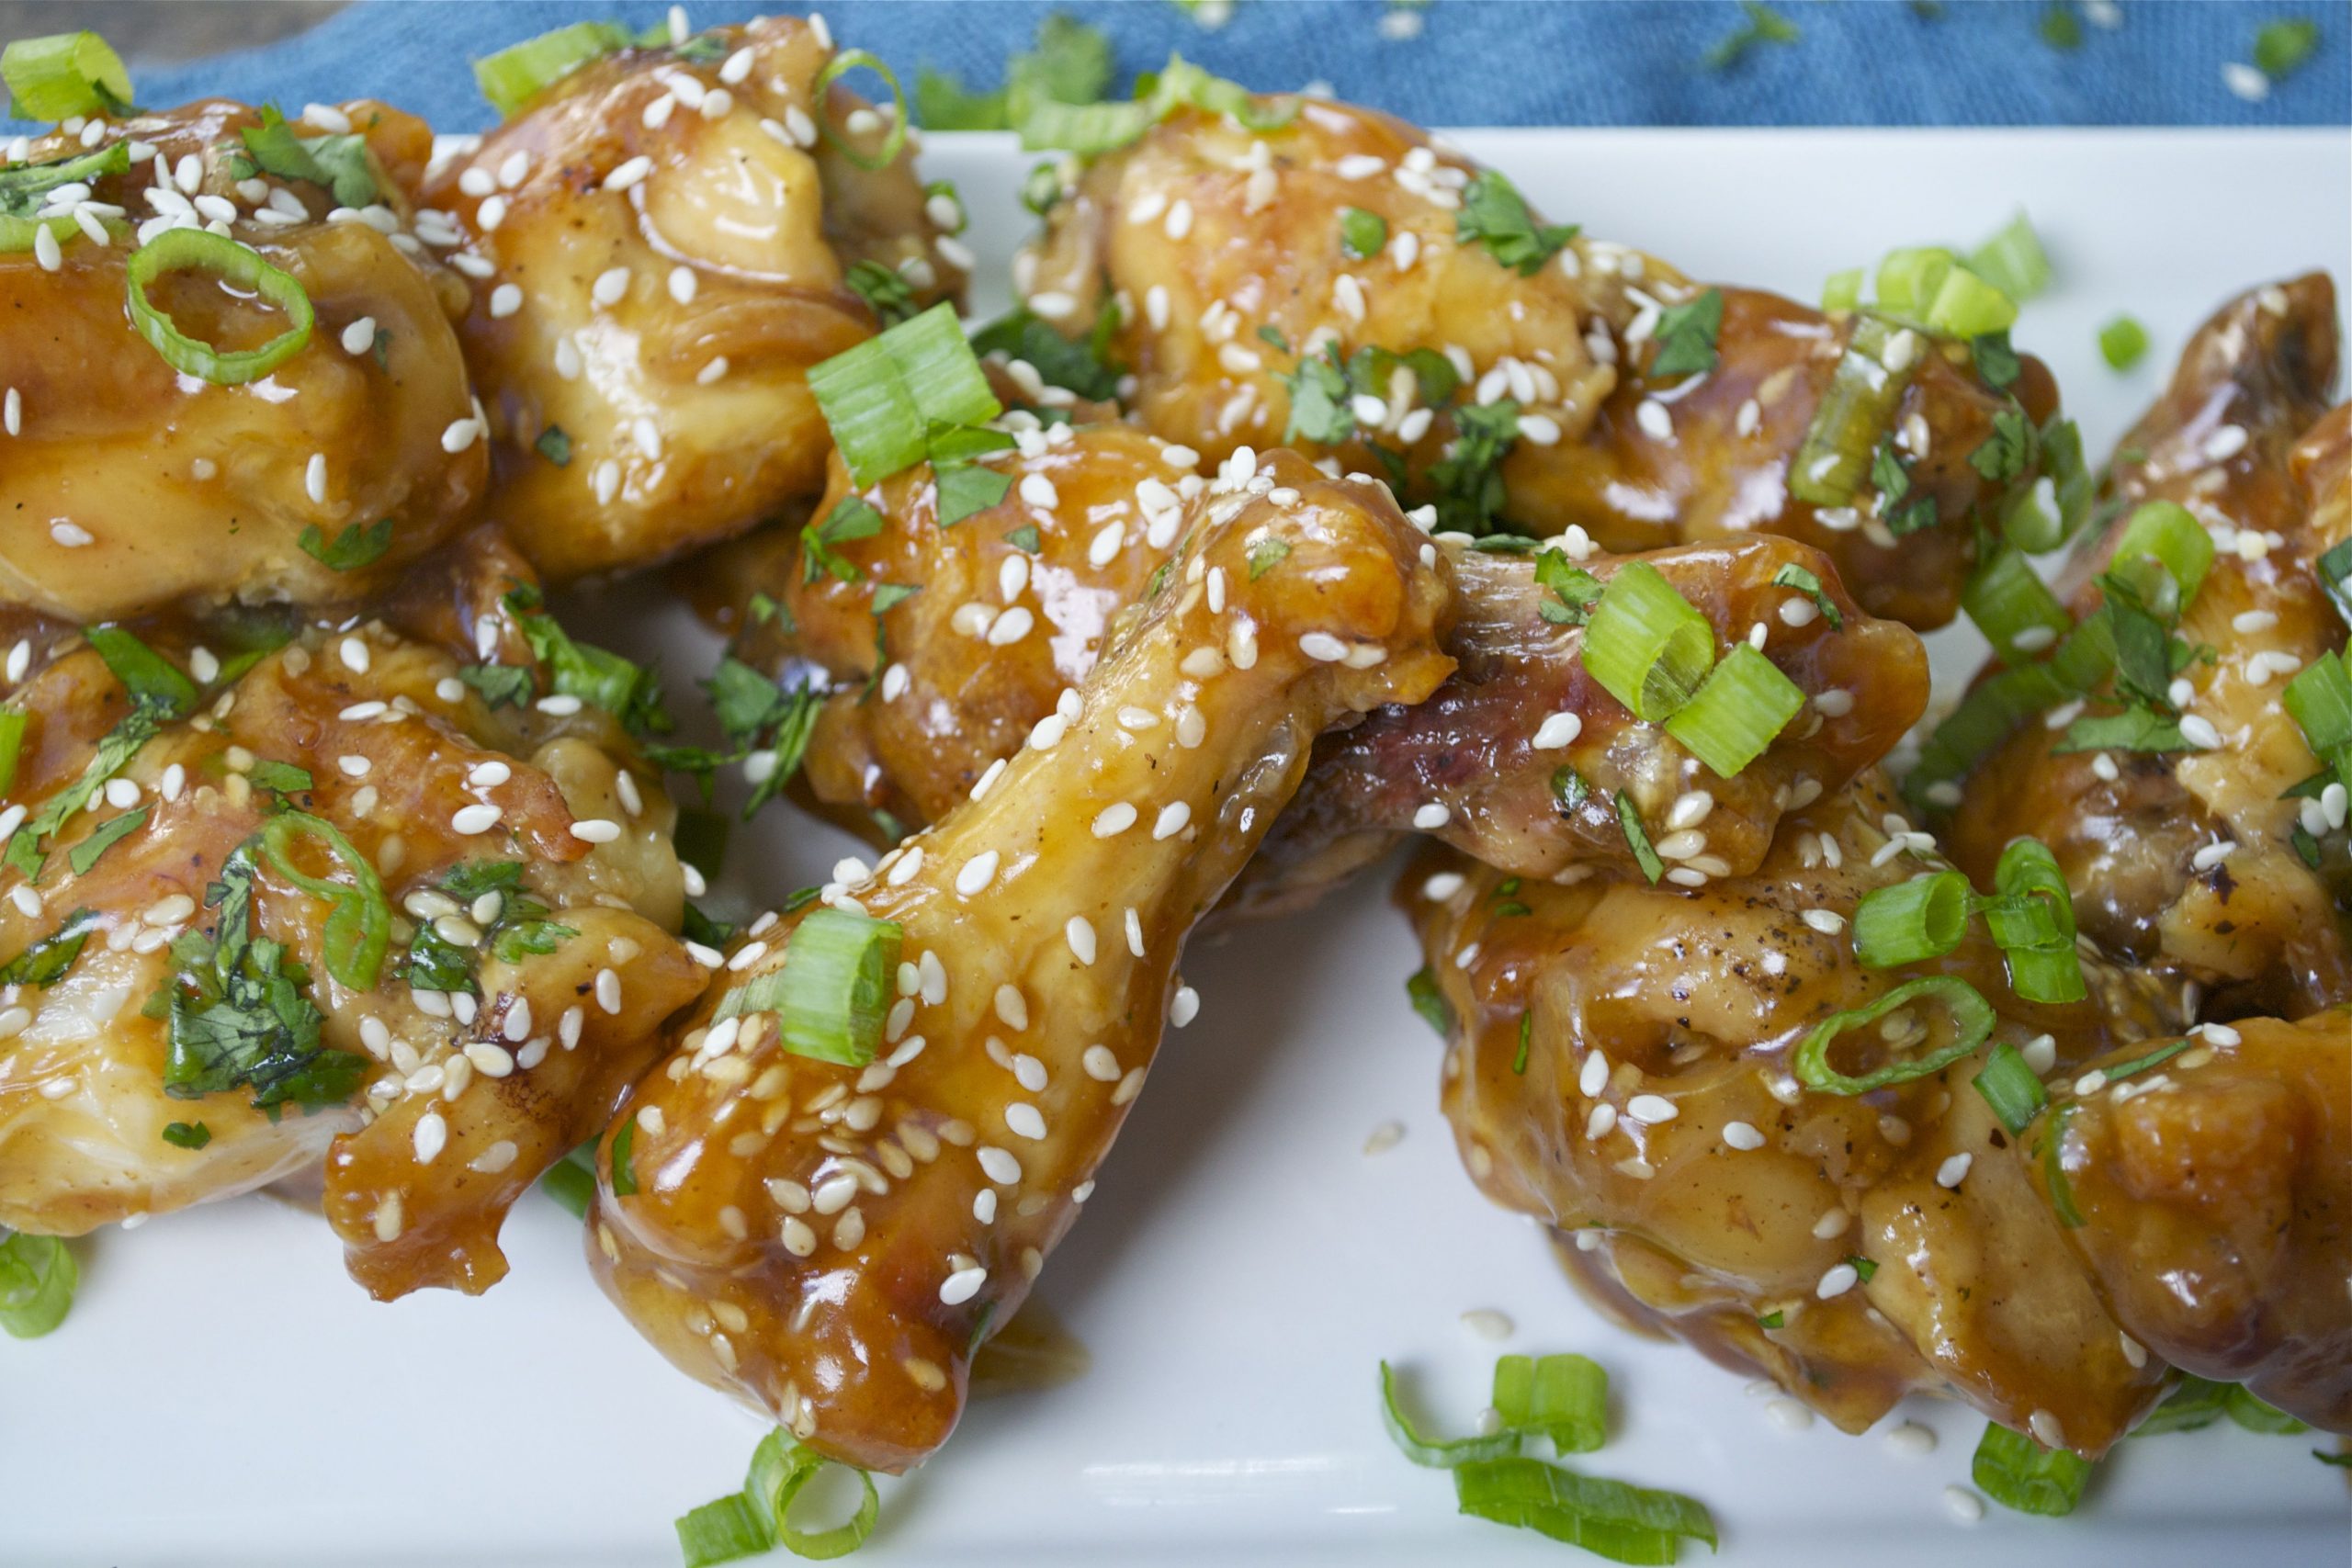 Gluten-FreeRecipeTeriyaki Chicken WingsGluten-free teriyaki chicken wings are baked and super crispy! Top with sesame seeds and green onion for extr…
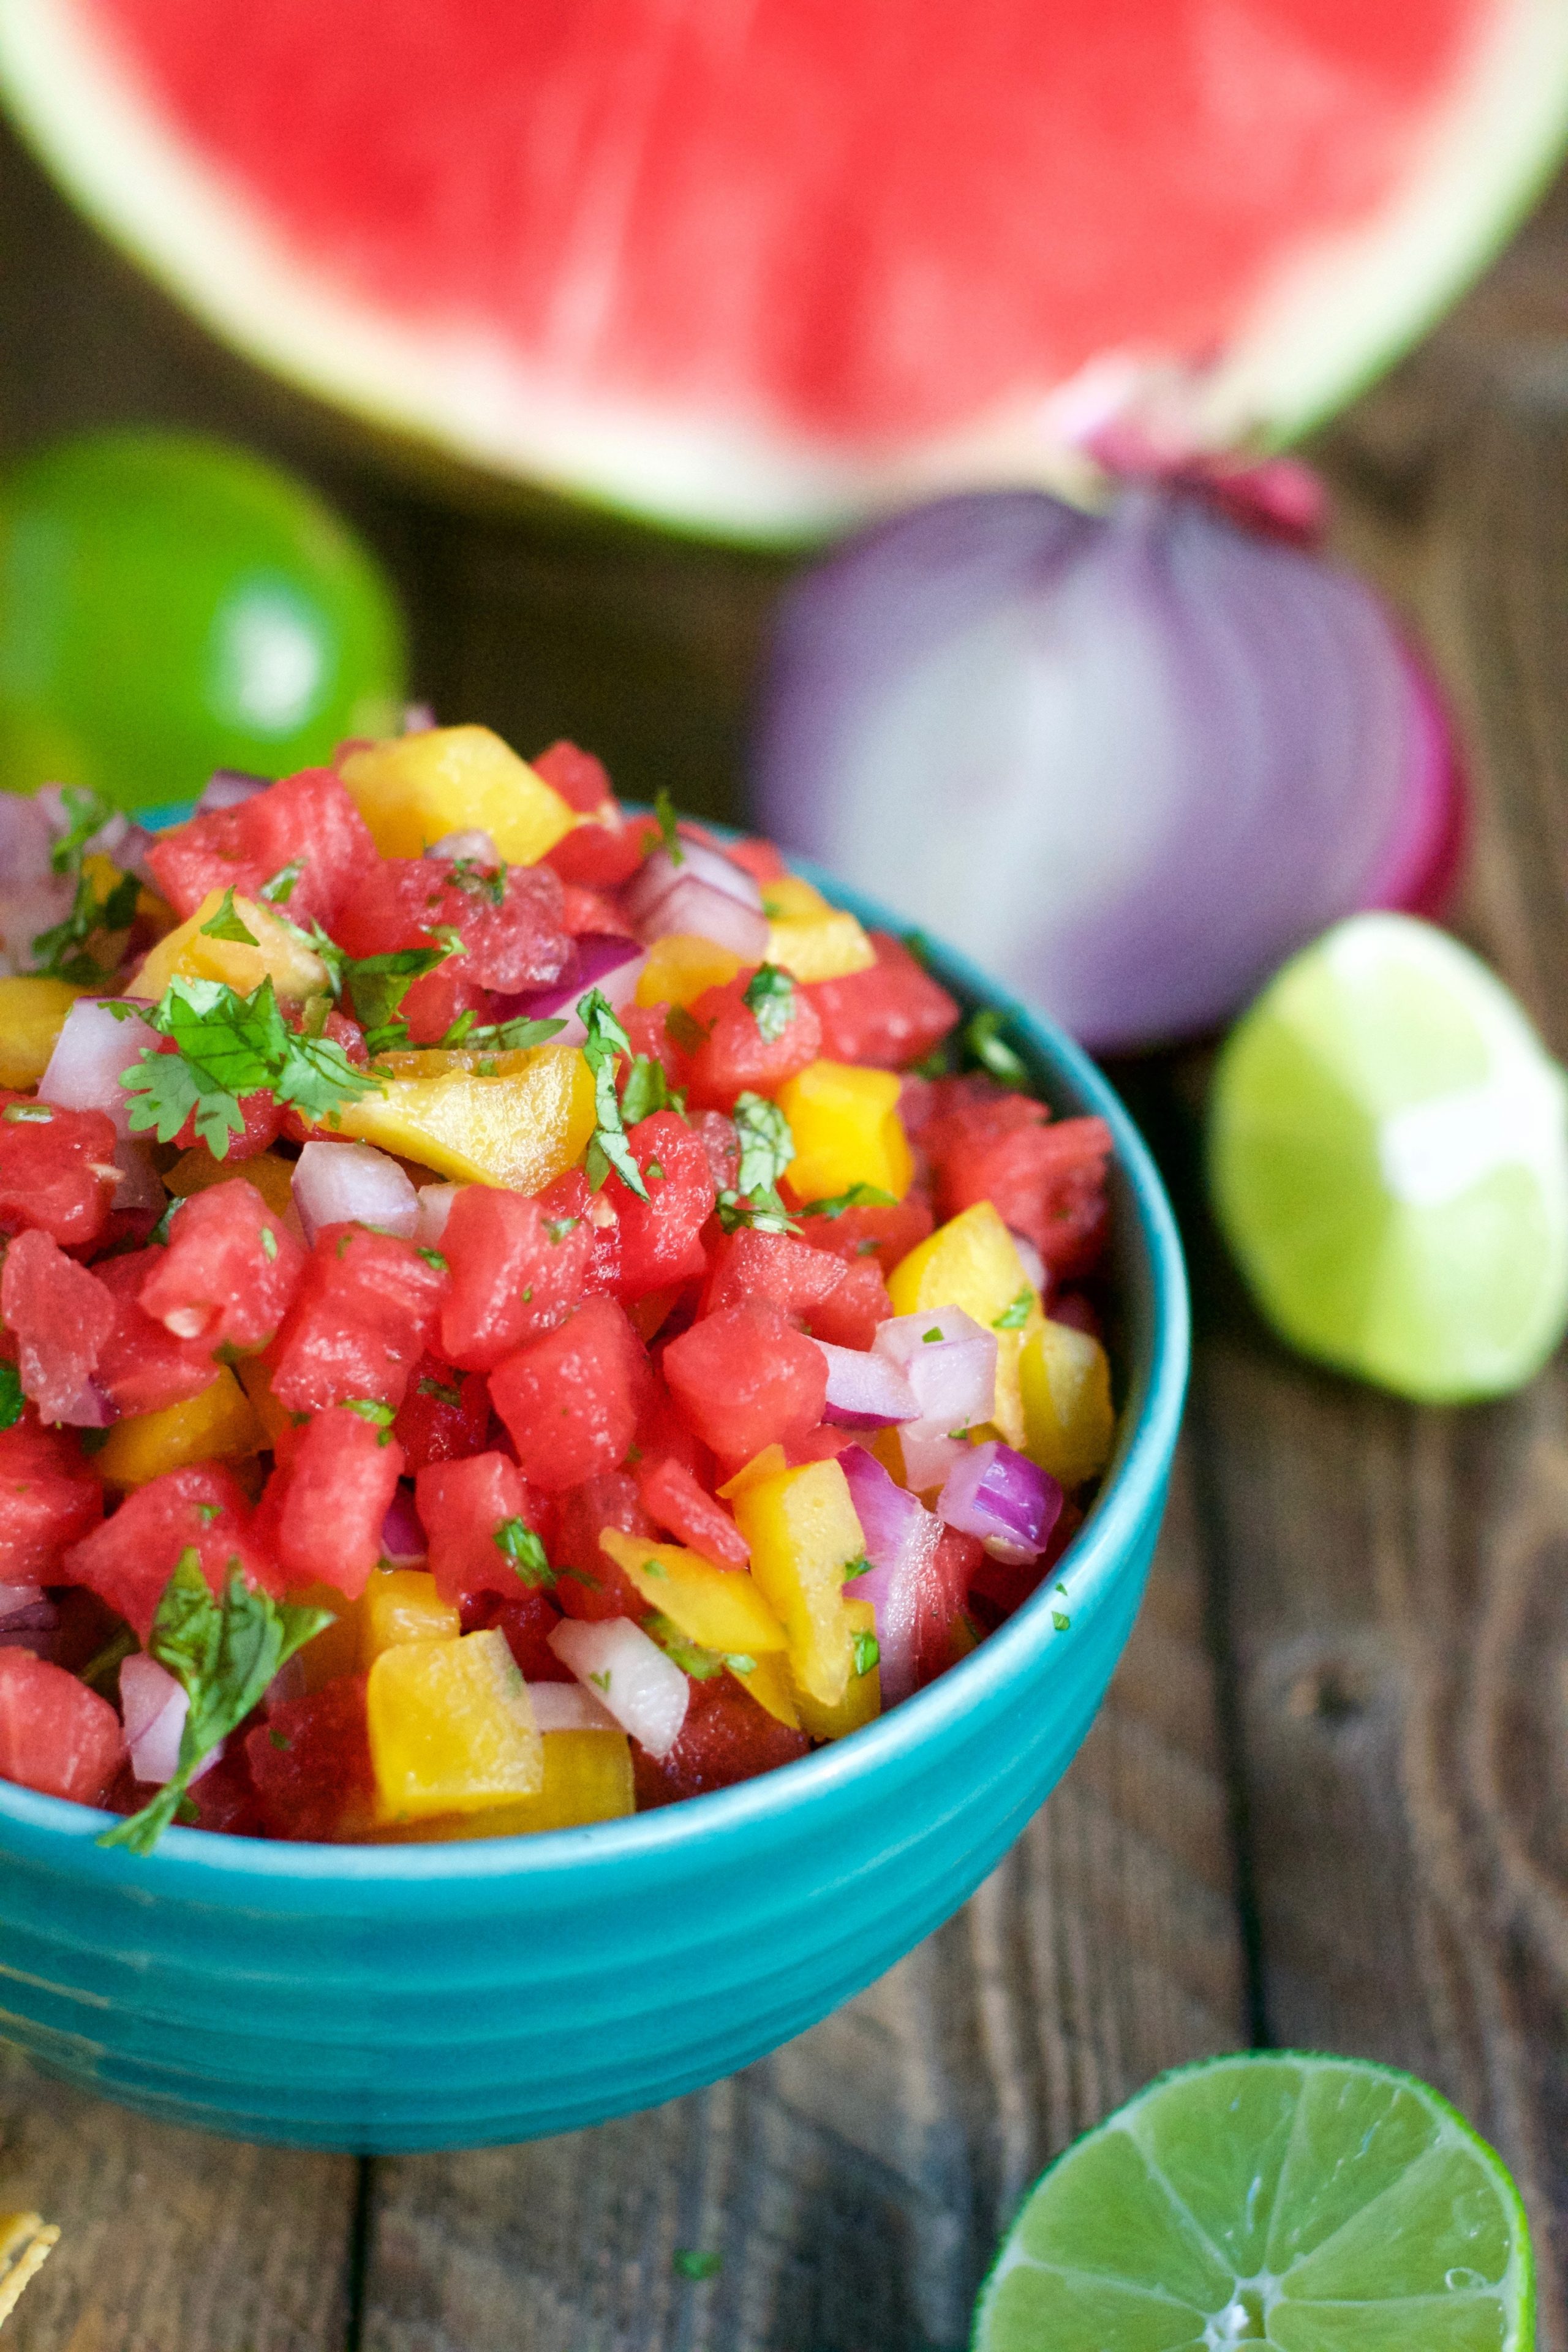 Gluten-FreeRecipeWatermelon SalsaFresh, sweet, and ready in 10 minutes. This watermelon salsa is made with ripe watermelon, yellow bell pepper…
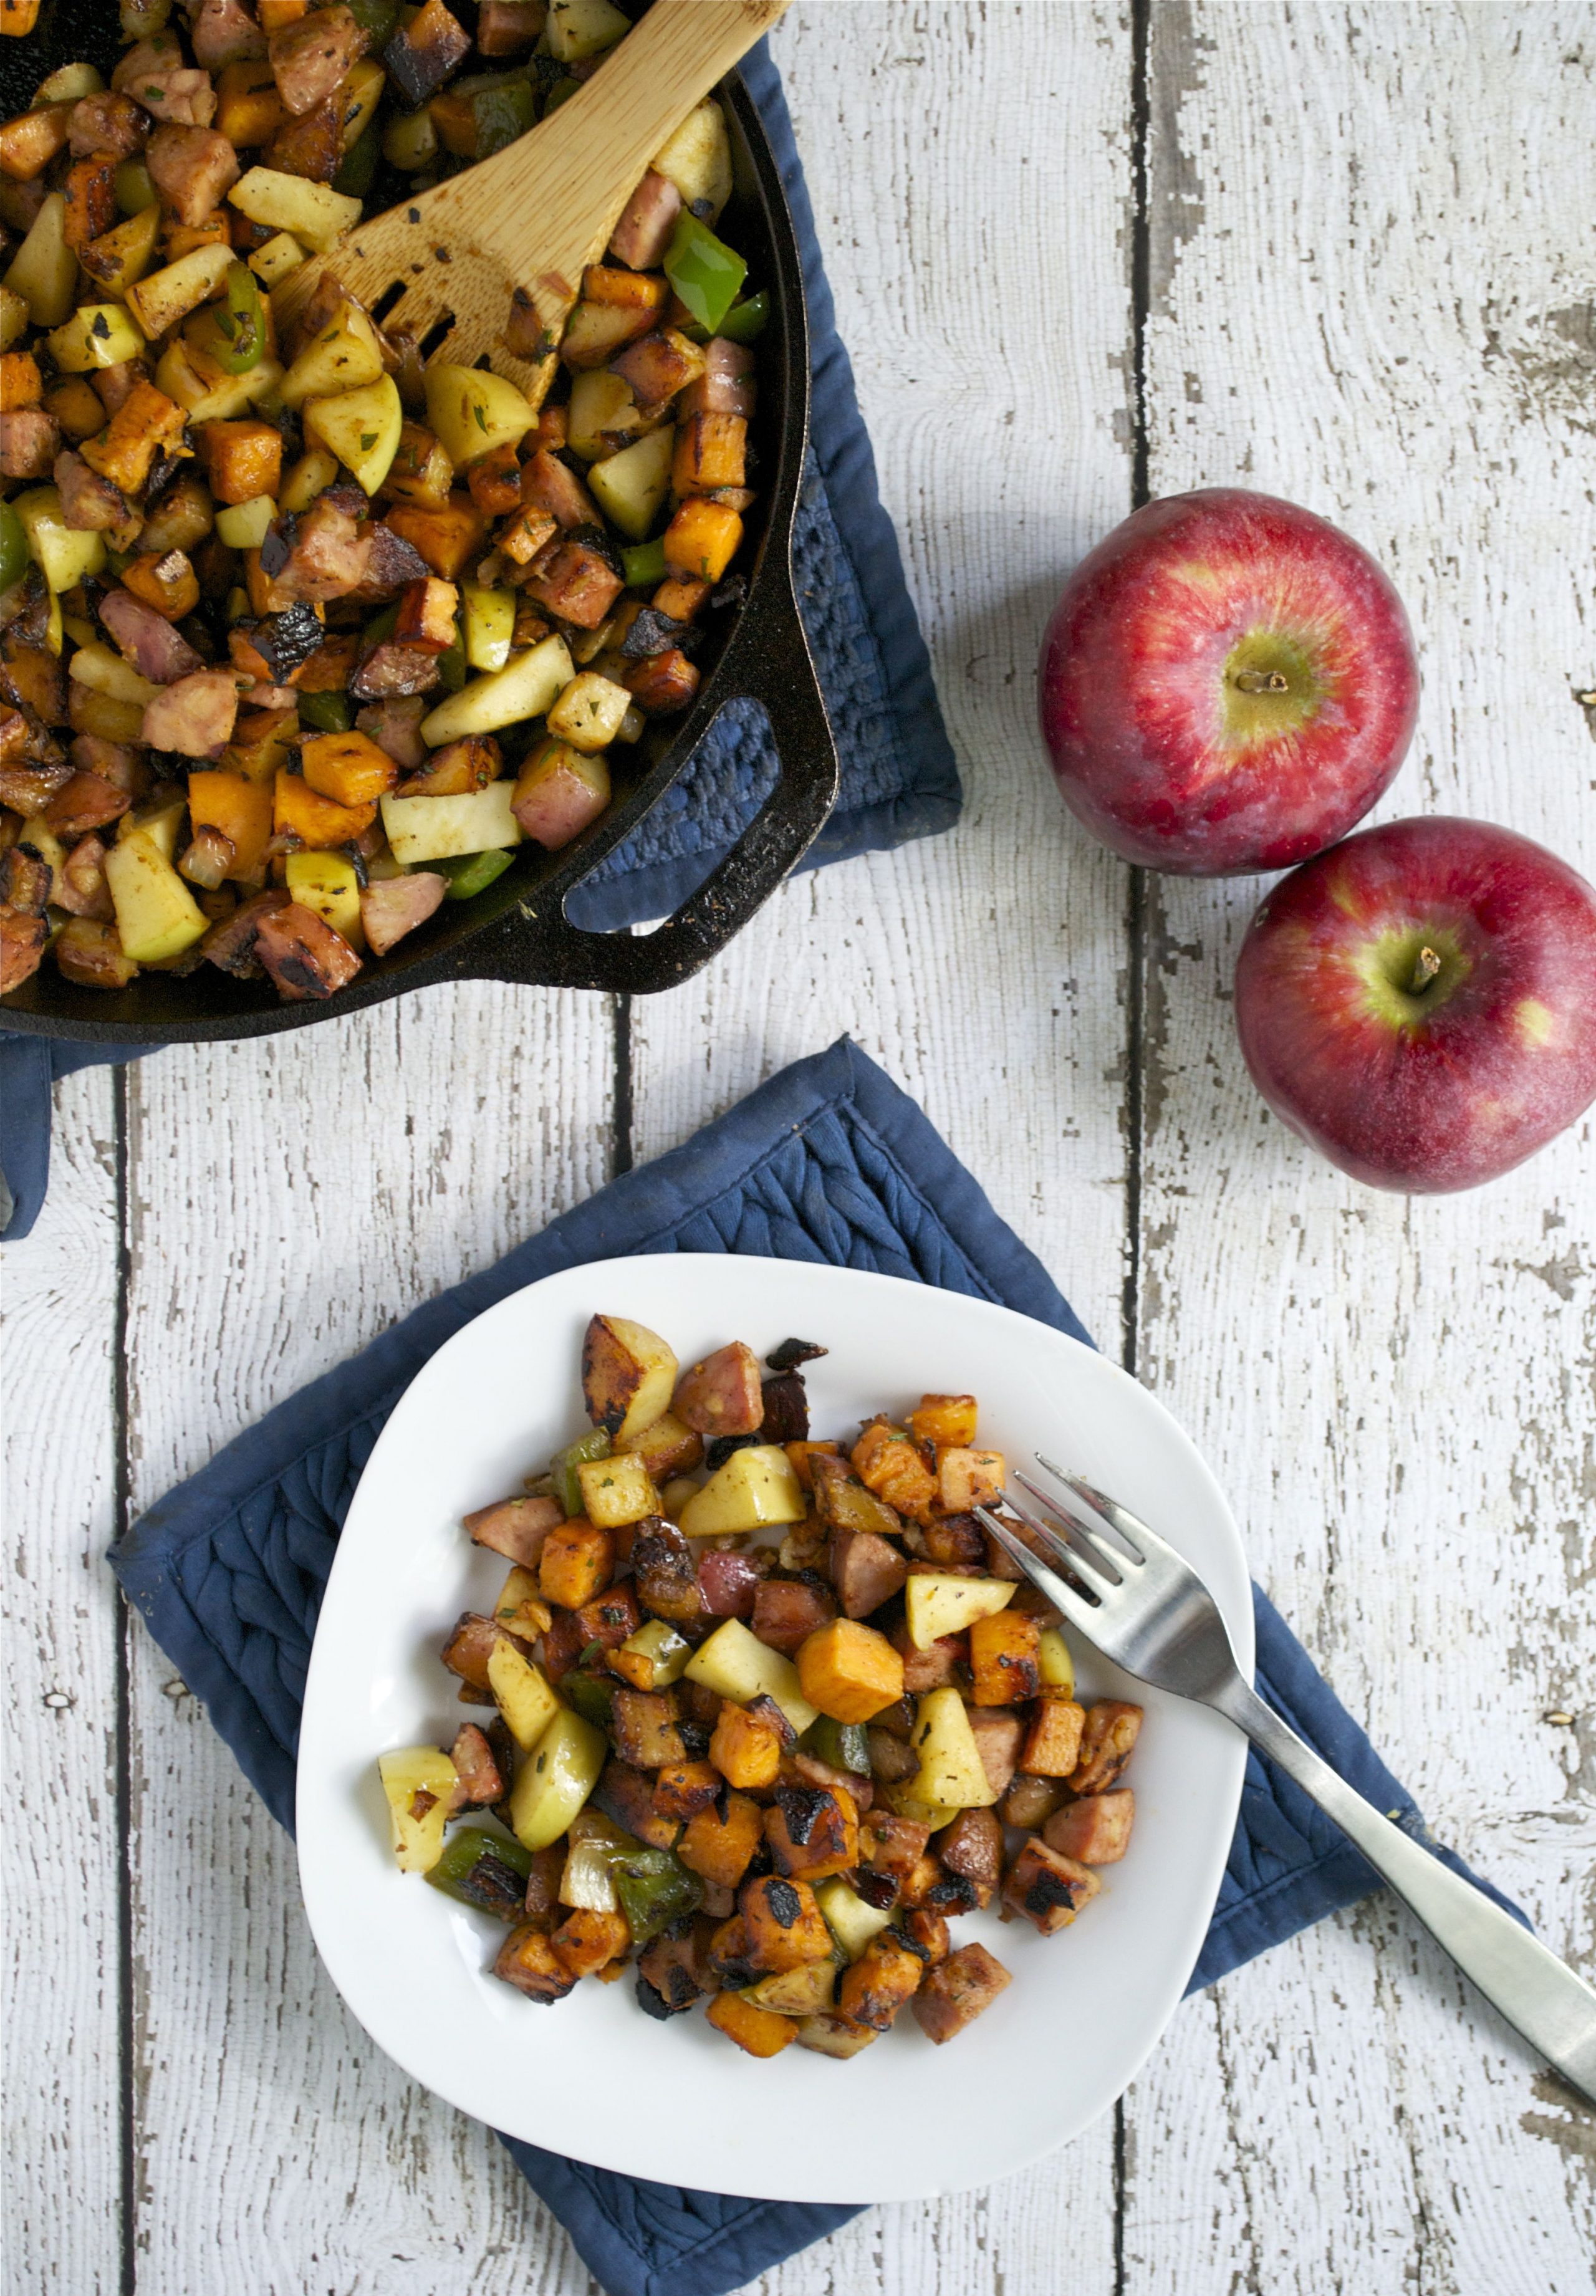 Gluten-FreeRecipeSweet Potato Apple Sausage HashThis sweet potato apple sausage hash is one of my favorite weekend breakfasts. Crispy sweet potatoes, tart Gr…
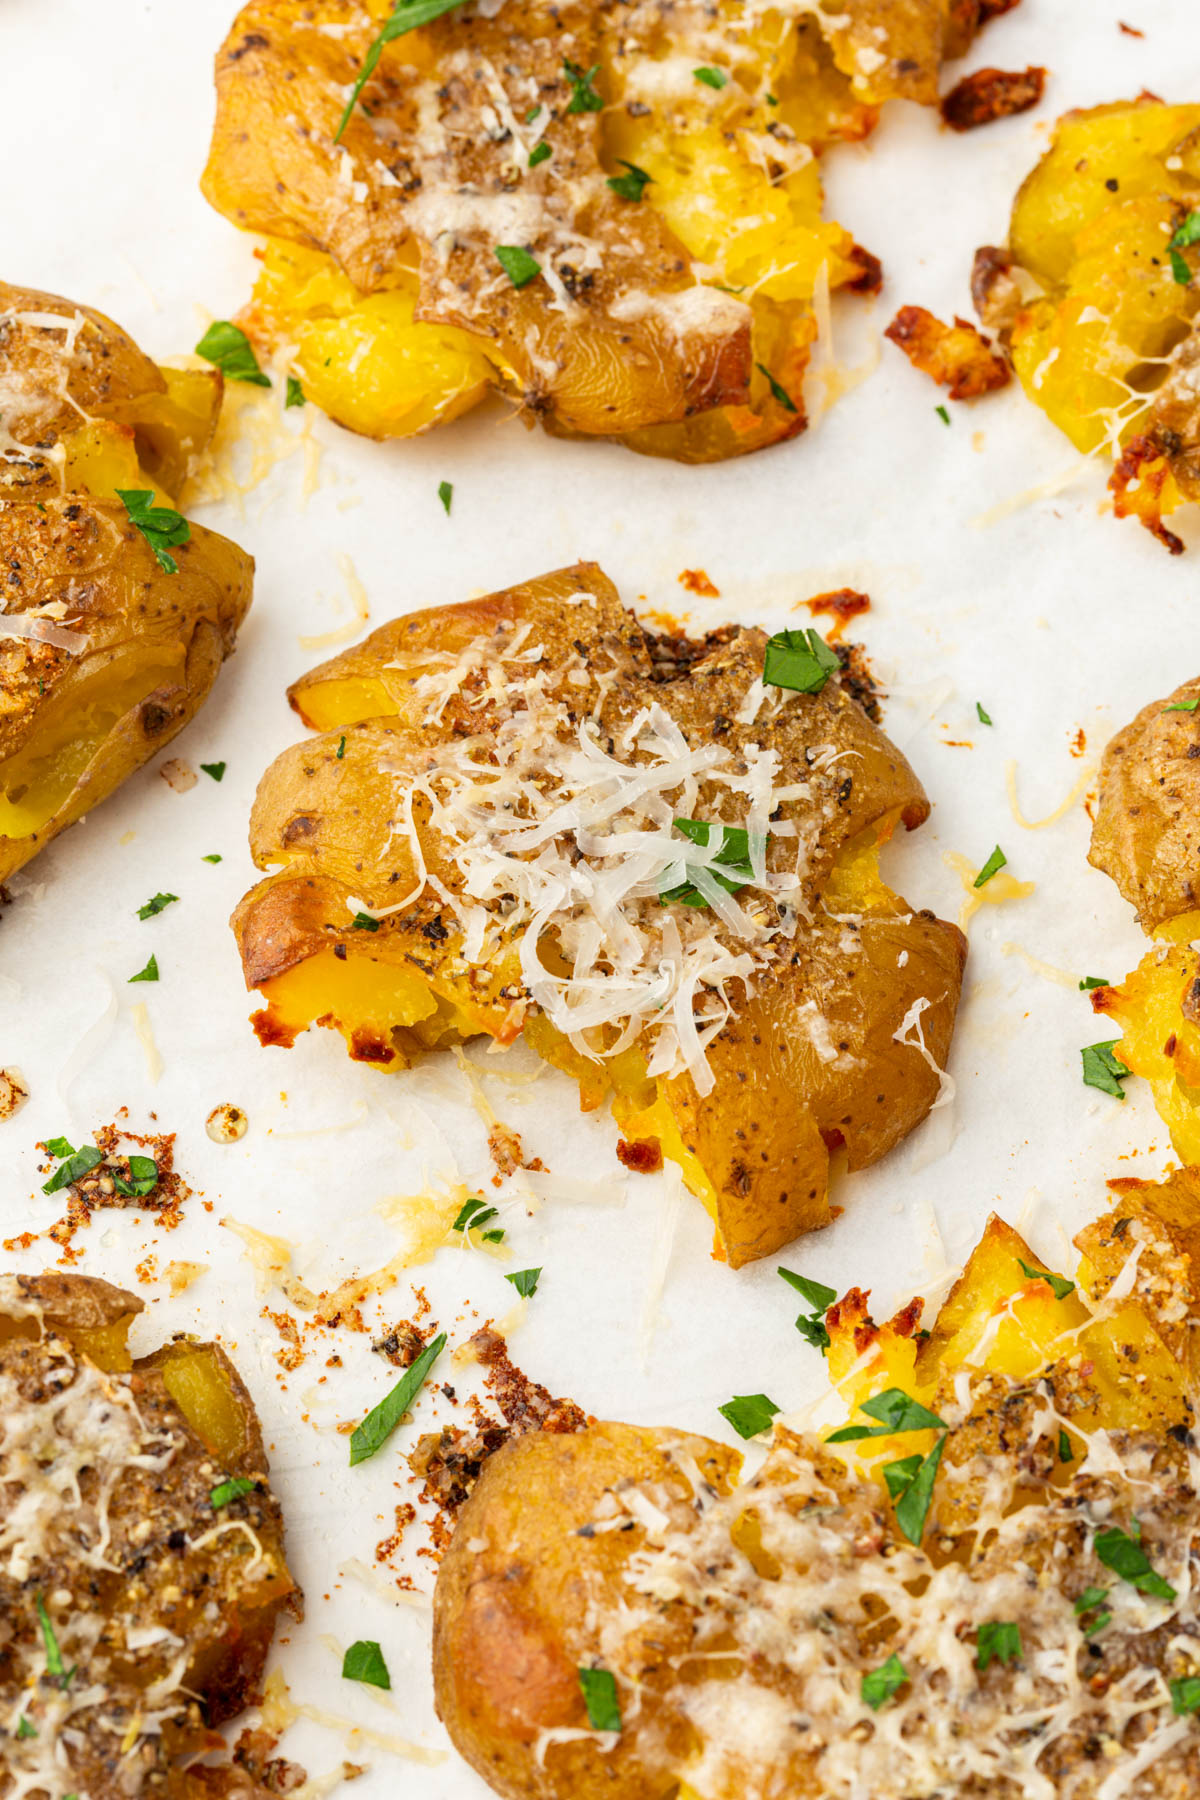 Gluten-FreeRecipeCrispy Parmesan Smashed PotatoesCrispy parmesan smashed potatoes with golden edges and melted cheese. Boil, smash, roast. Naturally gluten-fr…
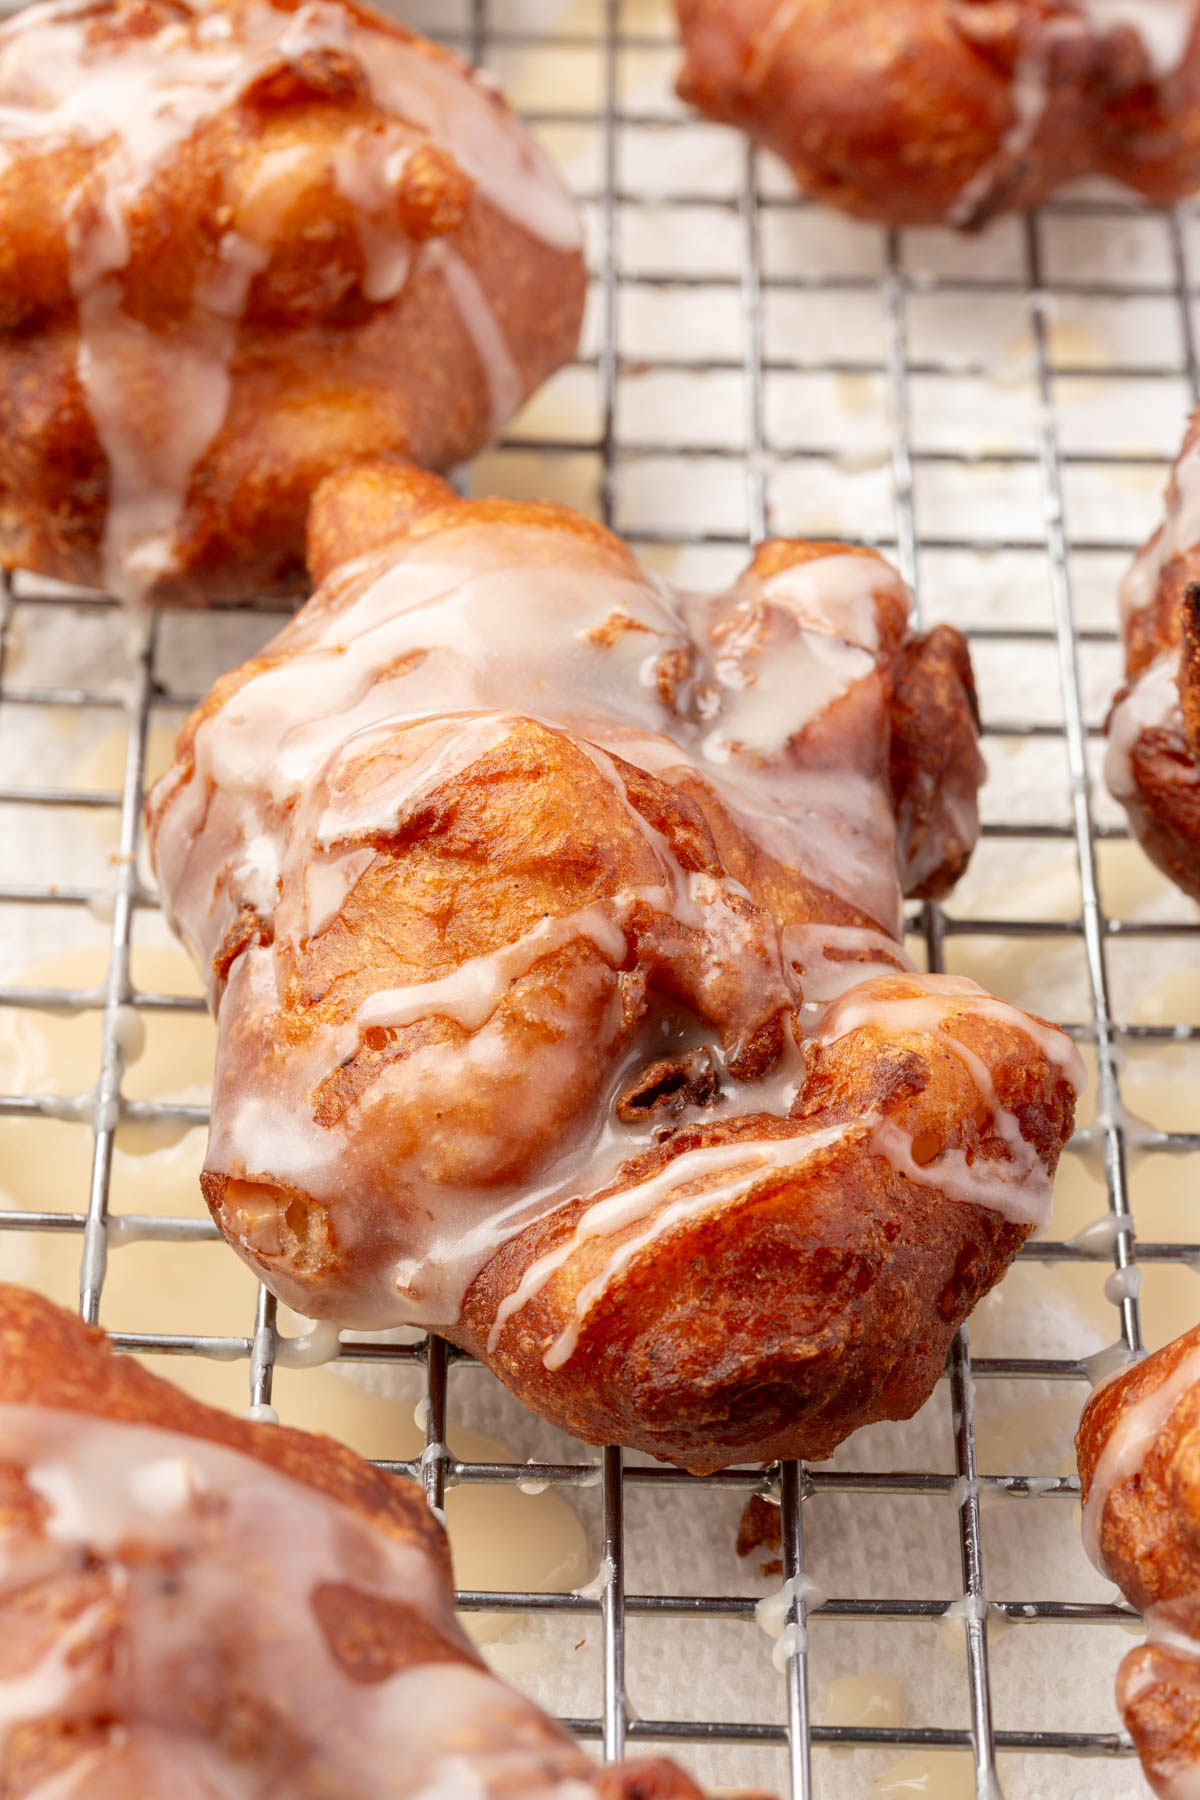 Gluten-FreeRecipeGluten-Free Apple FrittersThese gluten-free apple fritters are crispy on the outside, fluffy on the inside, and packed with tender cinn…
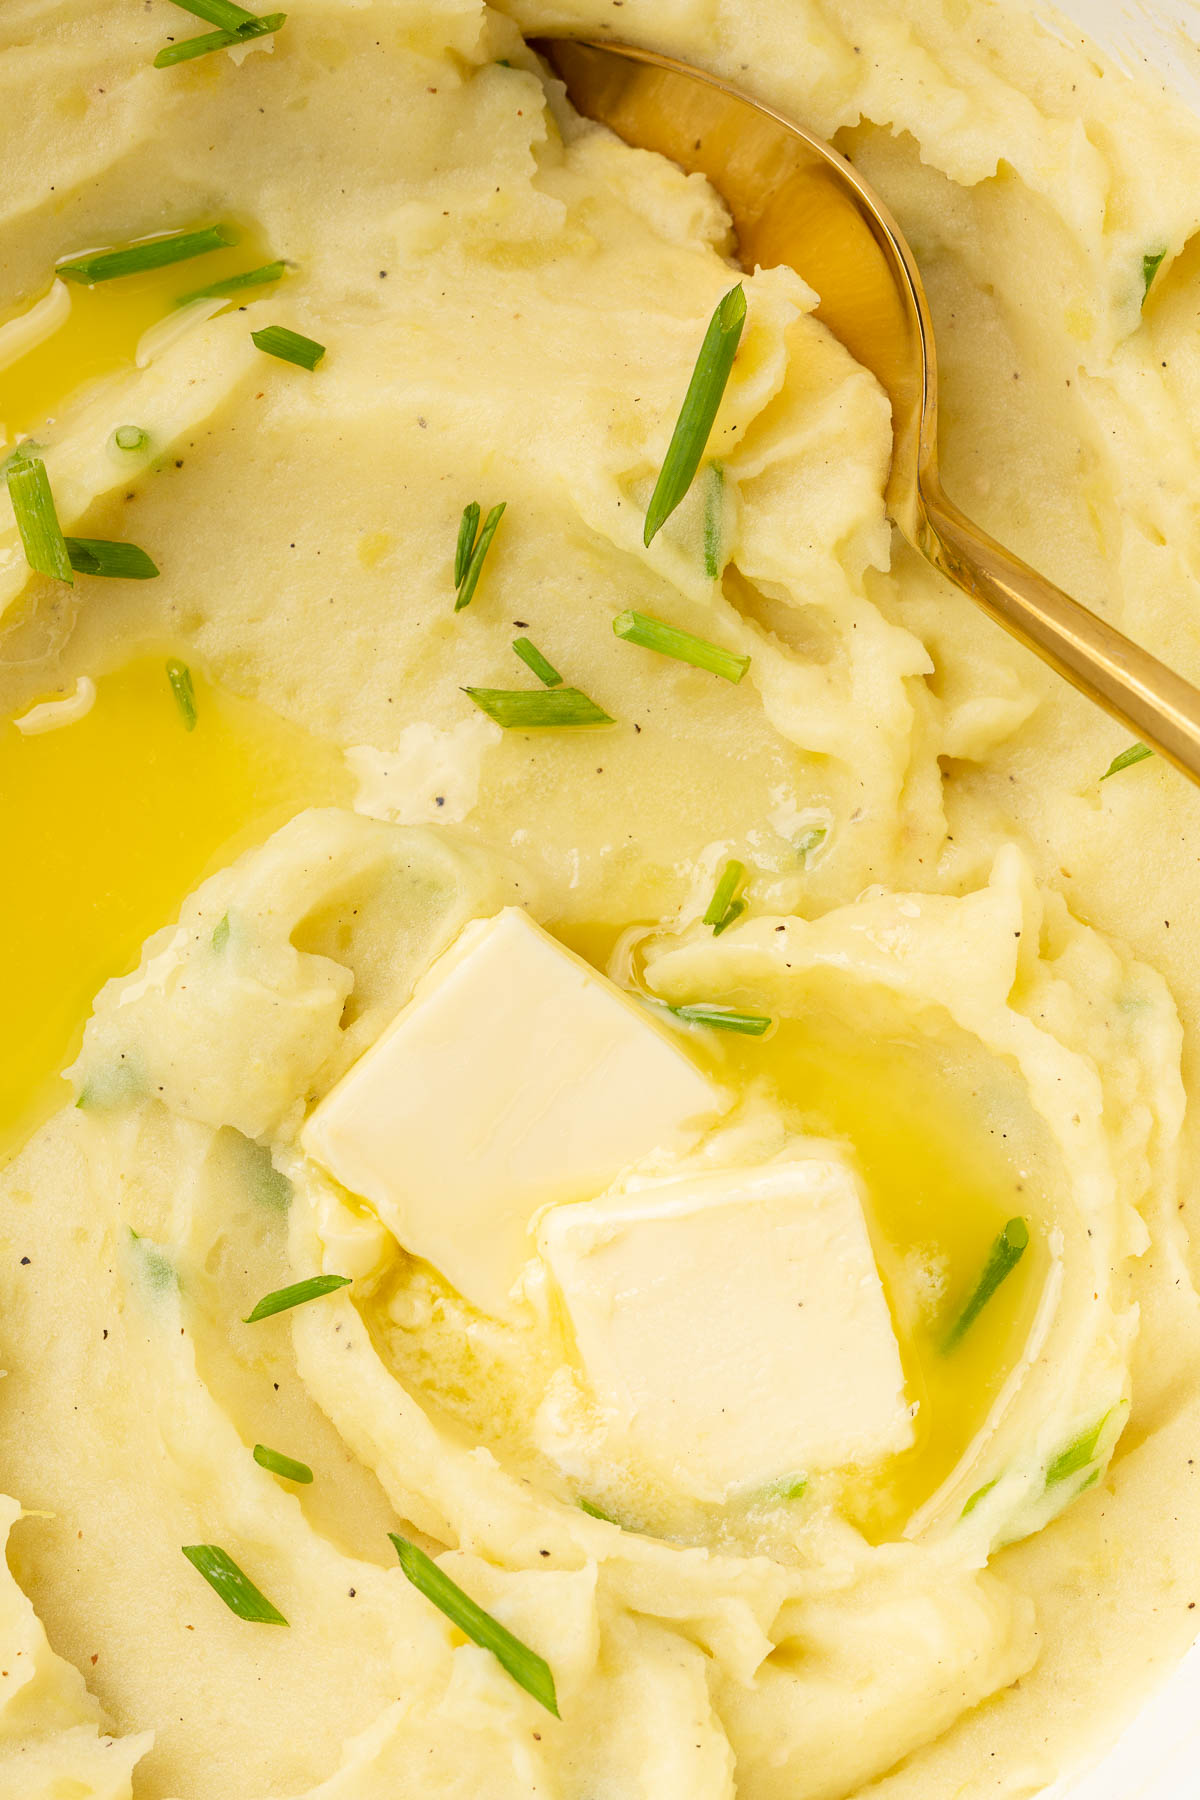 Gluten-FreeRecipeGluten-Free Mashed PotatoesThese gluten-free mashed potatoes are rich, creamy, and made from scratch with Yukon gold potatoes, butter, w…
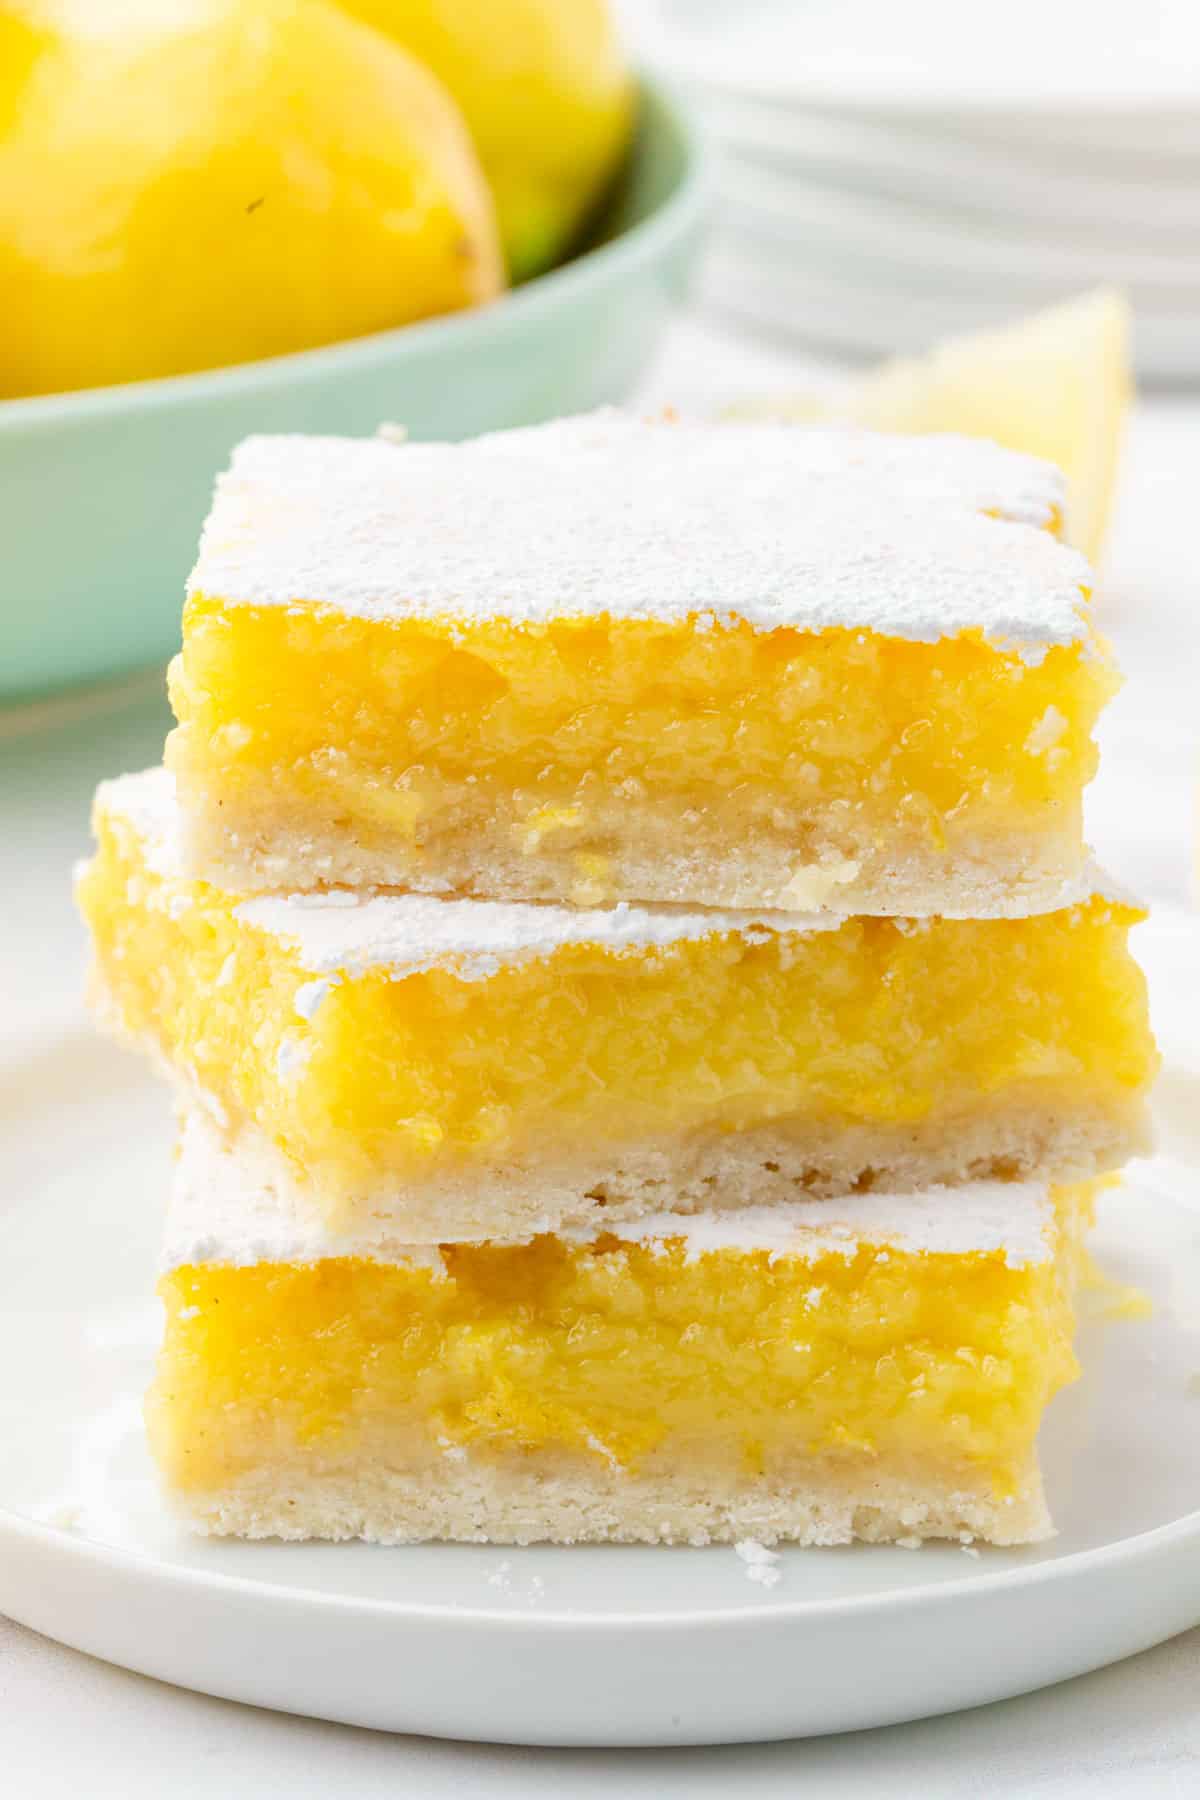 Gluten-FreeRecipeGluten-Free Lemon BarsThese gluten-free lemon bars are tangy, sweet, and stacked with a thick layer of real lemon custard on a butt…