
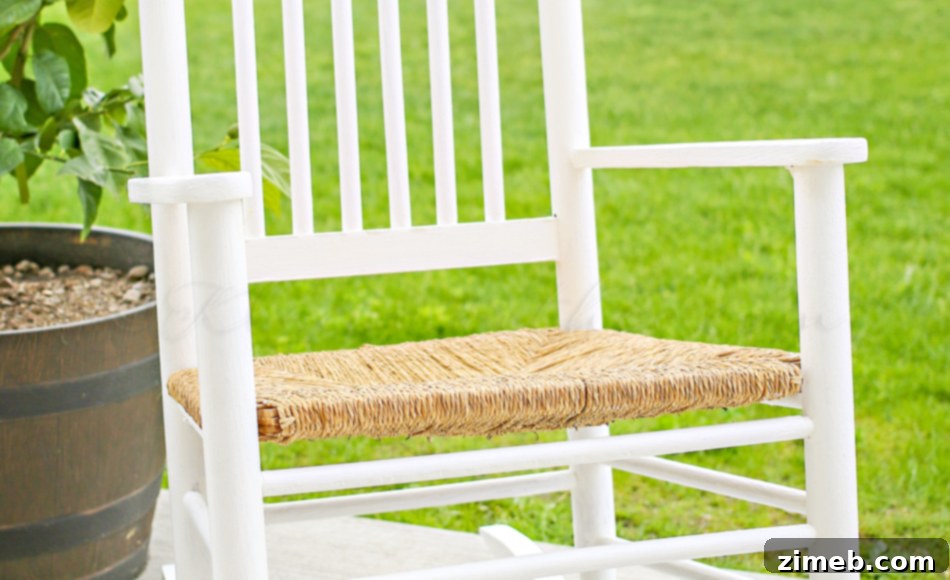
Unveiling a fresh look for an old favorite is incredibly satisfying, especially when it involves transforming a cherished piece of furniture. This simple DIY **rocking chair makeover** using chalk paint is a testament to how quickly and easily you can breathe new life into worn items. Witnessing a transformation from a rustic relic to a bright, beachy accent in just a few short hours truly highlights the power of a well-planned furniture refresh. This project not only saved a beloved rocking chair but also showcased the remarkable versatility and ease of chalk paint, proving that anyone can achieve stunning results without extensive preparation or professional skills.
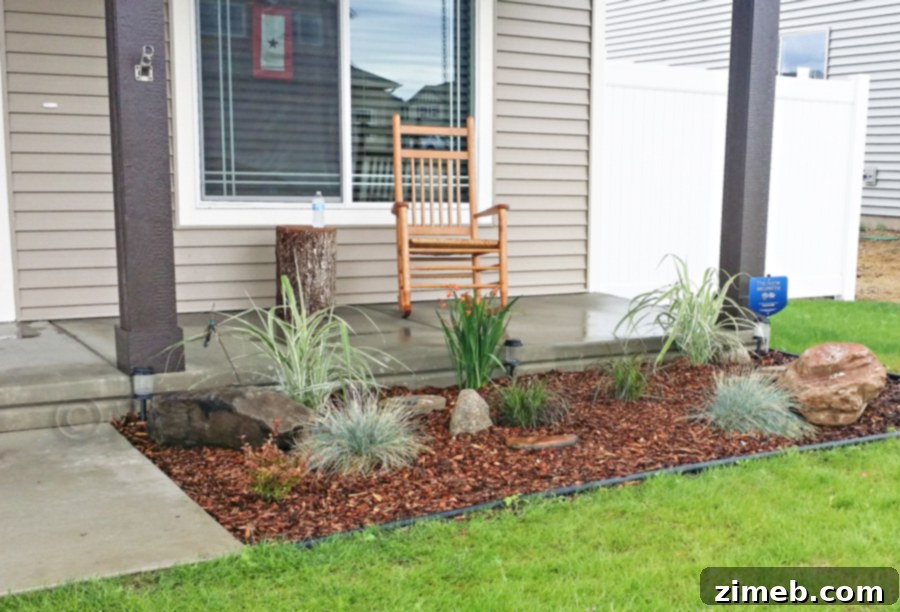
Every home has that one piece of furniture—a sturdy, sentimental item that has seen countless seasons and weathered many storms. For us, it was this old rocking chair. You might recall seeing this before picture during our full front **porch makeover**. Back then, this chair was truly showing its age. Its once-charming finish had long since worn off, leaving behind a rough surface that frequently gave me splinters. While the porch itself received a magnificent overhaul, allowing us to now sit in much-deserved comfort and style, the rocking chair, despite its dilapidated state, held a special place in my heart. I wasn’t ready to part with it, but I also knew I couldn’t keep it in its current condition. The thought of sanding it down to bare wood and then meticulously re-staining it felt like an overwhelming task I simply didn’t have the time or energy for. This is where my knowledge of chalk paint came into play. Knowing its unique properties—particularly its ability to adhere to almost any surface with minimal prep—I realized it was the perfect solution to revitalize this poor chair without the hassle of traditional furniture restoration. The vision for its new life was clear: a fresh, vibrant transformation that would allow it to be loved and used once again, perhaps in a new location.
Embracing the Ease of Chalk Paint: The Transformation Begins
The decision to use chalk paint was quickly followed by the crucial step of convincing my husband that his beloved rocking chair would indeed be elevated by a coat of paint. Once on board, we began the exciting process of choosing the perfect color to match our desired aesthetic. Given the chair’s future home on our back porch, where it would complement a lighter, more relaxed atmosphere, we opted for a bright and airy shade. With a clear vision in mind, I reached out to my wonderful friends at Deco Art, sharing my makeover plans. Their support was invaluable, and soon I had all the necessary supplies to embark on this thrilling **furniture transformation** journey. The beauty of chalk paint lies in its forgiving nature and incredible adherence, making it an ideal choice for both seasoned DIYers and beginners alike. No primer, no sanding – just pure creative expression ready to unfold.
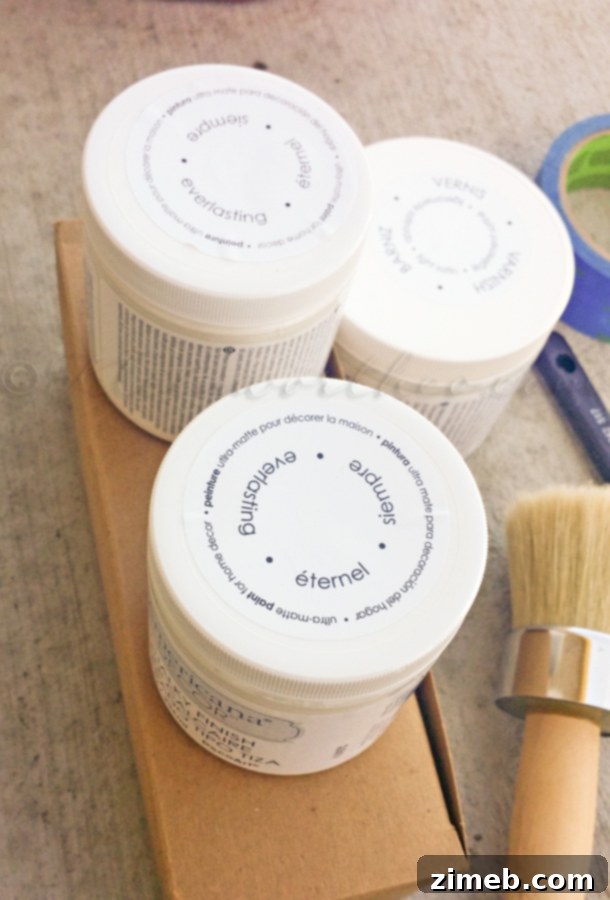
For this **DIY rocking chair makeover**, I specifically used three 8 oz containers of Americana Decor Chalky Finish paint in the color “Everlasting.” This particular shade is a beautiful, crisp white that immediately evokes a sense of coastal charm and freshness, perfectly aligning with our goal of a “beachy” look. To ensure the chair’s durability and protect its new finish, especially since it would be exposed to the elements on the back porch, I also utilized one 16 oz container of Americana Decor Light Satin Varnish. This varnish provides a protective topcoat without sacrificing the signature matte, chalky look that makes this type of paint so appealing. Gathering these materials was the first tangible step towards bringing our vision to life, demonstrating how a few key products can lead to a dramatic and lasting change.
Step-by-Step Guide to a Flawless Chalk Paint Finish
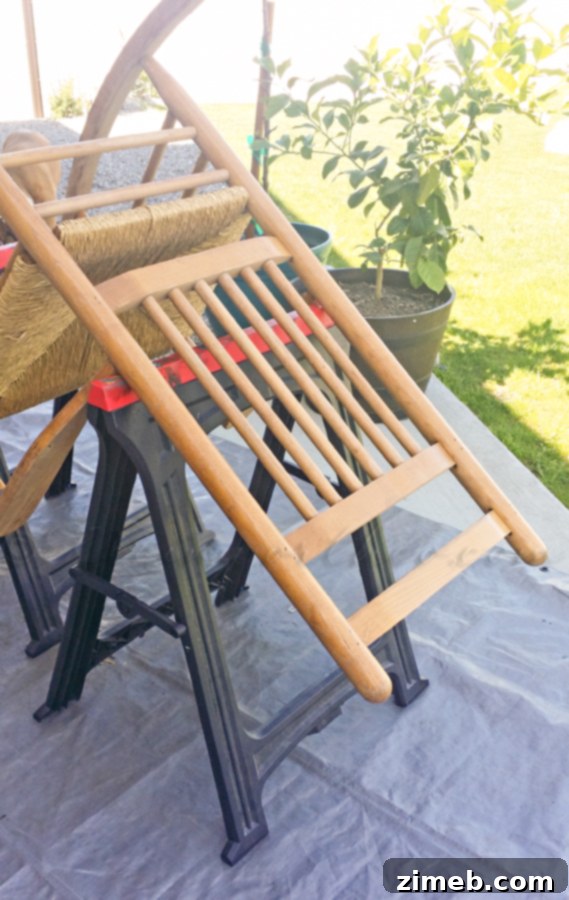
The actual painting process for this **chalk paint furniture project** was remarkably straightforward, thanks to the inherent qualities of Americana Decor Chalky Finish paint. Before dipping my brush, I meticulously taped off the woven portion of the rocking chair. This crucial step ensured a clean, sharp line and protected the original material from accidental paint splatters, maintaining a professional and polished look. With the chair securely perched on sawhorses, I began applying the “Everlasting” chalk paint, starting with all the areas that were easily accessible. Working in sections not only makes the task more manageable but also allows for even coverage and fewer drips. Chalk paint dries relatively quickly, which is a huge advantage, allowing you to move through the project efficiently. Its thick consistency also means it covers existing finishes exceptionally well, often requiring fewer coats than traditional paints. I focused on applying thin, even layers, which is key to avoiding brush marks and achieving that desirable smooth, velvety finish.
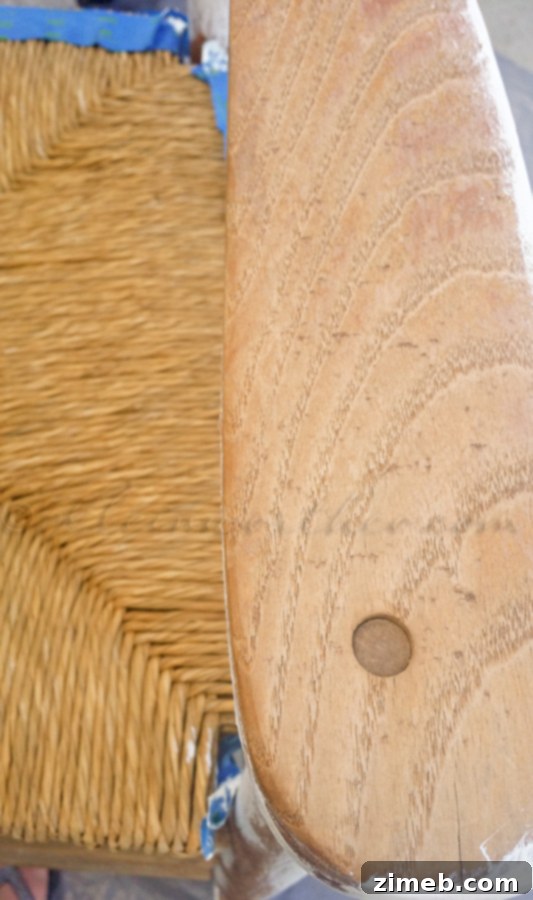
Once the first side of the chair had thoroughly dried—a process that often takes less than an hour for chalk paint—I carefully flipped it to access the remaining unpainted sections. This method ensures complete coverage on all sides, including those tricky undersides and inner crevices. I applied additional coats as needed, typically two light coats are sufficient for a solid color transformation. After ensuring all surfaces were beautifully painted and completely dry, it was time for the protective layers. The Americana Decor Light Satin Varnish was applied next. This step is vital for furniture that will experience regular use or exposure, as it seals the chalk paint, providing a durable, wipeable surface that resists scuffs and moisture. The satin finish adds a subtle sheen without detracting from the paint’s unique texture. For an extra layer of defense, particularly for the seat area that would face the elements on our back porch, we also applied Never Wet. This hydrophobic coating creates an invisible barrier that repels water, making the chair virtually impervious to rain and spills. This combination of varnish and Never Wet ensures that our newly transformed rocking chair is not just beautiful but also incredibly resilient and long-lasting, ready to withstand its outdoor environment for years to come. This thorough approach to finishing truly elevates a simple paint job into a durable **furniture makeover** built to last.
From Rustic to Radiant: The Final Reveal
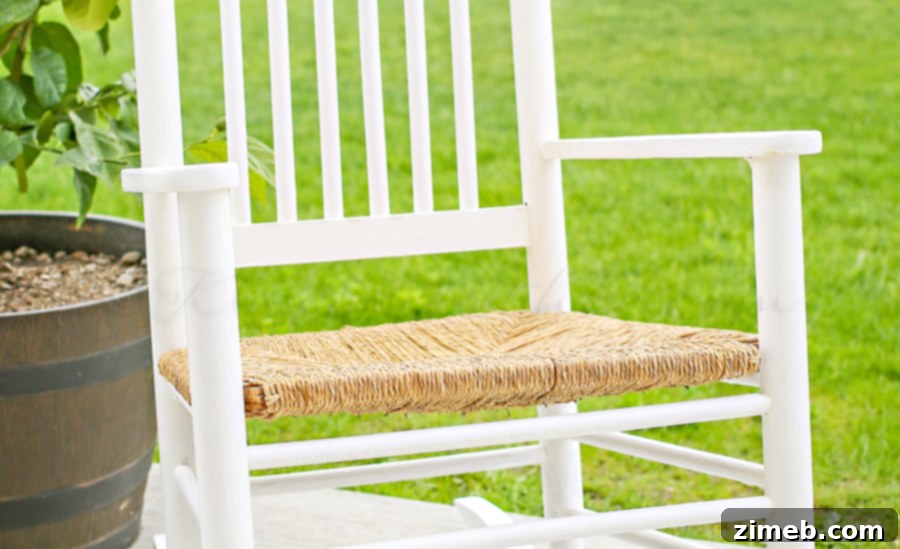
The moment of truth, the final reveal, was nothing short of exhilarating. The transformation of this old, weary rocking chair was absolutely breathtaking! It gracefully transitioned from its former old and rustic demeanor to a wonderfully fresh and distinctly beachy aesthetic. The “Everlasting” white chalk paint breathed an incredible amount of life into the piece, instantly brightening its appearance and creating a sense of calm and coastal elegance. No longer a splinter-inducing hazard, it now stands as a charming invitation to sit and relax, a testament to what a little paint and vision can achieve. The smooth, matte finish of the chalk paint, sealed with the light satin varnish, feels inviting to the touch, and the added Never Wet protection gives us peace of mind that it will endure countless sunny days and gentle rains on our back porch. This chair isn’t just a piece of furniture anymore; it’s a statement of style, a cozy nook, and a perfect embodiment of our home’s refreshed vibe. It truly is perfect for our home, adding a touch of personalized charm that store-bought furniture often lacks. This **DIY furniture transformation** project not only saved a valuable piece but also enhanced the overall ambiance of our outdoor living space, proving that a little creativity can go a long way in cultivating a beautiful home environment. The contrast between the before and after is astounding, highlighting the transformative power of a thoughtful **chalk paint makeover**.
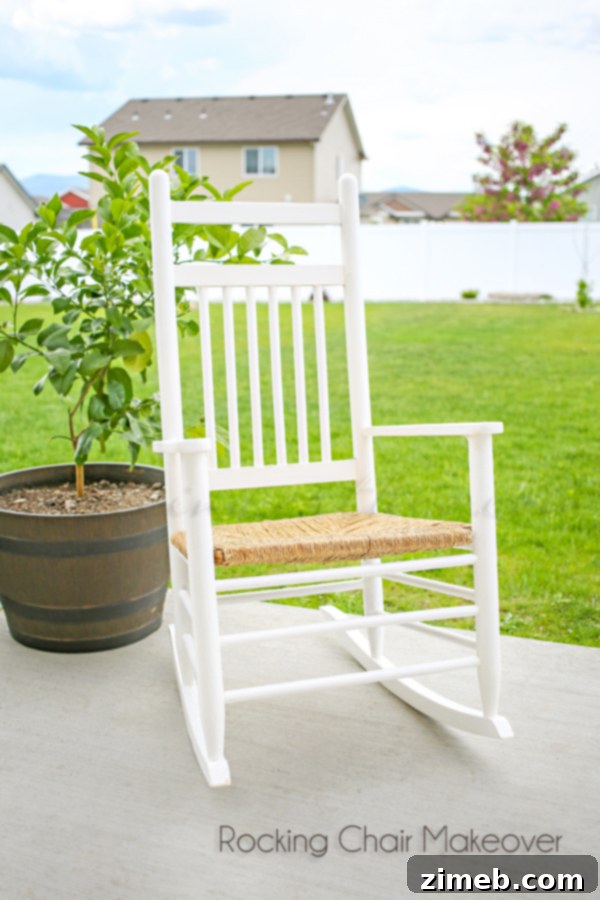
The success of this rocking chair makeover has only reinforced my love for Deco Art products and their incredible range of paints and finishes. Their quality and ease of use make them a go-to for anyone looking to undertake furniture restoration or **DIY home decor projects**. If you’re feeling inspired to embark on your own creative journey, I highly recommend exploring their offerings. For more detailed information on all Deco Art products, including their extensive selection of chalk paints, varnishes, and other craft supplies, be sure to check out their website! It’s an invaluable resource packed with inspiring project ideas, helpful tutorials, and color palettes that are sure to ignite your imagination. Whether you’re looking to tackle a large furniture piece or a small decorative accent, you’ll find everything you need to bring your creative visions to life. Their site is truly a treasure trove of inspiration for any crafting enthusiast or home decorator.
Looking for more chalk paint transformations?
The versatility of chalk paint extends far beyond rocking chairs. Its ability to adhere to various surfaces with minimal preparation makes it a fantastic medium for countless **furniture refresh projects**. If you’re captivated by the dramatic before-and-after potential of chalk paint and are eager to explore more ways to revitalize your home, you’re in luck! We’ve tackled several other exciting transformations using this incredible paint, breathing new life into forgotten pieces and turning them into functional, stylish additions to our living space. These projects not only demonstrate the broad application of chalk paint but also offer practical insights and inspiration for your next DIY endeavor. Get ready to be inspired and discover how simple it is to transform ordinary items into extraordinary focal points with just a few strokes of a brush and the magic of chalk paint.
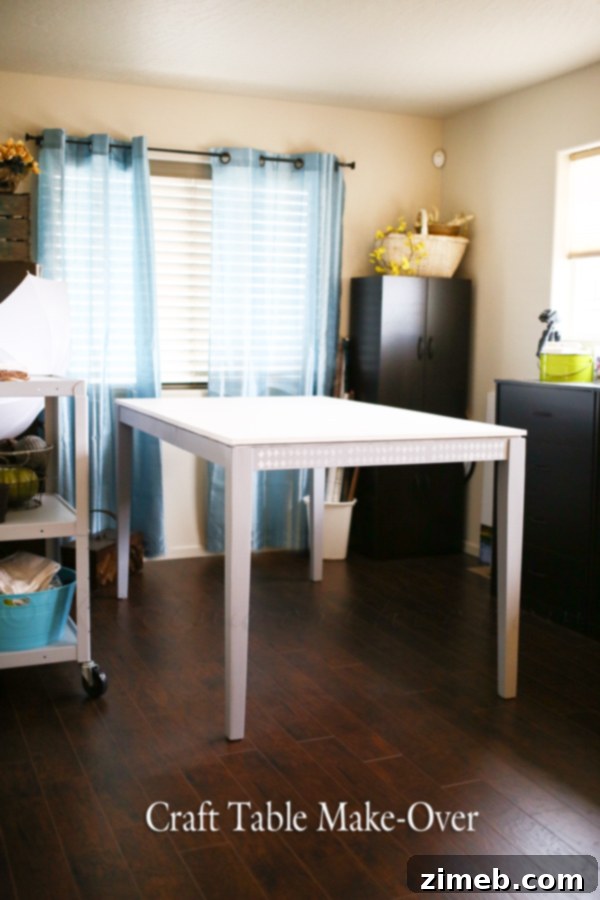
Transforming a drab workspace into an inspiring hub for creativity, this **Craft Table Make-Over** used chalk paint to achieve a clean, inviting look. This project showcased how even the most utilitarian pieces can become beautiful and functional with a simple coat of paint, perfectly illustrating chalk paint’s capacity to refresh and redefine practical furniture items. It’s an ideal example for anyone looking to organize and beautify their craft room or studio without the need for expensive new purchases, turning an overlooked piece into a charming and efficient workspace.
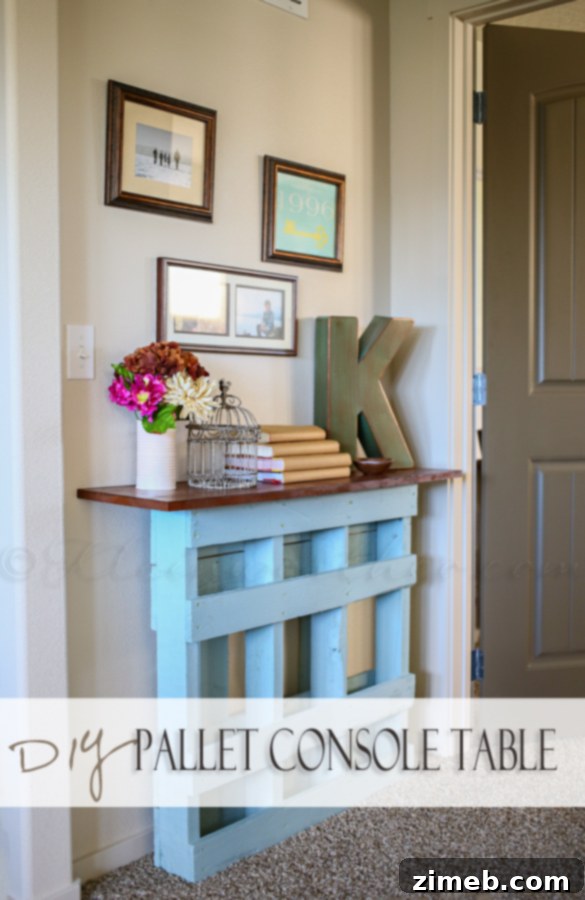
For those who appreciate rustic charm combined with modern functionality, our **DIY Pallet Console Table** project offers a fantastic source of inspiration. This build utilized reclaimed pallets to construct a unique console table, which was then elegantly finished with chalk paint to enhance its distressed character while providing a cohesive, stylish aesthetic. It’s an excellent project for anyone looking to incorporate sustainable practices into their home decor, proving that recycled materials can be transformed into beautiful and sturdy furniture pieces with the right finishing touches. This project stands as a testament to the fact that chalk paint isn’t just for makeovers but also for integrating and refining newly constructed DIY furniture.