
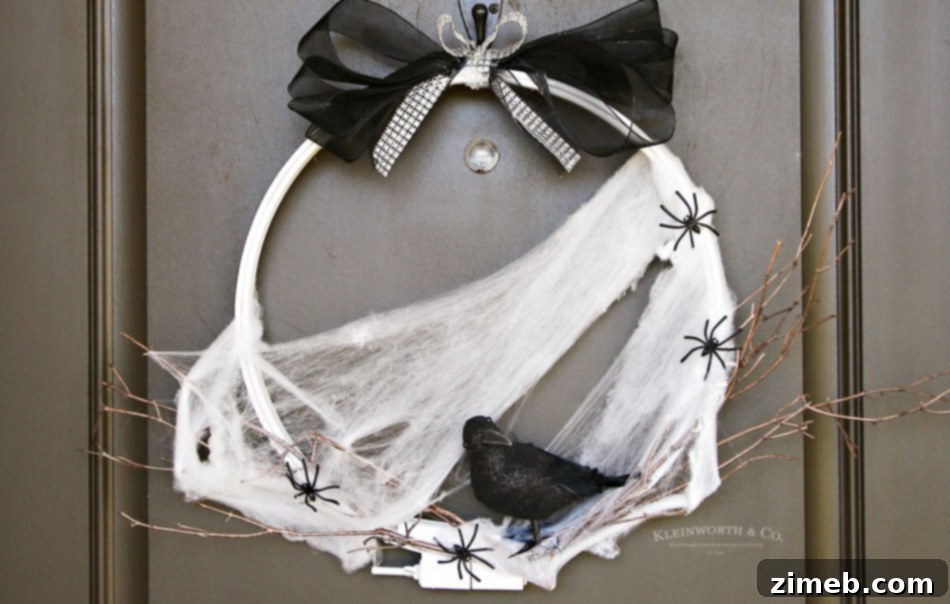
Craft a Spooky Raven Halloween Wreath: Your Guide to Elegant & Eerie Door Decor!
Hello, fellow craft enthusiasts and Halloween lovers! As the leaves begin to turn and a crisp chill fills the air, our thoughts inevitably drift towards the magic and mystery of Halloween. For many of us, this beloved holiday is a fantastic excuse to unleash our creativity and transform our homes into enchanting, spooky havens. Every year, I find myself eager to craft new decorations, especially a fresh wreath for our front door. While I often revisit past favorites that bring joy year after year, this season has called for something truly special. This year, I’ve embraced a unique “Glam Metallic” theme for my entire porch, aiming to blend traditional Halloween spookiness with an elegant, contemporary twist.
The vision for my Halloween porch decor has been an exciting journey, moving beyond just a simple wreath and a few pumpkins. With a comprehensive theme planned, I knew every detail, from signs to intricate accents, needed to align perfectly. Yesterday, I shared a glimpse of a custom sign I created, and today, I’m thrilled to unveil the centerpiece of this theme: a captivating Spooky Raven Halloween Wreath that came together in an astonishingly quick 20 minutes! This isn’t just another Halloween craft; it’s an opportunity to create a striking, memorable piece that welcomes trick-or-treaters and guests with a blend of eerie charm and sophisticated sparkle. Join me as I guide you through the simple steps to craft your own stunning raven wreath, perfect for adding that touch of “Glam Metallic” fright to your home.
DIY Spooky Raven Halloween Wreath: Step-by-Step Tutorial
This post contains some affiliate links, meaning if you click through and make a purchase, I may earn a small commission at no extra cost to you. Click here to read my full disclosure policy.
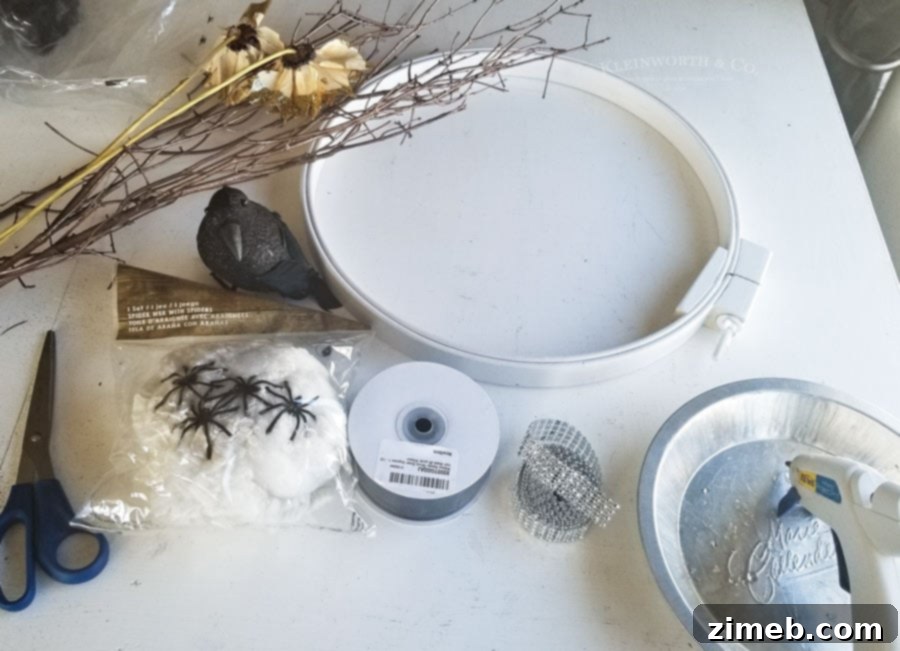
Gathering Your Materials: The Foundation of Your Eerie Masterpiece
One of the beauties of this Halloween wreath project lies in its simplicity and the readily available supplies. You’ll need just a handful of items to bring this spooky vision to life. For this striking wreath, ensure you have the following:
- Large Embroidery Hoop: This will form the sturdy base of your wreath. Choose a size that suits your door – I opted for a larger one to make a statement.
- White Spray Paint: Essential for creating a contrasting base that will make your spooky elements pop, especially against darker doors.
- Sticks or Tree Branches: Foraged from your yard, these add an authentic, rustic, and slightly eerie natural touch. Look for thin, gnarled branches that can be easily arranged.
- Halloween Spider Webs: The classic spooky touch! These stretchy webs create an ethereal, aged effect.
- Plastic Spiders: To scatter among the webs for an extra creepy detail. A variety of sizes can add more depth.
- Plastic Raven: The star of our show, bringing a gothic and mysterious presence to your wreath. Look for one with bendable wire feet for easier attachment.
- Black Ribbon: To create a classic bow and add a touch of dark elegance.
- Sparkly Ribbon or Rhinestone Strip: Crucial for tying into our “Glam Metallic” theme, providing that desired shimmer and sophistication.
- Hot Glue Gun & Glue Sticks: Your best friend for quick and secure assembly.
A little tip for fellow crafters: don’t be afraid to pull out a variety of potential supplies. Often, I gather more than I need and then experiment with different combinations until I find the perfect balance. Crafting is, after all, a journey of trial and error, where the “happy accidents” often lead to the most unique and cherished creations. Embrace the creative process!
Step 1: Preparing Your Wreath Base
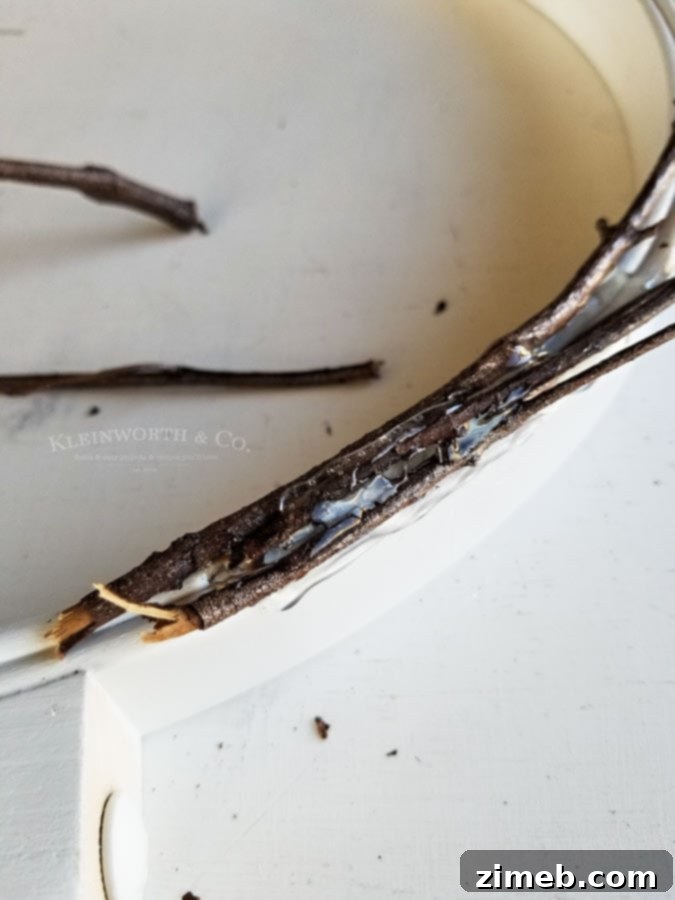
Begin by spray painting your embroidery hoop. While this step is optional, I highly recommend it, especially if your front door is a darker shade like my chocolate brown one. A contrasting color, such as white, black, or even a metallic silver or gold, will ensure your wreath truly stands out and makes a dramatic impact. Work in a well-ventilated area, applying light, even coats of paint to avoid drips. Allow ample drying time between coats and before proceeding to the next step. Once your hoop is dry, select a bundle of natural sticks or small tree branches. Arrange them artfully towards the bottom section of the hoop, creating a nest-like or entangled branch effect. Use your hot glue gun to securely attach these branches, ensuring they form a sturdy foundation for the raven.
Step 2: Weaving the Web of Spookiness
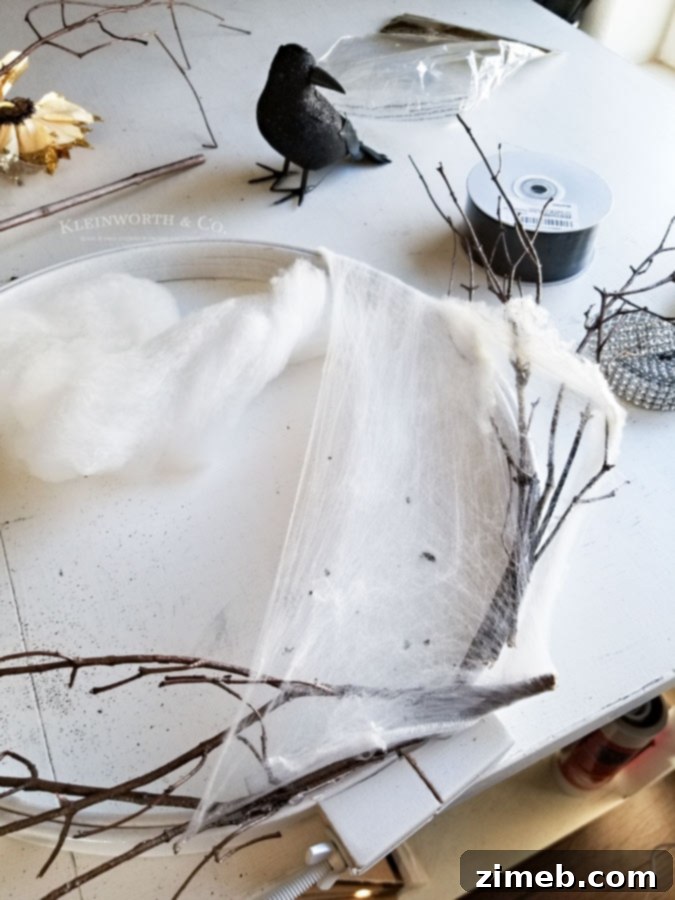
Now for the fun part that truly screams “Halloween”! Take your faux spiderwebs and begin to stretch them delicately across the branches you just attached. The key here is to pull them thin enough to look wispy and natural, but not so thin that they disappear entirely. Wrap some strands around the top of the hoop and then stretch them back down, intertwining them with the branches at the bottom. This step is all about artistic judgment – there’s no right or wrong way. Play with the webs until you achieve a natural-looking, eerie shroud that evokes an abandoned, haunted feel. You can add more for a dense, aged look, or just a few wisps for a subtle touch of mystery.
Step 3: Introducing the Majestic Raven
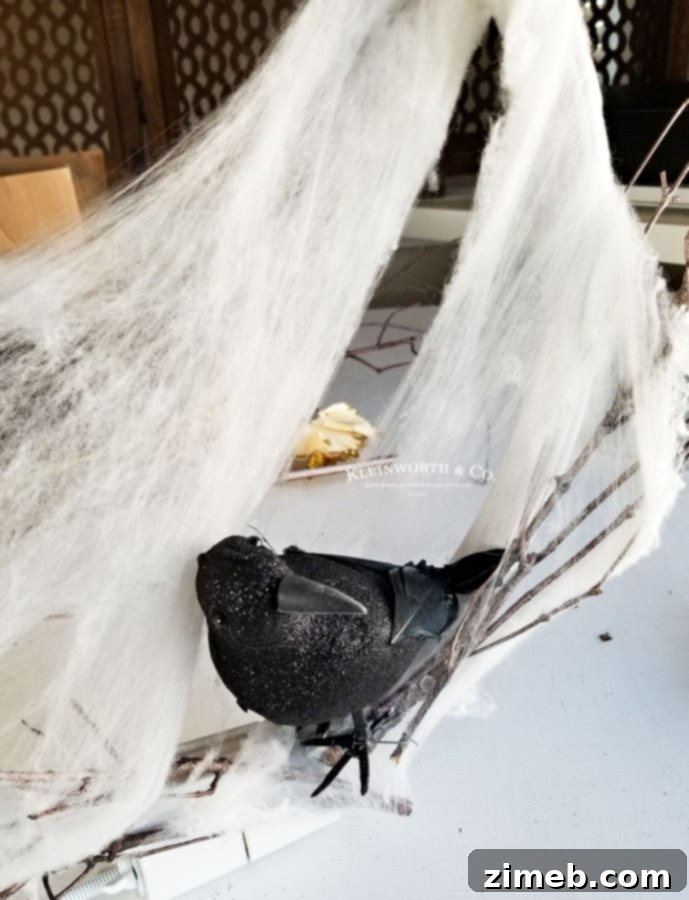
The raven is the focal point of our wreath, symbolizing mystery, intelligence, and a touch of gothic allure. Carefully position your plastic raven along the bottom portion of the wreath, ideally nestled within the branches or perched dramatically on the hoop. Use a generous amount of hot glue to secure it firmly. If your raven, like mine, comes with small wires on its feet, gently bend and wrap these around the branches or hoop for an extra layer of stability. This ensures your spooky companion stays put, even through blustery Halloween nights. Consider the raven’s gaze – having it look slightly off-center can create an even more intriguing and watchful presence.
Step 4: Adding Creepy Crawly Details
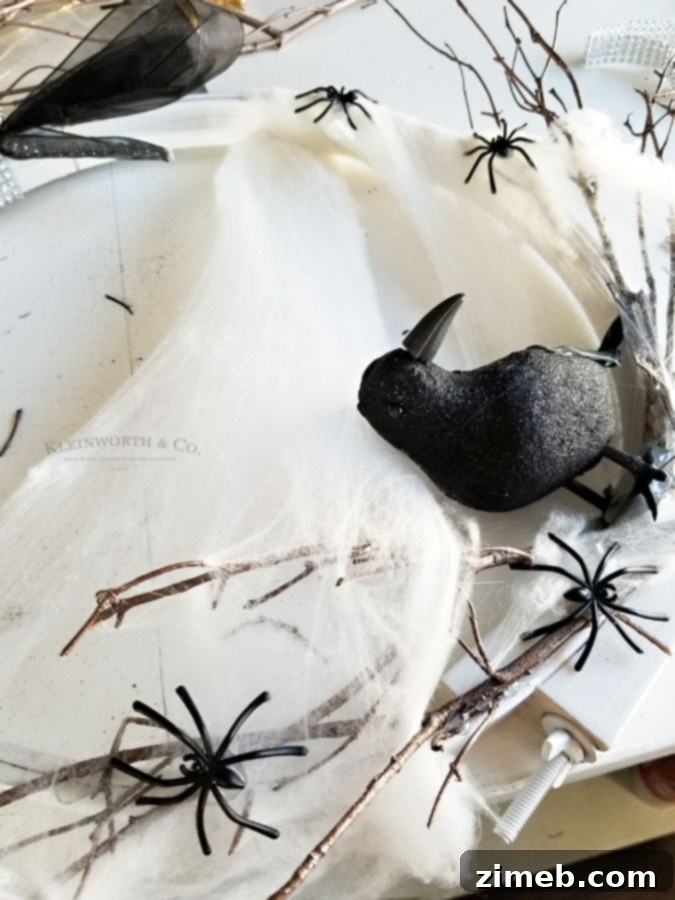
Many packs of Halloween spiderwebs come with a handful of plastic spiders, which are perfect for enhancing the eerie atmosphere of our wreath. Take these plastic spiders and strategically place them throughout the webs and branches. A dab of hot glue will keep them in place. Don’t be afraid to add them in unexpected spots – lurking behind a branch or seemingly crawling out of the web. While I had planned to add some tiny spiders for even more detail, I completely forgot in the rush of finishing before daylight faded. But that’s the beauty of DIY; you can always add more personal touches later! Feel free to incorporate various sizes of spiders for a more dynamic and realistic creepy-crawly effect.
Step 5: Crafting the Glamorous Bow
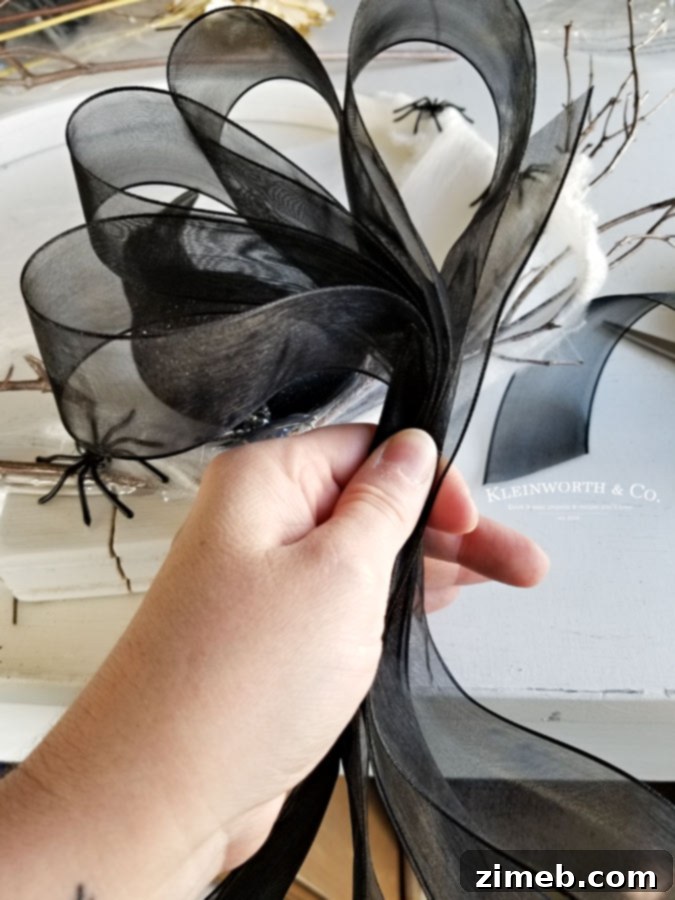
Every wreath needs a finishing touch, and for our “Glam Metallic” theme, a chic bow is essential. Gather your black ribbon and sparkly ribbon. To create a simple yet elegant bow, form several loops with the black ribbon, stacking them to create fullness. Then, take a smaller piece of ribbon (you can use either black or sparkly, depending on the look you prefer) and tie it tightly around the center of the loops. Fluff out your loops to create a beautiful, full bow. Once you’re satisfied with its shape, use your hot glue gun to firmly attach the bow to the very top of your embroidery hoop. This adds a sophisticated contrast to the rustic branches and webs.
Step 6: Infusing the “Glam Metallic” Sparkle
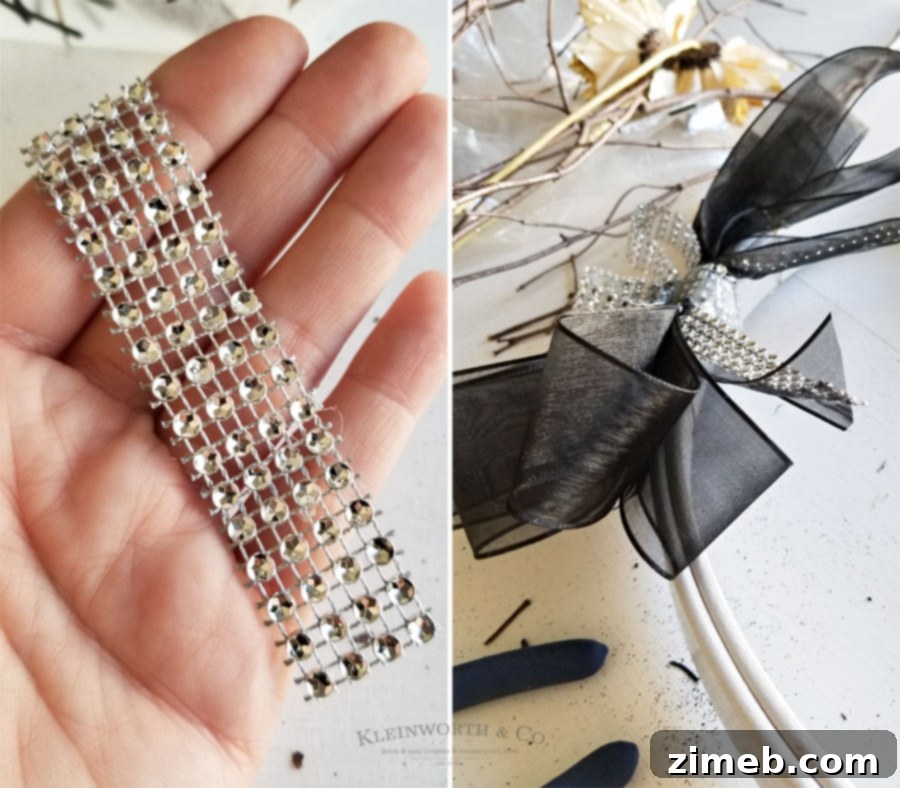
At this point, your wreath is already quite striking, but to truly align with our “Glam Metallic” theme, a touch of shimmer is a must! I decided to add a rhinestone strip to the black ribbon portion of my bow. This instantly elevates the wreath from merely spooky to elegantly eerie. Simply cut a length of the rhinestone strip to your desired size and apply it to the ribbon using hot glue. You could also use metallic spray paint on small accents, glitter glue, or even small metallic ornaments to achieve a similar effect. This step is all about adding that extra layer of sophistication and sparkle that makes the “Glam Metallic” theme shine. This final touch brings the entire concept together beautifully and adds a refined edge to the spooky elements.
A Finished Piece in Minutes: Your Perfect Halloween Door Decor
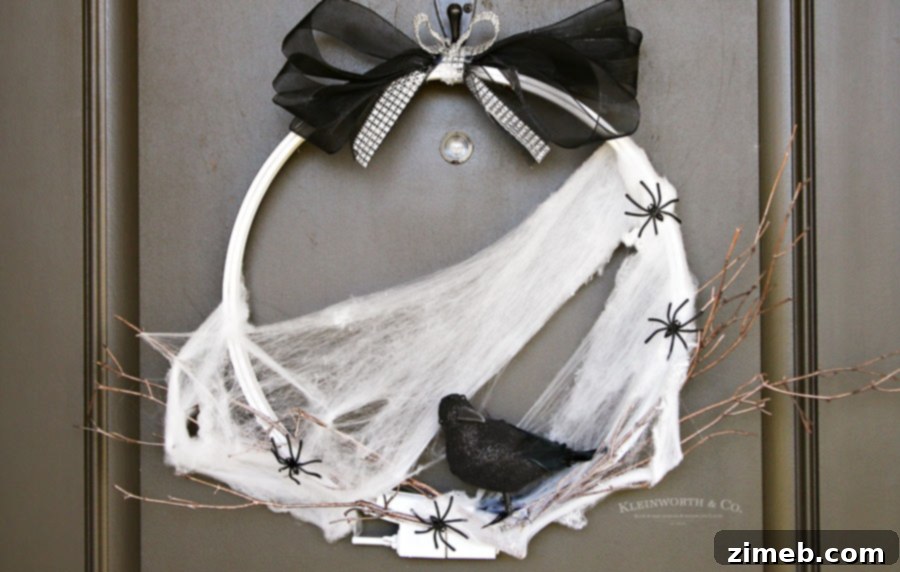
And there you have it! The entire project, from start to finish, came together in approximately 20 minutes. It was incredibly satisfying to complete before the evening light faded, allowing me to fully appreciate the transformation of my porch. The combination of natural elements, classic Halloween frights, and metallic glam creates a truly unique and inviting display.
Embracing Simplicity and Style for Halloween
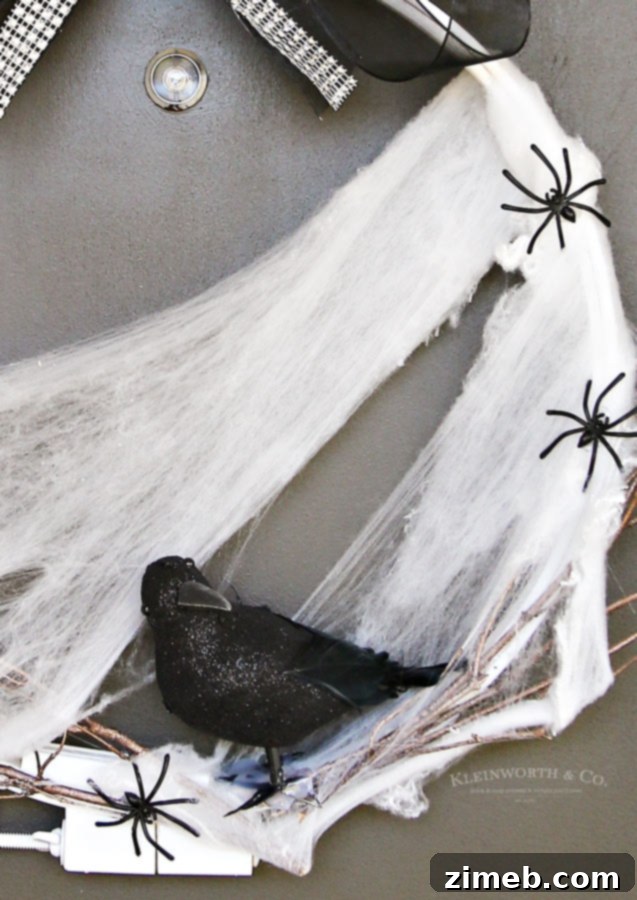
What I adore most about this Spooky Raven Halloween Wreath is its elegant simplicity. It doesn’t demand intricate techniques or an overwhelming amount of supplies to achieve a striking impact. Sometimes, the most effective decorations are those that convey a strong theme with understated charm. This wreath perfectly embodies the “Glam Metallic” concept, proving that Halloween decor can be both spooky and sophisticated. It’s the ideal addition to create a welcoming yet wonderfully eerie atmosphere for all your autumn festivities.
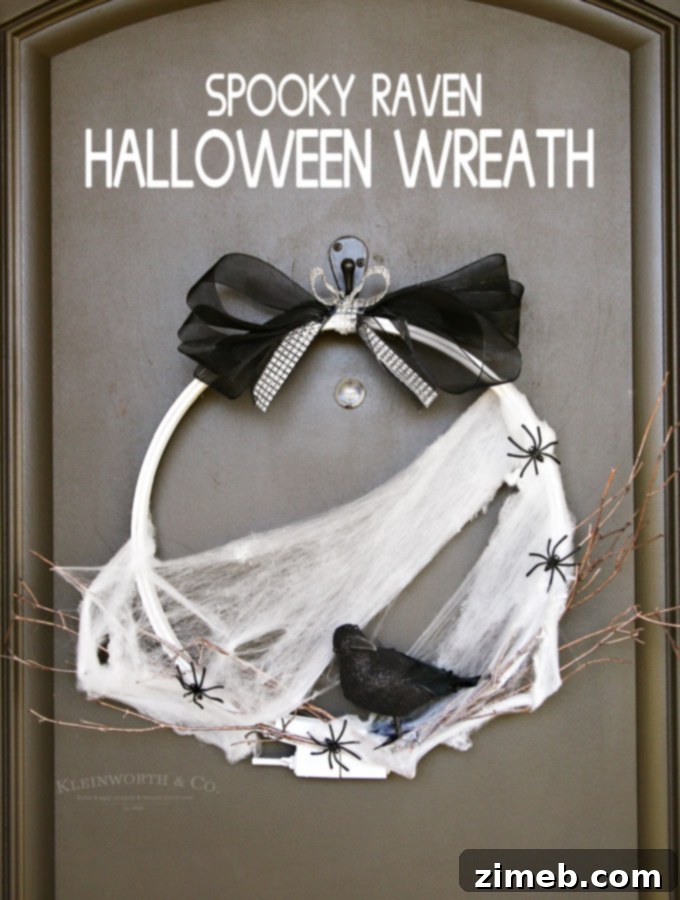
Happy Halloween, dear friends! I sincerely hope you find inspiration in this Spooky Raven Halloween Wreath and consider crafting one for your own home. It’s a wonderful way to add a personal, handmade touch to your seasonal decorations!
Don’t forget to bookmark this tutorial or pin it to your favorite Halloween projects board on Pinterest, so you can easily reference it when you’re ready to get crafting. I love seeing your creations, so feel free to share your finished wreaths with me!
Looking for more fun Halloween ideas to complete your holiday celebrations?
Dive into these other fantastic Halloween crafts, recipes, and activities:
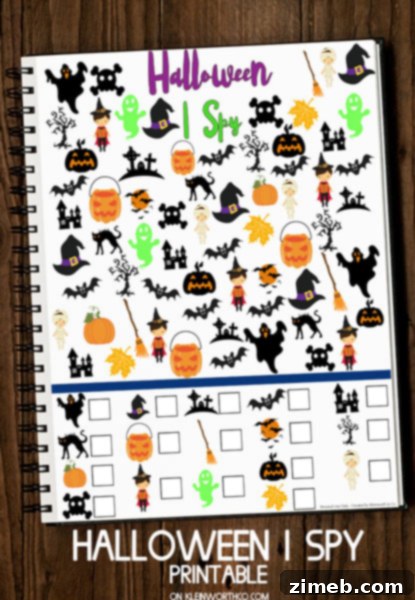
Free Halloween I Spy Printable: Keep the little ones entertained with this engaging printable activity, perfect for parties or quiet time.
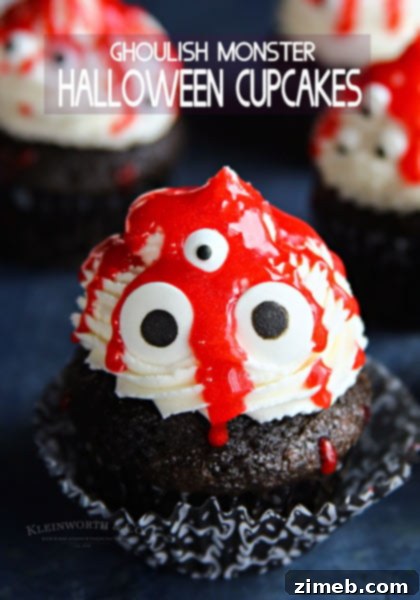
Ghoulish Monster Halloween Cupcakes: Whip up some delightfully spooky treats that are as fun to make as they are to eat!
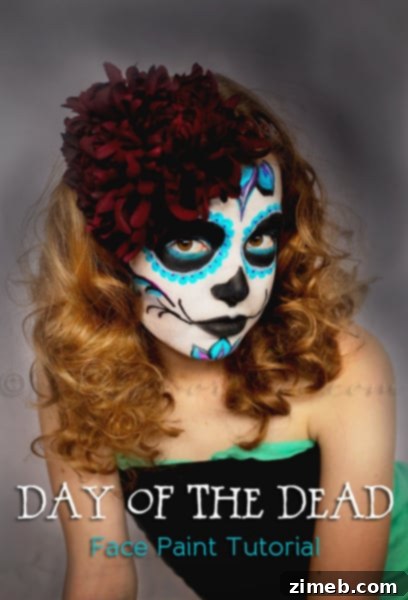
Day of the Dead Face Paint Tutorial: Explore artistic costume ideas with this step-by-step guide to beautiful face painting.
Don’t miss these other incredible ideas from talented bloggers to inspire your Halloween season:
Halloween Party Treats Appetizers and Desserts Recipes | OMG Chocolate Desserts
Easy DIY Halloween Costume Ideas for Everyone | Frugal Coupon Living