
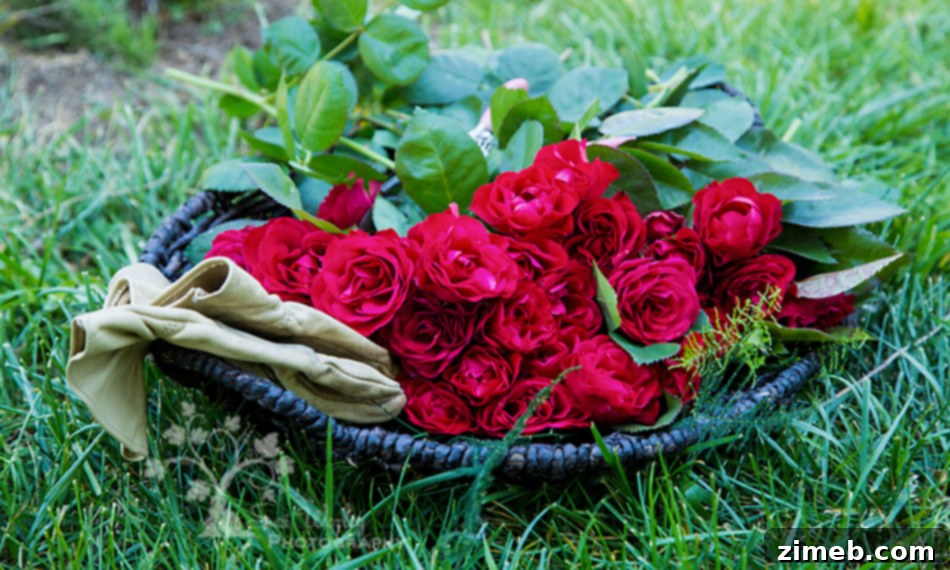
We’re absolutely thrilled to welcome back our amazing friend and passionate gardener, Suzi, to Kleinworth & Co.! Many of you will remember her fantastic insights on planting potatoes from her previous guest post. Today, Suzi is sharing her invaluable expertise on a topic close to every garden enthusiast’s heart: Cutting Roses for Healthier Plants and Breathtaking Arrangements. Having witnessed her stunning garden flourish over the years, I can personally attest to her profound knowledge and dedication. Her roses are truly a sight to behold, and we’re so honored she’s here to share her secrets with our community.
The Timeless Allure of Roses: Cultivating Beauty in Your Garden
Happy May, fellow gardeners! With the arrival of spring and Mother’s Day on the horizon, it’s the perfect time to delve into the captivating world of roses. While growing roses can indeed require a bit of dedication and effort, the magnificent reward of their vibrant blooms makes every moment spent worthwhile. Their exquisite beauty and intoxicating fragrance can transform any garden into a personal sanctuary.
Choosing the Right Rose Variety
The world of roses is incredibly diverse, offering an astonishing array of types, colors, and fragrances. From classic Hybrid Teas with their elegant, solitary blooms to Floribundas bursting with clusters of flowers, and climbing roses that adorn walls and trellises, there’s a rose for every gardener and every landscape. It’s always best to research the specific variety you intend to plant, as their flowering habits can vary significantly. Some varieties offer continuous blooms throughout the summer, while others, though flowering only once, deliver such a spectacular display that their ephemeral beauty is absolutely worth cherishing. Understanding your chosen rose’s characteristics is the first step towards successful cultivation.
Optimal Growing Conditions for Thriving Roses
The cornerstone of a healthy rose bush is selecting an ideal planting site. Roses are sun-worshippers, typically requiring at least six hours of direct sunlight per day to truly thrive. While some varieties can tolerate partial shade, insufficient sunlight will result in less robust growth, fewer blooms, and increased susceptibility to common rose ailments like powdery mildew and other fungal diseases. Beyond sunlight, protection from strong winds and late frosts is crucial. A location along a sturdy fence or near a building often provides the necessary shelter, just ensure there’s ample space for the mature bush to spread and reach its full potential without overcrowding. Well-draining soil, rich in organic matter, is also paramount. Roses dislike “wet feet,” so amending heavy clay soils with compost will significantly improve drainage and aeration, fostering strong root development.
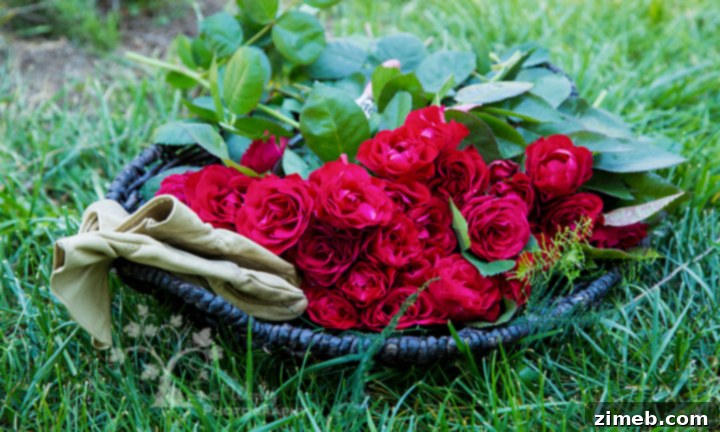
Essential Tools for Rose Pruning and Cutting
Before you embark on the rewarding task of cutting roses, whether for deadheading or for stunning arrangements, having the right tools is key. Not only do proper tools make the job easier, but they also ensure clean cuts that promote plant health and minimize the risk of disease. Always make sure your tools are clean and sharp to prevent tearing stems and spreading pathogens.
The Importance of Reliable Gardening Gloves
Roses, with their magnificent blooms, often come with formidable thorns. Protecting your hands is paramount. Many standard “gardening gloves” with thin cloth or narrow designs simply don’t offer adequate protection or durability for serious rose care. They tend to wear out quickly, leaving your hands vulnerable. I highly recommend investing in a sturdy pair of men’s leather work gloves. Their robust construction provides superior protection against thorns and lasts significantly longer, enduring seasons of rigorous gardening tasks. Think of them as an essential shield for your hands.

Choosing the Right Pruning Shears
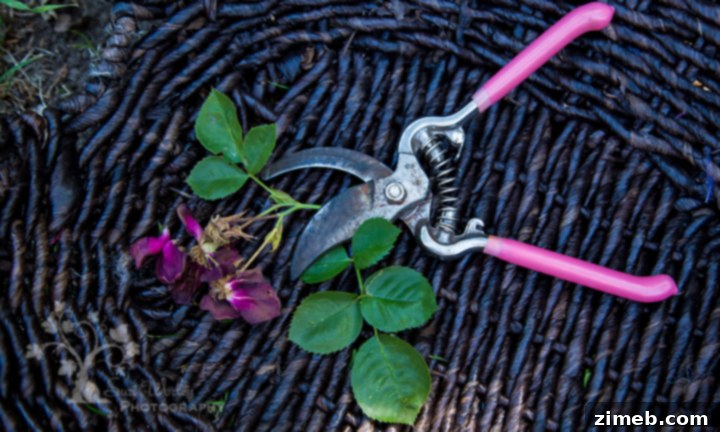
A good pair of pruning shears is indispensable for any rose gardener. For most cutting tasks, bypass pruners are ideal. They work like scissors, with two blades passing each other, creating clean, precise cuts that are vital for rose health. Avoid anvil pruners for live stems, as they crush one side of the stem, which can damage plant tissue. My personal tip? Choose a pair with a bright, distinctive color, like pink! This might seem trivial, but a brightly colored tool is much easier to spot amidst dense foliage or if you accidentally set it down in the garden. This small detail can save you time and frustration, ensuring your reliable shears are always within reach when you need them most.
Mastering Deadheading for Continuous Rose Blooms
For rose varieties that bloom repeatedly throughout the season (often called “repeat bloomers”), the practice of “deadheading” is absolutely crucial. Deadheading involves systematically removing spent, faded, or unsightly blooms from your rose bush. This seemingly simple act redirects the plant’s energy from producing rose hips (which contain seeds) to generating new vegetative growth and, most importantly, more flowers. Without deadheading, the plant believes its reproductive cycle is complete, leading to fewer subsequent blooms.
The Art of the Perfect Deadhead Cut
The key to effective deadheading lies in making the cut at the correct point. You’ll want to trim right above the first or second healthy, outward-facing five-leaflet leaf. This five-leaflet leaf (as opposed to smaller three-leaflet leaves often found closer to the flower) indicates a strong leaf axil that contains a dormant bud, ready to sprout a new stem and bloom. Cutting too short, below a strong five-leaflet leaf, may delay re-blooming or result in weaker new growth. Conversely, cutting too long, just below the dried bloom or rose hip, means the rose will take longer to initiate its next bloom cycle, as it has to send energy further down the stem to activate a stronger bud. An angled cut is always preferred, allowing rainwater to run off and minimizing the risk of disease entry.
**A Special Note for Climbing Roses:** Some climbing rose varieties, particularly those that bloom once a year on “old wood,” require a different approach. For these, it might take two to three years for them to establish and flower abundantly. Care must be taken with their canes, as they rely on this older growth for their spectacular floral display. Deadheading may still be beneficial to tidy the plant, but extensive pruning or cutting back old canes could inadvertently remove future blooms. Always consult specific care instructions for your particular climbing rose variety.
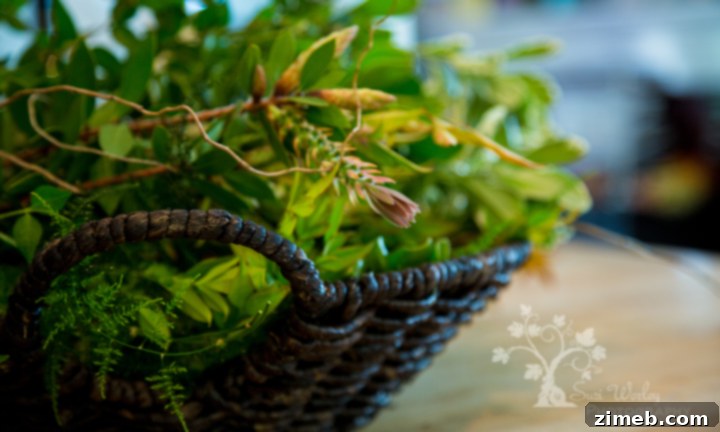
Harvesting Roses for Breathtaking Arrangements
Cutting roses for a vase or floral arrangement is a delightful way to bring the beauty of your garden indoors. To maximize the life and visual impact of your cut roses, a few strategic steps are essential.
Selecting the Ideal Bloom and Making the Cut
When choosing roses for an arrangement, aim for blooms that are just beginning to unfurl – often referred to as being “in bud” or “soft bud” stage. If a bud is too tight, it may never fully open once cut. Open roses are also beautiful and can certainly be used, but they typically won’t last as long in a vase. For arrangements, you’ll generally want to cut longer stems to allow for flexibility in styling and to ensure there are plenty of leaves to support the stem’s water uptake. The best time to cut roses is in the early morning after the dew has dried, but before the heat of the day has set in. This is when the stems are fully hydrated and the blooms are at their freshest. Always make your cut at a 45-degree angle, using sharp pruning shears, just above an outward-facing bud or leaf node. An angled cut increases the surface area for water absorption and prevents the stem from sitting flat on the bottom of a vase, which can block water uptake and lead to rotting. Immediately after cutting, plunge the stems into a bucket of lukewarm water. This initial hydration step, often called “conditioning,” is critical for preventing air bubbles from entering the vascular system of the stem, which can block water flow and cause premature wilting.
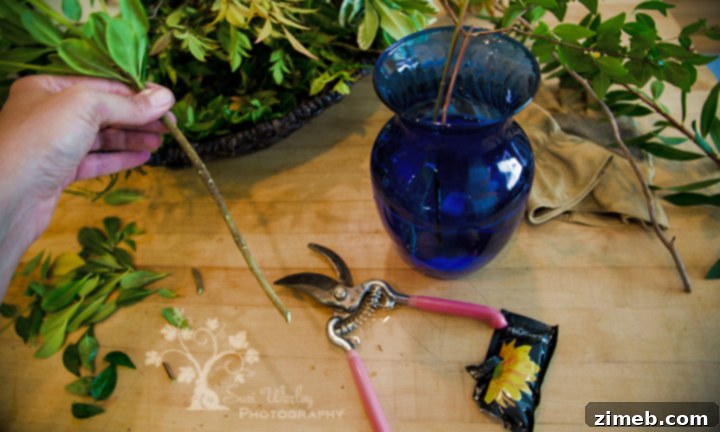
Crafting Beautiful Rose Arrangements: A Step-by-Step Guide
Once you’ve harvested and conditioned your roses, it’s time for the creative fun of arranging them. A thoughtful arrangement can truly highlight the beauty of each bloom.
Preparing Your Vase and Greenery
Start by filling your chosen vase with fresh, cold water, ideally mixed with a floral preservative. Floral preservatives provide essential nutrients and inhibit bacterial growth, significantly extending the life of your arrangement. Before placing any foliage into the vase, remove all lower leaves from both your roses and any filler plants that would fall below the waterline. Submerged leaves can quickly decompose, contaminating the water and shortening the life of your flowers. Also, inspect your roses and remove any diseased or damaged petals and leaves. Begin by placing your chosen greenery and “base flowers” into the vase first. This establishes a foundational structure and provides support for your focal roses, creating a lush and balanced starting point.
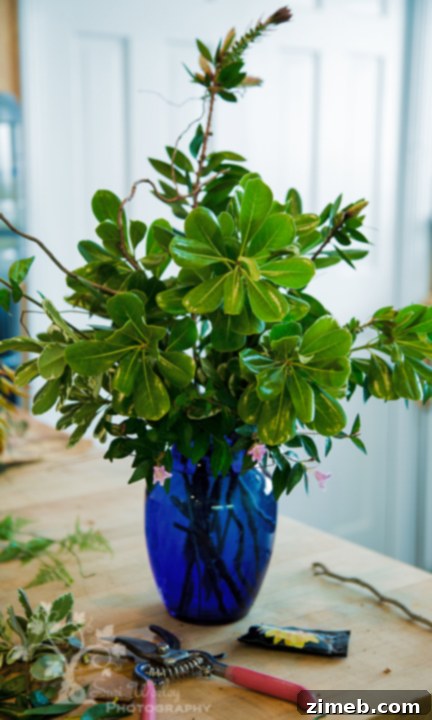
Adding Filler and Support Elements
For larger, single-stem roses, a moderate amount of filler greenery provides a good visual foundation. However, when working with cluster roses (which feature multiple blooms on a single stem) or softer stems, additional filler can offer much-needed physical support, especially if you wish to avoid using florist’s wire to stiffen them. Get creative with your filler choices! Interesting “sticks” like curly willow branches can add architectural flair and height. Just be mindful of safety: certain plants and flowers can be poisonous to pets and children, while others, like the bottle brush shown here, might cause allergies or shed excessive pollen. If you have any doubts about a plant’s safety or allergenic potential, it’s always best to err on the side of caution and opt for known safe alternatives.
Incorporating Your Conditioned Roses
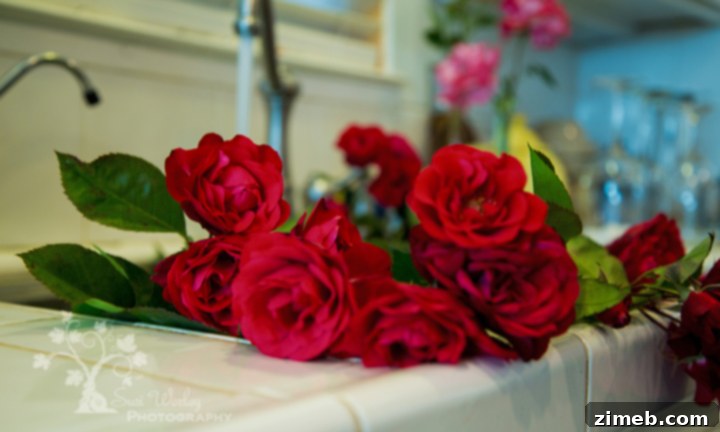
Now, it’s time for the stars of the show: your beautiful roses. Before adding them to the vase, perform a crucial re-cut. Fill your sink or a large bowl with cold water. Submerge the rose stem entirely and, using a sharp knife or pruning shears, make a fresh diagonal cut about an inch or two from the bottom of the stem, all while underwater. This prevents air from entering the stem’s capillaries, which can block water absorption and lead to wilting. Immediately after cutting, transfer the rose stem directly into your prepared vase. When placing each flower, visualize them as naturally growing elements, appearing to radiate outwards from the center of the arrangement. This technique helps maintain an organized, balanced, and organic look. For roses that are already in full bloom or have softer stems, creating a tighter arrangement can offer more mutual support. If you’re arranging flowers that are only partially open, leave a bit more space to accommodate their eventual growth and expansion. This consideration is particularly important when working with larger, more dynamic blooms such as lilies or stately, single long-stem roses.
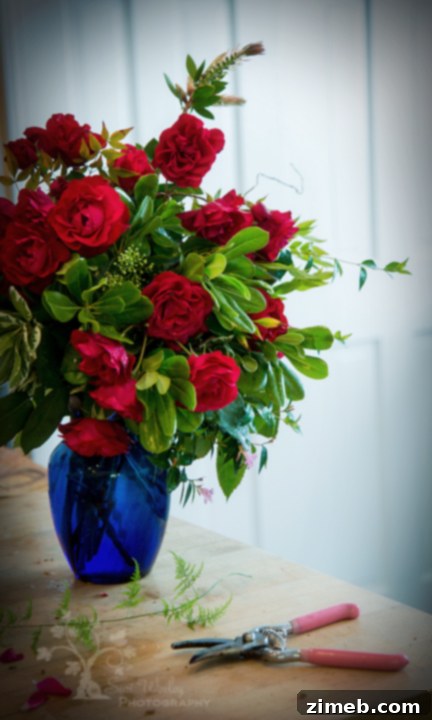
Extending the Life of Your Exquisite Rose Arrangements
To ensure your rose arrangements remain fresh and captivating for as long as possible, a few simple maintenance steps can make a significant difference. Regularly inspect your bouquet and promptly remove any faded, wilting, or spent blooms. This not only keeps the arrangement looking pristine but also prevents the decaying material from contaminating the water and accelerating the decline of other flowers. You can often extend the overall life of a large bouquet by disassembling it as some larger flowers begin to fade and creating several smaller, charming arrangements with the remaining fresh elements. Don’t hesitate to refresh the base filler with new greenery or smaller flowers from your yard to give an arrangement a renewed vitality. If the vase water becomes cloudy or shows signs of bacterial growth, immediately remove all flowers, thoroughly clean the vase, and refill it with fresh, cold water and floral preservative. Always remember to re-cut the stems of your flowers at an angle before placing them back into the fresh water, as this re-opens the capillaries for optimal water uptake.
Companion Planting for Healthier Roses
Strategic companion planting can significantly boost the health and vitality of your rose bushes. Certain plants act as natural deterrents to common rose pests and diseases, attract beneficial insects, or improve soil quality. Consider planting:
- **Alliums & Garlic:** Known to deter aphids and black spot.
- **Geraniums:** Can deter Japanese beetles.
- **Lavender:** Repels various pests and attracts pollinators.
- **Marigolds:** Their roots release compounds that deter nematodes and other soil-borne pests.
- **Nasturtiums:** Act as a “trap crop” for aphids, drawing them away from your roses.
- **Onions:** Similar to alliums, they help deter aphids and black spot.
- **Parsley, Thyme, Yarrow:** Attract beneficial insects like ladybugs and lacewings that prey on aphids.
Many other herbs and flowering plants can serve as excellent companions, fostering a balanced and thriving garden ecosystem around your roses.
What to Avoid Planting Near Roses
Just as there are beneficial companions, there are also plants to avoid placing near your cherished roses. Trees and plants with extensive, invasive root systems can compete intensely with roses for water and nutrients, stunting their growth and overall health. Similarly, aggressive ground covers, ivy, and other vigorous vines can quickly overwhelm rose bushes, smothering them, blocking essential airflow, and making them more susceptible to fungal diseases. Maintaining adequate space around your roses ensures they receive the resources they need to flourish.
**Have fun creating your beautiful rose garden and arrangements!**
~ Suzi
A huge thank you to Suzi for sharing her incredible knowledge and passion for roses! We’re all inspired to head to our gardens and create some truly stunning arrangements. Her practical advice and expert tips are invaluable for both seasoned gardeners and those just starting their rose journey.
Want More Gardening Inspiration and Tips?
If you enjoyed Suzi’s insights, you’ll love these other popular gardening posts:
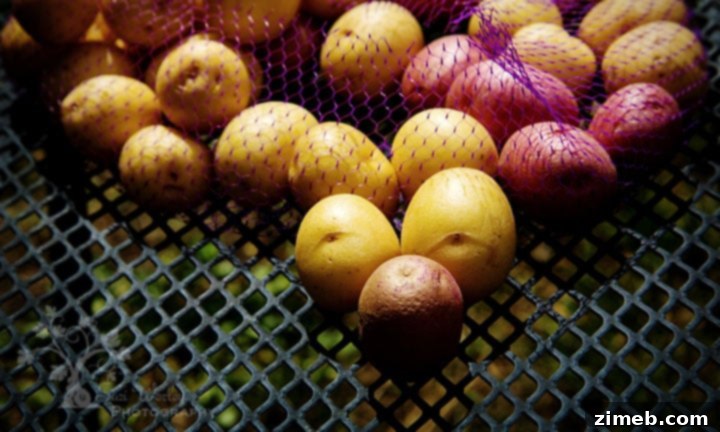
Be sure to check out my comprehensive guide on How to Plant Potatoes for more homegrown goodness.

And don’t miss my popular post for refreshing ideas and beauty: Spring Garden Inspiration.
To see where I am linking today, please visit HERE.