
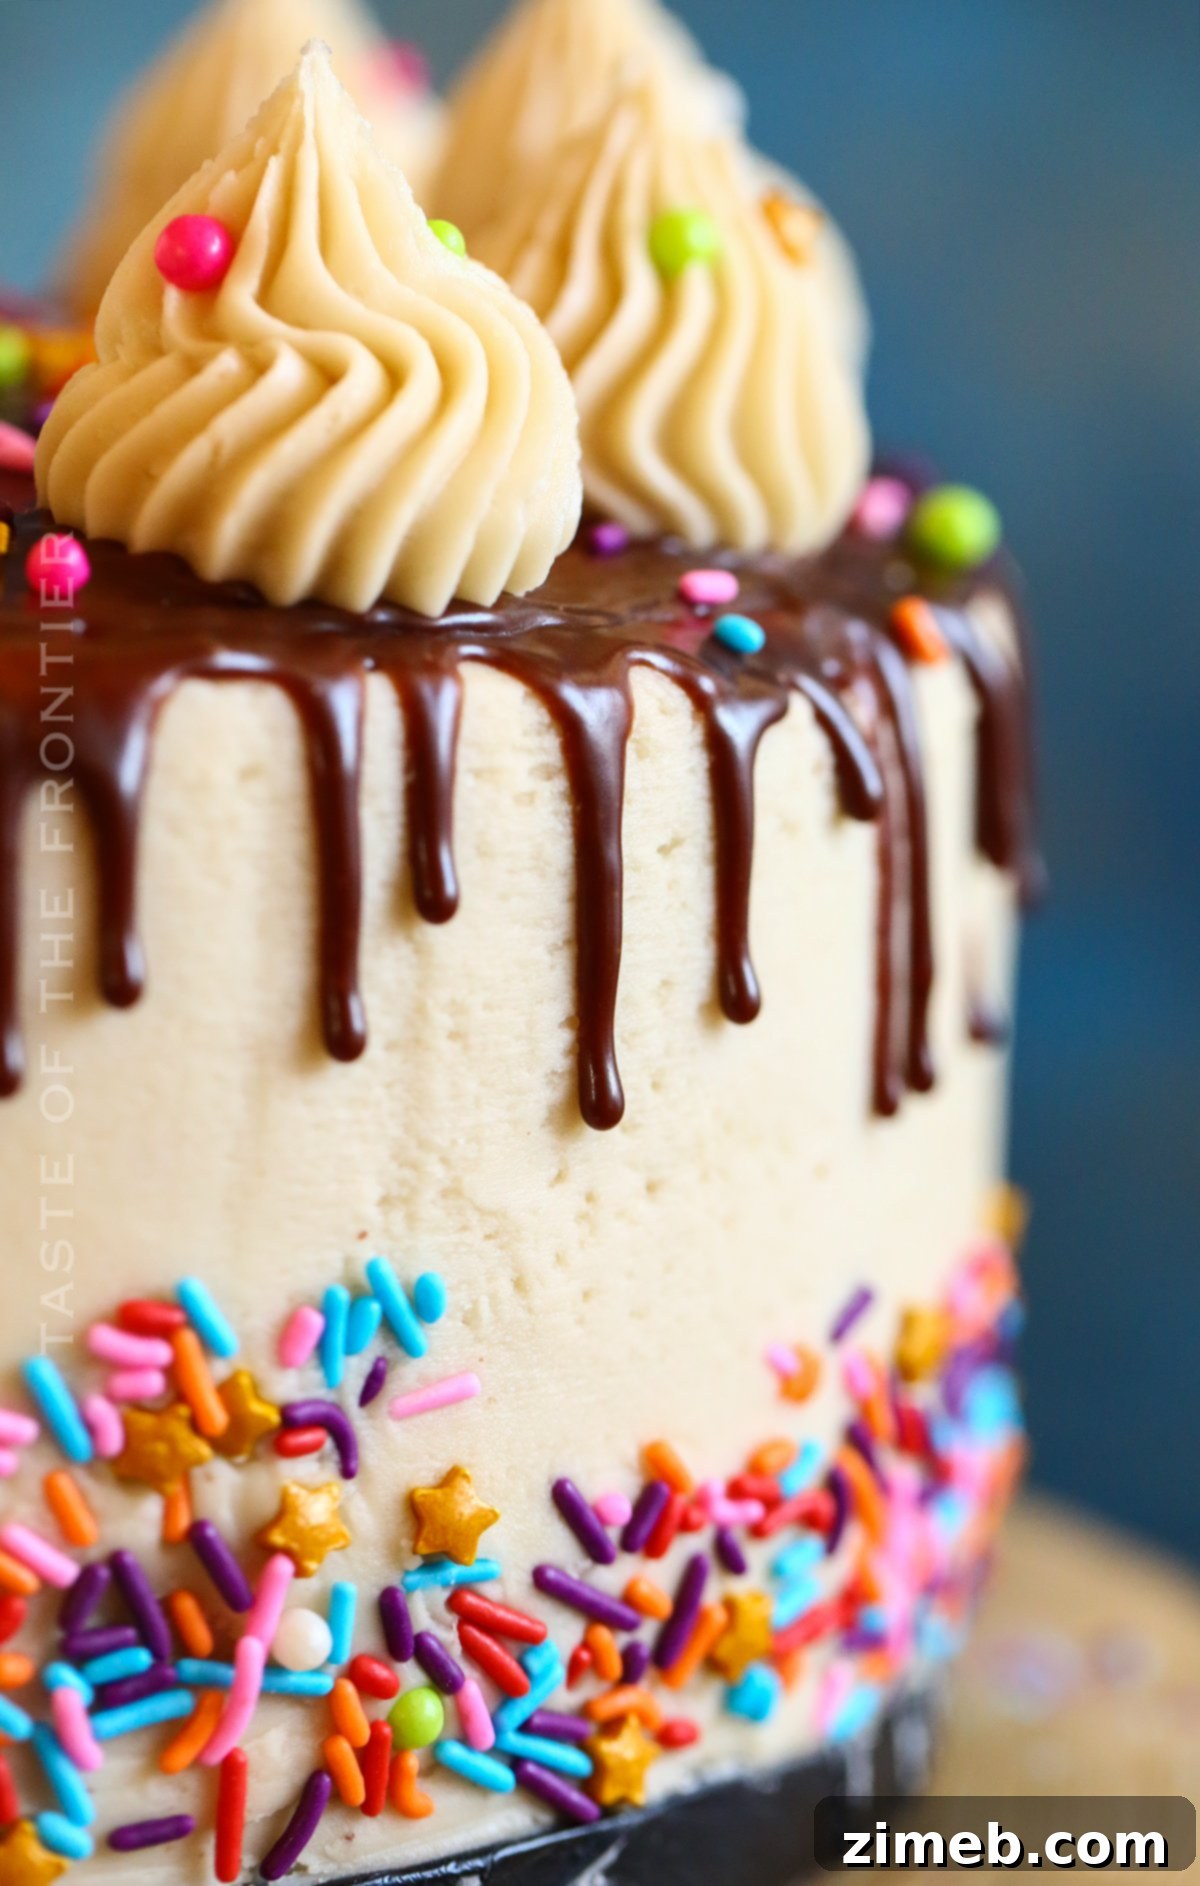
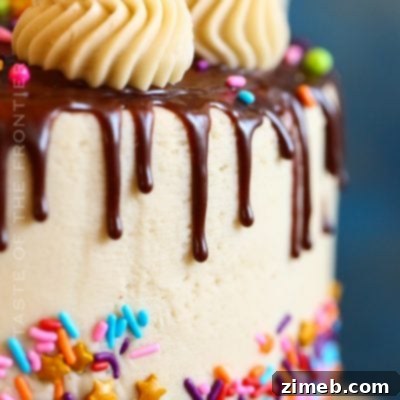
Crafting a show-stopping dessert doesn’t have to be complicated. Our Chocolate Ganache Drip Cake recipe offers stunning results with just two simple ingredients, creating a luxurious and visually appealing treat perfect for any celebration. Whether you prefer the rich intensity of dark chocolate, the creamy sweetness of milk chocolate, or the delicate notes of white chocolate, this versatile ganache recipe can be customized to your taste. We even include a fantastic option for making it without heavy cream, ensuring everyone can achieve that beautiful, glossy drip.
A beautifully adorned chocolate ganache drip cake is the quintessential dessert to elevate any special occasion, from birthdays to anniversaries, or simply a weekend indulgence. The beauty of this recipe lies in its adaptability; you can use your favorite cake base – be it a classic vanilla sponge, a decadent chocolate layer, or a light and airy génoise – and then transform it with a spectacular cascade of glistening chocolate. This is a dessert that promises to captivate your guests and leave a lasting impression.
Despite its elegant appearance, the process of creating a perfect chocolate ganache drip cake is surprisingly straightforward. You’ll find that with a few simple steps and the right technique, you can achieve professional-looking results right in your home kitchen. This recipe is designed to be accessible for bakers of all skill levels, ensuring a rewarding experience and a truly delicious outcome that your family and friends will undoubtedly adore.
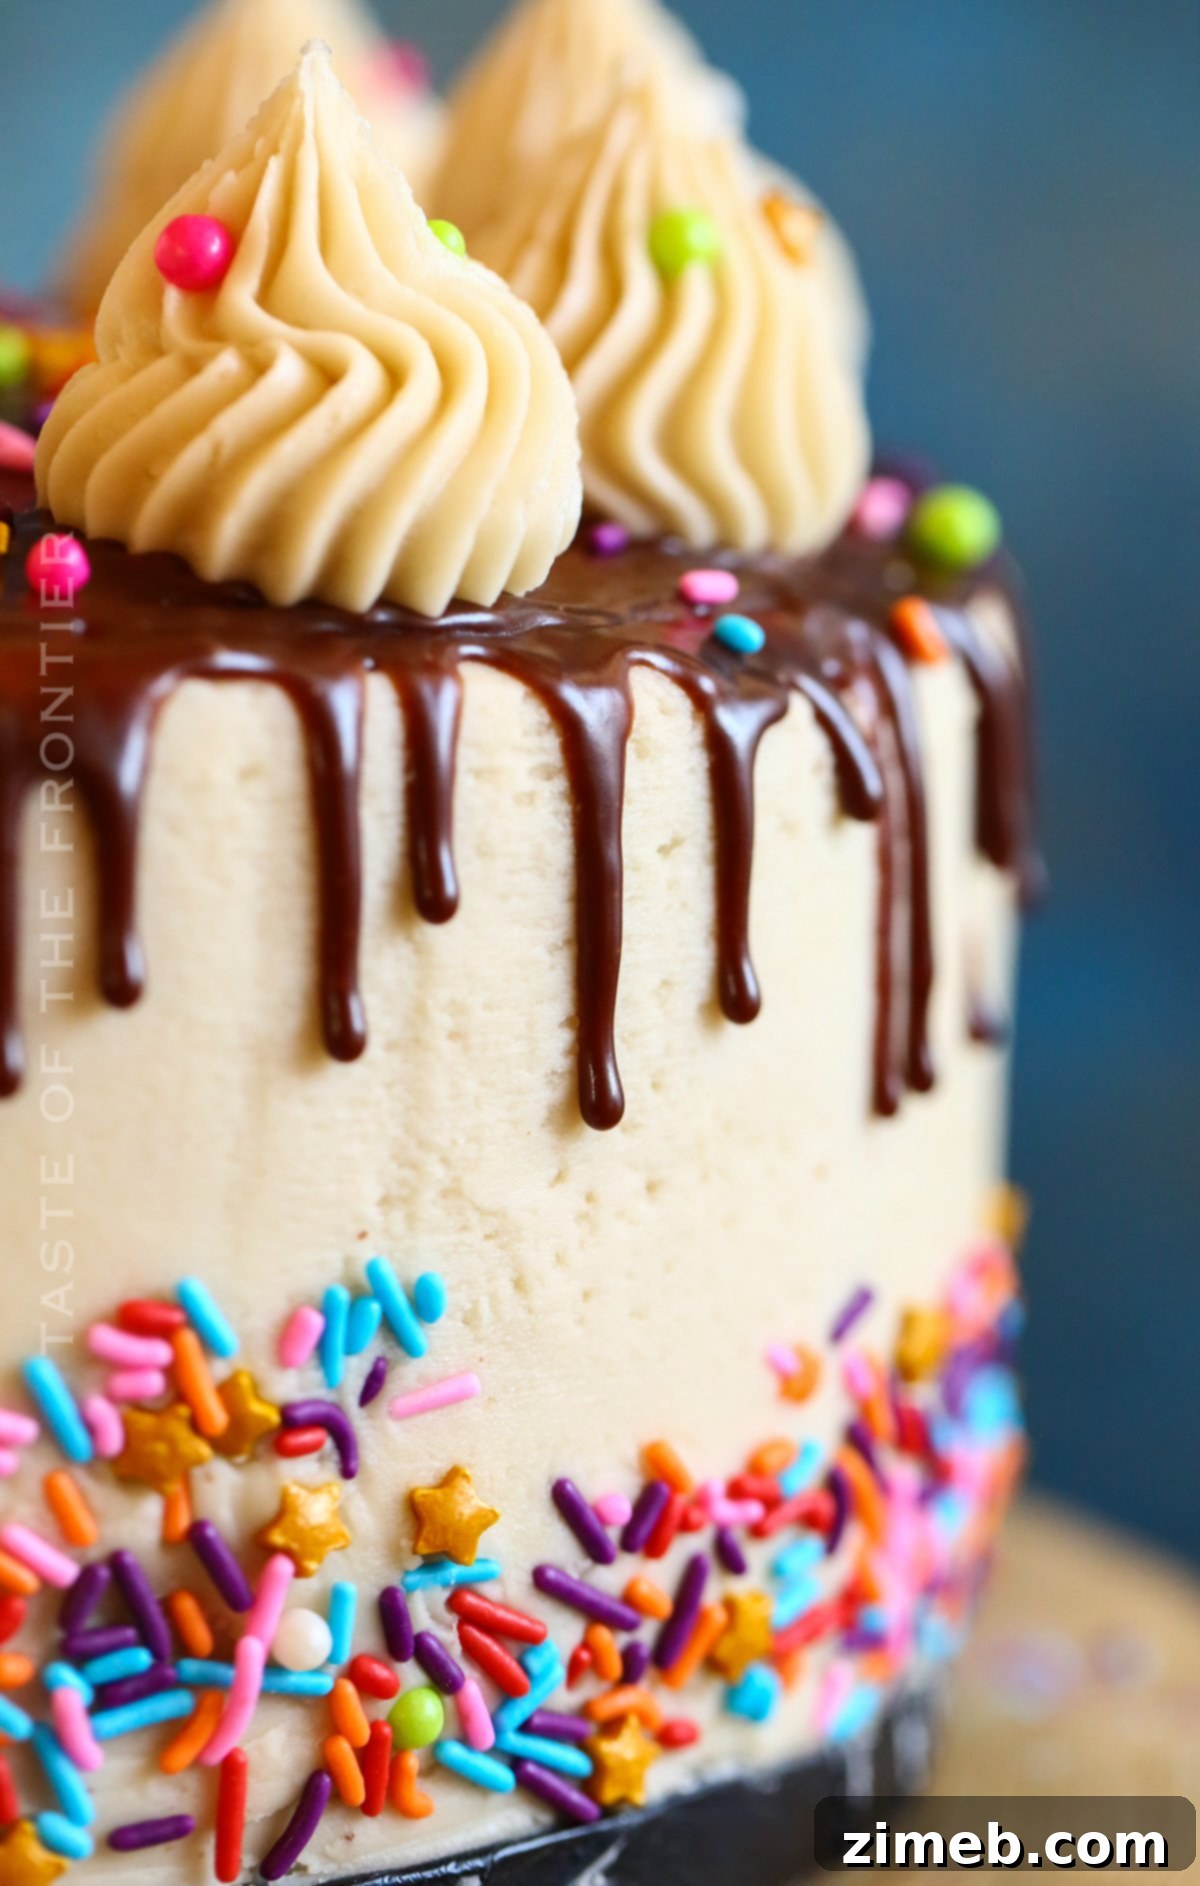
I recently prepared this spectacular cake for my daughter’s 21st birthday celebration. Each and every year, she requests a coffee-flavored cake, which always presents a delightful challenge: how to reinterpret the same theme while ensuring it feels fresh and unique. In previous years, I’ve experimented with various coffee infusions. One year, I crafted a rich coffee buttercream frosting to complement a deeply flavored chocolate cake, spiked with a shot of espresso for an extra kick. Another time, I went all out with a full-bodied Chocolate Espresso Cake, showcasing a bold coffee presence throughout.
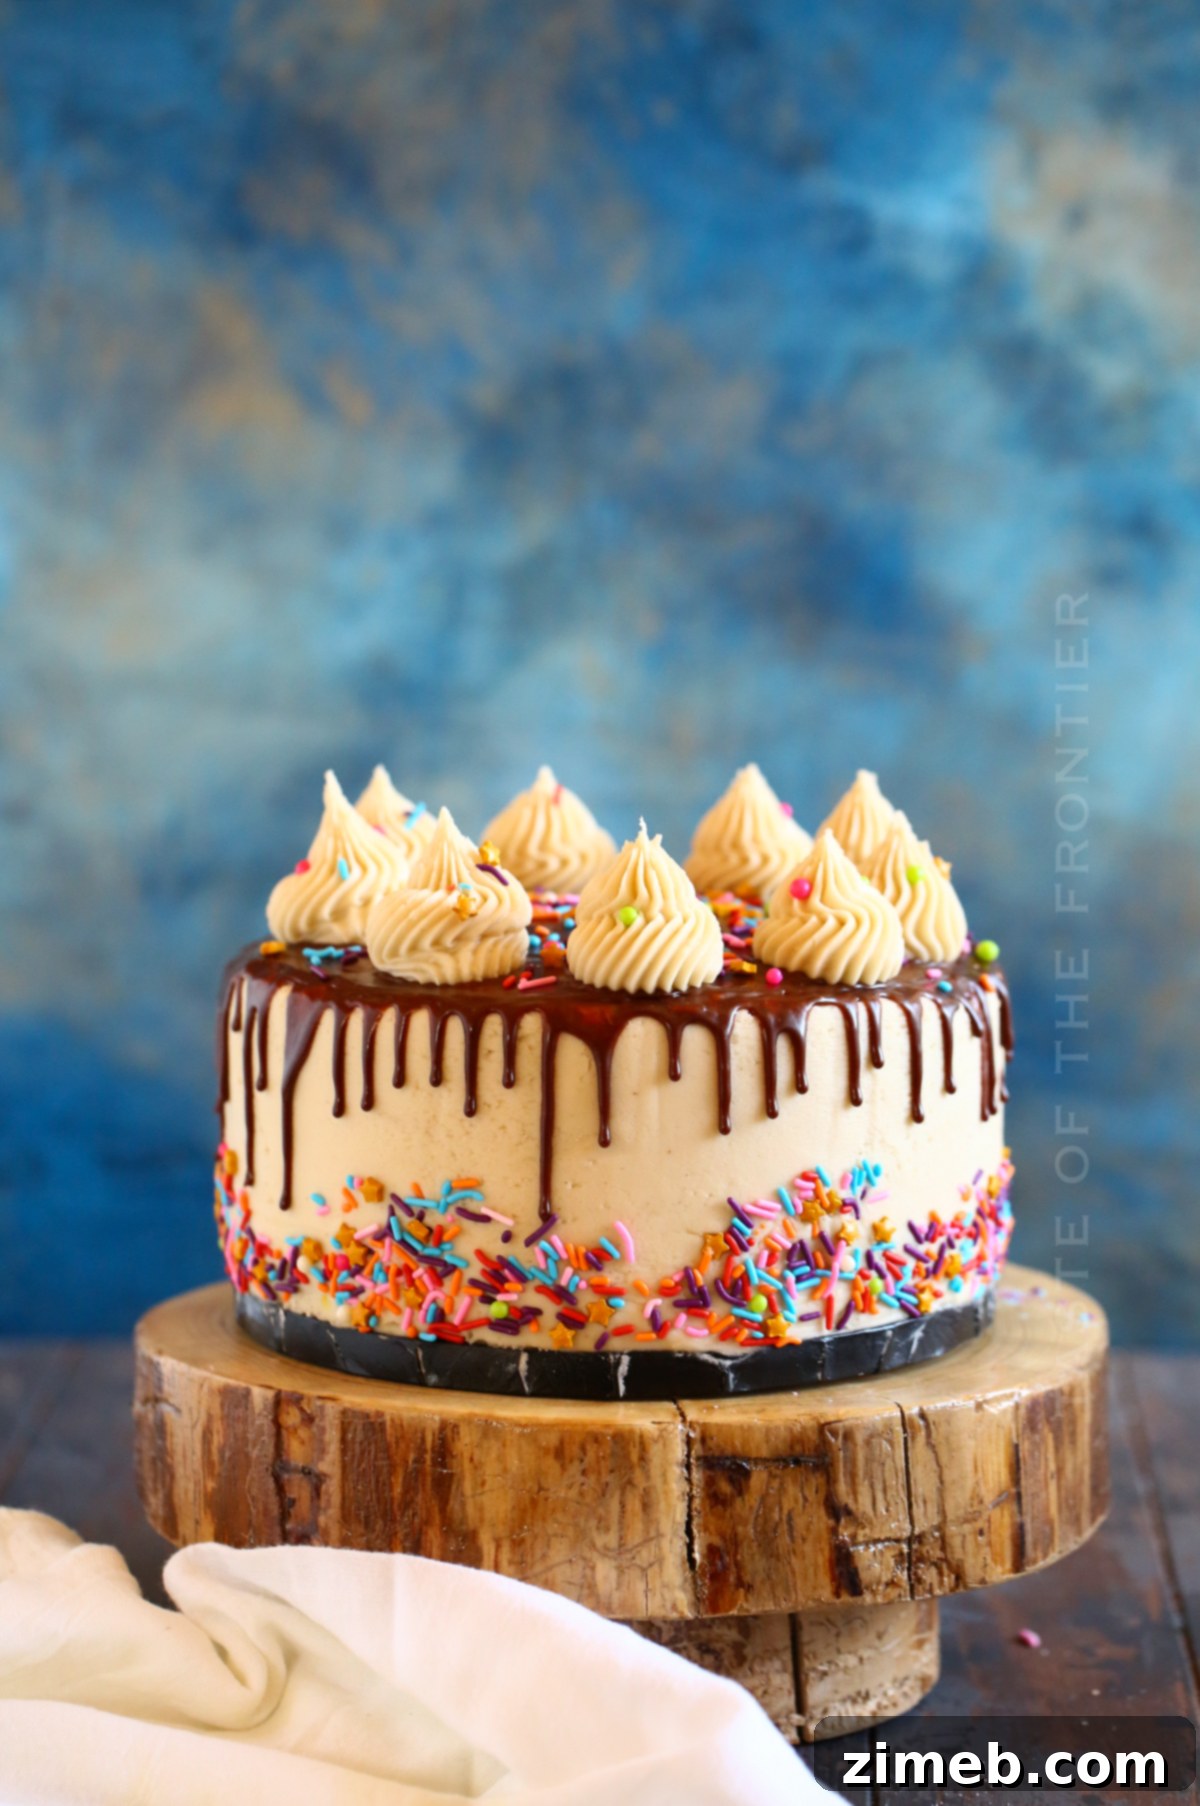
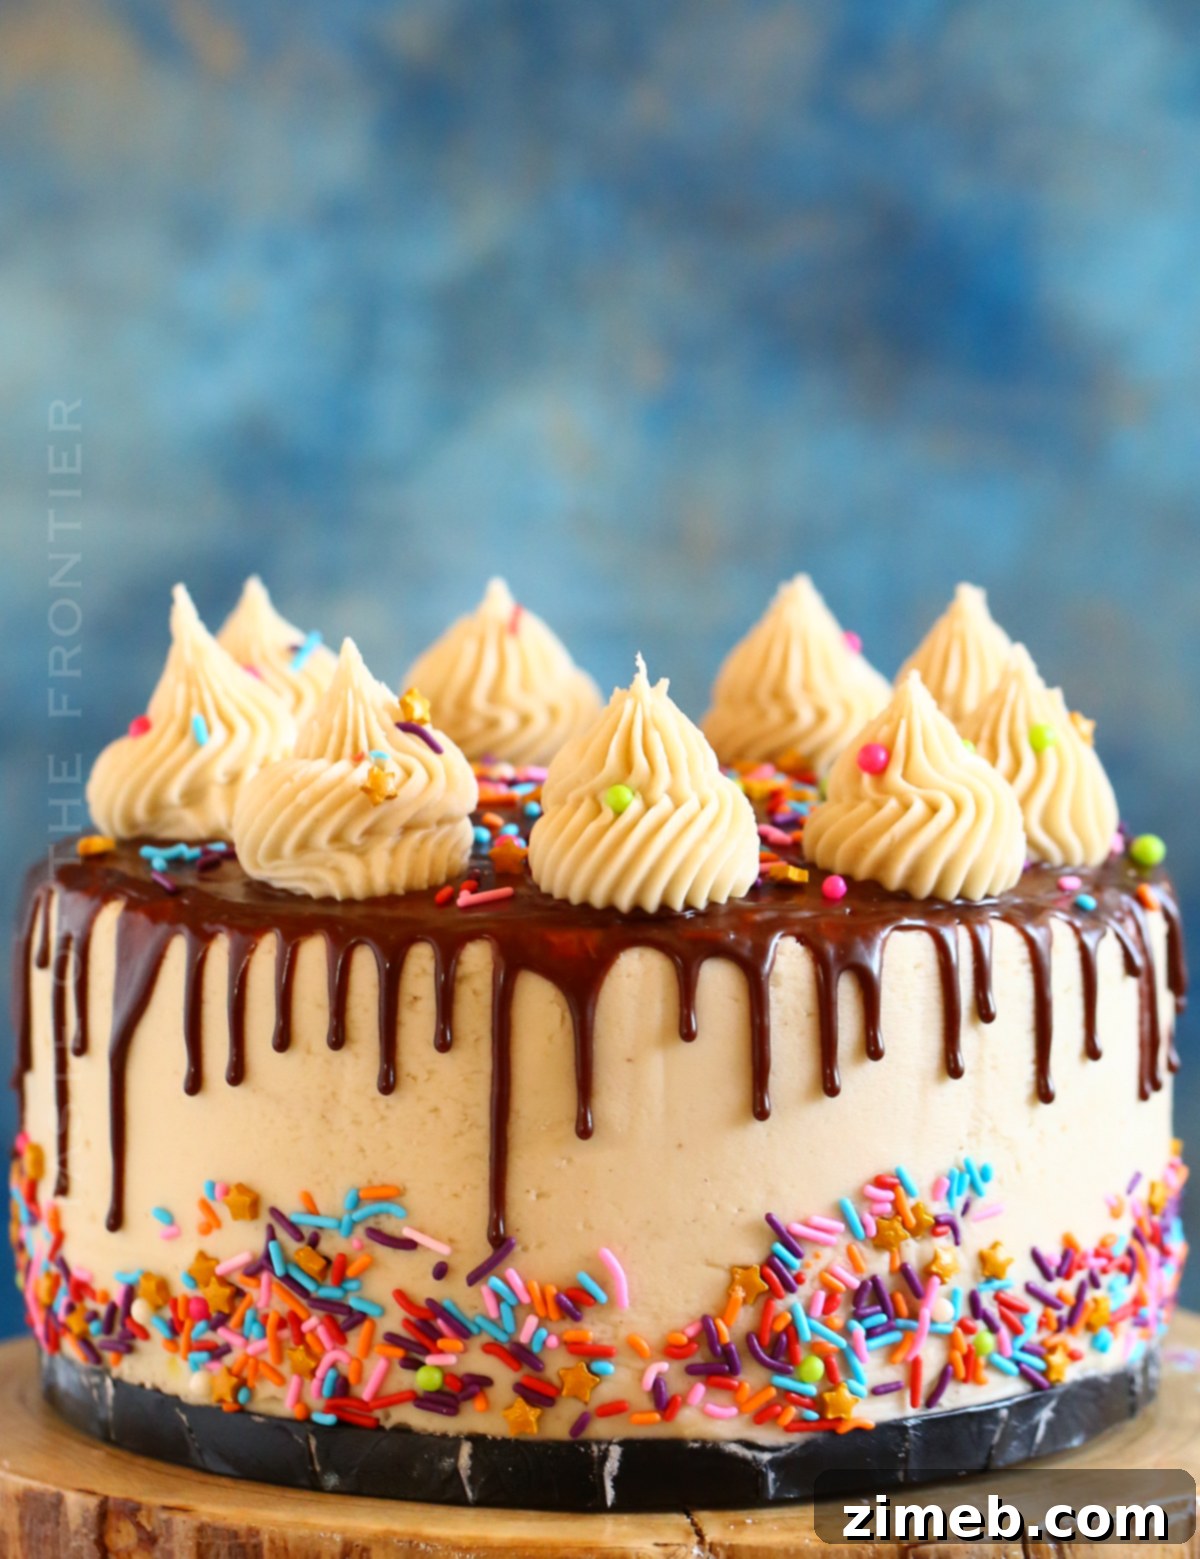
This year, however, my calendar was packed, leaving me with limited time for elaborate baking. Despite the time constraint, I was determined to create something truly impactful for such a significant milestone. That’s where the magic of the chocolate ganache drip came in. It provided the dramatic flair I was looking for, transforming a simple cake into an undeniably cute and celebratory centerpiece. The glossy drips added a touch of sophisticated artistry that belied the simplicity of its creation, making it the perfect solution for a special occasion that demanded both elegance and efficiency.
To ensure this recipe is as accommodating as possible, I’ve included instructions for making chocolate ganache drips using various chocolate types: dark, milk, and even white chocolate. Each chocolate offers a distinct flavor profile and requires slightly different ratios to achieve the ideal drip consistency. Furthermore, understanding that not everyone keeps heavy cream on hand – myself included – I’ve also developed a reliable recipe for making a luscious chocolate ganache without it. This ensures that you can whip up this impressive cake with ingredients you likely already have in your pantry, making it even more accessible and convenient for home bakers everywhere.
Commonly Asked Questions About Chocolate Ganache Drips
Why Do Ganache Ratios Differ for Various Types of Chocolate?
The secret to a perfect chocolate ganache drip lies in understanding the unique properties of different chocolate types. Dark chocolate, milk chocolate, and white chocolate each contain varying amounts of cocoa solids, sugar, and, crucially, fat. This fat content significantly impacts how they melt and their final viscosity when combined with liquid, such as heavy cream. When making ganache, you’re essentially creating an emulsion, and the ratio of chocolate to cream is key to achieving the desired consistency.
For instance, dark chocolate typically has a higher percentage of cocoa solids and less fat than milk or white chocolate, requiring a different proportion of cream to achieve a smooth, pourable, yet stable ganache. Milk chocolate has more sugar and milk solids, influencing its melting point and needing a specific ratio to prevent it from being too thin or too thick. White chocolate, which contains no cocoa solids but is rich in cocoa butter and sugar, demands the most careful balance of ingredients. If the ratios are off – too much liquid for a high-fat chocolate, or too little for a lean one – your ganache won’t set correctly. It might become an unmanageable, runny mess that slides off the cake, or it could be too thick to create those elegant drips. Precision in these ratios ensures a beautiful, controlled drip every time, highlighting the importance of tailoring your recipe to the specific chocolate you choose.
Essential Tips for Perfect Chocolate Ganache Drips
- **Temperature is Key:** If your ganache drips all the way down the cake, pooling at the bottom, it’s a clear sign that it’s still too warm. Ganache should be barely warm, almost at room temperature, but still fluid enough to pour. Allow it to cool further and test again. Should you make a mistake, don’t despair! If you’re working with a chilled or frozen cake, you can often gently scrape off the misbehaving drip with an offset spatula and re-smooth the frosting underneath before trying again.
- **Adjusting Consistency:** Conversely, if your ganache is too thick and struggles to drip or creates overly chunky drops, it needs a little warmth. Microwave it in short bursts, typically 5-10 seconds at a time, then cover the opening of your squeeze bottle and give it a gentle shake to redistribute the heat evenly. Test the consistency again before proceeding. Small adjustments make a big difference.
- **Setting the Ganache:** For the neatest and most stable decorations, it’s crucial to allow the ganache to set properly on the cake. After applying the drips, return the cake to the freezer for at least 1-2 hours. This chilling period will solidify the ganache, preventing any buttercream piping or additional decorations from sliding off. Trying to pipe on warm or fluid ganache will inevitably lead to a messy outcome.
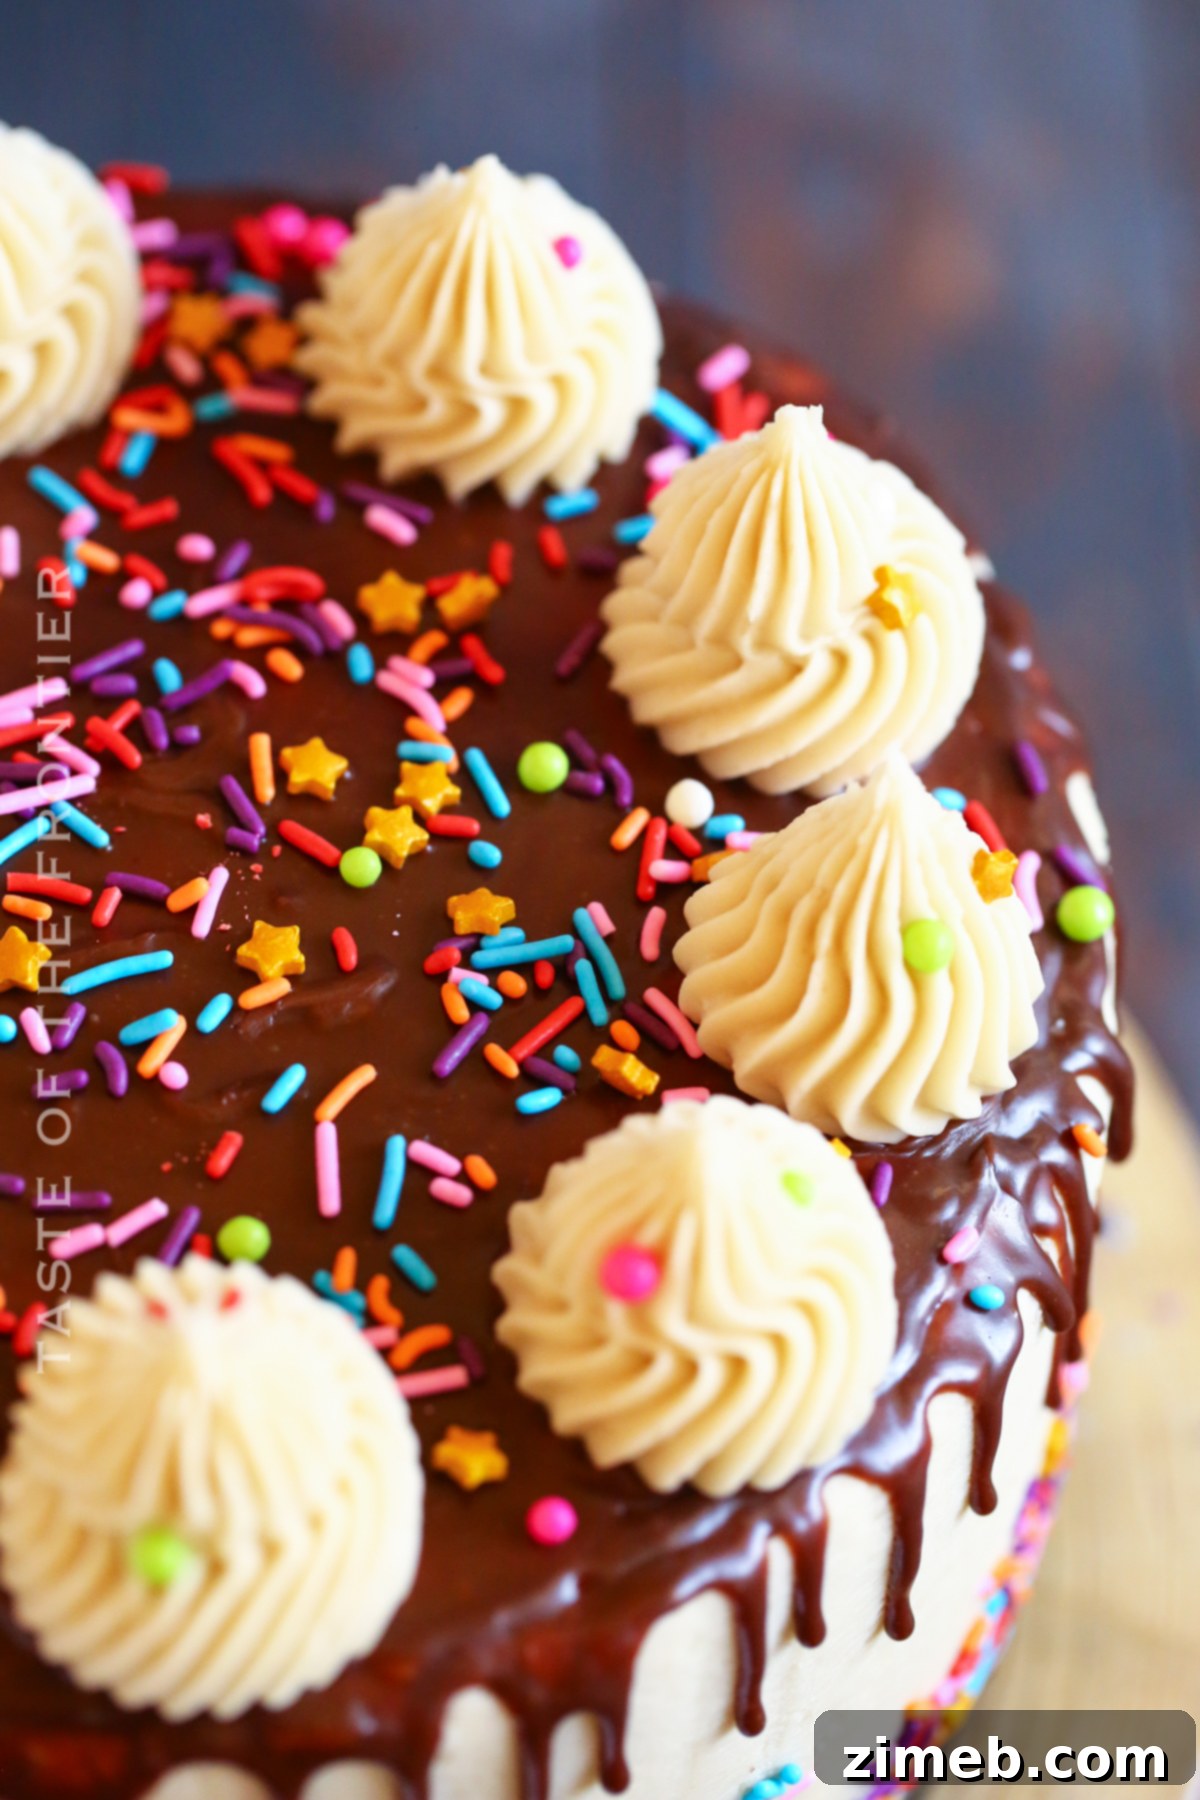
- **Adding Sprinkles:** If your design includes sprinkles, the ideal time to add them is while the ganache is still warm and slightly tacky. This allows the sprinkles to adhere securely to the chocolate before it fully sets, ensuring they stay in place for a beautiful finish.
How to Store Leftover Chocolate Ganache for Future Use
While chocolate ganache is best used immediately after preparation to achieve optimal results and the smoothest consistency for dripping, it’s entirely possible to store any leftovers for future baking endeavors. The most effective way to store prepared ganache is to transfer it to an airtight container, such as a decorating bottle with a secure cap or a sealed jar, and place it in the refrigerator. Properly stored, ganache can last for several days, making it a convenient component to have on hand for last-minute dessert decorations or fillings.
When you’re ready to use your refrigerated ganache, reheating it correctly is crucial to restore its smooth, pourable texture without scorching the chocolate. Begin by microwaving the ganache at 50% power in short, 30-second intervals. After each interval, remove it from the microwave and gently shake the bottle or stir the mixture (if in a bowl) to distribute the heat evenly. Continue this process until the ganache is just slightly warm and has returned to a liquid state, suitable for creating beautiful drips. Remember, the goal is to warm it just enough to be fluid, not hot, as excessive heat can cause the chocolate to seize or become grainy. This careful reheating method ensures your stored ganache is just as perfect as when it was freshly made.
Ingredients for Classic Chocolate Ganache Drips
Creating a classic chocolate ganache drip is surprisingly simple, often requiring just two main ingredients. The choice of chocolate largely dictates the flavor and consistency, ensuring a perfect complement to your cake.
Dark Chocolate Ganache
For a rich and intense flavor profile, dark chocolate ganache is an excellent choice. Its higher cocoa content provides a deep, slightly bitter note that beautifully balances sweeter cakes.
- High-quality dark chocolate (ensure it has at least 60% cocoa solids for the best results)
- Heavy cream (also known as whipping cream, for its high-fat content)
Milk Chocolate Ganache
If you prefer a sweeter, creamier, and more mellow chocolate flavor, milk chocolate ganache is ideal. It’s a crowd-pleaser and offers a softer appearance.
- Good quality milk chocolate (with a balanced sugar and cocoa butter content)
- Heavy cream
White Chocolate Ganache
For a delicate, sweet, and visually striking contrast on darker cakes, white chocolate ganache is a fantastic option. It’s also perfect for coloring if you want a vibrant drip.
- Premium white chocolate (look for brands with high cocoa butter content for best melting)
- Heavy cream
Ingredients for Chocolate Ganache Without Heavy Cream
For those who don’t have heavy cream on hand or prefer an alternative, this recipe offers a delicious way to achieve a rich, glossy chocolate ganache drip using common pantry staples. The combination of whole milk and butter provides the necessary fat and liquid to create a smooth emulsion, mimicking the richness of heavy cream.
- Bittersweet chocolate (the fat content in bittersweet chocolate is crucial for this specific ratio)
- Whole milk (for moisture and some fat)
- Unsalted butter (adds richness and helps with texture and shine)
Pair Your Chocolate Ganache Drip with These Delicious Cake Recipes
The versatility of a chocolate ganache drip means it can elevate almost any cake, transforming it into a decadent masterpiece. Here are some fantastic cake recipes that would be absolutely divine with a luscious chocolate ganache topping:
- Mint Chocolate Chip Cake: A refreshing contrast to rich chocolate.
- Strawberry Cake: The fruity sweetness of strawberry pairs beautifully with chocolate.
- Yellow Cake: A timeless classic, made extraordinary with a chocolate ganache drip.
- Vanilla Bundt Cake: Simple elegance meets chocolate decadence.
- Homemade Funfetti Cake: Add a festive chocolate drizzle to this celebratory cake.
- German Chocolate Cake: Enhance its chocolatey depth with even more ganache.
- Best White Cake Recipe: A pure canvas for a striking dark or milk chocolate drip.
- Chocolate Peppermint Bundt Cake: A festive choice where ganache can complement the minty flavor.
Can I Use Other Types of Chocolate When Making Ganache Without Heavy Cream?
Unfortunately, for the “no heavy cream” ganache recipe, I strongly advise against substituting bittersweet chocolate with other types, such as milk or white chocolate. This specific recipe relies on the precise fat content and stability of bittersweet chocolate to achieve the correct consistency and ensure it sets properly. The ratios of milk and butter have been carefully calibrated to work with bittersweet chocolate’s unique composition. Using milk chocolate or white chocolate, which have different fat, sugar, and milk solid percentages, would disrupt these ratios. This could result in a ganache that is too oily, too thin, or simply won’t emulsify and set correctly, leading to a disappointing outcome. To guarantee success with this alternative method, sticking to bittersweet chocolate is essential to maintain the correct balance and achieve that perfect drip.
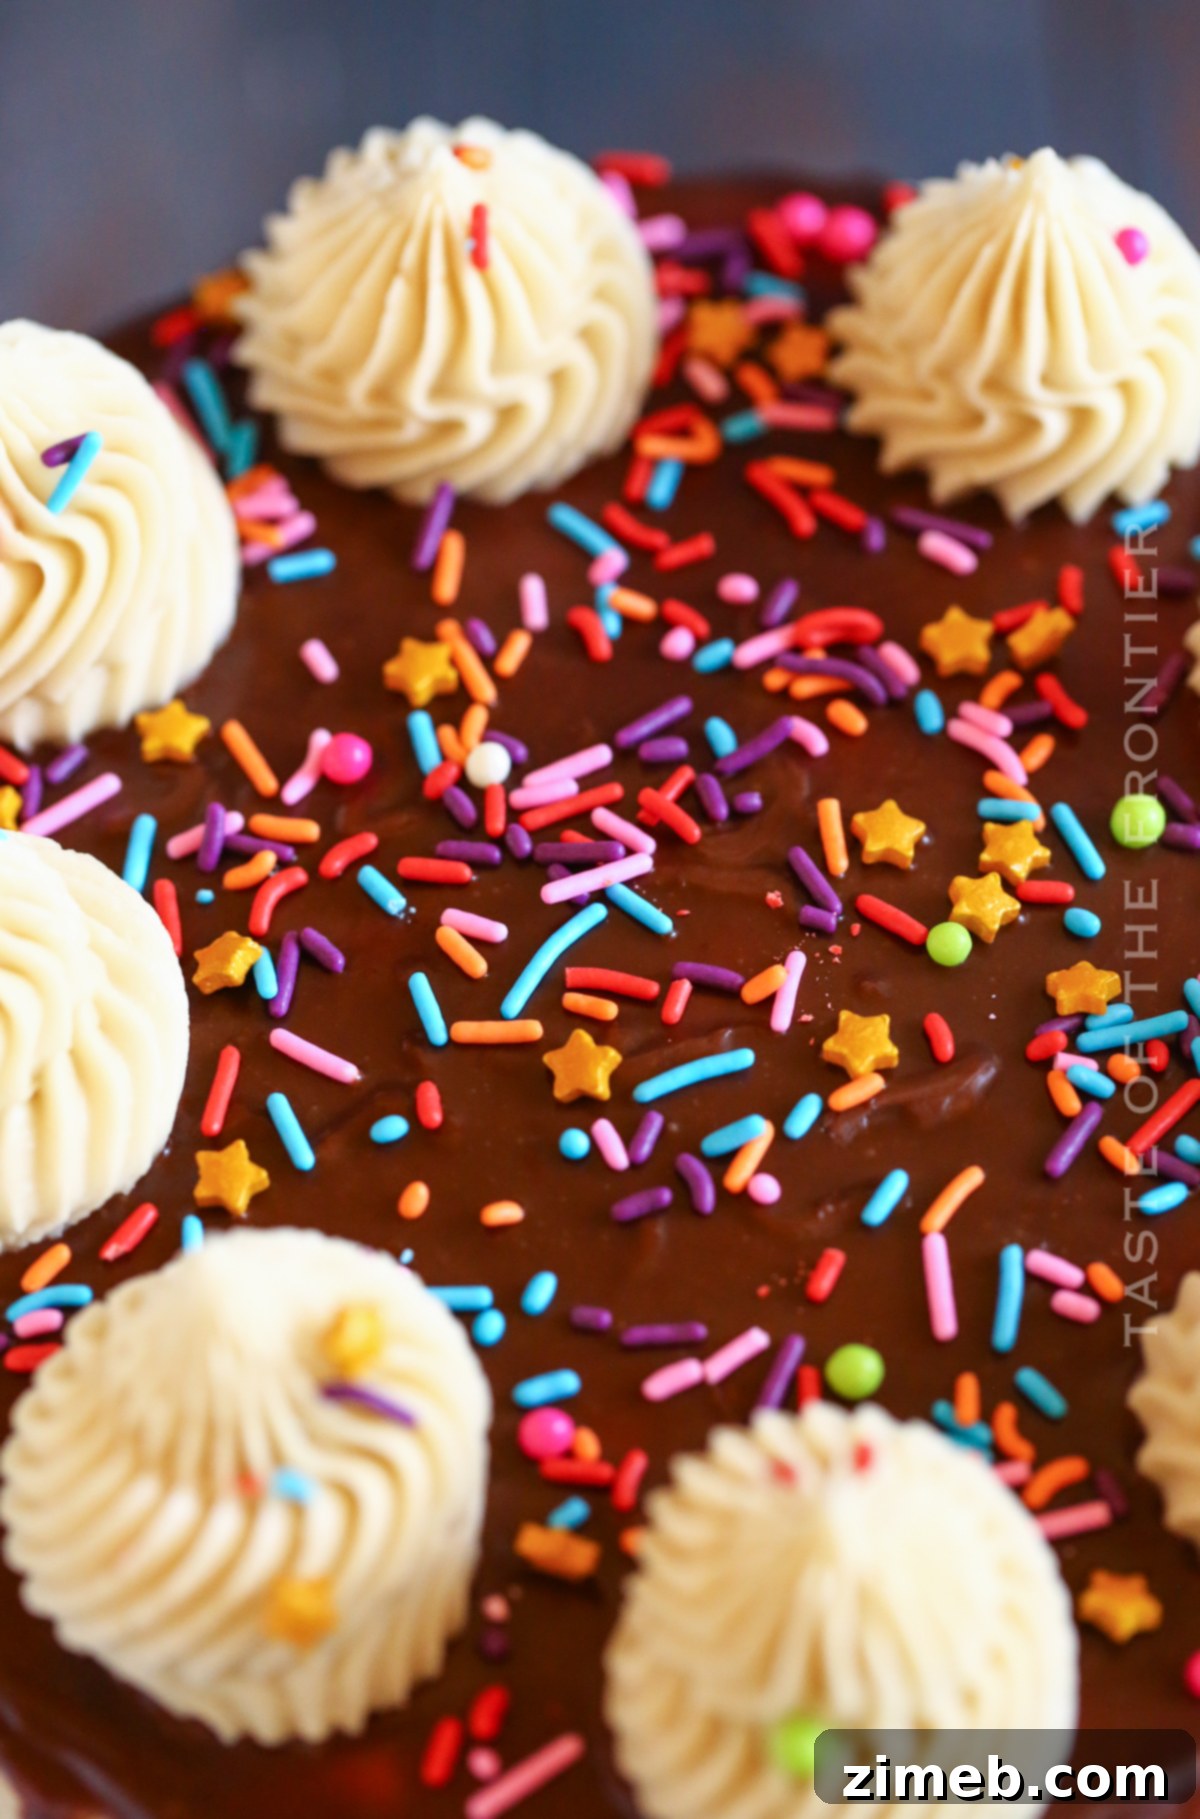
Step-by-Step: How to Make Chocolate Ganache Drip
Follow these detailed instructions to create your perfect chocolate ganache, suitable for elegant cake drips. Remember that the type of chocolate dictates the specific ratio with heavy cream, ensuring optimal texture.
Making Dark, Milk, or White Chocolate Ganache (with Heavy Cream)
- **Prepare the Chocolate:** Begin by placing your chosen chocolate (dark, milk, or white), finely chopped or in chip form, into a medium heat-proof bowl. Microwave it for approximately 1 minute on medium power to gently warm the chocolate, helping it to melt more smoothly later.
- **Heat the Heavy Cream:** In a separate microwave-safe bowl or measuring cup, heat the heavy cream. Microwave it for about 45 seconds to 1 minute, or until you observe small bubbles forming around the edges. Be careful not to let it come to a rolling boil, as this can affect the ganache’s texture.
- **Combine and Rest:** Immediately pour the hot cream directly over the warmed chocolate in the bowl. This is a crucial step: **do not stir** at this point. Allow the mixture to sit undisturbed for 2-3 minutes. This resting period gives the hot cream sufficient time to soften and melt the chocolate thoroughly, ensuring a smooth final ganache.
- **Whisk Until Smooth:** Once the chocolate appears sufficiently softened and glossy, begin whisking the mixture gently but consistently. Continue whisking until the ganache transforms into a perfectly smooth, uniform, and beautifully glossy consistency. There should be no visible lumps.
- **Cool to Ideal Temperature:** Before applying the ganache to your cake, it must cool to the correct temperature. Let it sit at room temperature until it is barely warm to the touch, feeling slightly thicker but still easily pourable. Testing a small drip on a piece of parchment paper can help you determine if it’s ready.
Making Chocolate Ganache Without Heavy Cream
This method provides a rich and delicious ganache without heavy cream, using common pantry ingredients. The key here is precise heating and a specific type of chocolate.
- **Prepare the Chocolate:** Place the bittersweet chocolate, finely chopped or in chips, into a medium bowl and set it aside.
- **Combine Milk and Butter:** In a small saucepan, combine the whole milk and unsalted butter.
- **Melt Butter and Heat Milk:** Cook the mixture over medium heat for 2-3 minutes, stirring occasionally. Continue cooking until the butter has completely melted and incorporated into the milk.
- **Reach a Gentle Simmer:** Increase the heat slightly and cook for another 1-2 minutes. Watch carefully for a gentle simmer, indicated by tiny bubbles forming around the edges of the pan. It is vital to prevent the mixture from reaching a full boil, as this can negatively affect the final ganache.
- **Pour Over Chocolate and Rest:** Remove the saucepan from the heat immediately and pour the hot milk and butter mixture directly over the chocolate in the bowl. Again, **do not stir** initially. Allow the hot liquid to sit on the chocolate for approximately 5 minutes, giving the chocolate ample time to soften and melt.
- **Whisk to Glossy Perfection:** After the resting period, whisk the mixture thoroughly. Continue whisking until the ganache becomes completely smooth, homogeneous, and exhibits a beautiful, glossy sheen.
How to Decorate a Cake with Chocolate Ganache Drips
Achieving those picture-perfect chocolate drips on your cake is a delightful final step. Follow these professional tips to create a flawless and impressive drip cake:
- **Ensure Your Cake is Very Cold:** This is the most critical step for success. Start with a cake that has been thoroughly chilled, ideally frozen for at least an hour or two. A very cold cake helps the warm ganache to set quickly upon contact, preventing it from running all the way down and pooling at the bottom. The colder the cake, the more control you’ll have over the length and shape of your drips.
- **Transfer Ganache to a Squeeze Bottle:** Once your ganache has cooled to a barely warm, yet still fluid consistency, carefully transfer it into a clean cake decorating squeeze bottle. The fine tip of the bottle allows for precise control, which is essential for creating consistent drips.
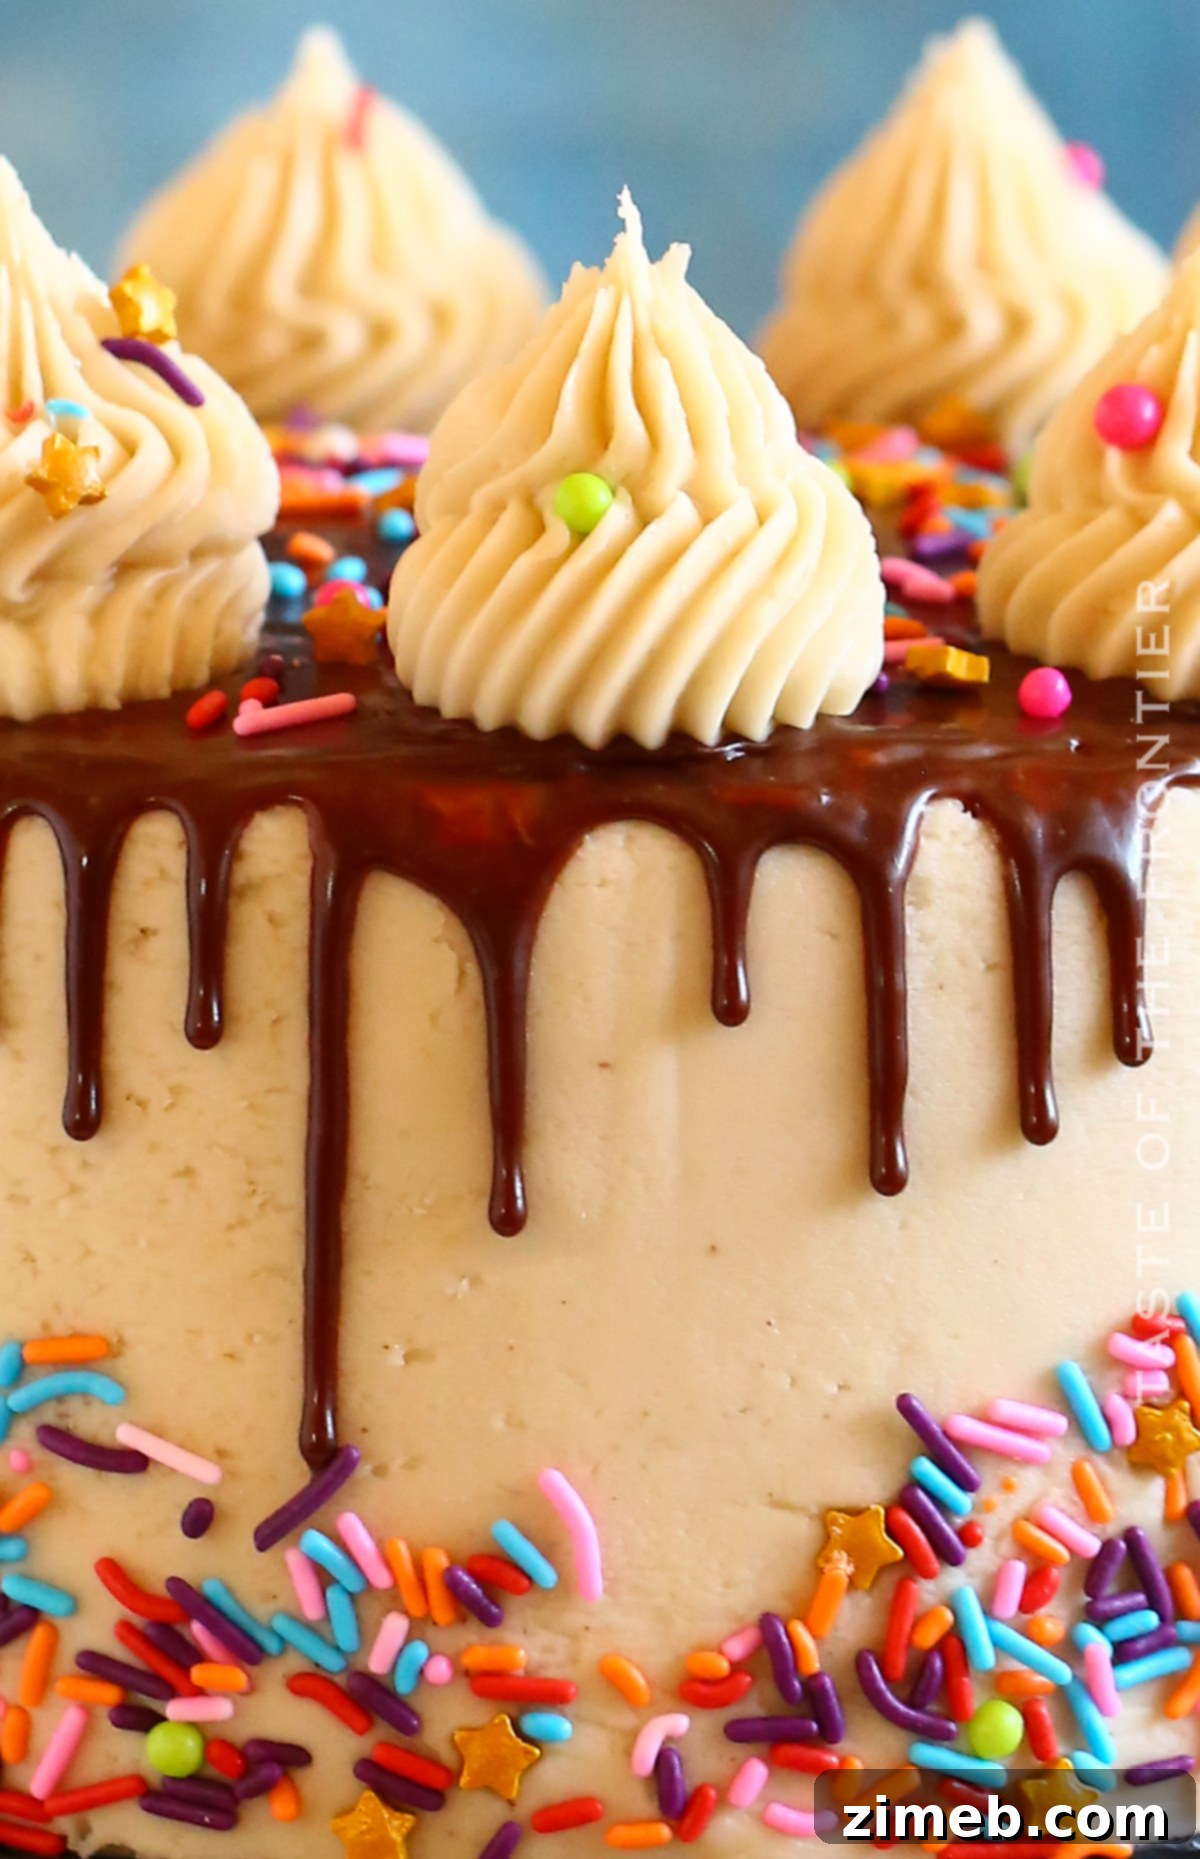
- **Perform a Test Drip:** Before applying ganache to the entire cake, always do a test drip. Select an inconspicuous spot on the edge of the cake and apply a small amount of ganache. Observe how it drips. It should flow down slowly and gracefully, stopping about halfway or two-thirds down the side of the cake.
- **Apply Drips Around the Cake:** If your test drip is satisfactory, proceed to create drips around the entire perimeter of the cake. Hold the squeeze bottle steadily at the edge of the cake, gently pressing to release the ganache. For varying drip lengths, apply more pressure for longer drips and less for shorter ones. Work systematically around the cake, ensuring even spacing between each drip for a polished look.
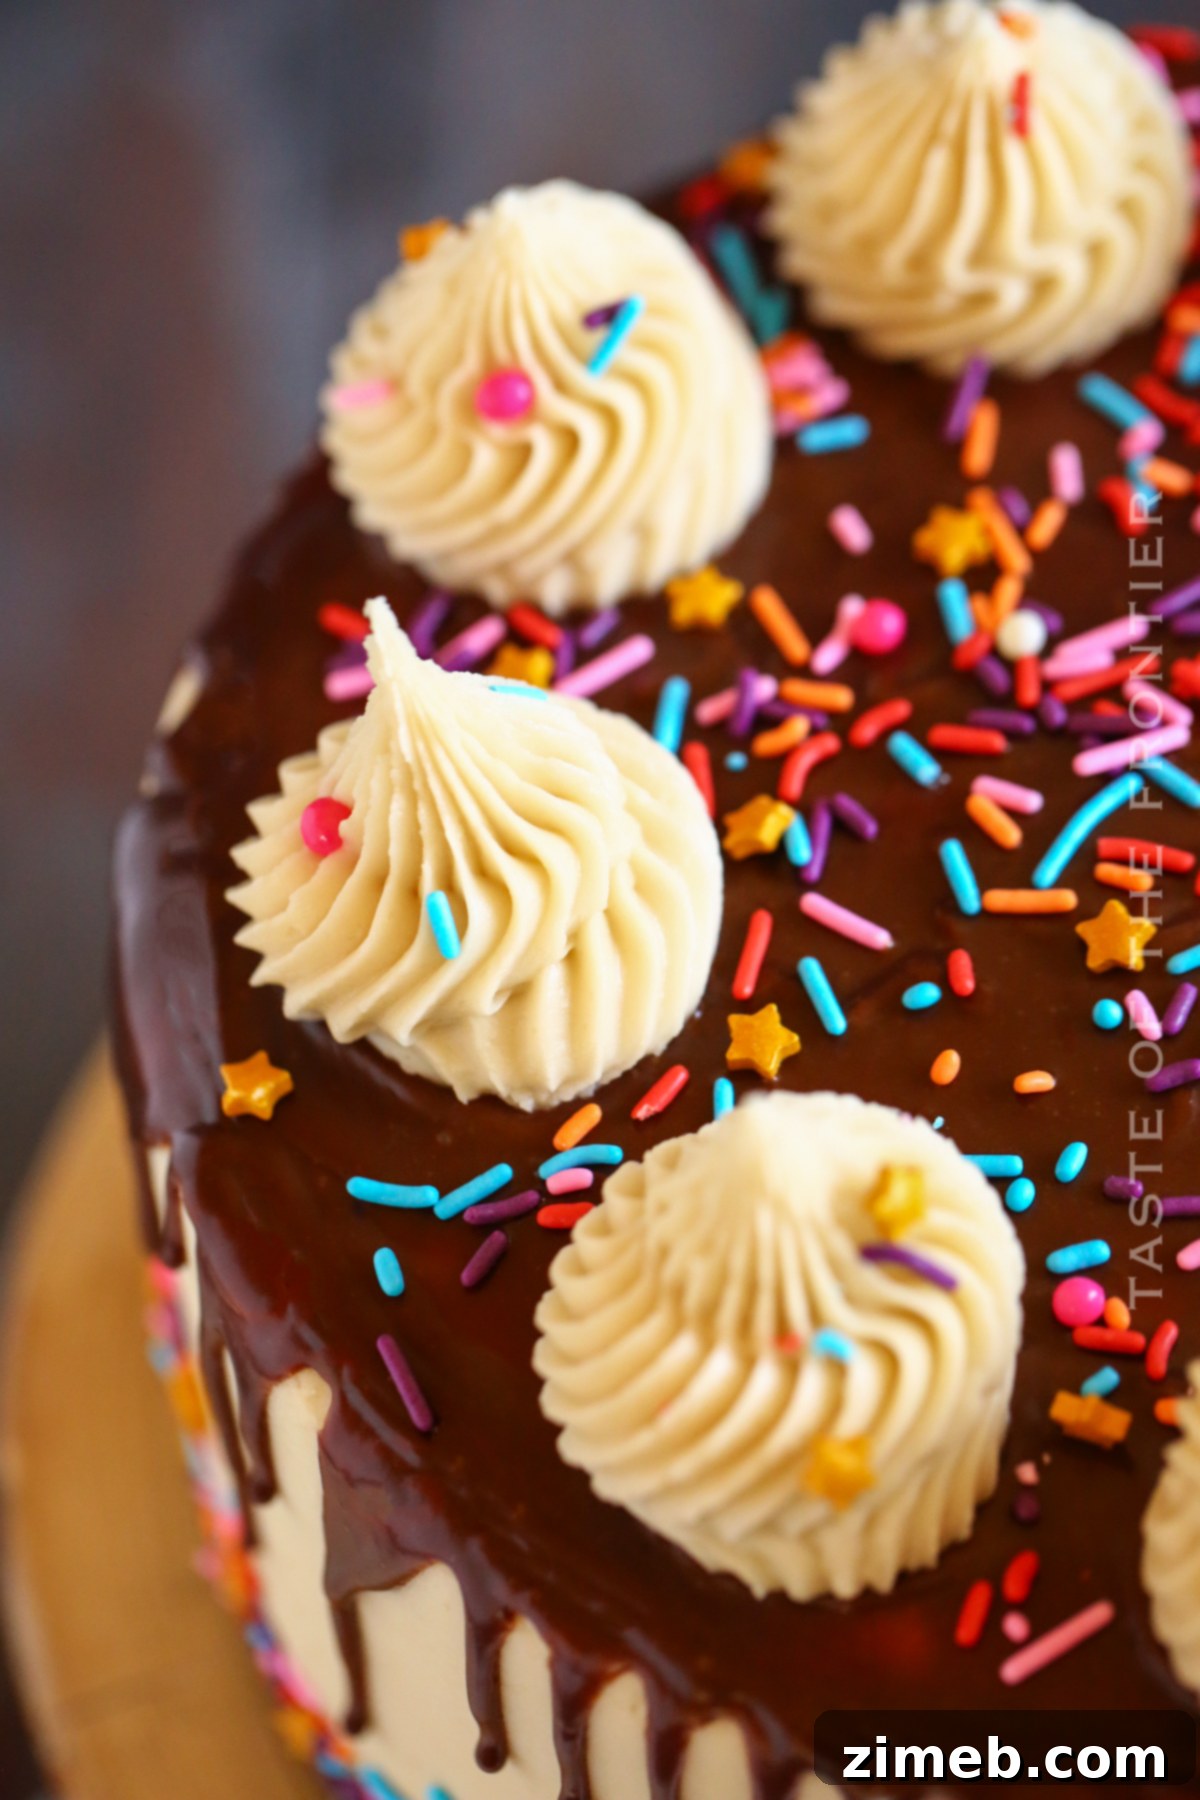
- **Cover the Top Surface:** Once all the side drips are in place, squeeze the remaining ganache onto the center of the cake’s top surface. Using an offset spatula, gently spread the ganache outwards, smoothing it evenly to cover the entire top. This creates a cohesive and professional finish, blending seamlessly with the drips down the sides.
Discover More Delectable Frosting Recipes
A great cake isn’t just about the sponge; the frosting plays an equally important role in flavor and presentation. If you love experimenting with different toppings, here are some other fantastic frosting recipes to try, each offering a unique texture and taste to complement your next baking project:
- Oreo Frosting: A delightful crunch and cookies-and-cream flavor.
- Strawberry Buttercream: Light, fruity, and vibrantly delicious.
- Cream Cheese Frosting: Tangy, sweet, and perfectly creamy for red velvet or carrot cake.
- Chocolate Buttercream: A classic, rich, and versatile chocolate topping.
- Coffee Buttercream: Infused with a lovely coffee flavor, perfect for coffee lovers.
- Chocolate Cream Cheese Frosting: The best of both worlds – rich chocolate and tangy cream cheese.
- Eggnog Frosting: A festive and spiced frosting, ideal for holiday treats.
- Cake Batter Frosting: Fun, sweet, and tastes just like cake batter!
- Swiss Meringue Buttercream: Silky smooth, less sweet, and incredibly stable.
- Maple Frosting: A warm and inviting flavor, great for fall desserts.
- Cookie Dough Frosting: Indulgent and fun, like eating raw cookie dough safely.
- Lemon Buttercream: Bright, zesty, and refreshing.
- Peanut Butter Frosting: Rich and nutty, a perfect match for chocolate cakes.
- Caramel Frosting: Sweet, buttery, and wonderfully gooey.
- Stabilized Whipped Cream: A lighter option that holds its shape beautifully.
Recommended Tools for Making Chocolate Drip Cakes
Creating this chocolate ganache recipe and achieving those stunning drips is incredibly satisfying. If you’re new to making homemade ganache or decorating a drip cake, you might feel a little apprehensive, but with the right tools, it becomes a breeze. I’ve compiled a list of essential items that I personally rely on to make this chocolate drip recipe a success every time. Having these on hand will make your baking experience much smoother and more enjoyable. You can also explore my full collection of favorite kitchen tools in my online store.
- Saucepan: A good quality saucepan ensures even heat distribution when warming milk or cream, crucial for perfectly melted chocolate.
- Prep Bowls: Having various sizes of prep bowls makes organizing your ingredients (mise en place) simple and efficient, especially when dealing with different types of chocolate.
- Piping Tips: Essential for adding decorative flourishes of buttercream on top of the ganache, or for creating intricate designs around the base.
- Piping Bag: A sturdy piping bag is a must-have for consistent and controlled application of frosting or detailed decorations.
- Cake Decorating Squeeze Bottles: These are indispensable for creating precise and even ganache drips. The fine tip allows for excellent control.
- Sprinkles: The ultimate finishing touch! Sprinkles add color, texture, and a festive mood to any drip cake.
If you adore this Easy Chocolate Drip recipe, you’ll be thrilled to explore these other fantastic treats and frosting ideas. Each link below leads to an easy-to-follow, printable recipe, perfect for expanding your baking repertoire!
Coffee Buttercream Frosting
Calling all coffee lovers! This rich and creamy Coffee Buttercream Frosting is the perfect addition to all your cakes and confections. Made with just 4 ingredients and ready in a mere 5 minutes, it’s an effortless way to infuse your desserts with a delightful coffee flavor that’s both bold and smooth.
Check out this recipe
Cream Cheese Frosting Recipe
This Cream Cheese Frosting Recipe is deliciously thick and ultra-creamy, making it an absolute dream to work with. It holds its shape beautifully when piped and maintains its luxurious creaminess, even when chilled. You only need 4 simple ingredients to create this irresistible frosting, which pairs perfectly with classic carrot cake, decadent red velvet, and many other desserts. Prepare to taste the BEST cream cheese frosting recipe you’ll EVER experience!
Check out this recipe

Cake Batter Frosting Recipe
The Cake Batter Frosting Recipe is an absolute must-try for anyone who adores the nostalgic flavor of cake batter. What could be better than a frosting that not only adds creamy sweetness but also infuses more of that yummy cake flavor into every bite? It’s a fun and unique way to top off your favorite cupcakes and cakes, guaranteed to be a hit!
Check out this recipe
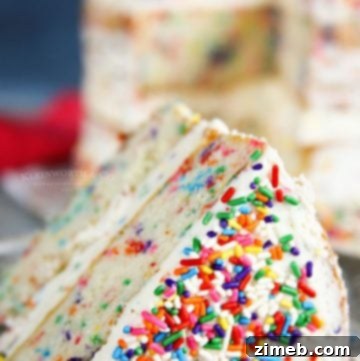
Chocolate Cream Cheese Frosting
Chocolate Cream Cheese Frosting is the ultimate complement to a dense and delectable red velvet cake, or any dessert craving a rich, tangy chocolate twist. This frosting is perfect for the extreme chocolate lovers, offering a depth of flavor that’s both luxurious and satisfying. Its creamy texture and bold taste make it an unforgettable topping.
Check out this recipe
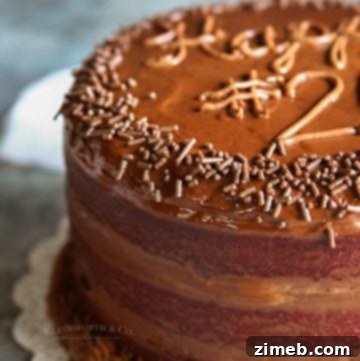
Cookie Dough Frosting
Cookie Dough Frosting takes your desserts over the top! This incredible frosting was famously used to create our legendary Brownie Cookie Dough Freak Cake. It’s incredibly easy to make and utterly delicious, crafted without eggs to ensure it’s safe to eat raw. This fun and flavorful frosting is perfect for any celebration, adding a playful and indulgent touch to your treats!
Check out this recipe
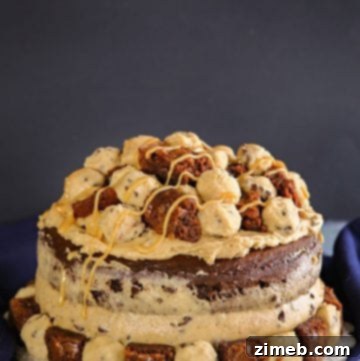
Best Bakery Buttercream Frosting
Ever wondered how to make that perfect, velvety Best Bakery Buttercream Frosting? As the daughter of a professional baker, I can confidently tell you that THIS is the ultimate frosting recipe. It’s smooth, stable, and has that classic bakery-style taste and texture that elevates any cake or cupcake to professional heights. A truly essential recipe for serious bakers!
Check out this recipe
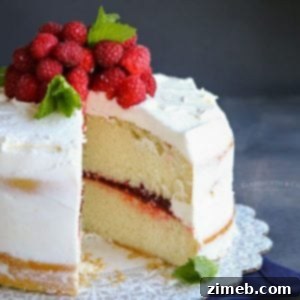
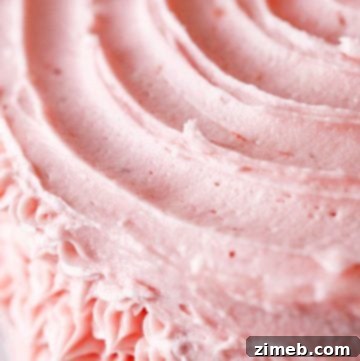
Fresh Strawberry Buttercream Frosting
Fresh Strawberry Buttercream Frosting is the perfect way to infuse your birthday or holiday celebrations with the vibrant, sweet flavor of summer strawberries. This yummy dessert topping is light, fruity, and absolutely delightful, bringing a burst of fresh taste to any cake or cupcake. It’s a wonderful way to enjoy the essence of strawberries in your baking!
Check out this recipe
Explore More Great Chocolate Sauces
If you love the versatility and rich flavor of chocolate ganache, you’ll surely appreciate other decadent chocolate sauces that can elevate a variety of desserts. From classic dessert toppings to unique regional delights, chocolate sauces offer endless possibilities for enhancing your sweet treats:
- Southern Chocolate Gravy: A unique and comforting chocolate sauce, traditionally served over biscuits, that’s surprisingly easy to make and utterly delicious.
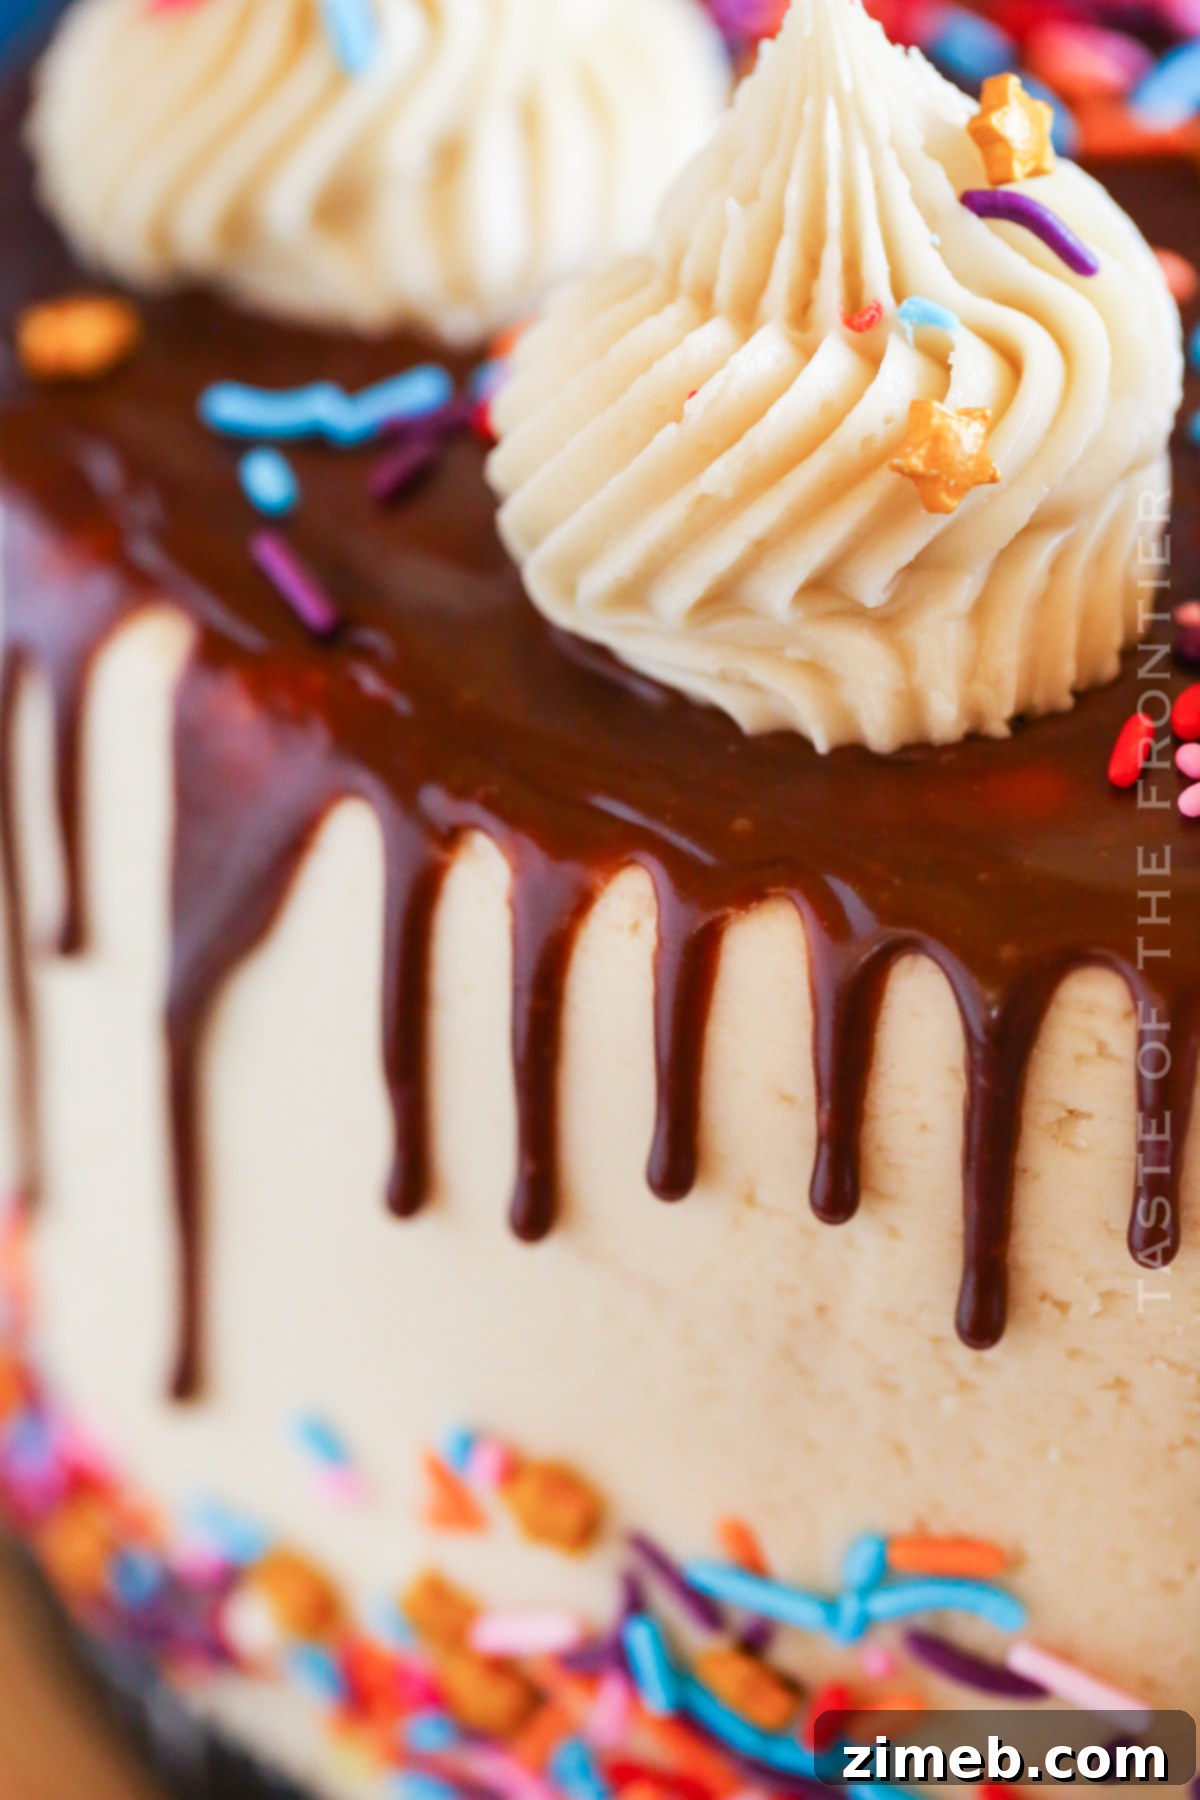
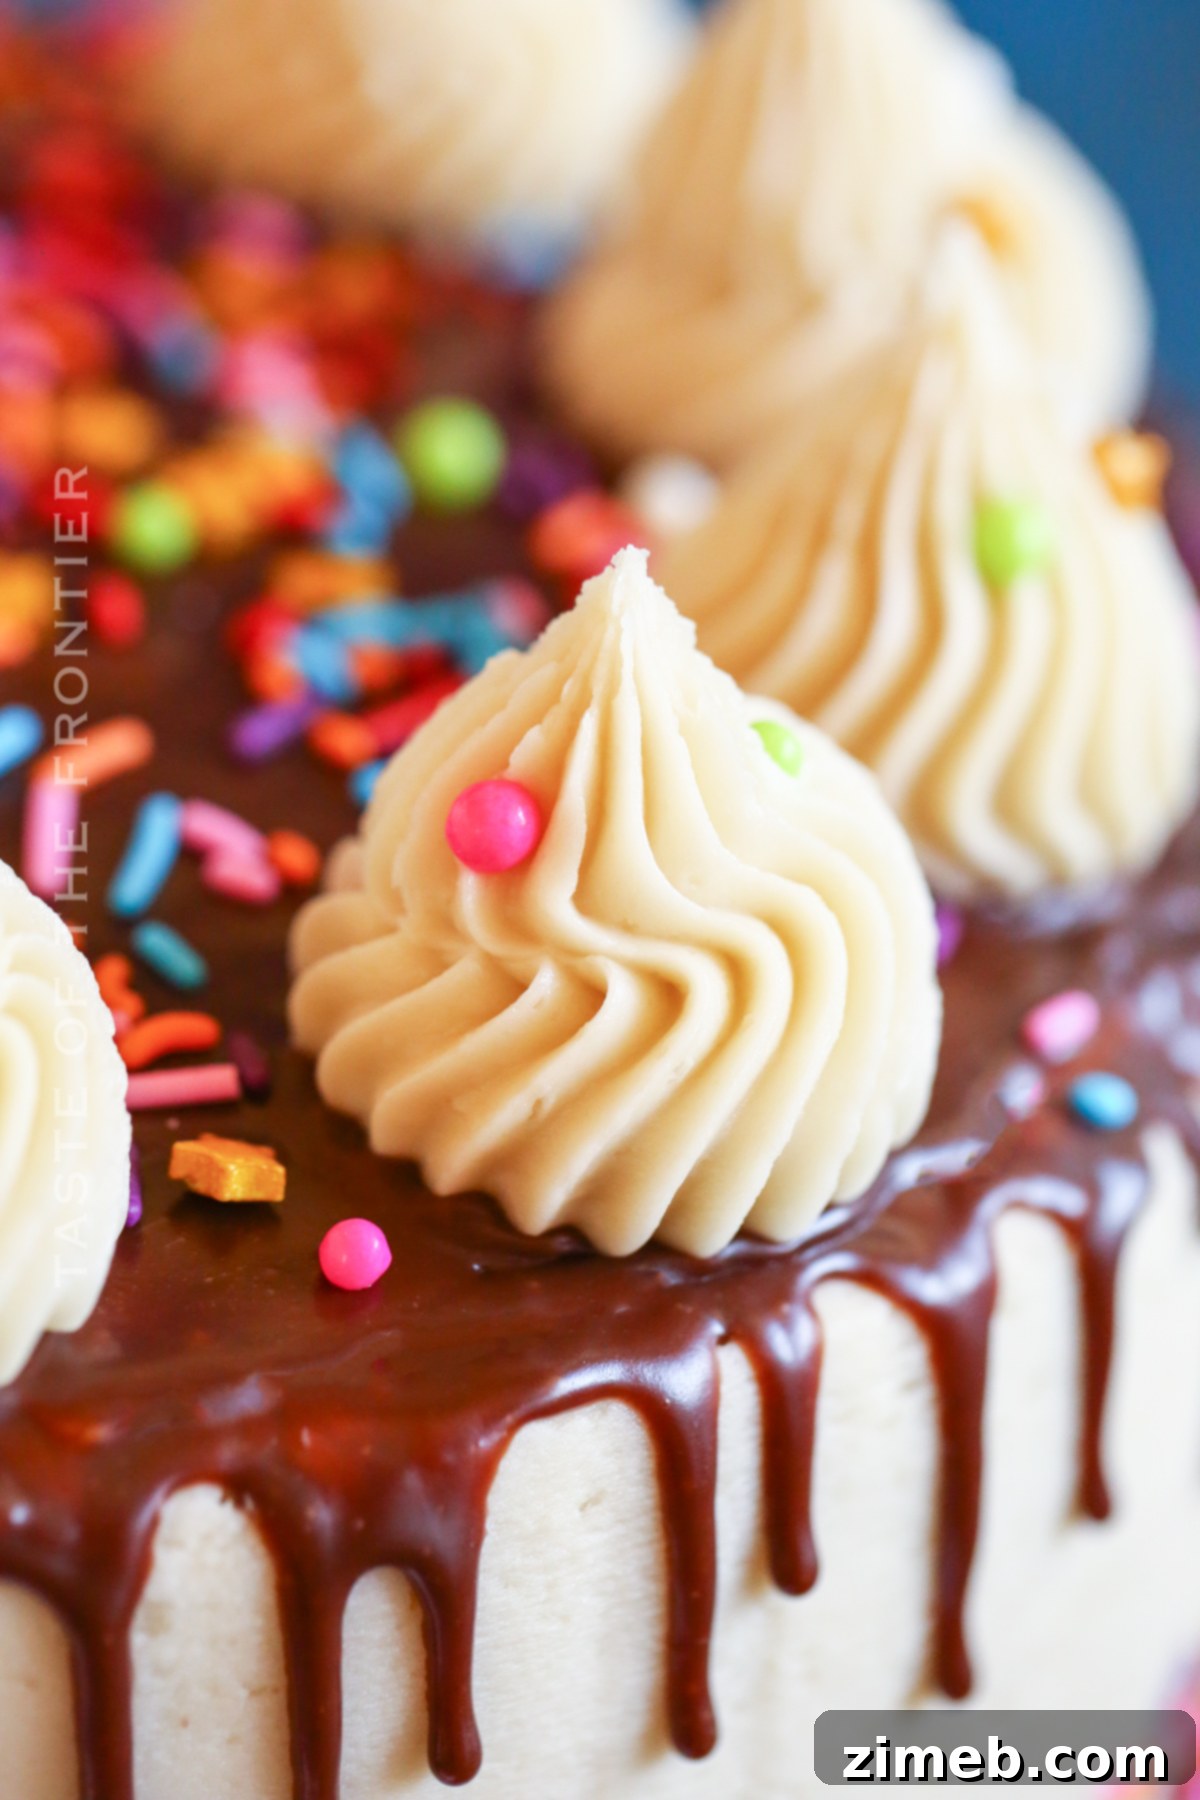
If you’ve enjoyed creating this Chocolate Ganache Drip Cake recipe as much as I have, please consider leaving a five-star review below. Your feedback helps others discover and enjoy this wonderful recipe. Also, don’t forget to help me share the love for this delicious cake by sharing it with your friends and followers on Facebook and Pinterest!
CONNECT WITH YUMMI HAUS!
Be sure to follow me on my social media platforms, so you never miss a delicious post or recipe!
Substack, Facebook, Pinterest, Instagram, Email Subscription
PIN THIS RECIPE NOW TO REMEMBER IT LATER
Rate this Recipe
Chocolate Ganache Drip Cake
Course: Dessert, Sauce
Servings: 1 (This recipe can easily be scaled up for larger cakes by adjusting quantities)
Chocolate Ganache Drip Cake is simple to make with just 2 ingredients. Make it with or without heavy cream in a variety of chocolate flavors, creating a beautiful and delicious dessert!
Pin Recipe
Prep Time: 4 mins
Cook Time: 1 min
Total Time: 5 mins
Ingredients
To easily adjust the recipe servings, you can mentally multiply the ingredient quantities as needed.
Dark Chocolate Ganache
- 6 ounces dark chocolate, finely chopped or chips
- 4 ounces heavy cream
Milk Chocolate Ganache
- 6 ounces milk chocolate, finely chopped or chips
- 3 ounces heavy cream
White Chocolate Ganache
- 6 ounces white chocolate, finely chopped or chips
- 2 ounces heavy cream
Chocolate Ganache Without Heavy Cream
- 4 ounces bittersweet chocolate, finely chopped or chips
- ¼ cup whole milk
- 2 tablespoons unsalted butter
Instructions
For Dark, Milk, or White Chocolate Ganache:
- Place the chocolate in a medium, microwave-safe bowl. Heat in the microwave for approximately 1 minute to gently warm the chocolate.
- In a separate bowl or measuring cup, heat the heavy cream in the microwave for 45 seconds to 1 minute, or until small bubbles form around the edges but it is not boiling.
- Pour the warm cream over the warmed chocolate. Do not stir. Allow it to sit undisturbed for 2-3 minutes to let the chocolate soften.
- Once the chocolate has sufficiently softened, whisk the mixture well until it becomes smooth and glossy.
- Let the ganache cool until it is barely warm before applying it to the cake.
For Chocolate Ganache Without Heavy Cream:
- Place the bittersweet chocolate in a medium bowl and set aside.
- Combine the whole milk and unsalted butter in a small saucepan.
- Cook over medium heat for 2-3 minutes, stirring occasionally until the butter has fully melted.
- Increase the heat slightly and cook for another 1-2 minutes, until it reaches a gentle simmer (tiny bubbles around the edges), taking care not to boil the mixture.
- Remove from heat and immediately pour the hot milk mixture over the chocolate. Do not stir.
- Let the hot milk sit on the chocolate for about 5 minutes to allow it to soften thoroughly.
- Then, whisk the mixture well until it becomes smooth and glossy.
To Decorate Your Drip Cake:
- First, ensure you are working with a very cold cake. I recommend freezing your cake for 1-2 hours for the perfect drip, as this helps prevent the ganache from sliding all the way down.
- Transfer the slightly warm ganache into a decorating squeeze bottle with a fine tip.
- Apply a test drip along an inconspicuous edge of the cake. It should drip down slowly and evenly.
- If the test drip is to your liking, continue applying drips along the side of the cake. Vary the amount of pressure to create drips of different lengths, achieving a dynamic look around the cake.
- Once the drips are complete around the perimeter, squeeze the remaining ganache onto the center of the top of the cake. Use an offset spatula to gently spread and smooth it out, covering the entire top surface.
Notes
- If your ganache drips too quickly or all the way down the cake, it is still too warm. Allow it to cool further and test again. (If working with a frozen cake, you can often easily scrape off a failed drip with an offset spatula and re-smooth the frosting.)
- If the ganache is too thick and doesn’t drip smoothly, warm it in the microwave for about 5-10 seconds. Cover the opening of the squeeze bottle, give it a little shake, and test again.
- After applying the ganache, place the cake back into the freezer for 1-2 hours to allow the ganache to set completely before attempting to pipe any buttercream on top. If the ganache is still warm or fluid, the buttercream will slide off.
- If using sprinkles, add them while the ganache is still warm and slightly tacky, allowing them to adhere properly.
Nutritional information for the recipe is provided as a courtesy and is an estimate. Please double-check with your own dietary calculator for the most accurate information. We at Yummi Haus cannot guarantee the accuracy of the nutritional information given for any recipe on this site.
Love this recipe?
Follow @KleinworthCo for even more tasty recipes!