
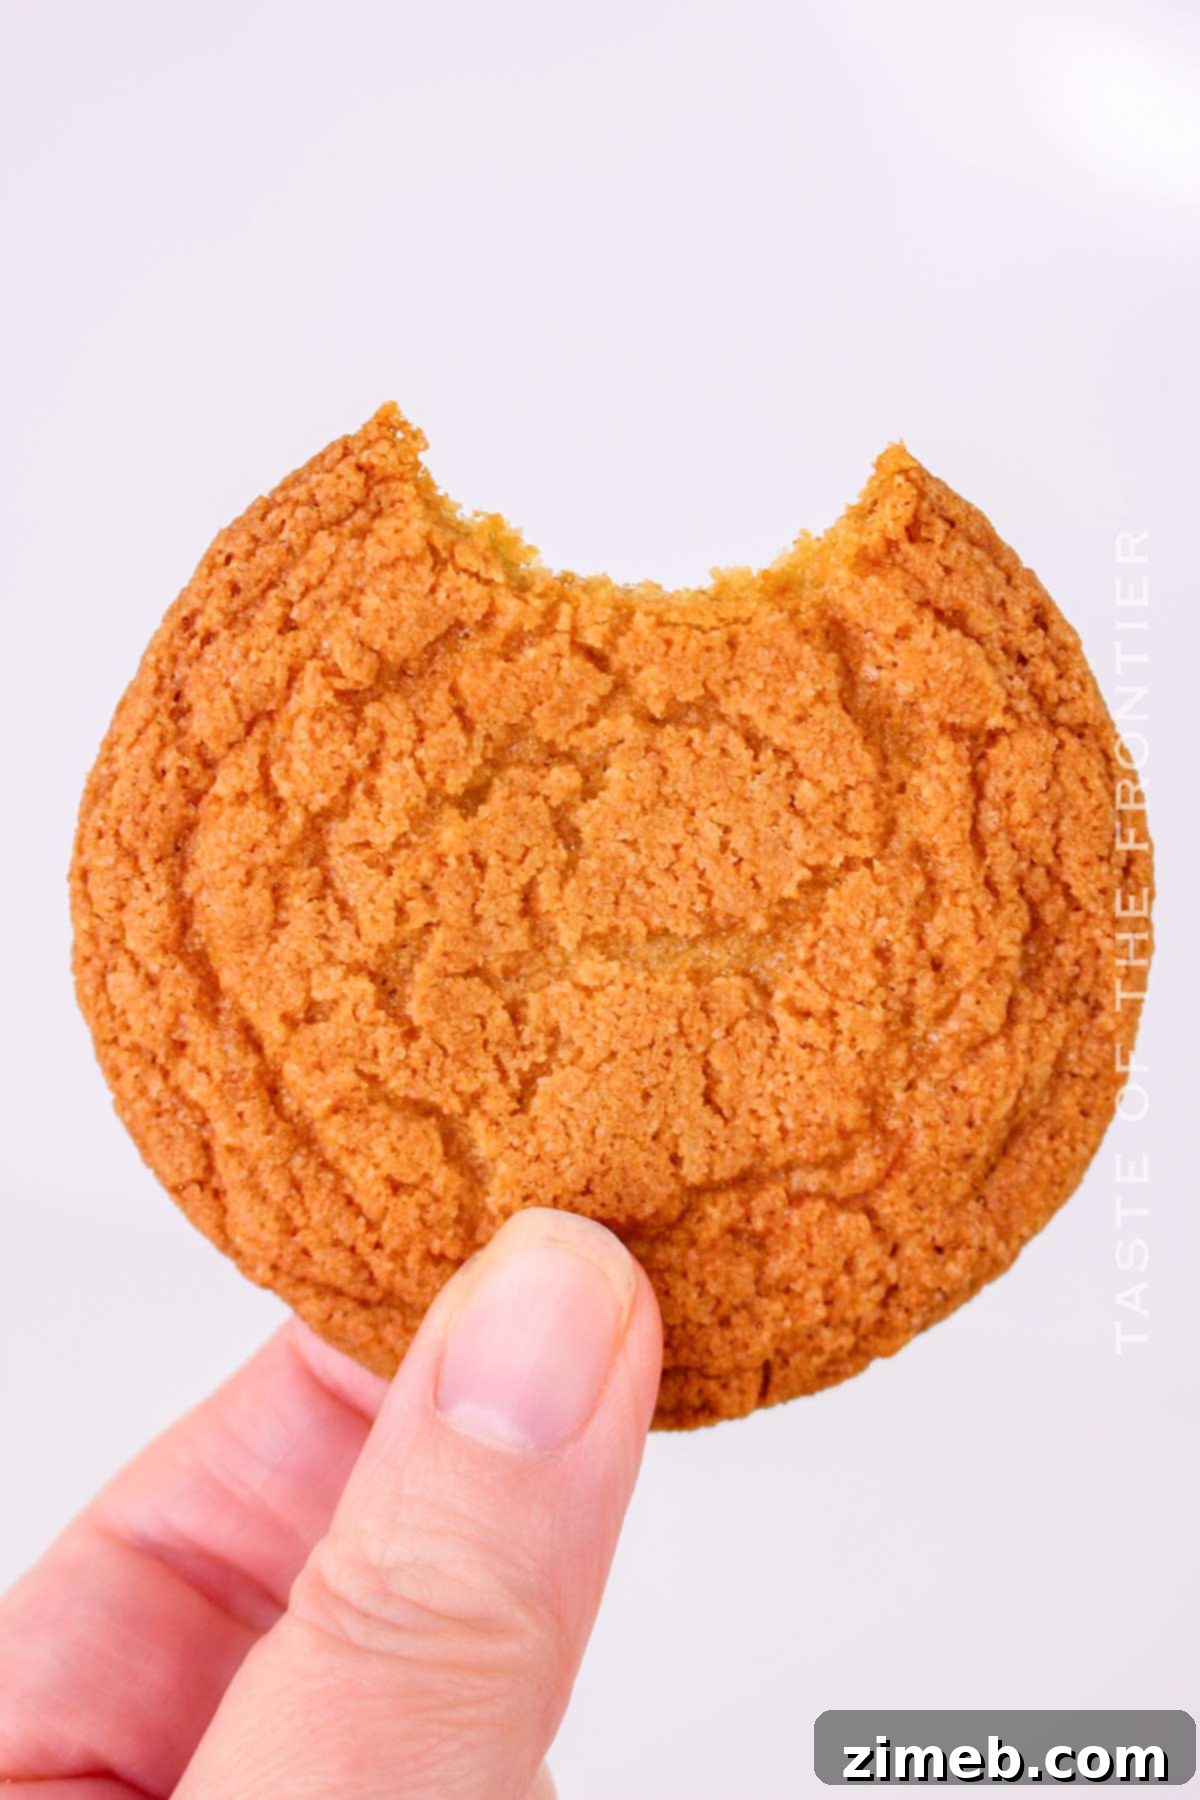
These incredibly satisfying chipless cookies offer all the rich, buttery essence of a classic chocolate chip cookie, but with a delightful twist – no chocolate chips! They are a dream come true for those who adore the pure, uncomplicated joy of a perfectly chewy cookie, focusing on the harmonious blend of vanilla, brown sugar, and butter.
Often, when we think of American cookies, the iconic chocolate chip cookie immediately springs to mind: crisp edges, a wonderfully chewy center, and pockets of molten chocolate. They are undeniably a staple, a giant in the cookie world, and a true delight for any chocolate enthusiast.
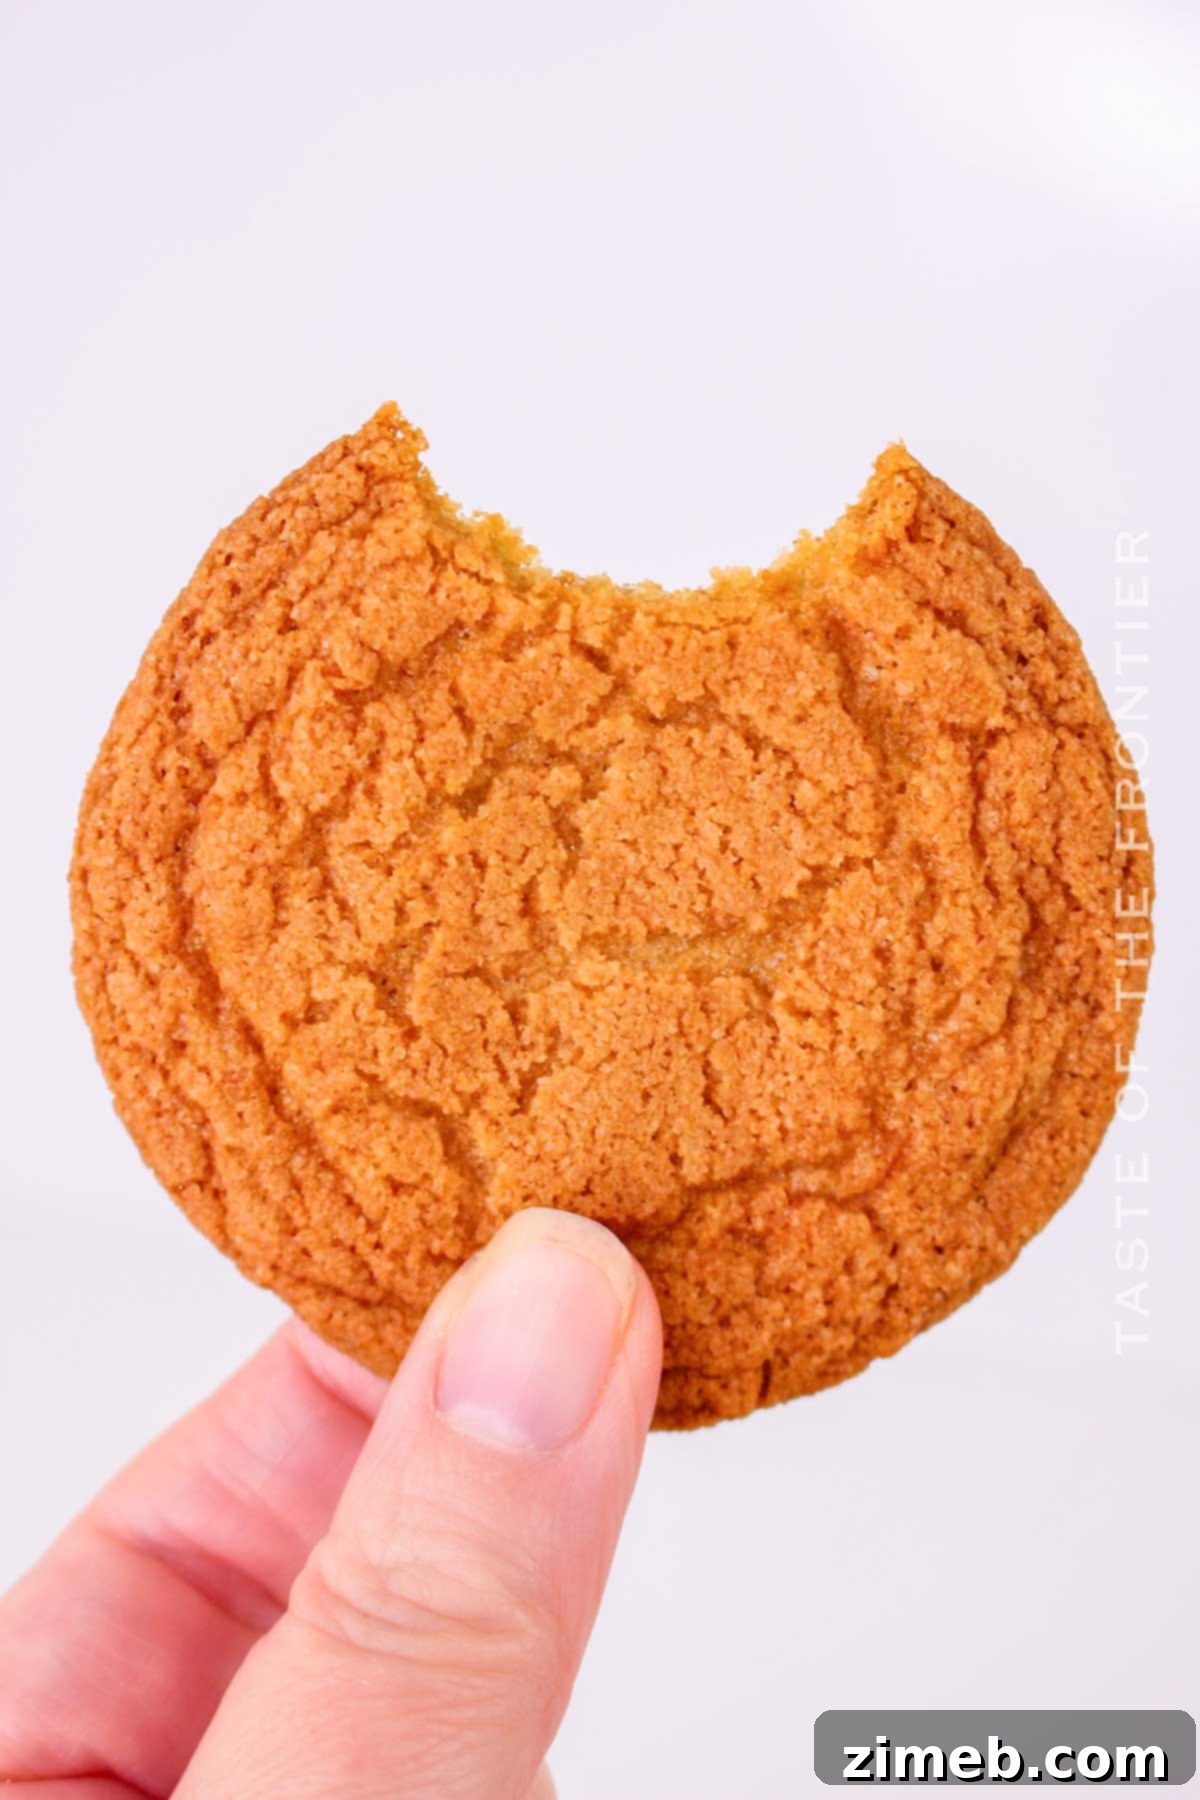
But what if you’re craving that comforting texture and rich flavor profile, yet wish to explore beyond the conventional chocolate chips? Perhaps you have dietary restrictions, a dislike for chocolate, or simply want to appreciate the intricate dance of vanilla and caramelized sugar on their own. Rest assured, opting for a chipless cookie is far from a culinary transgression. In fact, for individuals with chocolate allergies or specific preferences, this recipe becomes an essential and cherished alternative.
This is precisely how we achieve the perfect chocolate chipless cookies: a familiar, beloved cookie experience, simply without the chocolate chips. Imagine the same irresistible aroma filling your kitchen, the same soft, yielding bite, and those coveted crisp edges, but with the spotlight shining squarely on nuanced vanilla notes rather than chocolate.
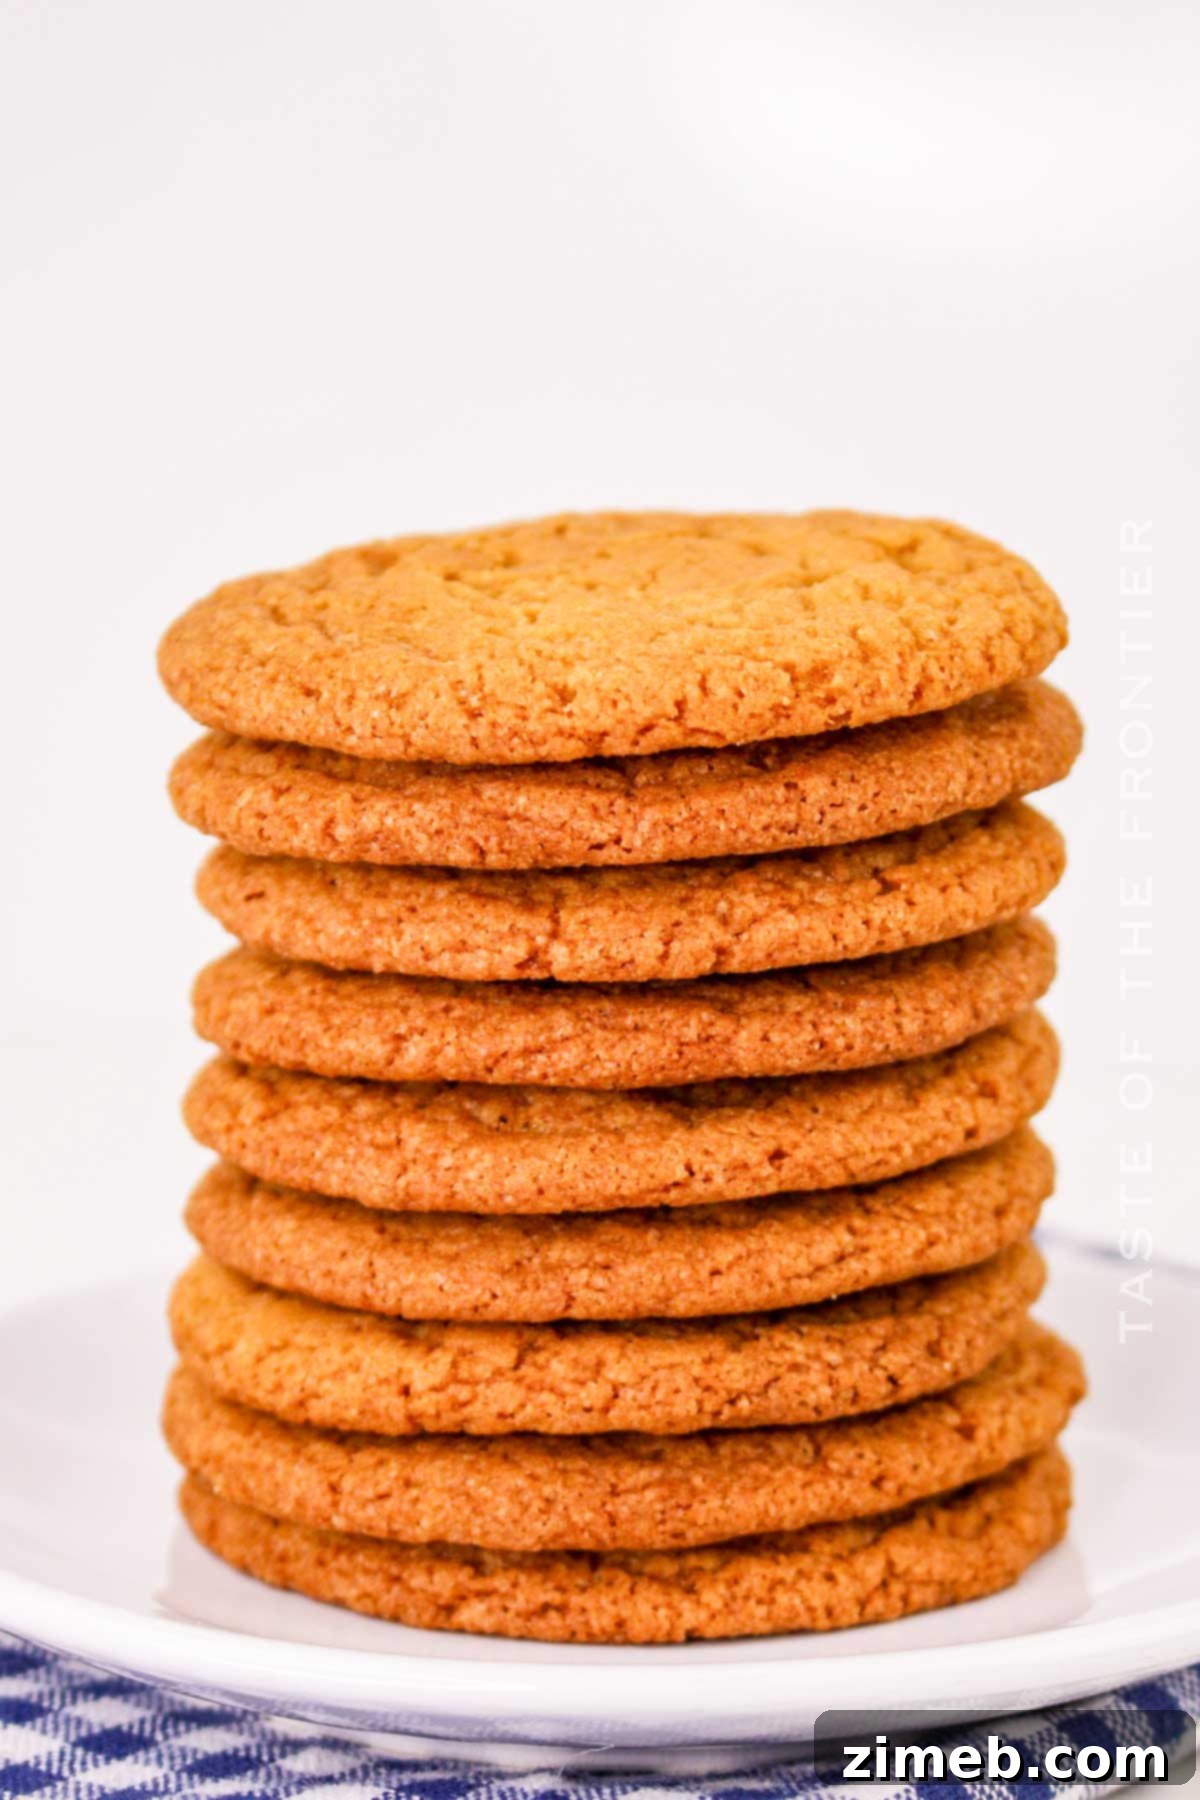
Visually, these cookies are nearly identical to their chocolate-laden counterparts, boasting that classic golden-brown hue and satisfying thickness. Their texture is equally marvelous, delivering that sought-after chewiness. The key difference lies in the flavor profile, which bursts with bright, pure vanilla and the deep, rich undertones of brown sugar, creating a distinct and equally addictive experience.
Why You’ll Love Baking These Chipless Cookies
These chocolate chipless cookies aren’t just an alternative; they are a delightful destination in themselves. Here’s why this recipe deserves a spot in your baking rotation:
- Quick & Easy Preparation: From start to finish, the active prep and baking time for these cookies clocks in at around 20 minutes. While the dough does require a couple of hours (or overnight) to chill, this passive waiting time is crucial for developing flavor and texture. The best part? No stand mixer is strictly necessary, making it accessible even for novice bakers. A simple bowl and a whisk or spatula will do the trick, though a stand mixer can certainly speed up the creaming process.
- No Browned Butter Required: Many recipes call for browning butter to achieve a deeper flavor, but this step, while delicious, adds extra time and a slight risk of burning. Our recipe skips this, saving you precious minutes without compromising on the softest, most delectable cookies with perfectly crisp edges. You get that rich, buttery taste without the added complexity or the potential for dry, over-toasted cookies.
- Generous Large Batch: This recipe yields approximately 24 chewy chocolate chipless cookies, ensuring you have plenty to share with family and friends, or to simply savor yourself over several days. It’s perfect for parties, bake sales, or stocking your cookie jar for those unexpected cravings.
- Absolutely Delicious (Even Without Chocolate!): Don’t let the absence of chocolate chips fool you; these cookies are incredibly flavorful. The generous amount of brown sugar introduces wonderful toffee-like notes and a subtle caramel sweetness that is truly irresistible. Even devoted chocolate lovers will find themselves reaching for a second, or third, chipless cookie.
- Perfect Texture: Soft, Chewy, and Crispy Edges: Achieving the ideal cookie texture is an art, and this recipe masters it. The combination of softened butter, brown sugar, and precisely measured leavening agents (baking soda and powder) creates cookies that are beautifully soft and chewy in the center, yet boast those satisfyingly crisp, golden-brown edges everyone adores. This textural contrast makes every bite a memorable experience.
- Versatile Base Recipe: Beyond their inherent deliciousness, these chipless cookies serve as an excellent canvas for customization. Consider this your go-to base recipe. You can easily incorporate various add-ons or toppings to create a whole new cookie experience, from nuts to dried fruits, or even a simple sprinkle of flaky sea salt.
Essential Ingredients for Your Chipless Cookies
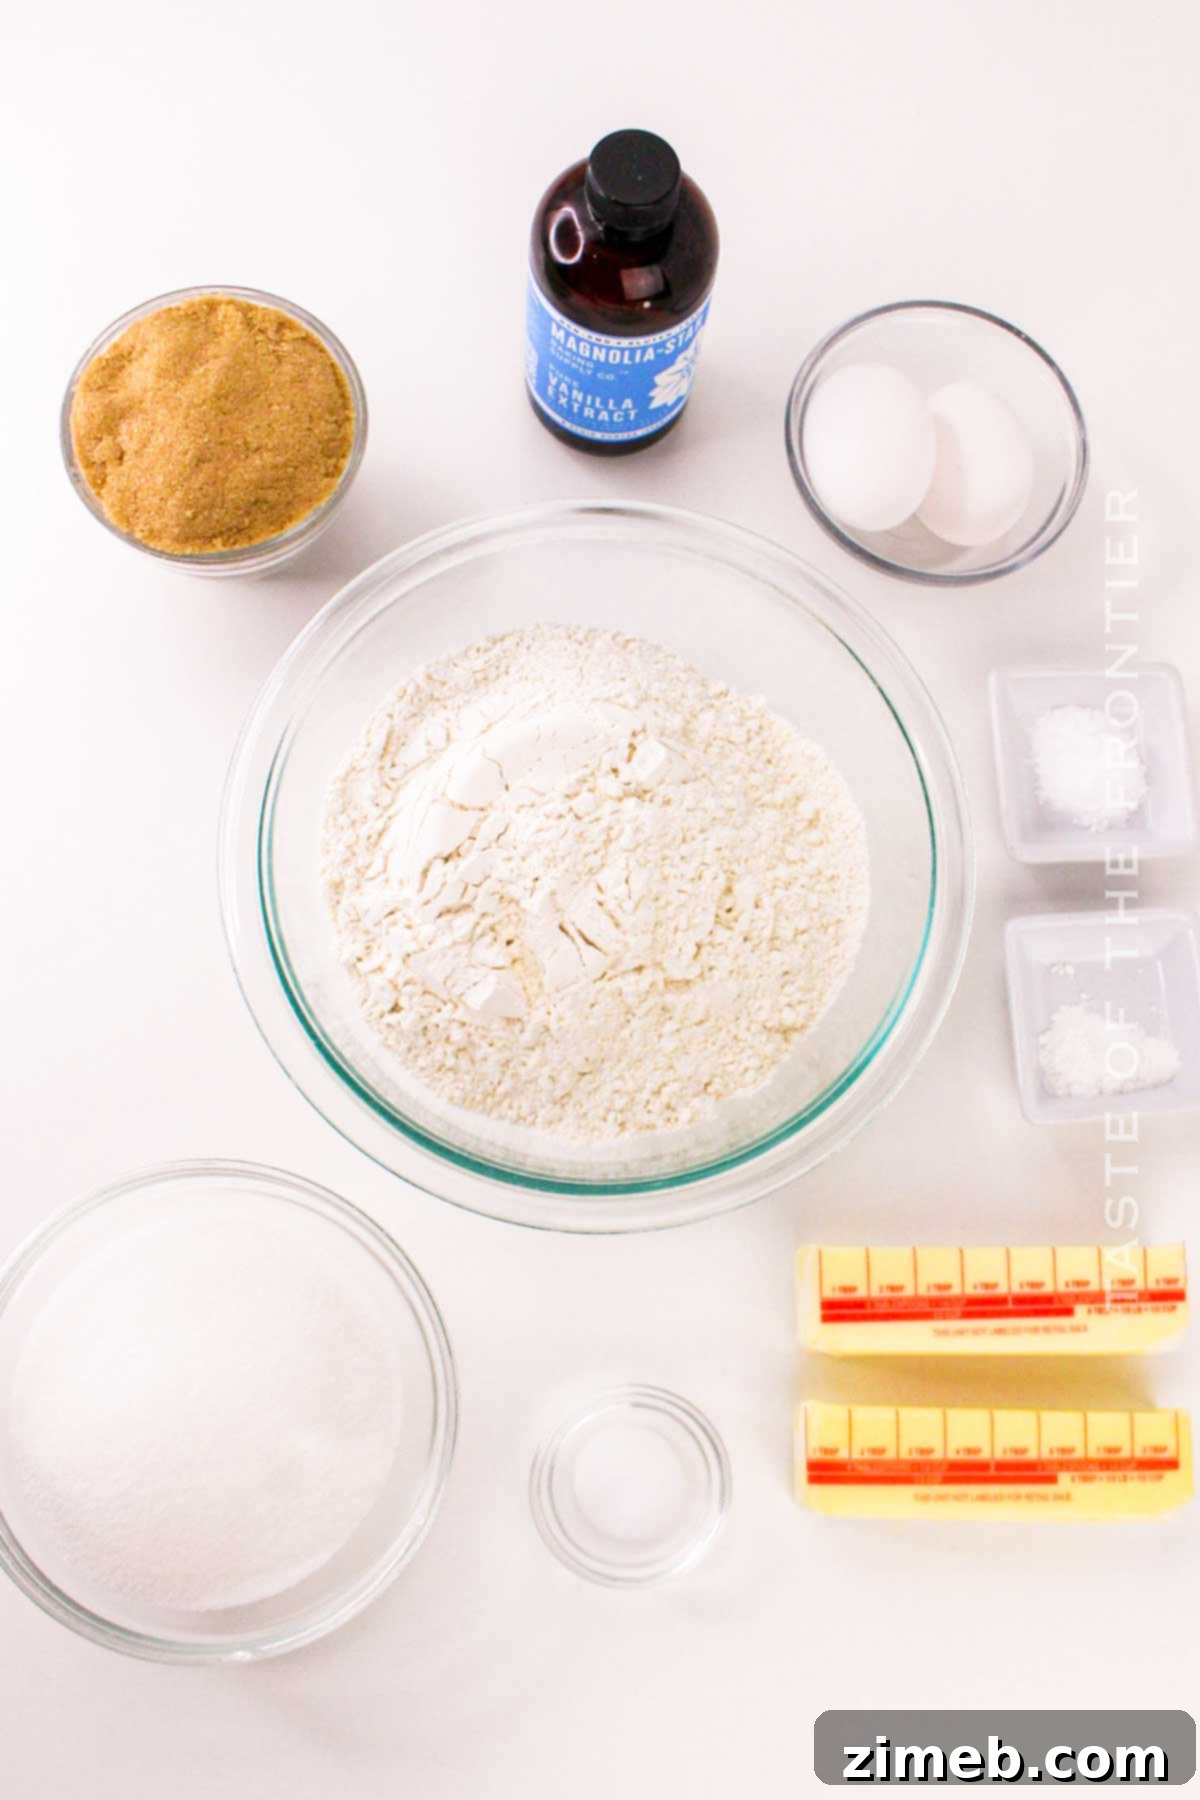
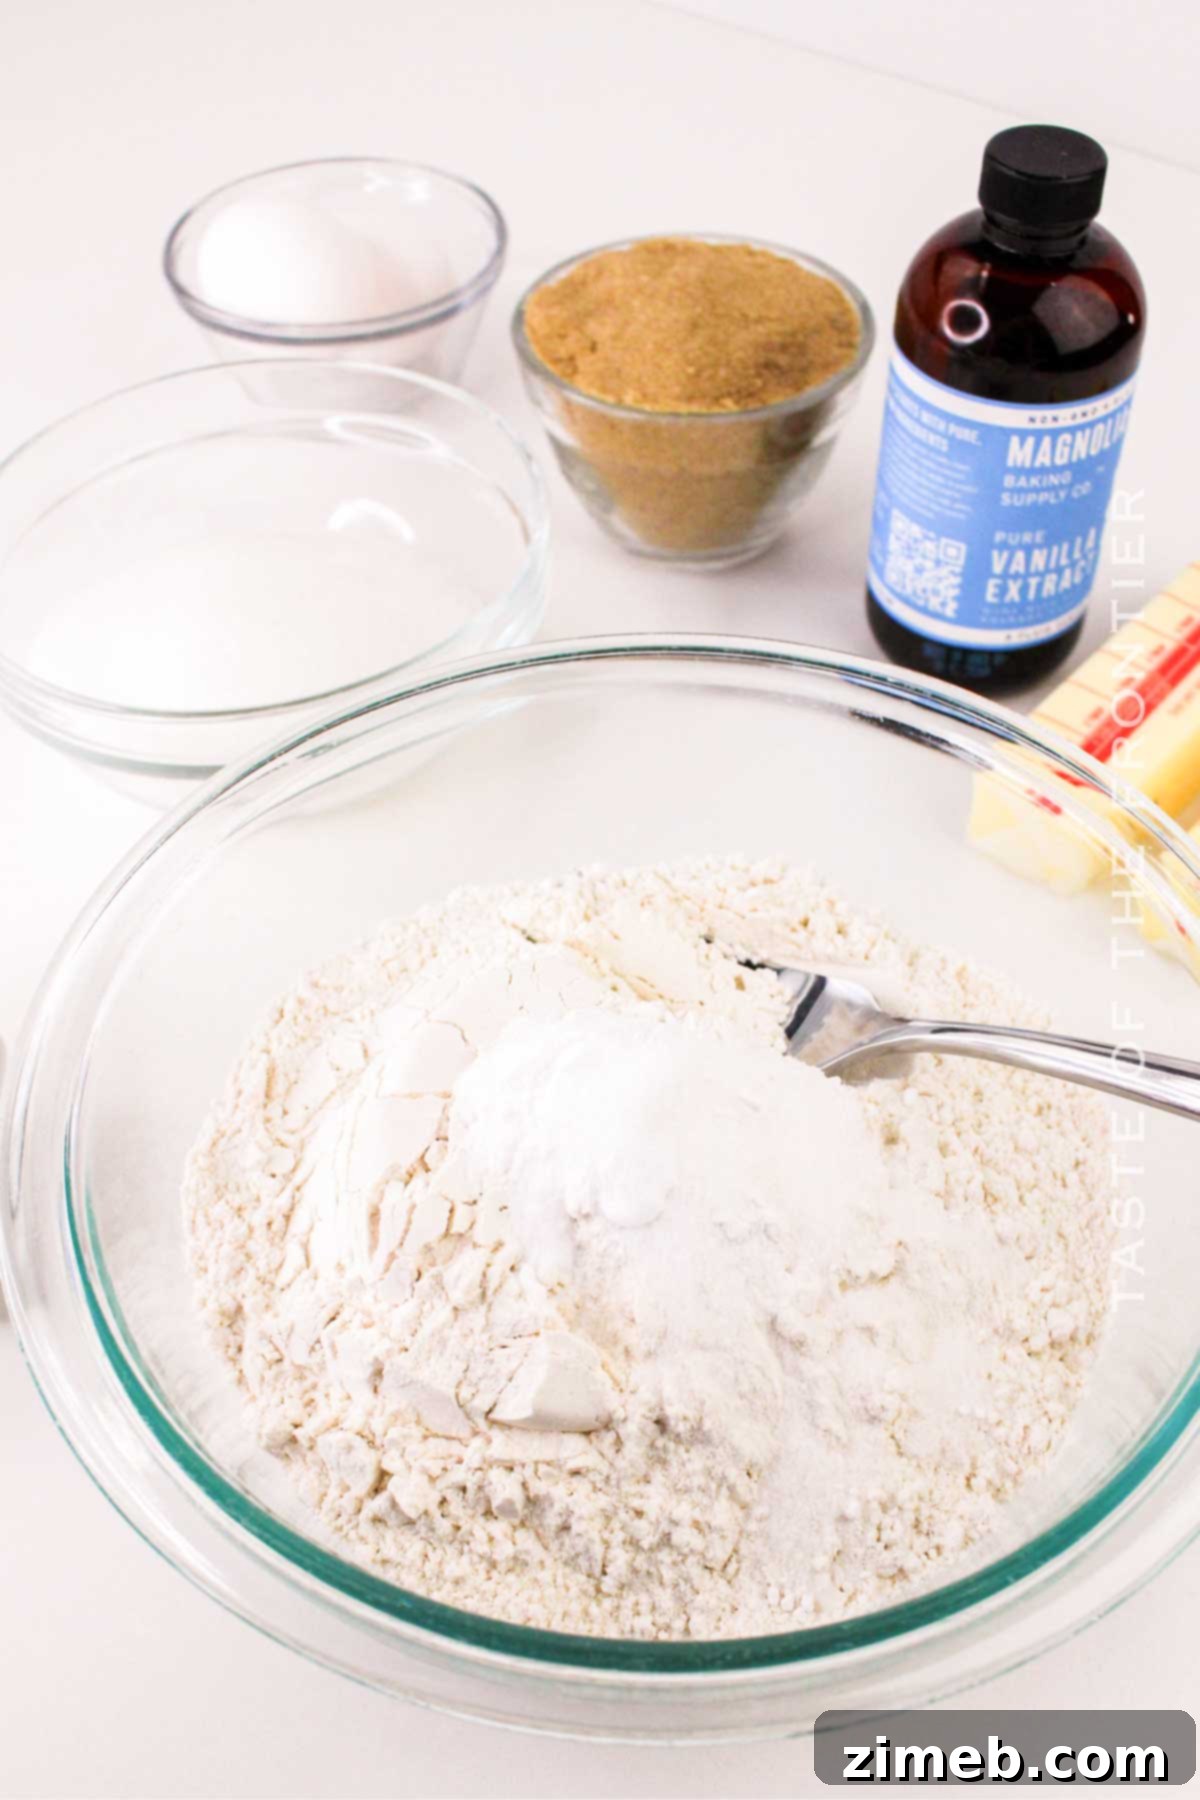
Crafting a batch of these delightful brown sugar chipless cookies requires just 9 fundamental baking ingredients. Each plays a crucial role in achieving the perfect flavor and texture:
- Unsalted Butter: For the softest and chewiest chocolate chipless cookies, use butter that has been softened to room temperature. A small amount of melted butter can also be incorporated for an even fudgier center. If you only have salted butter available, simply reduce the amount of added salt in the recipe to maintain balance.
- Granulated Sugar: This white sugar contributes to the cookies’ spread, crispiness, and overall sweetness. While it’s possible to use only brown sugar for a brown butter flavor profile, following this specific recipe ensures the best balance when using both granulated and brown sugars.
- Dark or Light Brown Sugar: A cornerstone of these cookies, brown sugar (whether dark or light) is key to their rich, caramel-like notes and subtle sweetness, reminiscent of butterscotch. It also adds moisture, contributing significantly to that desirable chewy texture. Packed brown sugar is essential for accurate measurement.
- Large Eggs (Room Temperature): Eggs are vital for stabilizing the dough, providing structure, and adding moisture for a soft crumb. Using room temperature eggs helps them emulsify better with the butter and sugar, resulting in a more uniform dough. You can use two whole large eggs, or for an extra fudgy chewiness, substitute one egg with an additional egg yolk.
- Pure Vanilla Extract: As the star flavor in these chipless wonders, pure vanilla extract (or vanilla bean paste) is your best friend. It infuses the cookies with a warm, inviting aroma and a distinct, sweet vanilla taste. We recommend two teaspoons, but don’t hesitate to use a full tablespoon (approximately three teaspoons) if you desire a truly pronounced vanilla flavor. While artificial extract is an option, natural pure vanilla will always deliver the most authentic and robust taste.
- All-Purpose Flour: The structural backbone of any cookie, all-purpose flour provides the necessary framework. For those with dietary restrictions, gluten-free alternatives like almond flour or amaranth flour can be used to create zero-gluten and allergen-friendly cookies. Ensure proper measurement using the spoon-and-level method for consistent results.
- Baking Soda and Baking Powder: These leavening agents work in tandem to give the cookies their characteristic rise and spread. Baking soda, activated by the acidity in brown sugar, helps create a chewy interior and crisp edges, while baking powder contributes to the overall lift and softness, preventing the cookies from spreading too much and losing their shape.
- Kosher Salt: A pinch of salt is crucial for balancing and enhancing all the other sweet flavors in the cookie. It brings out the subtle caramel notes of the brown sugar and prevents the cookies from tasting overly sweet. For an elegant finishing touch, a sprinkle of flaky sea salt on top of the baked cookies offers a delightful sweet-and-salty contrast. Don’t worry, the cookies won’t taste overtly salty.
Essential Kitchen Tools for Baking Chipless Cookies
Having the right tools on hand will make your cookie-baking experience smooth and enjoyable. Here’s what you’ll need:
- Baking Sheets: You’ll need sturdy baking sheets, ideally lined with parchment paper, to prevent sticking and ensure even baking. Since this recipe yields 24 cookies, having more than one cookie sheet is highly recommended to bake in batches efficiently. Avoid non-stick sprays for cookies, as they can sometimes create a sticky residue or uneven browning.
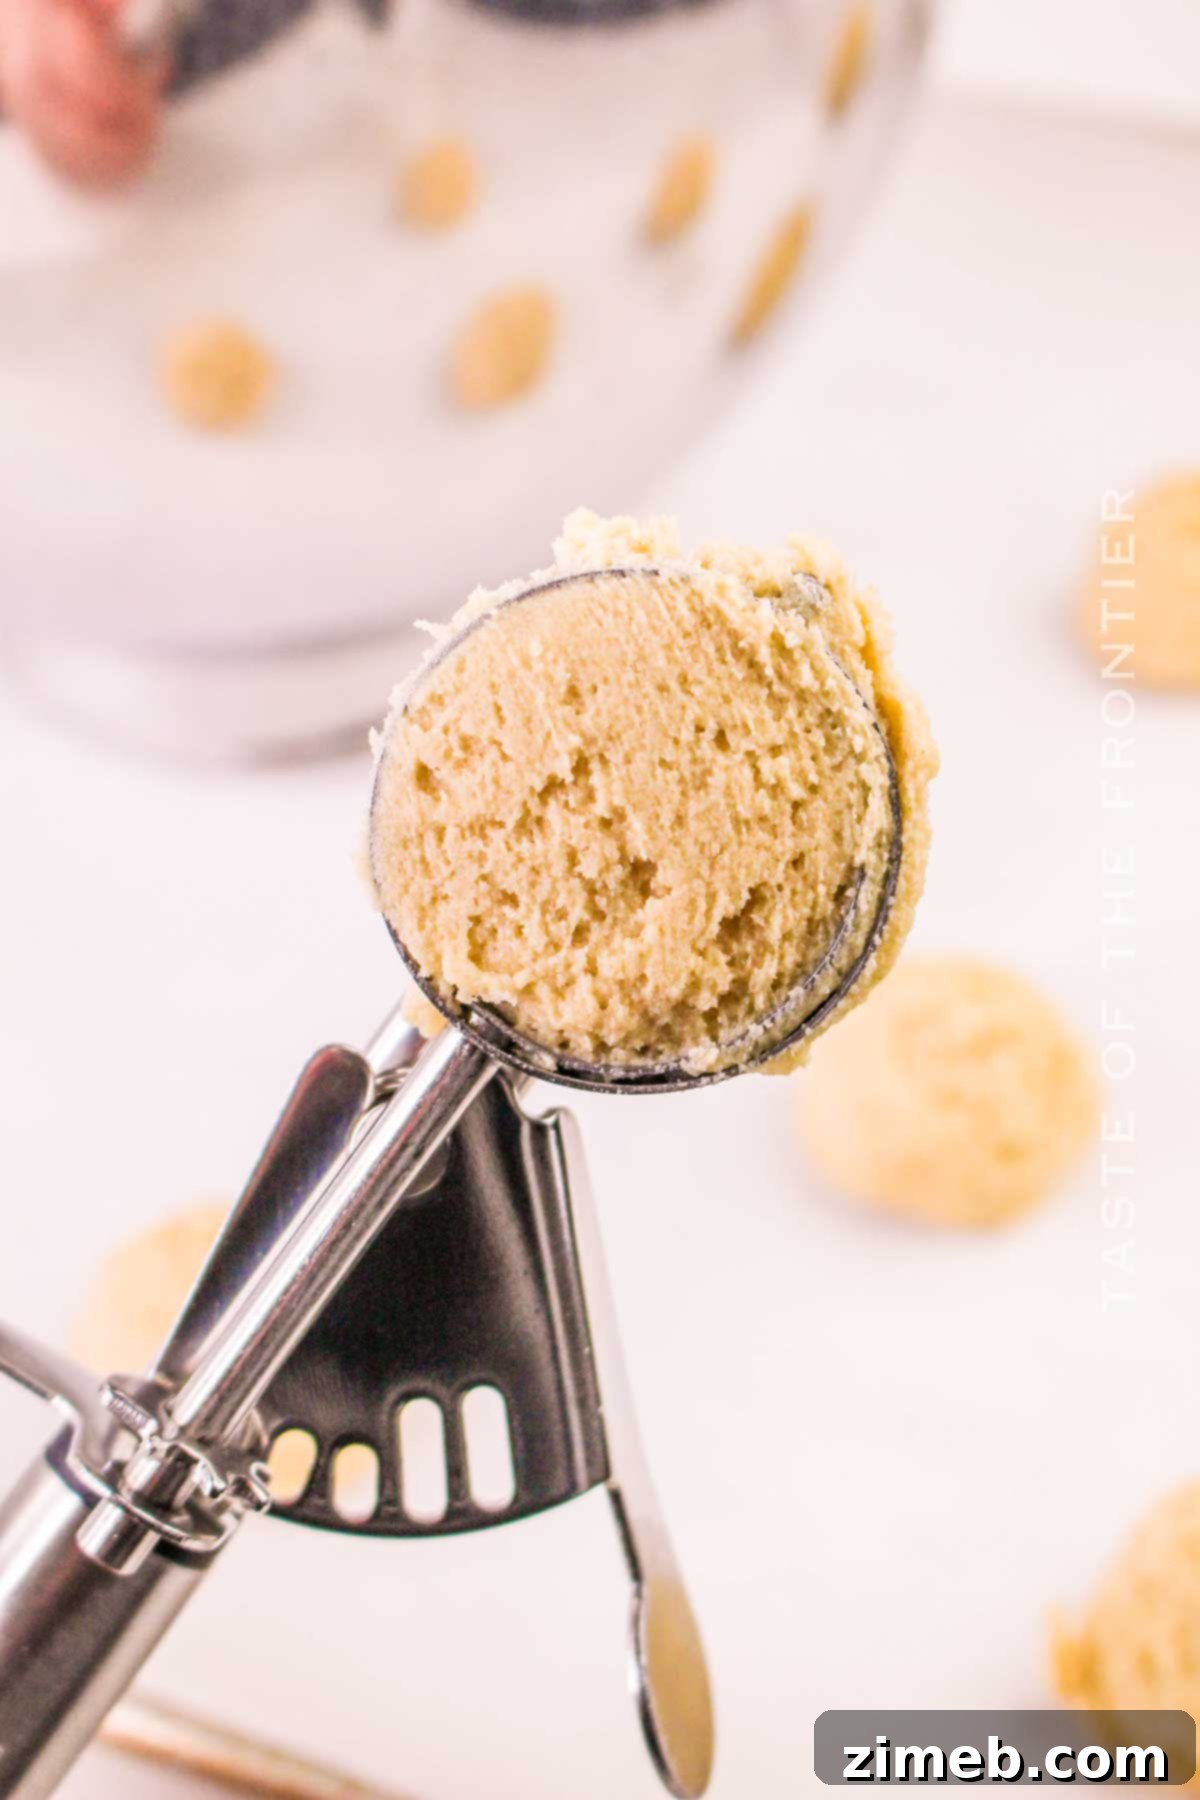
- Cookie Scoop (Optional but Recommended): A cookie scoop helps create uniformly sized dough balls, which leads to consistent baking and perfectly shaped cookies. While optional, it’s a great tool for professional-looking results. If you don’t have one, rounded tablespoons will work just fine for portioning the dough.
- Stand Mixer or Hand Mixer (Optional): While not strictly necessary (a sturdy whisk and bowl work), a stand mixer or a hand mixer can significantly ease the effort of creaming the butter and sugars, as well as incorporating the eggs. It ensures a light and fluffy base for your cookie dough.
- Wire Rack: Essential for cooling your baked cookies. Transferring warm cookies to a wire rack allows air to circulate around them, preventing them from becoming soggy on the bottom and ensuring they cool evenly to maintain their desired texture.
- Large Mixing Bowls: You’ll need at least two mixing bowls – one for combining wet ingredients and another for dry ingredients.
- Rubber Spatula: Perfect for scraping down the sides of your mixing bowl and gently folding in ingredients without overmixing.
- Whisk: For combining dry ingredients evenly.
- Measuring Cups and Spoons: Accurate measurements are crucial in baking, so have a reliable set of both on hand.
Step-by-Step Guide: Crafting Your Chocolate Chipless Cookies
Follow these simple instructions to bake a batch of heavenly chipless cookies:
- Prepare Your Oven and Baking Sheets: Preheat your oven to 375°F (175°C). Line a baking sheet (or several, if baking multiple batches) with parchment paper. This prevents sticking and makes cleanup a breeze.
- Cream Wet Ingredients: In a large mixing bowl, cream together the softened butter, granulated sugar, and brown sugar. Beat them until the mixture is light, fluffy, and smooth. This step incorporates air, contributing to the cookies’ soft texture.
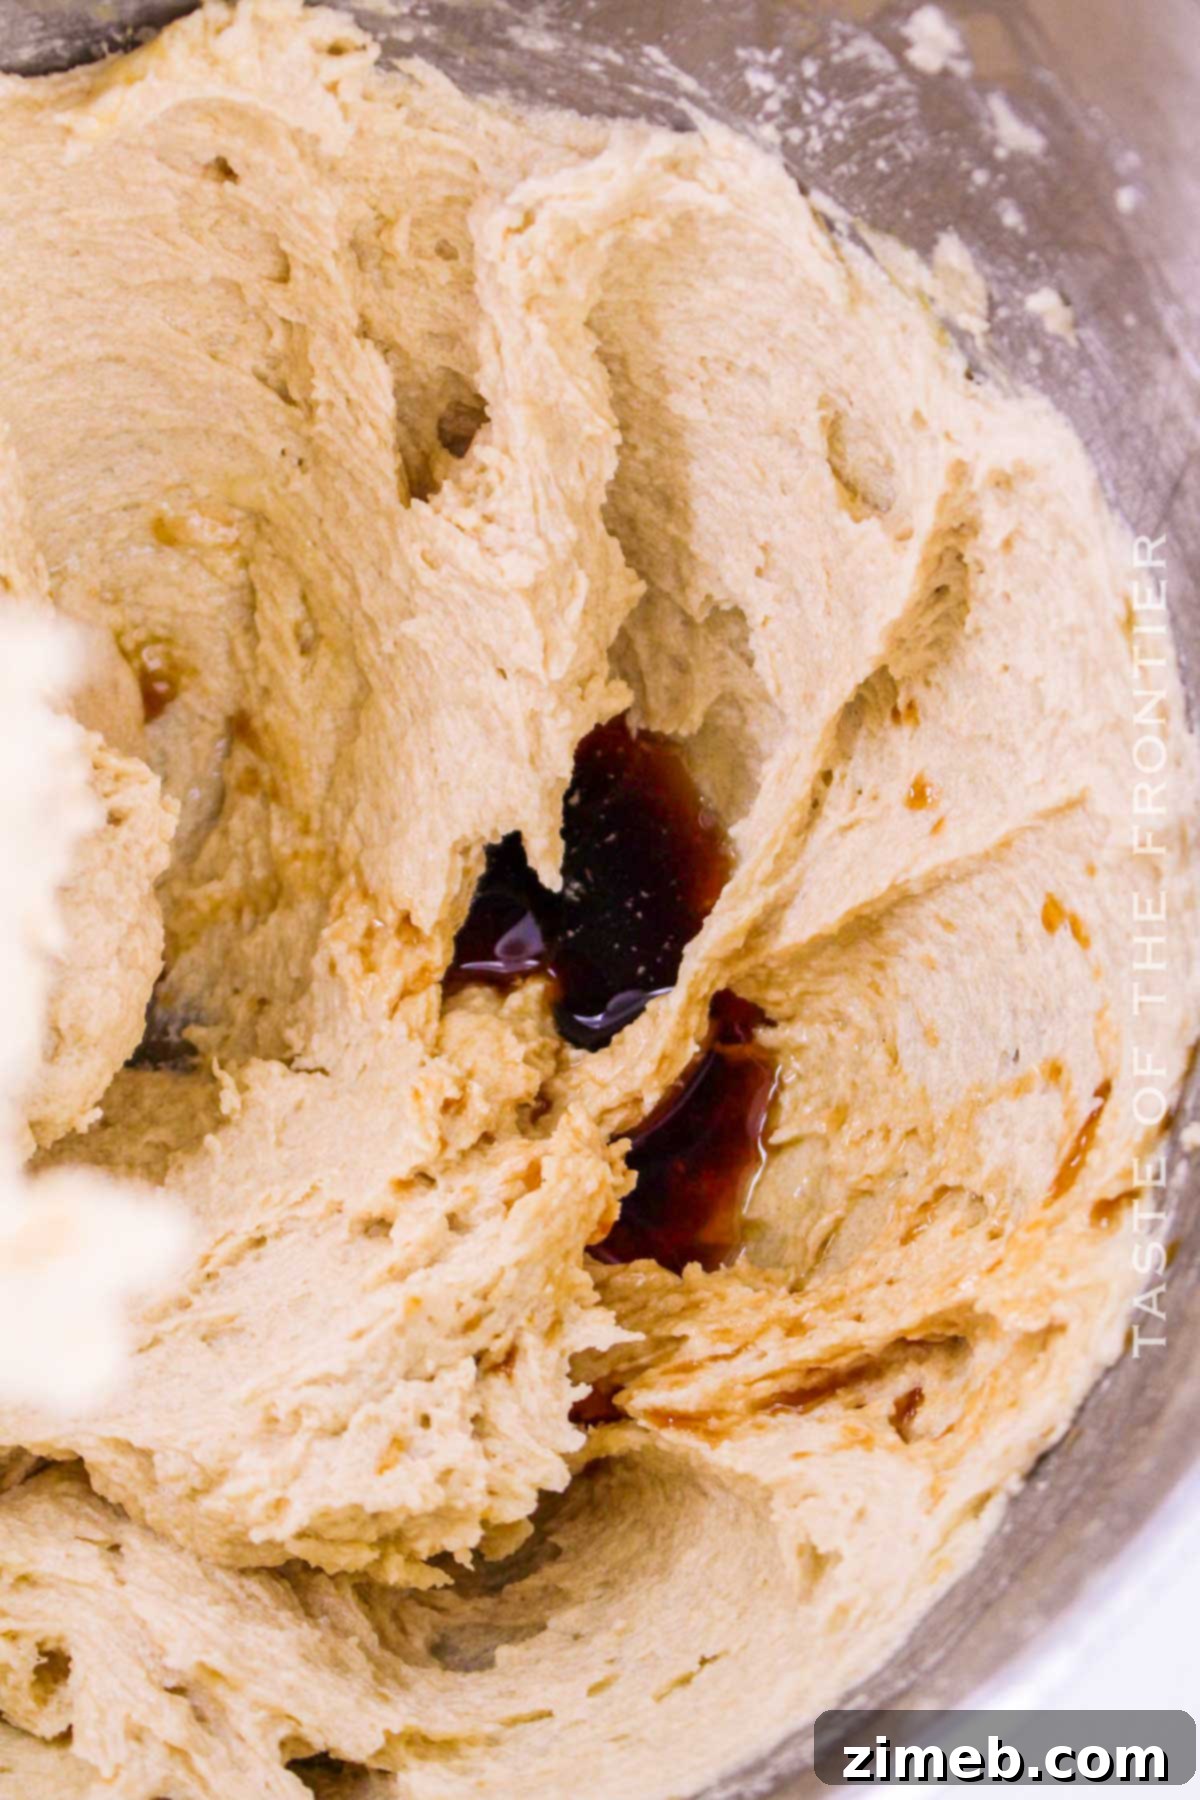
- Incorporate Eggs and Vanilla: Add the eggs one at a time, beating well after each addition to ensure full incorporation. Once the eggs are mixed in, stir in the pure vanilla extract. Scrape down the sides of the bowl to ensure everything is evenly combined.
- Combine Dry Ingredients: In a separate medium bowl, whisk together the all-purpose flour, baking soda, baking powder, and salt. Whisking ensures these leavening agents and salt are evenly distributed throughout the flour.
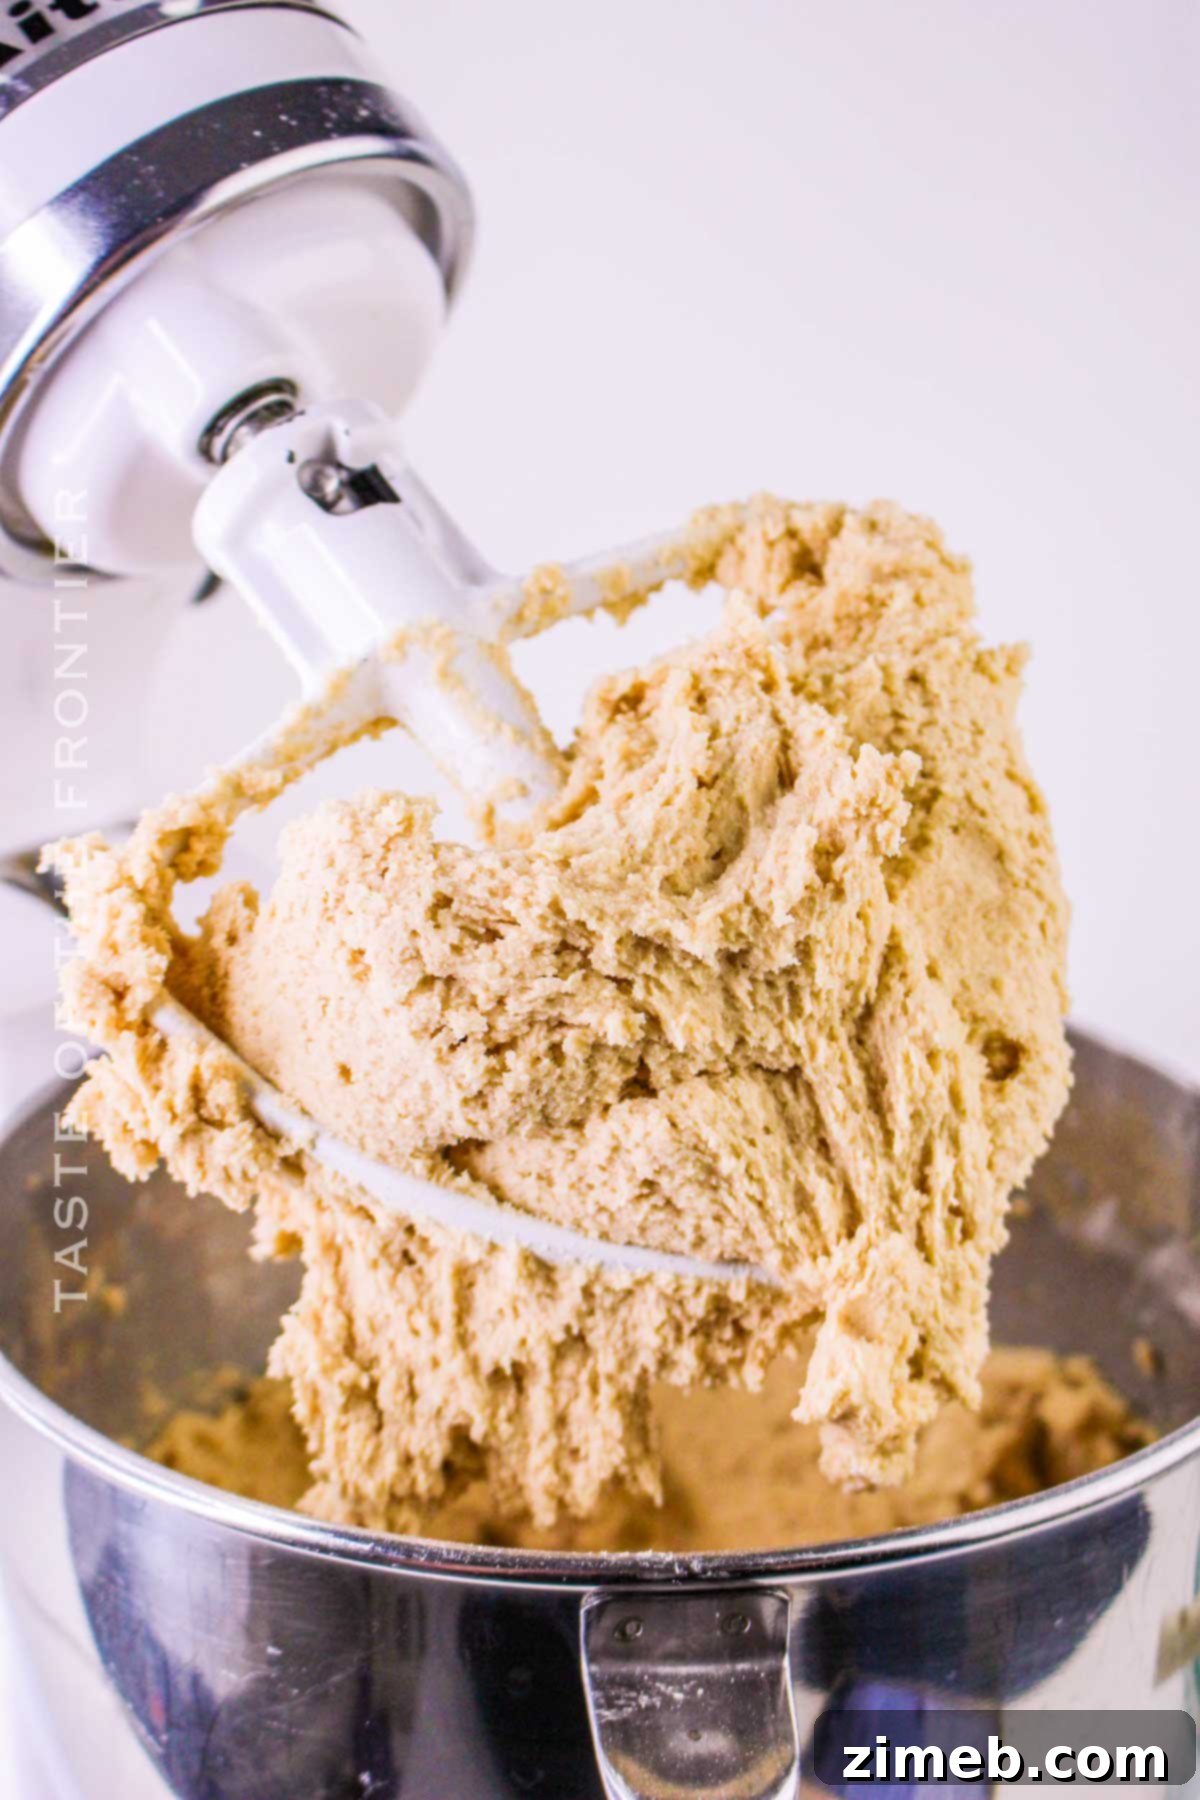
- Gradually Add Dry to Wet: Gradually add the combined dry ingredients to the creamed wet mixture. Mix on low speed (if using a mixer) or fold gently by hand until just combined. Be careful not to overmix the dough, as this can lead to tough cookies.
- Chill the Dough: This is a crucial step for flavor development and texture. Cover the mixing bowl with plastic wrap and refrigerate the cookie dough for at least 2 hours. For the best results and deepest flavor, chilling overnight is highly recommended. Chilled dough also prevents excessive spreading during baking.
- Portion and Bake: Once the dough is chilled, drop rounded tablespoons of dough onto the prepared baking sheets. Leave about 3-4 inches of space between each cookie to allow for proper spreading.
- Bake to Golden Perfection: Bake for 10 to 12 minutes, or until the edges of the cookies are firm and lightly golden brown, but the centers still look slightly soft. This indicates a chewy interior.
- Cool and Serve: Let the freshly baked cookies cool on the baking sheet for a few minutes before carefully transferring them to a wire rack to cool completely. Allowing them to cool on the sheet helps them set and prevents breakage. Serve warm for a delightful treat, or sprinkle with flaky sea salt before cooling for an extra layer of flavor.
Storing Your Delicious Chipless Cookies
Proper storage ensures your chipless cookies remain fresh and delicious for longer. Here’s how to keep them at their best:
- Room Temperature: Baked chipless cookies will stay wonderfully fresh at room temperature for up to 3 days. It is essential to store them in an airtight container to prevent them from drying out and losing their delightful chewiness. You can place a slice of bread in the container to help keep them soft, replacing it daily.
- Serving: These cookies are equally delicious served chilled or gently warmed in the microwave for a few seconds to restore that fresh-out-of-the-oven softness.
Freezing Chipless Cookies for Later Enjoyment
Freezing is an excellent way to extend the shelf life of your chipless cookies, allowing you to enjoy them weeks or even months later without sacrificing quality. Both baked cookies and raw dough can be frozen.
- Freezing Baked Cookies: Fully baked cookies can be frozen for up to 3 months. To freeze them properly, first arrange the cooled cookies in a single layer on a baking sheet and freeze for about 1 hour. This “flash freezing” step prevents them from sticking together. Once firm, transfer the frozen cookies to a freezer-safe bag or an airtight container, layering them with parchment paper if needed.
- Defrosting Baked Cookies: Defrosting is incredibly simple! Just remove the desired number of cookies from the freezer and let them sit at room temperature for about 30-60 minutes, or until thawed. For a warm treat, you can gently reheat them in the microwave or a low oven after thawing.
Make-Ahead Tips for Chipless Cookie Dough
Preparing cookie dough in advance is a fantastic time-saver, especially during busy weeks or for holiday baking. This chipless cookie dough is perfectly suited for make-ahead convenience:
- Refrigerating Dough: After forming the dough into balls, you can store them in an airtight container in the refrigerator for up to 2 days. This allows you to bake fresh cookies on demand with minimal effort.
- Freezing Raw Dough Balls: For longer storage, freeze the raw dough balls. Arrange them on a baking sheet and flash freeze for about an hour until solid. Then transfer them to a freezer-safe bag or container, where they will keep for up to 3 months. This is perfect for the holiday season when you might want to prepare double or triple batches of dough to bake as needed.
- Baking Frozen Dough: When you’re ready to bake, simply place the frozen cookie dough balls on a prepared baking sheet. While they don’t necessarily need to thaw completely, allowing them to sit on the counter for a few minutes before baking can help. Be prepared to add an extra 1-2 minutes to the suggested baking time, as frozen dough will take slightly longer to cook through.
- Baking Ahead for Events: If you need cookies for a party or gathering, you can bake them up to 3 days in advance and store them as described in the “Storage” section.
Exciting Variations for Your Chipless Cookies
While delicious on their own, these chipless cookies offer a versatile base for creative variations. Here are some ideas to customize your batch:
- Browned Butter for Deeper Flavor: Elevate the complexity of your cookies by browning the butter before incorporating it into the dough. This process adds a nutty, toasted flavor and a beautiful deep golden-brown color to the cookie dough, creating a more sophisticated taste profile. Be aware that using browned butter will result in slightly darker cookies. (Refer to the “How to Make Brown Butter” section for instructions).
- Toasted Flour for Enhanced Nutty Notes: For an even more unique and complex flavor, lightly toast a bit of the all-purpose flour in butter before adding it to your dry ingredients. This step deepens the overall nuttiness and provides an extra layer of gourmet flavor.
- Delightful Dipped Cookies: If some guests might still yearn for a touch of chocolate, or you simply want to add an elegant finish, consider making dipped cookies. Once the cookies are baked and completely cooled, you can dip the bottom or half of each cookie in melted chocolate (milk, dark, or white) or rich caramel. This easy hack offers a satisfying compromise and a beautiful presentation.
- Vegan-Friendly Chipless Cookies: To adapt this recipe for a vegan diet, use a high-quality plant-based butter substitute (like vegan butter sticks). Replace the eggs with a flax egg (1 tablespoon ground flaxseed mixed with 2.5 tablespoons water, let sit for 5 minutes) or a cornstarch slurry (1 tablespoon cornstarch mixed with 2-3 tablespoons water). Ensure any other add-ins are also vegan-certified.
- Maple Syrup for Stronger Flavor: For a delightful autumnal twist or just a deeper, warmer flavor profile, add a tablespoon of pure maple syrup to your wet ingredients. The maple notes will beautifully complement the brown sugar and vanilla, creating a uniquely comforting cookie.
- Nutty Add-ins: Incorporate chopped pecans, walnuts, or almonds for added crunch and flavor. Toasting the nuts lightly before adding them can enhance their taste.
- Dried Fruit Infusion: Add dried cranberries, raisins, or chopped apricots for bursts of fruity sweetness and a chewy texture variation.
- Cinnamon Sugar Swirl: Roll portions of dough in a cinnamon-sugar mixture before baking for a classic snickerdoodle-like flavor and an enticing aroma.
Mastering the Art of Brown Butter
Browning butter is a simple technique that adds incredible depth and a rich, nutty flavor to your cookies. Here’s a step-by-step guide to achieving perfect brown butter:
- Melt Butter: Place unsalted butter in a small, light-colored saucepan over medium heat. Using a light-colored pan allows you to easily monitor the butter’s color as it cooks.
- Foam and Simmer: As the butter melts, it will begin to foam. Stir constantly with a heatproof rubber spatula. This process typically takes about 4-6 minutes. The foam will eventually subside.
- Watch for Color and Aroma: Continue stirring. The butter solids at the bottom of the pan will start to turn golden, then amber, and finally a beautiful dark brown, resembling the color of a chai latte. Simultaneously, you’ll notice a distinct, nutty aroma. This usually happens quickly, often within 1-2 minutes after the foaming subsides. Be vigilant at this stage, as butter can go from perfectly browned to burnt very rapidly. Adding a small pinch of flour at the beginning can sometimes help absorb excess moisture and speed up the browning slightly, but careful monitoring is key.
- Remove from Heat and Cool: Immediately remove the saucepan from the heat once the butter reaches the desired dark golden-brown color and emits a rich, nutty fragrance. Pour the browned butter into a medium bowl to stop the cooking process. Allow it to cool slightly before incorporating it into your cookie dough mixture. Ensure it cools enough that it doesn’t scramble the eggs if you’re adding it directly to wet ingredients. If too much liquid evaporates, your cookies could turn out dry, so don’t over-brown it.
Expert Tips for Your Best Chipless Cookies Ever
Achieving bakery-quality chipless cookies is easier than you think with these professional tips:
- Measure Flour Accurately: Precision in measuring flour is paramount in baking. Use the “spoon-and-level” method: fluff the flour in its container, then spoon it lightly into your measuring cup until it overflows, and finally, level off the excess with a straight edge (like the back of a knife). Sifting the flour beforehand can also help aerate it and prevent a dense cookie. Too much flour will result in dry, crumbly cookies.
- Reintroduce Chocolate Chips (Optional): While this recipe celebrates the chipless cookie, it’s a wonderfully adaptable base. If you decide you’re in the mood for a classic, you can absolutely add chocolate chips back into this dough. The recipe will seamlessly transform into a fantastic regular chocolate chip cookie recipe.
- Understanding Cookie Scoop Sizes: Uniform cookie size is crucial for even baking. Cookie scoops are typically numbered, and these numbers correspond to how many scoops equal one quart. Generally, sizes up to #10 will yield large cookies, sizes #16-#30 make medium cookies, and anything smaller than #30 produces small cookies. Keep in mind that exact sizes can vary slightly by brand. For ultimate precision, consider weighing your dough balls. A medium cookie dough ball is usually around 56 grams, while a large cookie might be 85 grams. Remember that larger cookies will require an additional 1-2 minutes of baking time.
- Handle Dough with Wet Hands: Cookie dough can sometimes be a bit sticky. Lightly wetting your hands before rolling or shaping the dough balls can make them much easier to handle and prevent the dough from sticking to your fingers.
- Don’t Skip Baking Soda: Baking soda is a critical ingredient in this recipe. It doesn’t just help the dough rise; it reacts with the acidic brown sugar to contribute to those desirable crisp edges and promotes better spreading of the cookies. However, because we also include baking powder, the cookies won’t spread excessively, ensuring they maintain a pleasing shape and thickness.
Expert Tricks for Cookie Perfection
Beyond the basics, these insider tricks will elevate your chipless cookies from good to truly exceptional:
- Avoid Overworking the Dough: This is perhaps one of the most important rules in cookie baking. Overmixing the dough develops the gluten in the flour too much, leading to tough, dry, and less tender cookies. Mix only until the ingredients are just combined. If using a stand mixer, it’s often safer to do the final flour incorporation by hand with a spatula.
- Check for Doneness by Eye: Resist the urge to overbake! The key to soft and chewy cookies is to remove them from the oven when the edges are set and lightly golden brown, but the centers still look a touch underbaked or slightly puffed. They will continue to cook slightly on the hot baking sheet, resulting in that perfect soft, gooey center.
- Post-Bake Oven Rest: For optimal texture, once the cookies are baked and the oven is turned off, leave the baking sheet inside the cooling oven for an additional 10-20 minutes. This gentle, residual heat helps the cookies firm up without becoming dry, allowing them to fully set before being transferred to a wire rack for complete cooling.
- Proper Spacing on Baking Sheets: Ensure ample space between each cookie dough ball on the baking sheet. A general rule of thumb is 3-4 inches. If cookies are too close, they can spread into each other, bake unevenly, or steam rather than crisp, impacting their texture. This also applies when chilling or freezing dough balls.
- Calibrate Your Oven Temperature: Oven temperatures can vary significantly from one appliance to another. An oven thermometer can help you verify the actual temperature inside your oven. An accurate temperature is crucial for cookies to achieve a beautiful golden brown without burning or remaining undercooked. If your oven runs hot, you might consider baking at 350°F instead of 375°F to ensure soft cookies. A test cookie (baking one cookie first) is a great way to gauge your oven’s performance.
- Shape Warm Cookies for Perfection: If you’re a perfectionist aiming for perfectly round cookies, here’s a trick: immediately after removing the cookies from the oven, use a round cookie cutter (larger than the cookie) or the rim of a glass to gently scoot around the warm cookies on the baking sheet. This pushes in any uneven edges, creating a perfectly circular shape.
Frequently Asked Questions About Chipless Cookies
What Can I Put In Cookies Instead Of Chocolate Chips?
The possibilities are endless when it comes to customizing your chipless cookies! Instead of chocolate chips, you can incorporate a variety of delightful additions to create unique flavor profiles and textures. Consider adding chopped nuts such as pecans, walnuts, or almonds for a satisfying crunch. Toffee bits will introduce a delightful caramel chewiness, while colorful M&M’s or other candies can add a fun pop of color and sweetness, especially for kids. For a creamy and rich alternative, try peanut butter chips or butterscotch chips. Mini marshmallows can create a gooey surprise, and a swirl of Biscoff spread (or similar cookie butter) within the dough can provide a distinct spiced flavor. Dried fruits like cranberries, raisins, or chopped apricots also work beautifully, adding a natural sweetness and chew. If you still desire a hint of “chocolate” flavor without traditional dark or milk chocolate, white chocolate chips are an excellent choice, offering a creamy, sweet contrast.
How To Make Chewy Vs. Crunchy Cookies?
The texture of your cookies can be finely tuned based on a few key factors in your recipe and baking process:
- For Chewy Cookies: To achieve that coveted chewy texture, focus on using softened butter (not melted), a higher ratio of brown sugar to granulated sugar (brown sugar contains more moisture), and often, a touch of cornstarch in the recipe can contribute to softness. Baking at a slightly lower temperature (like 350°F) or for the lowest suggested baking time until the edges are just set but the centers still look slightly underbaked is crucial. Removing them from the oven while slightly underbaked allows them to finish cooking gently on the hot pan, resulting in a perfectly soft and gooey interior. Additionally, using gluten-free flour (like almond flour) can sometimes keep the dough from drying out, contributing to a softer, more pliable texture.
- For Crunchy Cookies: If a crispier, crunchier cookie is your preference, consider increasing the ratio of granulated sugar, which promotes spreading and crispness. Using melted butter can also contribute to a crisper texture. Baking soda tends to spread cookies more than baking powder, leading to thinner, crispier edges. Baking at a slightly higher temperature (e.g., 400°F for a shorter time) can help achieve crispiness around the edges. Crucially, bake the cookies until they are fully golden brown and firm throughout, which signals less moisture in the final product and a tougher, crunchier bite.
What Is The Purpose Of Chocolate Chips In Cookies?
In traditional chocolate chip cookies, the chocolate chips serve several key purposes that contribute to their immense popularity and unique appeal. Primarily, they infuse the cookies with a rich, sweet, and sometimes slightly bitter chocolate flavor that is beloved by many. During baking, the chocolate chips melt, creating gooey pockets and streaks of warm, molten chocolate throughout the cookie, which adds a luxurious, textural contrast to the chewy dough. Beyond flavor and texture, chocolate chips also provide visual appeal, with their dark presence contrasting against the golden-brown cookie base. They are undeniably the ingredient that defines this classic American dessert, making it one of the most famous and frequently baked cookies not just in the U.S., but across the globe.
If you’ve enjoyed mastering this chipless cookie recipe, you’re sure to love exploring other delightful cookie creations. Discover more of our easy and printable cookie recipes below!
Discover More Delicious Cookie Recipes!
Famous Amos Cookies Recipe
With crunchy edges, chewy centers, and buttery flavor, this copycat Famous Amos Cookies Recipe is a nostalgic delight.

Check out this recipe
Lemon Cake Mix Cookies
Lemon Cake Mix Cookies are a simple citrus cookie recipe made with just 3 ingredients. Perfect for summer parties, potlucks, and bake sales. With the addition of confectioner’s sugar on the outside, these become the prettiest lemon cake mix crinkle cookies that everyone will love.

Check out this recipe
Lace Cookies
These delicate Lace Cookies are filled with rich brown butter and caramel flavors that are perfect alone or made into sea salt Nutella sandwich cookies.
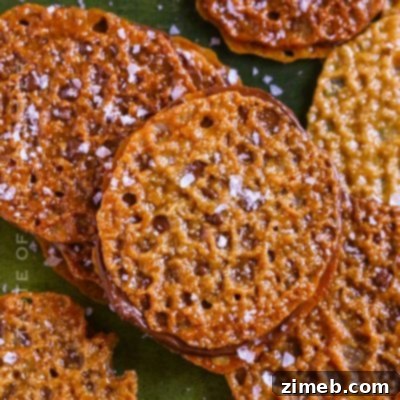
Check out this recipe
Frosted Animal Cookies
These copycat frosted animal cookies combine simple vanilla cookies with a sweet confectioner’s glaze and festive rainbow nonpareils.
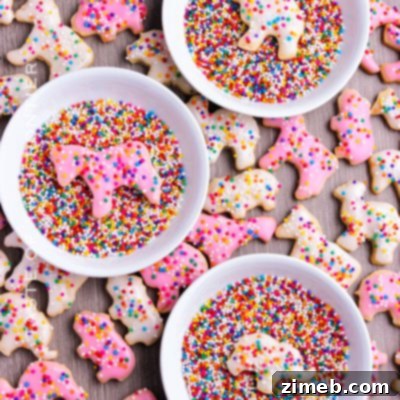
Check out this recipe
Chai Tea Cookies
Chai Tea Cookies are the perfect fall dessert. Loaded with warm, comforting, spice flavors that pair perfectly with your coffee or tea.

Check out this recipe
More Irresistible Cookie Recipes Without Chocolate Chips
If you love the simplicity and pure flavor of chipless cookies, you’ll certainly enjoy these other fantastic recipes that shine without any chocolate:
- Sable Breton (French Butter Cookies) – Rich, crumbly, and melt-in-your-mouth delicious, these classic French shortbreads are a testament to the beauty of butter and simple ingredients.
- Soft Sour Cream Cookies – Incredibly soft and tender, these cookies have a subtle tang from sour cream, making them uniquely moist and flavorful, often topped with a delicate frosting.
- No-Bake Buckeye Cookies – A delightful combination of peanut butter and a rich chocolate coating, these cookies are a dream for peanut butter lovers and require no baking.
- Homemade Biscoff Cookies – Capture the spiced caramel flavor of store-bought Biscoff cookies in a homemade version that’s perfect with a cup of coffee or tea.
- Seasonal Fall Cookies – Explore a collection of cozy, spice-filled cookie recipes perfect for autumn, often featuring ingredients like pumpkin, apple, and warm spices.
CONNECT WITH YUMMI HAUS!
Be sure to follow us on social media and subscribe to our updates, so you never miss a post!
Substack, Facebook, Pinterest, Instagram, Email Subscription

Classic Chewy Chipless Cookies

Course: Dessert
Yields: 24 servings
These Classic Chewy Chipless Cookies deliver the soft, buttery texture you adore in traditional chocolate chip cookies, but highlight pure vanilla and brown sugar flavors instead of chips!
Print Recipe |
Pin Recipe
Prep Time: 15 minutes
Cook Time: 10-12 minutes
Total Time: Approximately 25-27 minutes (plus chilling)
Ingredients
- 1 cup unsalted butter, softened
- 1 cup granulated sugar
- 1 cup packed brown sugar (dark or light)
- 2 large eggs, at room temperature
- 2 teaspoons pure vanilla extract
- 3 cups all-purpose flour
- 1 teaspoon baking soda
- ½ teaspoon baking powder
- ½ teaspoon kosher salt
Instructions
- Preheat your oven to 375°F (175°C). Line a baking sheet with parchment paper.
- In a large mixing bowl, cream together the softened butter, granulated sugar, and brown sugar until the mixture is light, fluffy, and smooth.
- Beat in the eggs one at a time, ensuring each is fully incorporated before adding the next. Stir in the vanilla extract until just combined.
- In a separate medium bowl, whisk together the all-purpose flour, baking soda, baking powder, and salt.
- Gradually add the dry ingredients to the wet mixture, mixing until just combined. Be careful not to overmix the dough.
- Cover the dough and refrigerate for at least 2 hours, or preferably overnight, to allow flavors to develop and the dough to firm up.
- Once chilled, drop rounded tablespoons of dough onto the prepared baking sheet, leaving about 3-4 inches between each cookie for spreading.
- Bake for 10 to 12 minutes, or until the edges are lightly golden brown and firm, but the centers still appear slightly soft.
- Let the cookies cool on the baking sheet for a few minutes before transferring them to a wire rack to cool completely.
Nutrition Facts (Approximate per serving)
Serving Size: 1 cookie (out of 24 servings)
- Calories: 193 kcal
- Carbohydrates: 29g
- Protein: 2g
- Fat: 8g
- Saturated Fat: 0.02g
- Cholesterol: 20mg
- Sodium: 167mg
- Potassium: 32mg
- Fiber: 0.4g
- Sugar: 17g
- Calcium: 15mg
- Iron: 1mg
- Net Carbohydrates: 29g
Nutritional information is provided as a courtesy and is approximate. Please verify with your own dietary calculator for the most accurate information, as we cannot guarantee the precision of nutritional data on this site.
Love this recipe?
Follow @KleinworthCo for even more tasty recipes!