Spider Web Cookies
These gluten free spider web cookies are perfect for Halloween. If you are having a party for the holiday, you'll definitely want to make sure these cookies are on the dessert table. Kids and adults alike will love these adorable cookies!
- Prep1 hr
- Cook12 min
- Total1 hr 12 min
- Yield12 cookies
28 Oct 2010
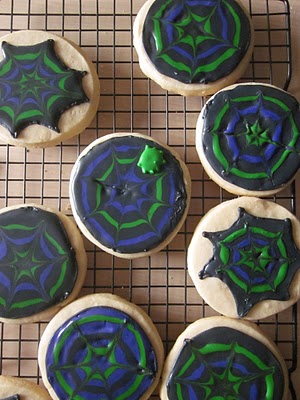

I looooove Halloween– Is it because my birthday is 3 days before Halloween? Um yes, most likely. I’m turning 22 tomorrow!
Okay, back to the cookies… the possibilities are endless for Halloween baked goods and I’m loving every second of it. Unfortunately I only have a few days left to fit in all of my ideas!
Last year I made some cupcakes that used the same technique to make spider webs on them but that was in my pre-blogging days so I didn’t take pictures. I saw a picture of these spider web cookies over at Bake at 350 and decided I had to make them immediately.
My first batch consisted of the black background with the purple and green web for the little girls in my dance class that I teach. I thought they were super cute but I showed my dad when I visited home for the weekend and he told me they were looked “psychedelic” and that he didn’t know what they were.
So then I made a batch with the white background with the black and orange webs and sent those off to my boyfriend and his family along with some of the pumpkin cookies I made earlier this week.
Bridget at Bake at 350 has an awesome tutorial to make these cookies with lots of pictures so head over there if you need more pictures. I am still getting a hang of this photography thing and didn’t take enough pictures. One day I promise I will start doing tutorials. Enjoy these cute little Halloween treats!
More Fall Inspired Gluten Free Sugar Cookie Designs
Method
For the Cookies:
-
1
In a medium bowl, whisk together gluten free flour blend, xanthan gum (if using), and salt. Set aside.
-
2
Cream butter and powdered sugar in a large bowl with an electric mixer until light and fluffy, about 2-3 minutes.
-
3
Mix in egg, vanilla, almond extract and salt and beat until mixed well.
-
4
Gradually add in flour blend (1/2 cup at a time) and mix after each addition. Put dough in the refrigerator for an hour or so, or until the dough firms up.
-
5
Sprinkle your work surface and rolling pin with powdered sugar. Roll the dough out to a ¼ inch thickness.
-
6
Using a circle cookie cutter, cut shapes into the dough. Place cookie dough shapes on a parchment paper lined cookie sheet and place in the freezer for 10-15 minutes.
-
7
Then, bake cookies in the oven at 375 degrees Fahrenheit for 8-10 minutes. The cookies should not brown completely, but the edges can be slightly browned (that’s a good indication it’s done). Cool on a wire rack.
For the Royal Icing:
-
8
In a bowl of an electric mixer fitted with the whisk attachment, combine the powdered sugar, meringue powder, vanilla, and water.
-
9
Mix for 7-10 minutes, until the ingredients are well blended and the icing has a matte finish. This is the base consistency. I usually add about 1 tsp more of water for a good outline icing (I use a 10 second rule) and add more water until I reach a 4-second icing for flood icing. This means that when you drizzle icing over the bowl of royal icing then the icing will flow back in with the rest of the icing in 4 seconds (10 second icing is the same but it will sink back in with the rest of the icing in 10 seconds). If you need to thin it out more then add more water. If you need to thicken it add more powdered sugar.
To Decorate:
-
10
To decorate, outline the cookies with a 10-second consistency using either a #2 or #3 tip in the color of your choice (make it the same color as your background color).
-
11
You can do either a circular pattern or a more weblike pattern--I did some of both. Let the outline dry for about an hour.
-
12
Reserve some of the thicker icing (10-second consistency) to make the spiders at the end--use one of the web colors for this.
-
13
Then, thin out the background icing to a 4-second consistency, as well as the icing being used for the webs all to the same consistency and put in squeeze bottles.
-
14
Then flood the cookies with the background color.
-
15
While the flood icing is still wet, use the squeeze bottles to make 3 circles of alternating colors.
-
16
Then with a toothpick, start in the center of the cookie and drag the toothpick out to the edge of the outline to make a weblike pattern.
-
17
Let dry for a few hours or overnight.
-
18
When the icing is dry on the cookie, using a #7 tip (or any other large circular tip) to pipe a circle with the thicker icing until it resembles the body of a circle.
-
19
Then using a #2 tip pipe the legs of the spider. Let the cookie sit until it is dry.
Cook next
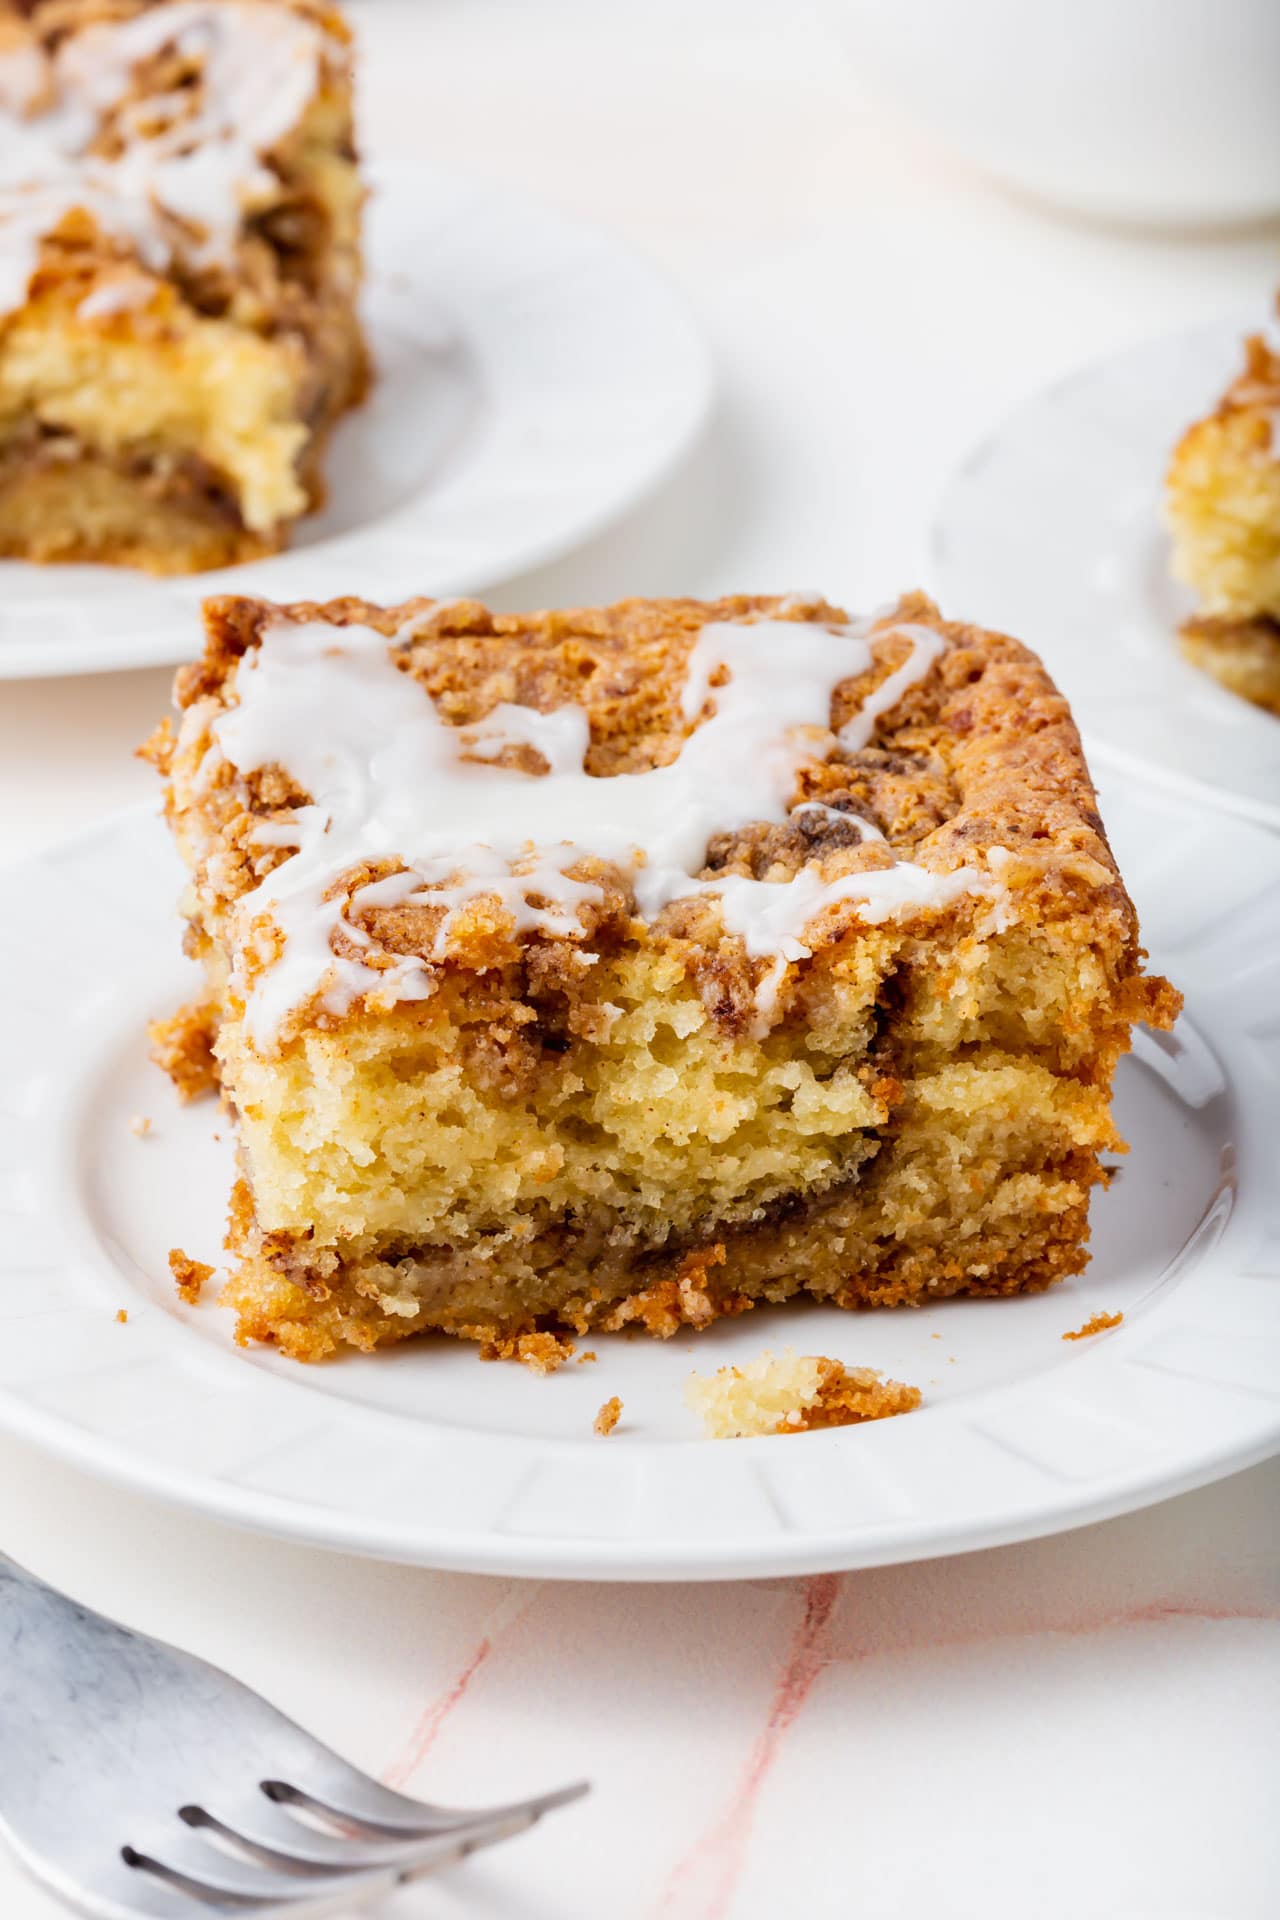 Gluten-FreeRecipeGluten-Free Coffee CakeGluten-free coffee cake with a cinnamon sugar swirl through the middle, a thick crumbly streusel on top, and…
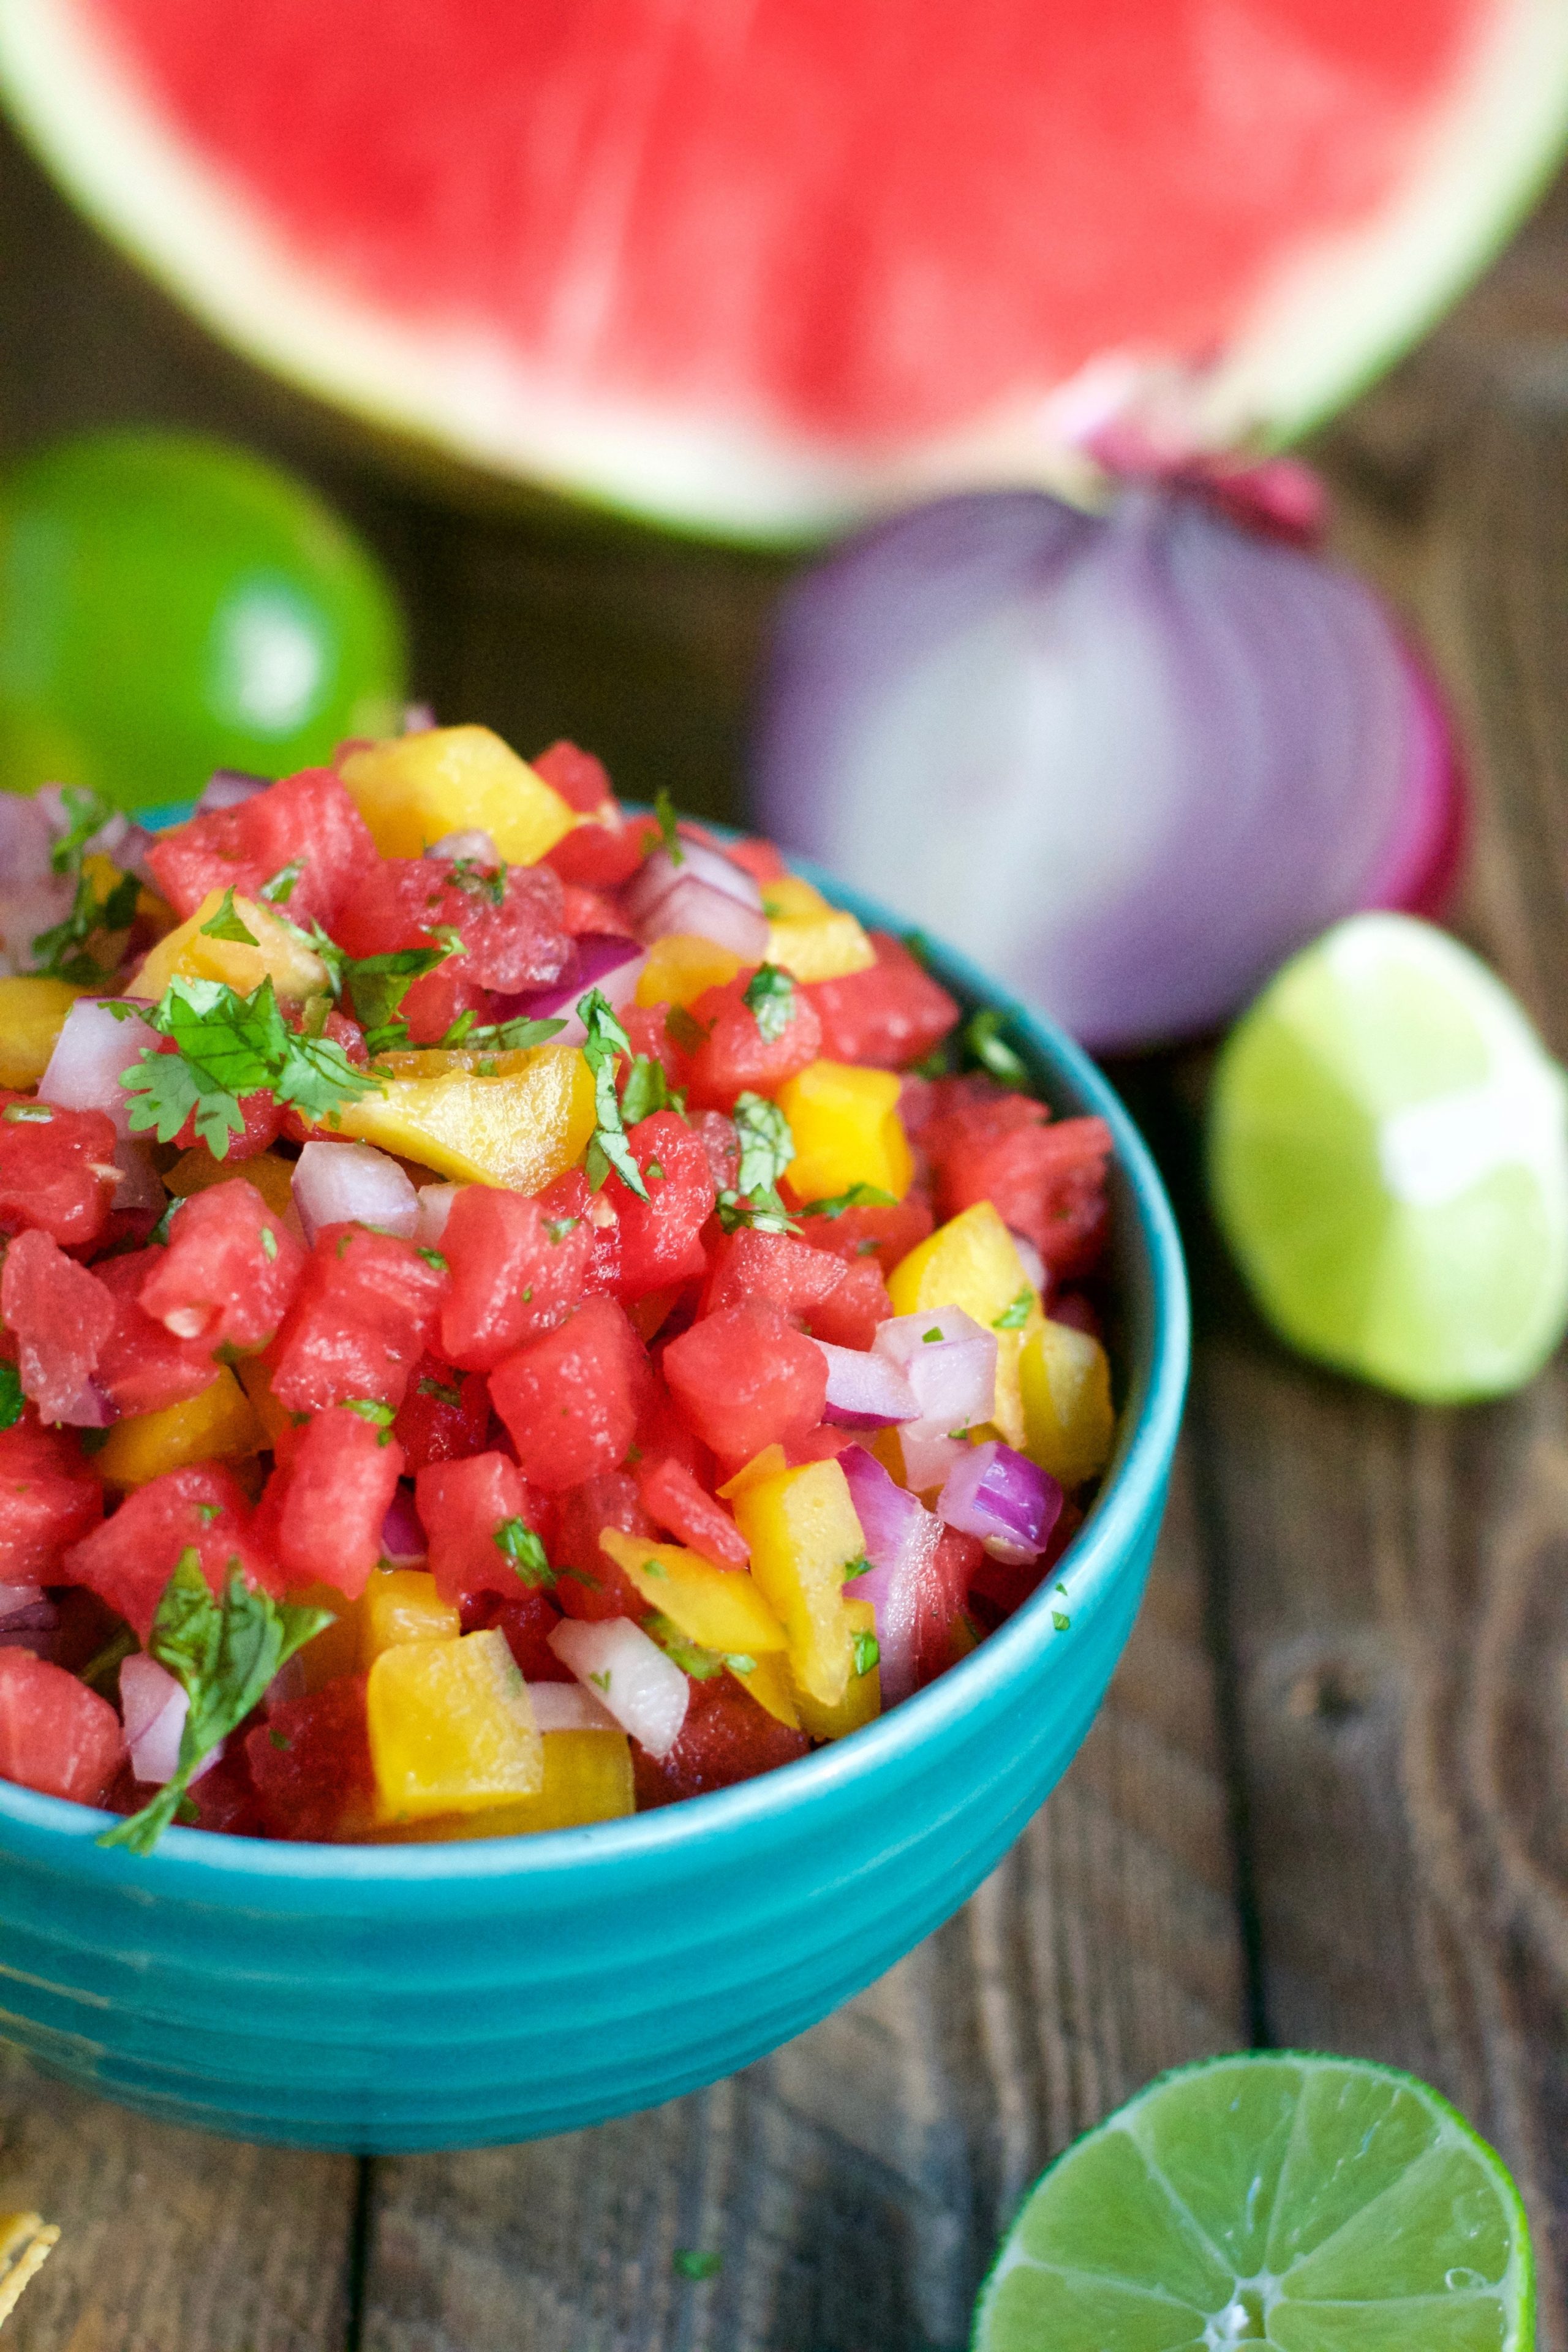 Gluten-FreeRecipeWatermelon SalsaFresh, sweet, and ready in 10 minutes. This watermelon salsa is made with ripe watermelon, yellow bell pepper…
 Gluten-FreeRecipeRoasted Rainbow Carrots with Lemon Tahini SauceRoasted rainbow carrots with lemon tahini sauce. Roasting brings out the natural sweetness in the carrots, an…
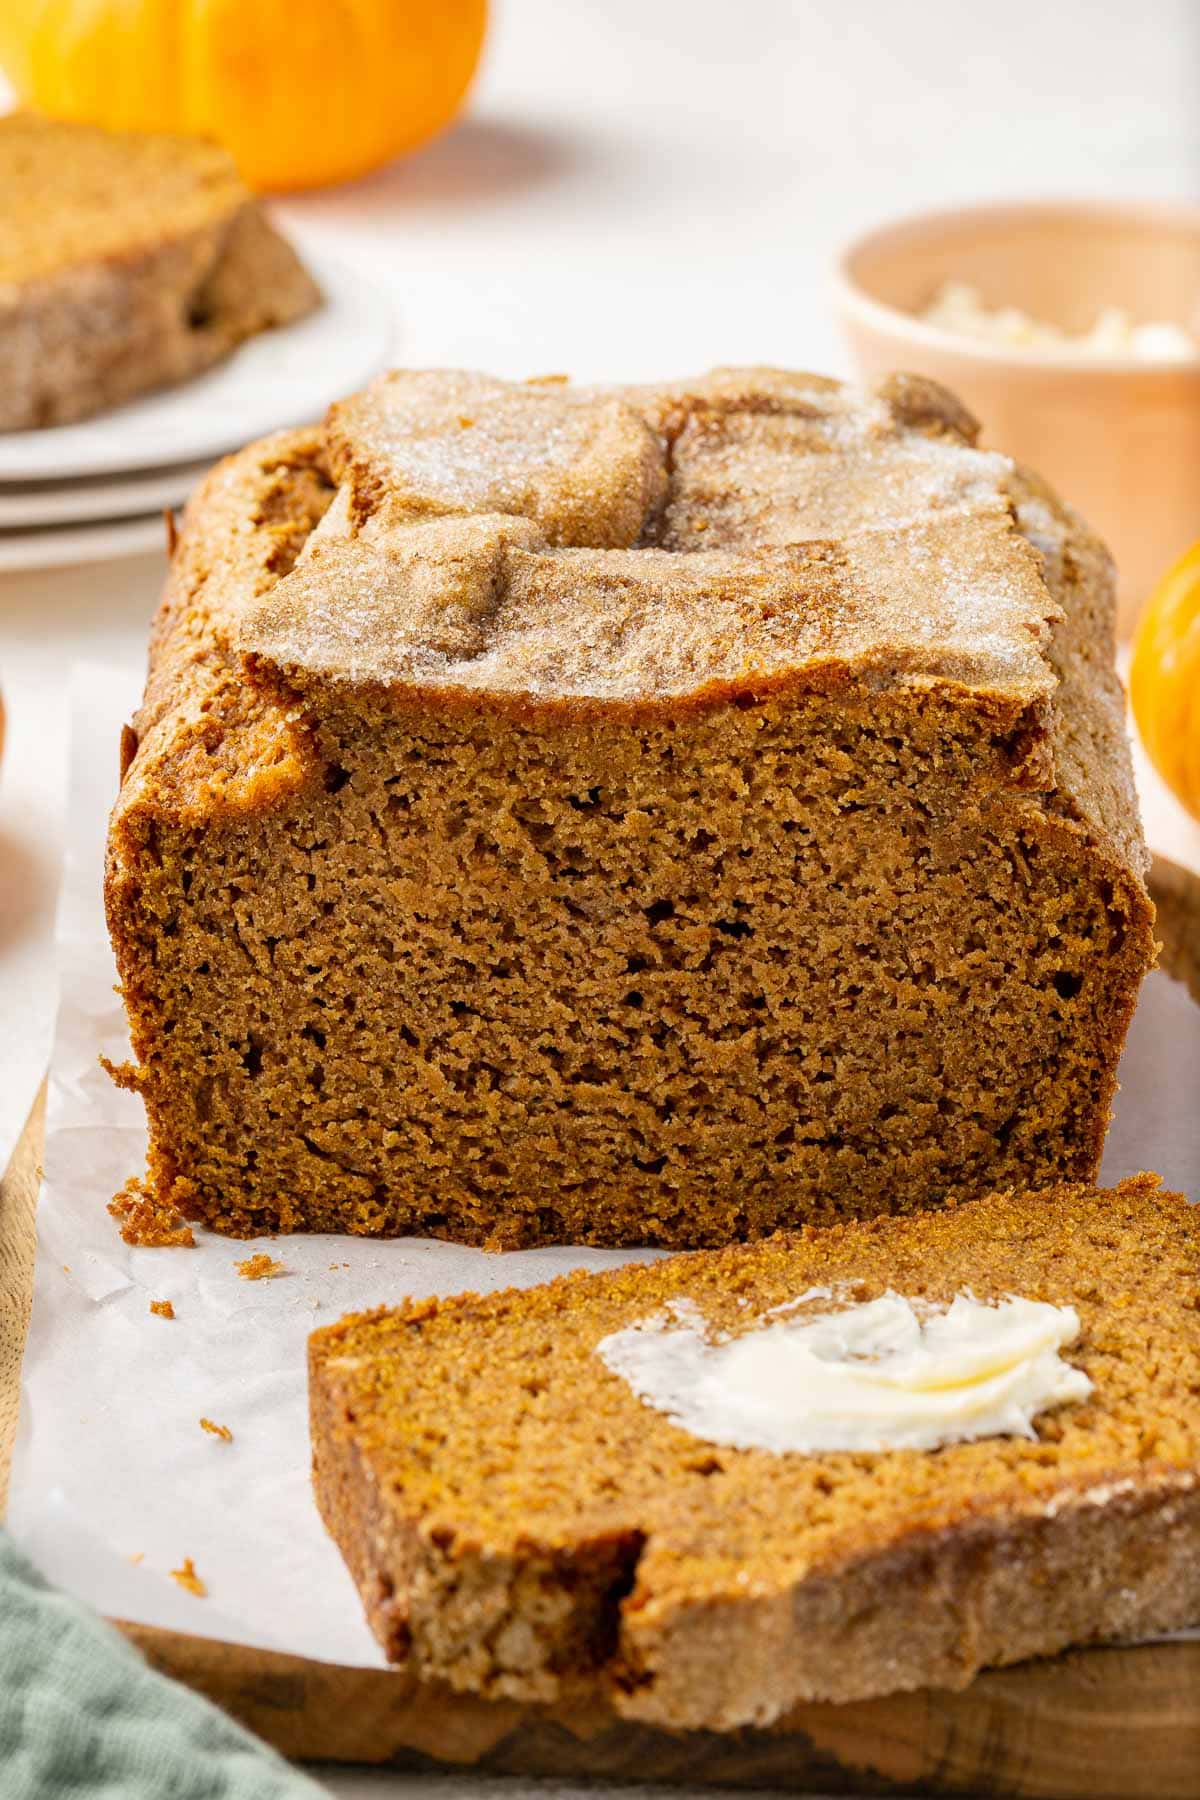 Gluten-FreeRecipeGluten-Free Pumpkin BreadI make this gluten free pumpkin bread every fall, usually more than once. It's moist, packed with cinnamon an…
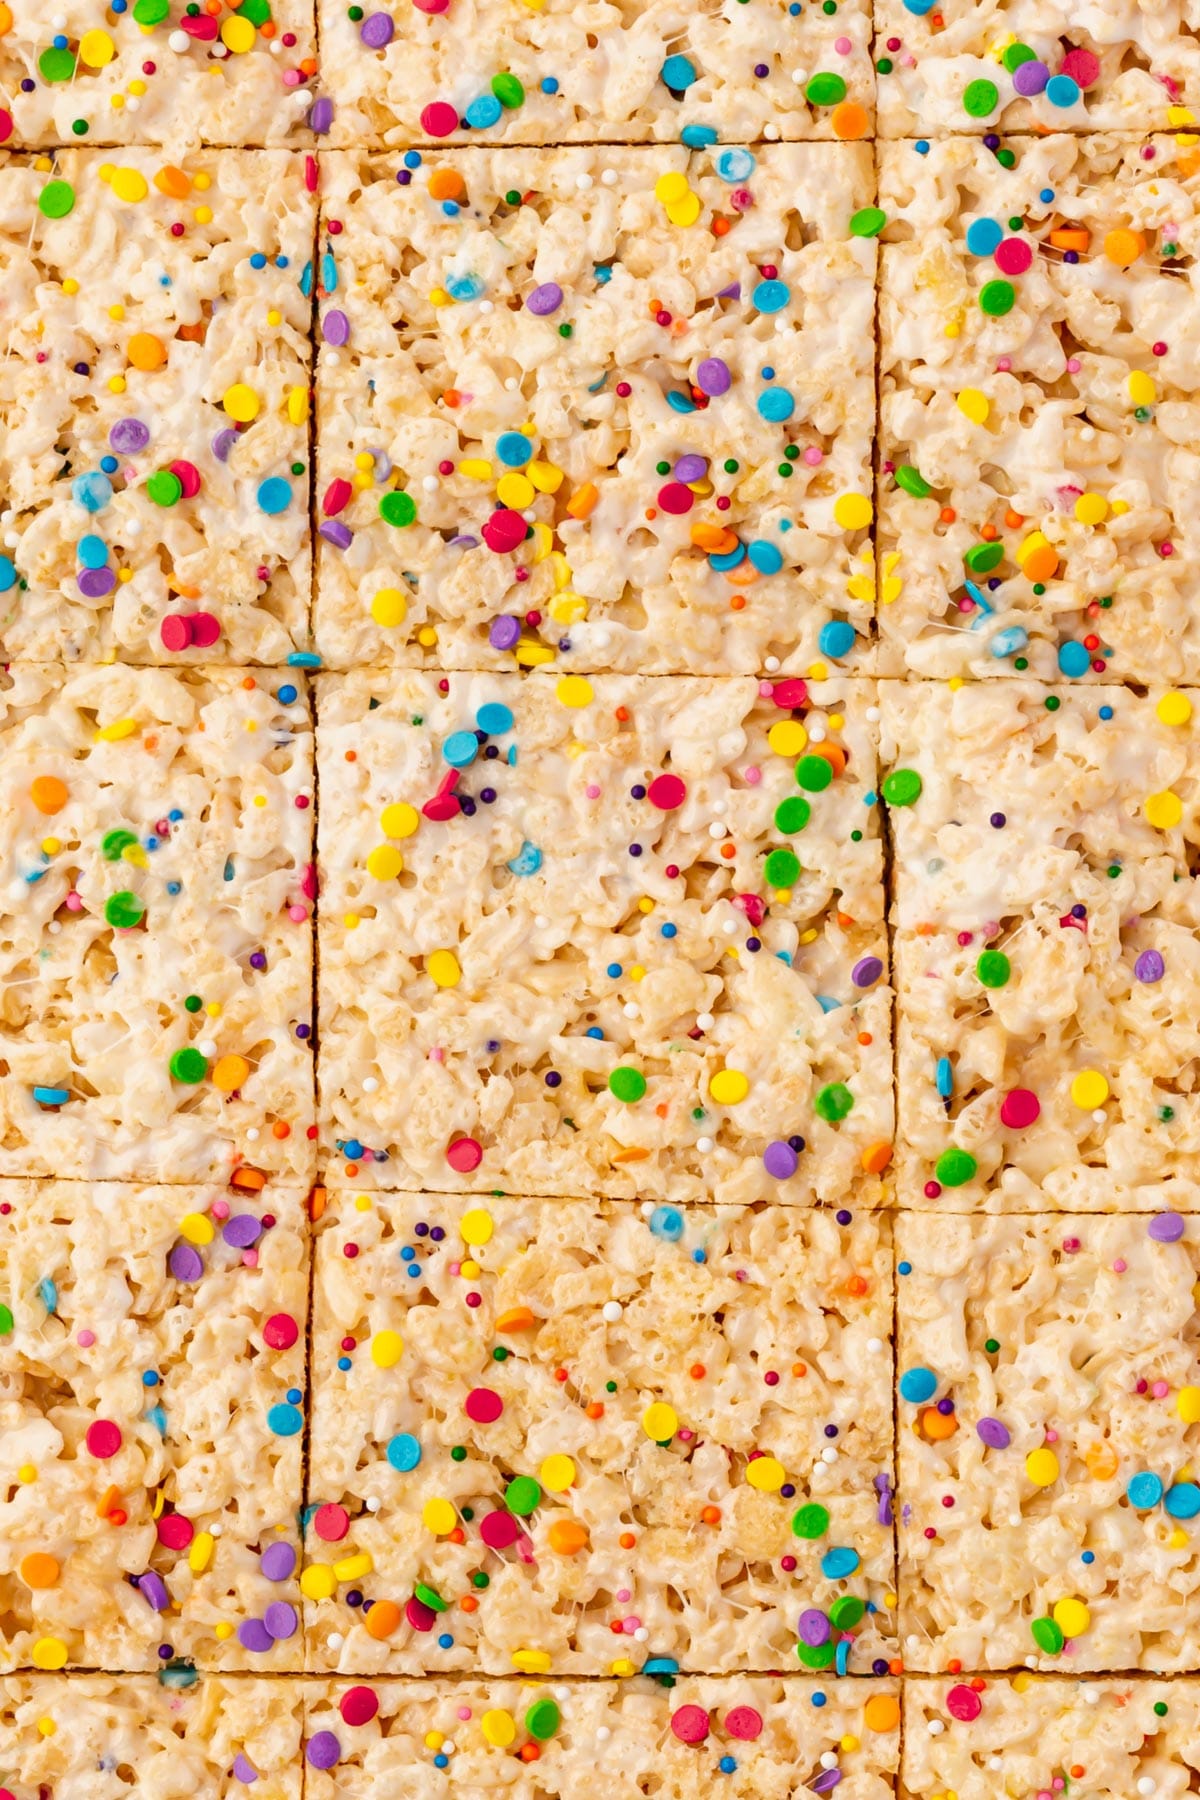 Gluten-FreeRecipeGluten-Free Rice Krispies TreatsSoft, chewy gluten-free rice krispie treats packed with sprinkles. A two-stage marshmallow method gives you g…
 Gluten-FreeRecipeGluten-Free MeatballsThese gluten-free meatballs are a family favorite made with 80/20 ground beef, Italian-style gluten-free brea…
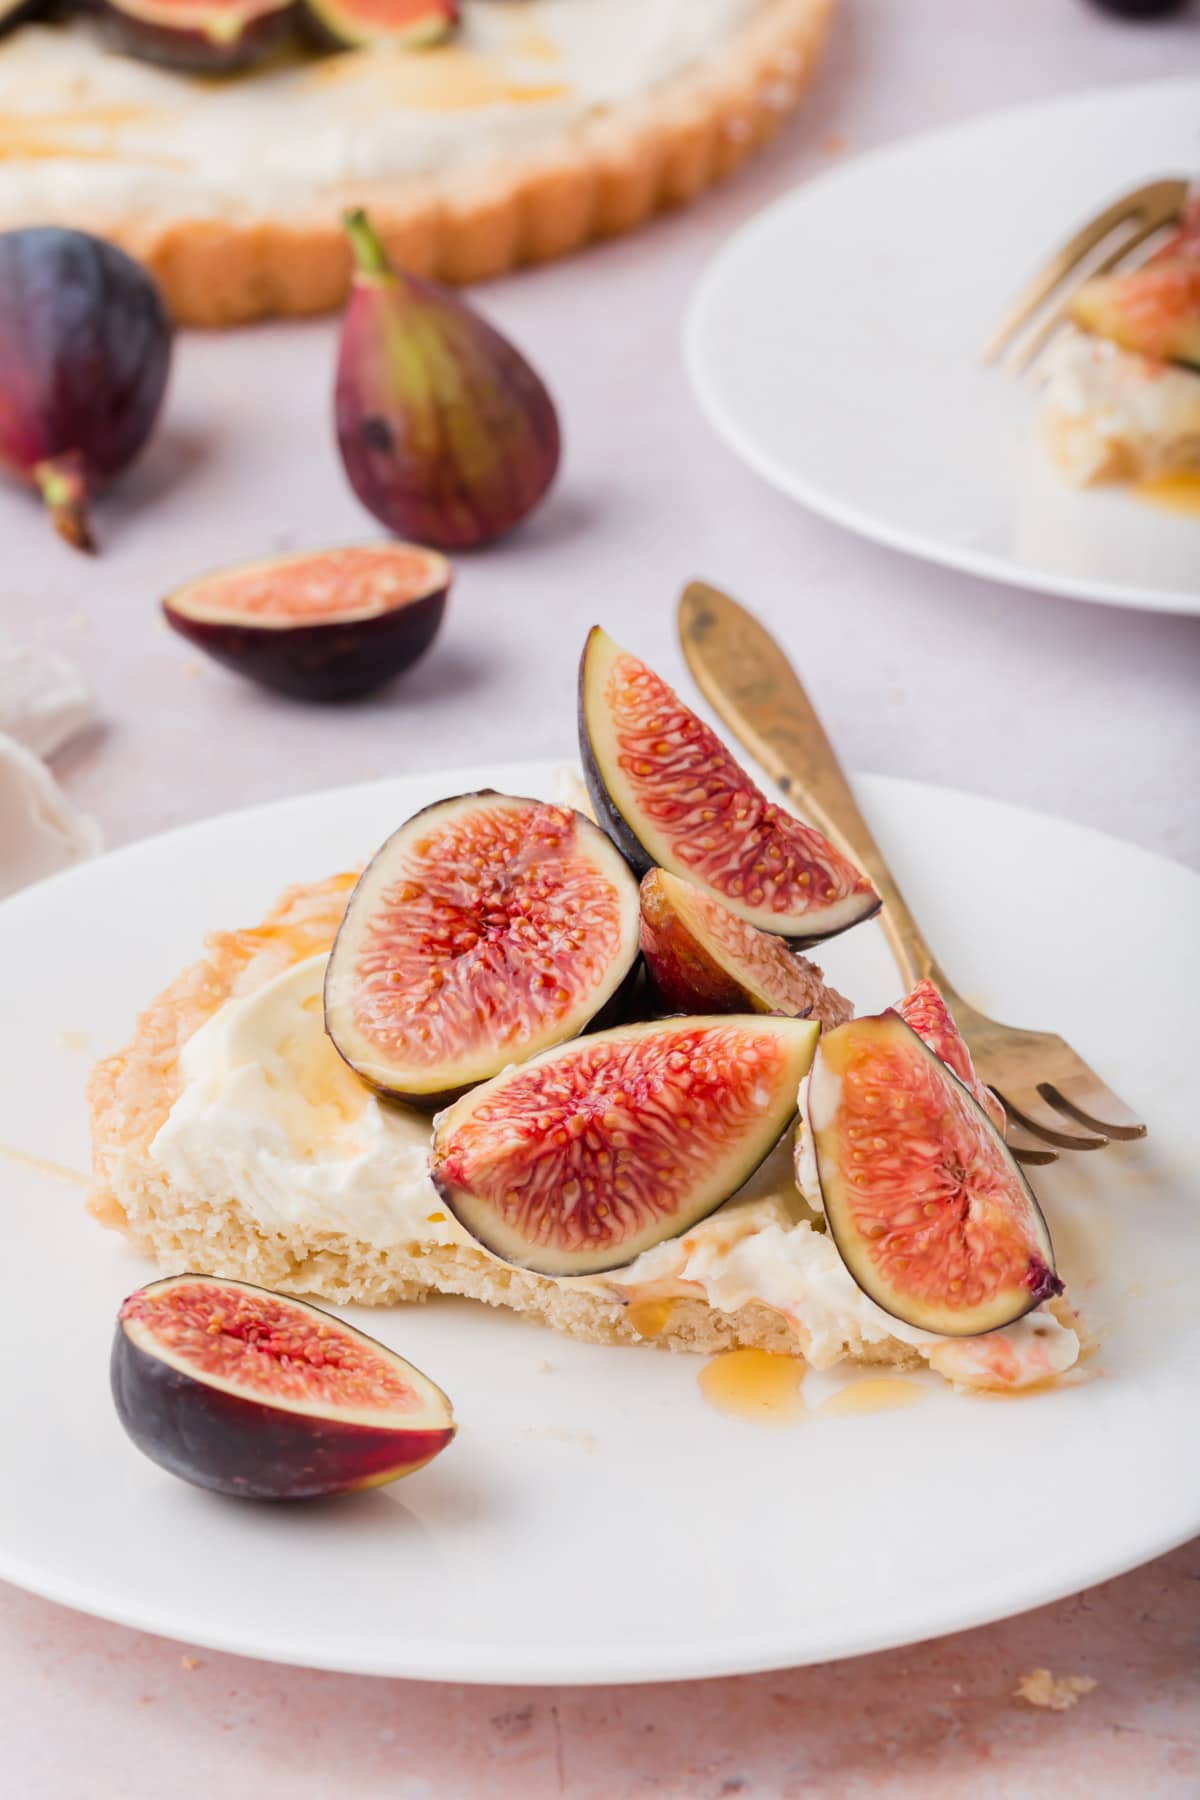 Gluten-FreeRecipeGluten-Free Fig Tart with MascarponeThis gluten-free fig tart has a buttery shortbread crust, a whipped mascarpone filling, and a topping of fres…
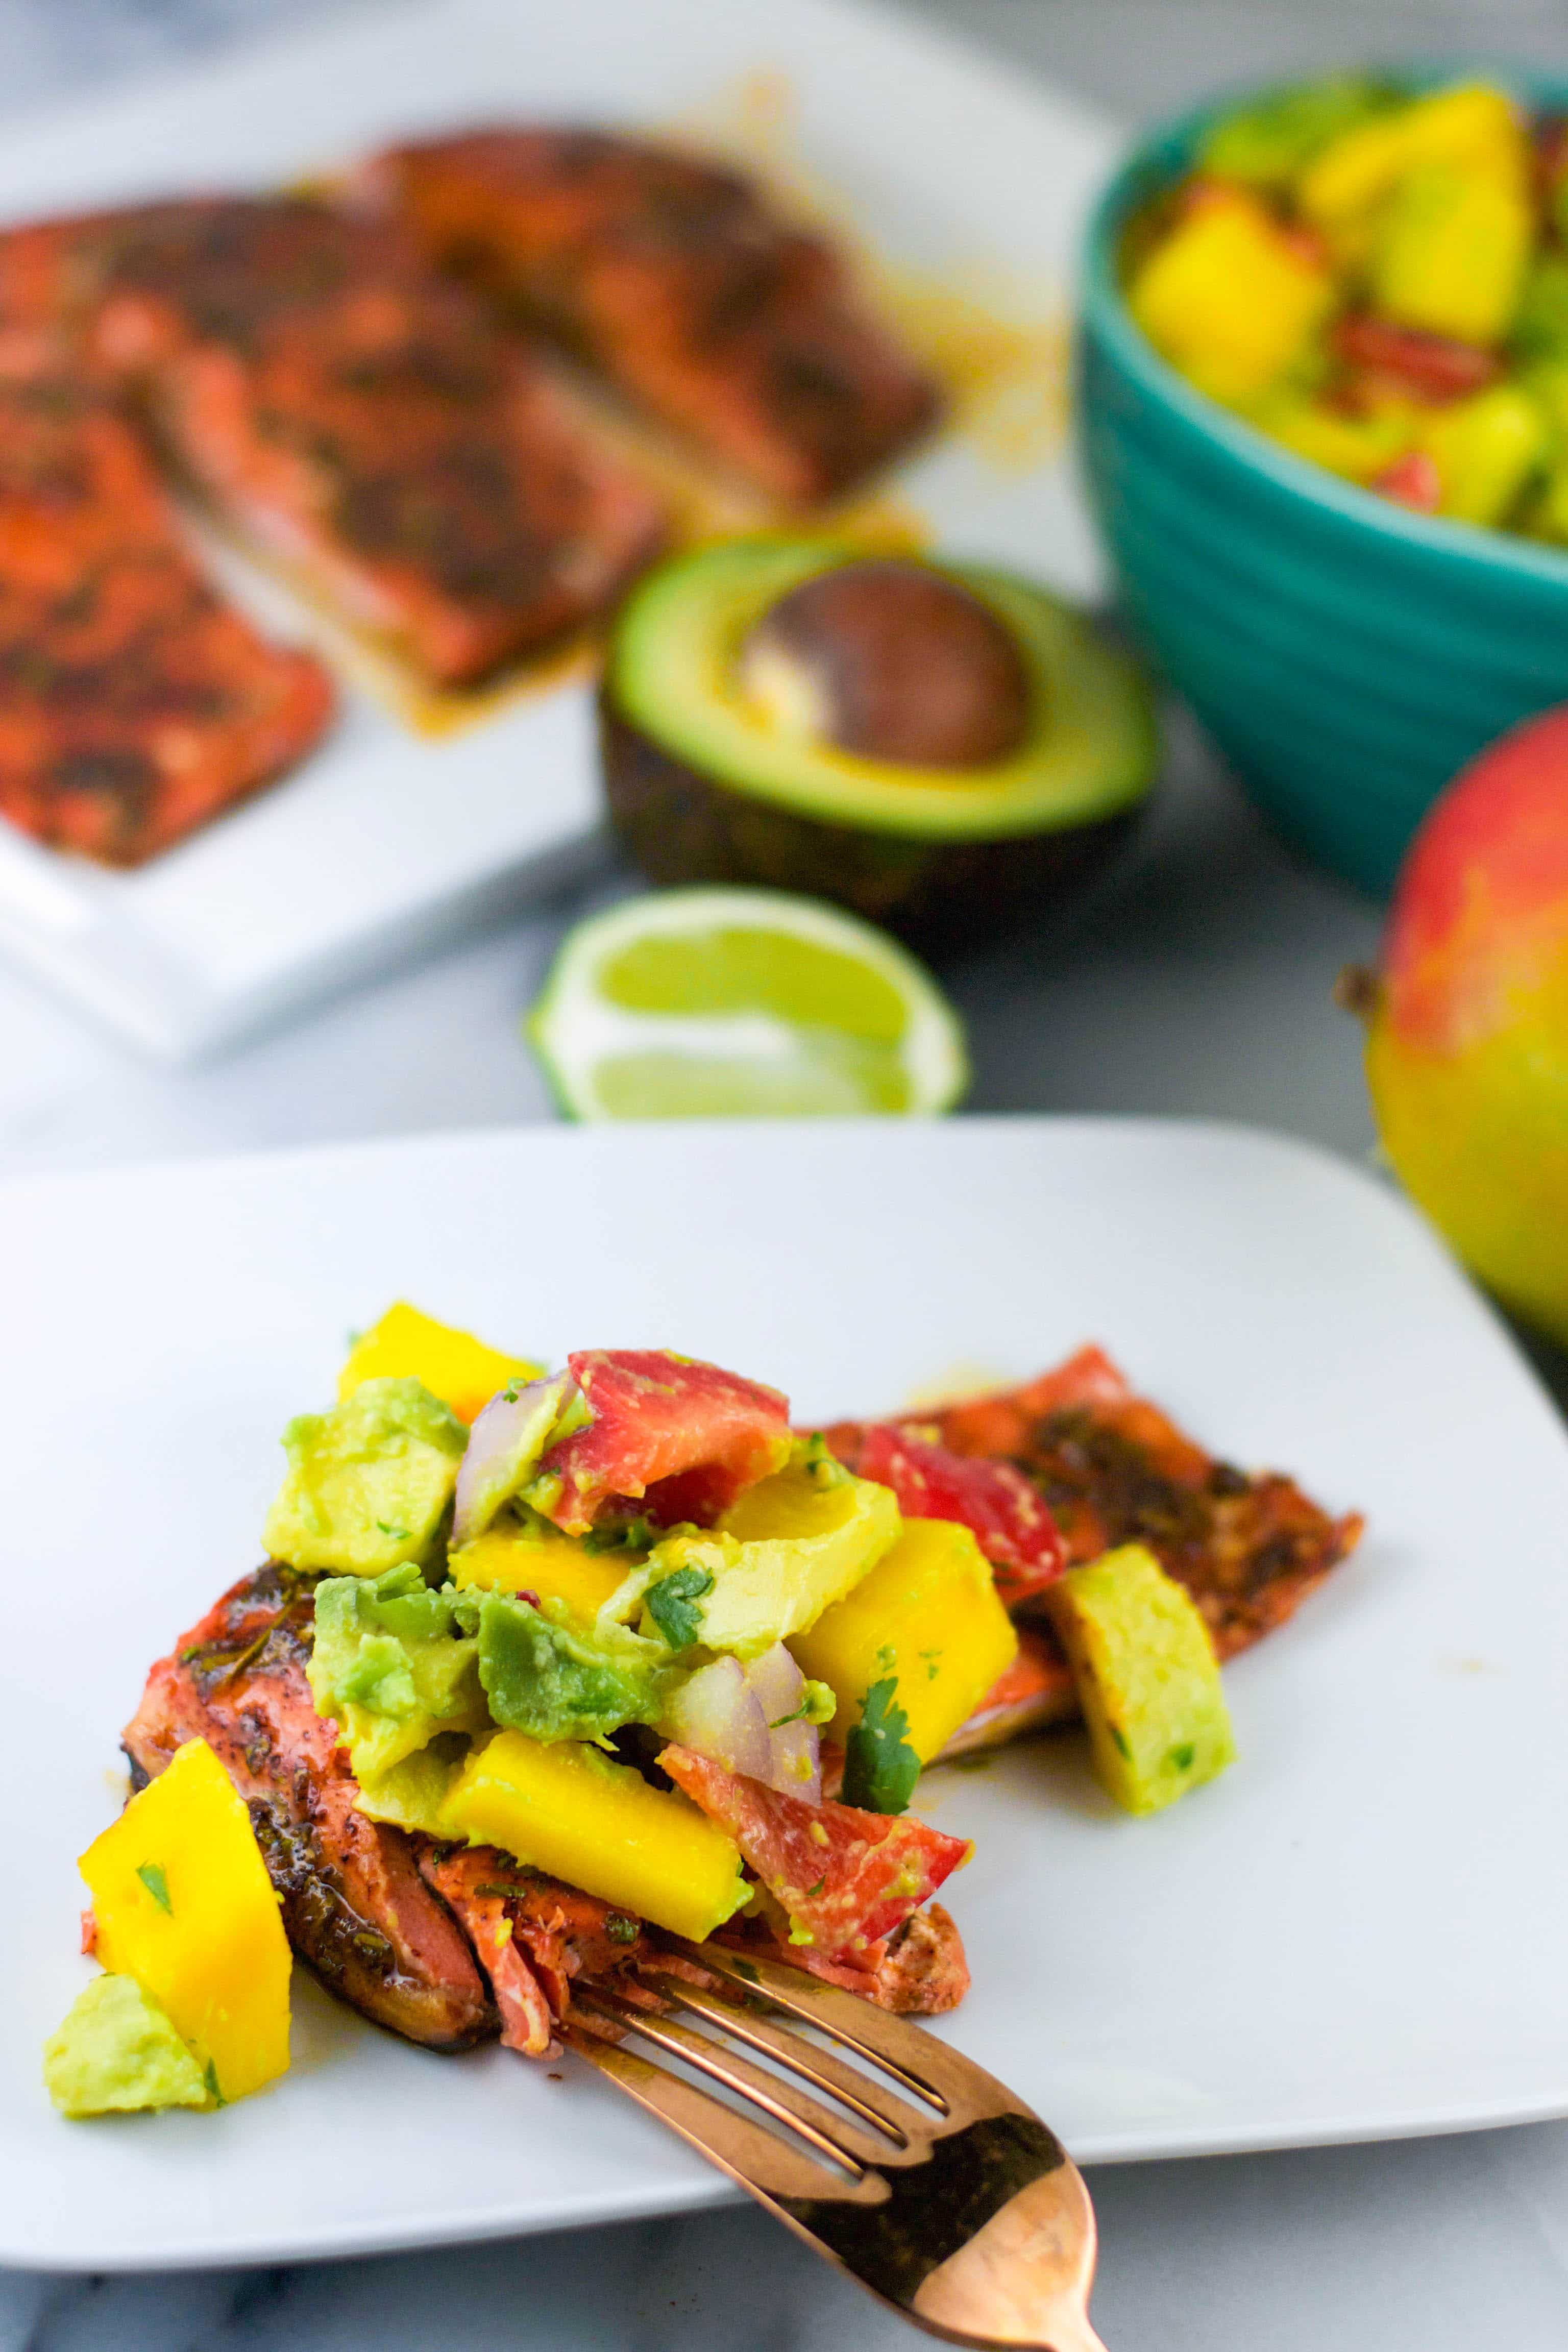 Gluten-FreeRecipeHoney Glazed Salmon with Mango Avocado SalsaThis honey glazed salmon is topped with a fresh avocado mango salsa and on the table in about 20 minutes. The…