
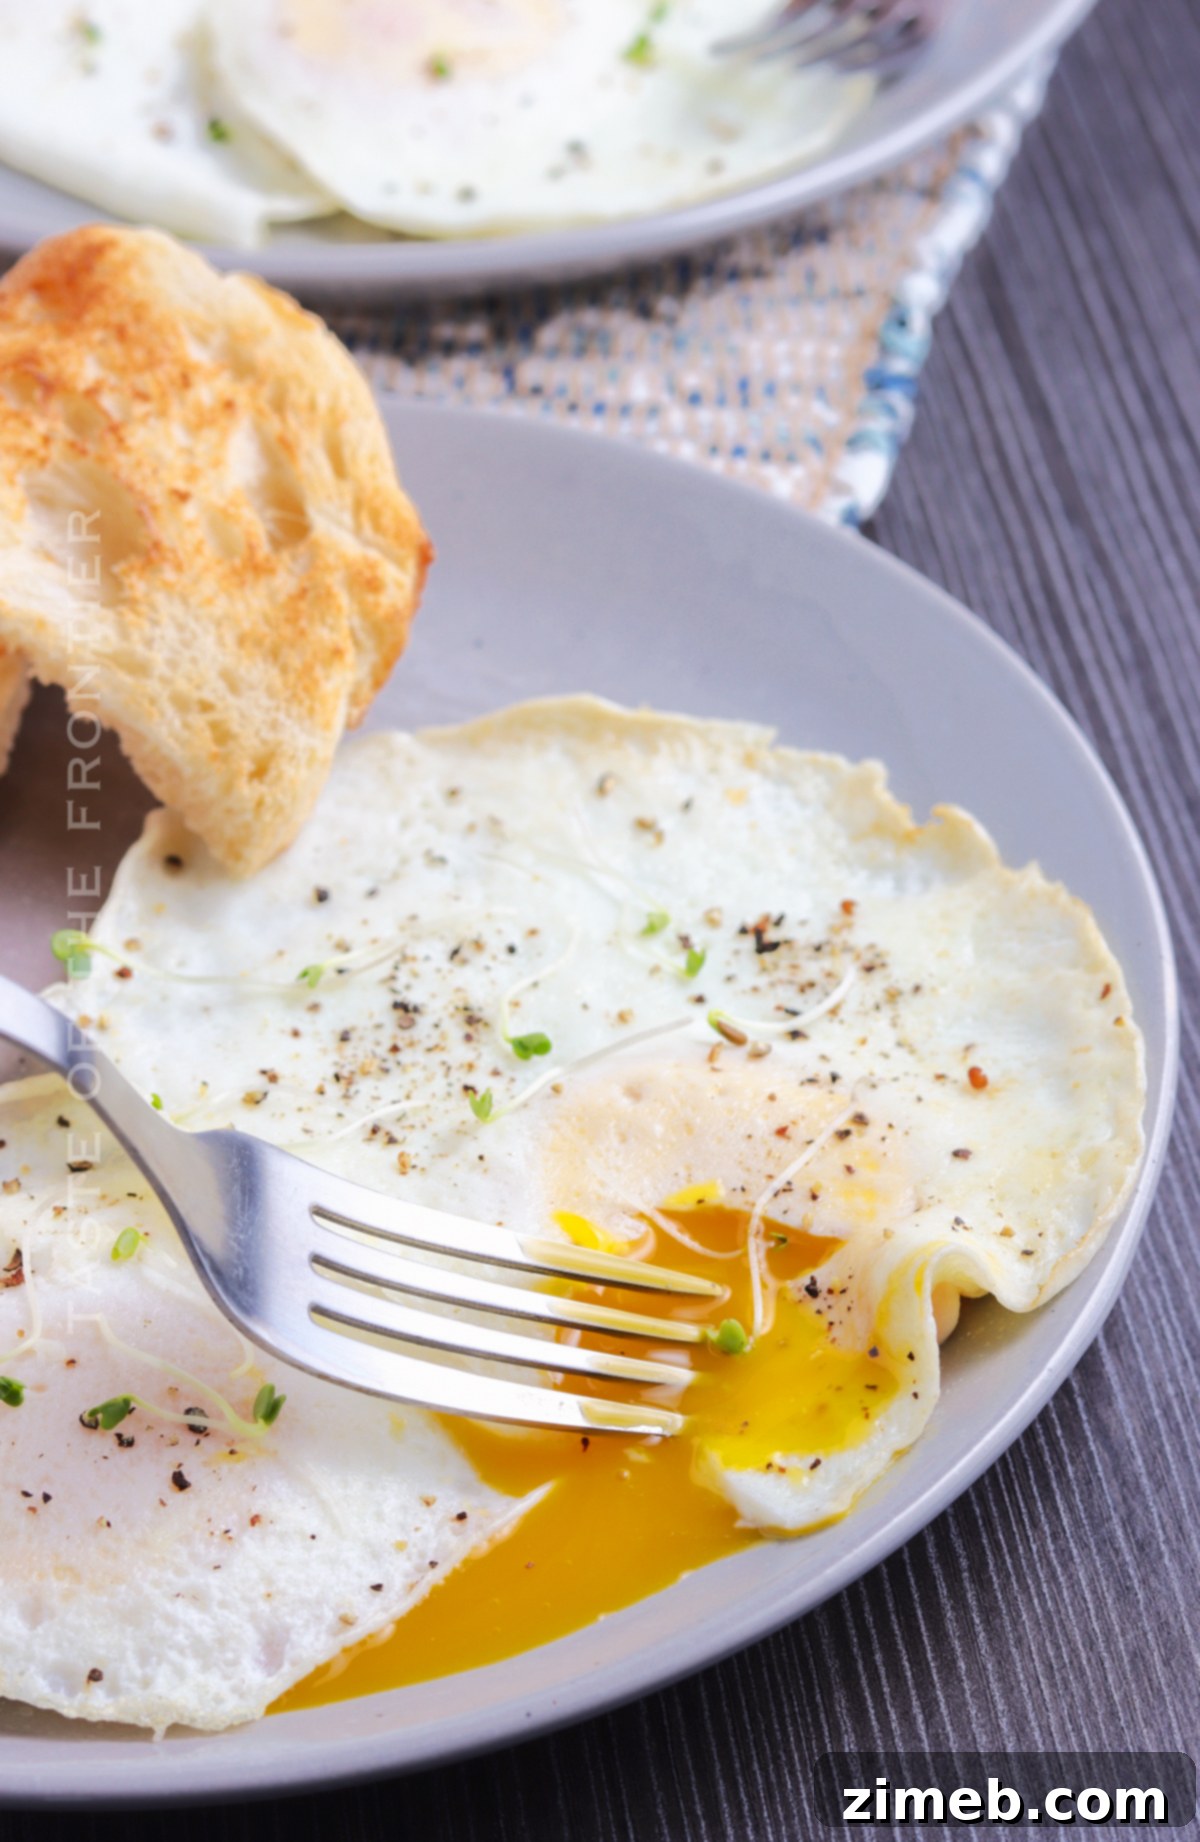
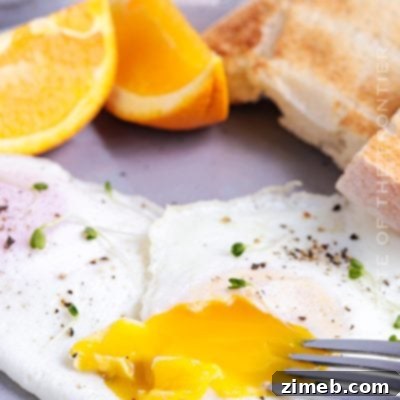
Welcome to the ultimate guide for mastering the art of perfectly cooked Over Easy Eggs. Imagine starting your day with a rich, velvety yolk just waiting to burst, paired with tender, set whites. This isn’t just a breakfast; it’s an experience. Often considered a culinary challenge, cooking eggs over easy is surprisingly simple when you know the secrets. Our comprehensive, step-by-step approach will equip you with all the knowledge and confidence you need to achieve flawless results every single time.
There’s something uniquely satisfying about a runny yolk, isn’t there? Whether you’re a seasoned home cook or just starting your culinary journey, frying eggs with that ideal runny center is a skill worth perfecting. This recipe focuses on achieving that delicate balance, ensuring your breakfast is not only delicious but also visually appealing. Say goodbye to rubbery whites and broken yolks, and hello to your new favorite breakfast staple!
PIN THIS RECIPE FOR LATER
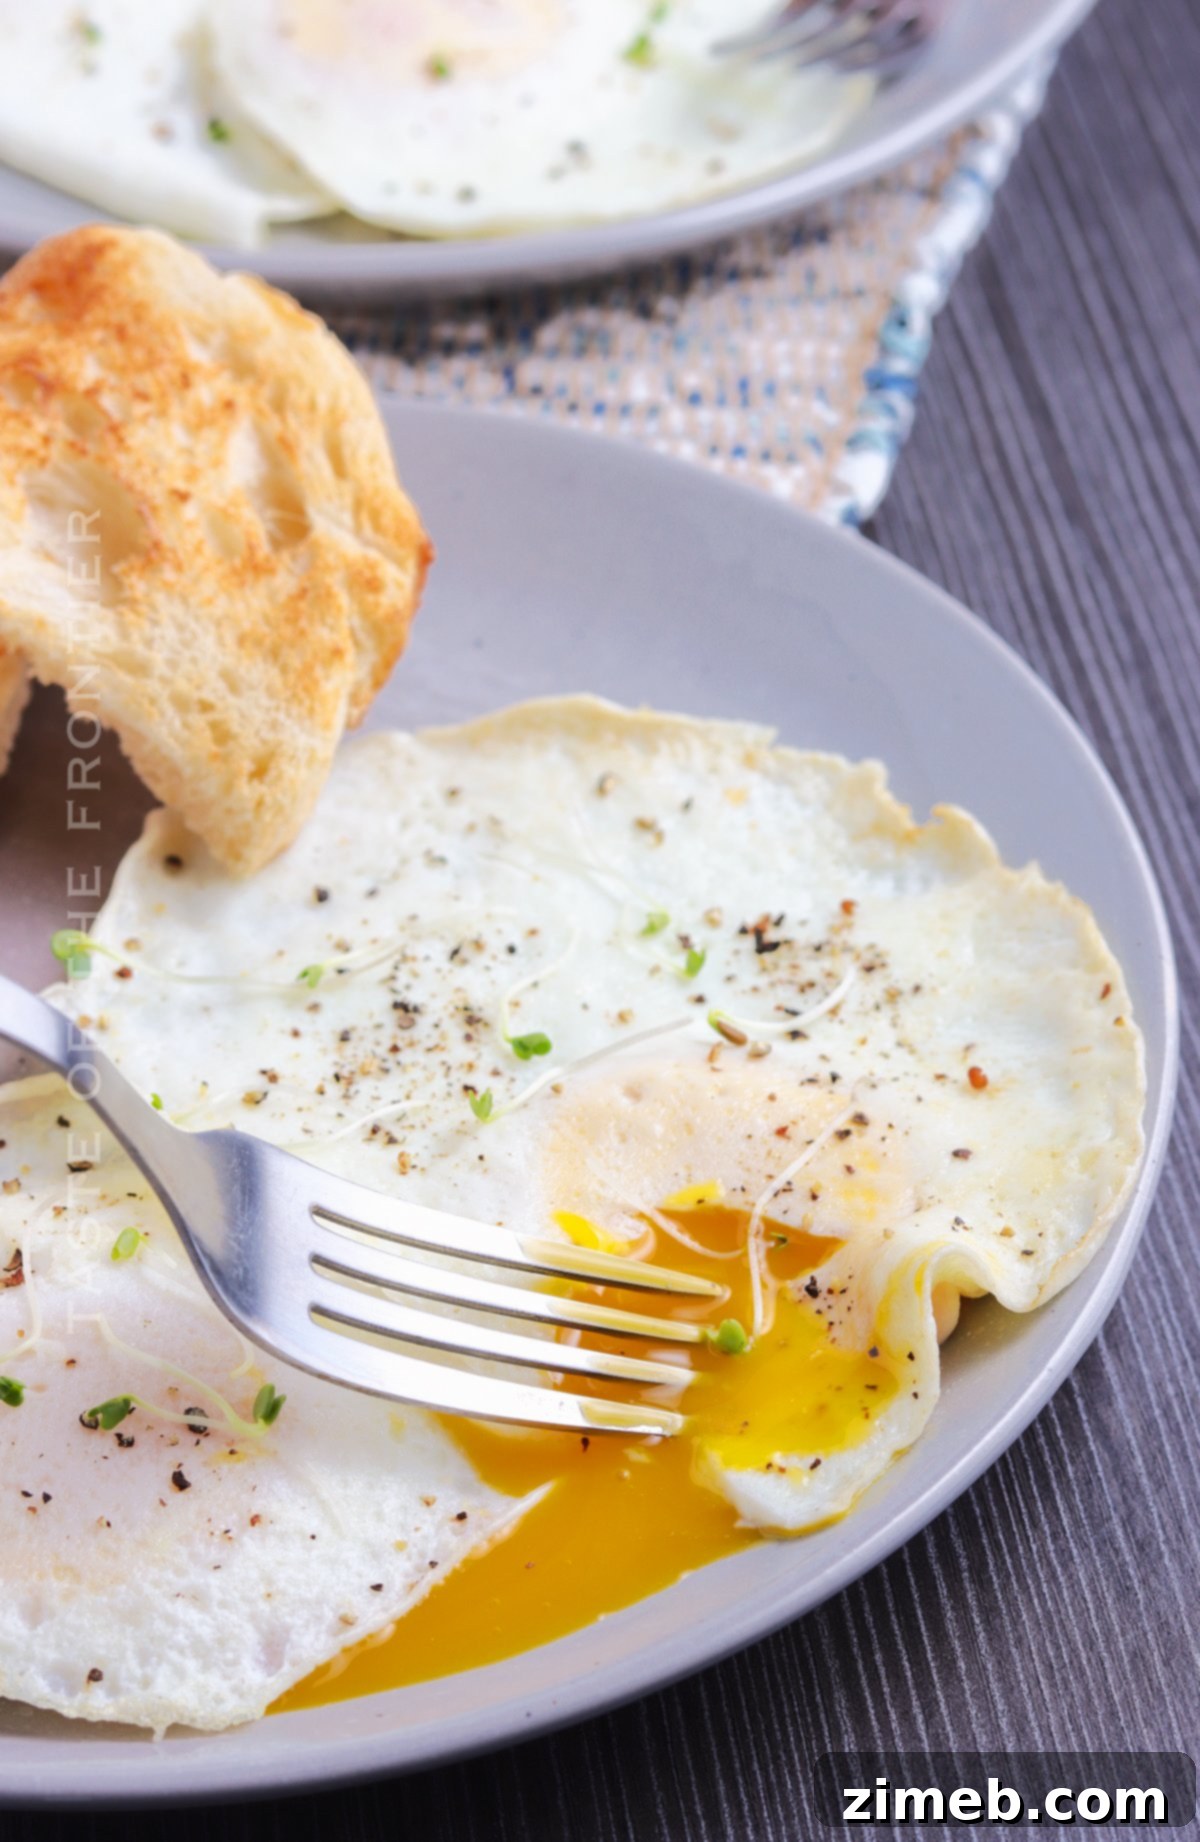
The Quest for the Perfect Over Easy Egg
Many aspiring cooks find themselves intimidated by the seemingly simple task of frying an egg, especially when aiming for that elusive over easy consistency. It’s often said that cooking eggs perfectly is a true test of a chef’s skill. But fear not! We’re here to demystify the process and turn you into an egg-frying expert. We’ve broken down every step, offering clear instructions and helpful tips, so you can confidently create breakfast masterpieces in your own kitchen.
The first time you successfully flip an egg to perfection, you’ll be filled with a sense of accomplishment. You’ll wonder why you waited so long to tackle this kitchen fundamental. Even if you’ve attempted over easy eggs before and struggled, this guide is designed to refine your technique, ensuring you enjoy a breakfast as delightful as we do. Get ready to impress yourself and your loved ones with consistently excellent results.
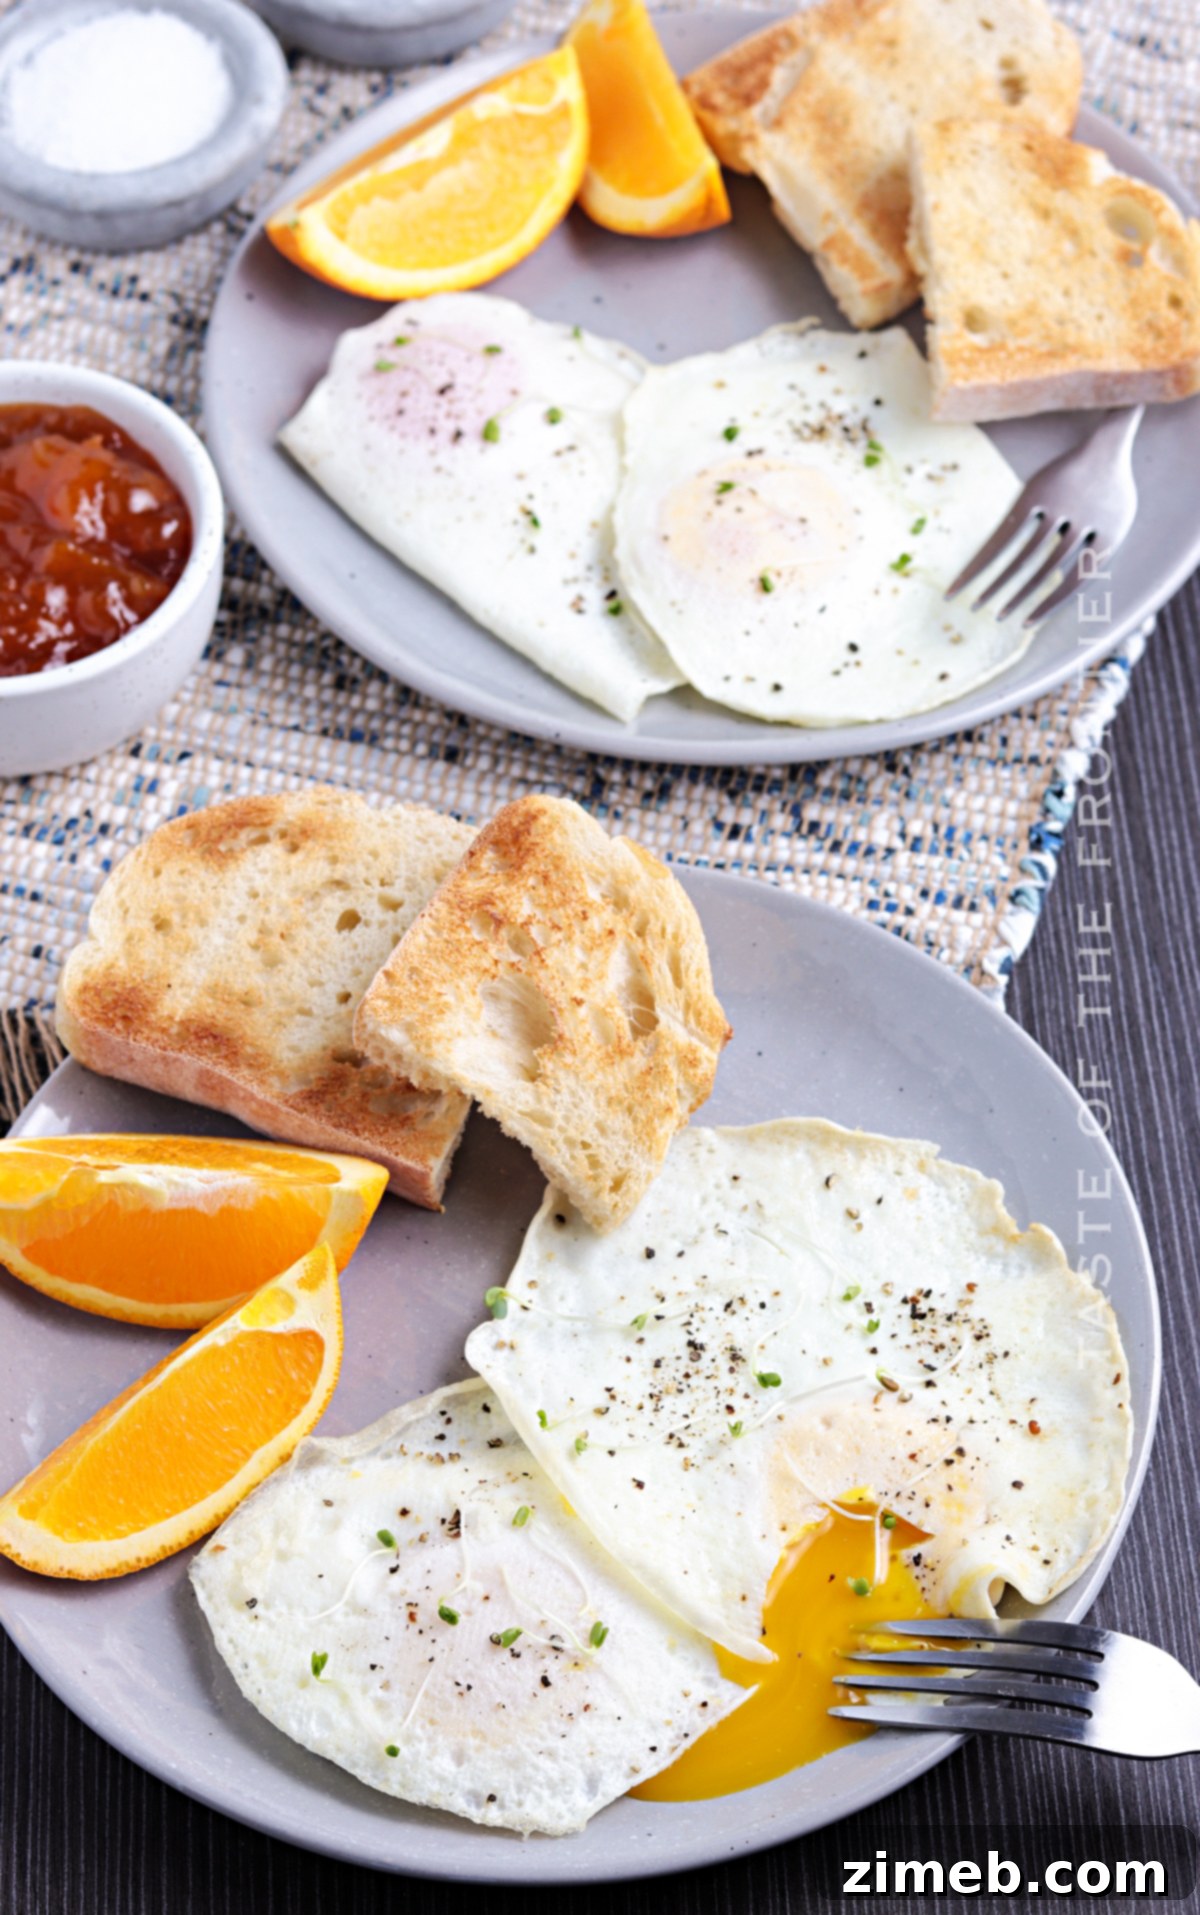
Essential Tips for Cooking Over Easy Eggs
Achieving the perfect over easy egg is a delicate dance between temperature, timing, and technique. The goal is a fully set, tender white and a warm, liquid yolk that flows beautifully when pierced. Here’s a deeper dive into the factors that contribute to egg-frying success:
1. Temperature is Key
Starting with the right pan temperature is crucial. A common mistake is to use heat that’s too high, which leads to crispy, browned edges before the whites are fully set and cooked through, or even worse, a broken yolk when flipping. Instead, begin with medium heat to melt your butter, then reduce it to medium-low or low before cracking in your eggs. This allows for even cooking, resulting in delicate, not rubbery, whites.
2. The Right Fat Makes a Difference
While butter adds an unparalleled richness and flavor to fried eggs, you can also use olive oil, avocado oil, or even bacon grease. The key is to use enough fat to prevent sticking and to help conduct heat evenly. A tablespoon per two eggs is usually sufficient, ensuring the pan is coated without drowning the eggs.
3. Room Temperature Eggs for Optimal Results
Bringing your eggs to room temperature for about 15-20 minutes before cooking can significantly improve the final texture. Cold eggs hit the hot pan and spread less evenly, potentially leading to unevenly cooked whites. Room temperature eggs also cook more uniformly and gently, making them easier to flip without breaking the yolk.
4. The Confident Flip
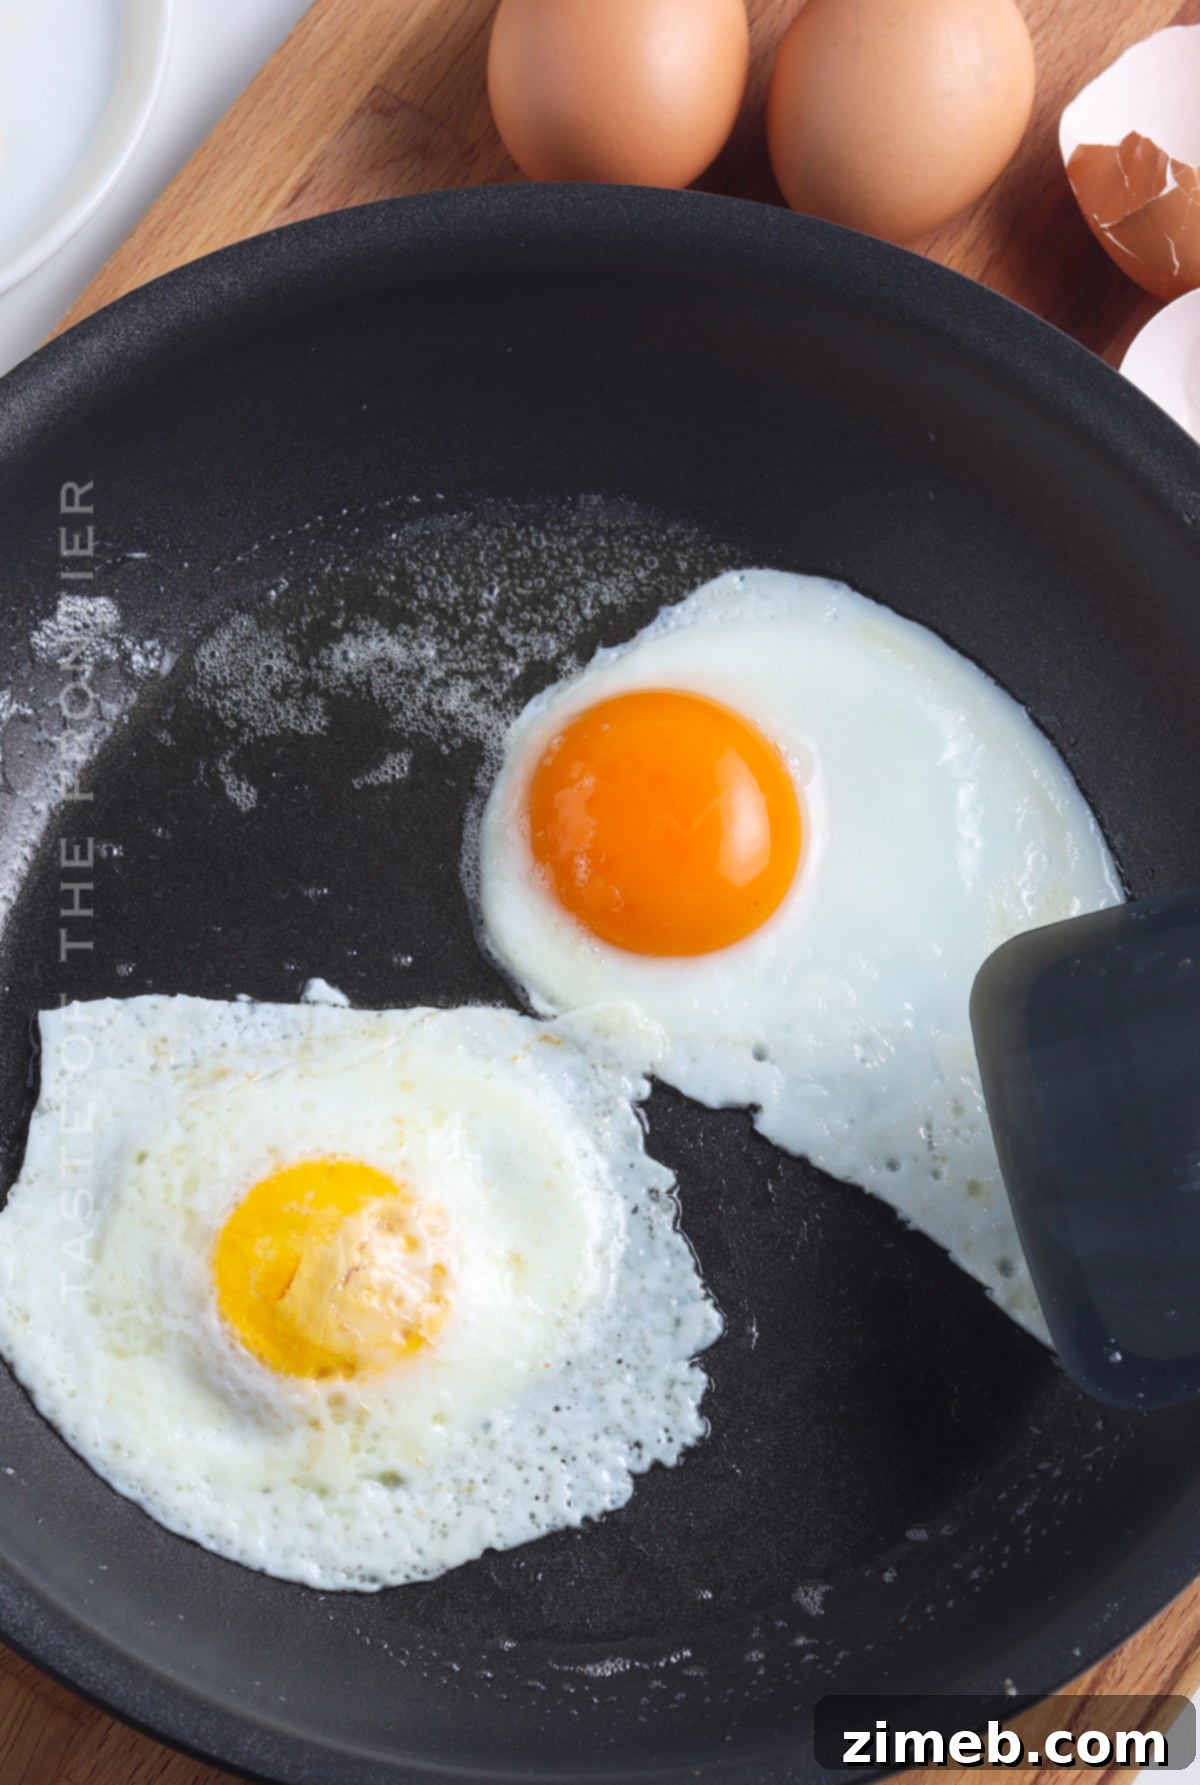
Flipping an over easy egg can be the most intimidating part, but with a good spatula and a bit of confidence, it becomes second nature. A thin, flexible spatula is your best friend here. Slide it entirely under the egg, ensuring you get all the white, then, with a quick, decisive motion, gently flip the egg. Don’t hesitate; a slow flip is more likely to cause the yolk to break. For those who dare, a quick flick of the wrist like a pancake flip can also work, but practice makes perfect!
5. Seasoning for Flavor
Don’t forget to season your eggs! A simple sprinkle of kosher salt and freshly cracked black pepper right after they hit the pan or immediately after flipping elevates their flavor. For an extra kick, consider a dash of red pepper flakes, a sprinkle of garlic powder, or a pinch of smoked paprika. Experiment to find your favorite flavor profile.
Commonly Asked Questions About Over Easy Eggs
Here are answers to some of the most frequent questions about cooking and enjoying over easy eggs:
How to Store Leftover Fried Eggs
While over easy eggs are best enjoyed fresh, if you happen to have leftovers, they can be stored. Transfer them to an airtight container and refrigerate for up to 3 days. It’s important to note that the runny yolk characteristic of over easy eggs will firm up during storage and reheating. The reheating process will cause the yolk to cook further, resulting in an over-medium or over-hard consistency.
To reheat, add a splash of water to the container, cover loosely with a paper towel (this helps create steam and prevents drying out), and microwave until hot, usually 30-60 seconds. While the texture won’t be exactly the same, they’ll still be a flavorful addition to your meal.
How to Tell if Eggs are Fresh
Many of us keep eggs on hand, sometimes forgetting how long they’ve been in the fridge. While eggs can last for several weeks beyond the printed date if refrigerated properly, a simple float test is a great way to confirm their freshness:
- Fill a bowl with a few inches of water and gently place an egg into it.
- **If it sinks to the bottom and lies on its side:** The egg is very fresh and perfectly good to eat.
- **If it sinks but stands on its end:** The egg is still good but getting older. Use it soon.
- **If it floats to the top:** The egg is likely past its prime and should be discarded. The air pocket inside the shell has grown too large, indicating spoilage.
Does the Type of Egg Matter?
For this over easy egg recipe, the type of chicken egg you use generally doesn’t matter. Whether you prefer brown or white eggs, organic or conventional, store-bought or fresh from a neighbor’s hens (which are often the best!), the cooking method remains the same. The size of the egg also has minimal impact, though larger eggs might require an extra 15-30 seconds of cooking time per side to ensure the whites are fully set.
However, if you’re attempting to fry an ostrich egg, that’s a different story entirely! An ostrich egg is roughly equivalent to two dozen chicken eggs, so you would indeed need a colossal pan and significantly more cooking time. Stick to standard chicken eggs for this recipe!
Perfect Pairings: What to Serve with Over Easy Eggs
Over easy eggs are incredibly versatile and can elevate any breakfast or brunch spread. Here are some fantastic ideas to serve alongside your perfectly cooked eggs:
- Crispy Bacon or Sausage: A classic combination that never disappoints. The savory crunch perfectly complements the richness of the egg.
- Golden Hashbrowns or Roasted Potatoes: Hearty and comforting, these starchy sides are ideal for soaking up that delicious runny yolk.
- Avocado Toast: For a trendy and nutritious option, pile your over easy eggs atop a slice of toasted bread slathered with mashed avocado. A sprinkle of red pepper flakes adds a nice touch.
- Fresh Fruit Salad: The bright, sweet flavors of berries, melon, or citrus provide a refreshing contrast to the richness of the eggs.
- Toasted English Muffins or Sourdough: Simple yet satisfying, these are perfect for dipping into the yolky goodness.
- Warm Biscuits with Gravy: A true Southern comfort, adding an over easy egg to this dish takes it to another level.
- Vegetable Hash: Sautéed bell peppers, onions, spinach, and mushrooms create a colorful and flavorful base for your eggs.
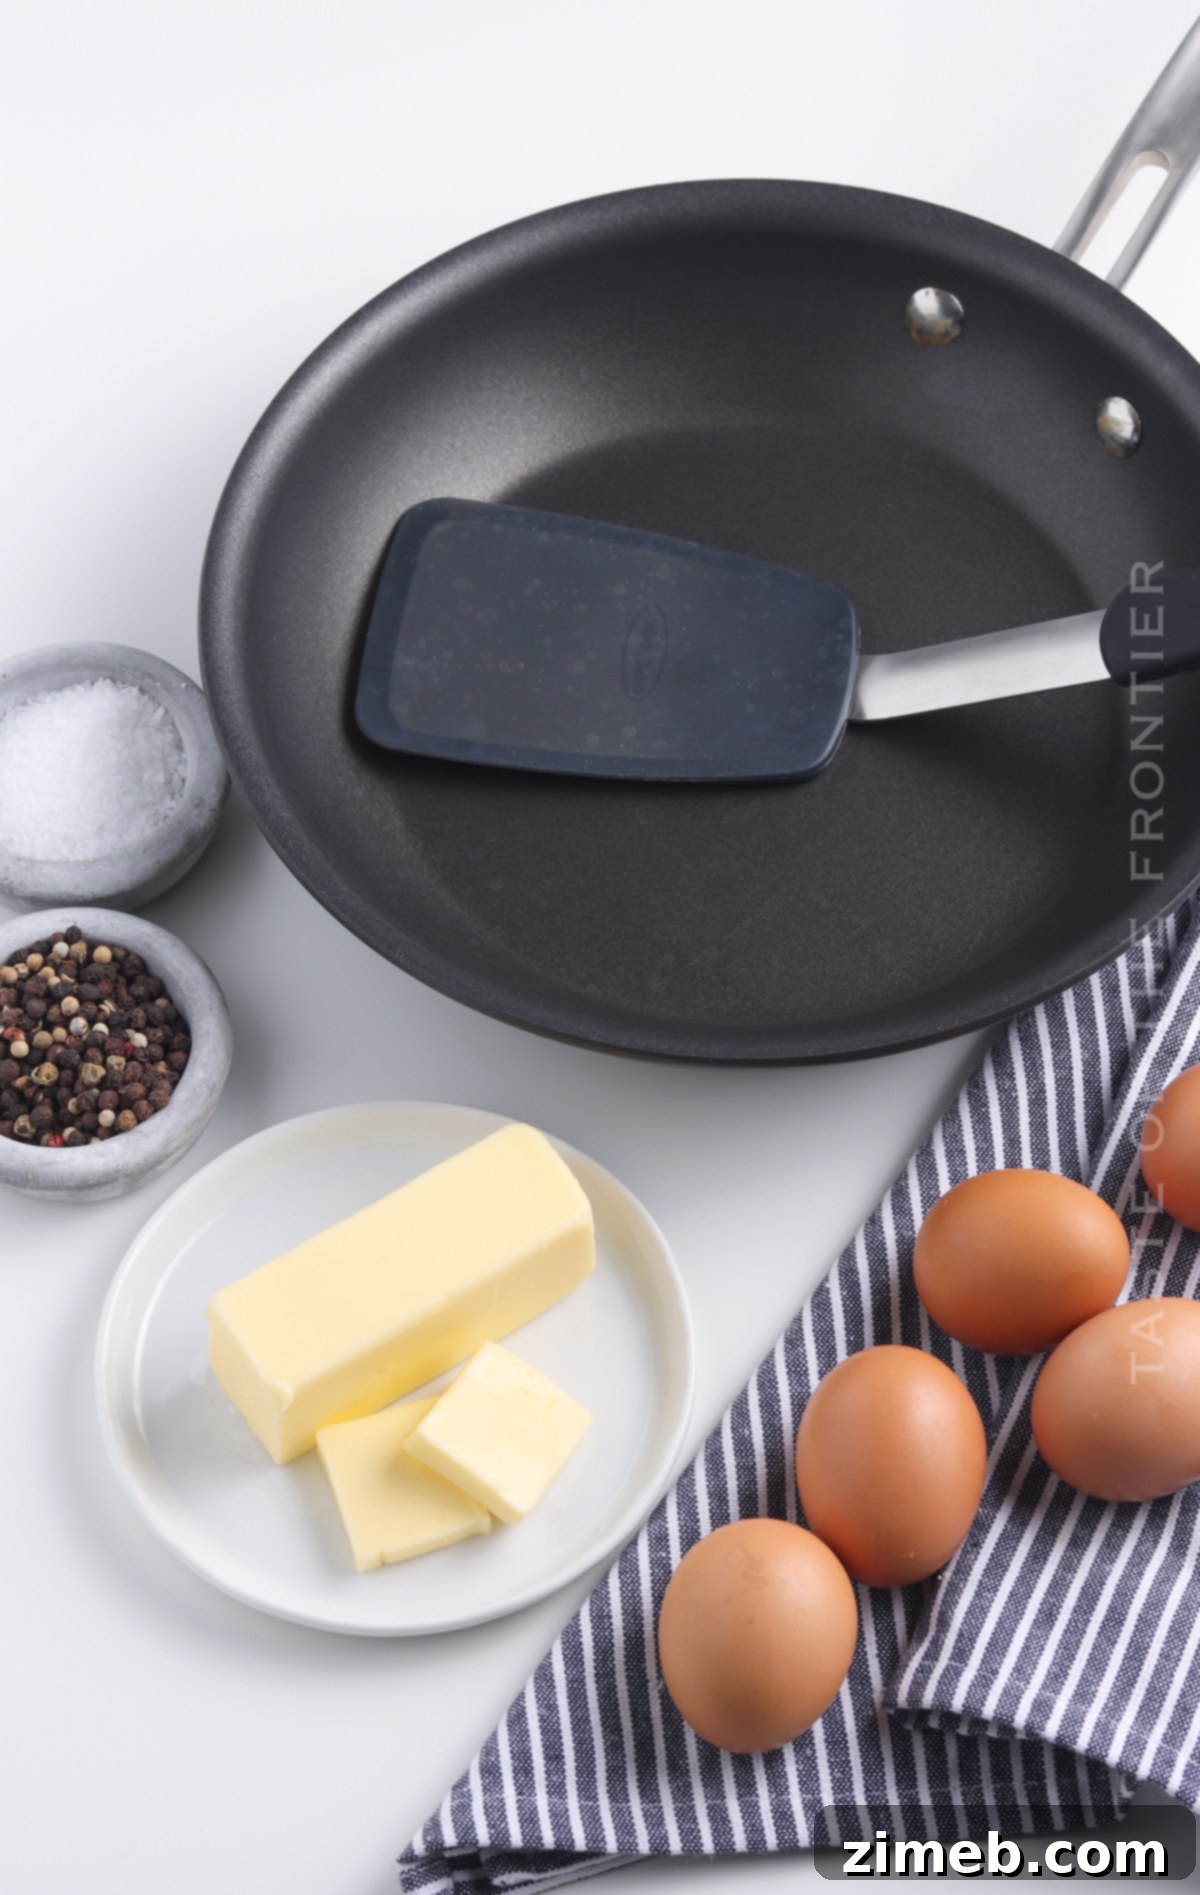
Ingredients for Perfect Over Easy Eggs
You only need two simple ingredients to create culinary magic:
- Unsalted butter (about 1 tablespoon per 2 eggs)
- Fresh eggs (2 or more, depending on servings)
While these are the basic requirements, don’t forget your favorite seasonings like kosher salt and freshly ground black pepper!
Step-by-Step: How to Make Over Easy Eggs
Making over easy eggs is a straightforward process once you understand the technique. Follow these steps for consistently perfect results:
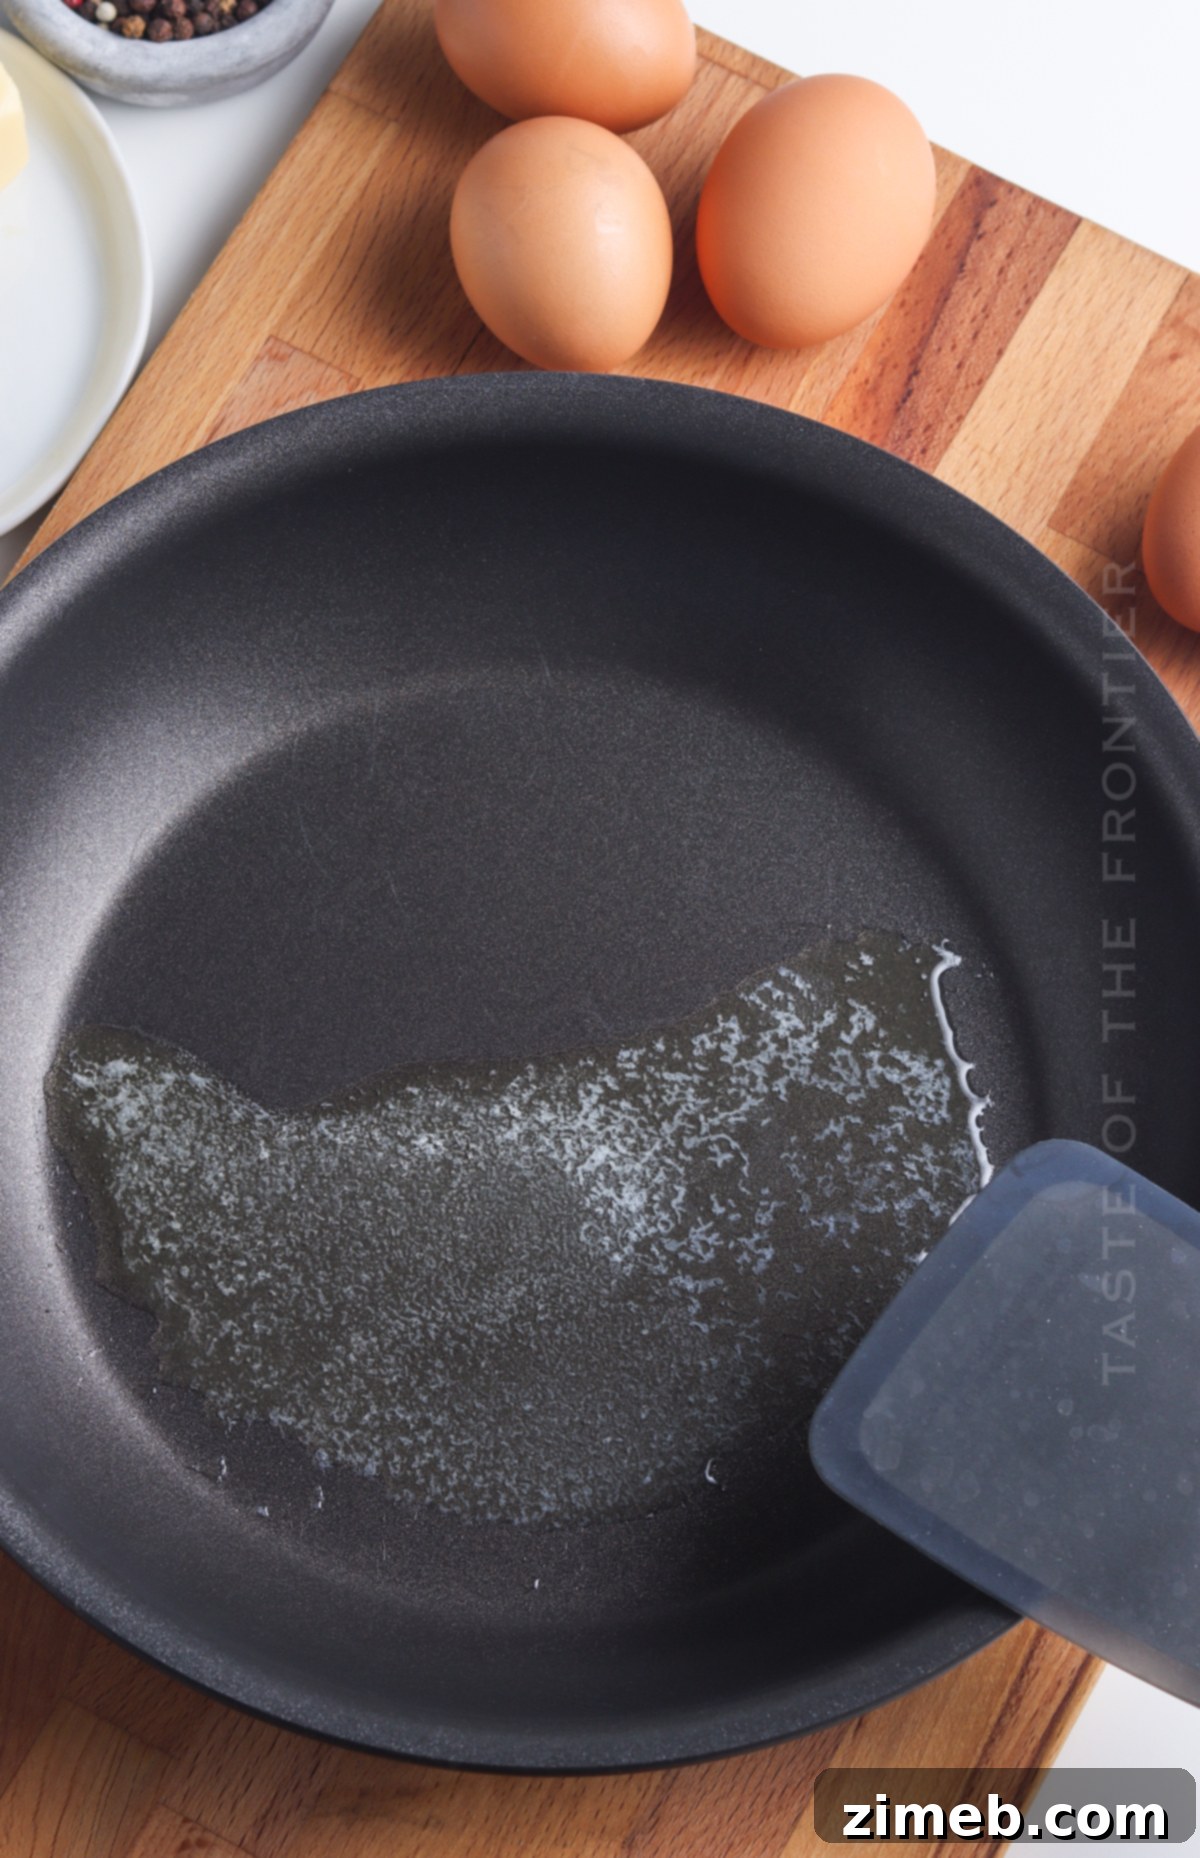
- **Bring Eggs to Room Temperature:** For best results, take your eggs out of the refrigerator about 15-20 minutes before cooking. This allows them to cook more evenly. While not strictly necessary, it’s a chef’s trick for a superior texture.
- **Melt the Butter:** Add 1 tablespoon of unsalted butter (or your preferred cooking fat) to a large non-stick skillet over medium heat. Allow the butter to fully melt and slightly foam, coating the entire bottom of the pan.
- **Reduce Heat:** Once the butter is melted, reduce the heat to low or medium-low. This prevents the eggs from cooking too quickly and burning around the edges.
- **Crack Eggs Gently:** Carefully crack your eggs directly into the heated skillet, ensuring they are spaced apart if cooking multiple. Be gentle to avoid breaking the yolks.
- **Cook the First Side:** Cook for 2-4 minutes, or until the egg whites are mostly set but still look slightly soft and glossy, and the yolk is still completely runny. The edges should be just beginning to crisp slightly, not brown.
- **Flip and Cook Briefly:** Using a thin spatula, gently slide it completely under an egg. With a quick, confident motion, flip the egg over. Cook for another 15-30 seconds. This short cooking time is just enough to set the thin film of raw white on top of the yolk, while keeping the yolk perfectly runny.
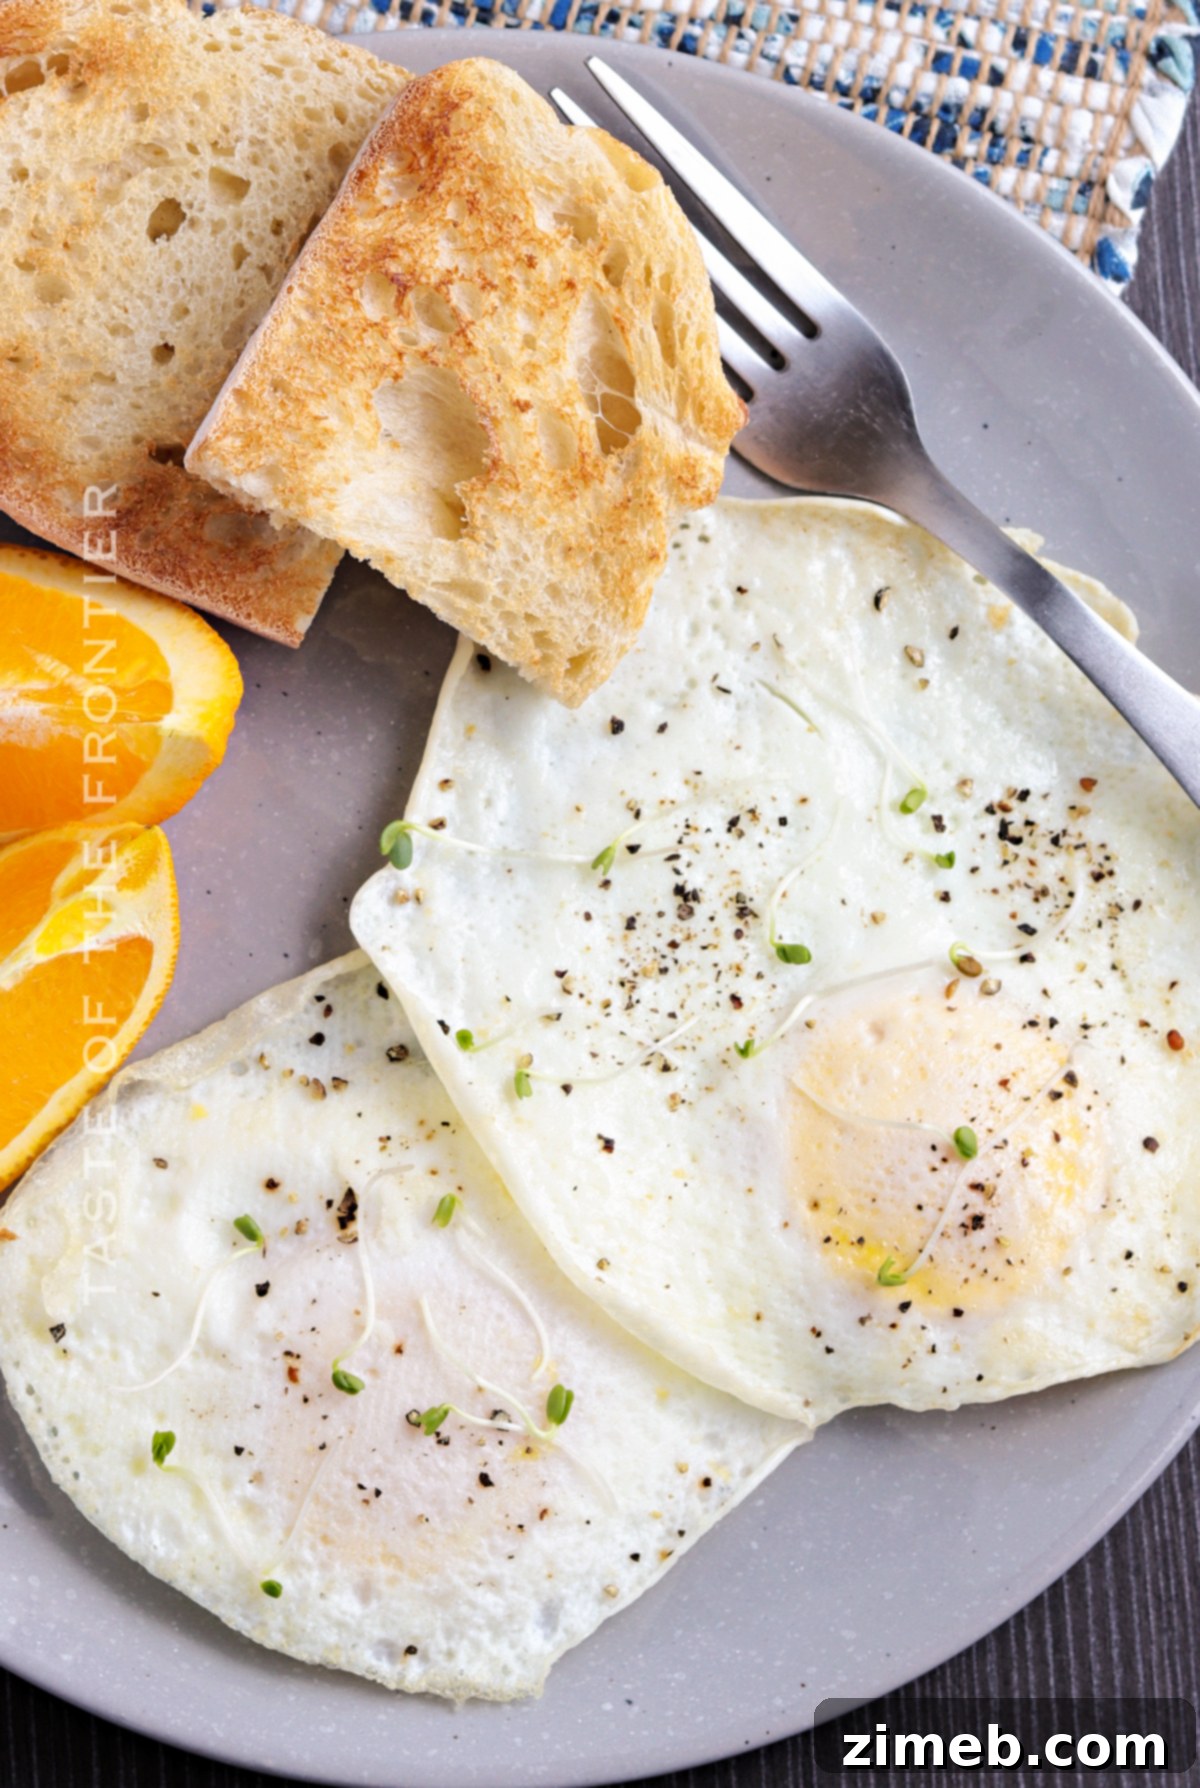
- **Remove and Season:** Immediately remove the eggs from the pan and transfer them to a plate. Season generously with kosher salt and freshly cracked black pepper. Serve immediately and enjoy!
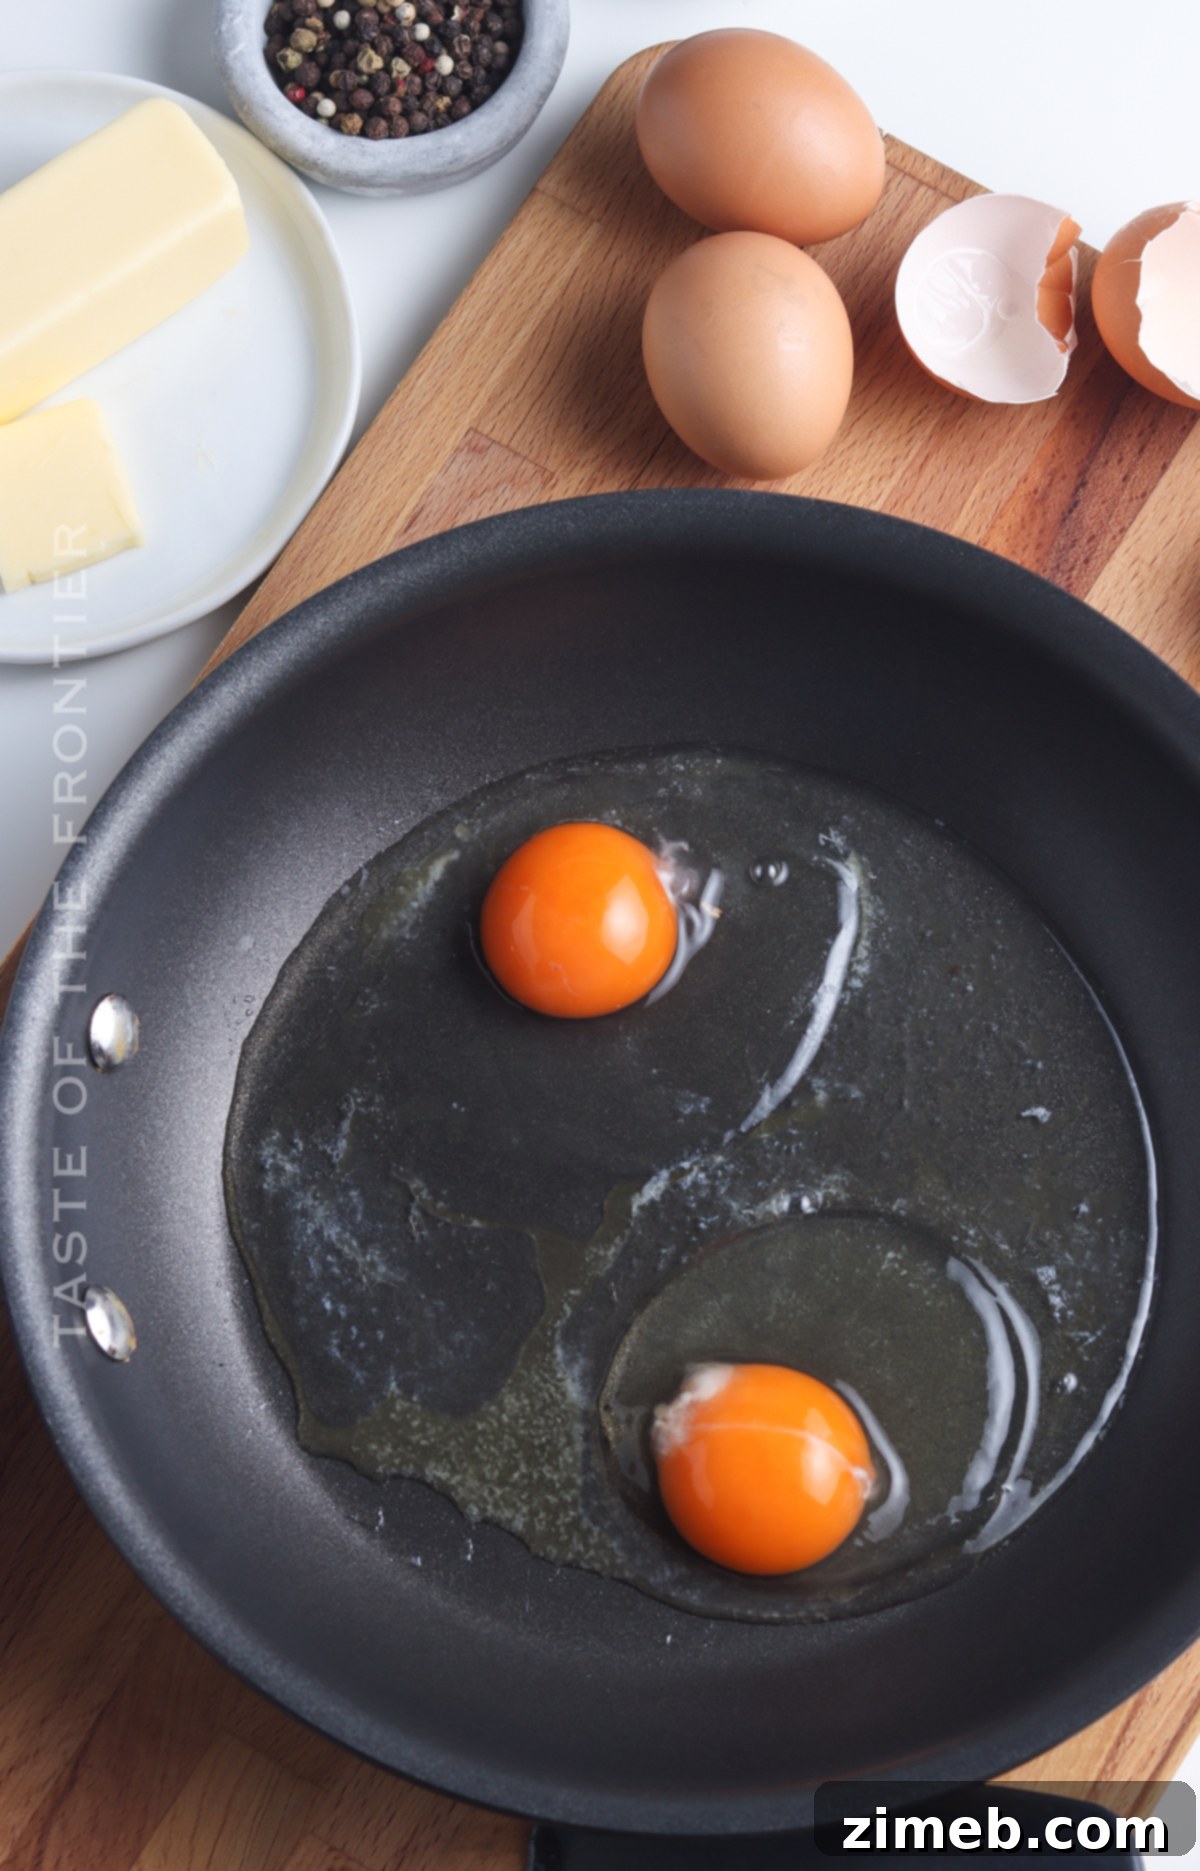
Understanding Different Fried Egg Styles: Over Easy, Medium, and Hard
The beauty of fried eggs lies in their versatility. A slight adjustment in cooking time after the flip can transform your egg’s yolk from lusciously runny to perfectly firm. Here’s a breakdown of the popular styles:
- **Sunny Side Up:** Cook for 2-3 minutes without flipping. The yolk remains completely runny, and the whites are set, often with a slightly translucent, uncooked film on top.
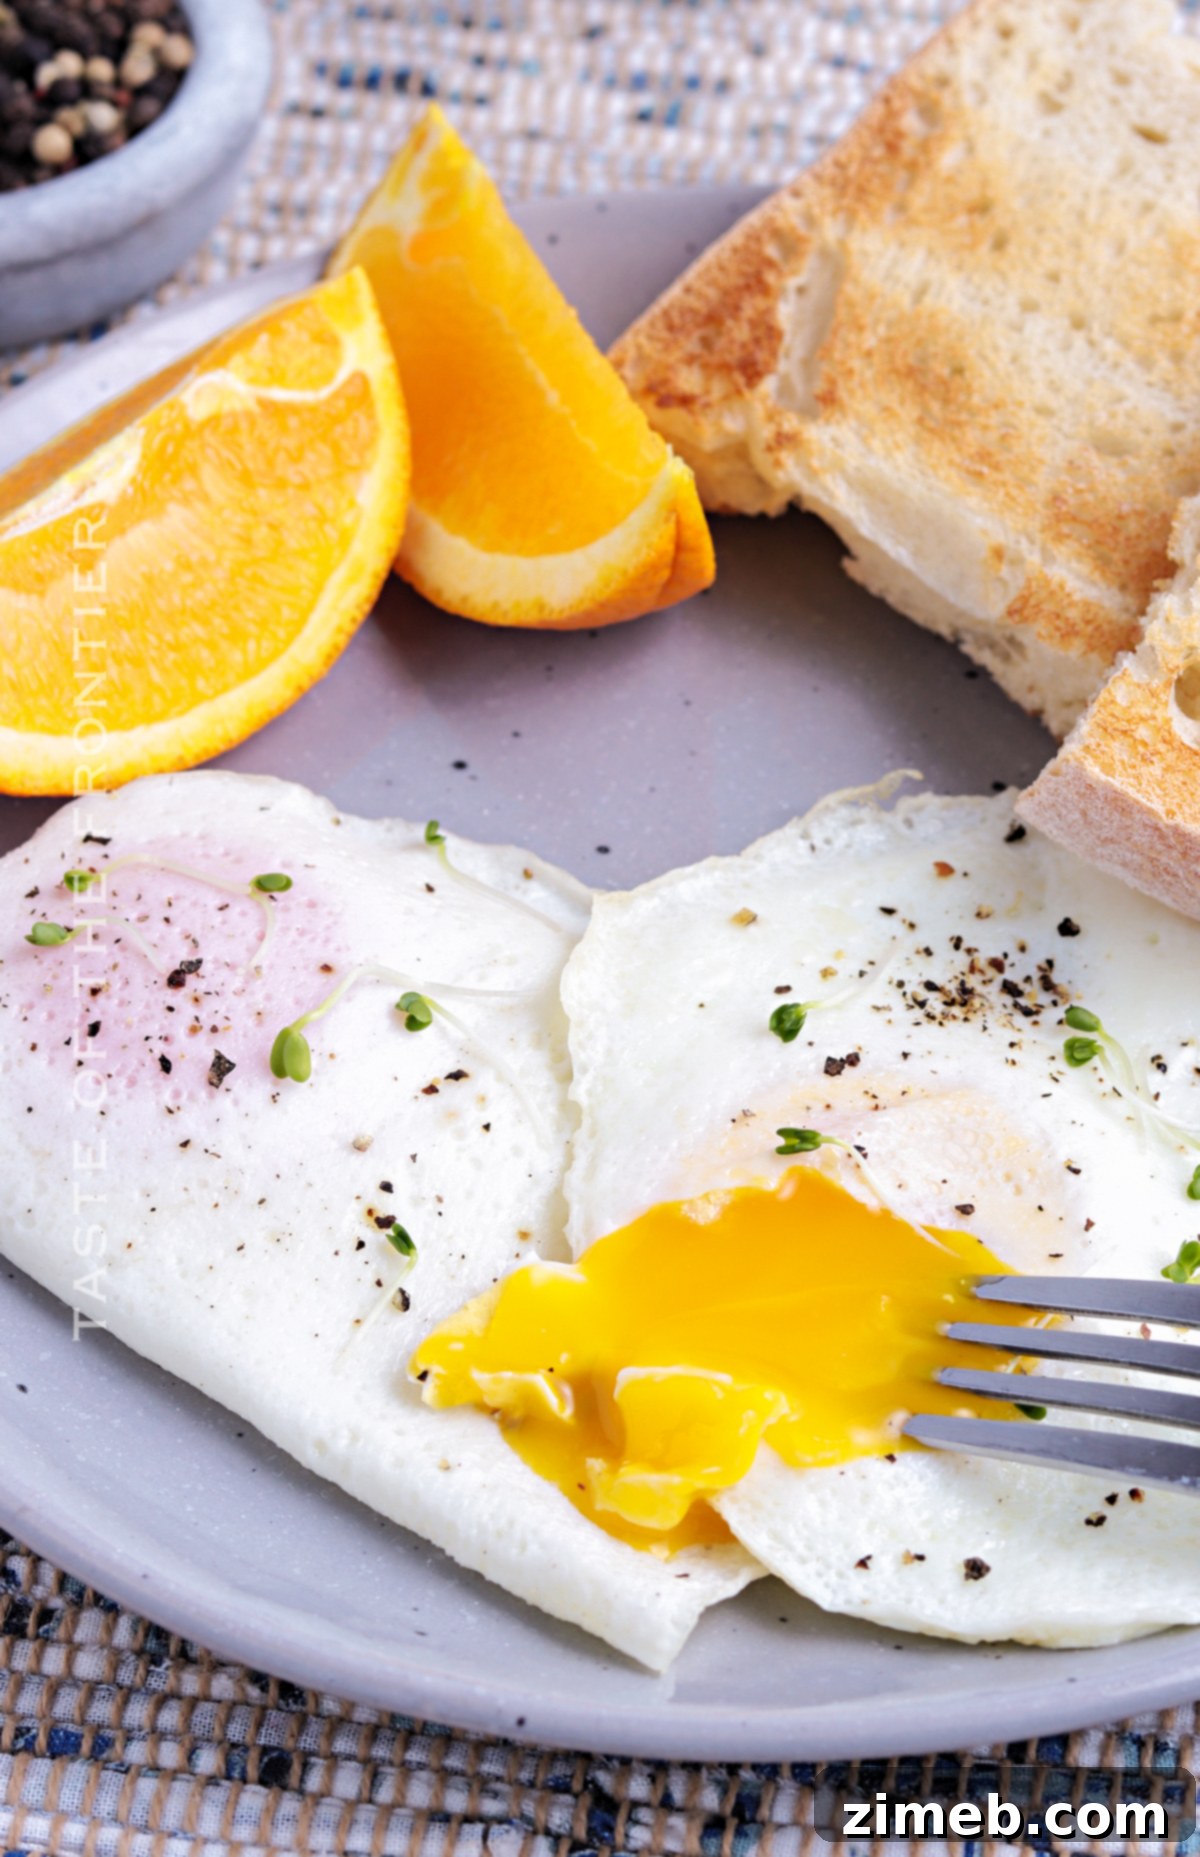
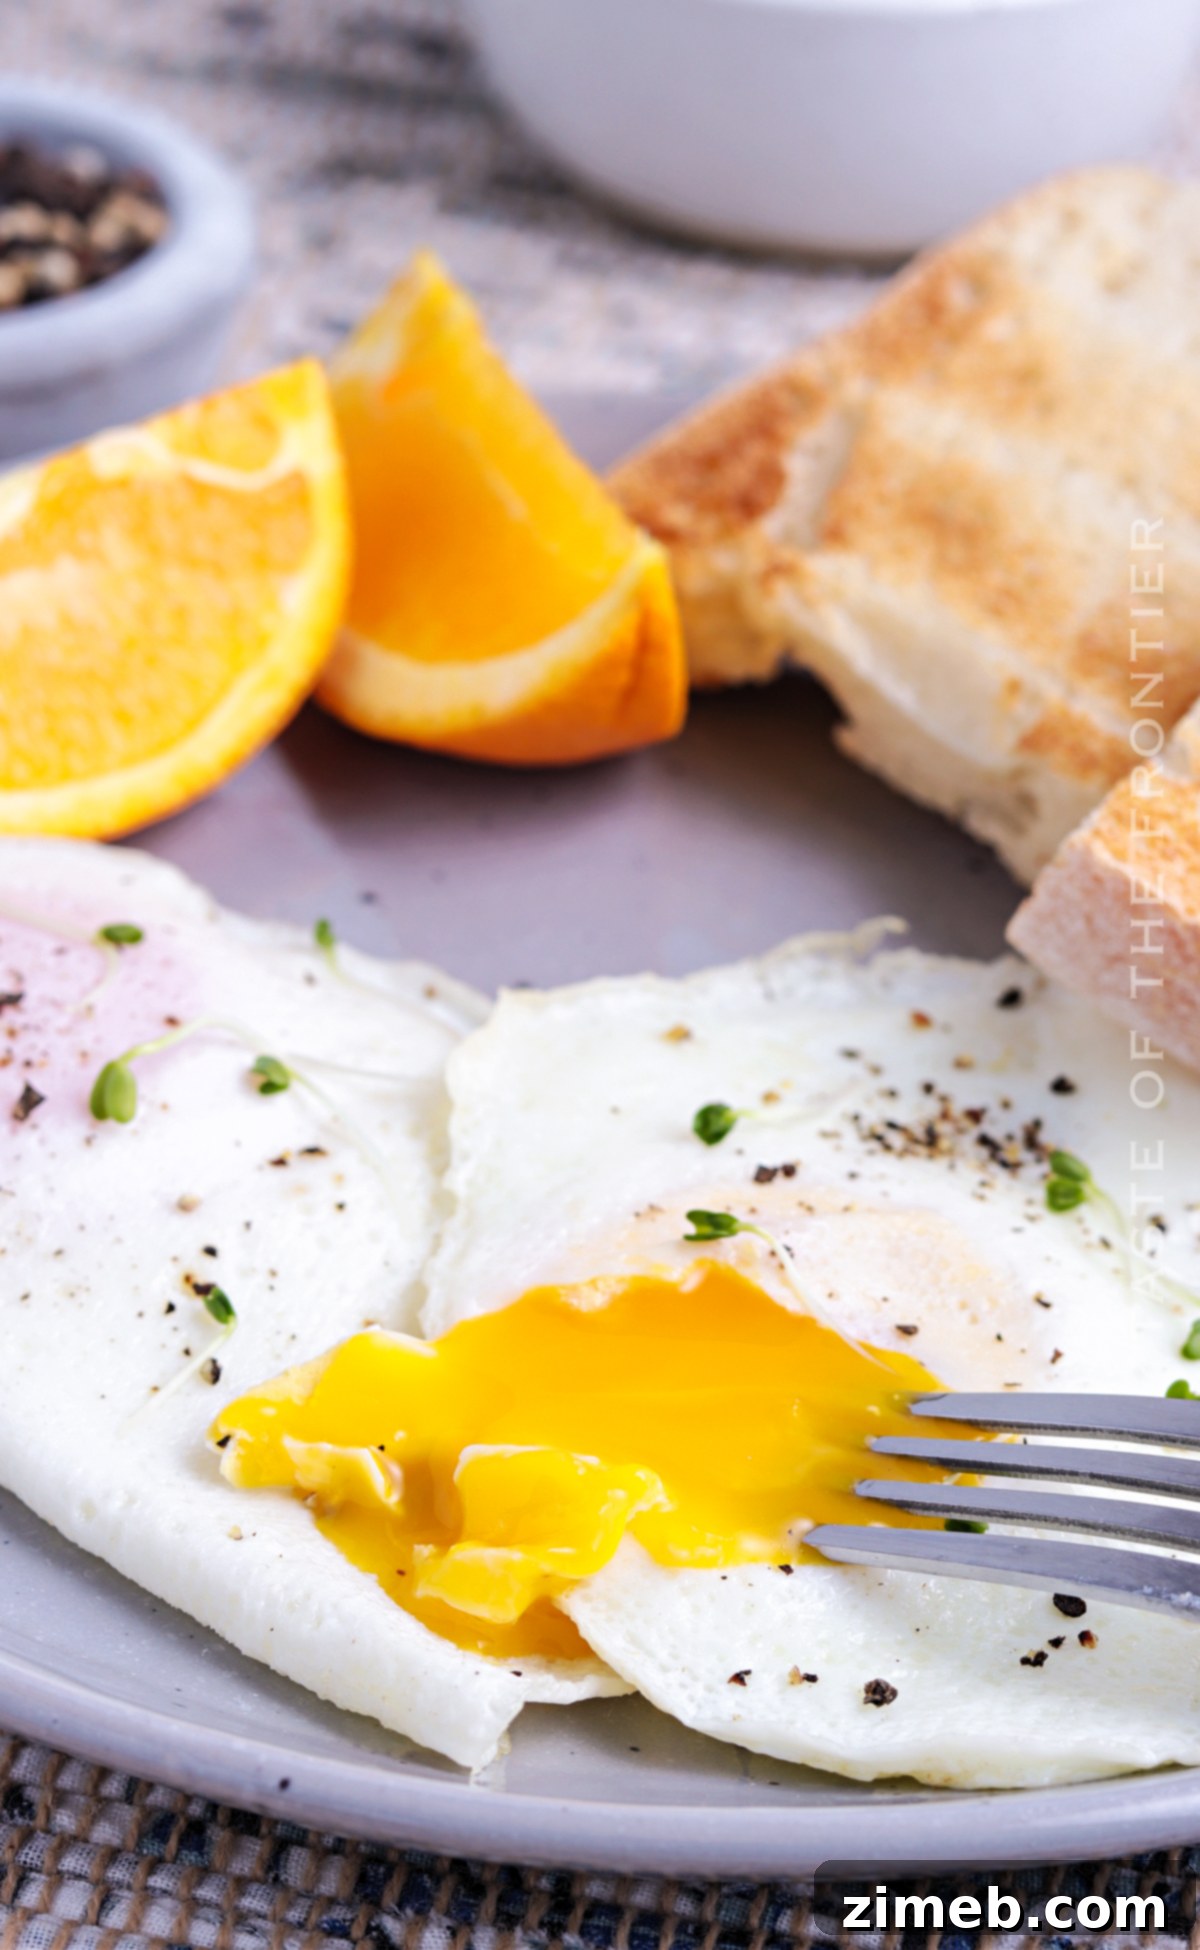
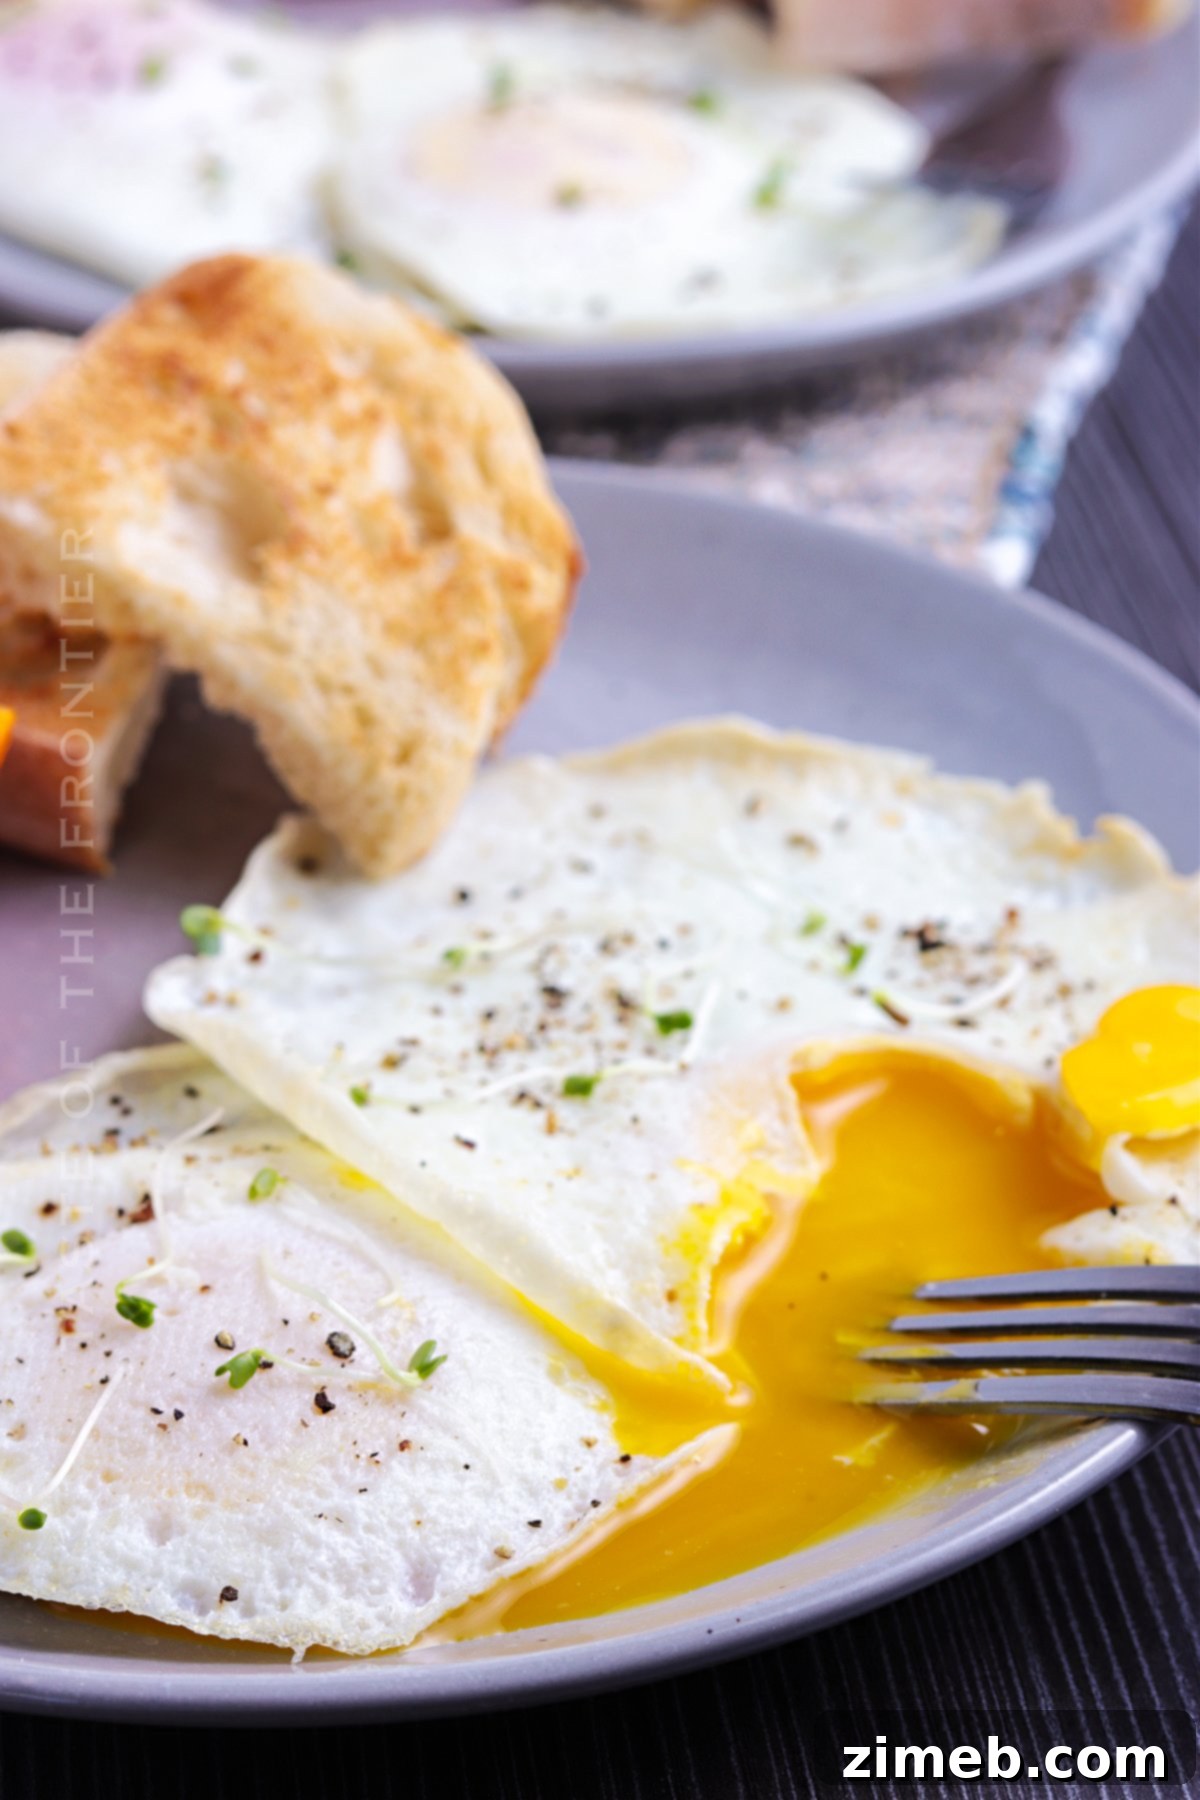
- **Over Easy:** Cook sunny side up, then flip and cook for just 15-30 seconds. The whites are fully set, and the yolk is liquid and warm, ready to burst.
- **Over Medium:** Cook sunny side up, then flip and cook for approximately 1 minute. The yolk will be thicker, gooey, and partially set, with a slightly runny center. It’s a great compromise for those who like a soft yolk but aren’t keen on it being completely liquid.
- **Over Hard:** Cook sunny side up, then flip and cook for 1.5-2 minutes, or until the yolk is completely solid and firm. This is ideal for slicing or adding to sandwiches where a runny yolk isn’t desired.
How Do I Know When My Over Easy Eggs Are Done?
You’ll know your over easy eggs are perfect when the whites are completely opaque and firm, yet still tender, and the yolk has just started to thicken but remains fluid. A good visual cue is that the top film of white on the yolk looks set. If you’re unsure, it’s always better to err on the side of undercooking, as you can always return the egg to the pan for a few more seconds, but you can’t undo an overcooked yolk.
Chef’s Note
Using eggs that have come to room temperature can indeed yield a superior end result, promoting more even cooking and a more tender white. However, don’t let this deter you if you’re in a rush; over easy eggs can still be wonderfully delicious straight from the fridge!
How Do I Flip My Over Easy Egg Without Breaking the Yolk?
This is where practice comes in! The key is to be swift and confident. Use a thin, wide spatula and slide it completely under the egg, ensuring you gather all the white and the delicate yolk. Then, with a quick, decisive flick of your wrist, turn the egg over. Avoid slow or hesitant movements, as these are more likely to snag the yolk. Some even find success by tilting the pan slightly to help the spatula get under the egg more easily. Non-stick cookware is also a huge advantage here.
Mastering the Fried Egg Over Easy: A Culinary Essential
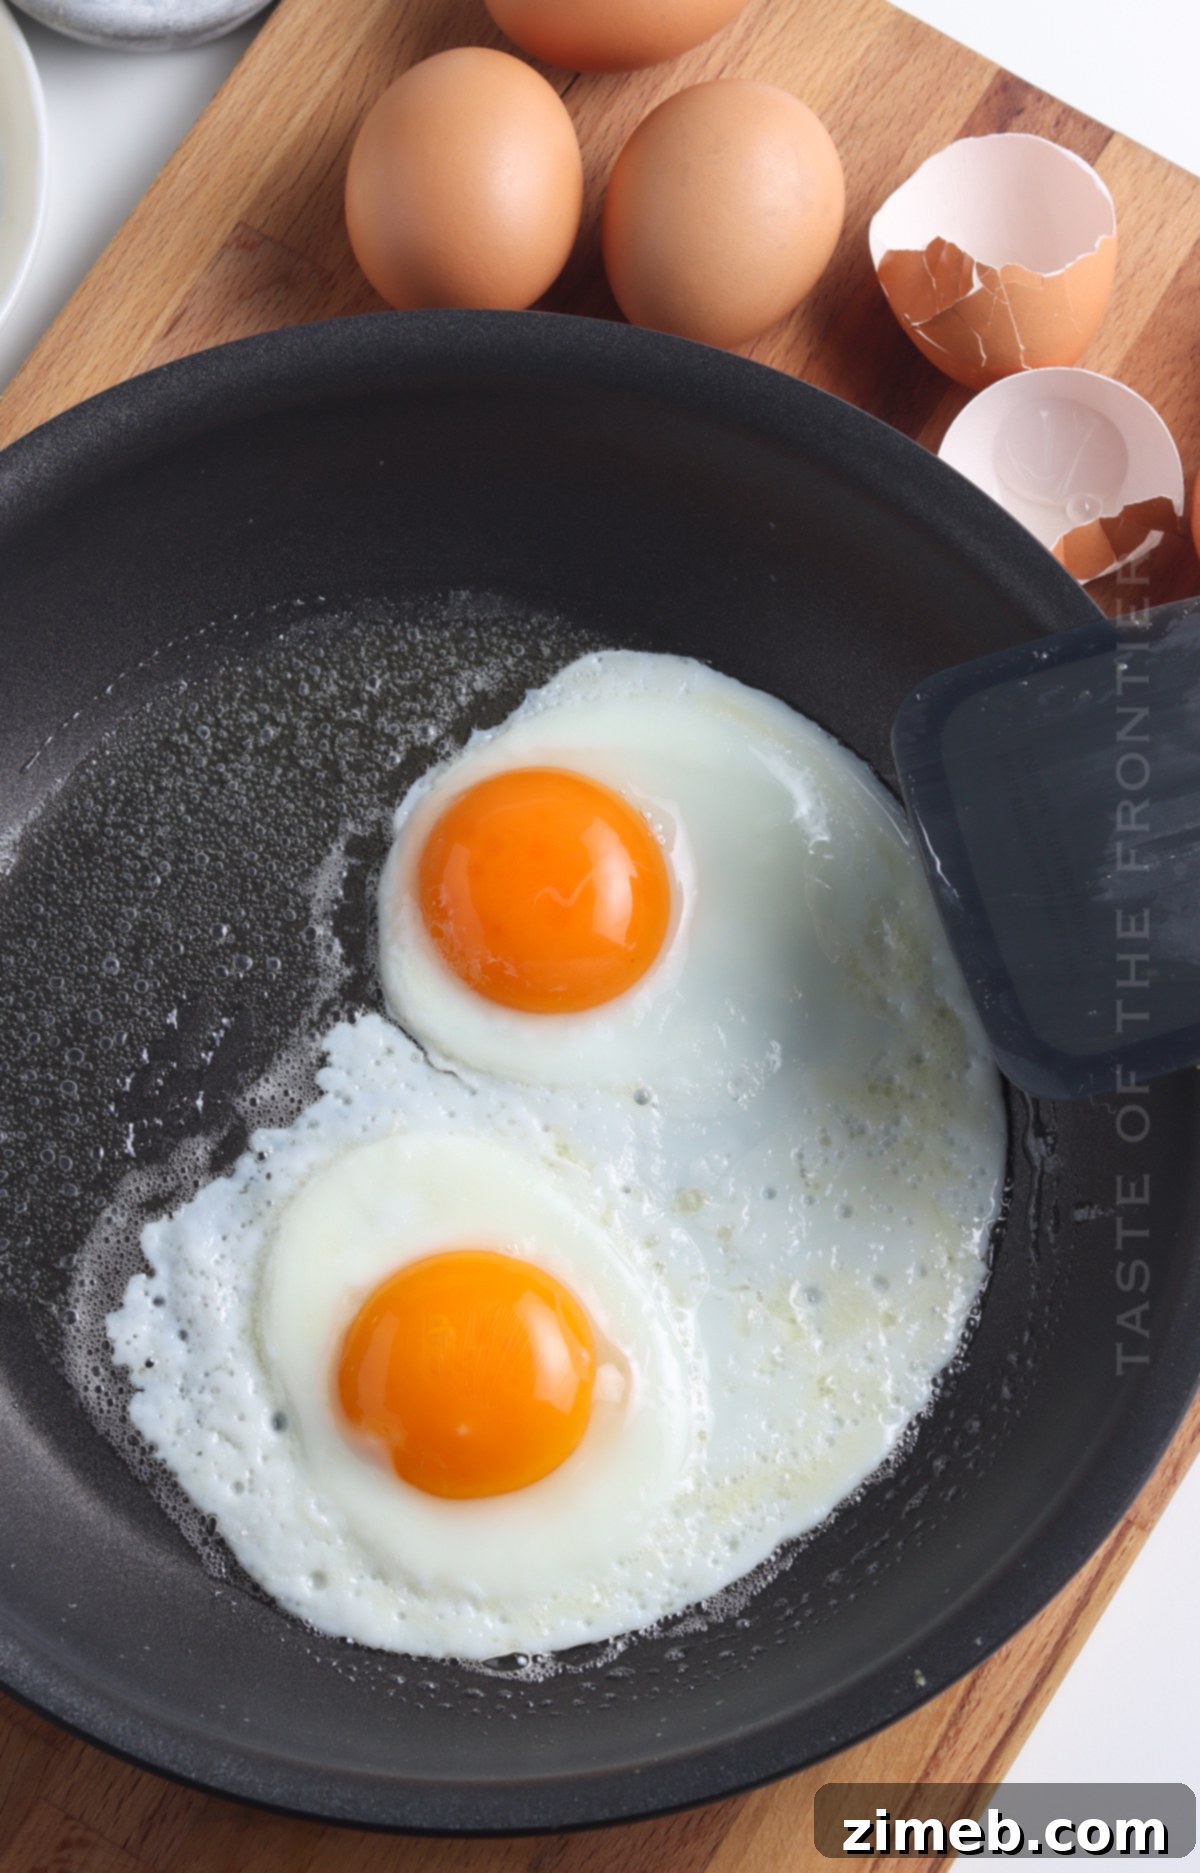
Cooking a perfect fried egg over easy is a fundamental skill that unlocks a world of delicious breakfast and brunch possibilities. It transforms simple ingredients into an elegant and satisfying meal. Once you’ve mastered this technique, you’ll find yourself reaching for the skillet more often, eager to enjoy the rich, flowing yolk with every bite. This isn’t just a recipe; it’s an invitation to elevate your morning routine.
Recommended Kitchen Tools for Perfect Eggs:
Having the right tools can make all the difference, especially when perfecting delicate dishes like over easy eggs. Here are a few items I highly recommend:
- Prep Bowls: Essential for organizing ingredients and keeping your cooking station tidy.
- Thin, Flexible Spatula: Crucial for sliding under and flipping eggs without breakage. Look for one with a thin edge.
- High-Quality Non-Stick Cookware: A good non-stick pan is paramount for preventing eggs from sticking and making flipping effortless.
- Cast Iron Skillet: While non-stick is easier, a well-seasoned cast iron skillet can also produce fantastic results, offering excellent heat retention for even cooking.
If you enjoy this easy recipe for fried eggs, you’ll surely love exploring other delightful breakfast recipes. Discover new ways to start your day with these favorites:
- **Mini Pancakes (Silver Dollar):** A great way to use ripe bananas, these tiny pancakes are perfect for a quick breakfast or snack. Check out this recipe
- **Mixed Berry Muffins:** Fluffy and sweet, loaded with all the berry flavor you love, made with fresh or frozen berries and Greek yogurt. Check out this recipe
- **Easy Cruffin Recipe:** A delicious cross between a croissant and a muffin, made with puff pastry or crescent roll dough and coated in cinnamon and sugar. Check out this recipe
- **Mini Pancake Cereal:** Teeny tiny pillowy pancakes with a crispy outer texture, great with syrup, fruit, and more! Check out this recipe
- **Blueberry Pie Donuts:** A sweet treat that combines the classic flavors of blueberry pie in a delightful donut form. Check out this recipe
- **Coffee Cake Muffins:** Surprise your loved ones with a batch of these quick and easy coffee cake muffins for breakfast. Check out this recipe
- **Homemade Waffle Recipe:** No need to dine out for warm Belgian waffles. This recipe is easy and delicious, make extra for a quick breakfast all week long. Check out this recipe
- **Breakfast Burritos:** Loaded with sausage, hash browns, cheese, and peppers, these burritos are the perfect food to keep you going all morning long. Check out this recipe
- **3-Ingredient Homemade Bagels:** Easy to make with Greek yogurt and a few minutes. Whip up enough for breakfast throughout the week. Check out this recipe
If you loved this recipe for Over Easy Eggs as much as I do, please consider leaving a five-star review and sharing it with friends and family on your favorite social media platforms!
CONNECT WITH YUMMI HAUS!
Be sure to follow me on my social media, so you never miss a post!
Substack, FB, Pinterest, IG, Email Subscription
Rate this Recipe
Over Easy Eggs
Ingredients
- 1 tablespoon unsalted butter
- 2 Eggs fresh if available
Instructions
- Set the eggs out on the counter to come to room temperature for about 20 minutes.
- Add the butter to a large non-stick skillet over medium heat and allow it to melt.
- Turn the heat down to low.
- Crack the eggs into the heated skillet and cook for 2-4 minutes until the white is firm and the yolk is still runny.
- Flip the eggs using a thin spatula and cook for another 15-30 seconds.
- Remove the eggs from the pan and season with kosher salt and fresh cracked black pepper.
Notes
Nutritional information for the recipe is provided as a courtesy and is approximate. Please double-check with your own dietary calculator for the best accuracy. We at Yummi Haus cannot guarantee the accuracy of the nutritional information given for any recipe on this site.
Love this recipe?
Follow @KleinworthCo for even more tasty recipes!